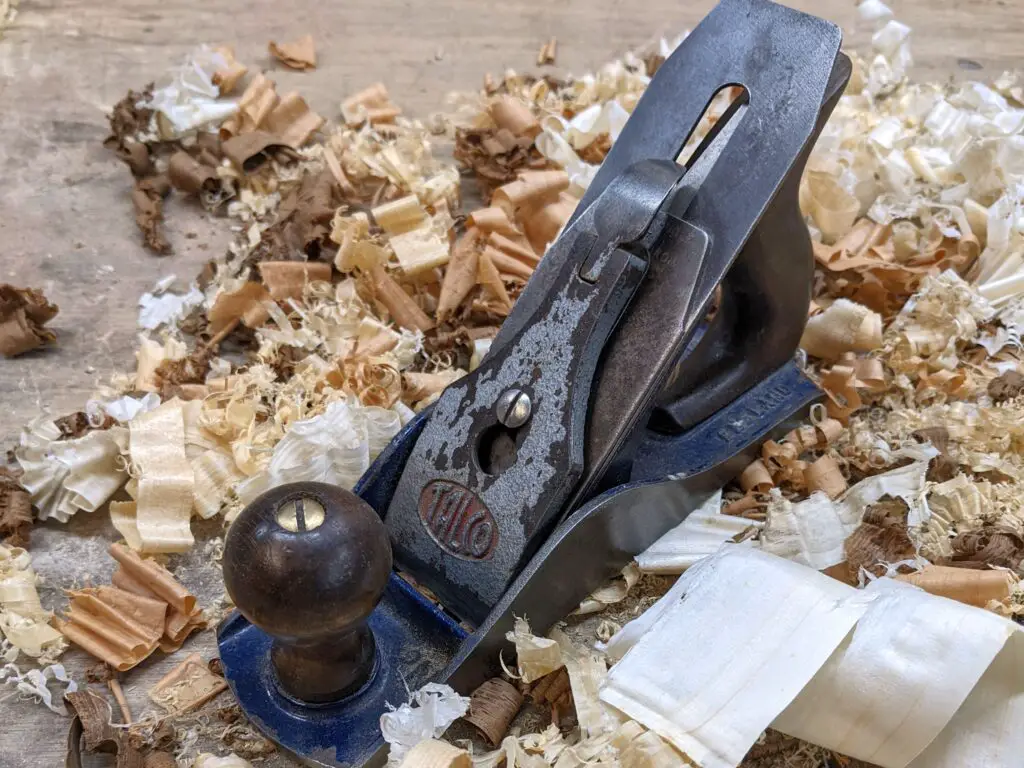
I bought this guy at an auction a couple of weeks ago, part of a job lot of otherwise fairly sad Stanley & Stanley copy planes. While I bought these to sell on, I did need a plane for myself – I’ve got a genuine Stanley one in my restoration queue, but it’s in properly rough shape. So I picked this one out of the pile!
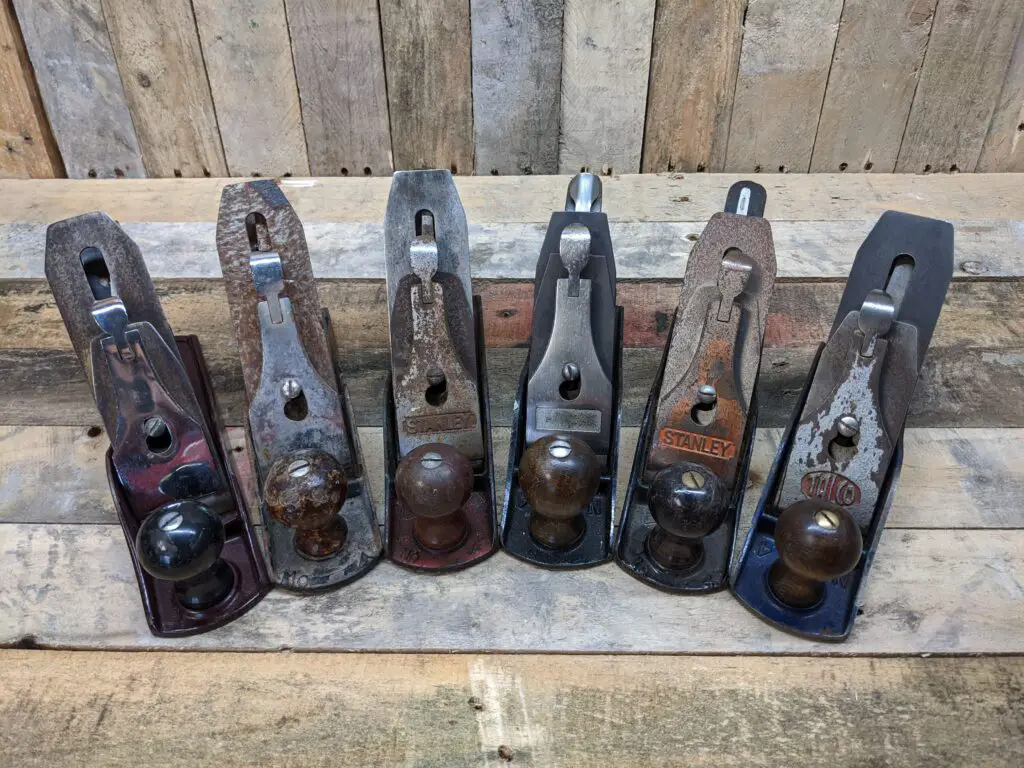
I’m not sure what attracted me to it – it’s just something a little different to the usual Stanley or Record planes you see.
So Who Were Talco?
I couldn’t find much info on the Talco brand; this forum post suggests that Talco was bought up by Stanley in 1936 and continued for a while as a Stanley brand. I can’t, however, verify that. Neither can I take more than a vague guess at the age – Stanley planes (and their lookalikes) being what they are, it could have been made any time between the 1930s to the 1980s!
I’m guessing it was made in the 1960s or 70s, but that’s just a guess.

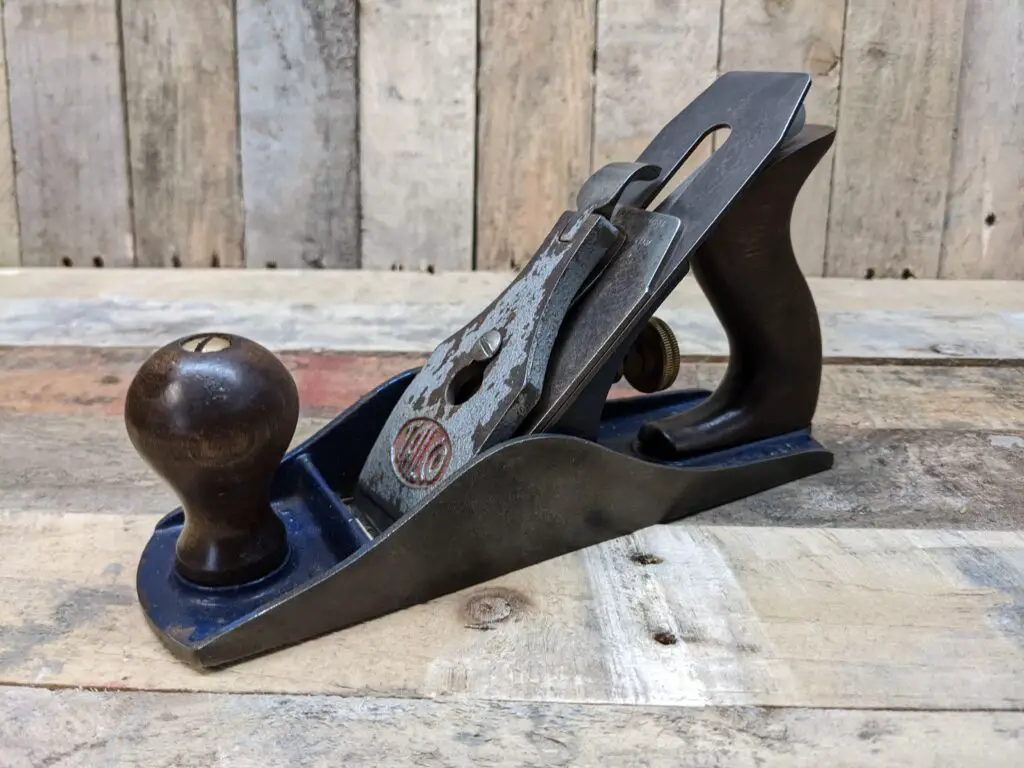
In any case, it’s solidly made, has a nice feel and hits that sweet spot of being careworn and nicely patina’d without being neglected or abused. Well, mostly. More on that in a moment…
Overall Condition
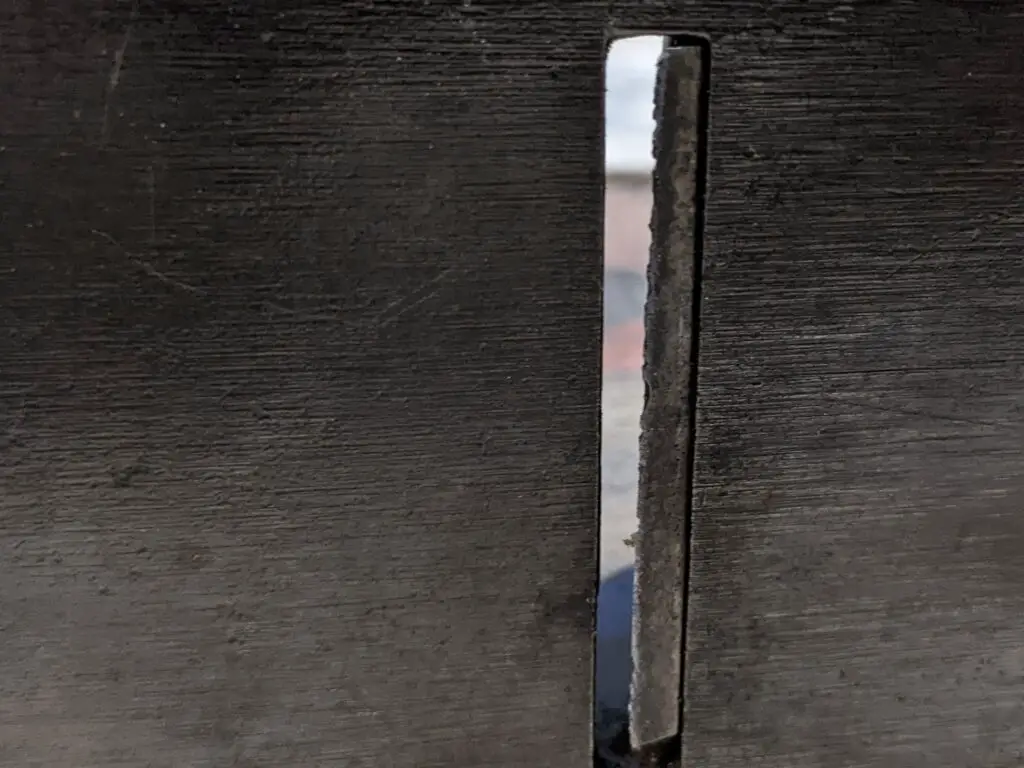
A quick stripdown showed it to be in good condition; a little rust on the iron, some worn paint, nothing you wouldn’t expect from something this age. There was some evidence of rust pitting on the sole, which made me wonder if someone hadn’t restored this a little before me…
The worst part of it, and the only thing that really stopped me just pressing it into action, was the iron. More specifically the cutting edge. Remember when I said this hadn’t been abused? Well, the edge was the exception. It looked like someone had been planing old reclaimed wood without bothering to take the nails out first. It was a horrible, chipped, mess…
Restoring the Plane
I have an overall rule about restorations; well, more of a guideline really. I don’t restore things that don’t need it. I like the careworn, patina’d look. And this plane certainly had that – iron aside, it was in great shape. So, this wasn’t going to get a full restoration, or even really a partial one. Just get a new edge on the iron and put it back into service!
Regrinding, Polishing & Sharpening the Edge
As much as I’d love to, I don’t own anything fancy like a Tormek that would make light work of grinding a new edge on this. All I’ve got at the moment is a standard bench grinder with stone wheels and a wobbly (to the point of uselessness) tool rest. Not ideal.
But I like to work with what I’ve got.
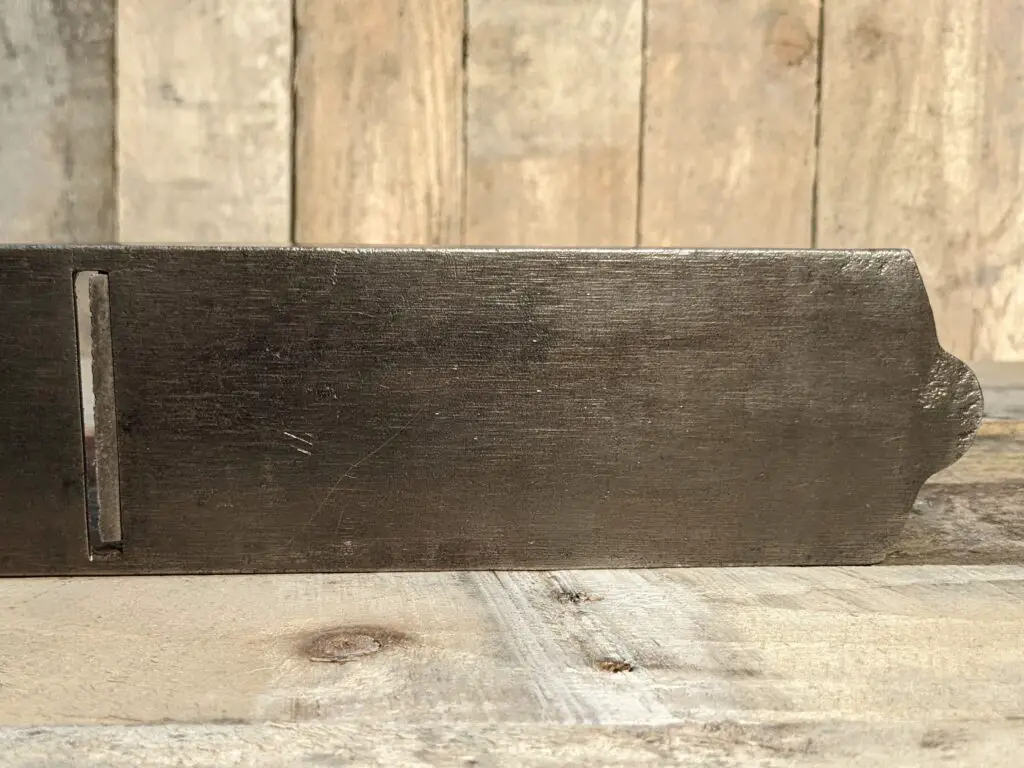
I spent a few minutes grinding a new edge on the bench grinder, working freehand and being careful not to overheat the edge and ruin the temper. Despite working freehand, I managed to get a reasonably straight edge on the iron once more, and then it was over to the sharpening stones.
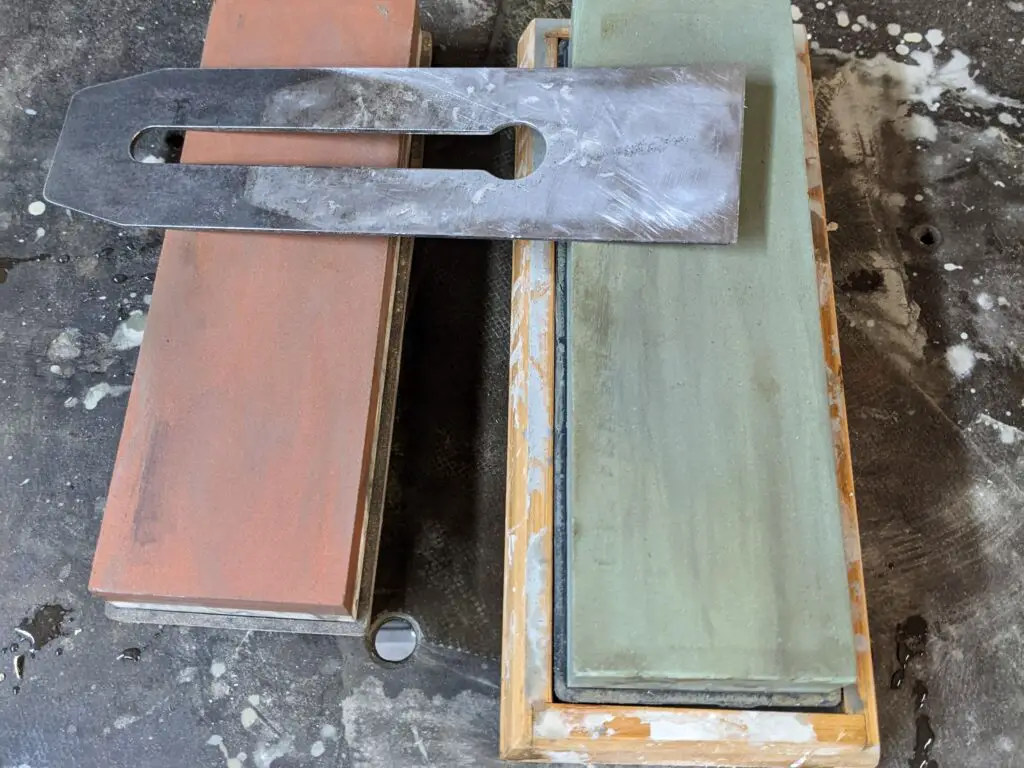
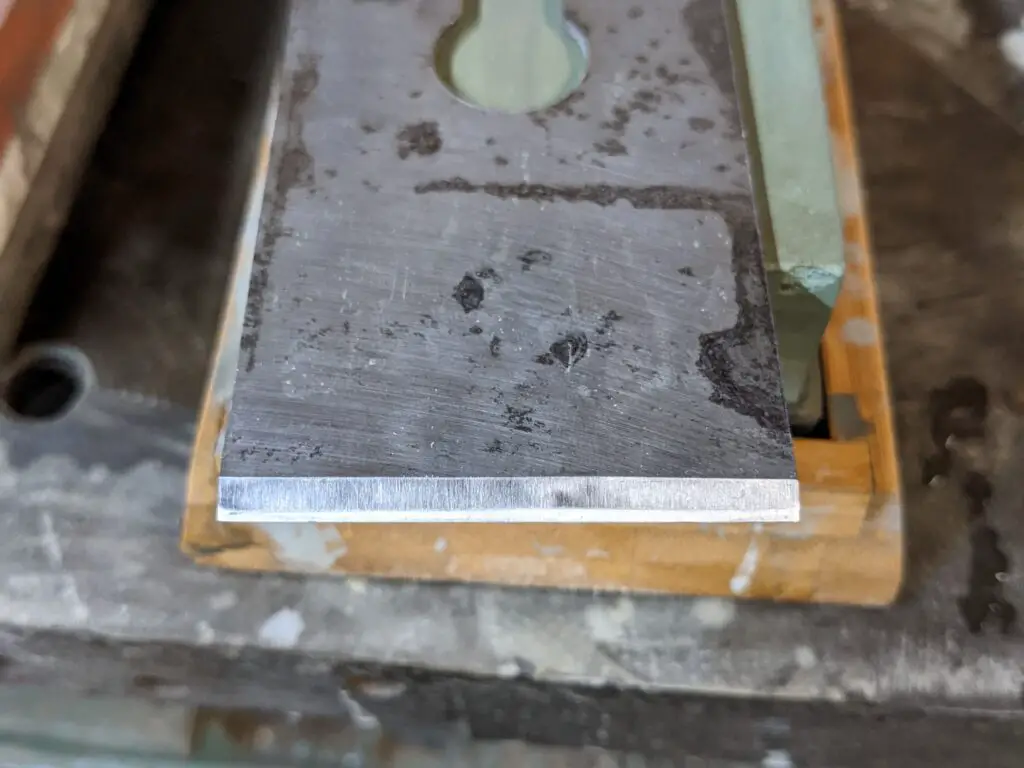
Using my whetstones, I properly straightened up the bevel, polished it to 1,000 grit and then flattened the back up to 8,000 grit before putting a secondary bevel in and polishing that to 8,000 grit before a final polish with my leather strop.
Putting the Plane to Work!
With that done, I put it all back together, dialled it in and gave it a test run.
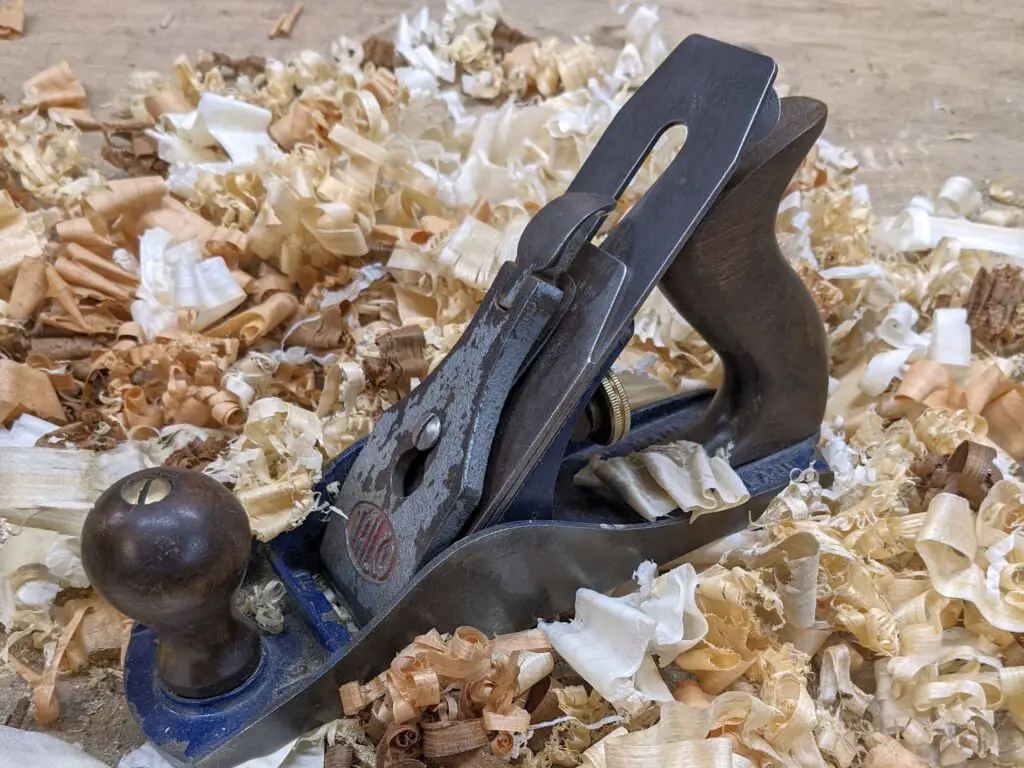
With the newly sharpened iron, it cut beautifully. I think I need to grind a little more of a camber in to the edge, but otherwise this little smoothing plane is good to go for another few decades!
