After wrapping up the wiring loom, it was time to get back on with the car itself – starting with the rear end.
Working in the garage means I have to be fairly methodical about how I do things, and in this case I wanted to get as much as I could done on the back end so I could push the car right back against the wall for a while while I worked on the front end and the cabin.
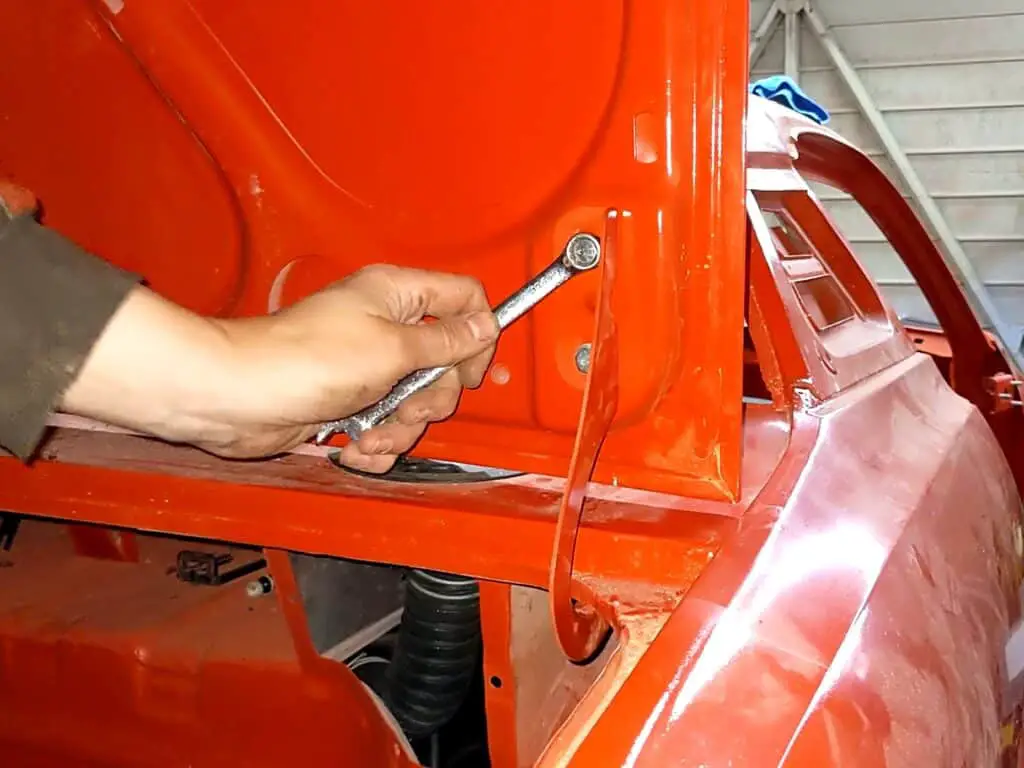
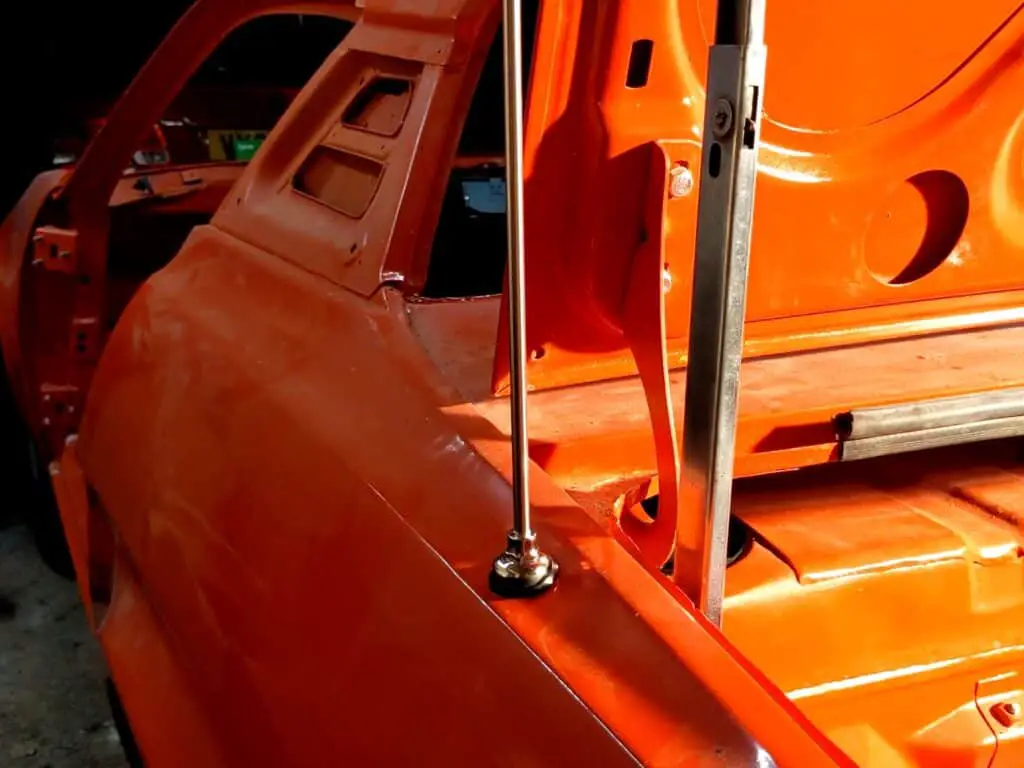
Fitting the Rear Dampers
The first job was to fit the new dampers – the ones I’d ordered previously had arrived as two different brands. As it’s not a good idea to mix and match dampers like this, I returned them for a replacement (matching) set. but all that messing around meant they hadn’t arrived when I put the rear suspension together, so I just put the old ones back in temporarily. Now I’m working on the back end, it’s a good time to fit the new ones.
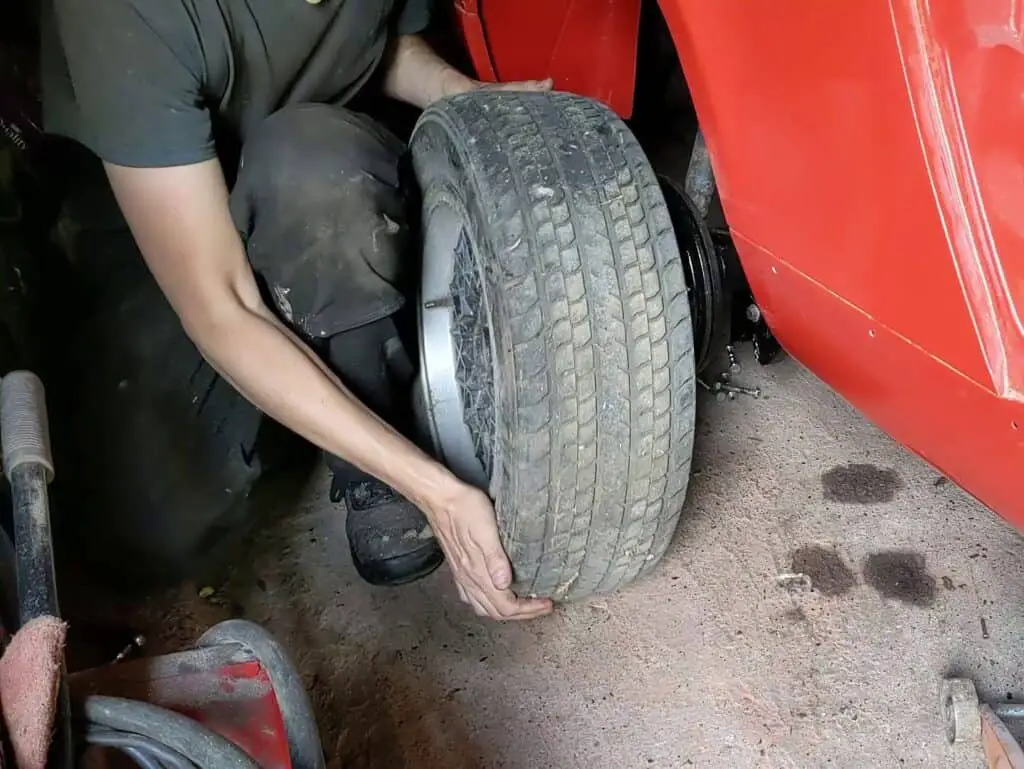
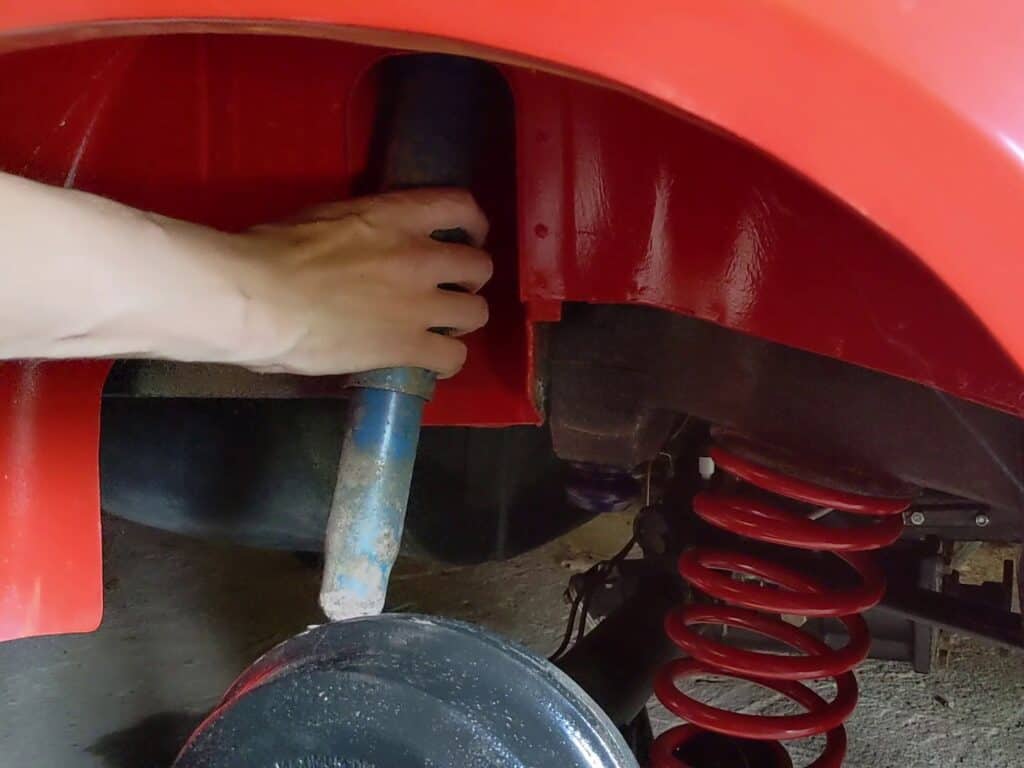
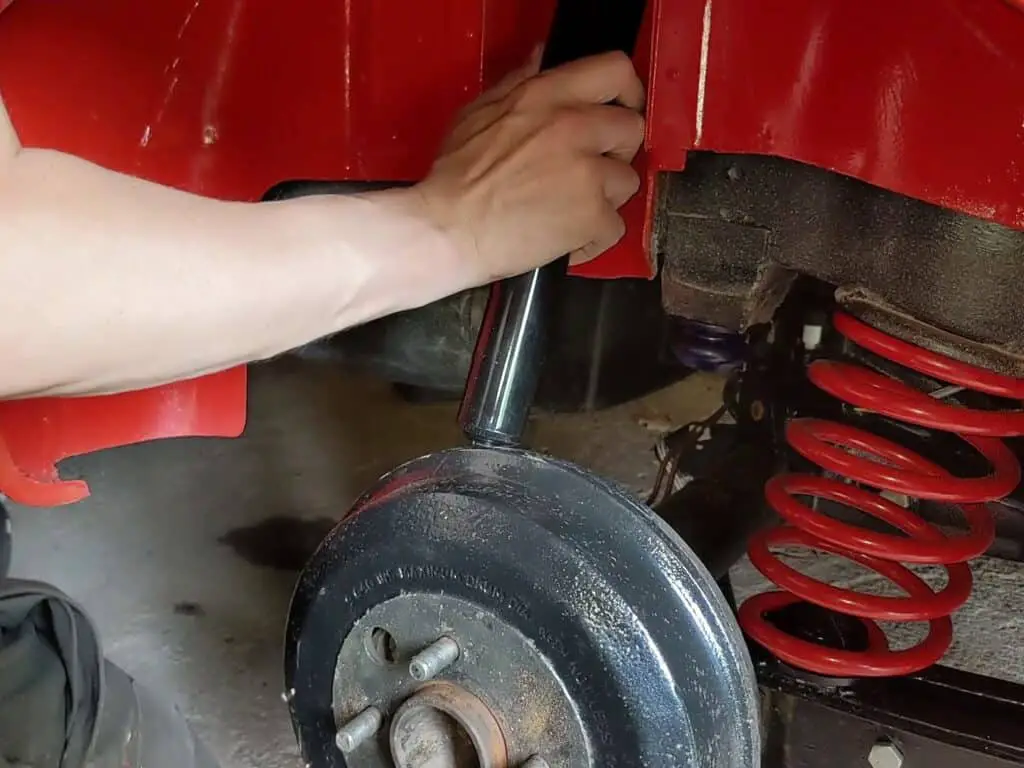
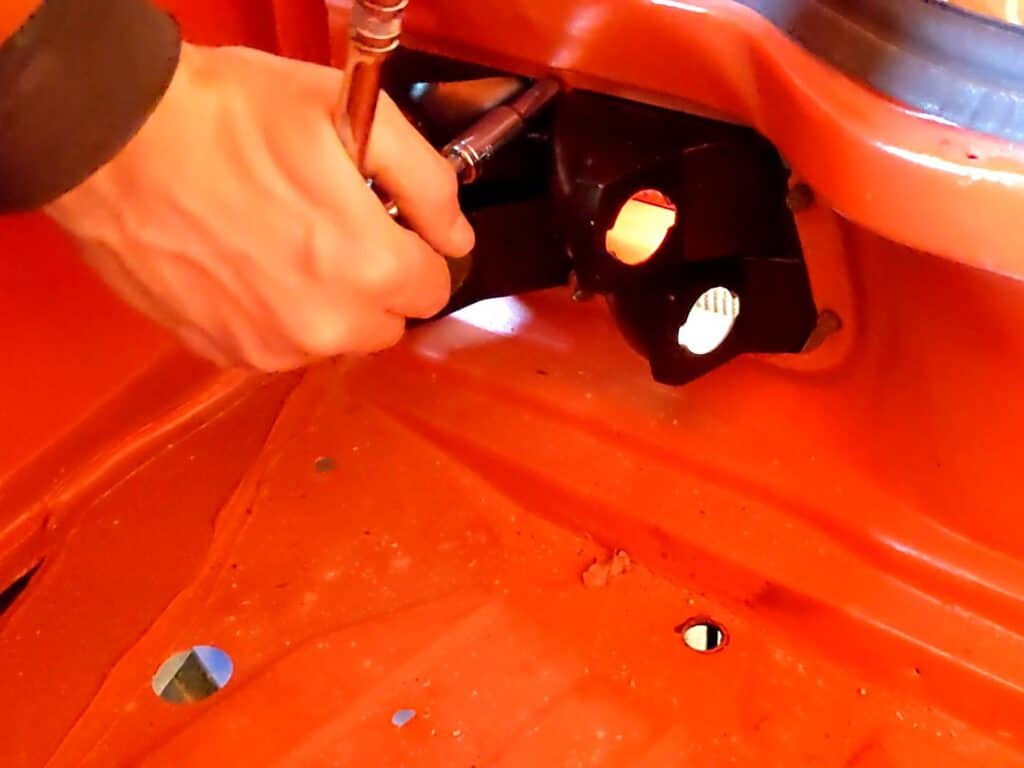
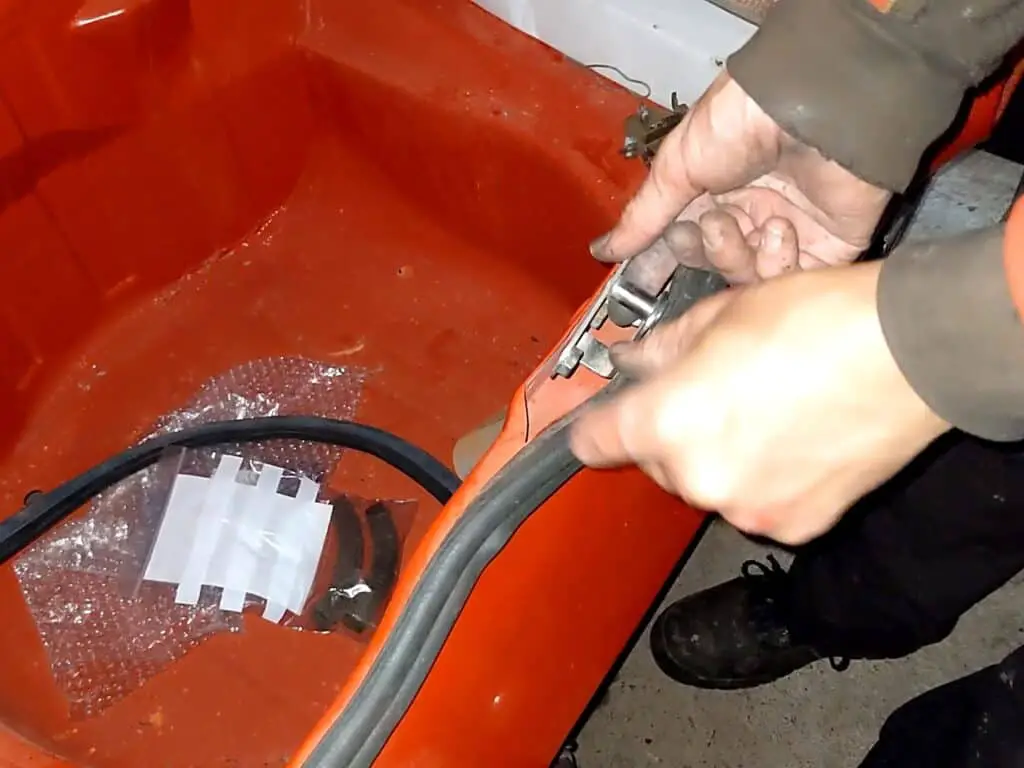
Fitting the dampers is a fairly straightforward job on the TR7; there’s just a nut at each end to fit and tighten. The only fiddly part is getting to the nuts at the top – the right hand one is in the fuel filler compartment and access is tight. Not to mention, you have to do all this while holding on to the damper from the outside to stop it spinning. A second person would have helped here, but I managed. Luckily I’m tall and have long enough arms to reach around!
Waxing the Cavities
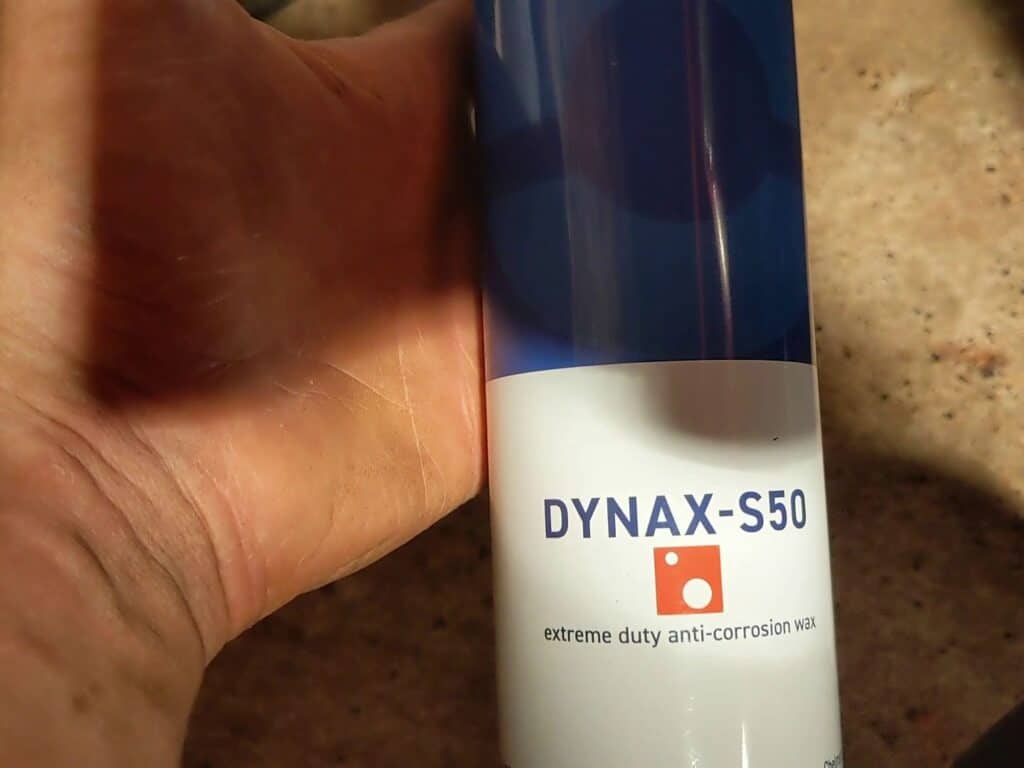
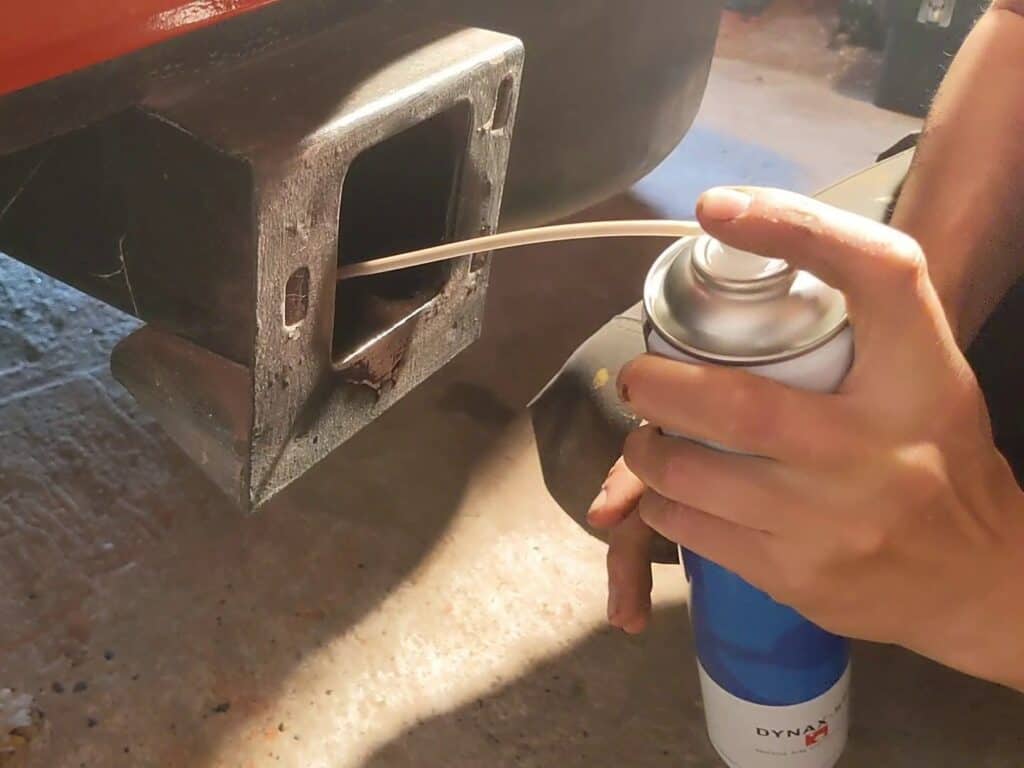
The next job, while I had access to the whole car, was to spray cavity wax into all the, well, cavities. This is honestly something I should have done months ago before I started putting everything back together, but better late than never. I’ll just have to be careful to not spray it all over the suspension components.
I opted for Dynax S50 wax; it seems to be well regarded and I’ve used it in the past with no issues.
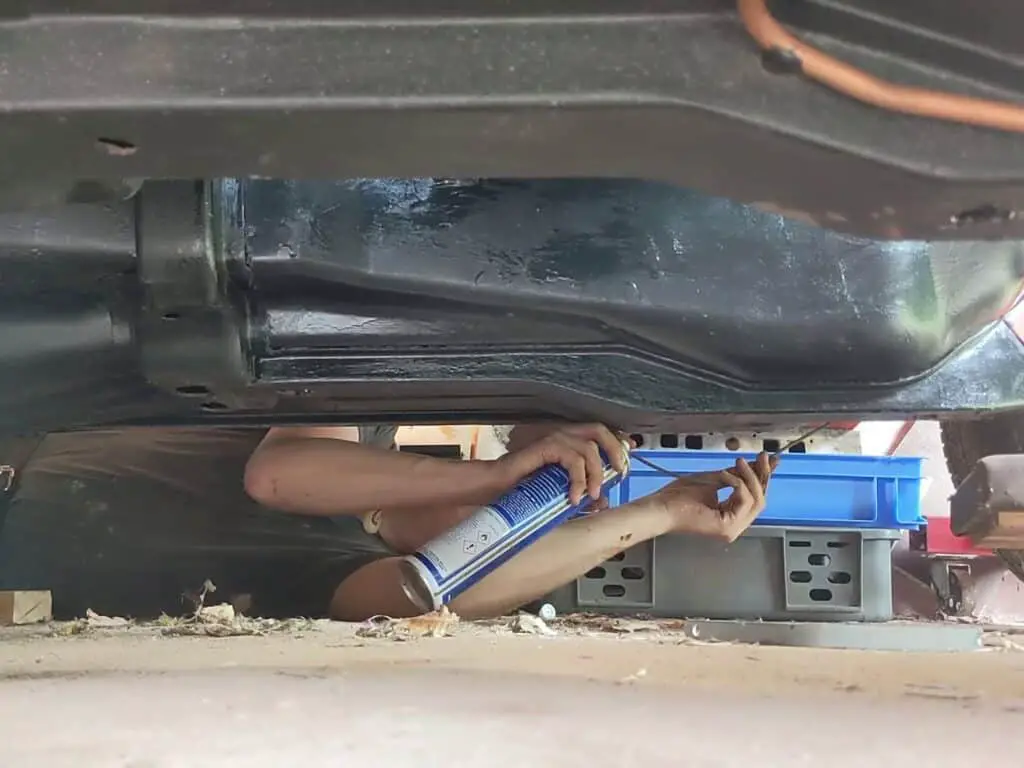
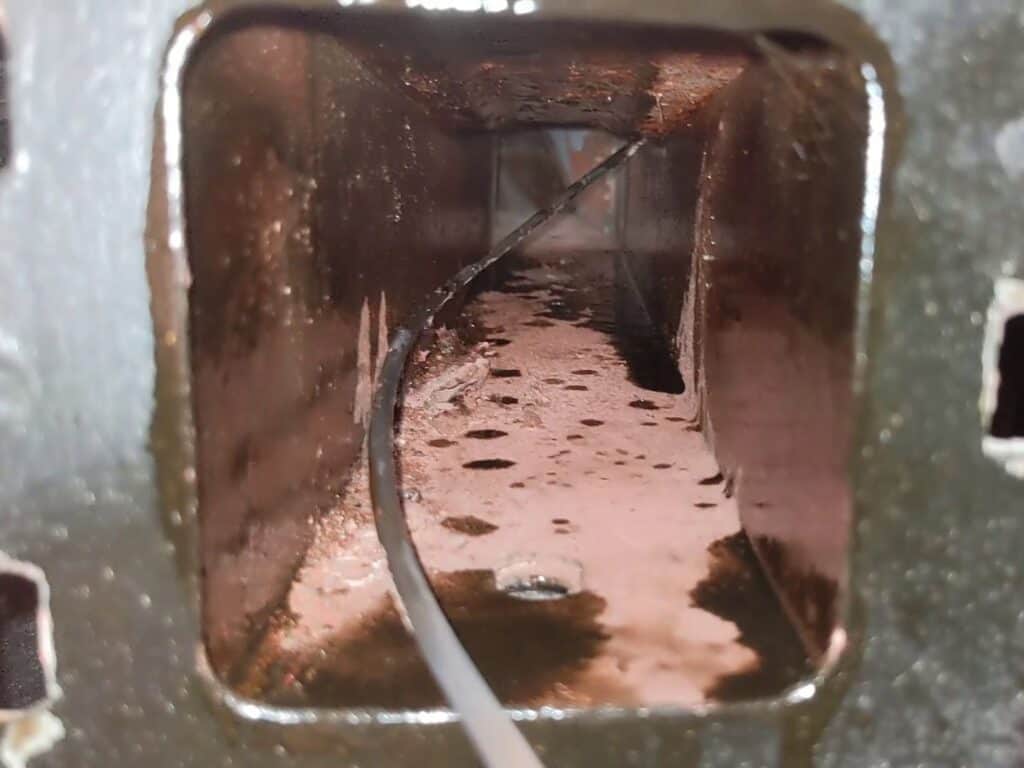
I started with the chassis legs as they were the easiest to get to – while the bumpers were off at least – and just went to town. Anywhere I could find a gap or cavity, I poked the nozzle in and sprayed a bunch of wax. It takes a bit of practice aiming the long flexible nozzle to make sure it sprays everywhere evenly and doesn’t just sit in one corner, but otherwise it’s a fairly easy process.
I went round all the cavities twice, dumping 2.5 cans into every nook and cranny I could find – I think the sills alone got a can by themselves. Then I went back round and cleaned up. It makes a mess, but it’s easy to clean with white spirits.
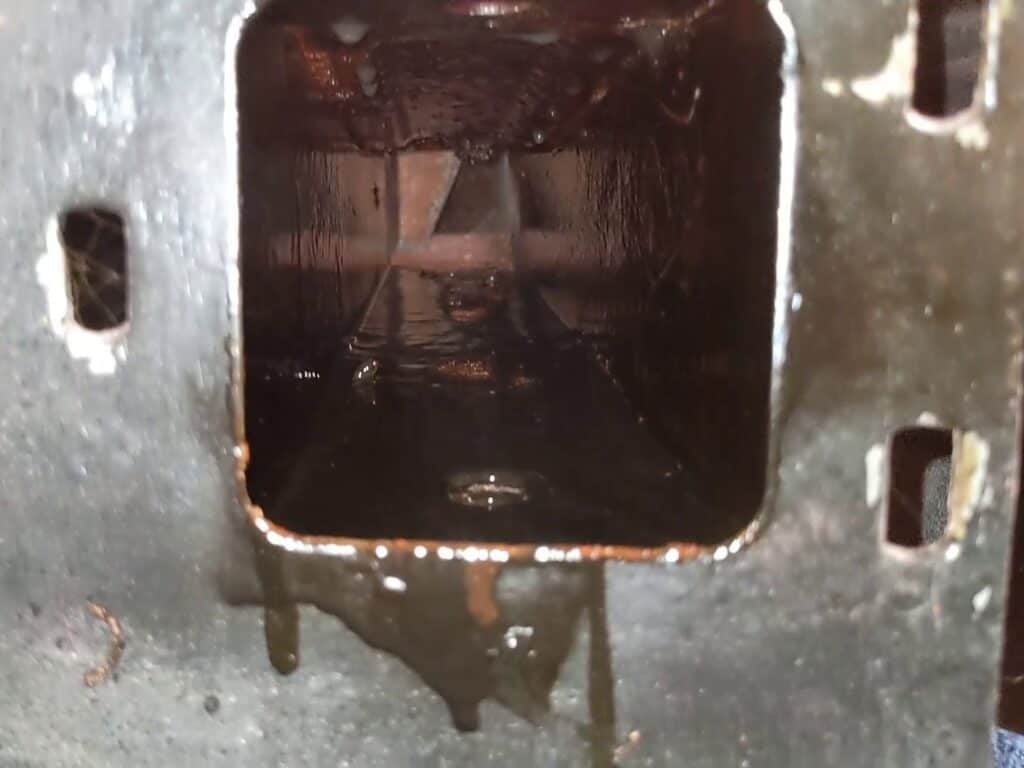
It’s an easy job to do (albeit much easier while the car’s nice and clean and only partly assembled), and should keep the rust at bay for a few years. A job well worth doing!
Fitting the Boot Lid
The next job was the boot lid (or trunk lid, for my US audience!). I’d roughly bolted it into place before, mostly because I didn’t have anywhere better to store it, but now it’s time to fit it properly.
Each hinge has four bolts – two for the boot lid and two to attach it to the body – and they’re all adjustable. So fitting the lid is a fairly straightforward process, but does involve a lot of fiddling about getting the alignment right. You can adjust the height, the fore/aft alignment and there’s even a certain amount of side to side adjustment – so getting everything aligned exactly right involves a lot of checking, opening and closing the lid, checking again, minutely adjusting the fit, checking again, etc.
I spent probably twenty minutes aligning the lid – that’s probably nineteen more minutes than the factory guys took – but I’m happy with the alignment. There’s a nice tight even gap all round and the height of the lid is exactly in line with the rear deck.

Fixing and Fitting the Lock Hardware
With the boot lid now where I wanted it, it was time to sort out the lock mechanism and the boot stay.
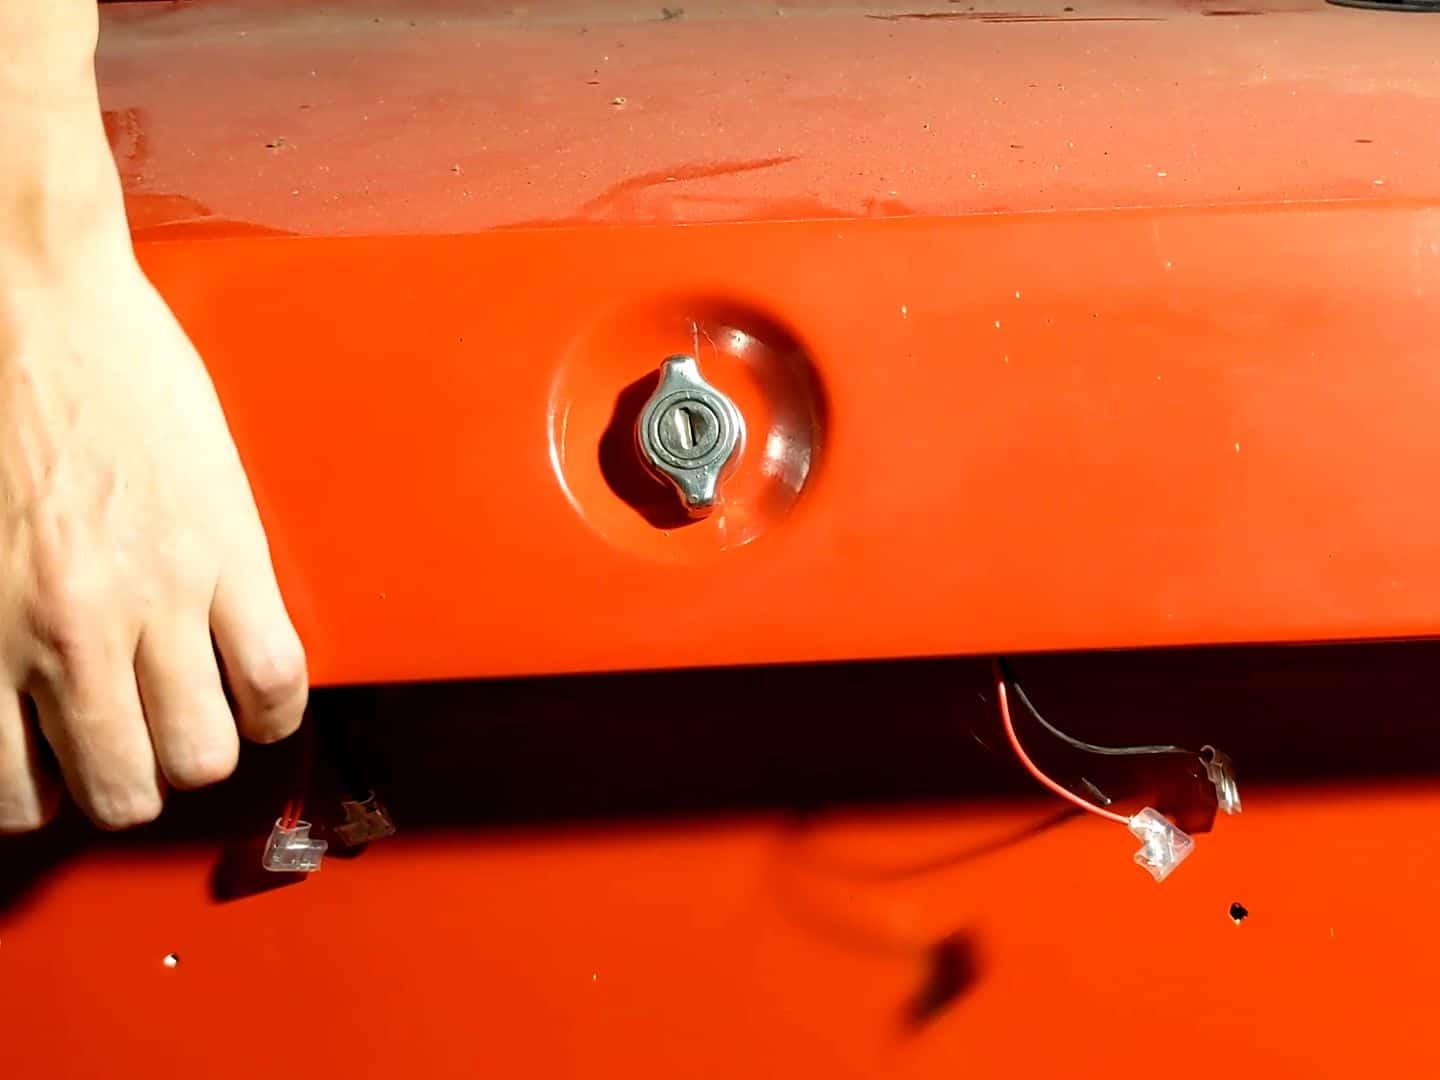
Being as mine is an early model, it has the older style twist lock (later cars have a push button) and a mechanical boot stay, rather than the later hydraulic type. Both mechanisms work just fine – or at least they did when I took the car apart – but they really need cleaning up.
The old ghost of a terrible respray made another appearance here – whenever this car was resprayed in the past, the painters did a really sloppy masking job, and there is overspray everywhere. Including on the lock. So I spent a bit of time cleaning that off – fortunately it came off pretty easily with some paintstripper.
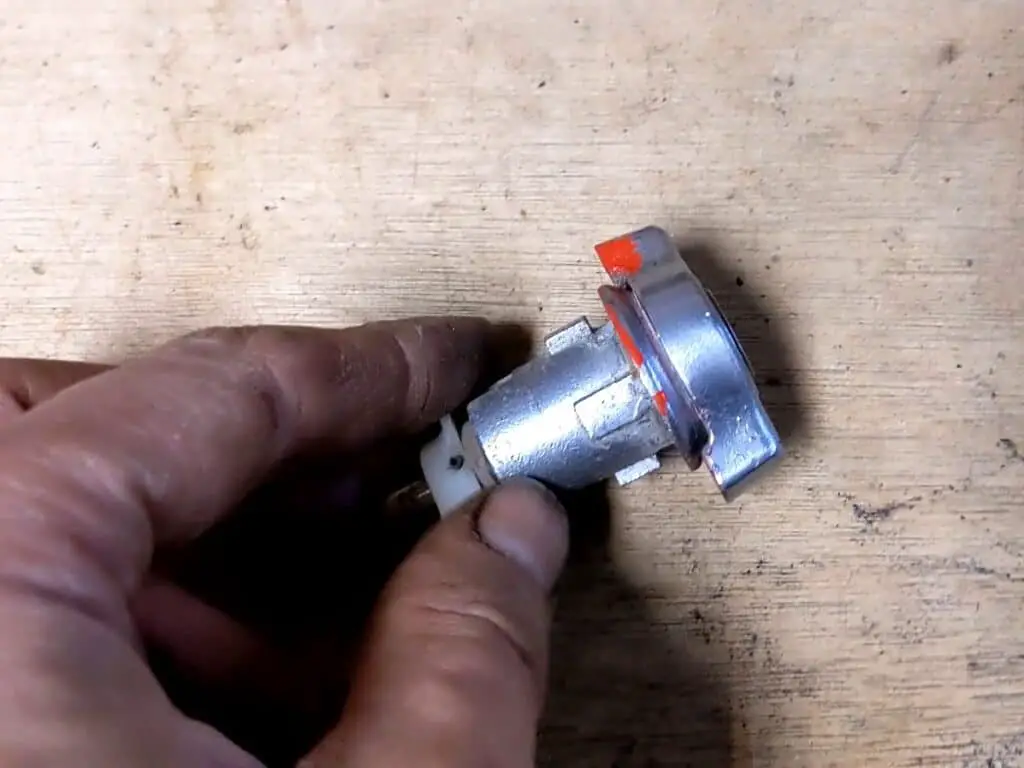
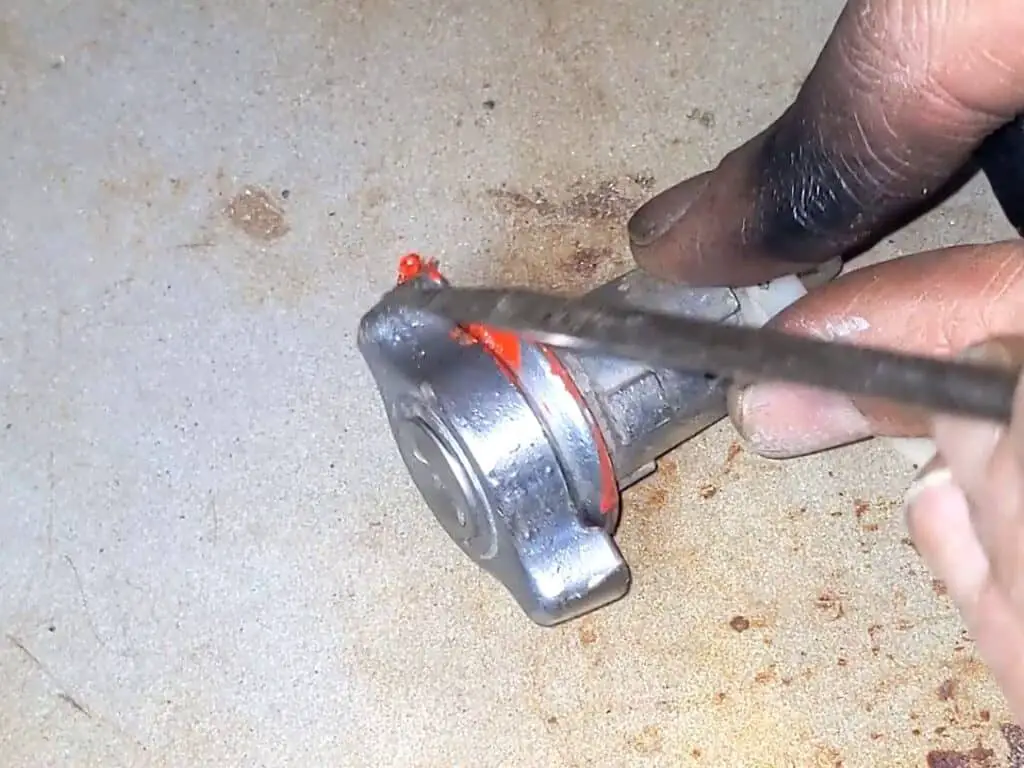

The rest of the lock mechanism just needed scrubbing down, and then that was ready to fit.
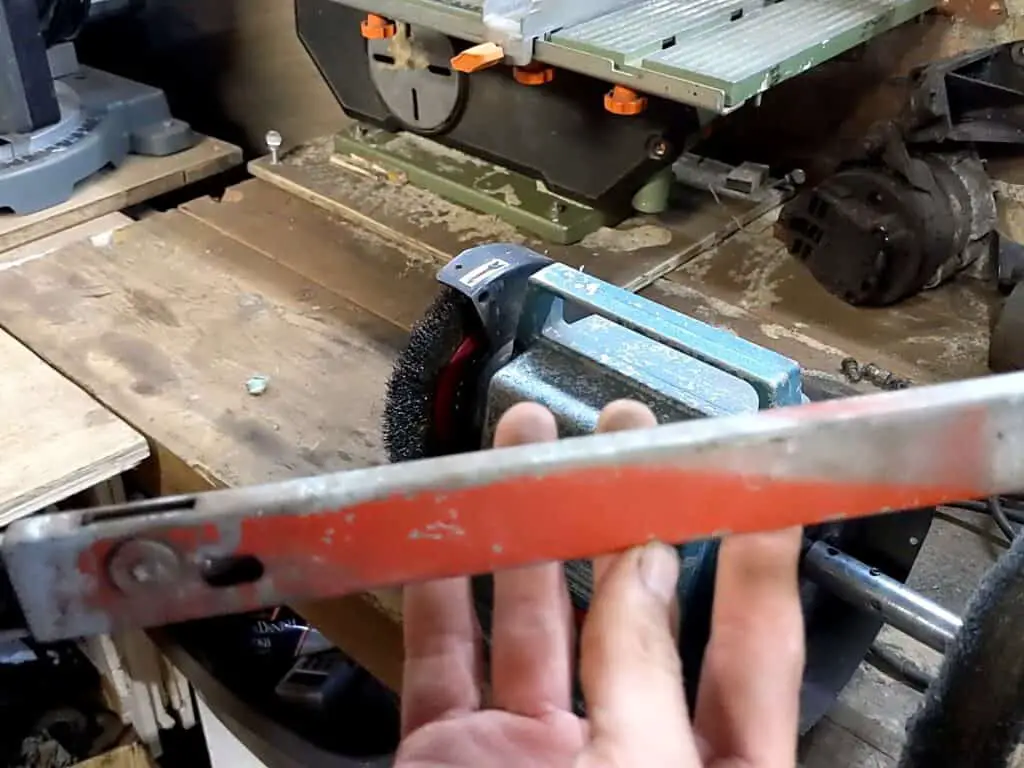
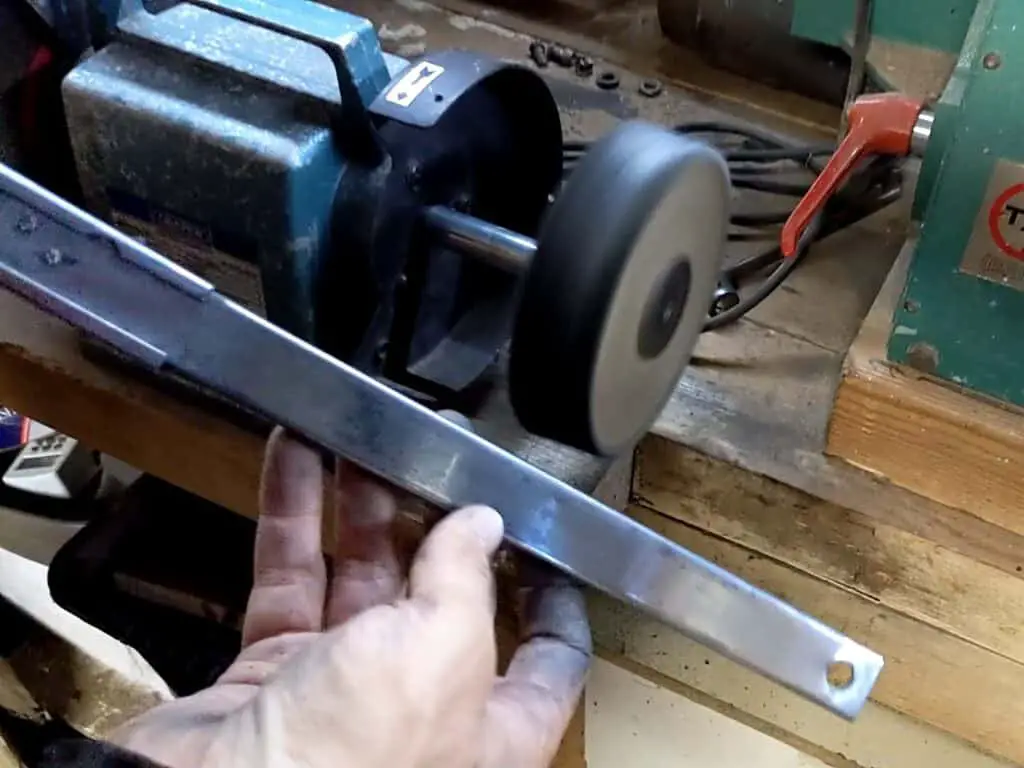
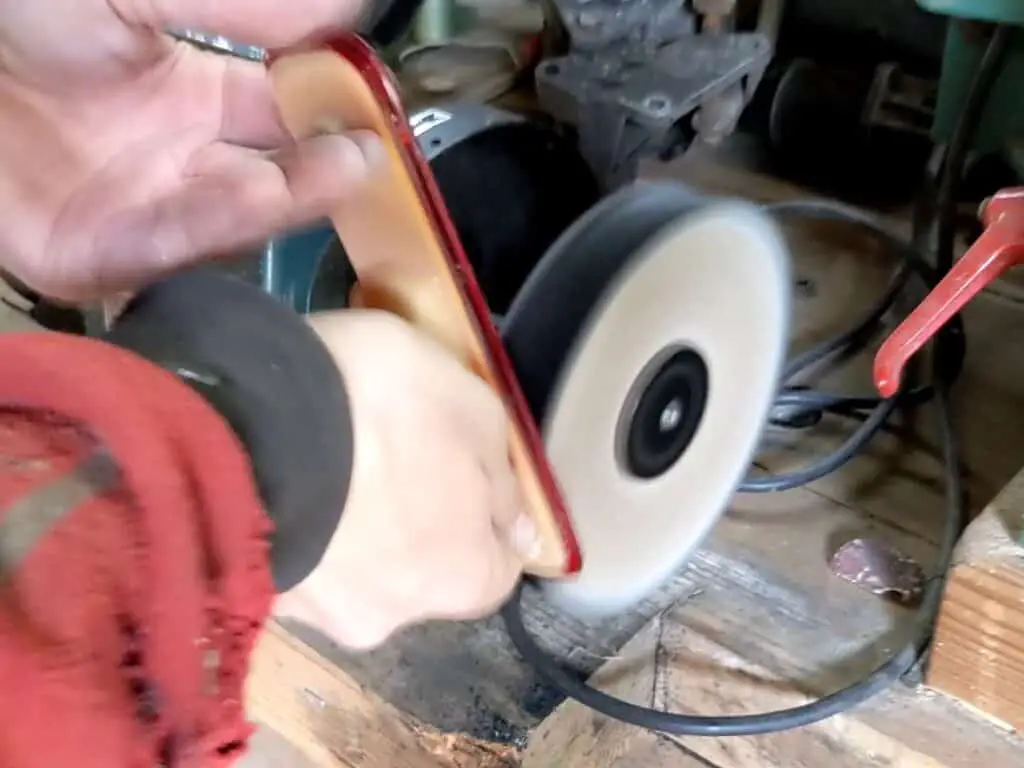
The boot stay had been hit particularly hard by the bad respray fairy, so I had to spend some time cleaning that up. Rather than messing about with paintstripper – which frankly isn’t as good as it used to be, and is now fairly ineffective – I went at it with a wire wheel. It came up pretty decently.
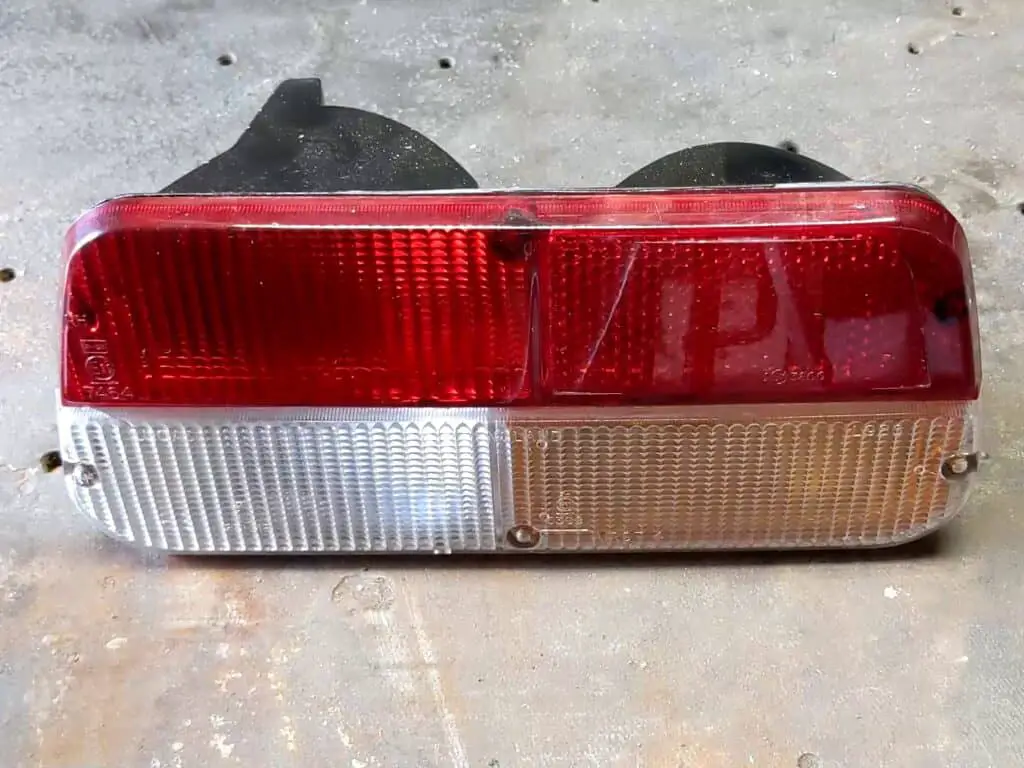
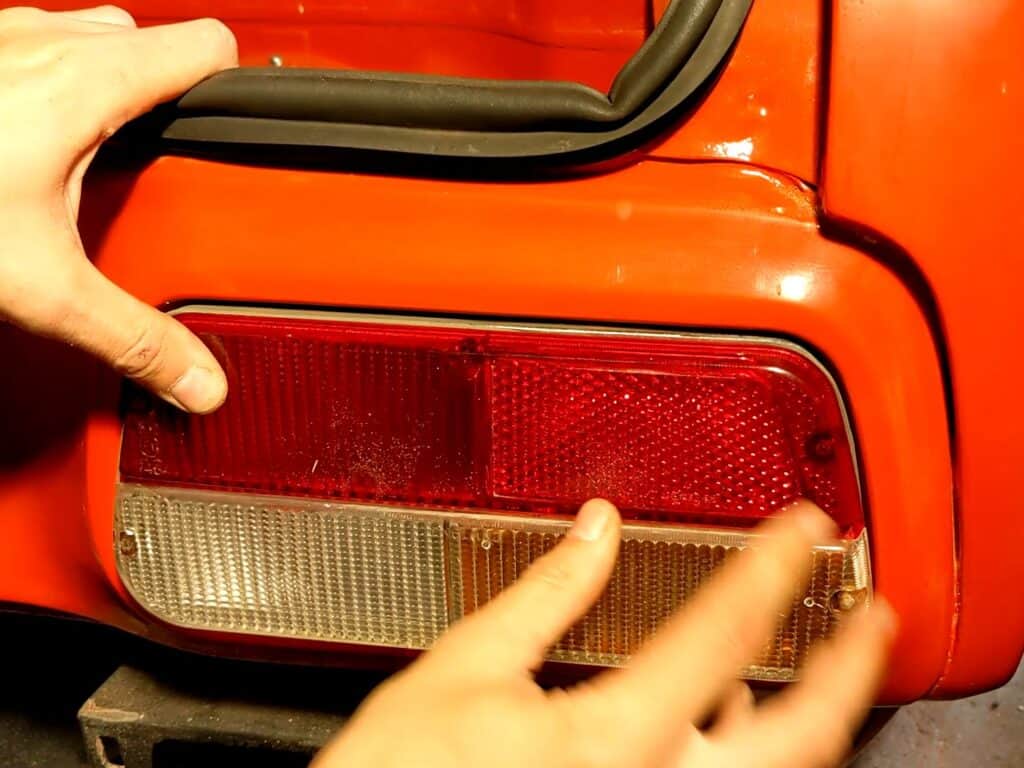
Fixing and Fitting the Rear Lights
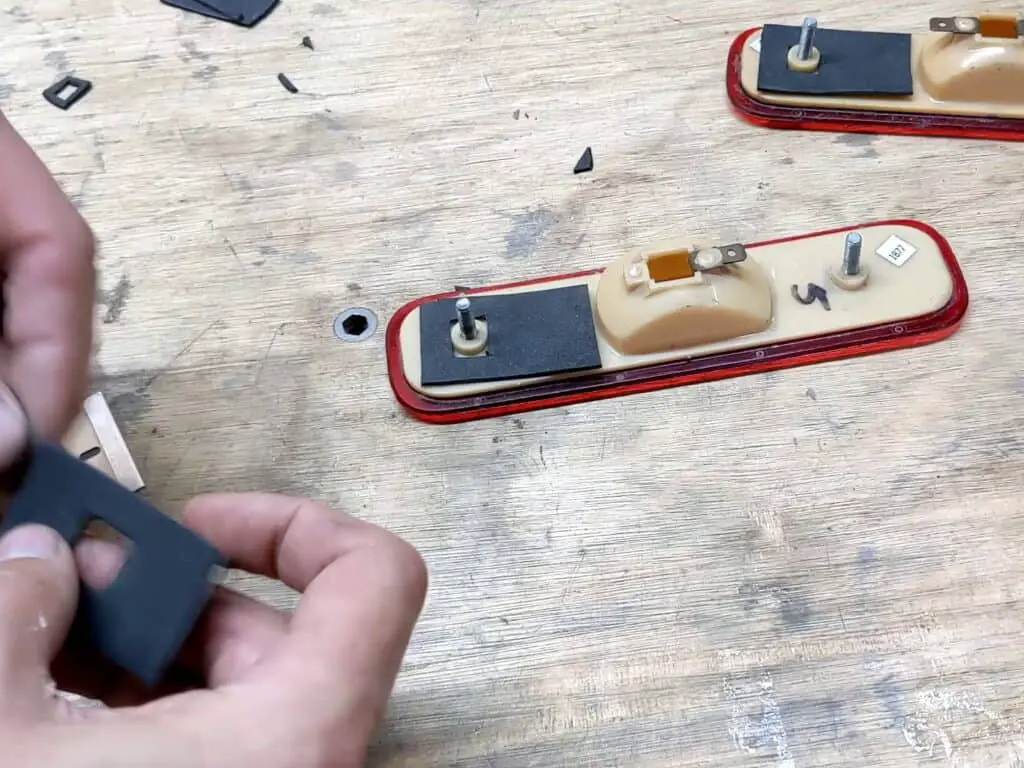
I actually cleaned up and painted the lights several years ago, so these were more or less ready to fit! All I needed to do was to fit some new foam gaskets and fit them to the car.
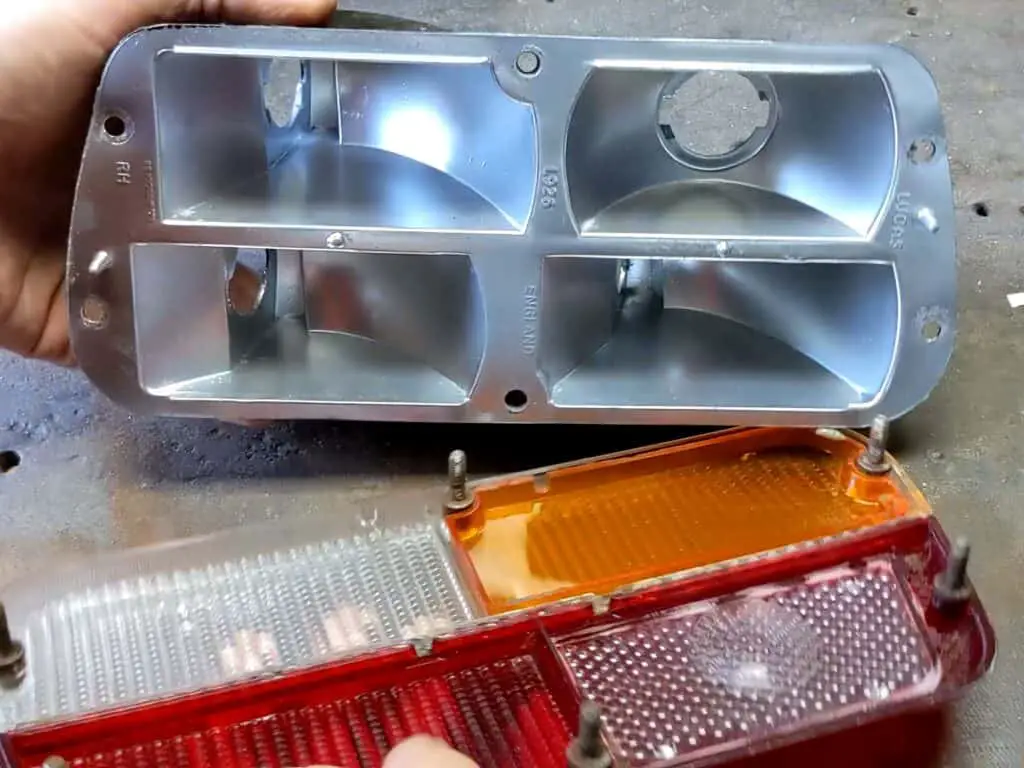
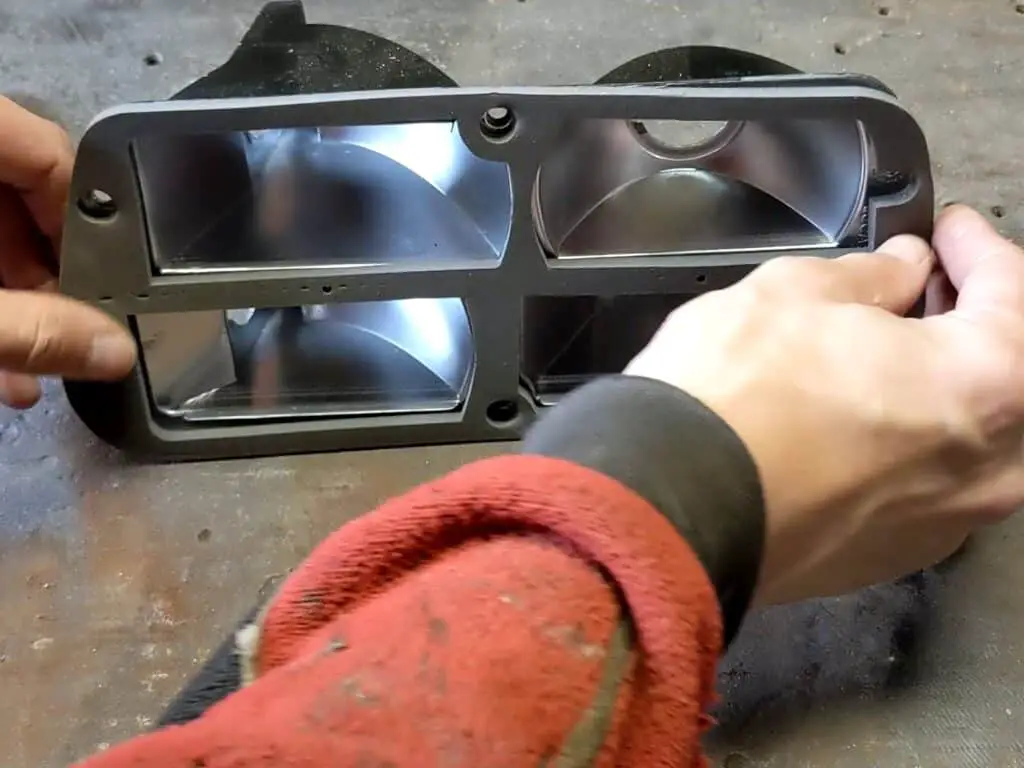
I also had a pair of US style rear marker lights – a much nicer look than the black blanking plates. I have no plans to wire them up, but they still make nice reflectors. All I needed to do with those was polish some of the worst scratches out of the plastic and make up some foam gaskets for them – unlike the rear light clusters, the gaskets for these are no longer available.
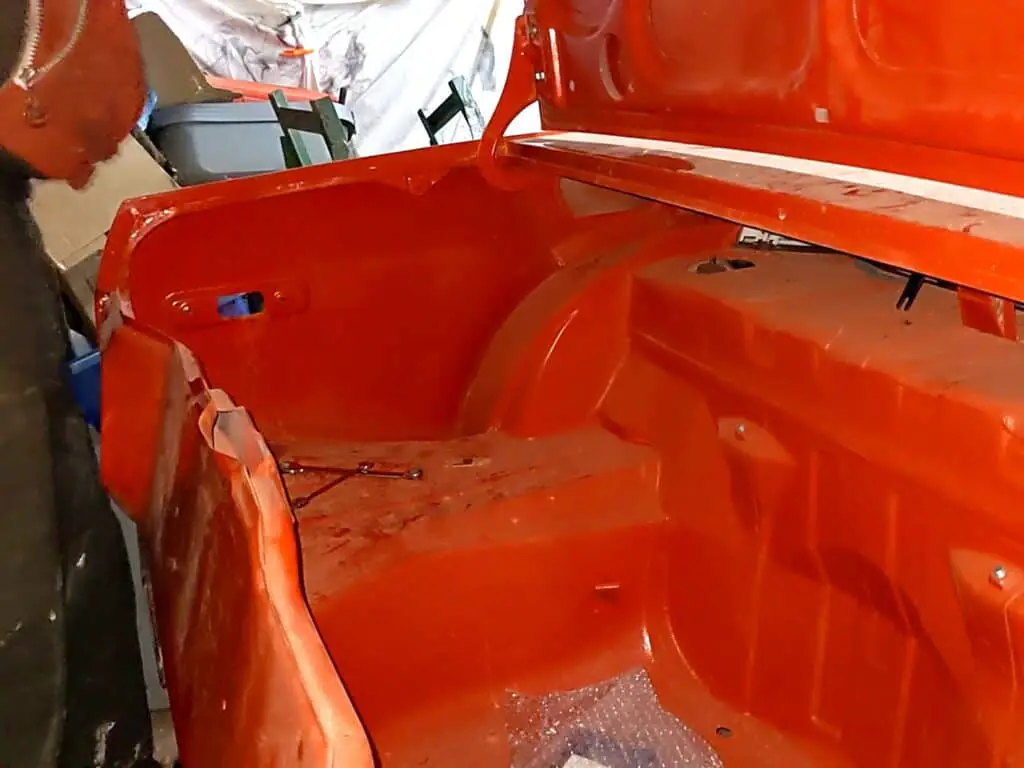
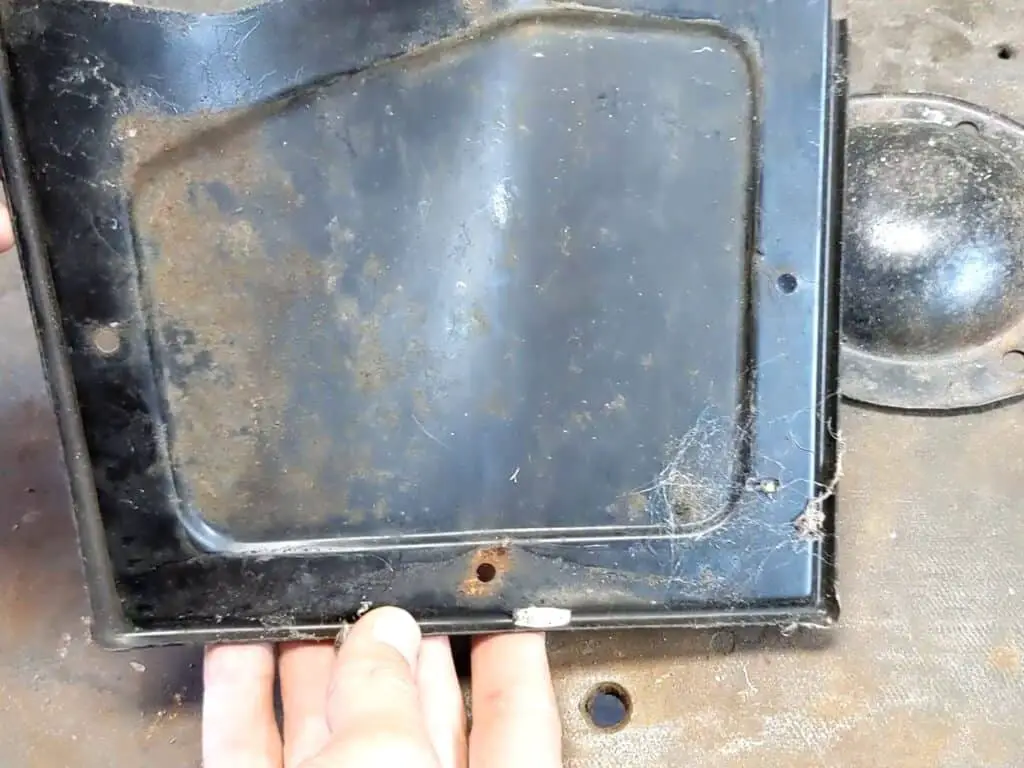
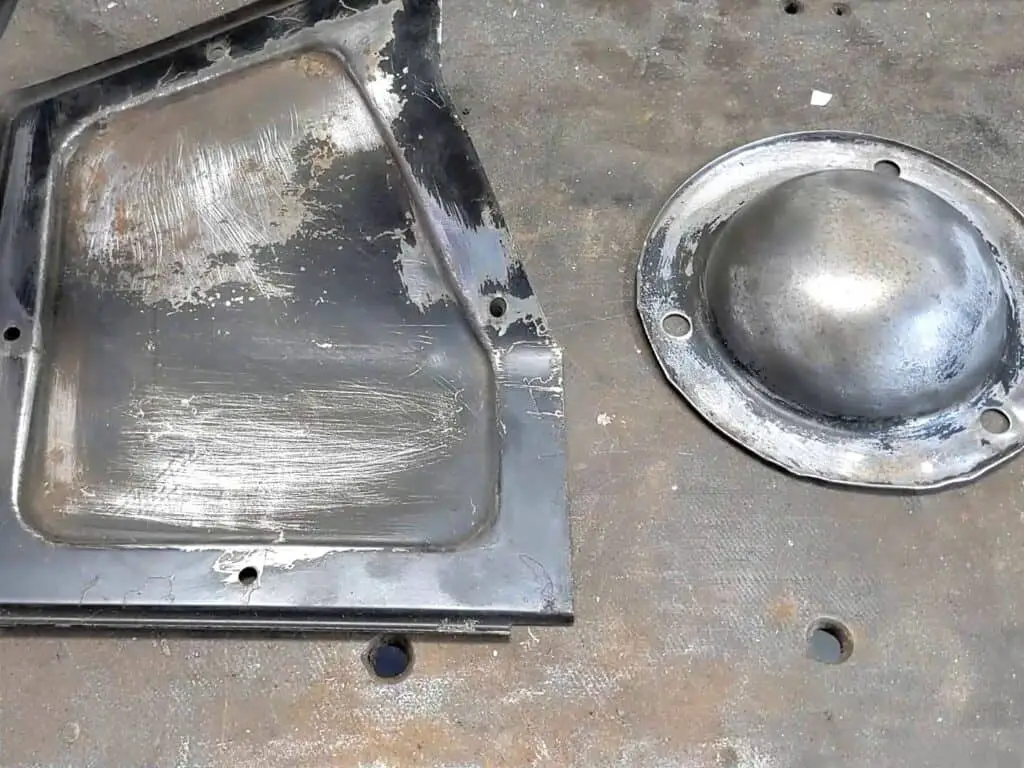
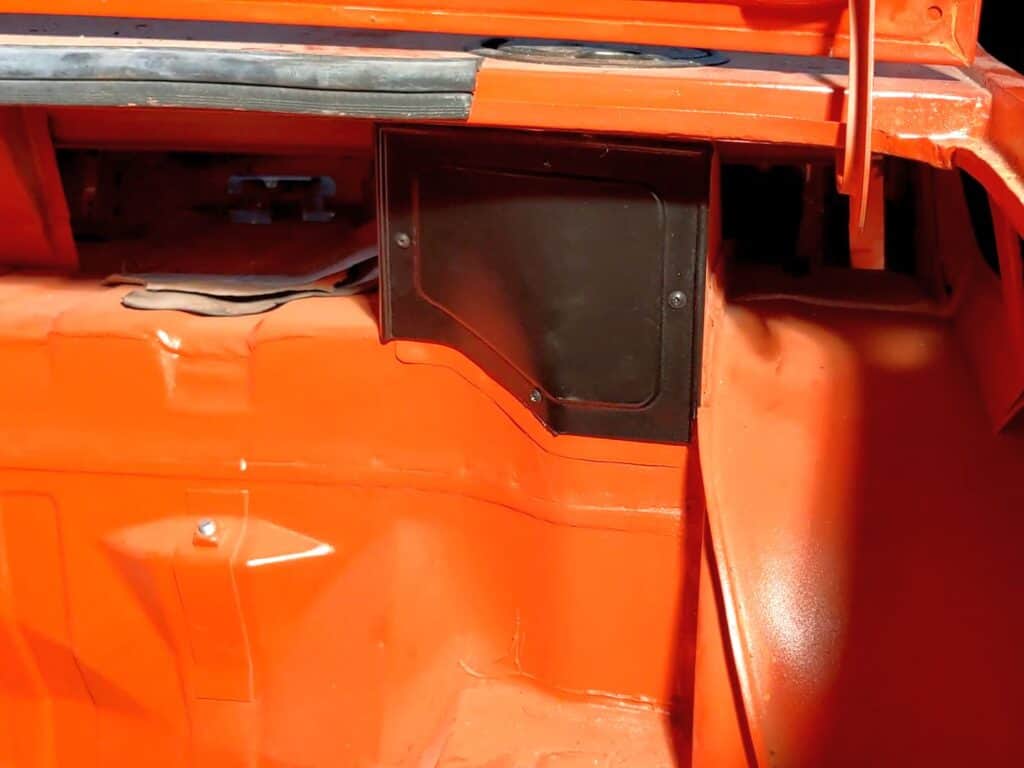
Cover Plates
There are two cover plates in the boot area; one covers the LH rear damper and the other covers the fuel filler neck compartment.
The ones I have were looking a bit scabby, so I stripped them down and repainted them:
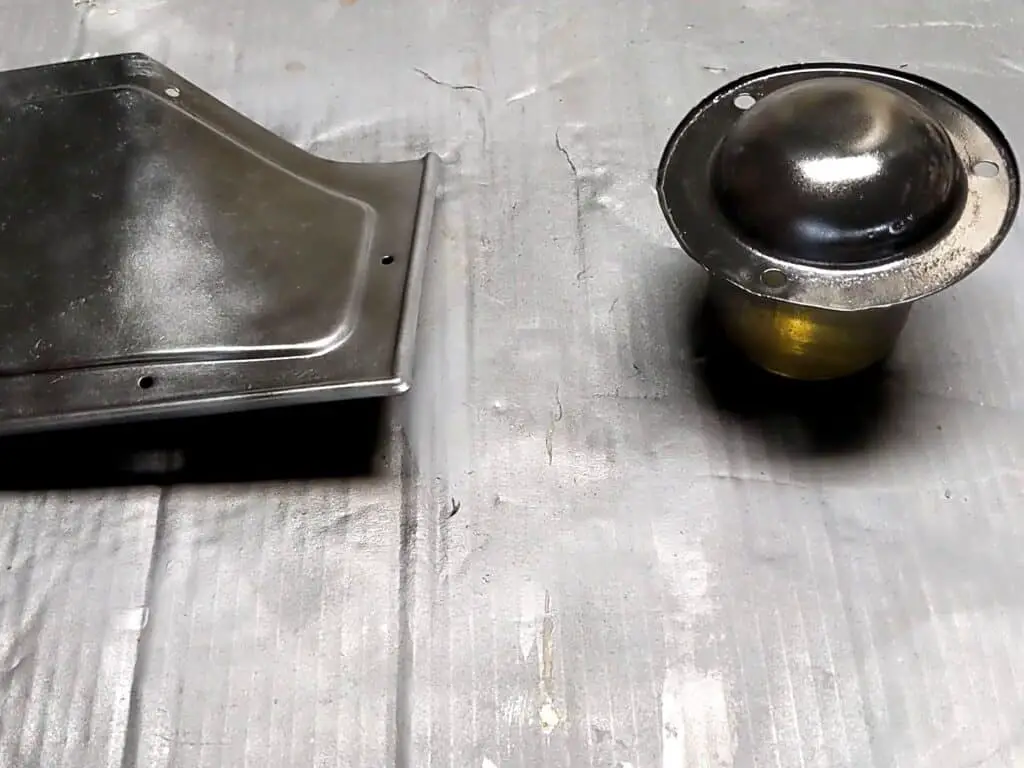
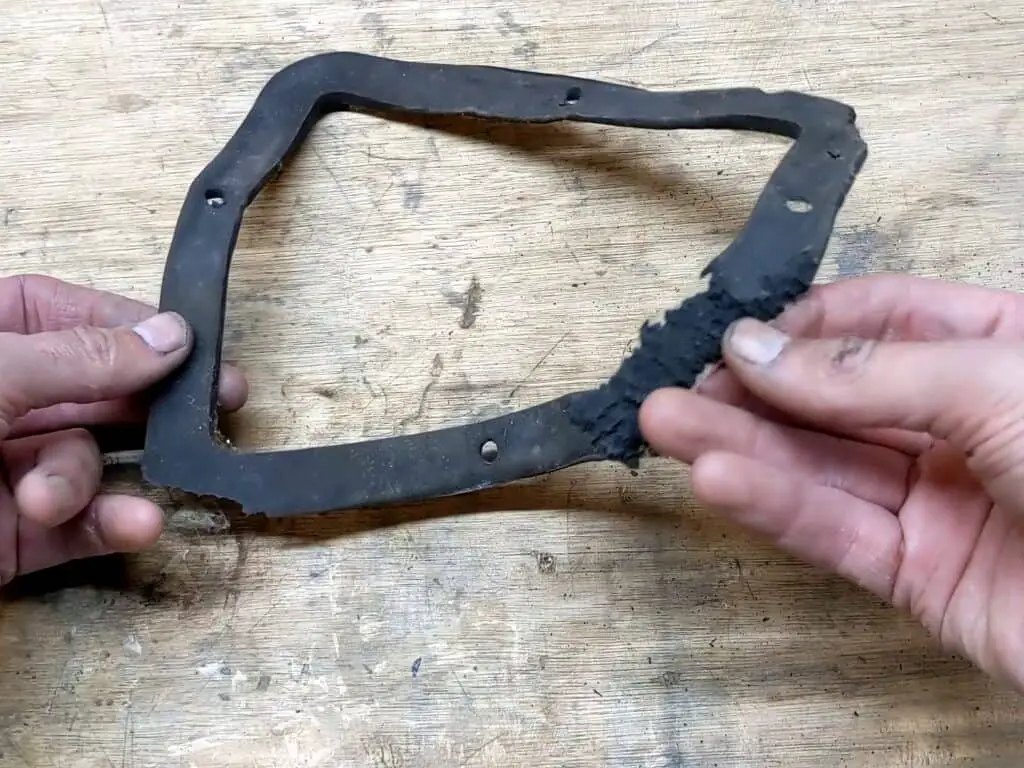
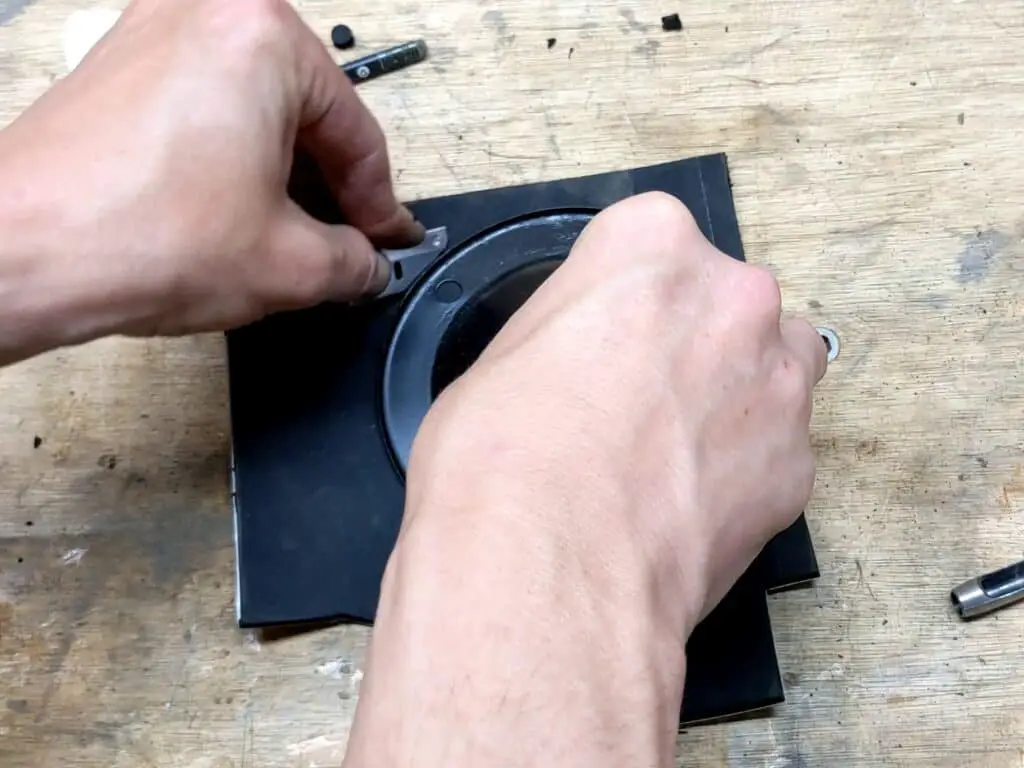
Then I made up some new gaskets for these – as exhaust gasses can leak into the cabin through here, it’s important to get these covers sealing up properly – and then got them fitted.
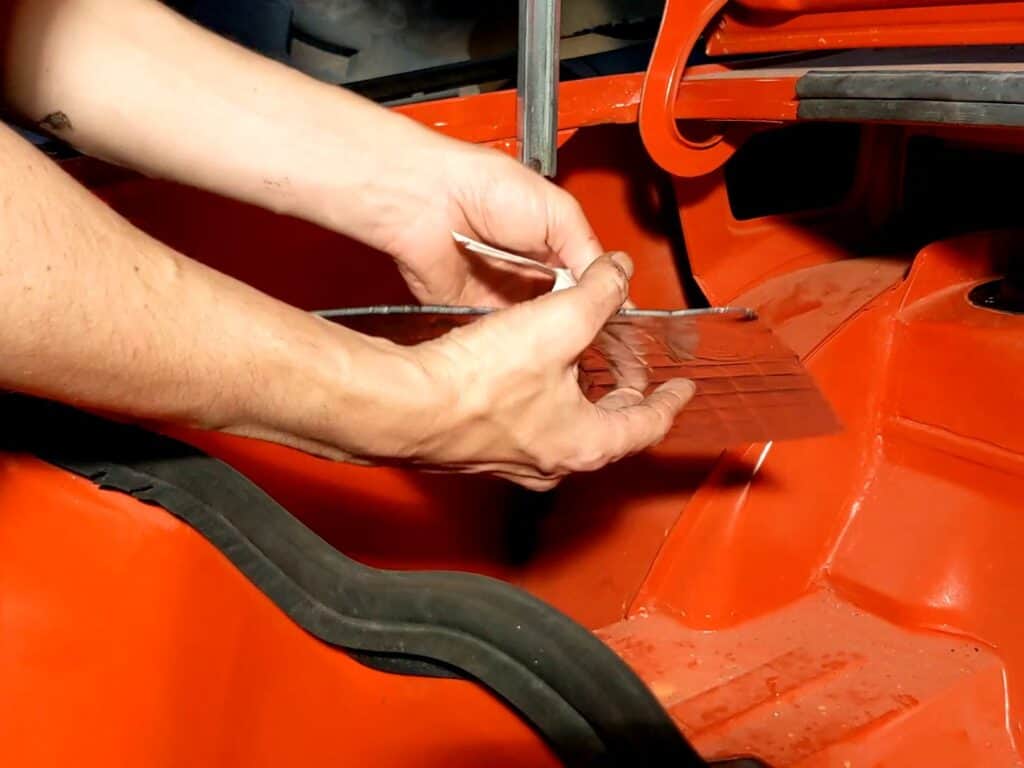
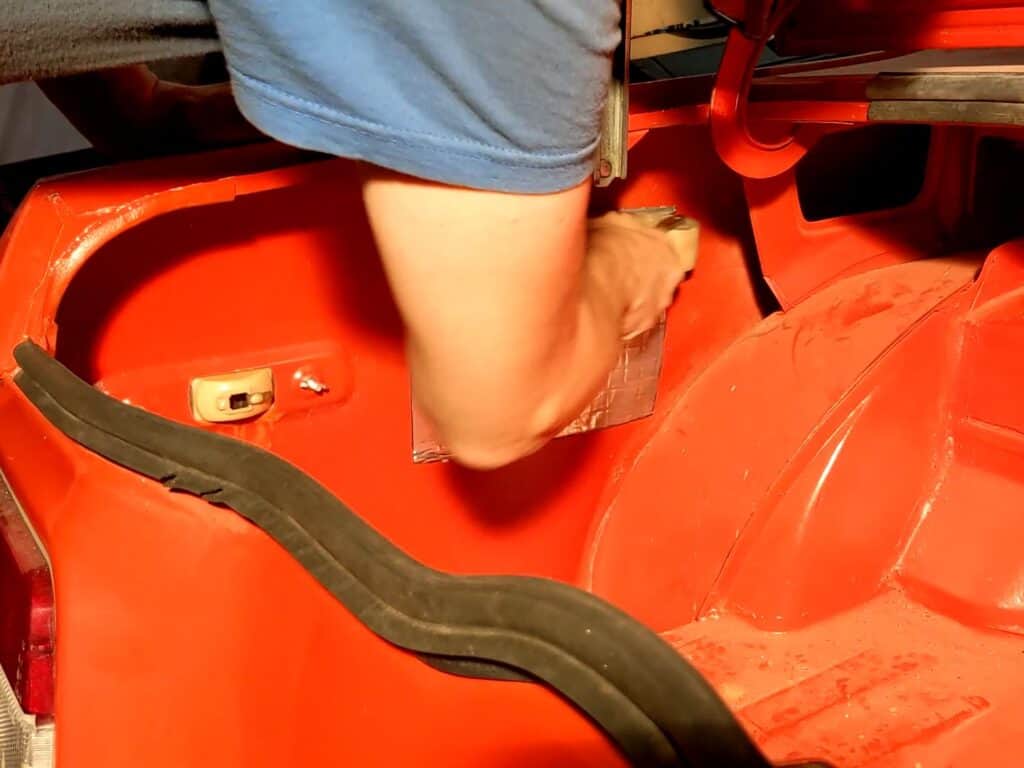
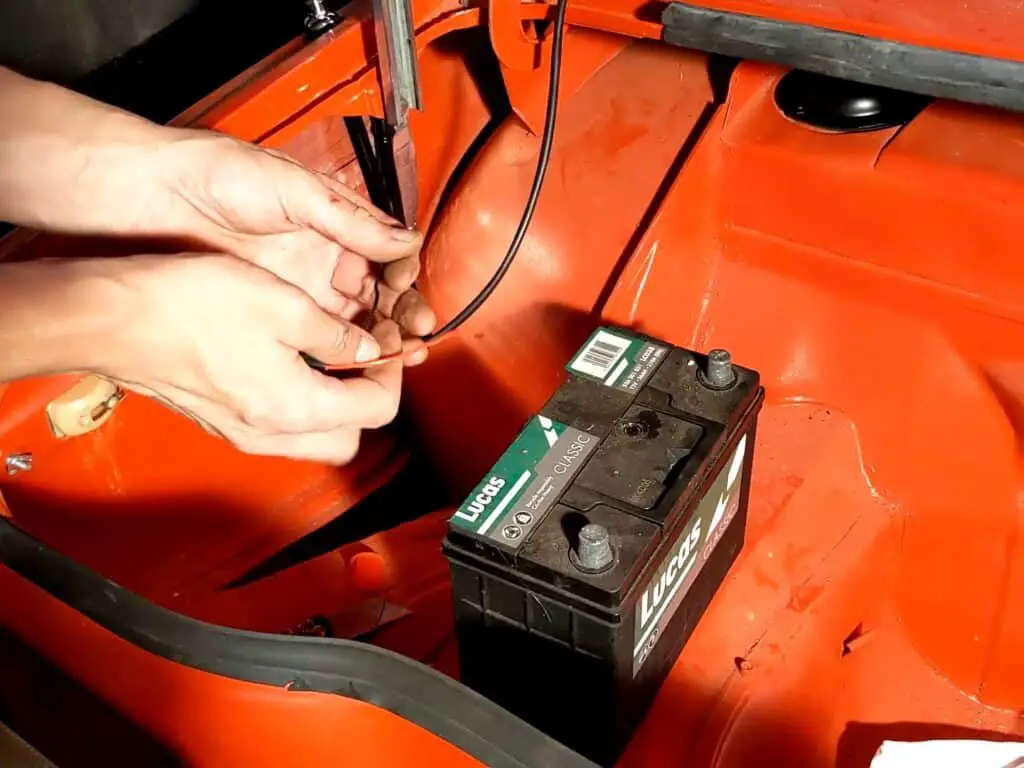
Sound deadening
To stop the car sounding like a steel drum, I wanted to fit new sound deadening. The car had some before, but I pulled it all out when I was stripping the car down. It was old and crumbly anyway. This stuff comes in small sheets with a self-adhesive backing. They’re pretty easy to fit – peel off the backing, stick in place and run a roller over them to make sure they’re properly stuck.
I just added a couple of sheets for now, I’ll probably come back and add some more later but I don’t want to overdo it just yet. This might well be enough. Even just the two small sheets I put there made a difference in the sound when I tested it.

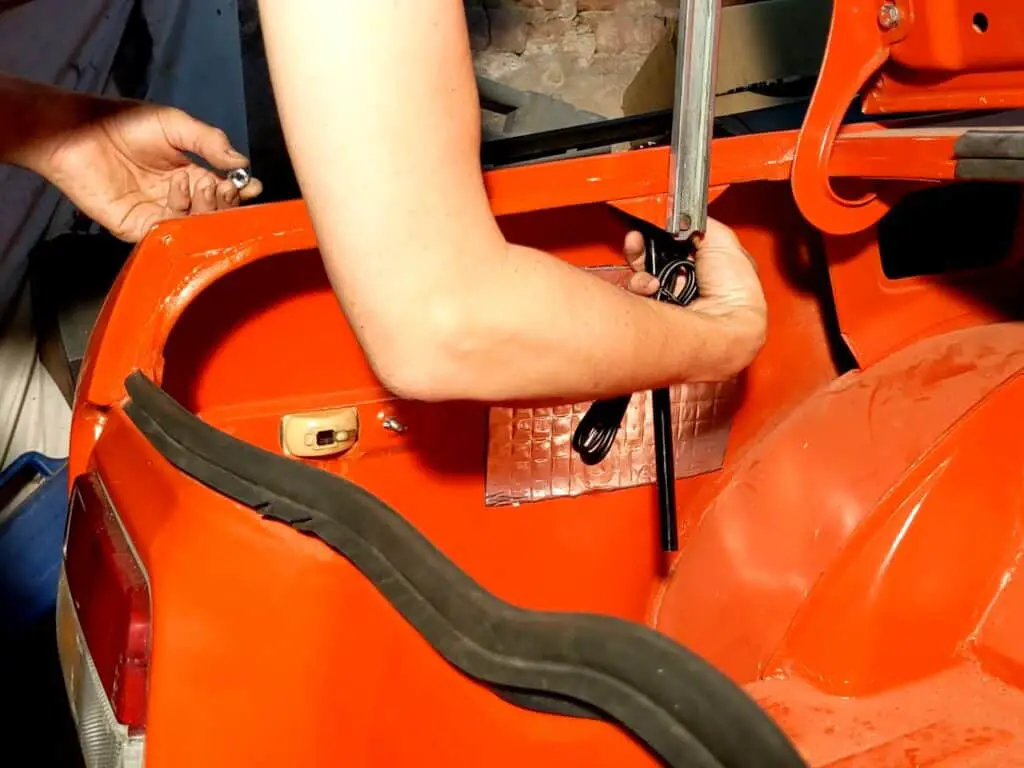
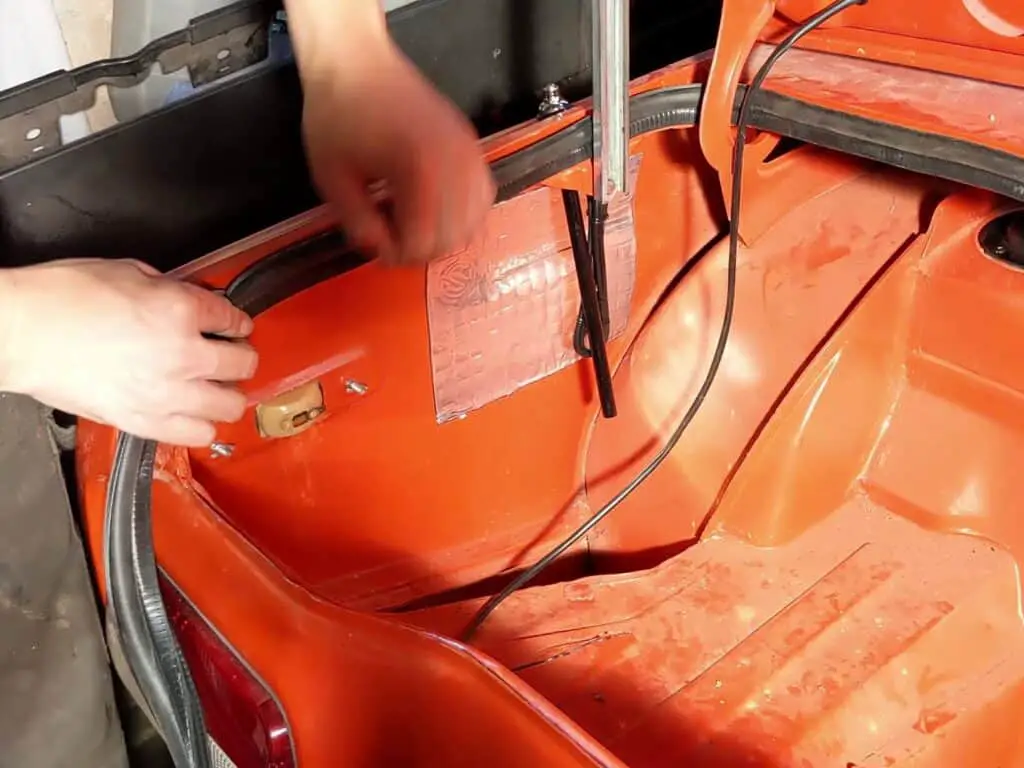
Fitting the Aerial
I was tempted to just fit a blanking plug here as I never listen to the radio anyway, but my wife does and I figured I should probably fit an aerial.
Nothing fancy here, just a standard manual retractable aerial!
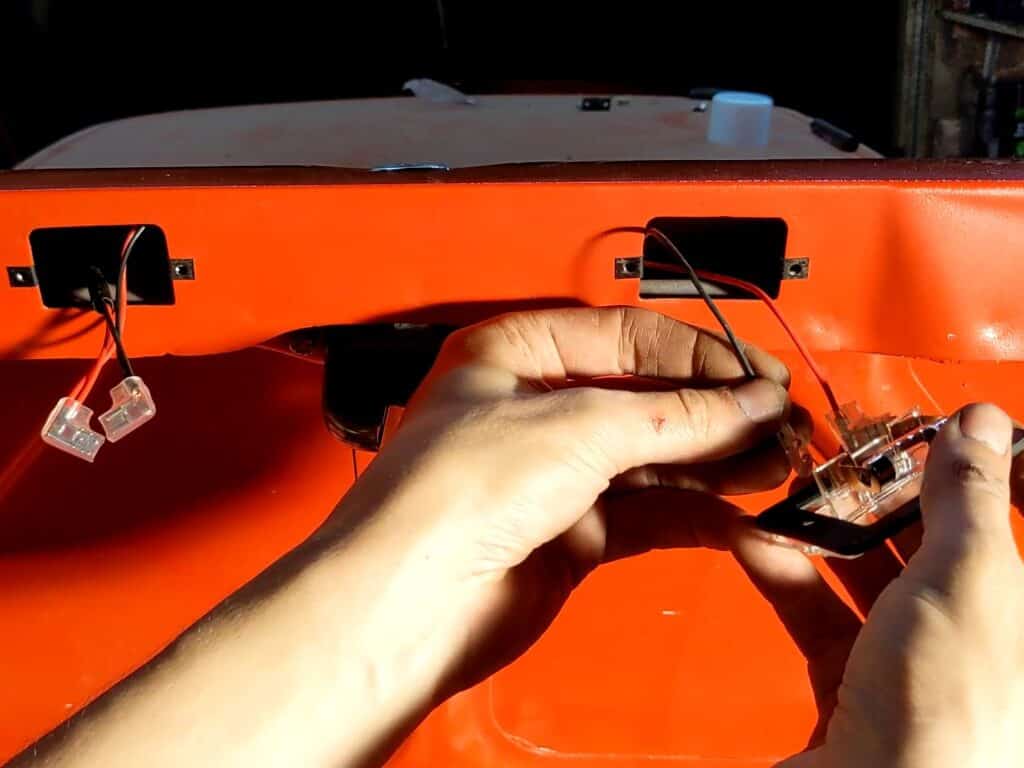
Wiring the Number Plate Lights
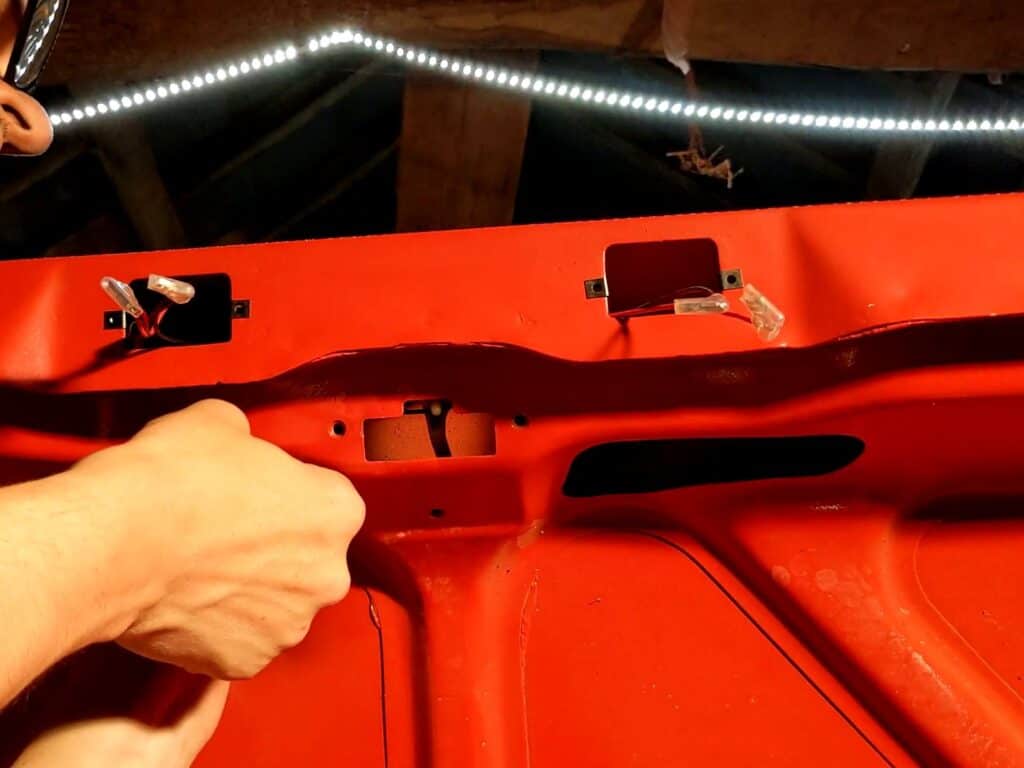
Before I fitted the lock, I needed to fit the number plate lights. Well, more specifically I needed to put the wiring in place – the lock would be in the way otherwise.
I’m going to be rewiring the whole car, so this is a good place to start. It’s just two wires and four flag terminals. I used the old loom as a pattern.
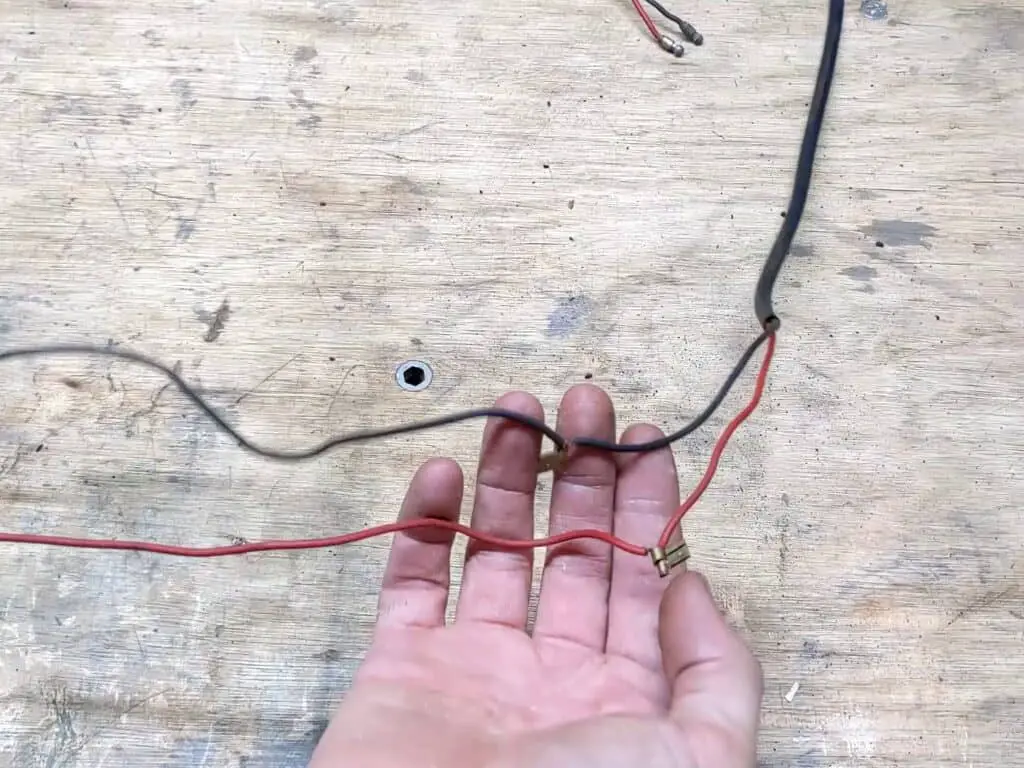
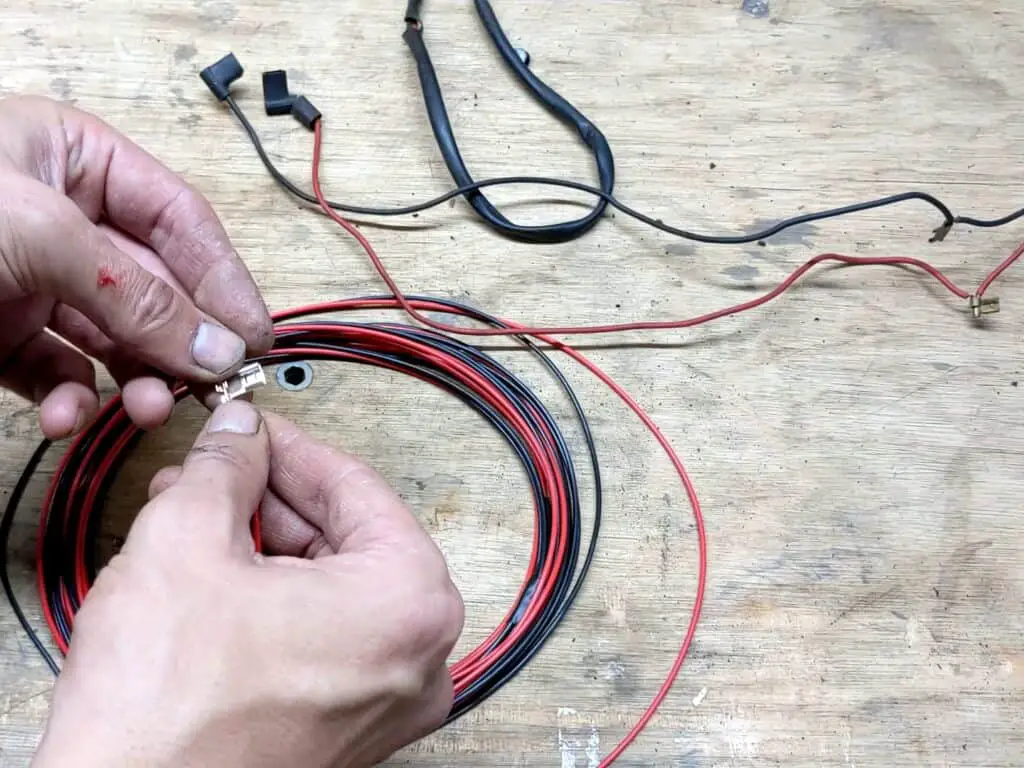
Fitting the wiring was a fiddly job, being as it had to be fed through the bracing on the lid and guided through some tight holes, but I managed it. Then it was finally time to fit the lock!
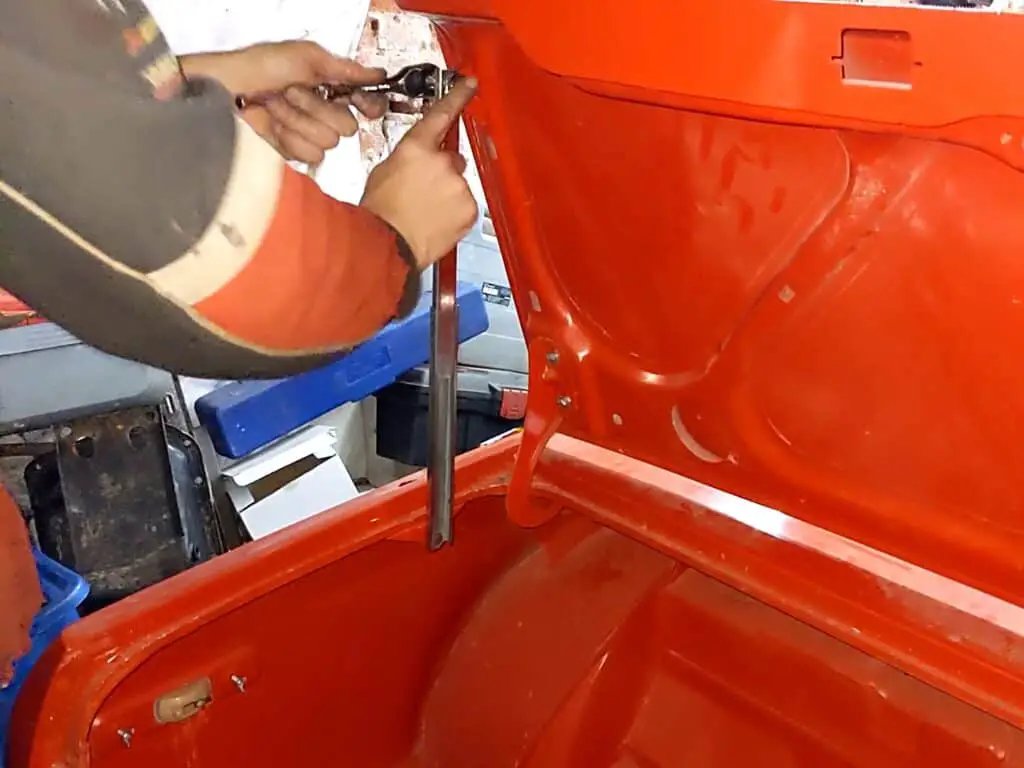
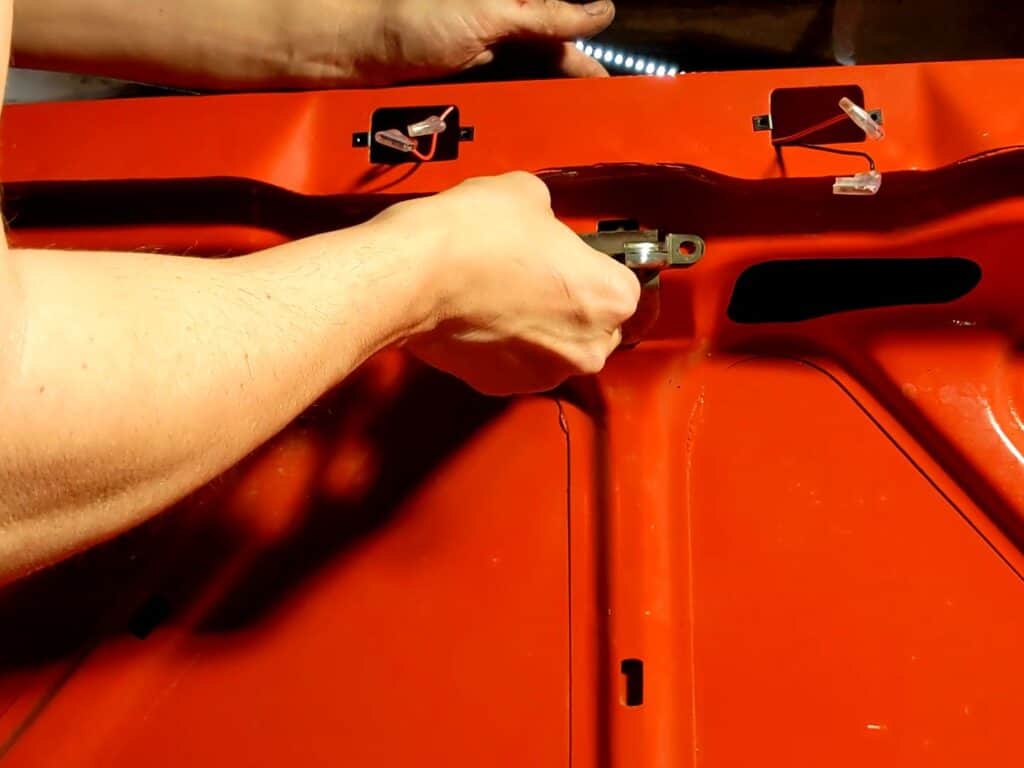
Fitting the Lock
I fitted the striker place first; nice and easy. The lock itself was a trickier beast, partly because I needed to fit the locking pin through the tiny access holes. But with that in place, the other part of the latch just bolted in, and that was done.
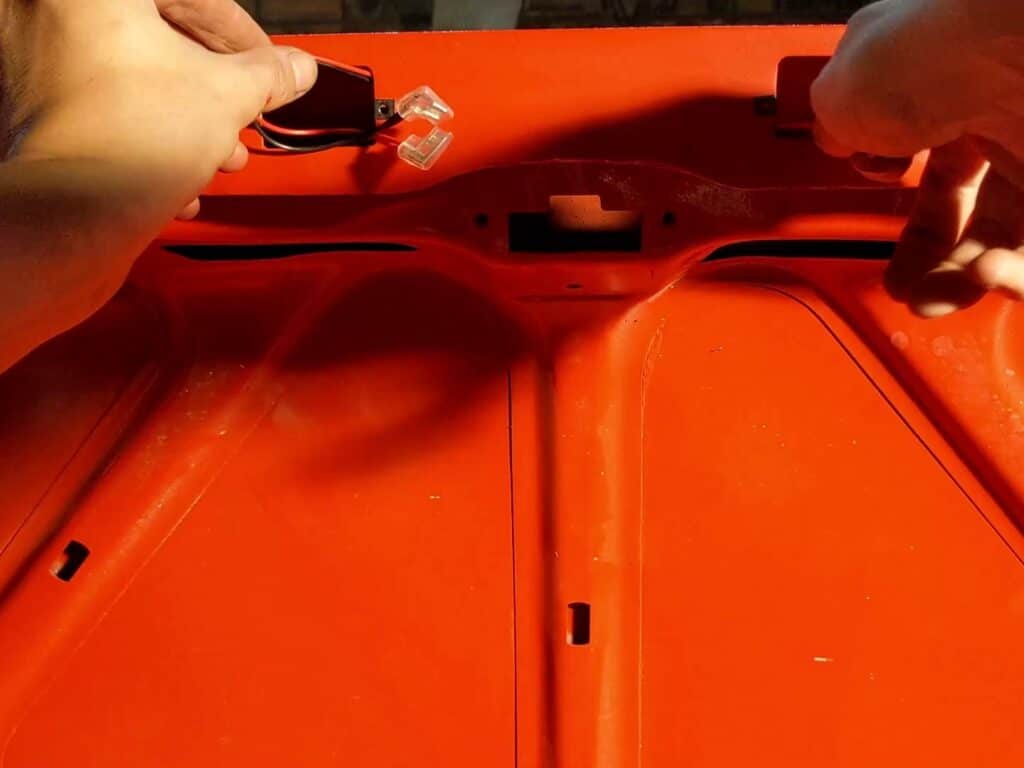
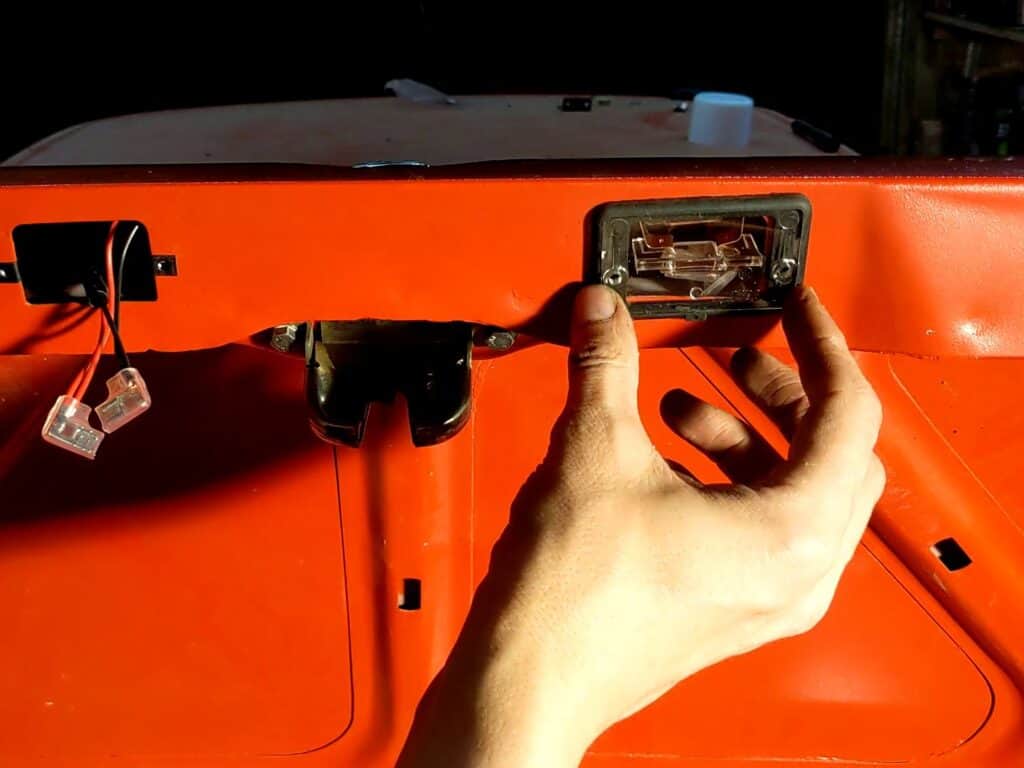
Fitting the Number Plate Lights
With the lock in place, I could now fit the lights.
The old lights were a right mess; covered in overspray and clouded up. Fortunately you can replace all the parts quite cheaply, so I just bought new ones. These just screw into place.
With the lights fitted and wired, it seemed rude not to test them, and give the car her first sign of life in… well, many years!

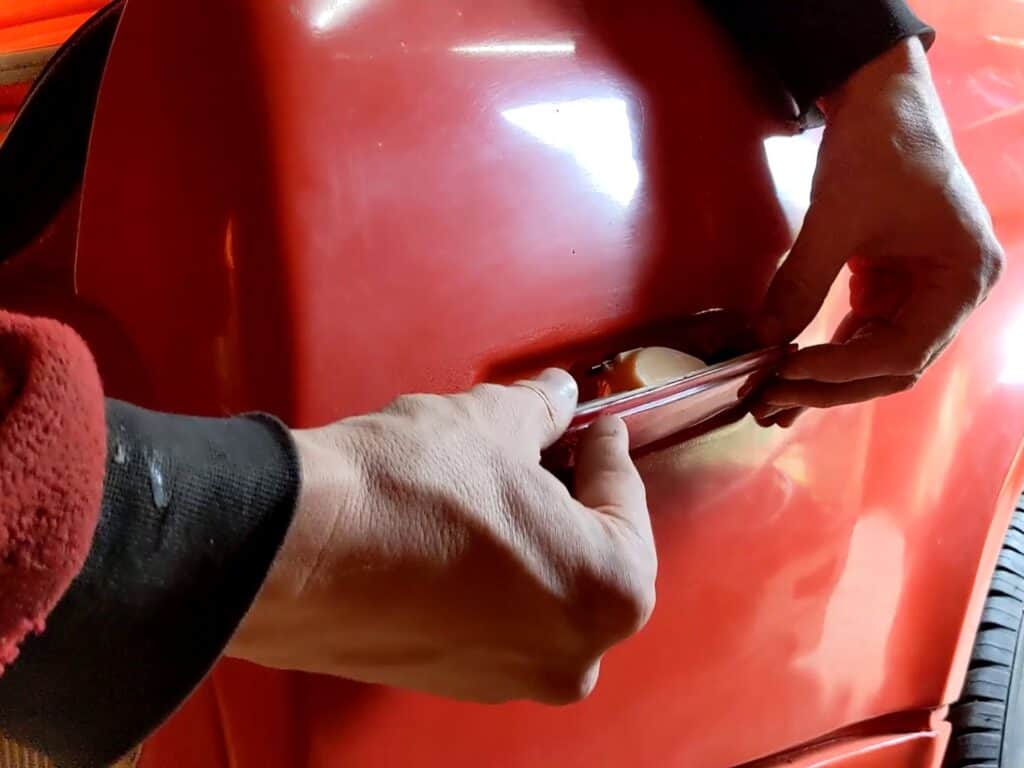
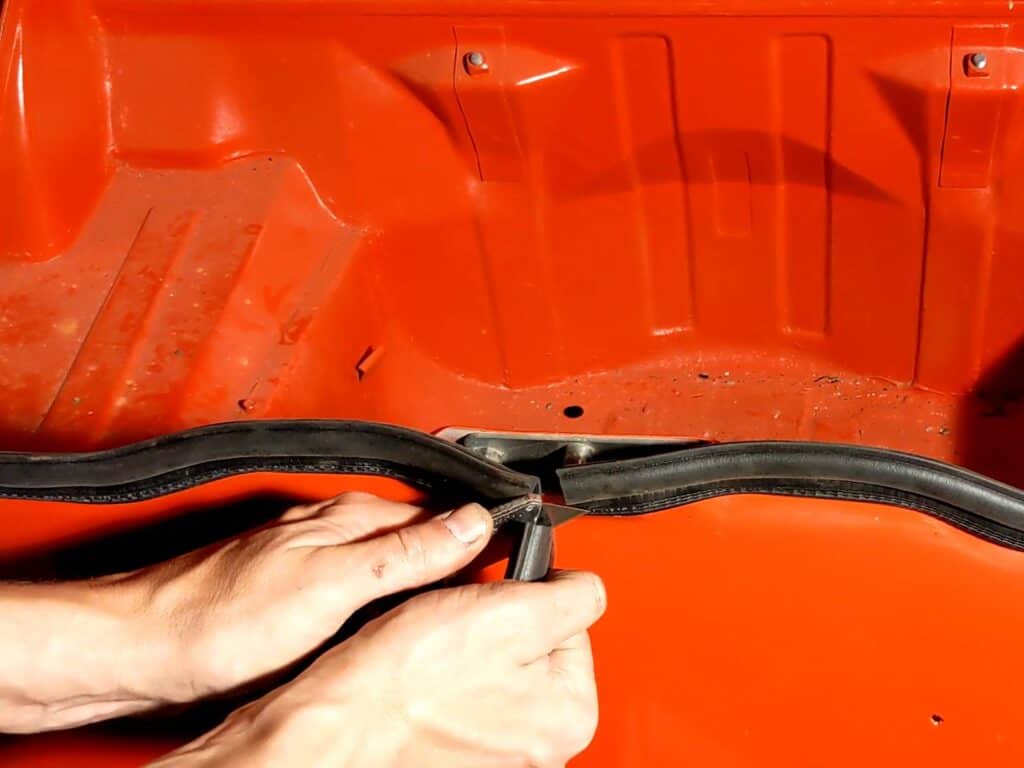
Fitting the New Boot Seal
The last job on the list for this one is a new boot seal; the old one was perished and leaky. Fortunately new ones aren’t too expensive.
It’s quite easy to fit; just push it in to place. Once it’s all fitted, you just need to trim the end to size. I left the join at the boot lock in the middle.

The Video
And I got all this on video. Enjoy!
