It’s time for a project I’ve been dreading for a while now – the cabin heater!
When I was testing the wiring loom previously, I plugged the heater in just to test that part of the wiring. The fan span up just fine, but in the process it spat out a few dead leaves and some old foam. Clearly, at the very least it needed taking apart and cleaning, and any of the foam replacing. But if I’m going that far, I might as well restore it properly!
I’d been putting this off mostly because it’s not the easiest thing to take apart. It’s held together with rivets rather than screws, and a lot of the control arms are a press fit in place. Well, like most cars, the interior of the TR7 is pretty much built up around the heater unit, so if I want to get on with the rebuild I need to sort out the cabin heater first. So let’s get to it…
Taking the Heater Apart
I knew this was going to be a messy task, but for some reason I decided to do this in my office rather than out in the workshop. It seemed like a good idea at the time…
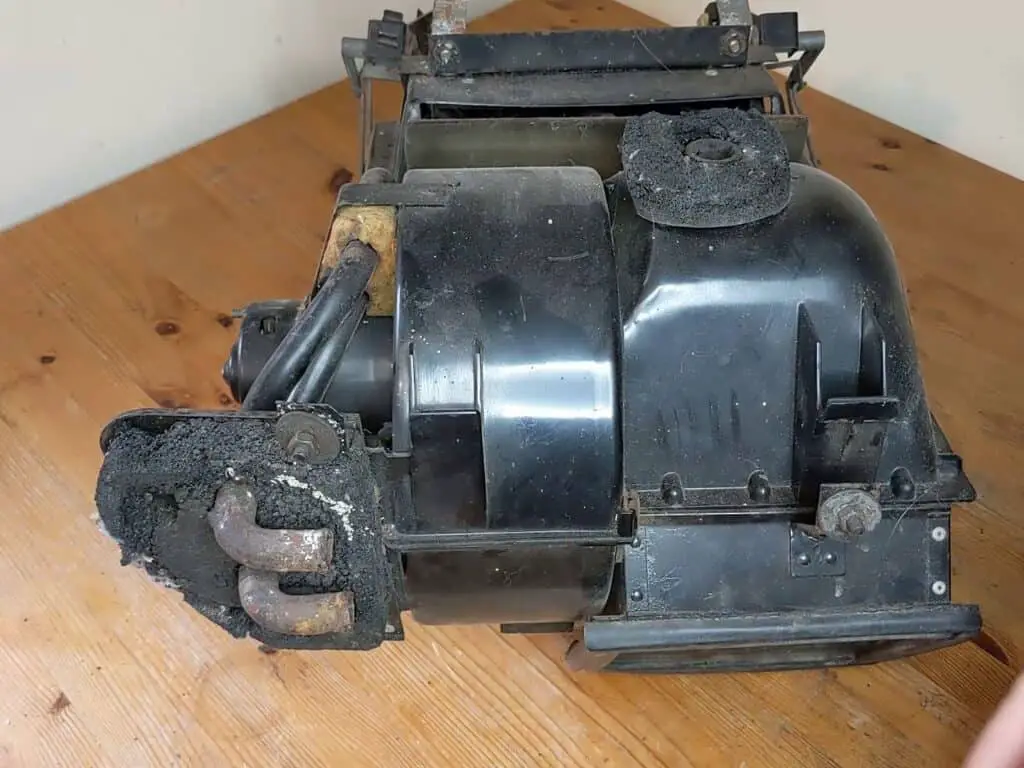
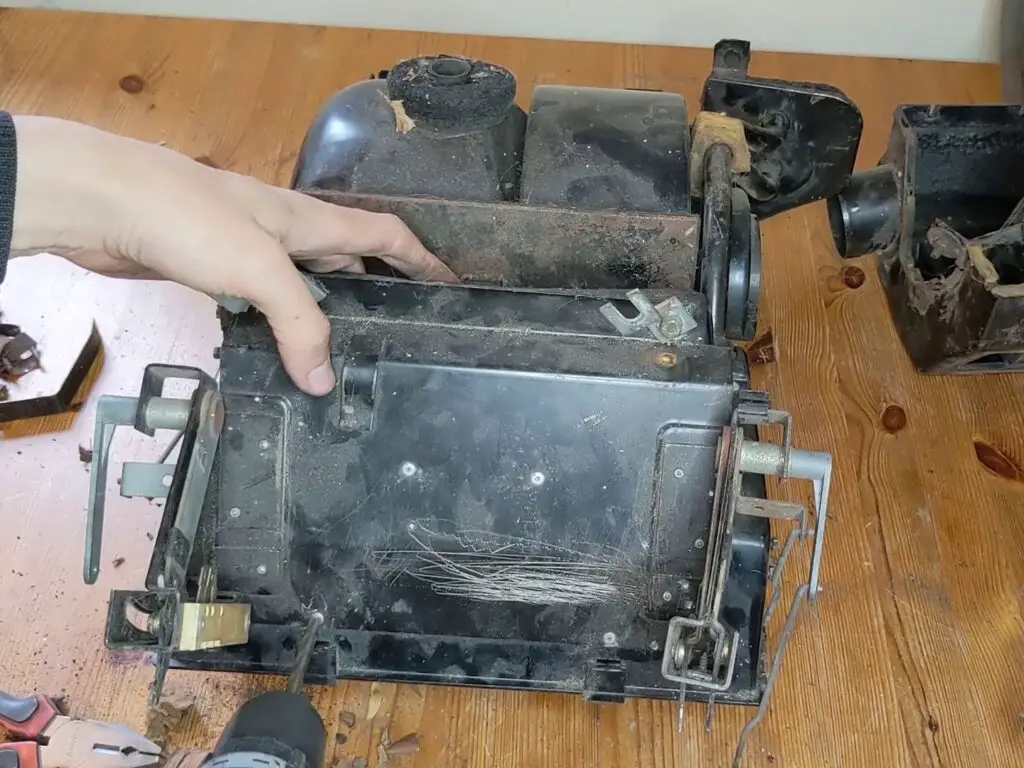
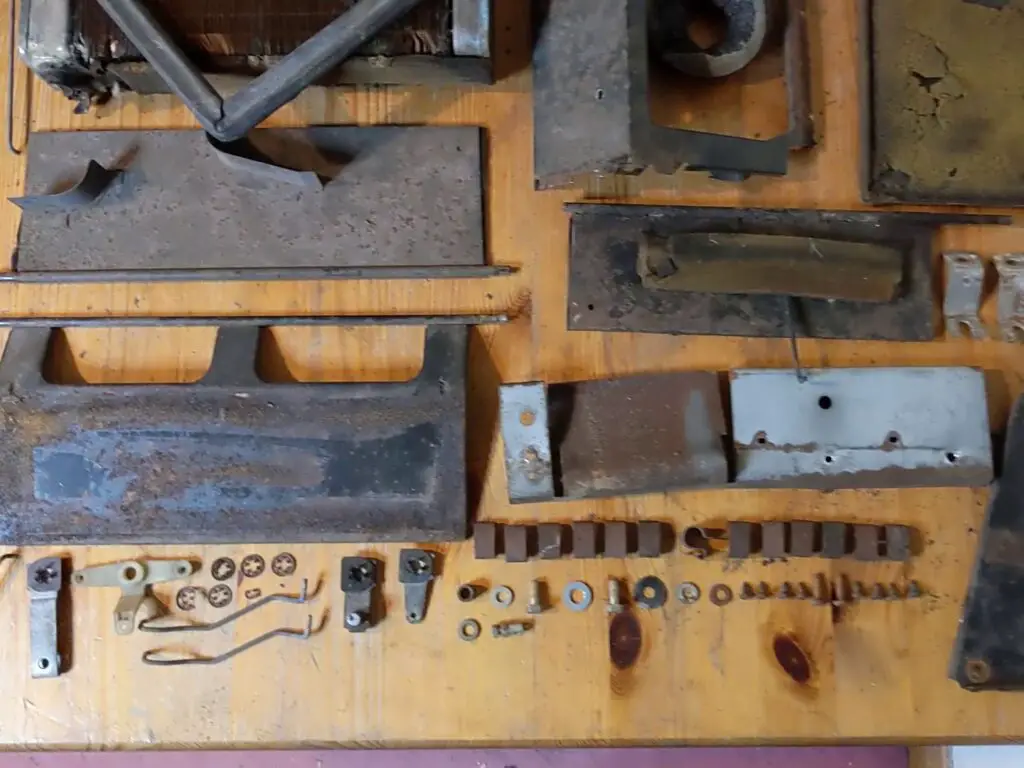
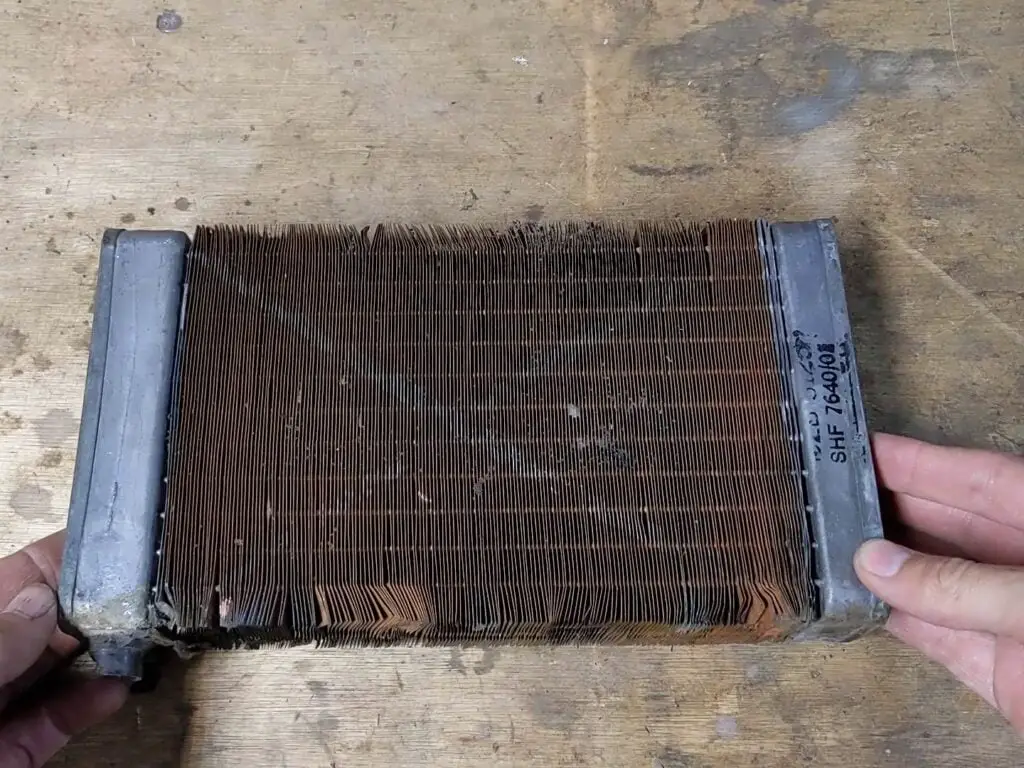
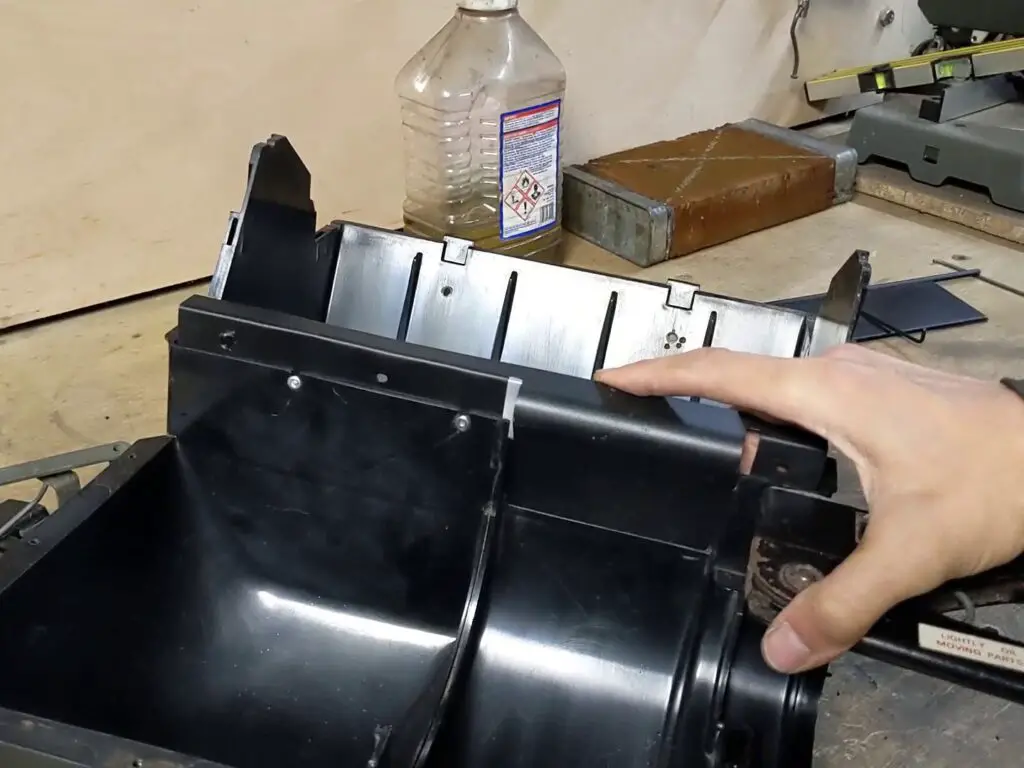
I spent a good few minutes first inspecting it and taking some pics to help with putting it all back together properly. It was exactly as dirty and messy as I expected, with probably decades old bits of leaves and old foam inside the case! While it was mostly just dirty, one of the flaps was seized and the coolant pipes were looking fairly rusty, so those will need dealing with during this rebuild.
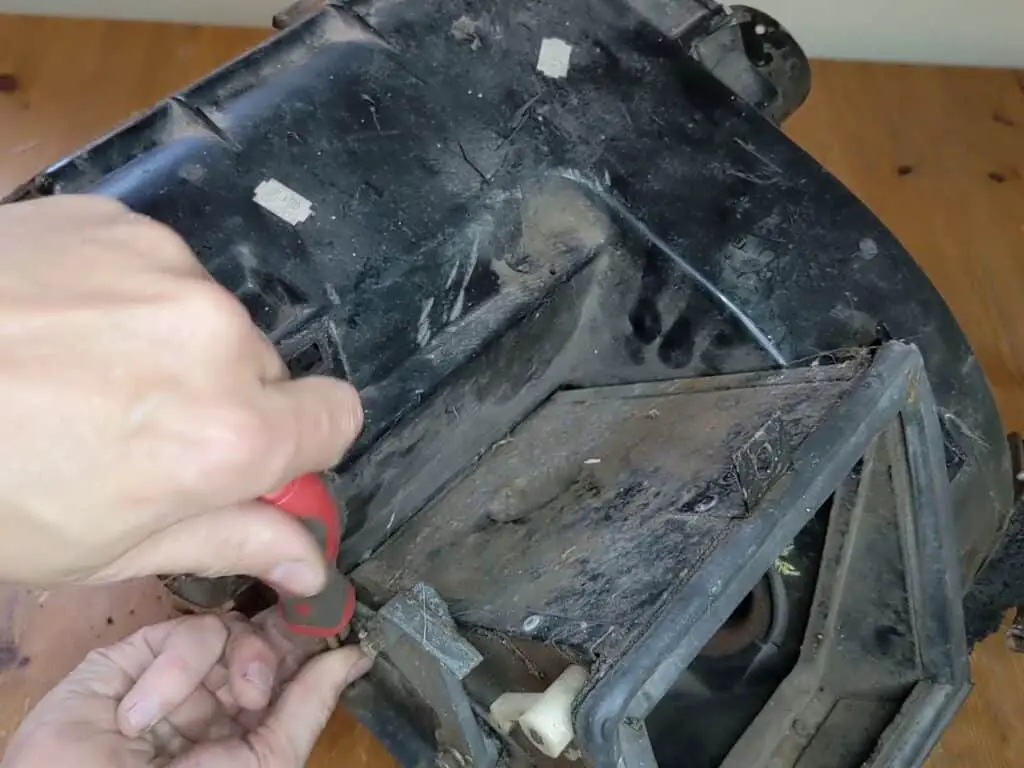
Then I tore into it. The top part is easy enough to remove; just some metal clips to take off and then it lifts off. The intake box is screwed on, so also nice and simple.
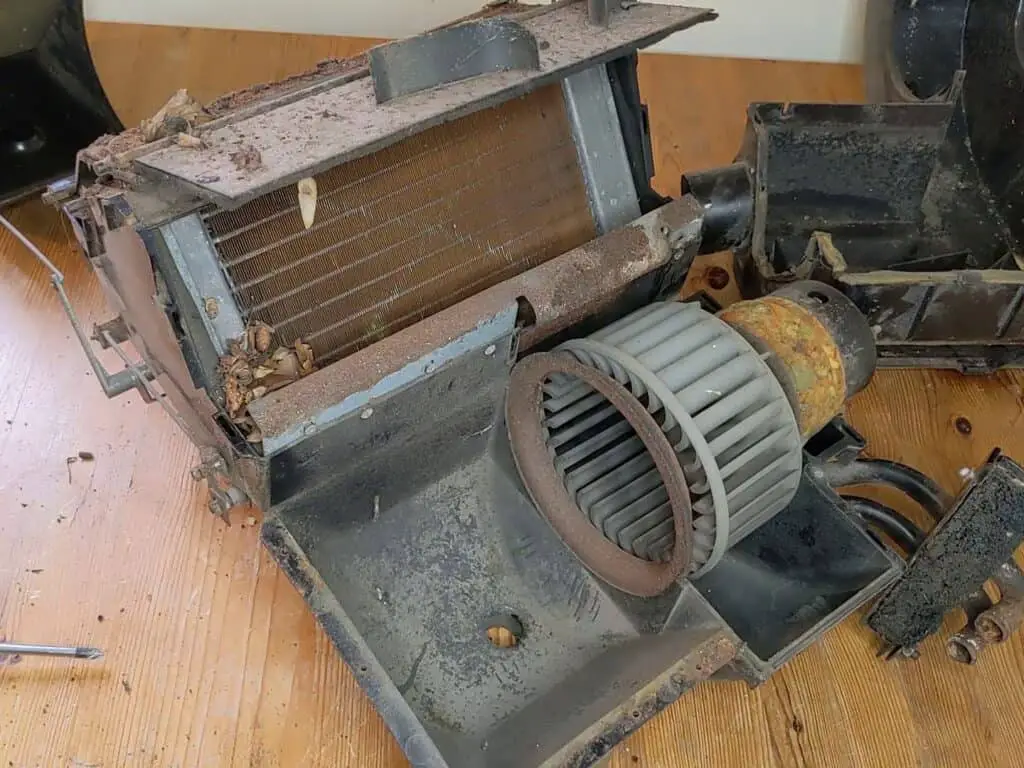
The view inside was fairly unsurprising, but a little depressing; a whole bunch of leaves and dust, along with a fair amount of surface rust. Looks like this is going to need more than just a quick clean!
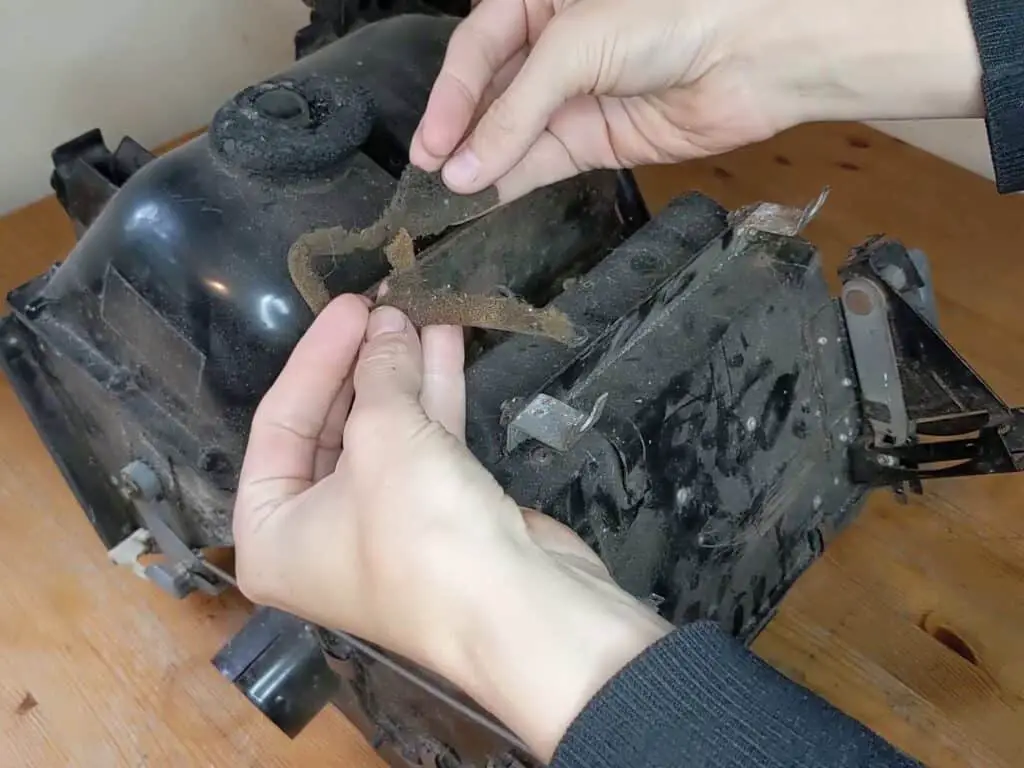
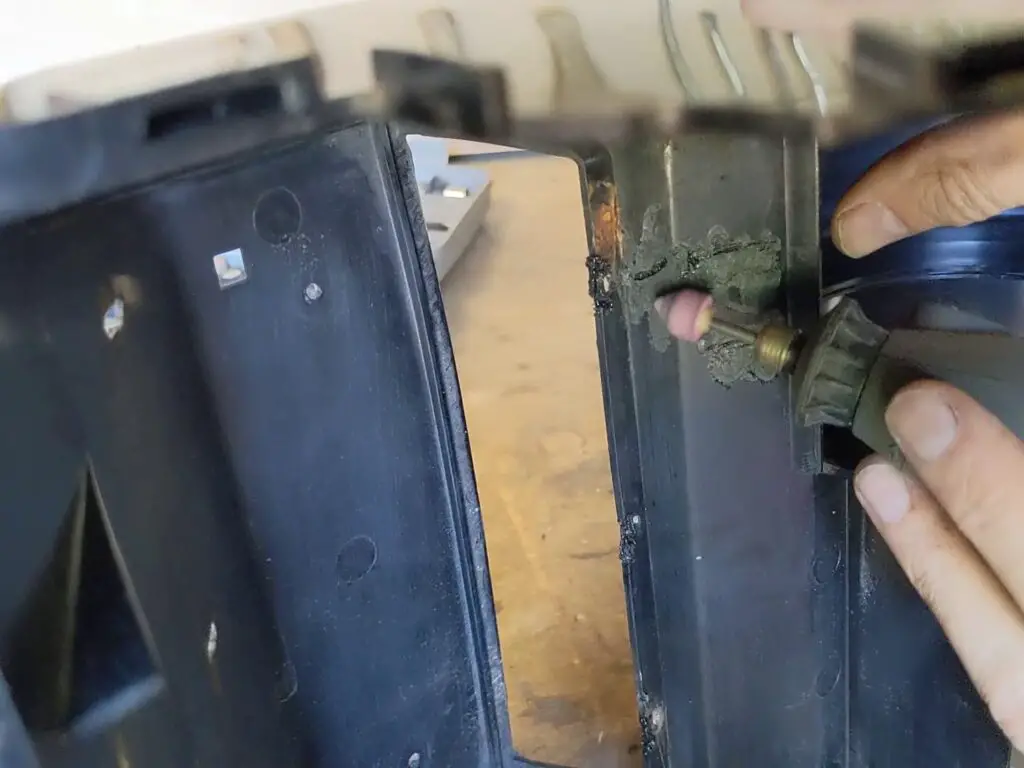
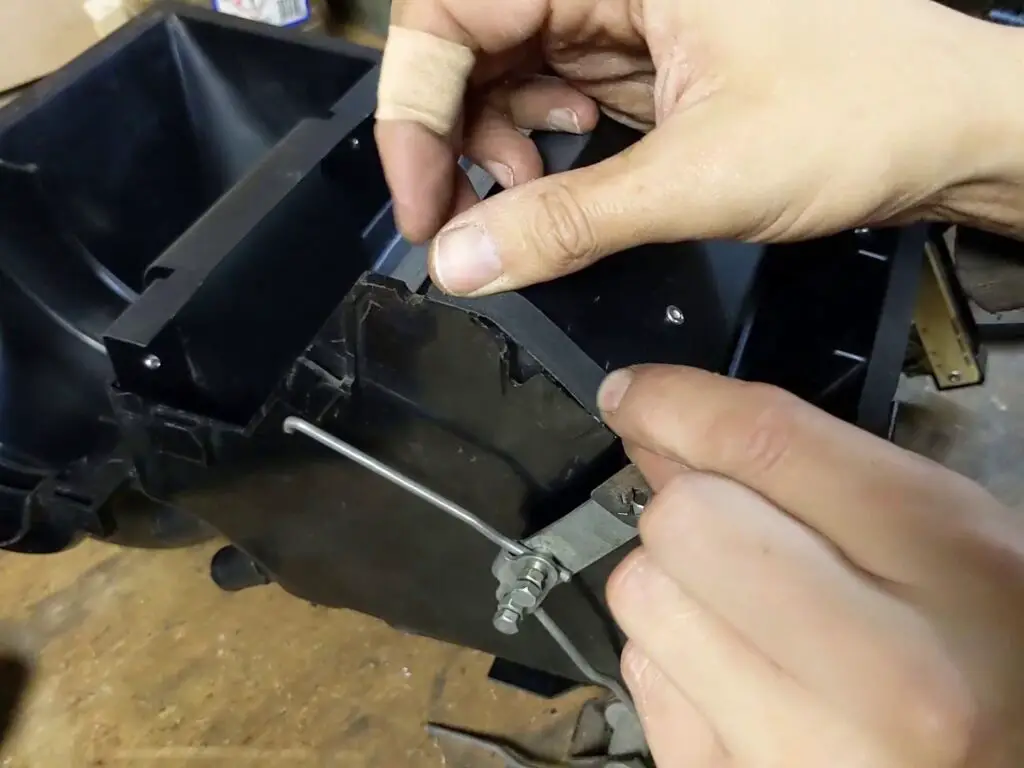
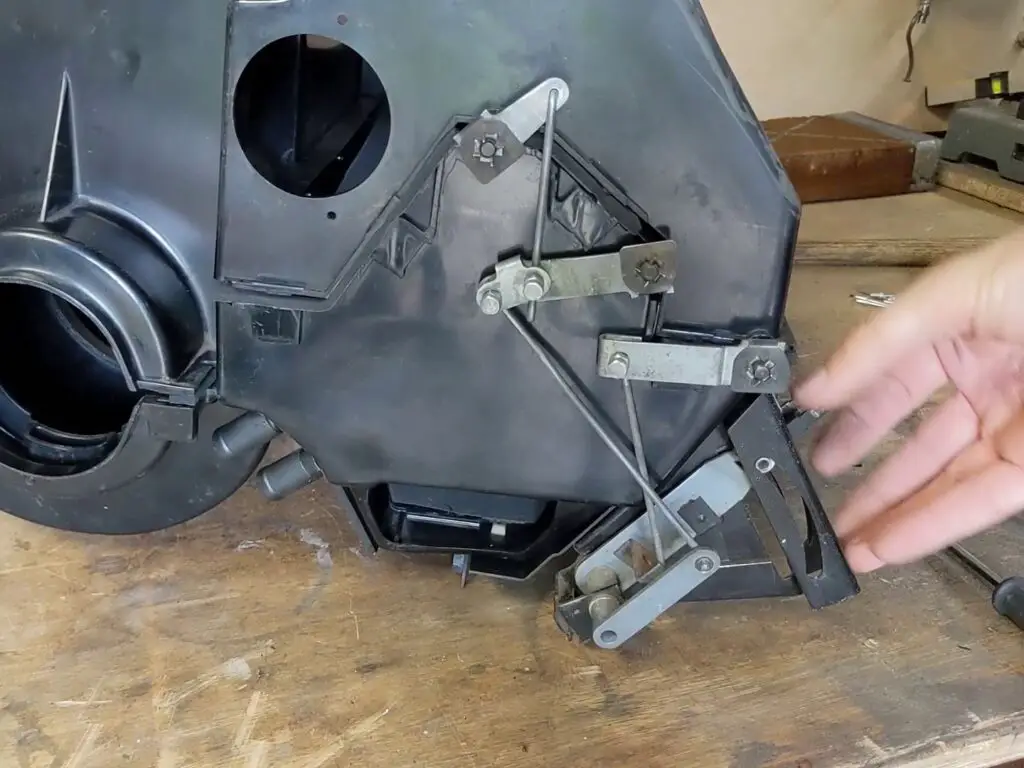
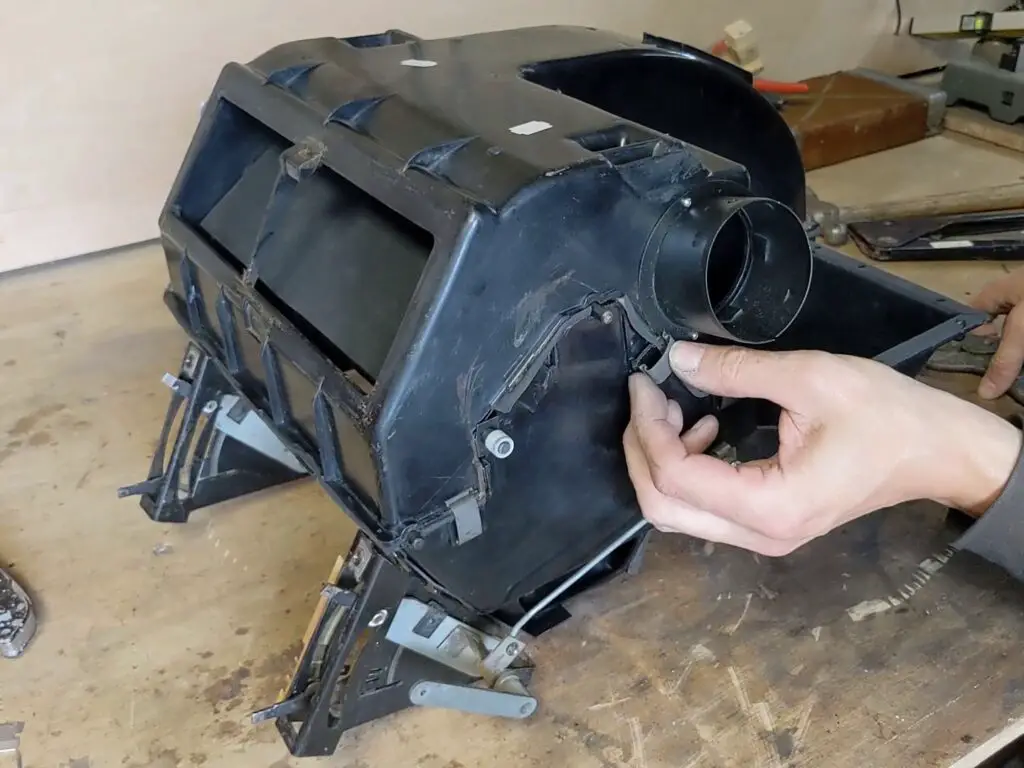
The teardown got trickier from here: I had to take off the control arms, which were an interference fit on the ends of the flaps. They mostly came out with a little persuasion, but one was truly stuck and so I had to leave that flap in place for the time being.
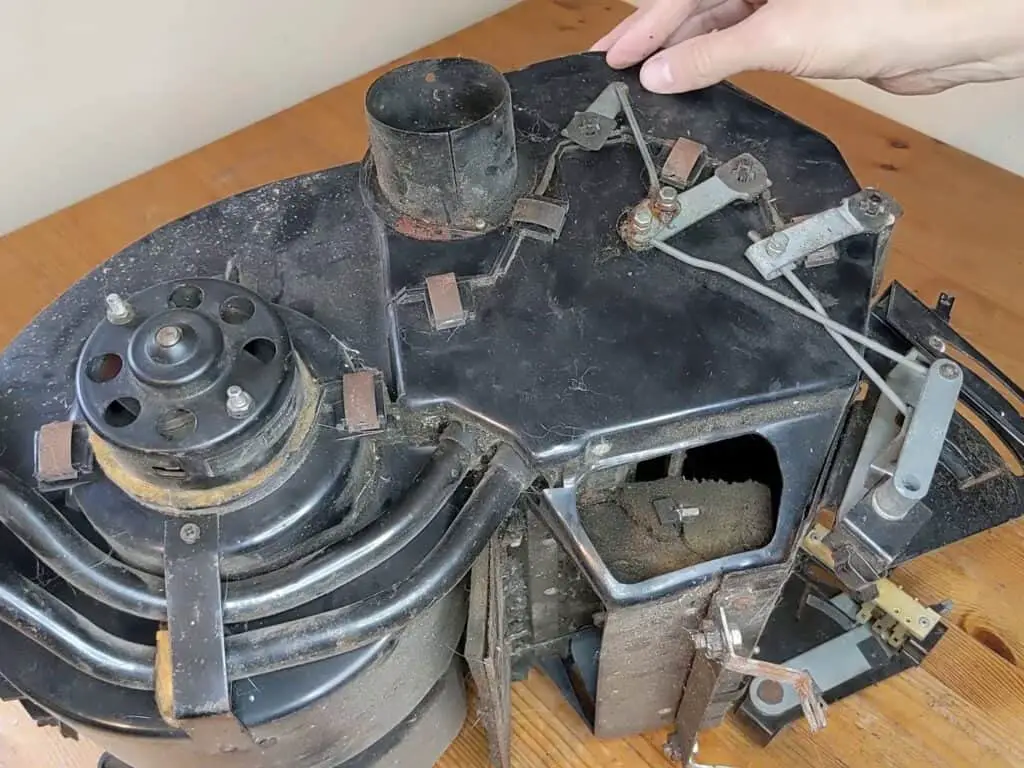
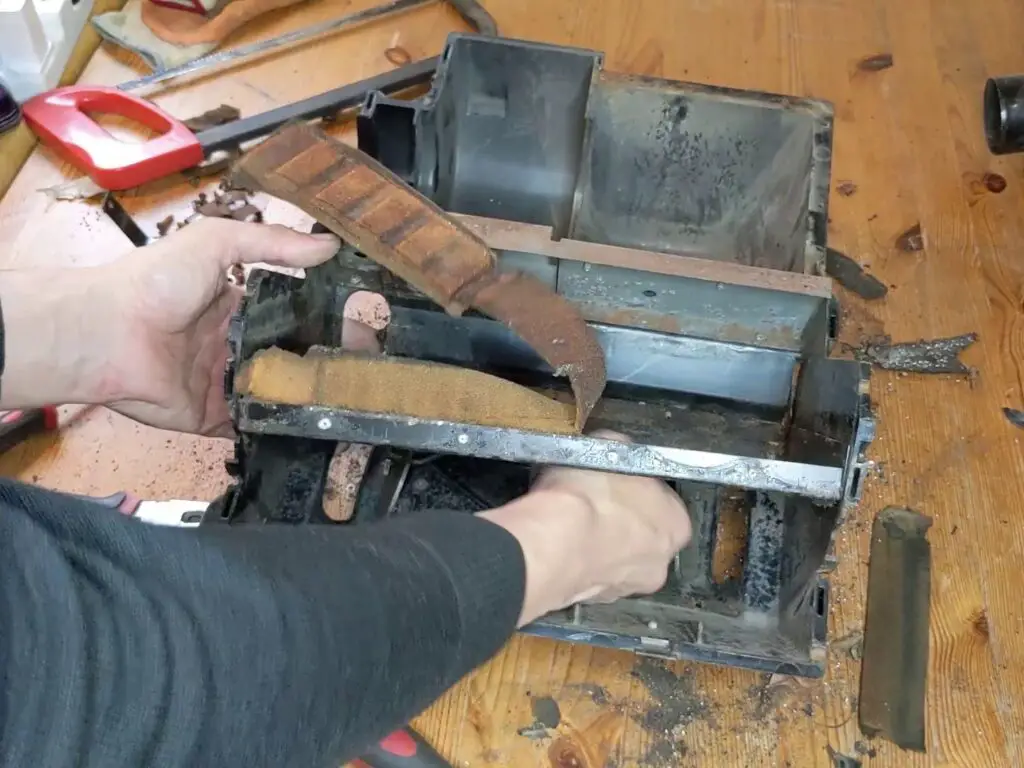
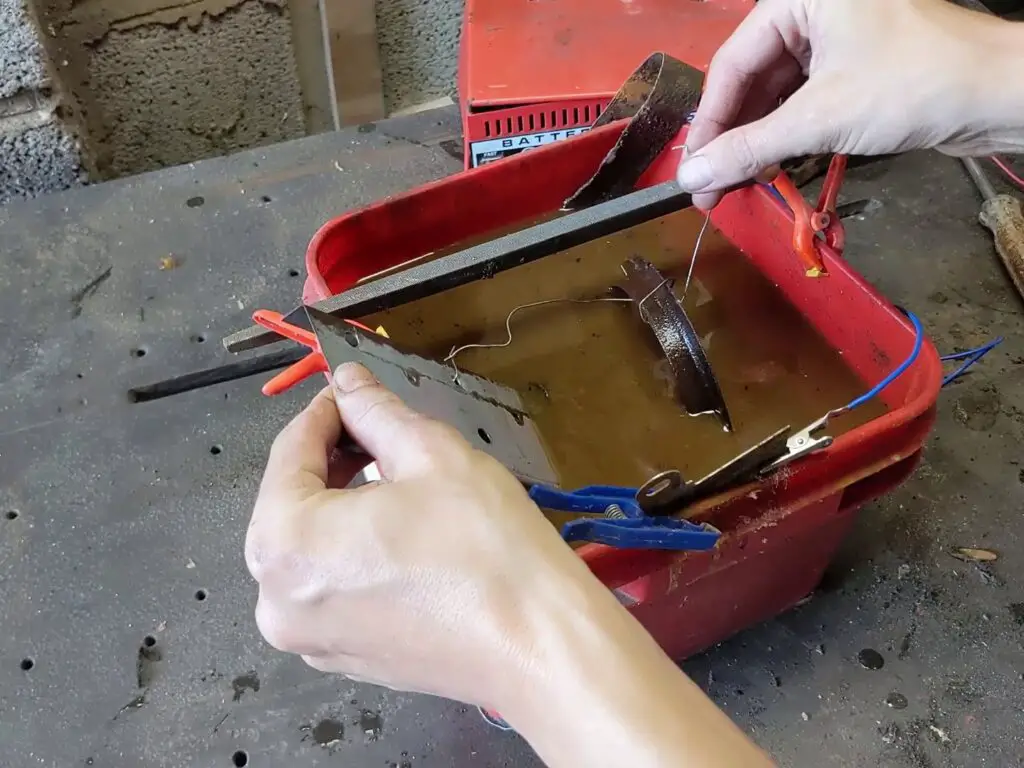
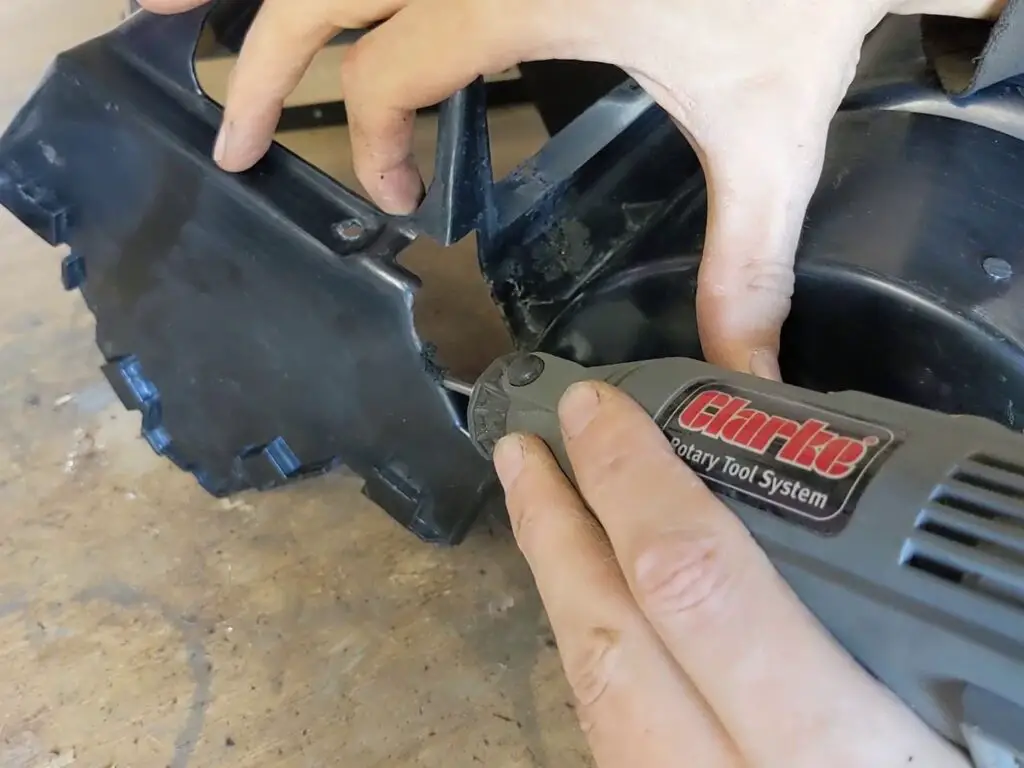
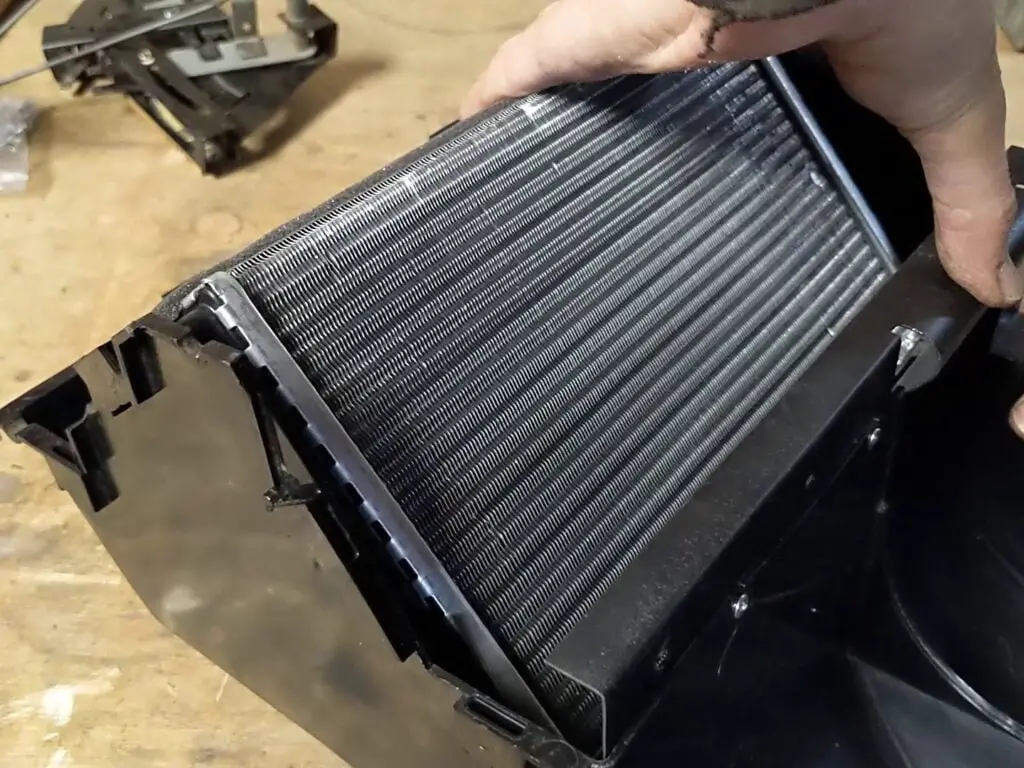
Then I took all the flaps out and just took out whatever I could. Where necessary, I drilled out any rivets. Eventually, I was left with a mostly disassembled heater with the heater core still stuck inside it.
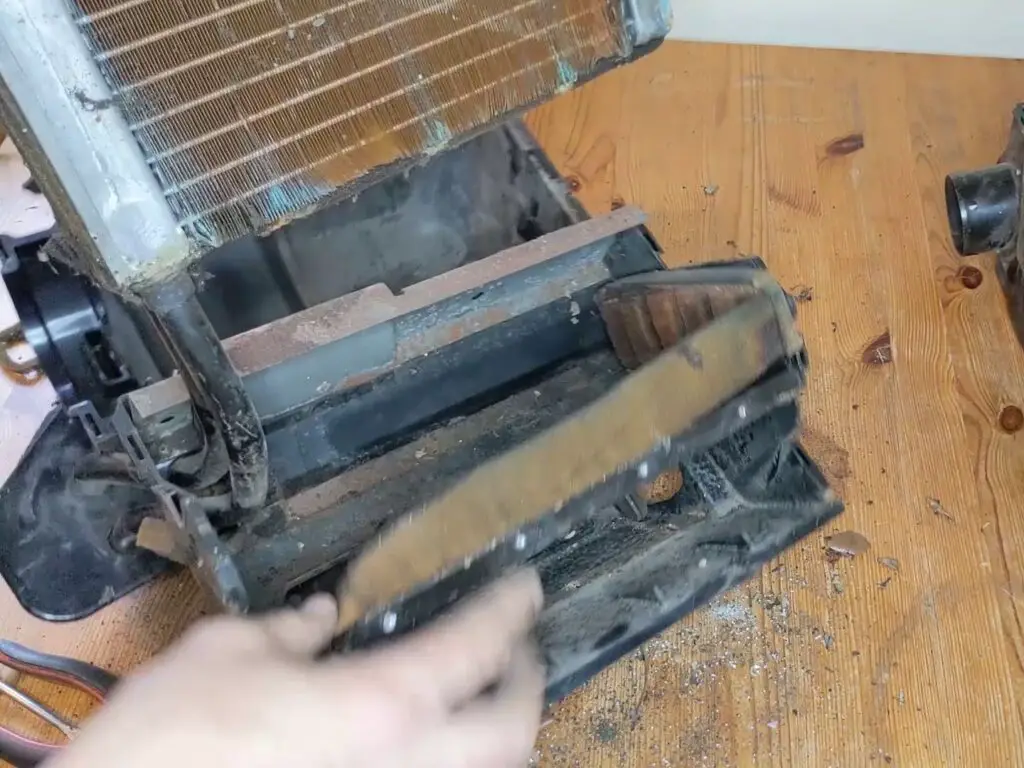
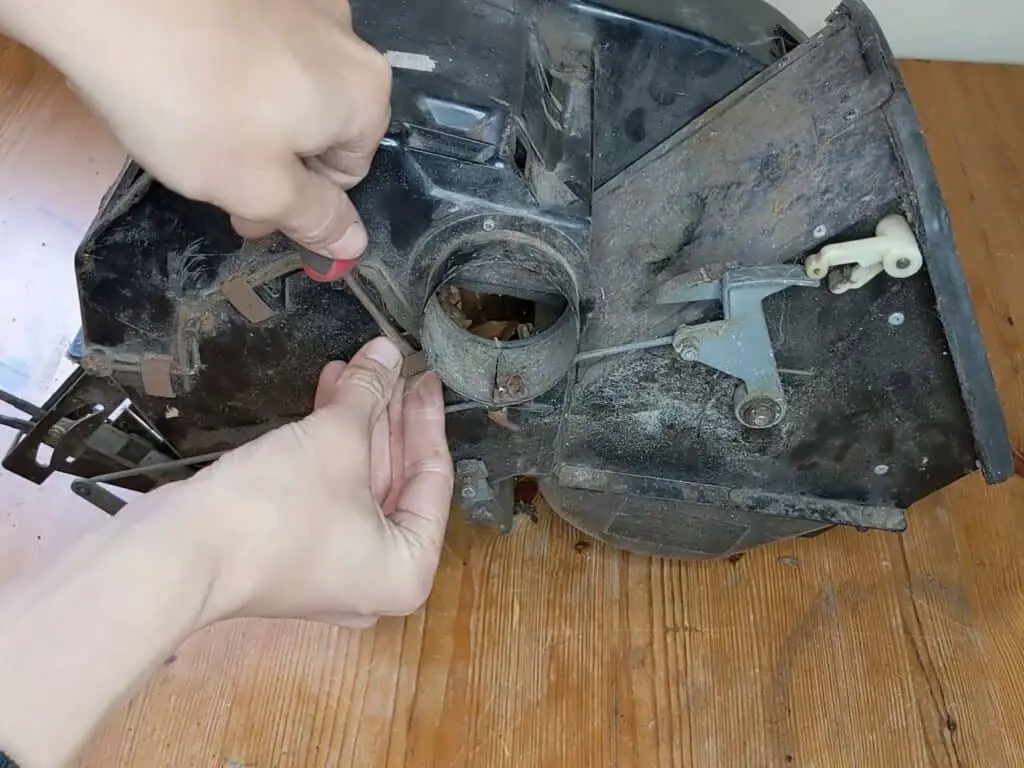
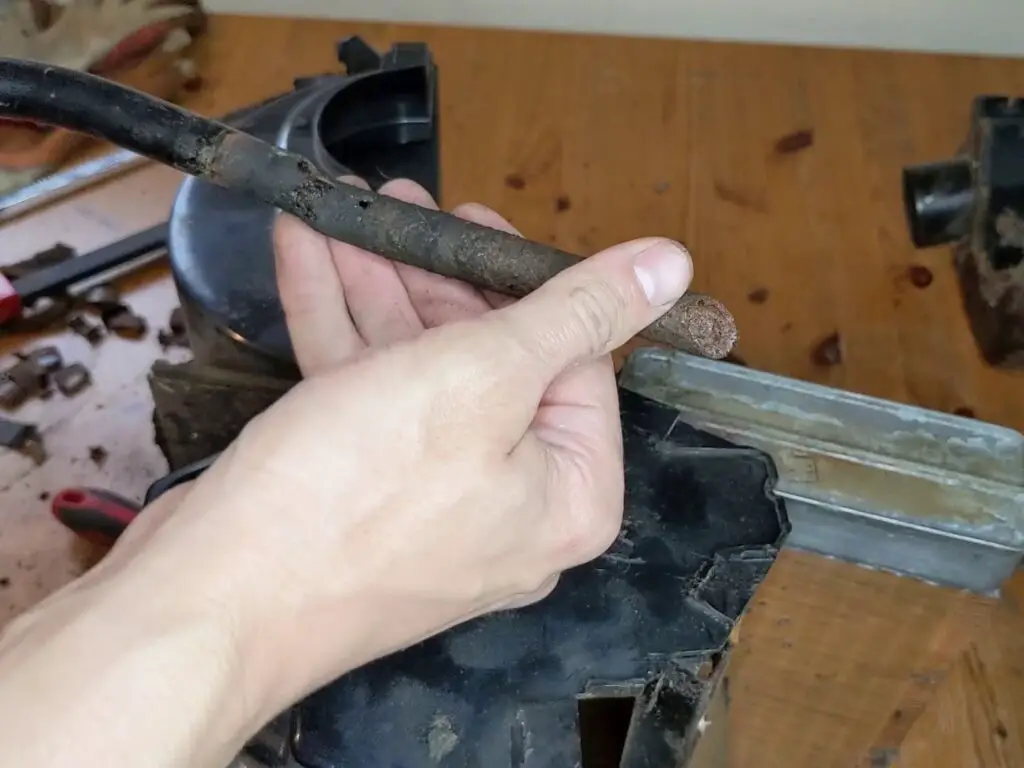
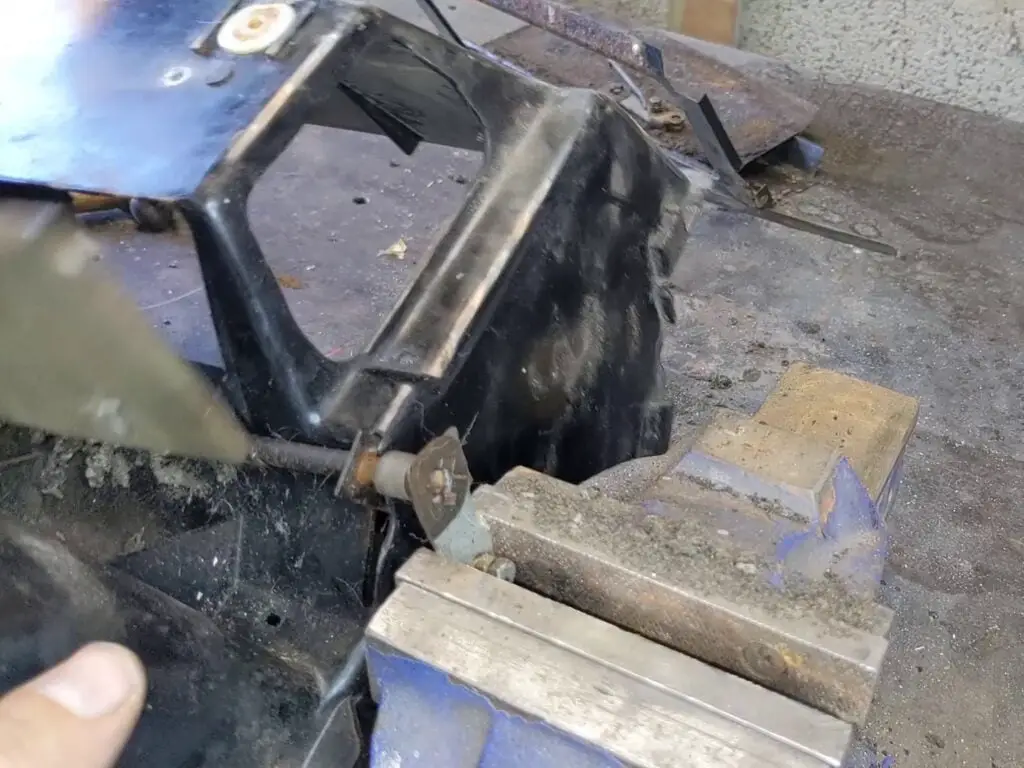
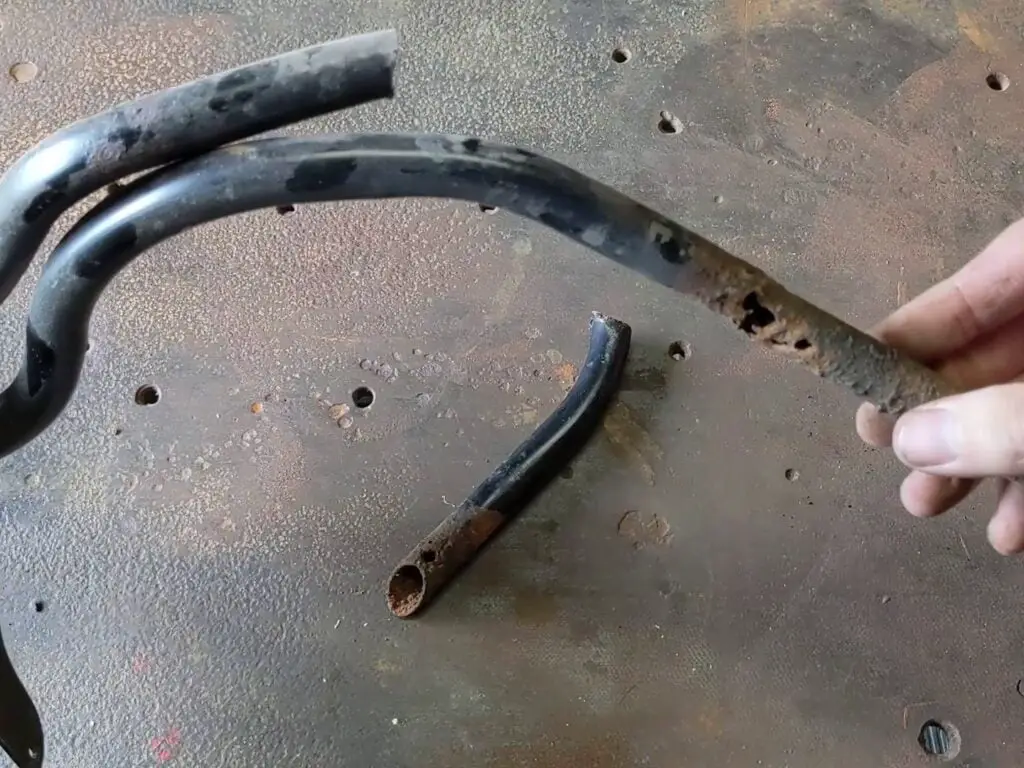
The heater core was a problem; the pipes going into the core were corroded and seized in place and I couldn’t get them out of the core. As the pipes went through the casing, I couldn’t remove the core or the pipes until I’d seperated them.
Eventually I reasoned that I wouldn’t be reusing the core or the pipes anyway, so I simply hacksawed through the pipes. Once I’d managed to get them apart, a quick inspection revealed they were truly rotten – no way I was putting those back in, so cutting them up was no problem anyway!
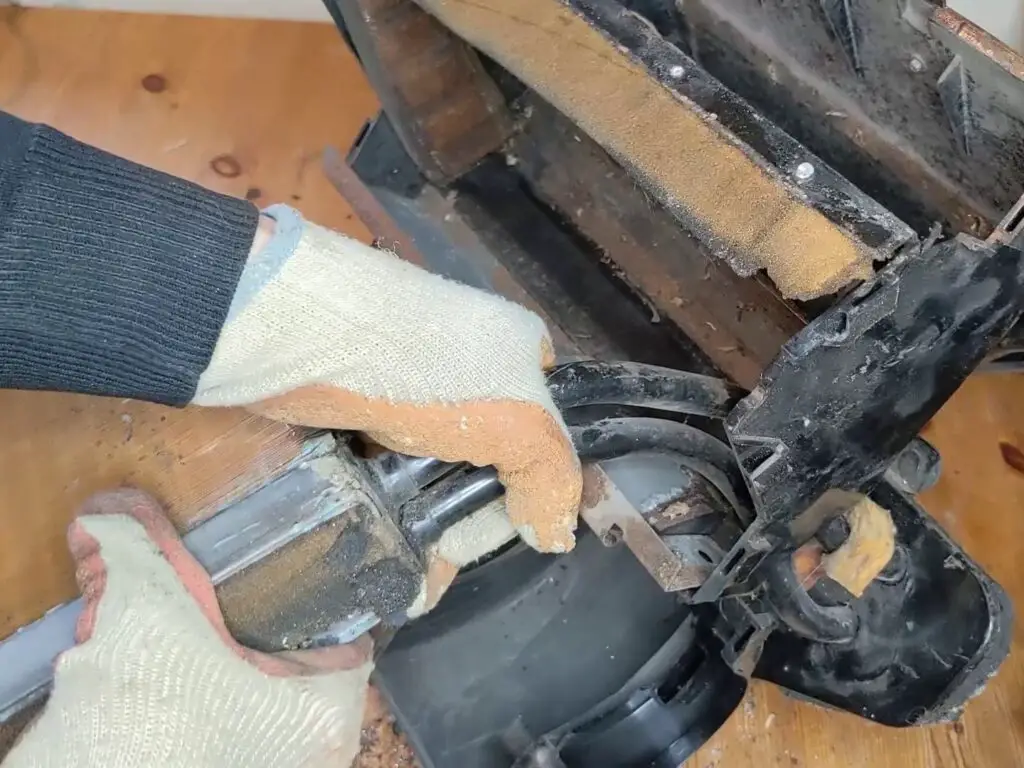
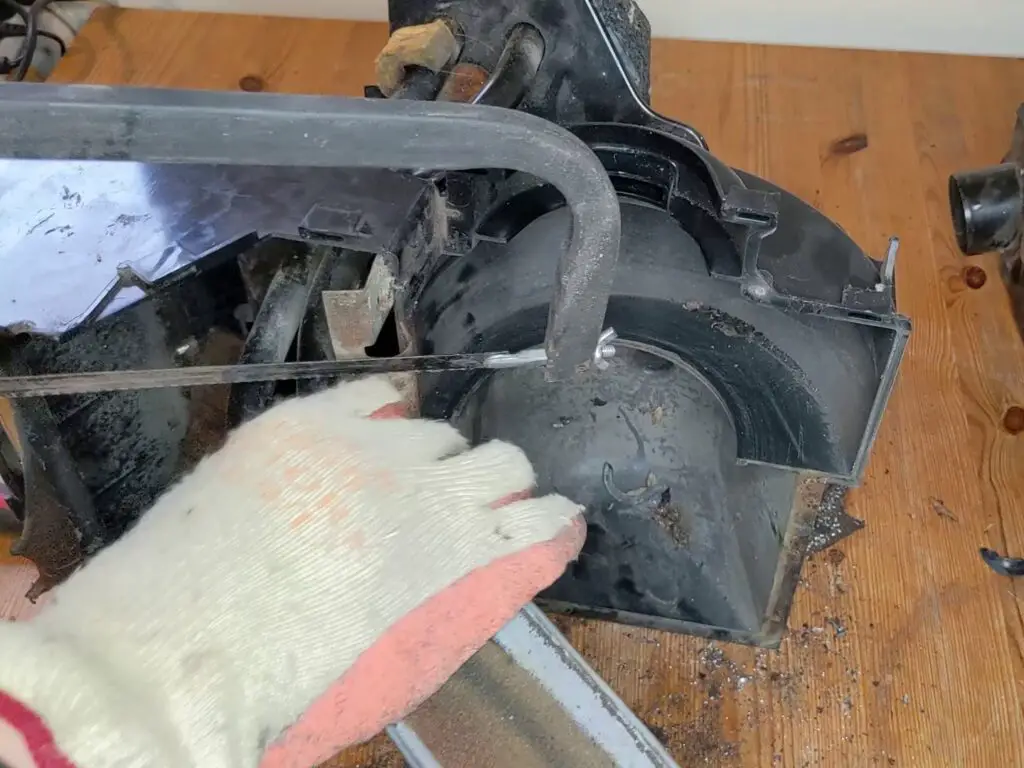
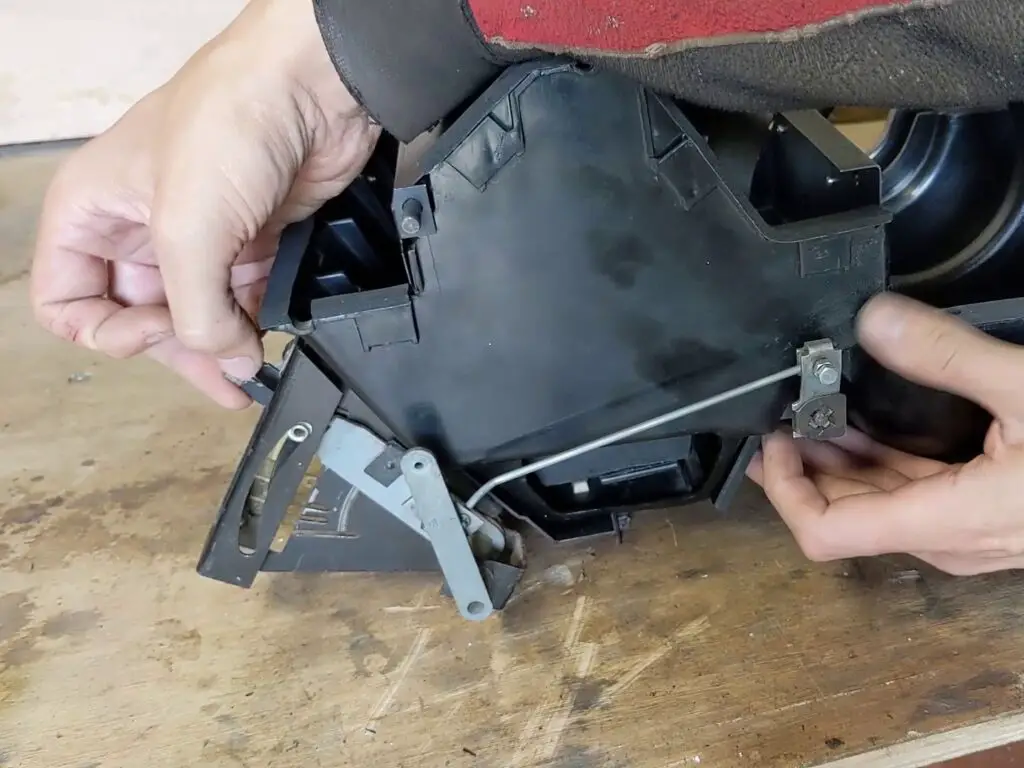
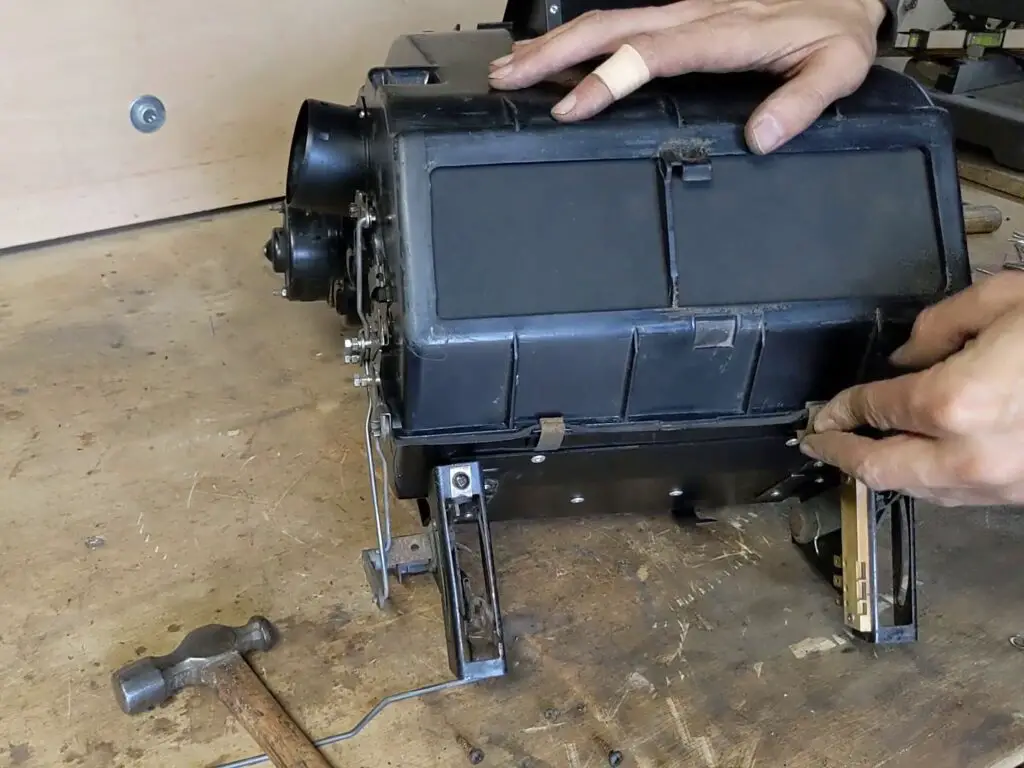
With that finally out, I drilled out the rest of the rivets – including all the ones holding the intake box together – and then it was finally apart. Very dirty and needing a lot of work, but nevertheless, apart!

Cleaning the Heater Parts
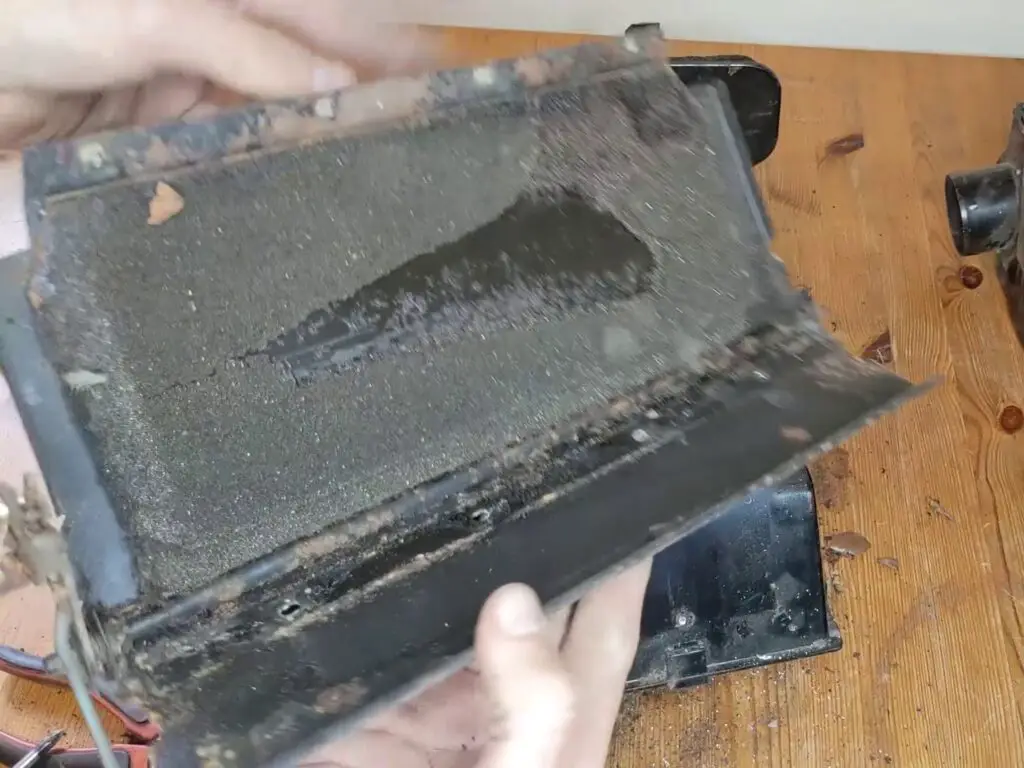
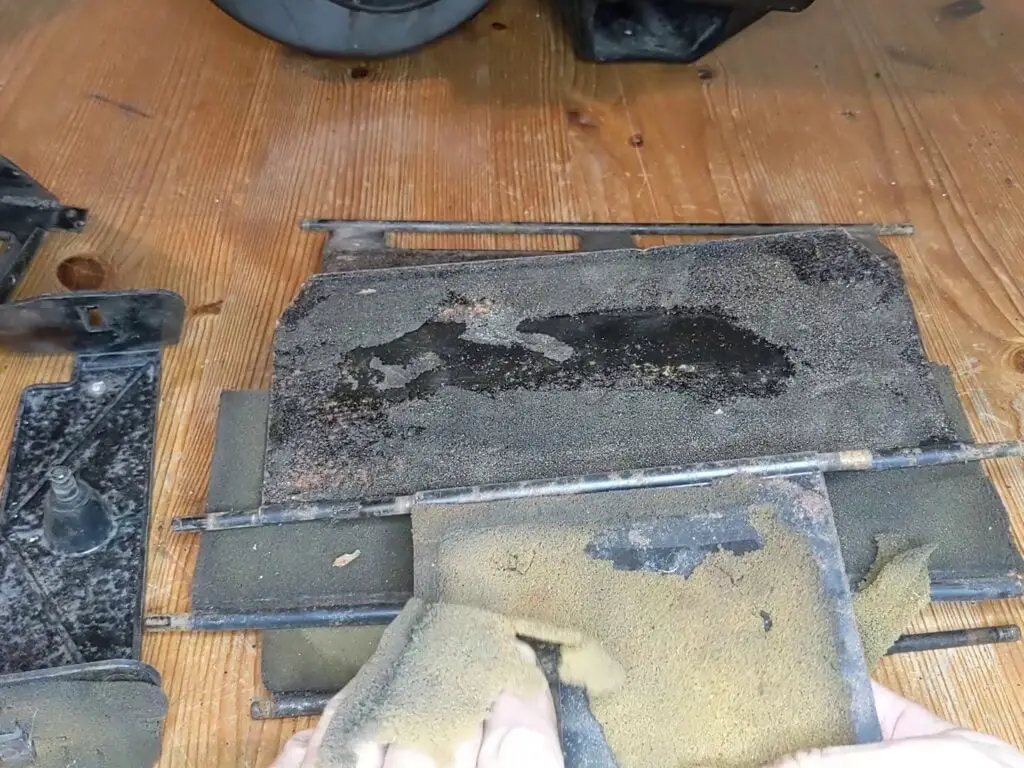
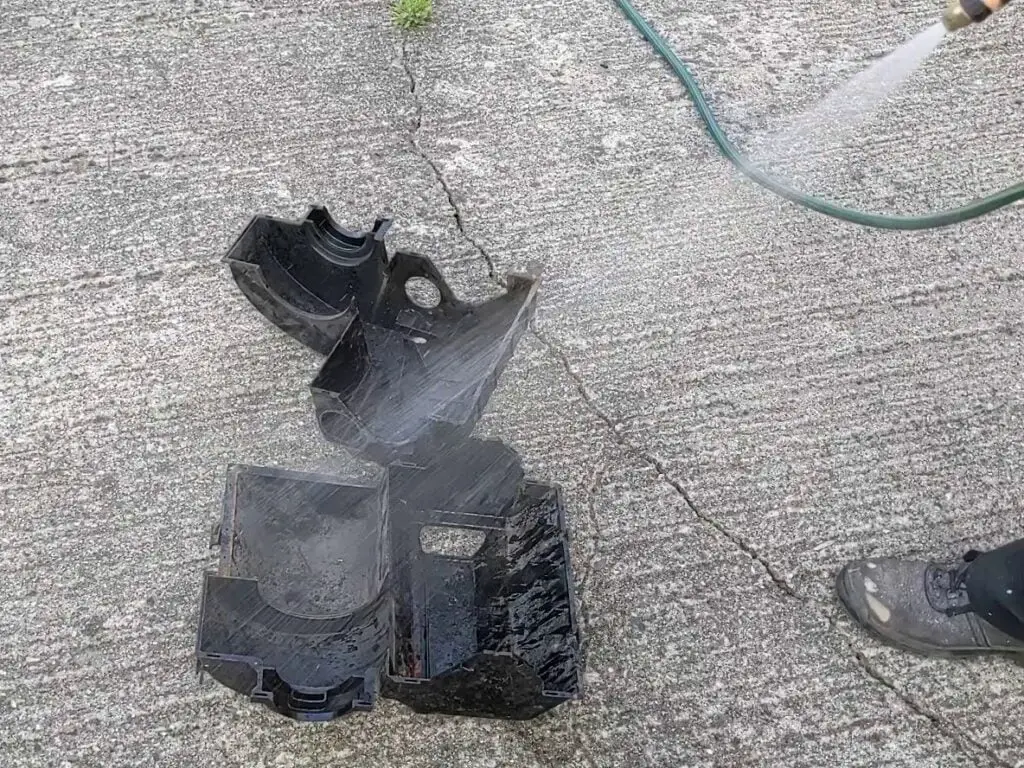
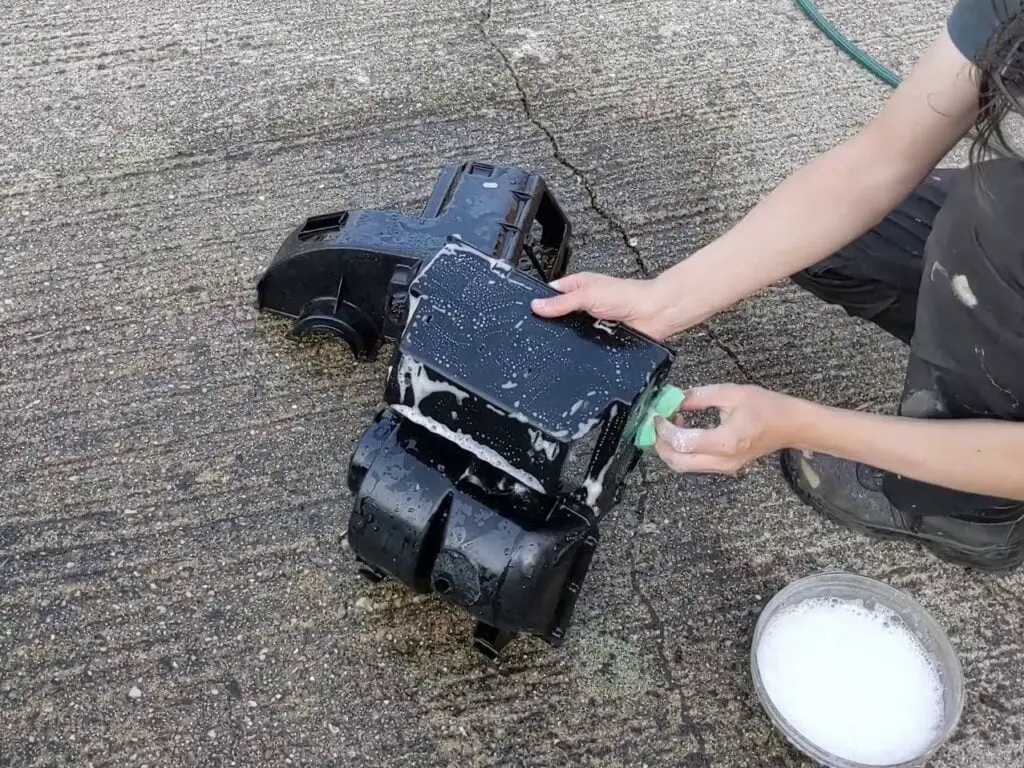
Once it was all apart, I set to work cleaning it all – after almost 40 years of use, plus several years in a dusty garage, this thing was filthy!
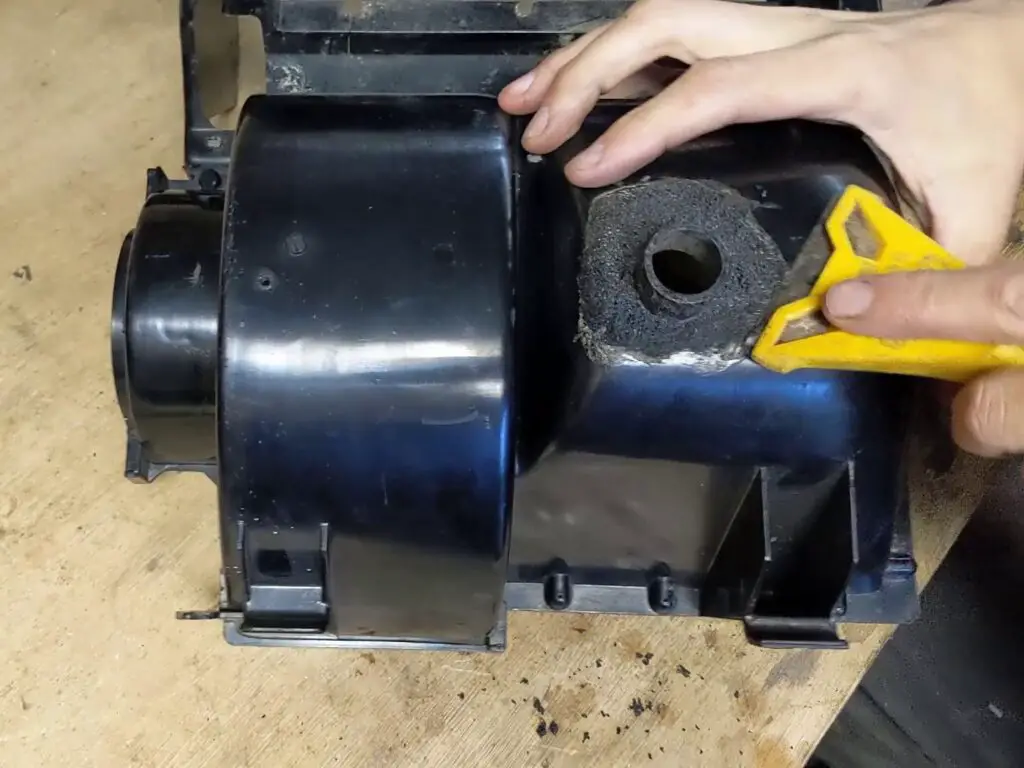
Fortunately nothing here is particularly delicate and there’s no fancy electronics to worry about, so I just got a hose on it all and scrubbed it all clean with soapy water once I’d scraped all the old foam off.
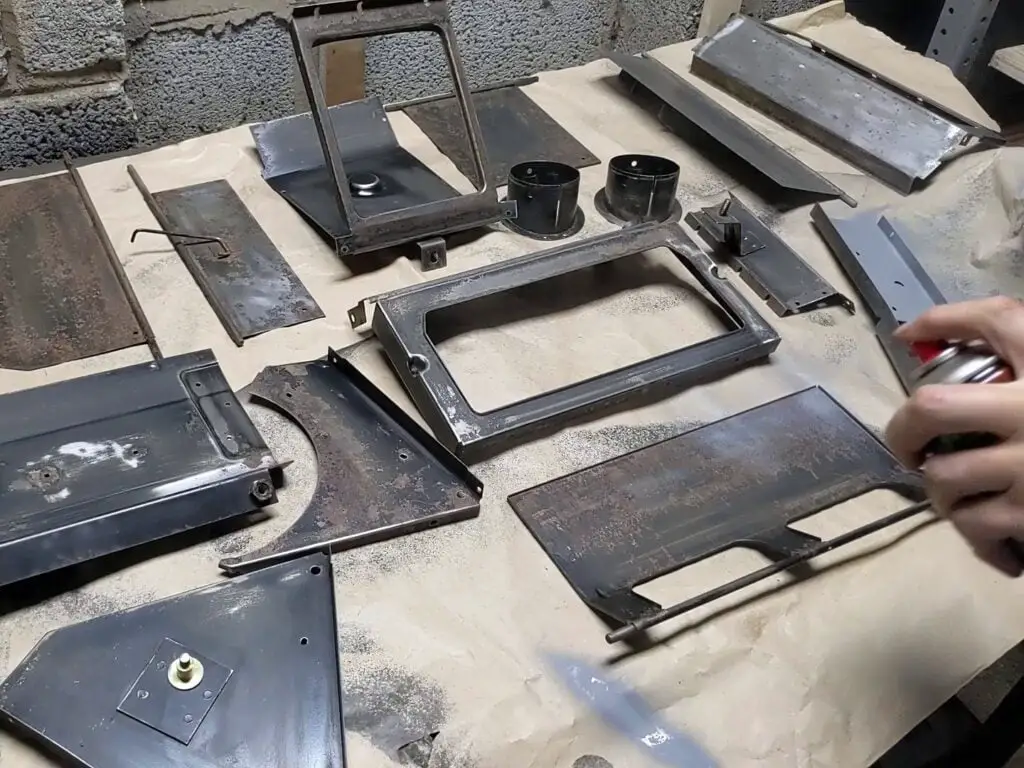
There were some rusty parts inside, so I got the worst of those derusted using electrolysis. All the metal parts were then sanded down to remove any surface rust.
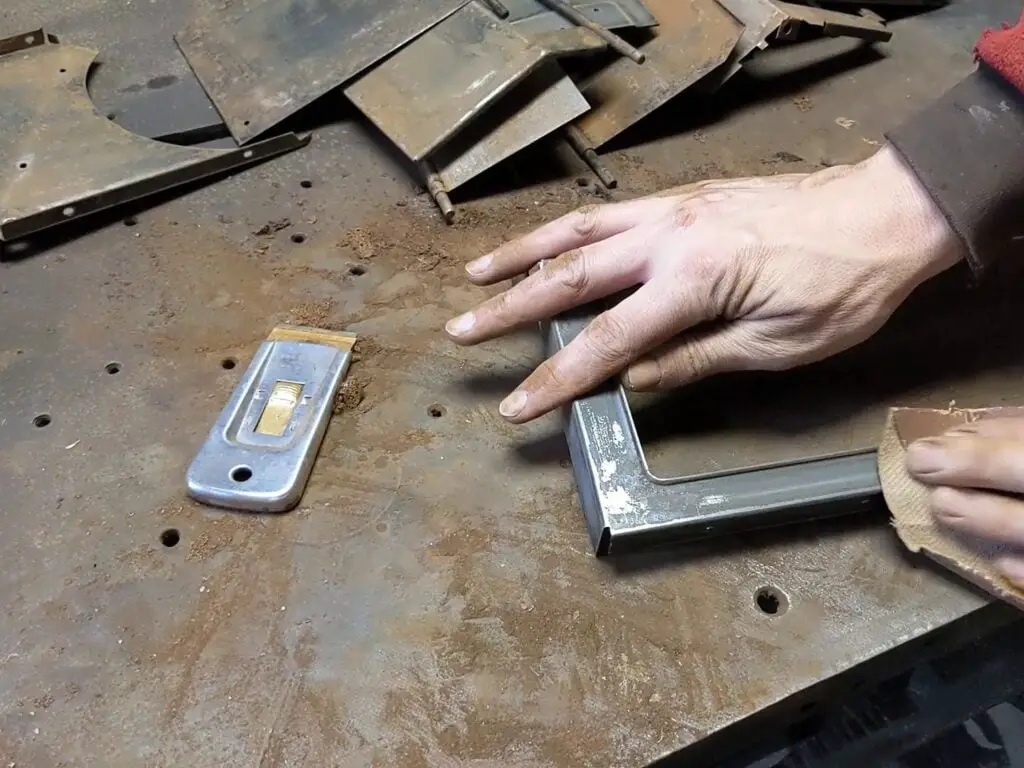
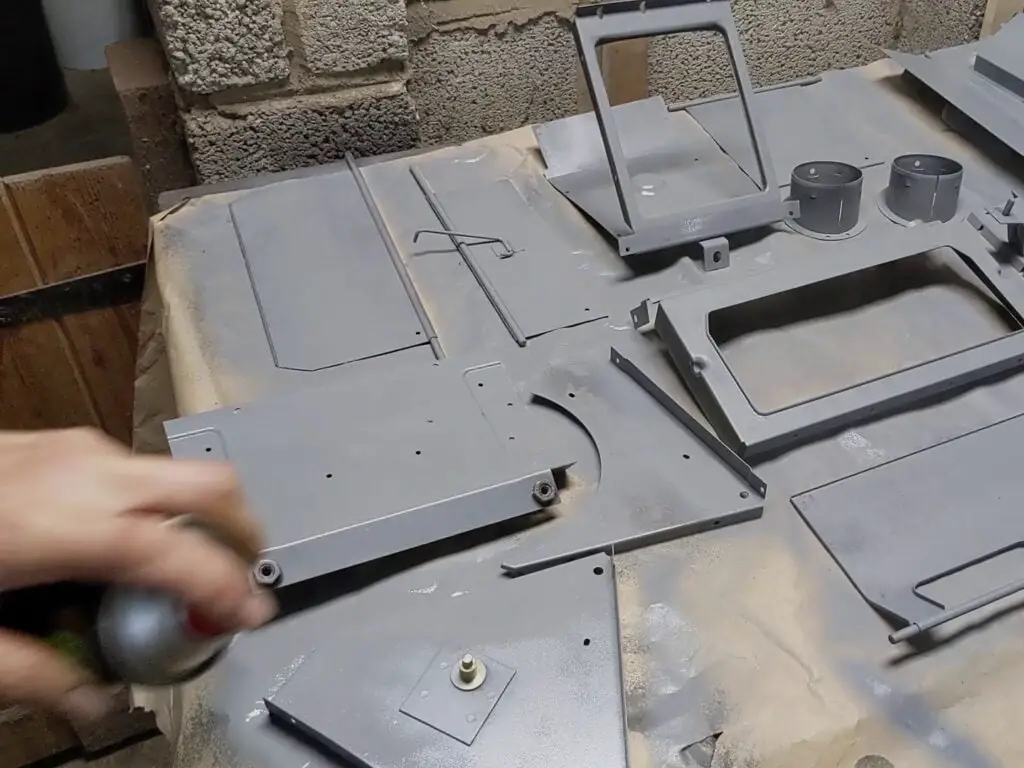
Once cleaned up and thoroughly derusted, all the metal parts were then primed and painted.
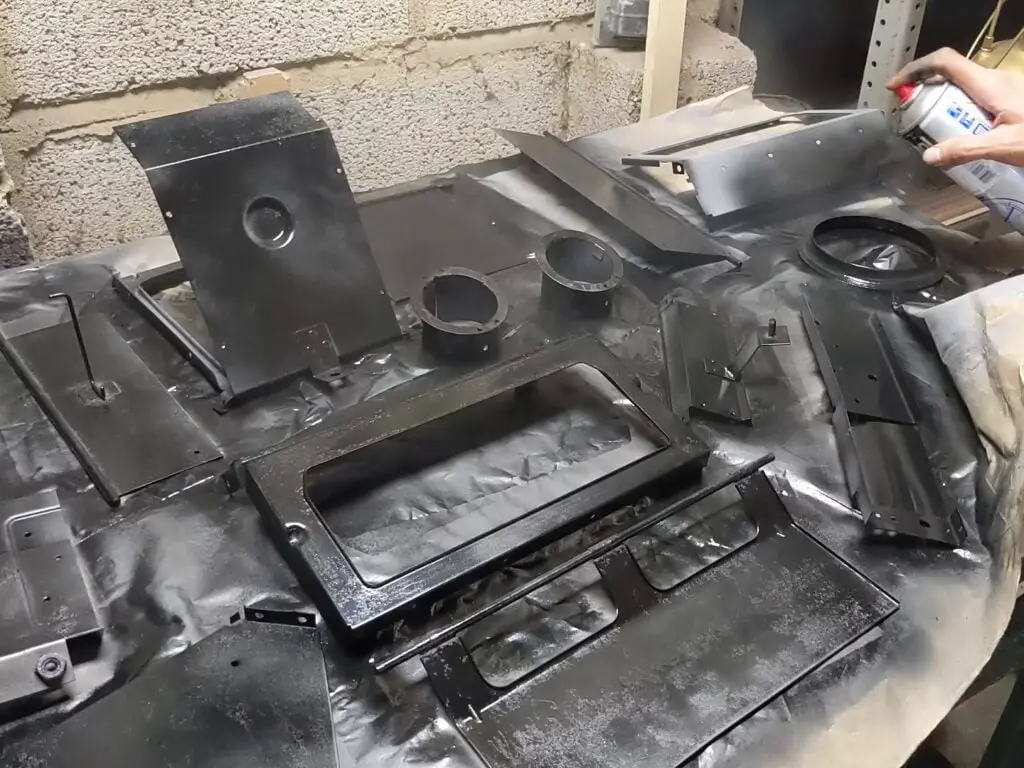
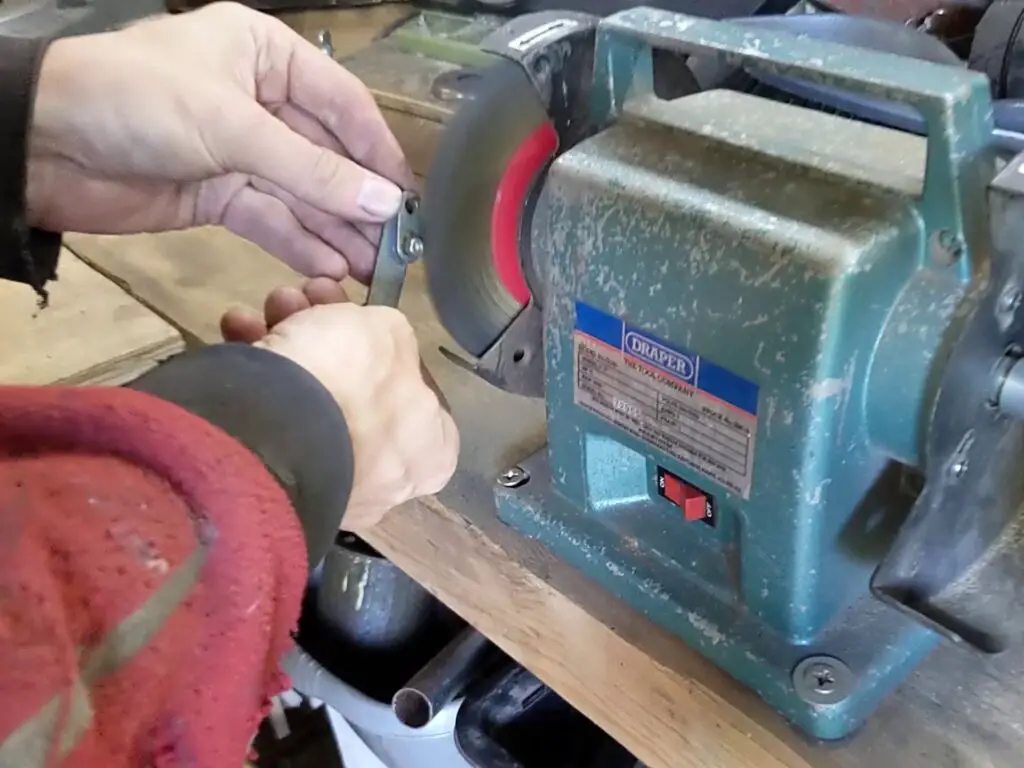
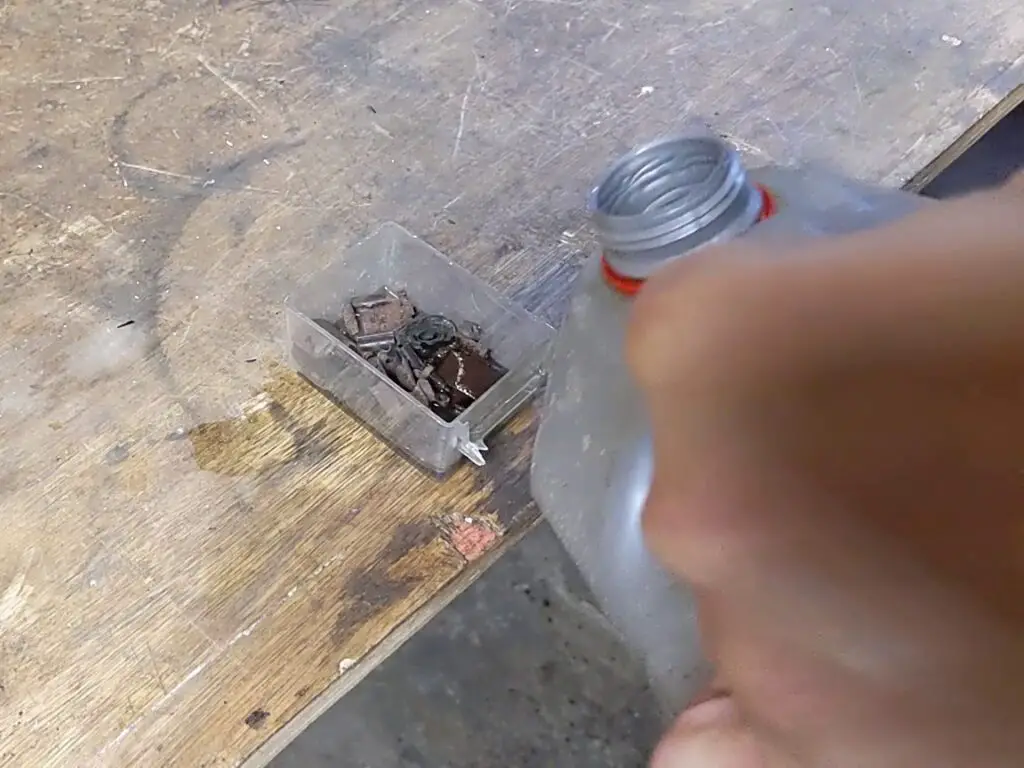
With that done, I turned my attention to the rest of the parts. The plastic casing just needed the remnants of old foam removing, while the control levers and other small parts were cleaned up on a wire wheel. Some of the really small parts like the spring clips were getting rusty, so I soaked them in Evaporust to clean those.
Replacing the Heater Core
The next job was to look at the heater core itself.
There is a problem with the TR7 heater; the original setup involves two steel pipes inserted right into the core, and sealed by rubber seals. Neither the pipes or the seals are available any longer, and while you can get replacement heater cores, they’re expensive (and useless without the seals anyway!).
As I needed to replace the pipes and seals on mine and I wasn’t too confident about reusing the heater core, considering the state of the pipes I pulled out of it, I needed to come up with another solution. One that doesn’t involve the original heater setup.
Fortunately I’m not the first person to have this issue – others before me have looked into this and come up with a solution.
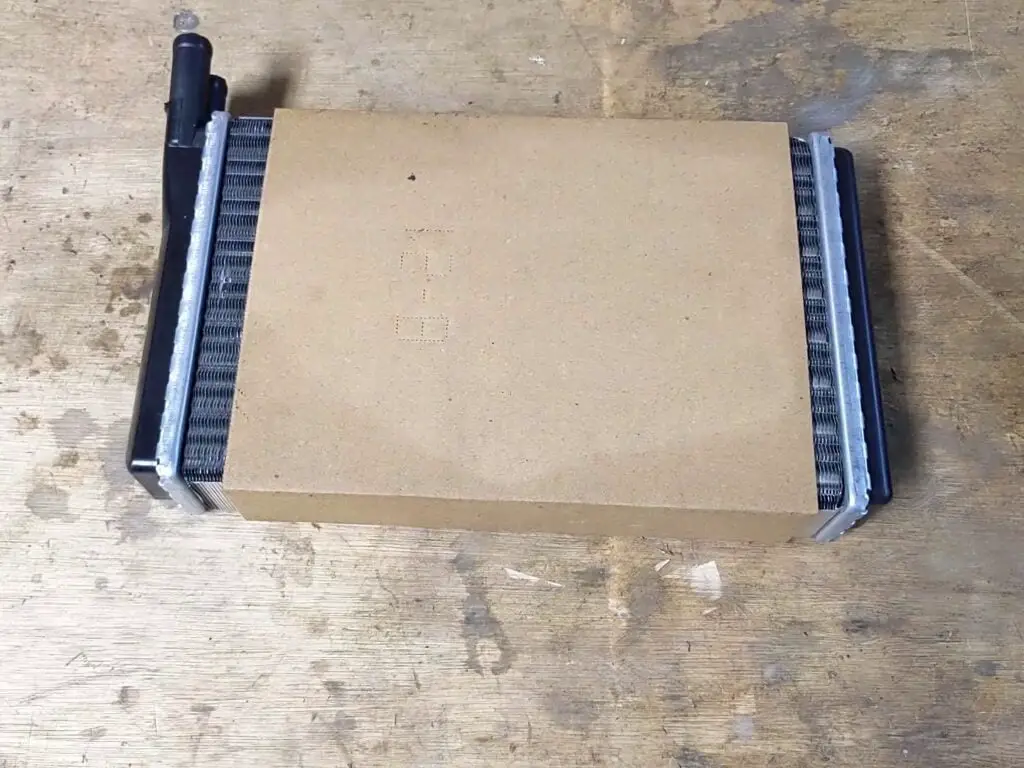
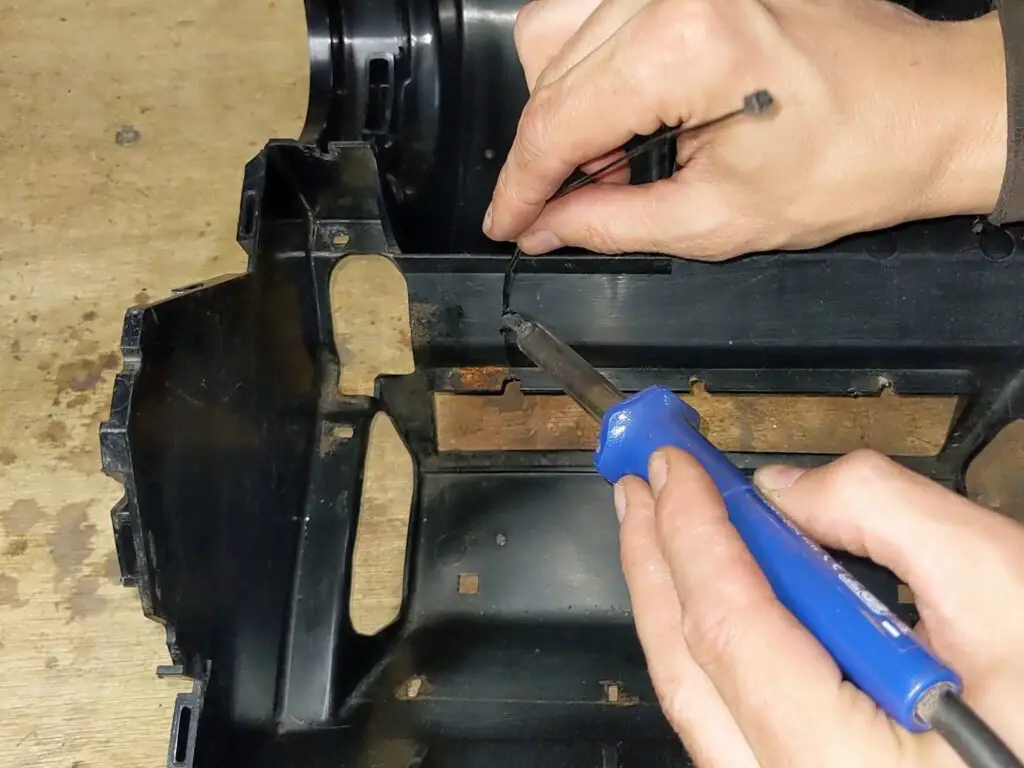
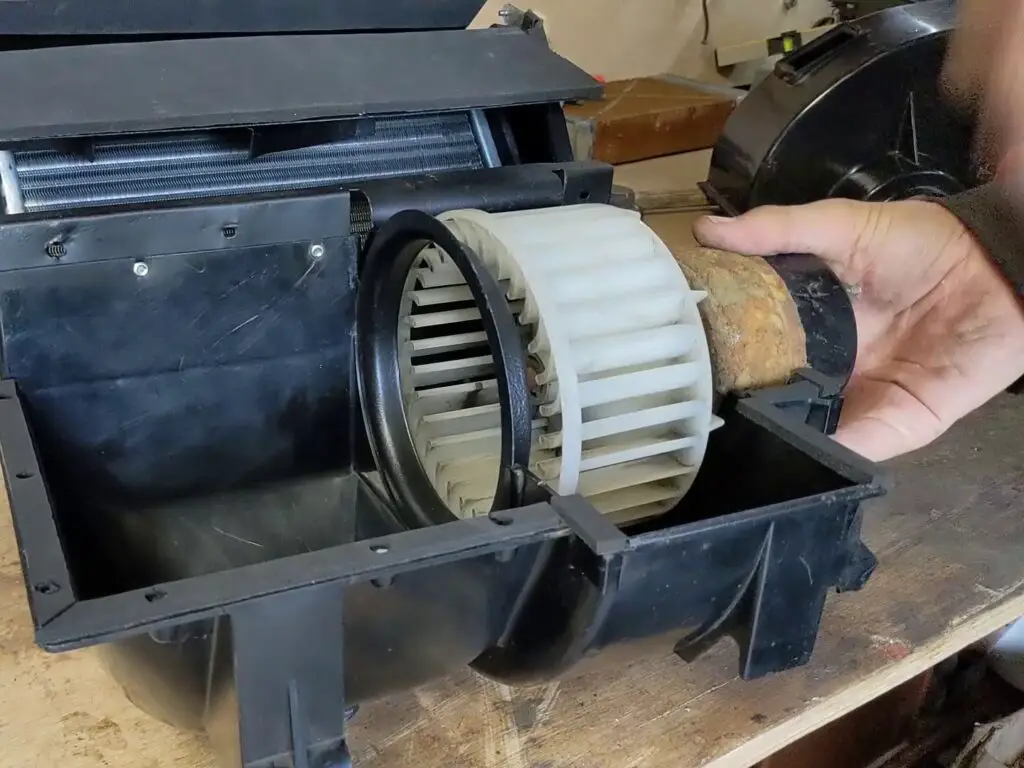
The heater core from a VW Polo is almost identical in size, readily available and quite cheap. As the output pipes are integrated into the core, it does away with the need for the seals, too. All that’s needed is some hose to connect it to the pipes, and a small modification to the plastic casing where the pipes exit.
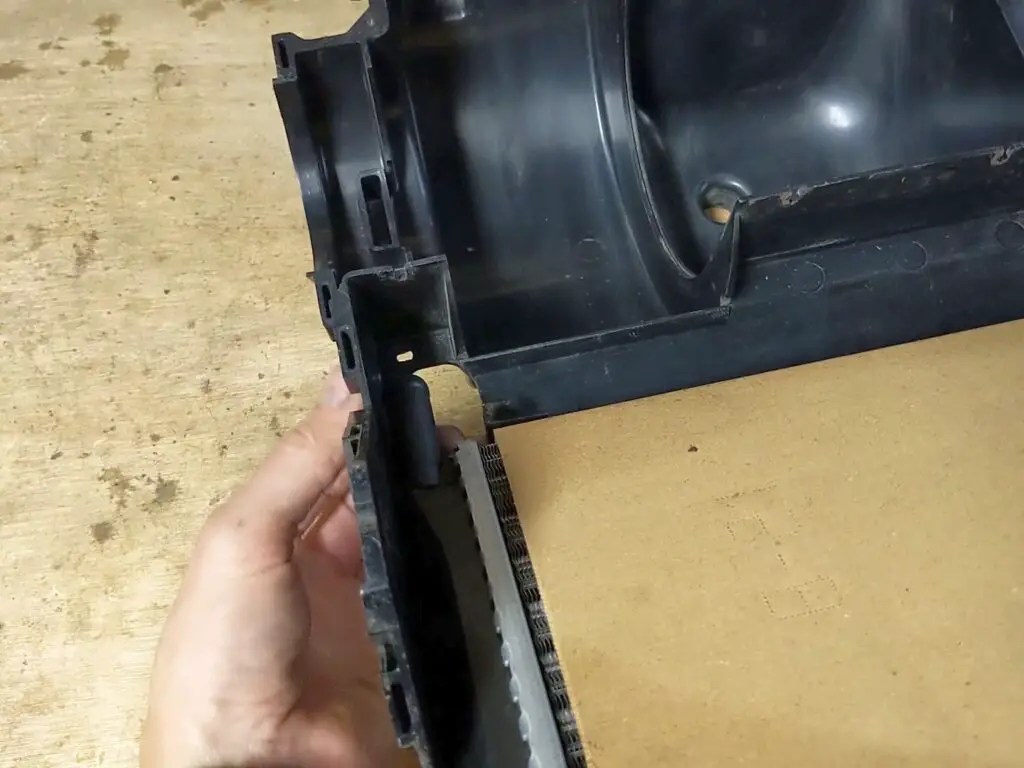
While I was making the modification (essentially just making the exit hole larger), I took the time to repair a few cracks in the plastic. You can get specialist plastic welding kits, but I find an old soldering iron does the job reasonably well. I used an offcut from a cable tie as a filler! It’s not the neatest work, but it’ll do the job and it’s never going to be seen once the heater’s back together anyway.
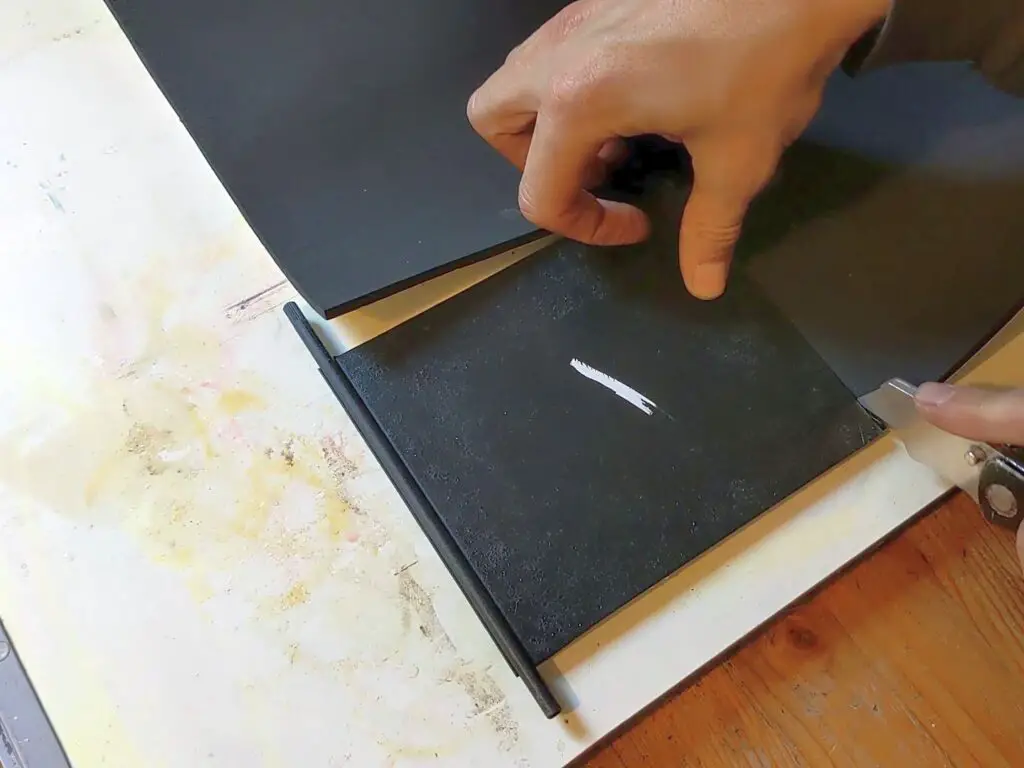
Replacing the Foam
With the modification done, the next job on the list was replacing all the heater foam. I chose some closed cell adhesive backed foam for this job. It’s not expensive and way less hassle than mucking about with spray glue. I just cut everything to shape and stuck it on.

Reassembling the Heater
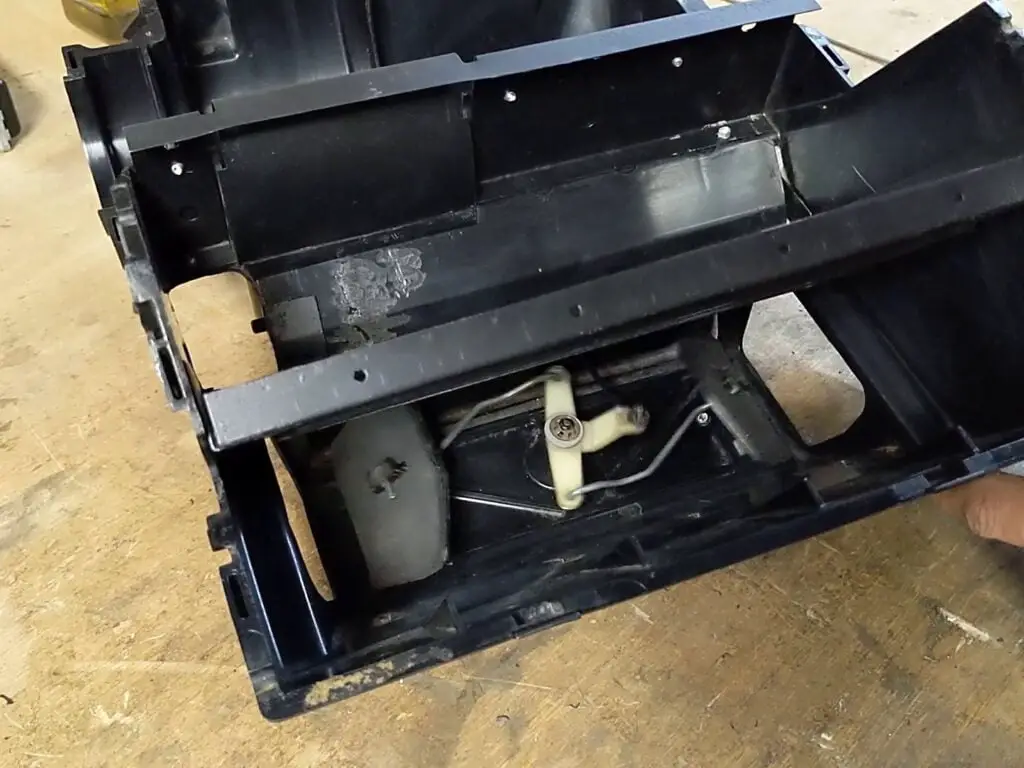
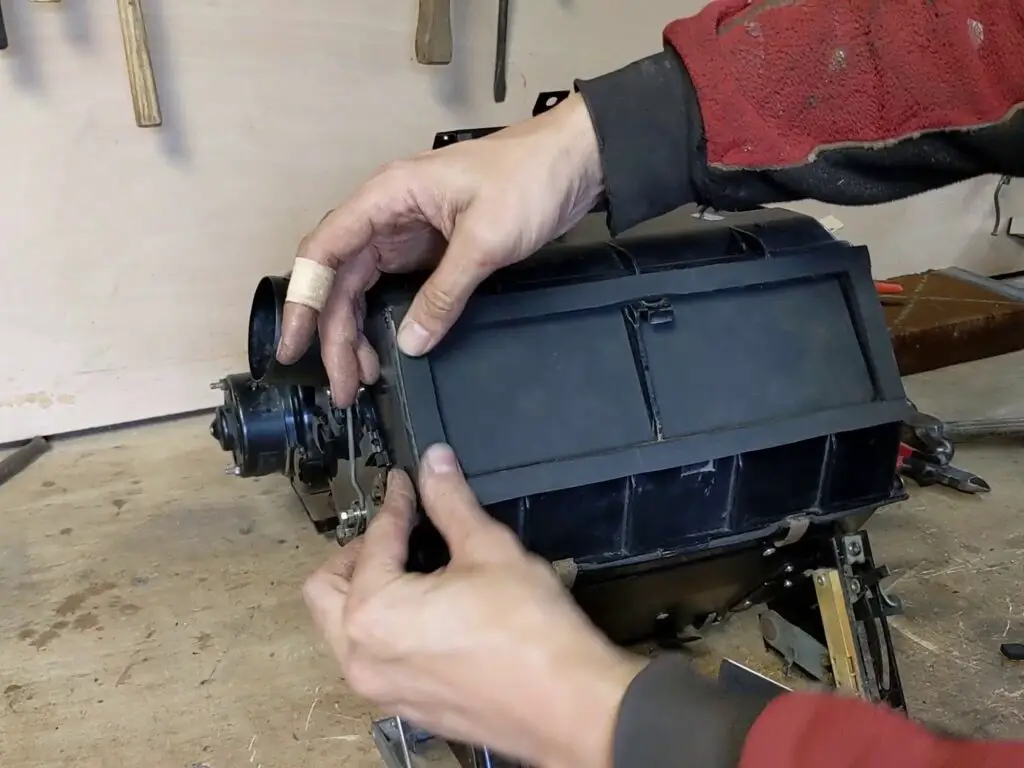
Now it was finally time to get it all back together again!
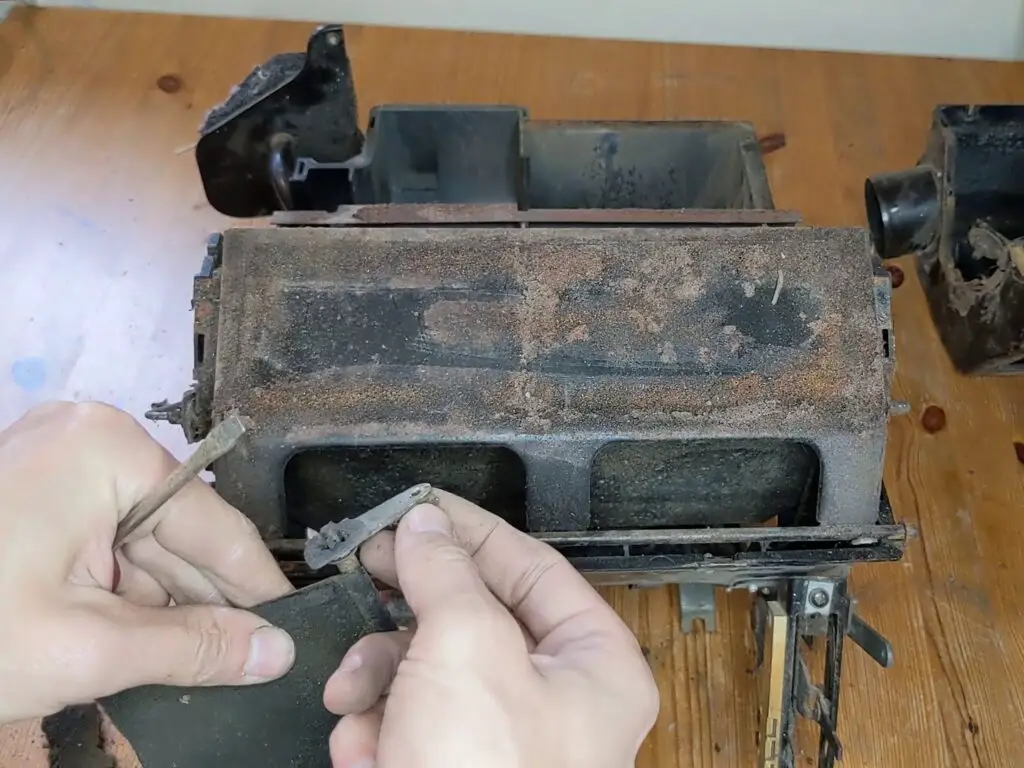
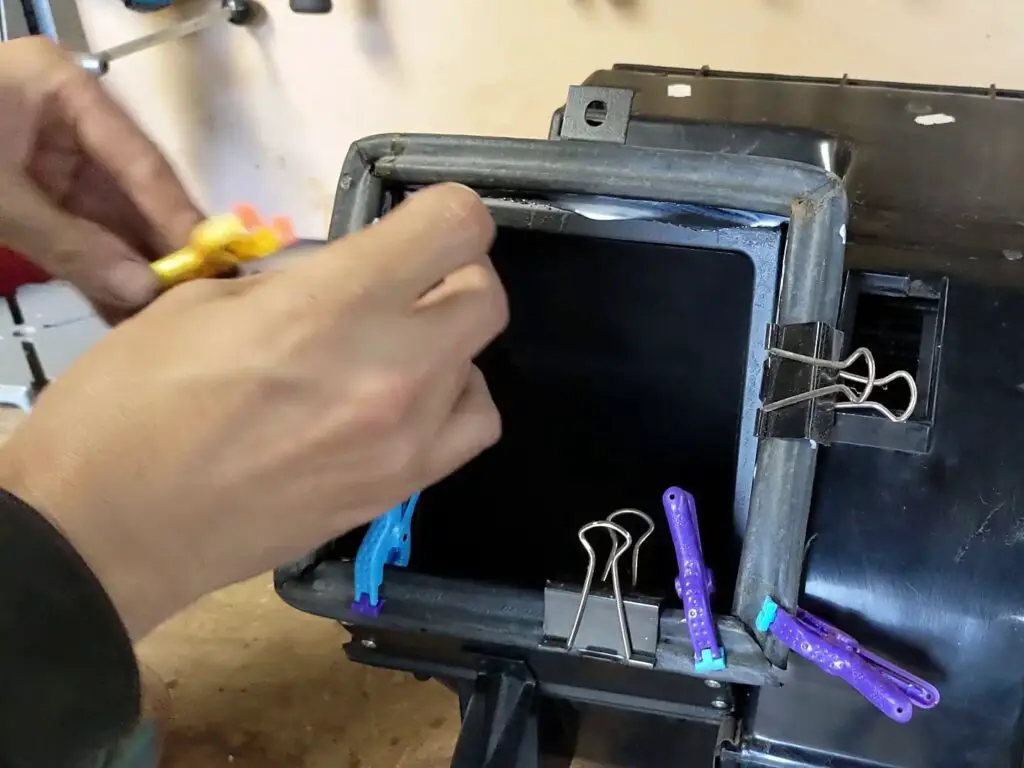
This was really just a case of putting it back together in reverse order from how I took it apart (without the rust and hacksaws, of course). I took a whole lot of pictures as well as video to guide me on this, but with a couple of exceptions it’s fairly obvious what goes where. It’s just like a giant jigsaw puzzle really! But with more rivets than you might normally expect.

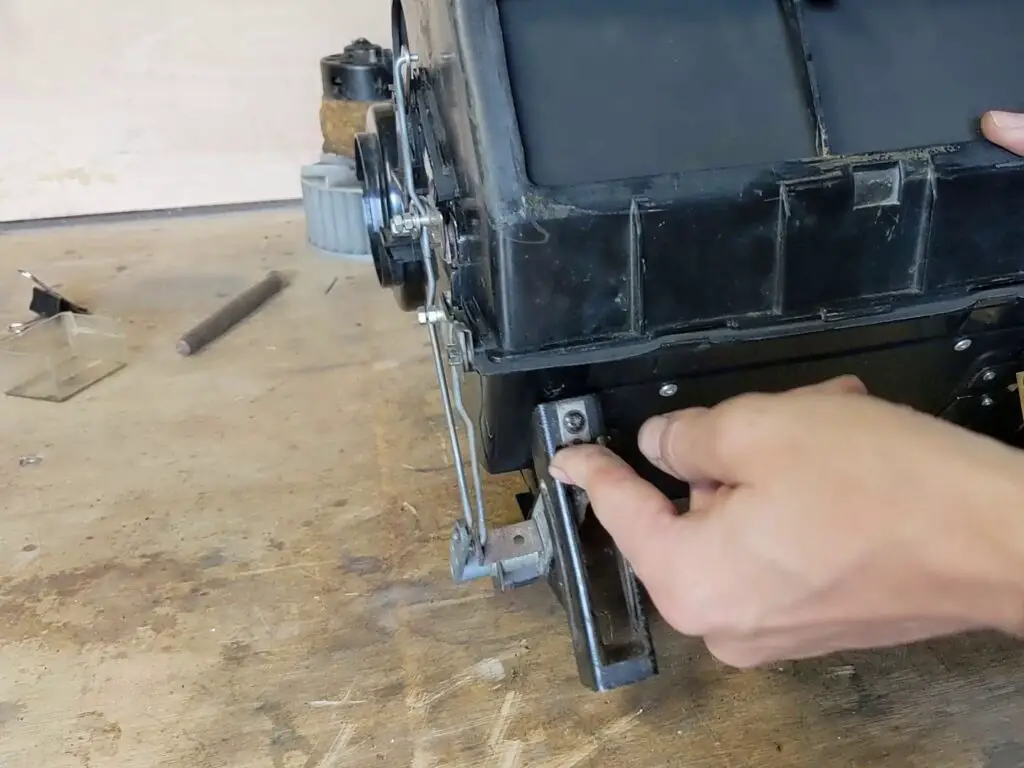
Once everything was in place inside, I started putting the control levers back on. I’d been worrying about getting these all aligned properly, but I simply followed my disassembly photos and took it from there. It’s obvious when something isn’t aligned, and easy enough to adjust. I tapped the levers back on to the shafts using a socket. They were much easier to put on than they were to take off!
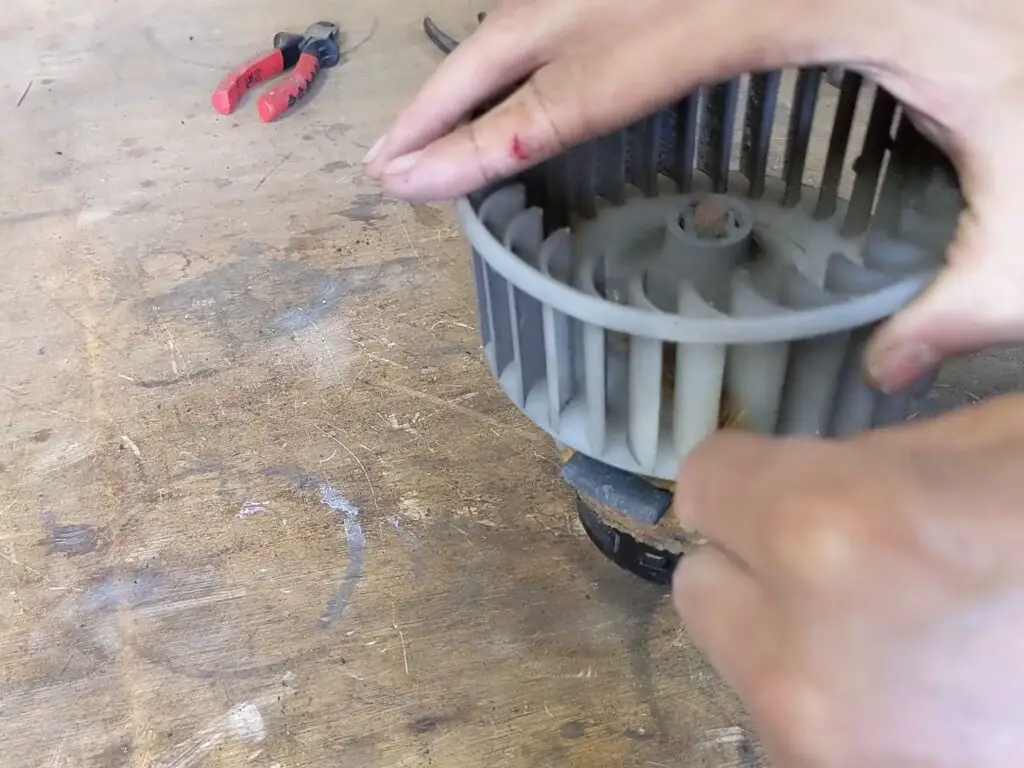
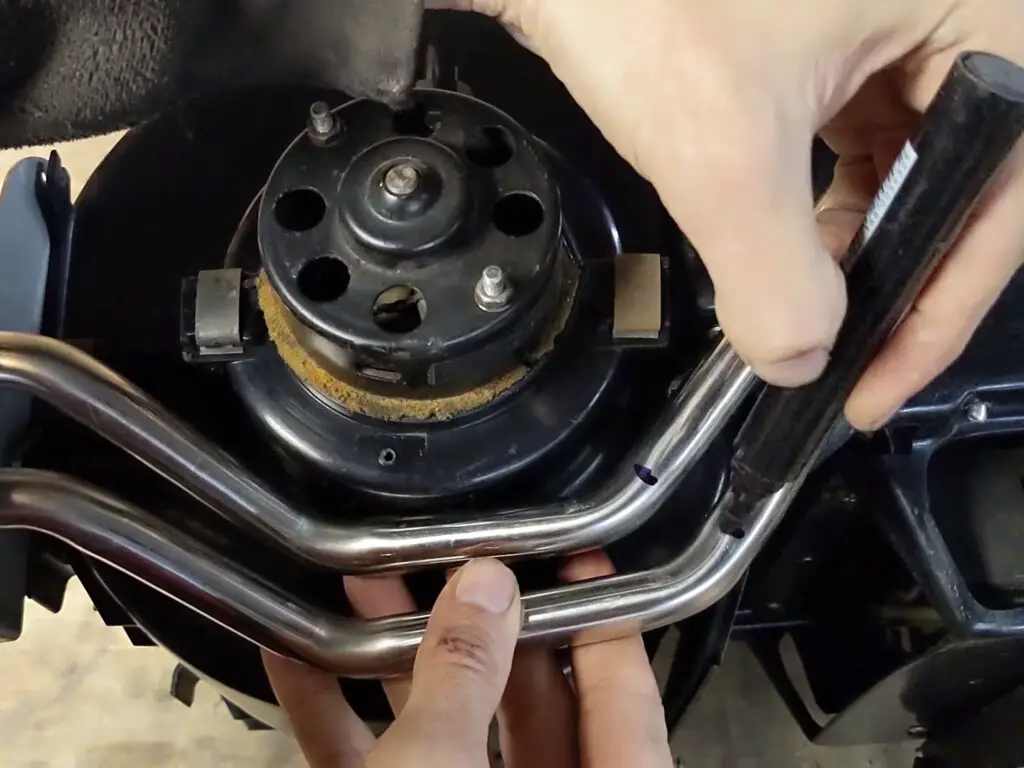
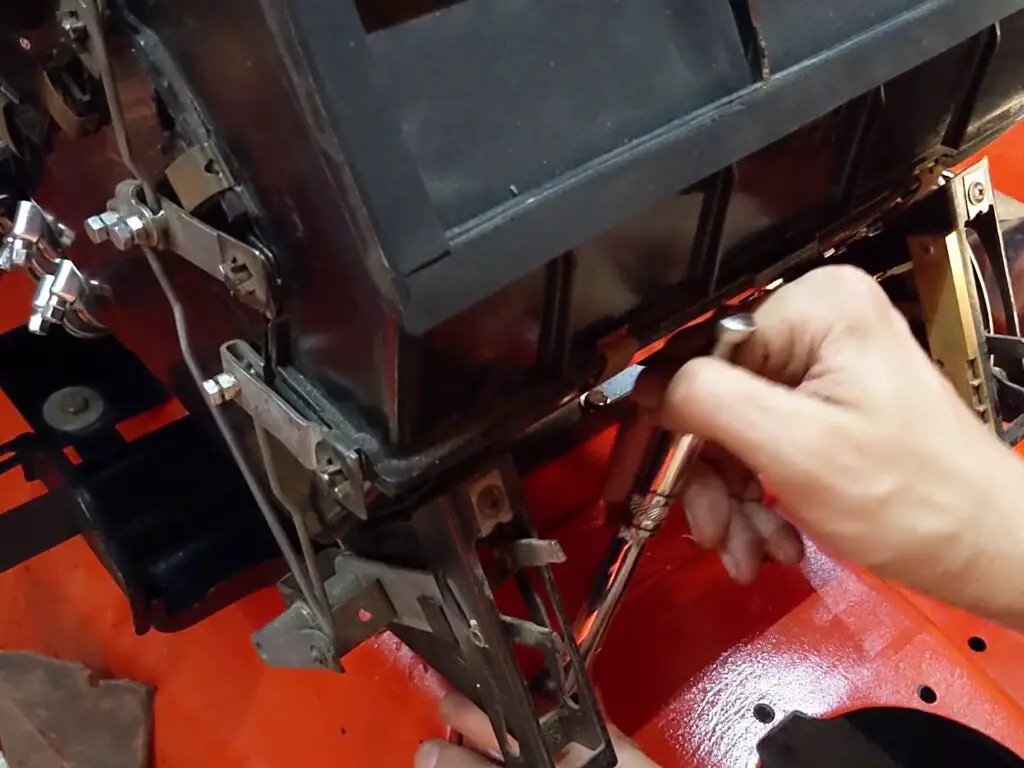
The motor just slots into place, and when I tested it it moved easily and was nice and quiet. So rather than take it apart, I decided to just leave it be so I simply cleaned it and refitted it.
With that in place, the upper shroud was fitted and clipped into place, and then the intake box was riveted together and fitted.

Then I just added some foam to the front where it sits against the dashboard, and glued the old rubber seal to the intake box.
Fitting a New Heater Pipe
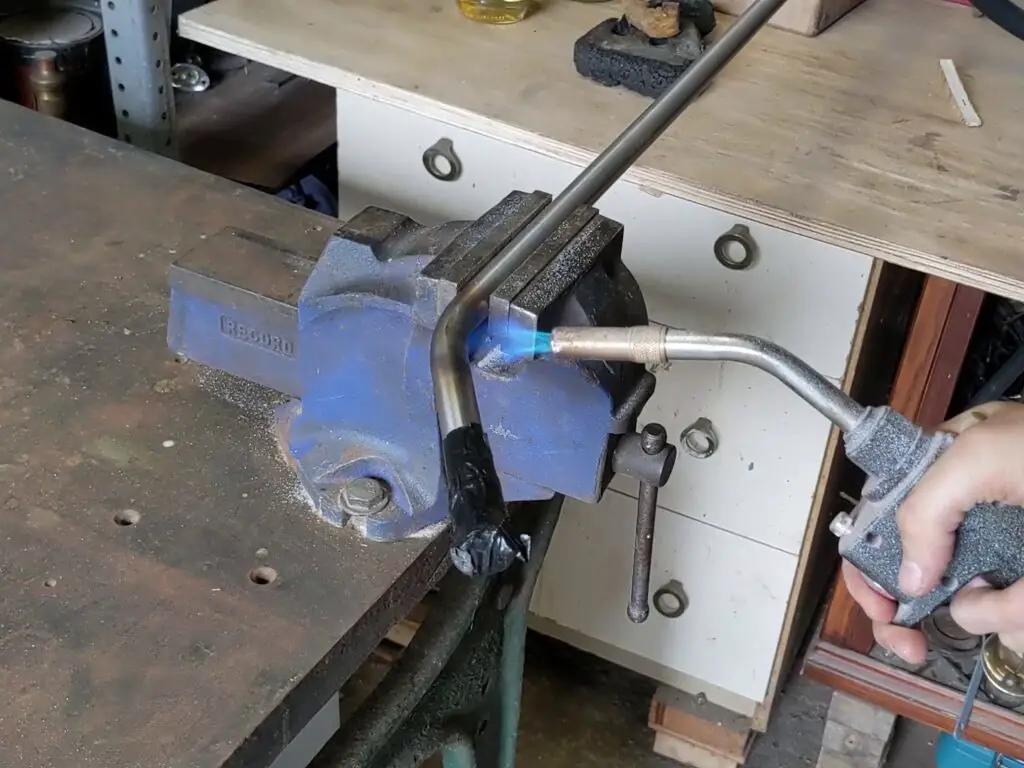
The only thing left now was to sort out the heater pipe. Obviously the old one is rusty, so I needed to sort out a replacement. There is a stainless steel replacement, but it’s kind of expensive (I think around £90 + shipping) and I’d need to modify it to fit my new heater core anyway. So I tried making my own pipes by buying a length of stainless steel pipe and bending it to shape myself.
It didn’t go well; I really don’t have the proper equipment for pipe bending like this, and all my attempts failed. I just ended up splitting the metal at the bend. So I swallowed my pride, got out my wallet and bought the premade pipes. Oh well, I tried.
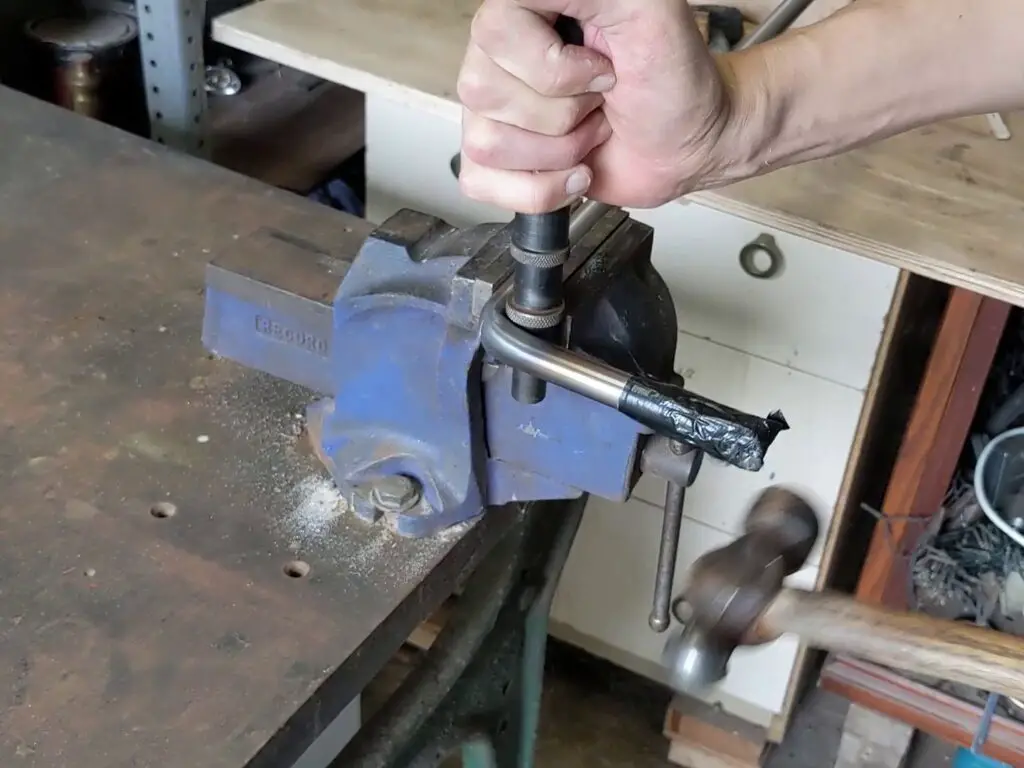
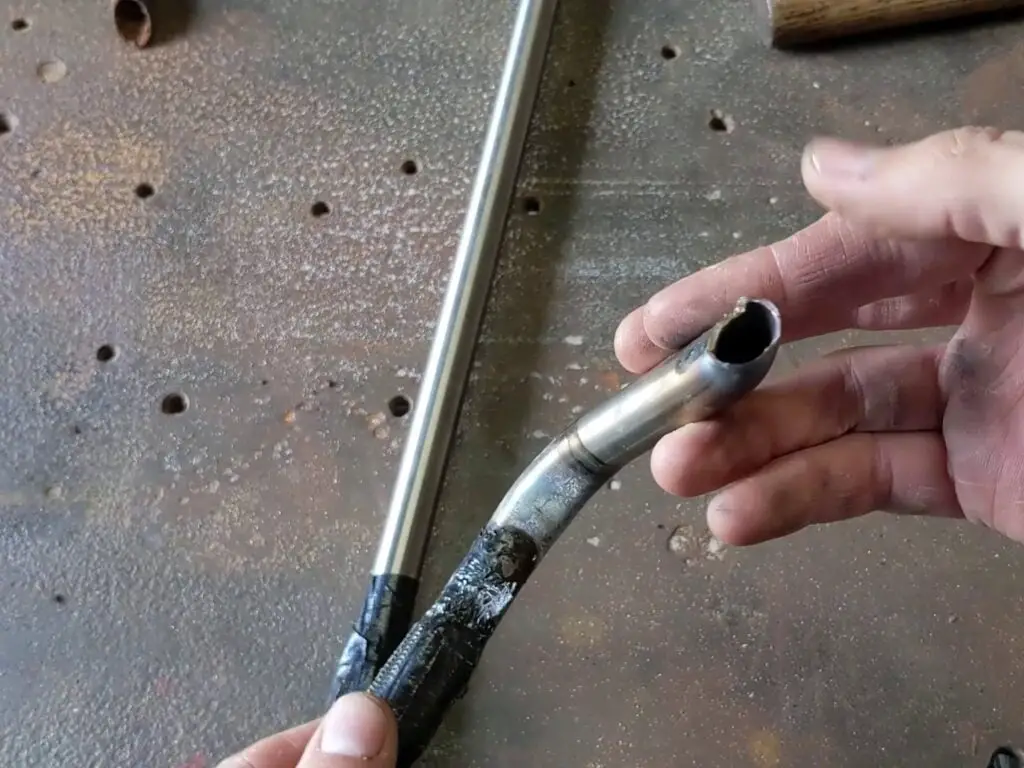
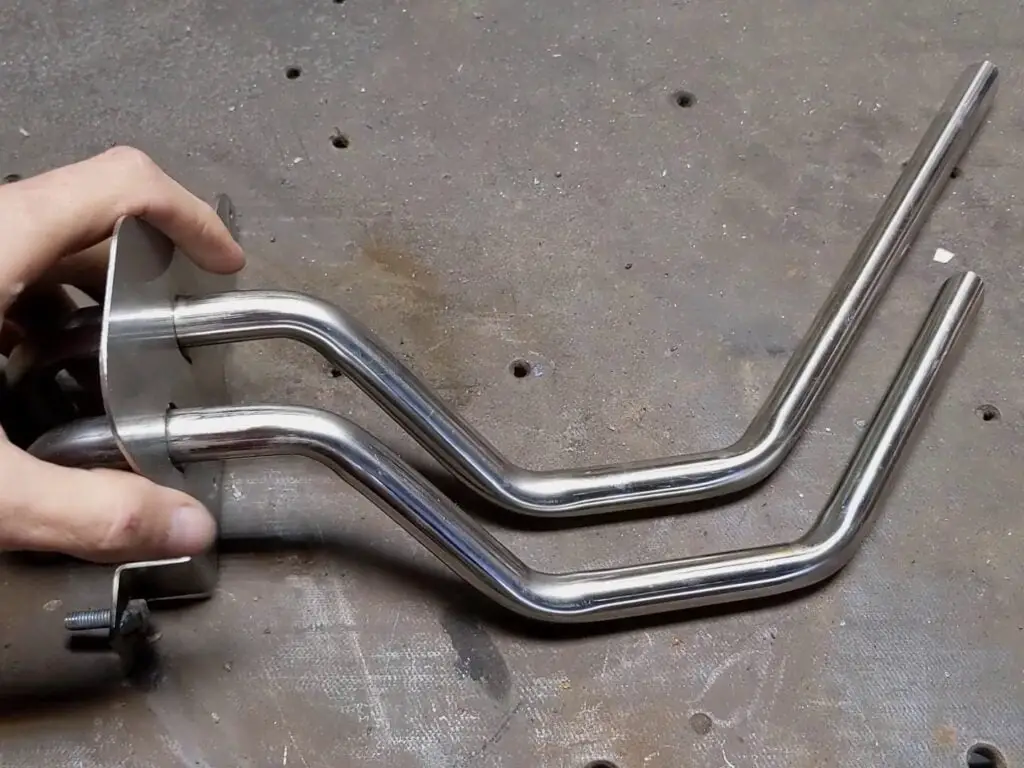
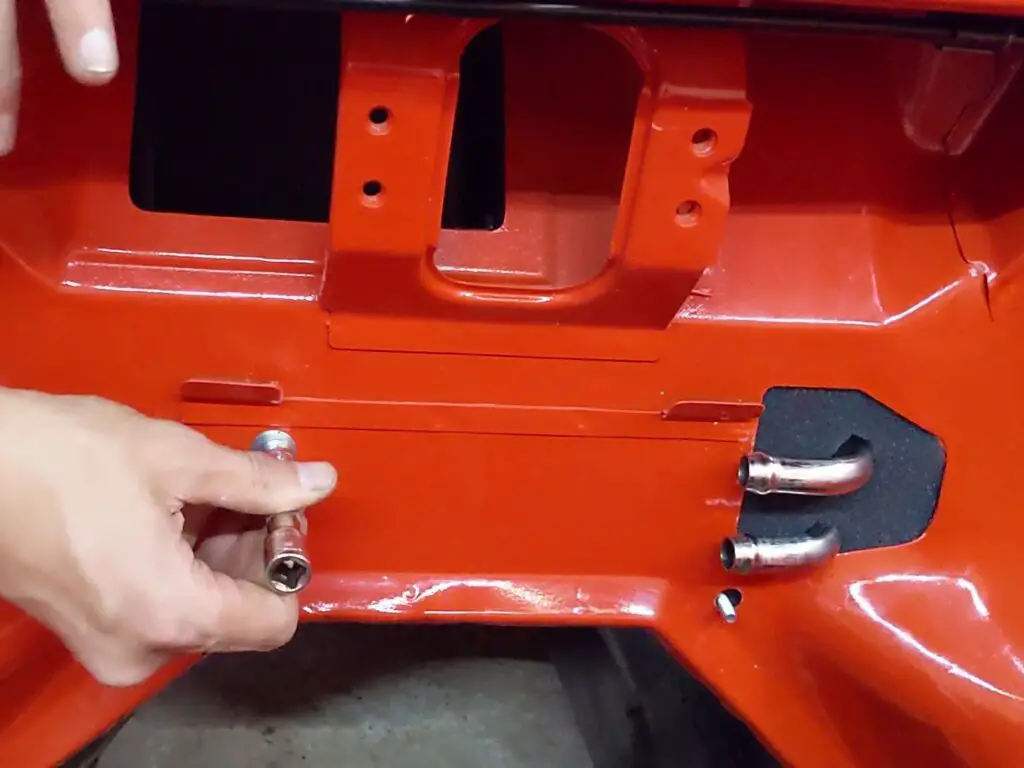
As is, they’re too long (they’re designed to fit down inside the original heater core), so I needed to cut them down. Hopefully I won’t need to return them!
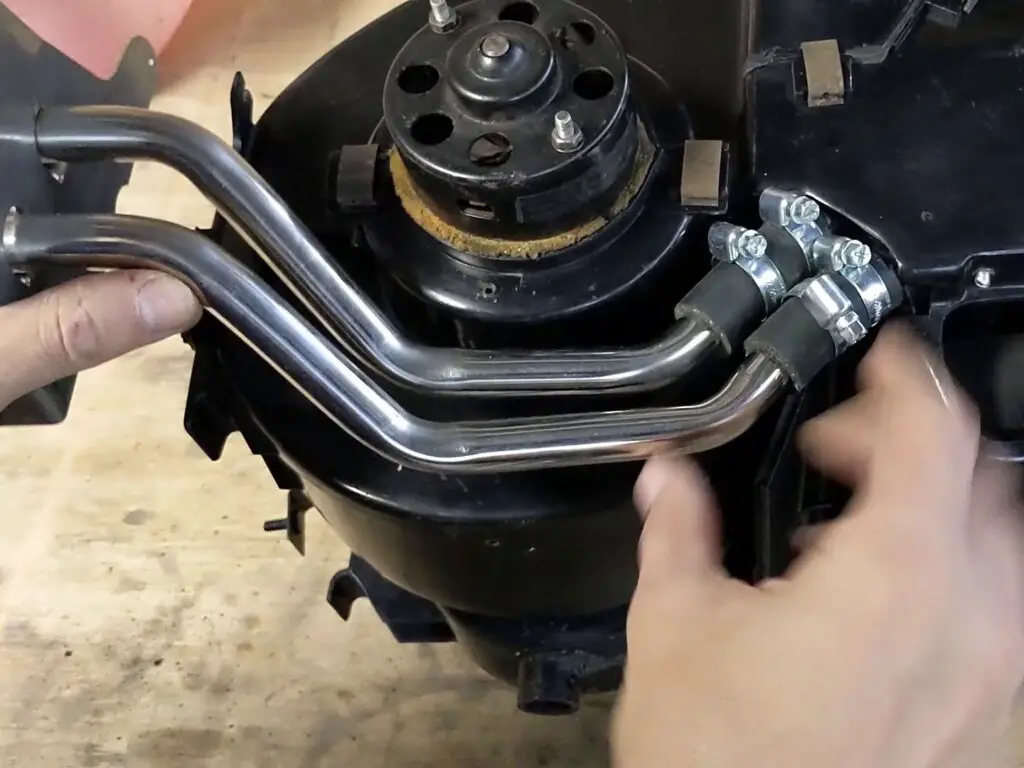
With them cut to size, I joined them to the heater core with a couple of short hoses and hose clamps. Job done!

Preparing to Fit to the Car
With the pipes fitted, the heater was now ready to fit to the car. I just had a couple more jobs to do before I could, though.
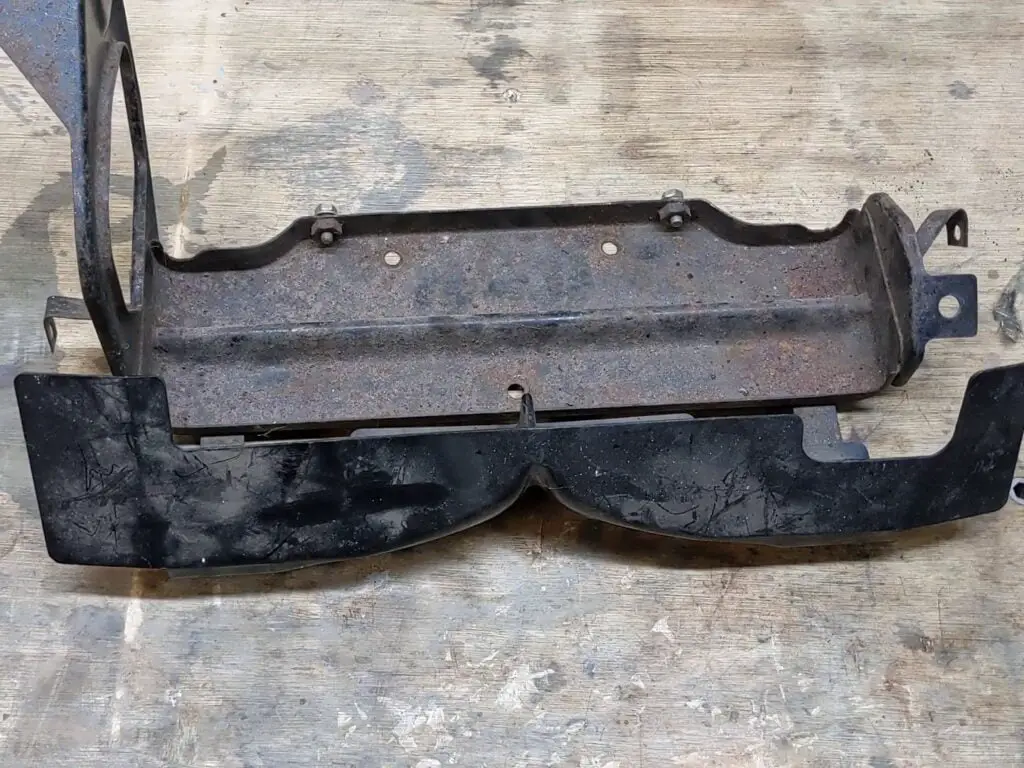
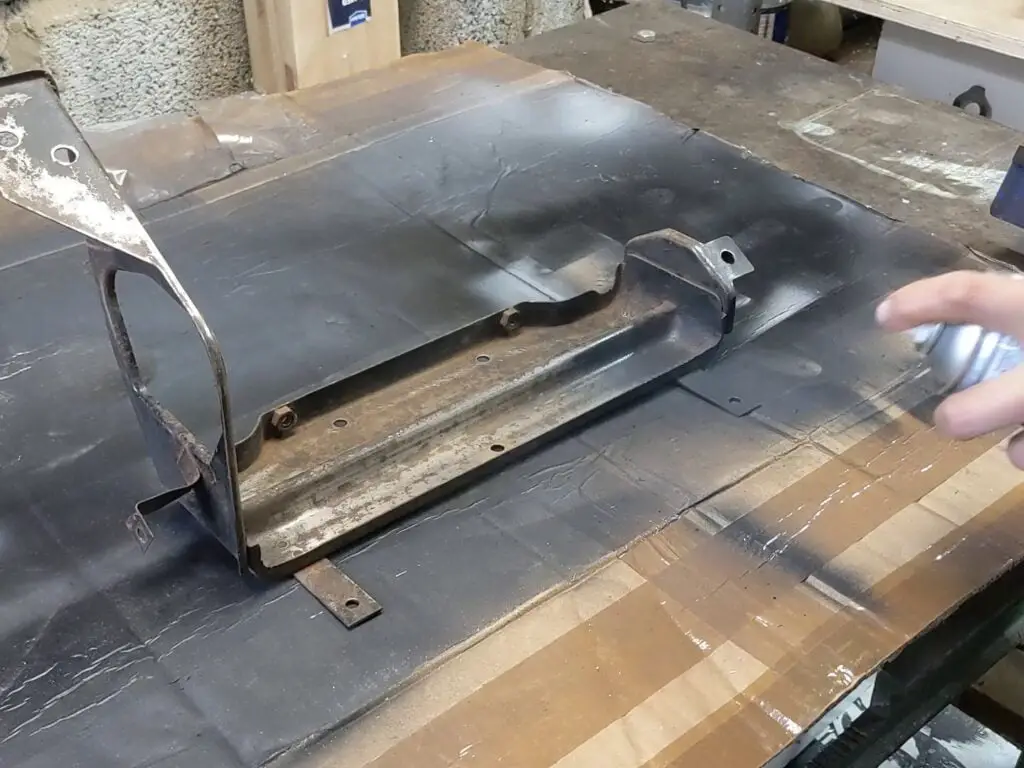
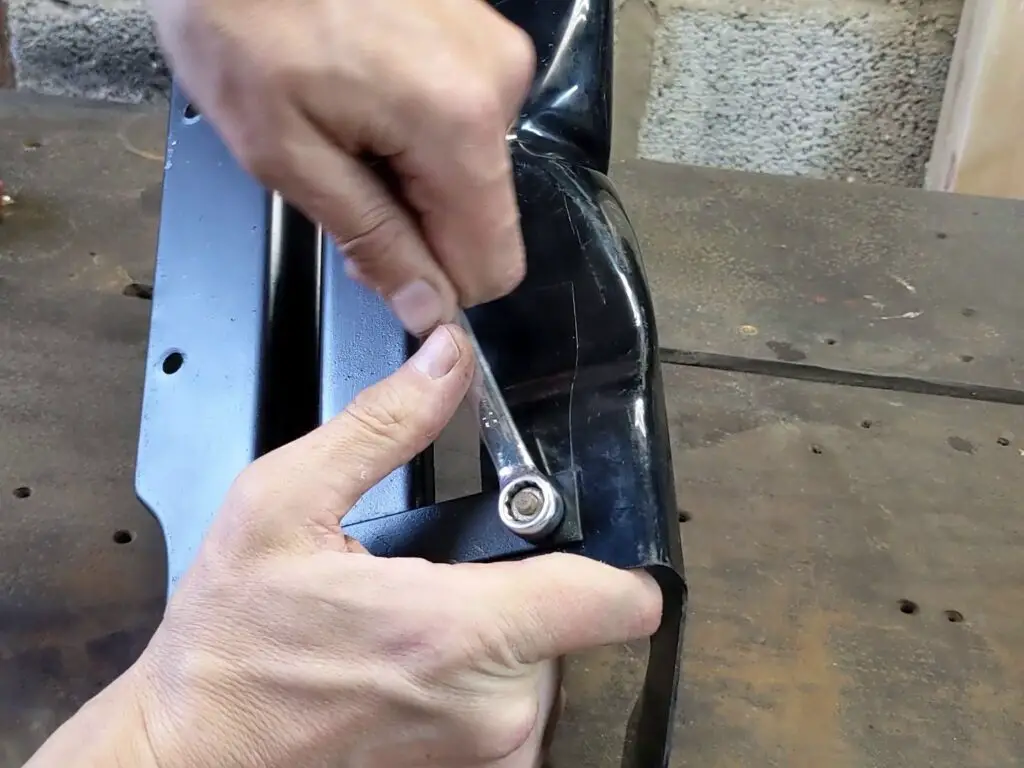
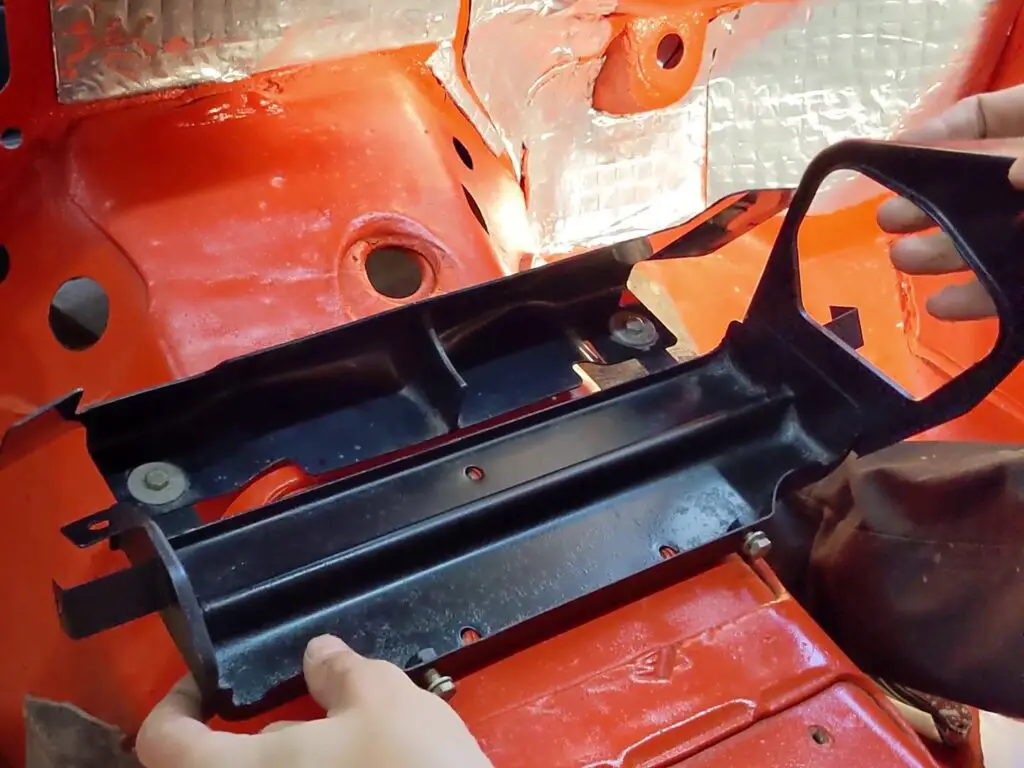
Firstly, the heater bolts to a bracket which sits on the gearbox tunnel. It was rough and rusty, so I needed to sort that out first. I just took it apart, cleaned it up and derusted it, and then got it painted.
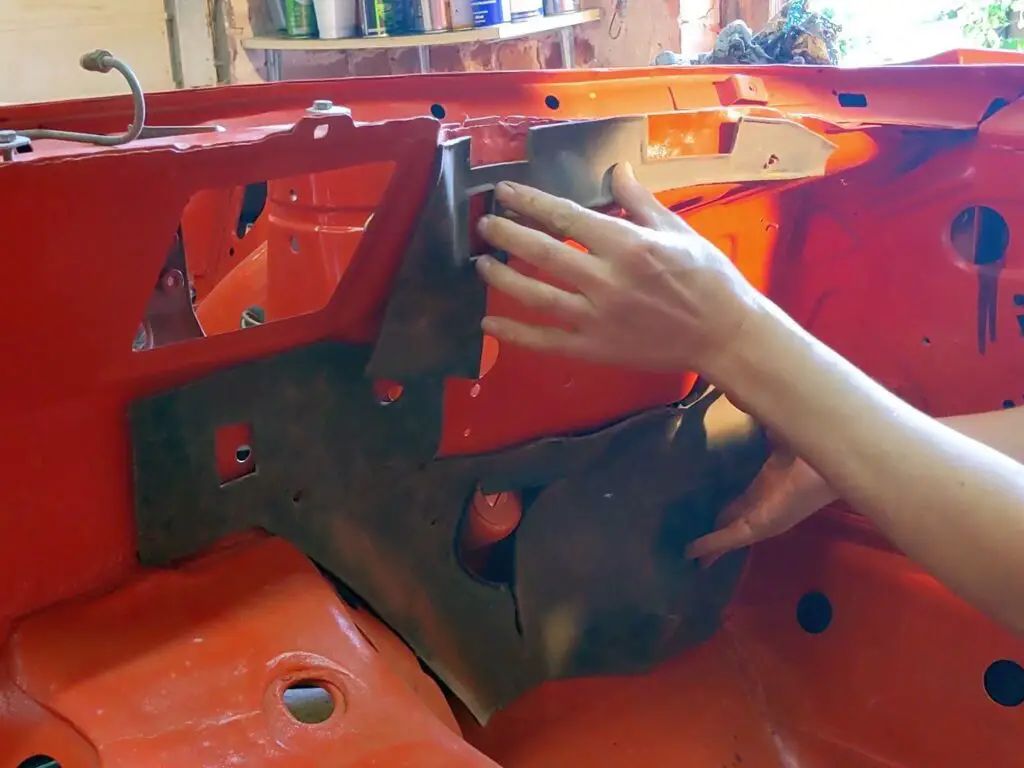
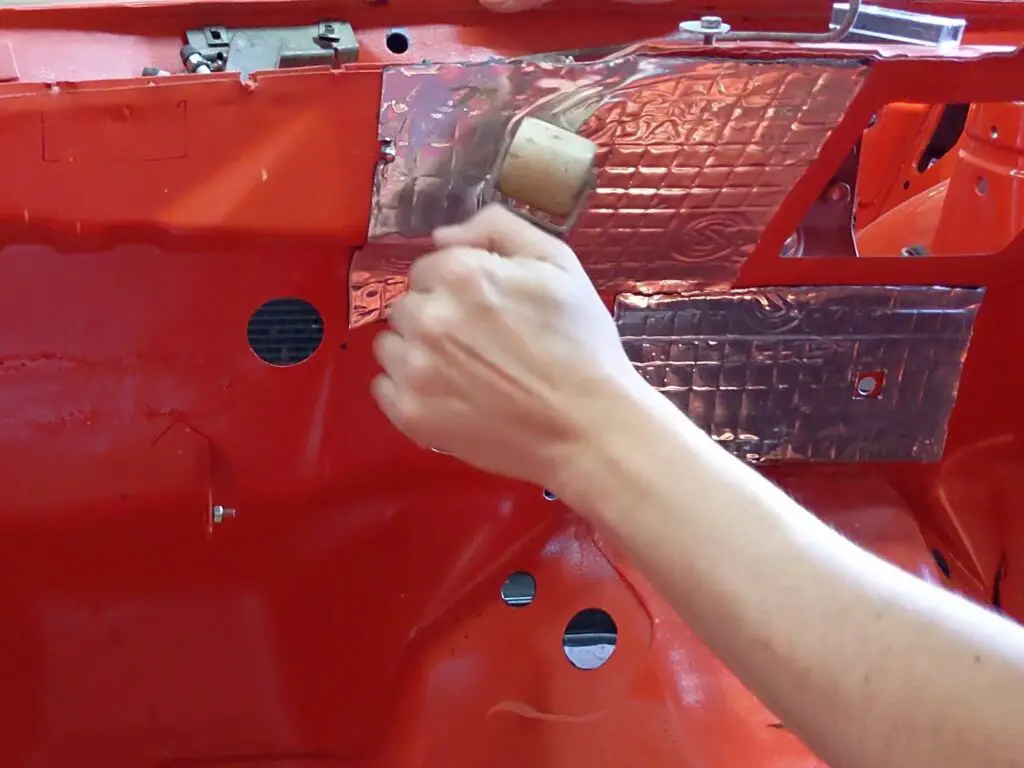
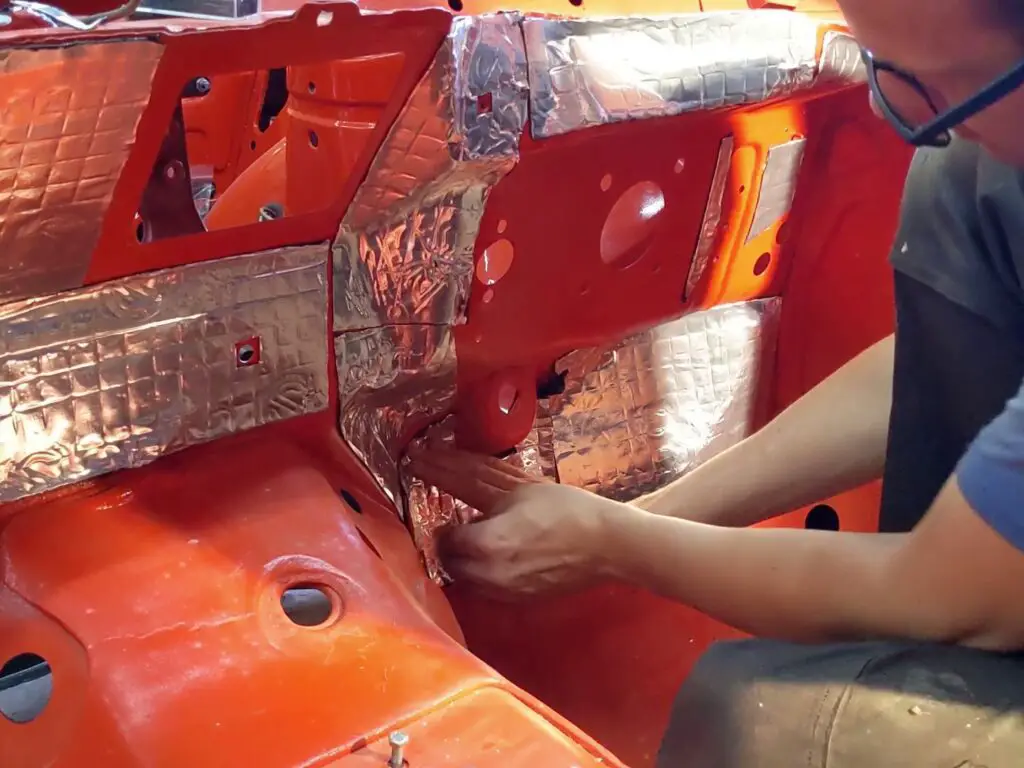
Secondly, the cabin itself needed some sound insulation on the bulkhead. I still had the old insulation around, but it was warped and falling apart. There are better options nowadays anyway, so I opted to replace it.
I used the same sound deadening panels I used in the boot area. With the bulkhead being so oddly shaped it took a while and I had to do a lot of cutting and shaping of the panels, so the end result isn’t too pretty. I’m not too worried though, it’ll all be covered up anyway.
Fitting the Heater
After all the hard work in getting to this point, actually fitting the heater was pleasantly easy. Probably more so while working in an empty cabin with no windscreen – I can imagine this being a fiddly job with half the interior in place – but still, it simply dropped in place and a few bolts fixed it in.
And that’s another job crossed off the list!
The Video
As always, I’ve made a video showing all this. Enjoy!
Yes I did the same job on mine a couple of years ago and used the alternative matrix. Also had to fight back the tears as I cut off the expensive stainless pipes!
It’s a decent workaround, and better than the original. I’m surprised Rimmers, Robsport etc haven’t packaged it all together as a kit. But yes, it just feels wrong cutting those pipes!
I bought the “kit” from Steve Wicox at S&S comprising new matrix, foams, hoses and jubilee clips. Already had the stainless pipes.