After restoring all the front suspension in the last episode, it was time to get it all together and back on the car at last!
After all the hard work I did to get the components cleaned and ready, I was looking forward to working with some nice clean parts and not have to spend my whole time fighting rusty, dirty bits.
Assembling the Struts
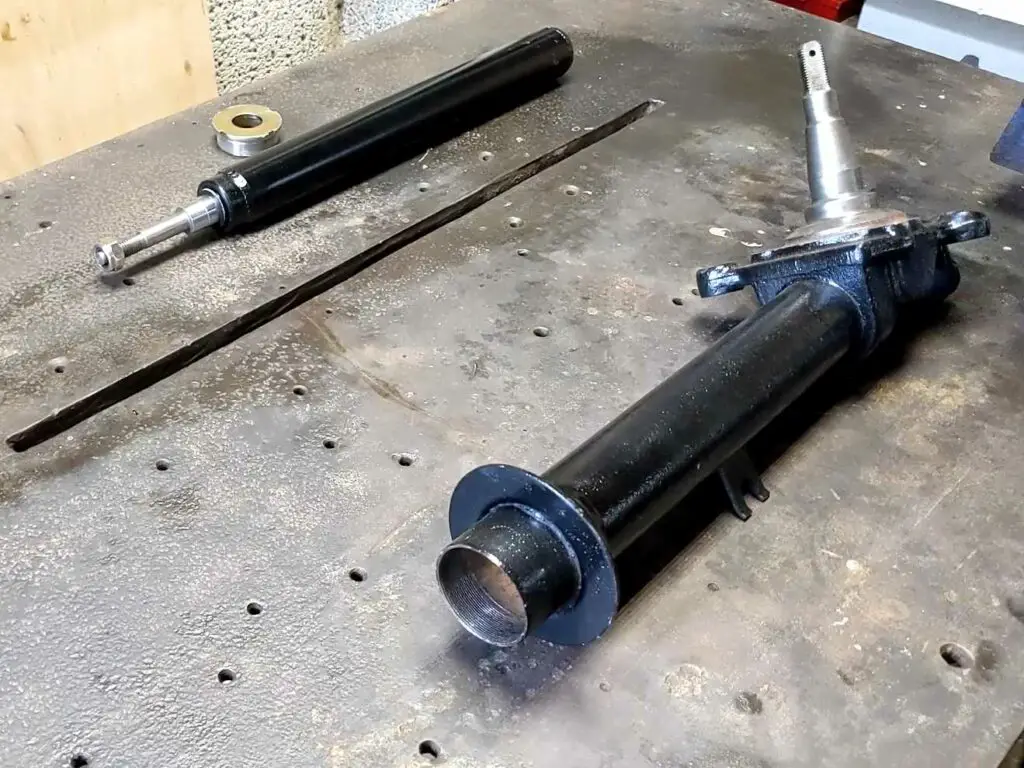
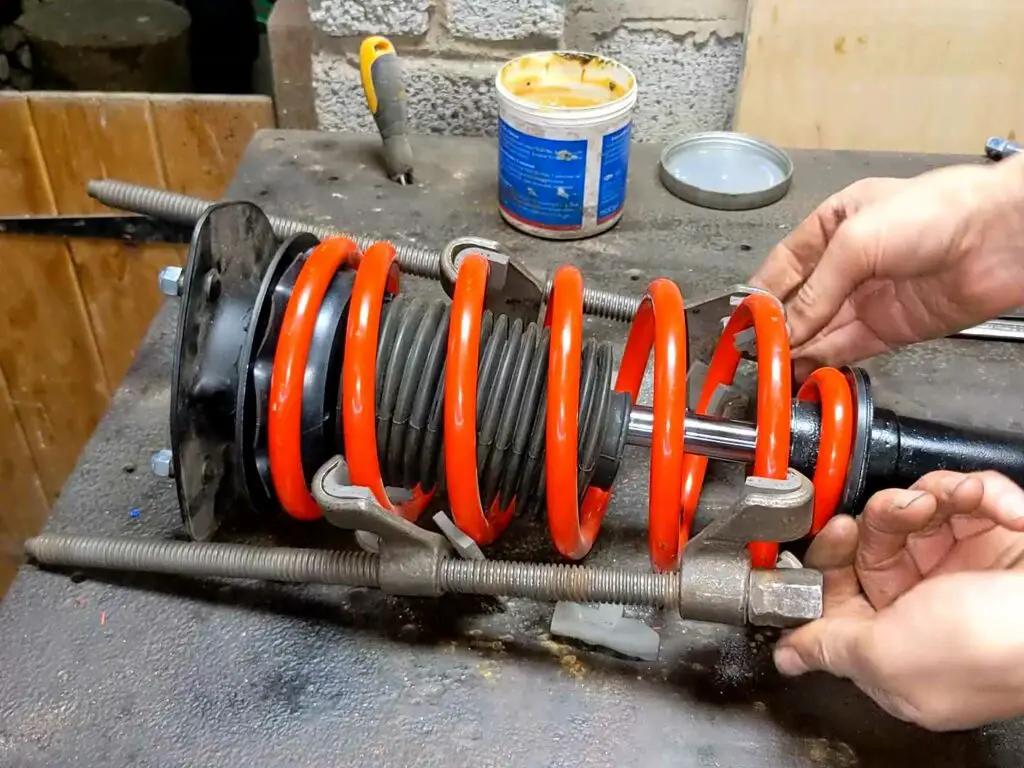
The first job was getting the struts back together.
The dampers went in first; a simple enough job, although I didn’t have the special tool required. A pair of channel lock pliers did the job just nicely though!

Strut ready for reassembly No special tool? Improvise.
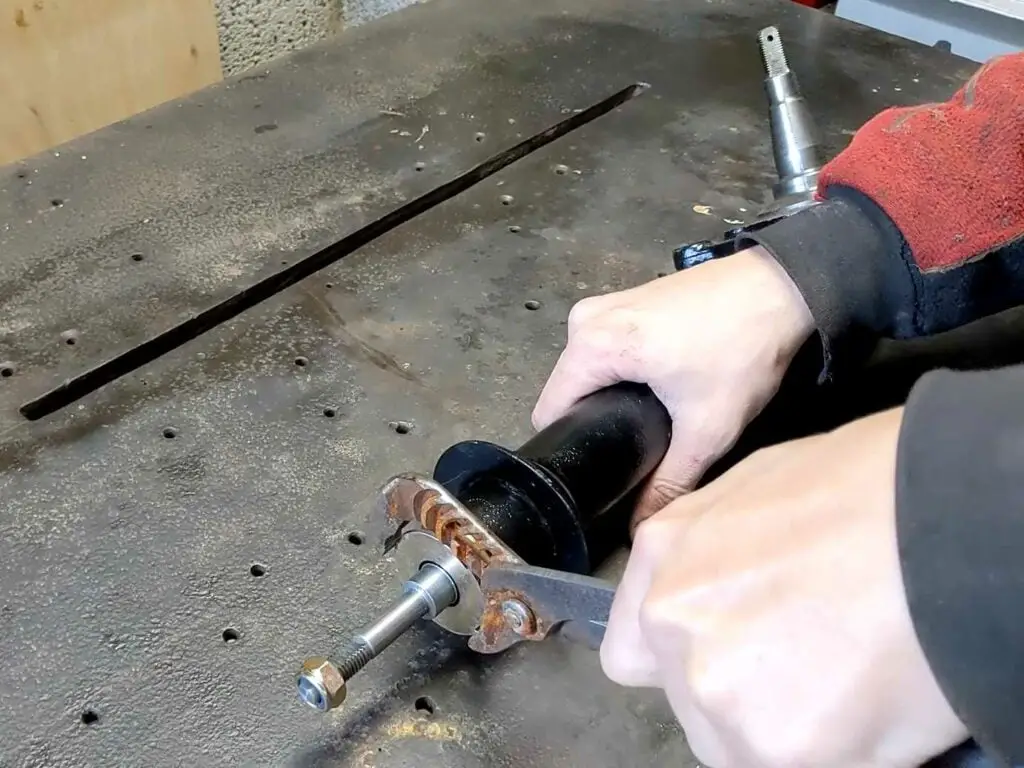
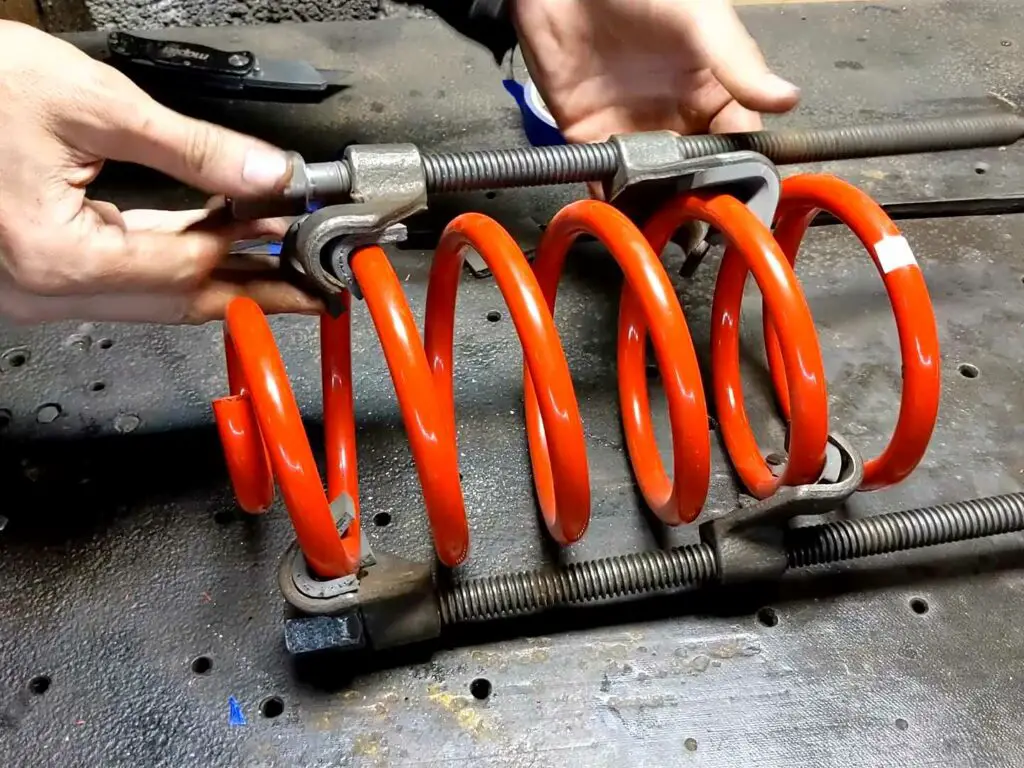
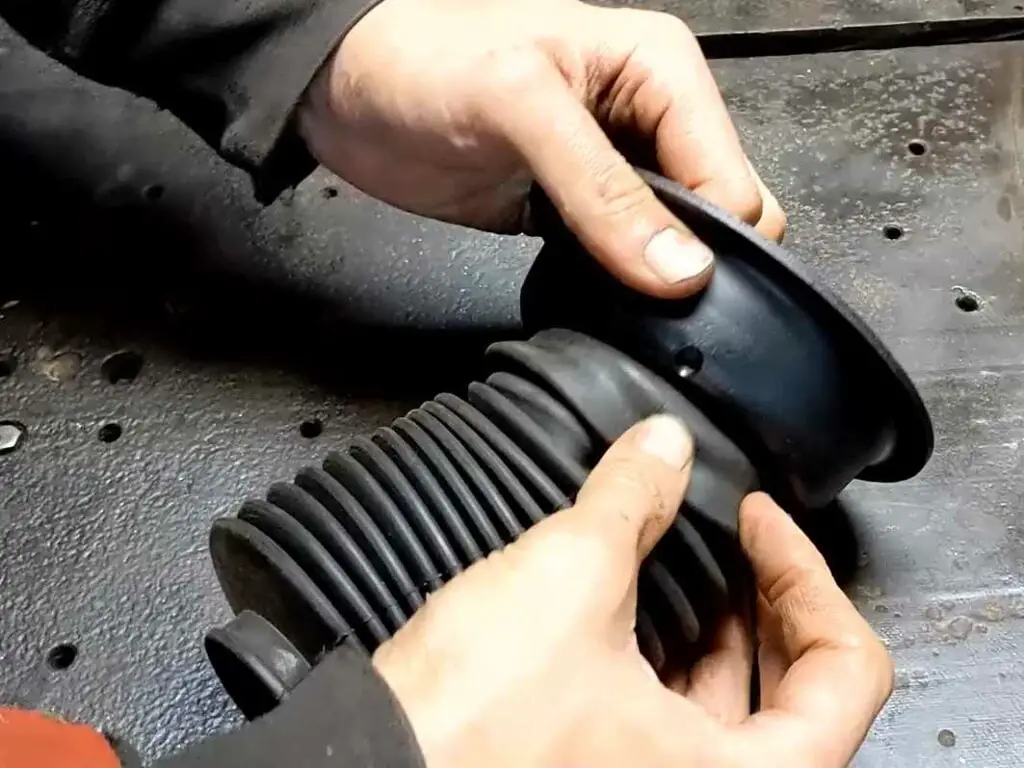
With that done, it was time to get the rest of it together. The new springs were compressed – I used some old bits of foam to stop the spring compressors from scratching the paint.
Then the bump stop and gaiter was fitted and I started putting the whole assembly together:
Note the foam padding to protect the powder coating.

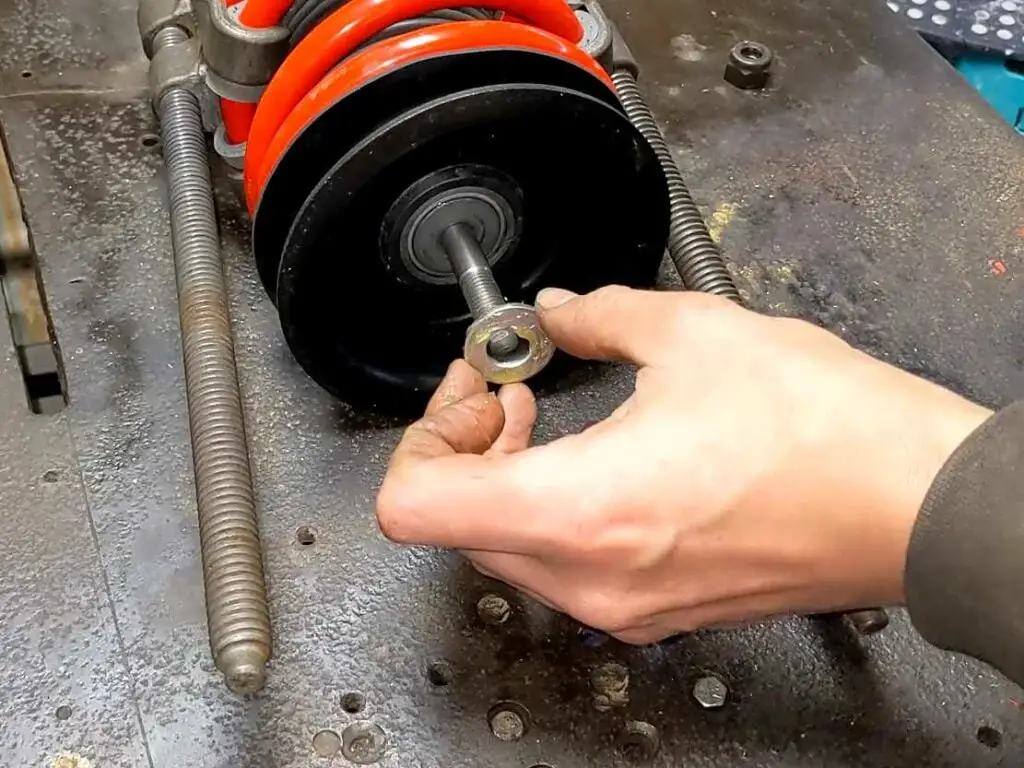
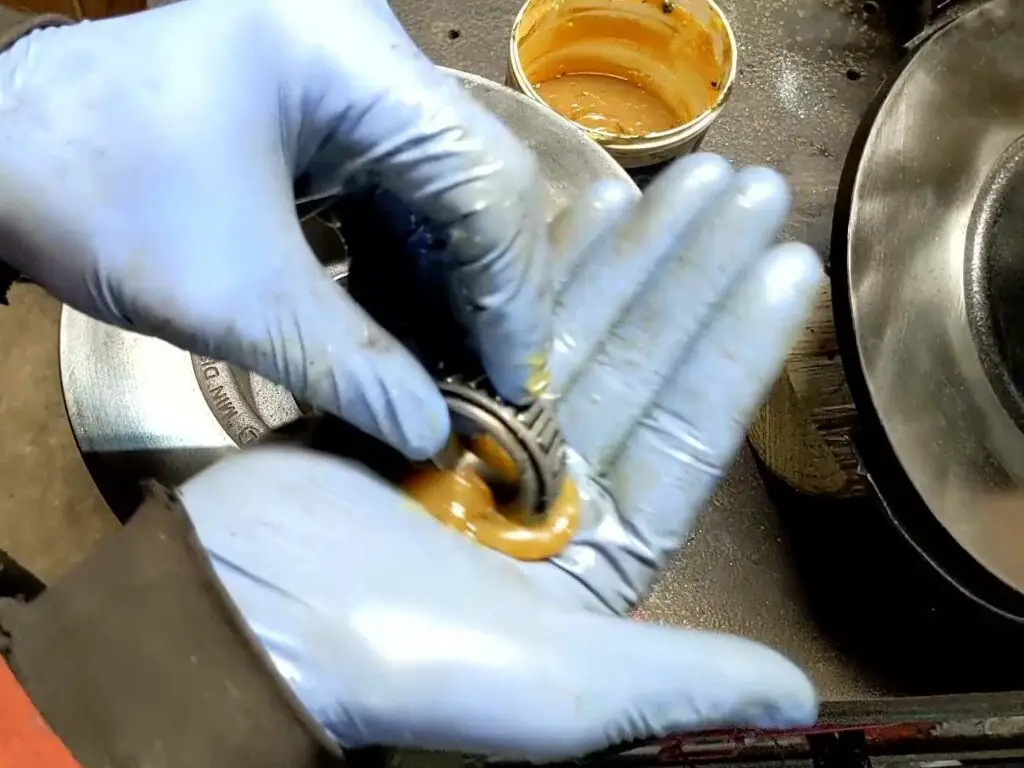
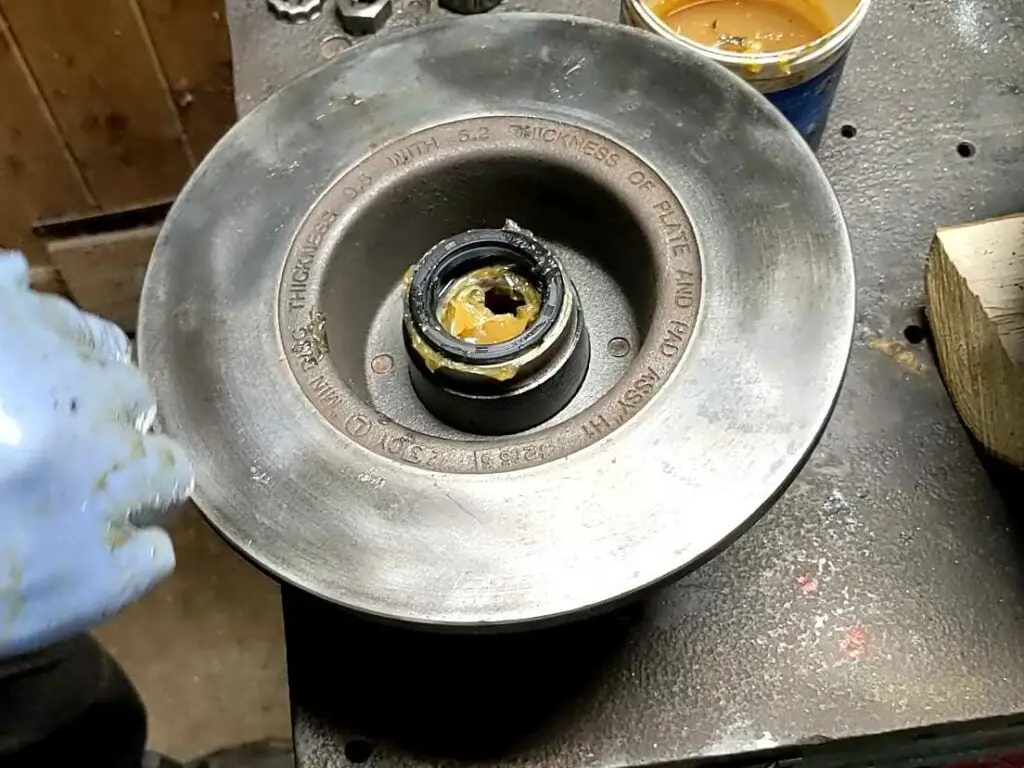
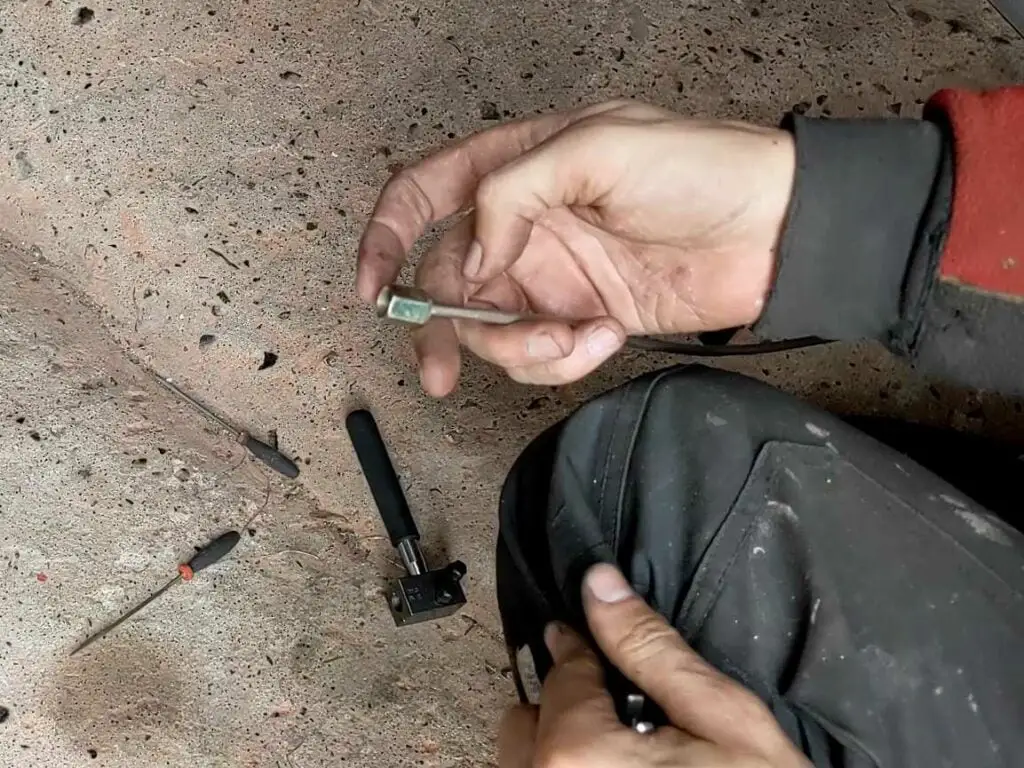
I got some swivel bearings from Robsport to fit to the struts a while ago. As the TR7 doesn’t have power steering, every little bit helps to make the steering smoother so these were a worthwhile addition. They simply fit in place of the old washers.
The bearing goes in first… and then the (greased) washer. Simple.

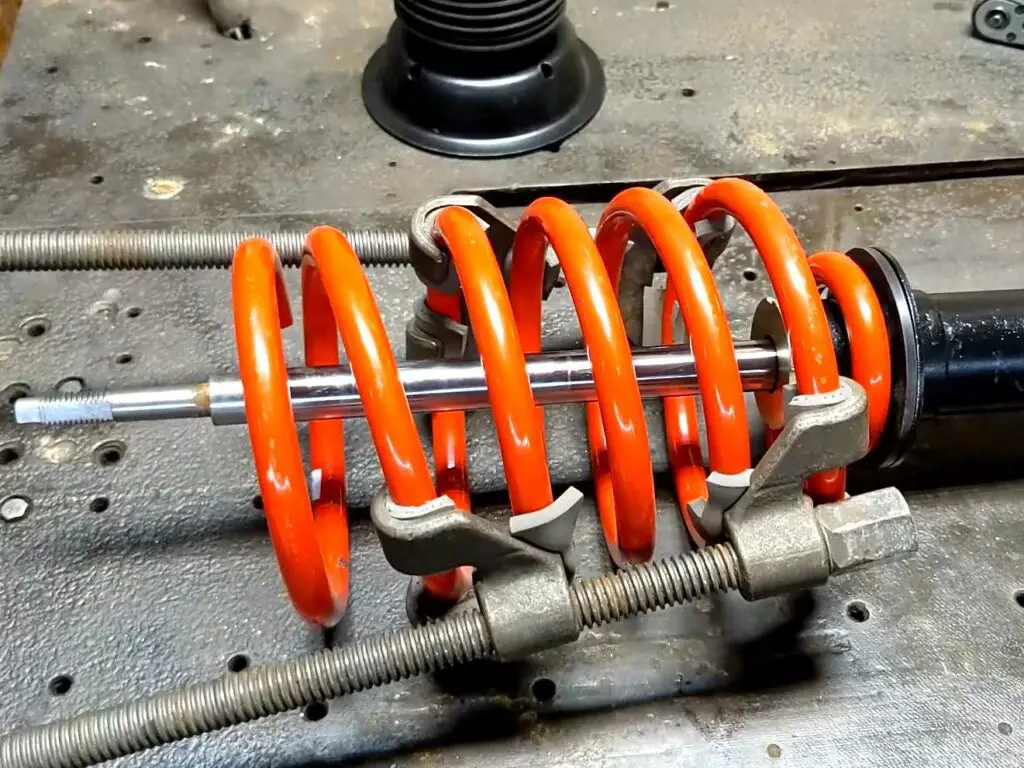
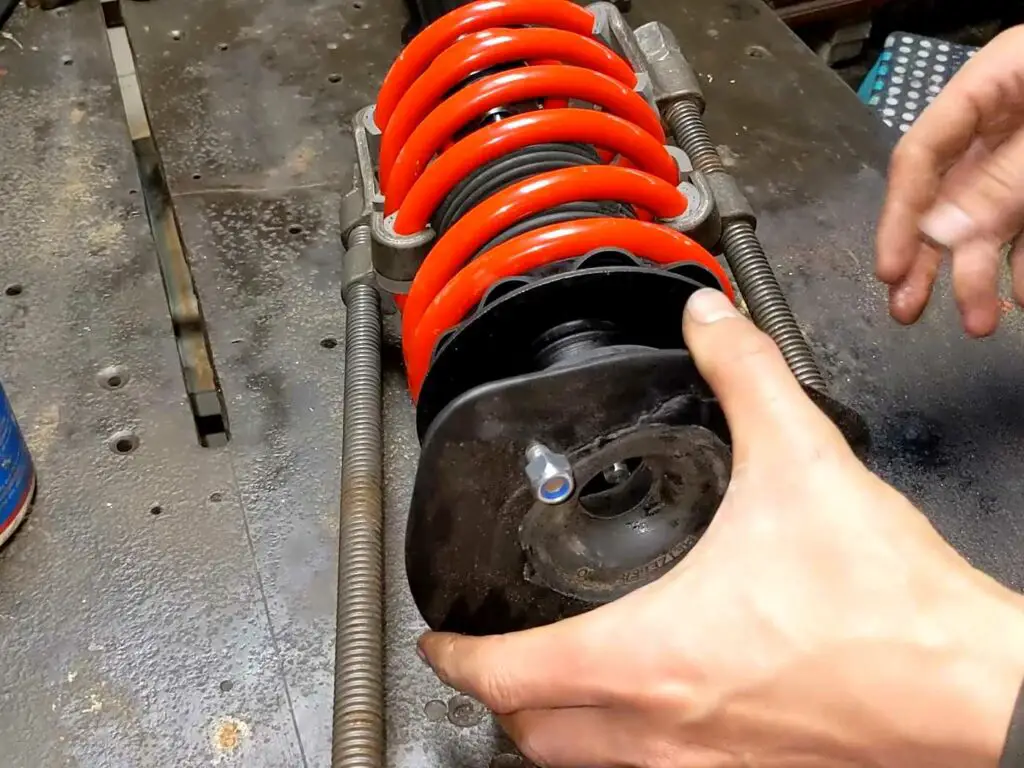
Then it was just a case of putting on the top mount, bolting it all together and then taking the spring compressors off.
The top mount goes on… and with the strut assembled, the spring compressors can come off.
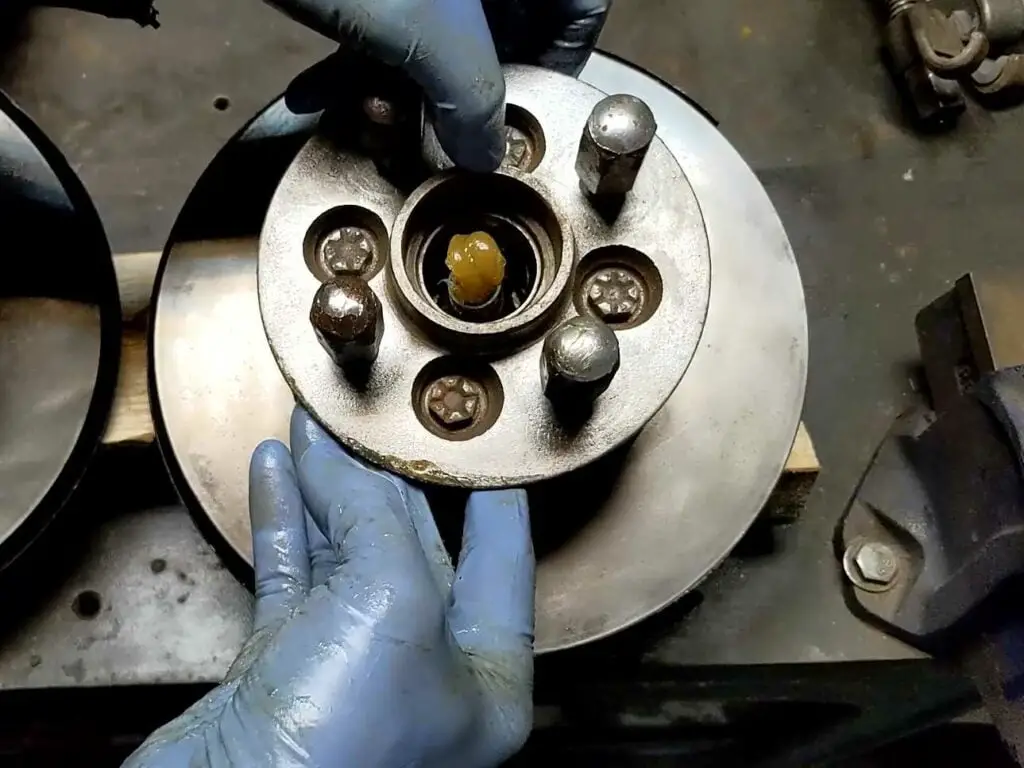
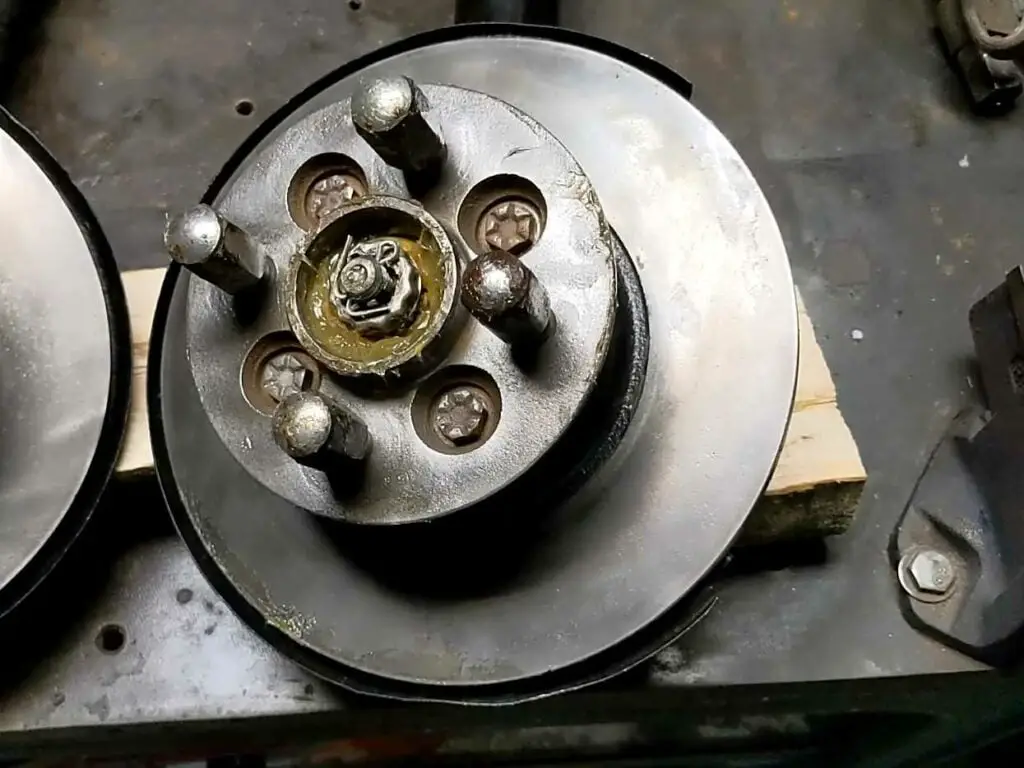
Then the hubs were reassembled: Dust shields were first, and then the hub went together:
Dust shields fitted in place first. Then the rear bearing was greased… And fitted before the seal went in place.
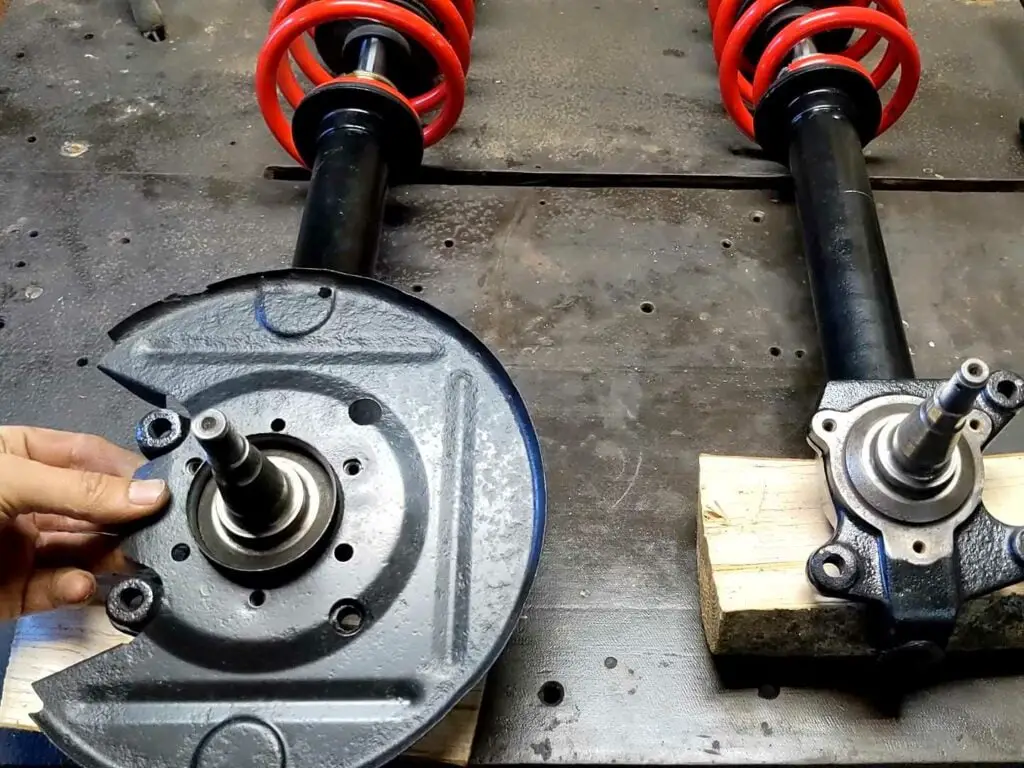
Then the hub was dropped on to the axle… bolted in place… and secured with a split pin.

Assembling the Subframe
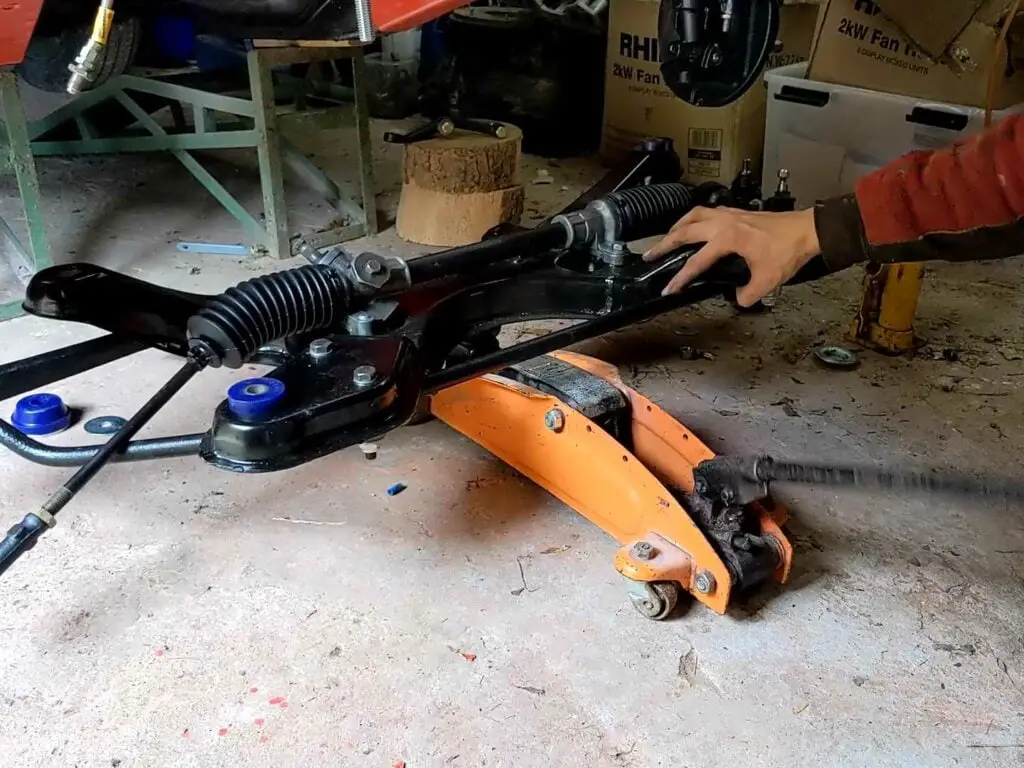
With the struts assembled (with the exception of the brake calipers, which I will be dealing with separately), it was time to get to work on the subframe assembly.
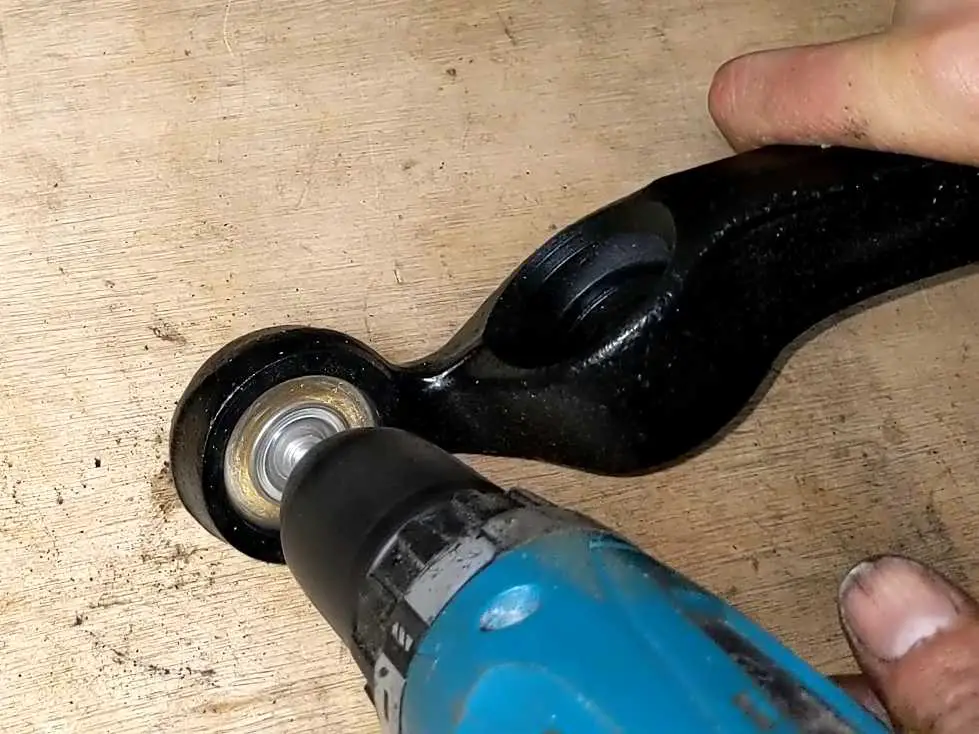
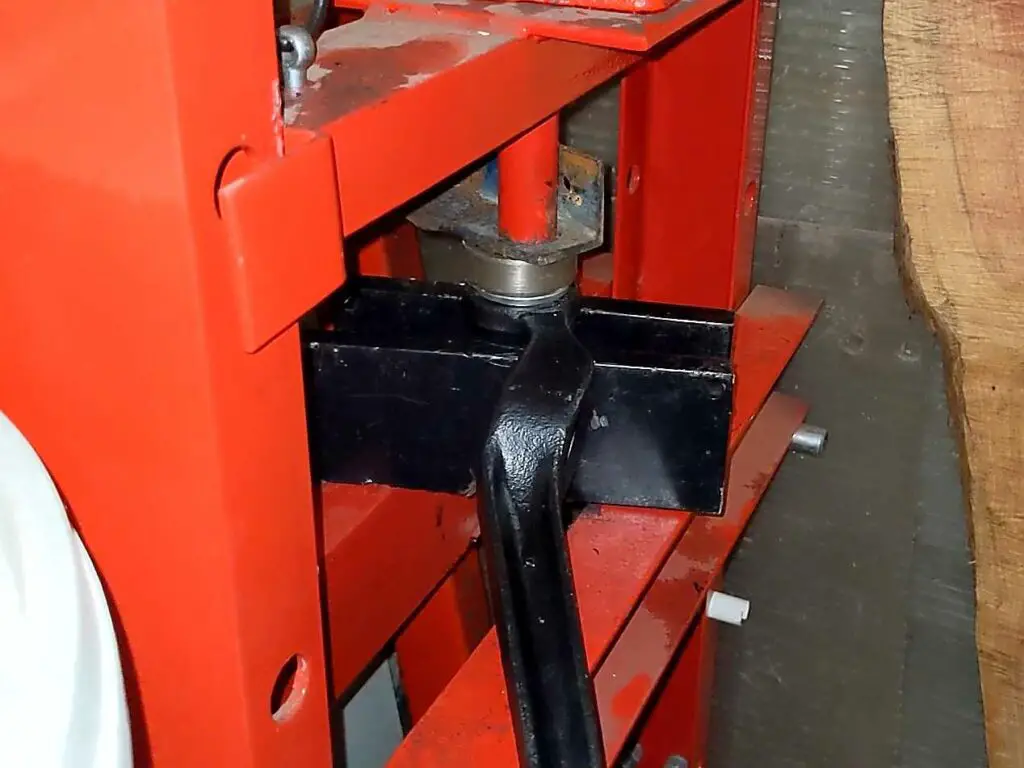
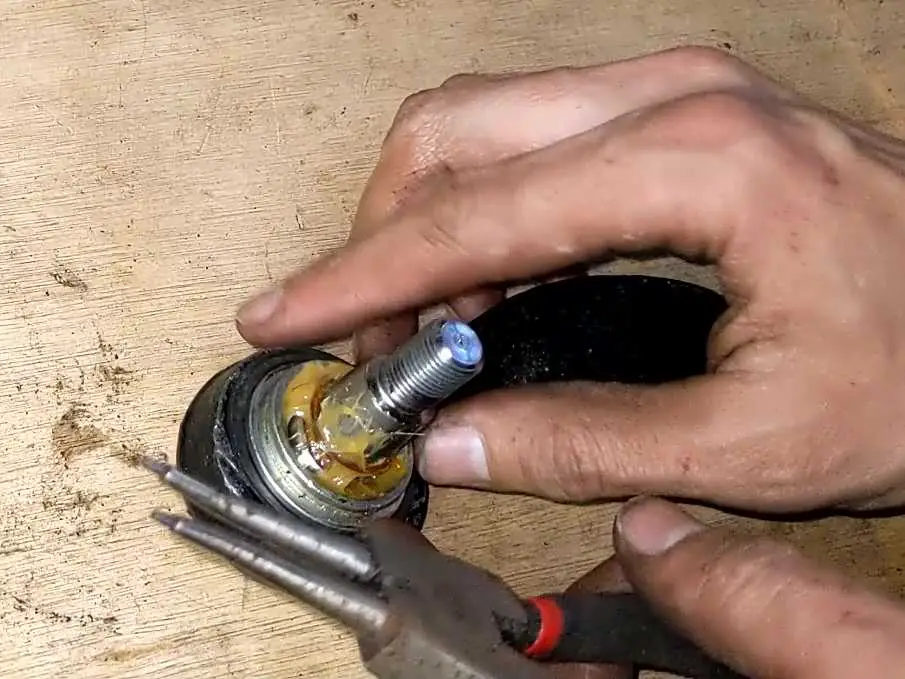
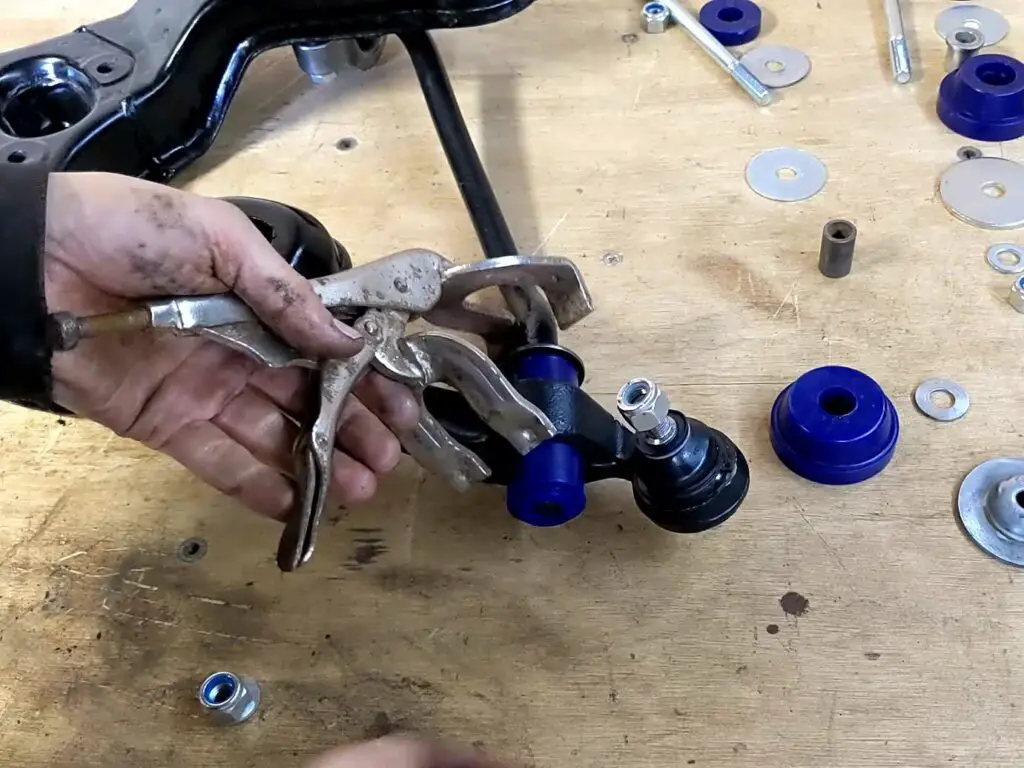
The lower arms were up first. I needed to fit new balljoints here, which need to be pressed in. So I cleaned up the paint overspray from the arms before using my new hydraulic press (which is really proving to be a good buy!) to fit the new balljoints.
The arms are weirdly shaped, so I had to do a certain amount of fairly precarious balancing in the press to get them fitted! I found it easier to take the boots off before fitting the balljoints and refit them afterwards, as they were causing problems with getting pinched in the press.

Lower arms are cleaned of paint overspray The new balljoints are fitted in place… 
and the circlip fitted before the rubber boots are refitted.
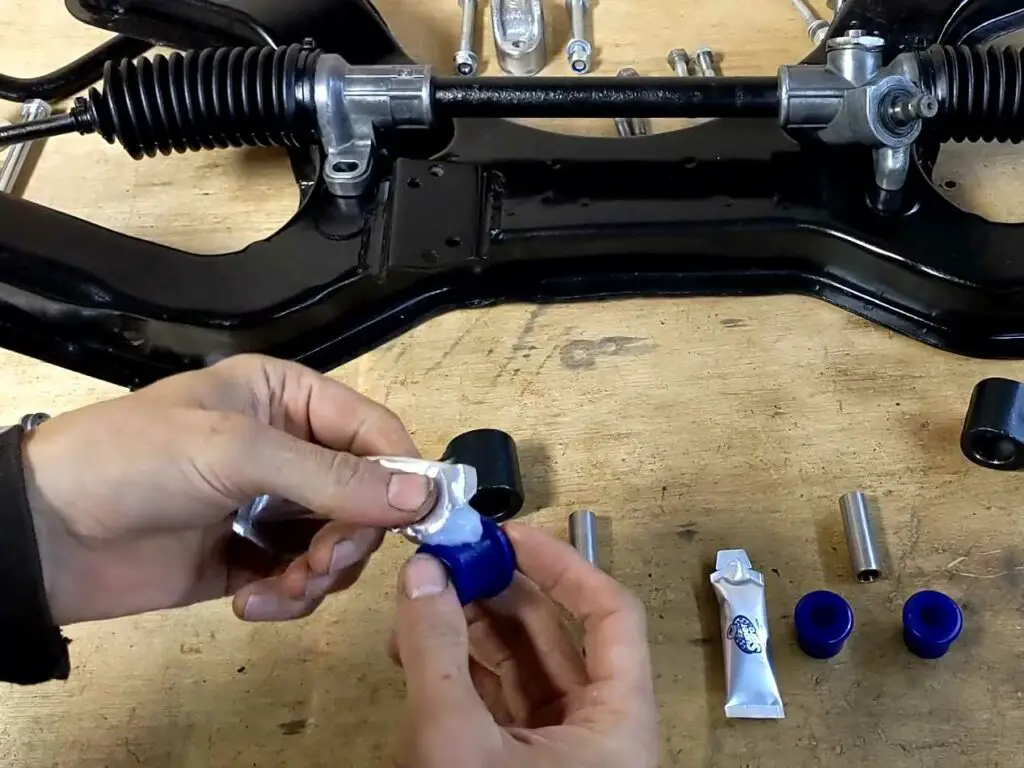
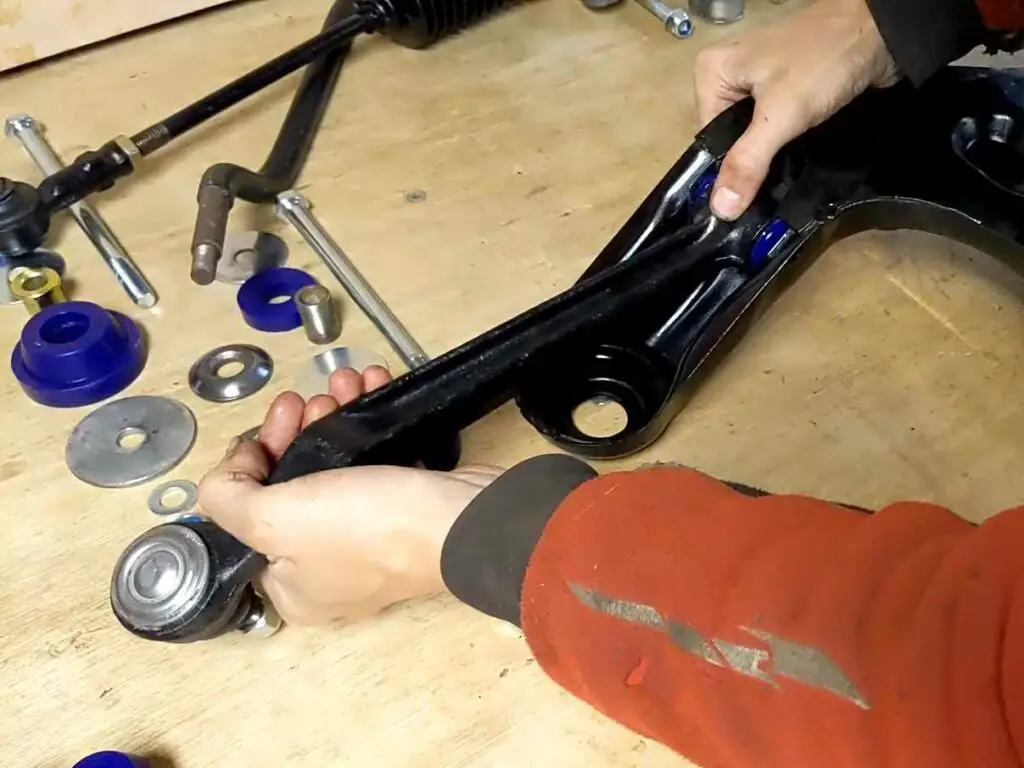
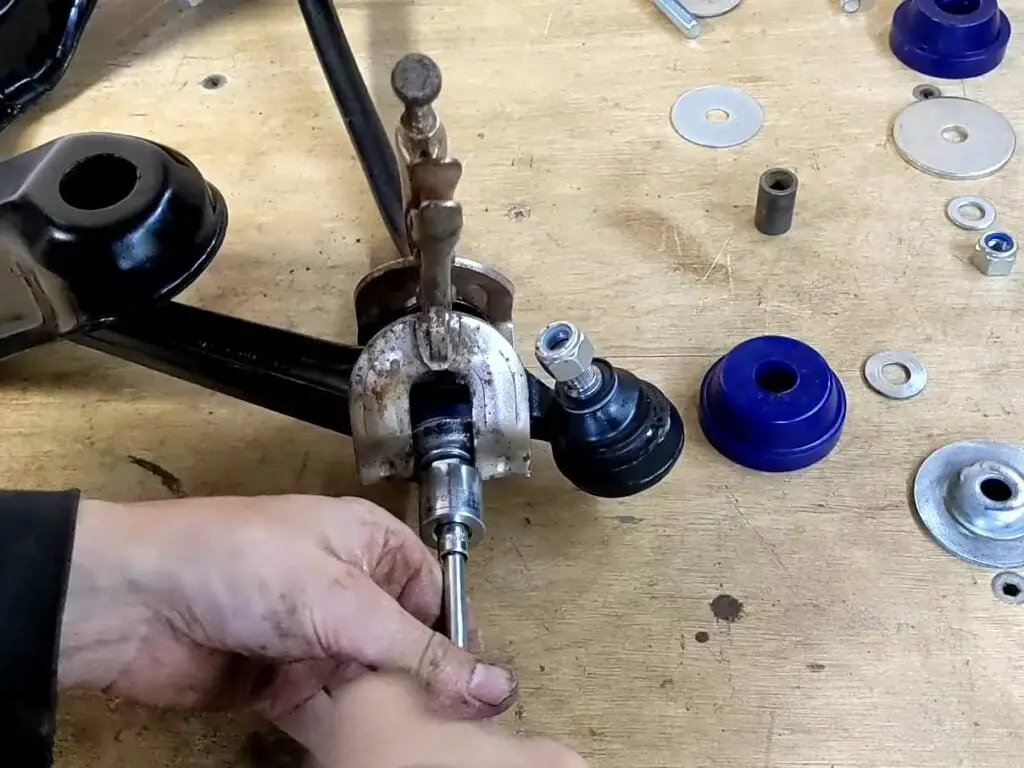
With the balljoints in place, I then fitted the bushes. There are just the two bushes here at the front, and as they’re two piece bushes they were easy enough to fit. Then I bolted the arms to the subframe.
Bushes greased and fitted. And then the arm bolts into place.
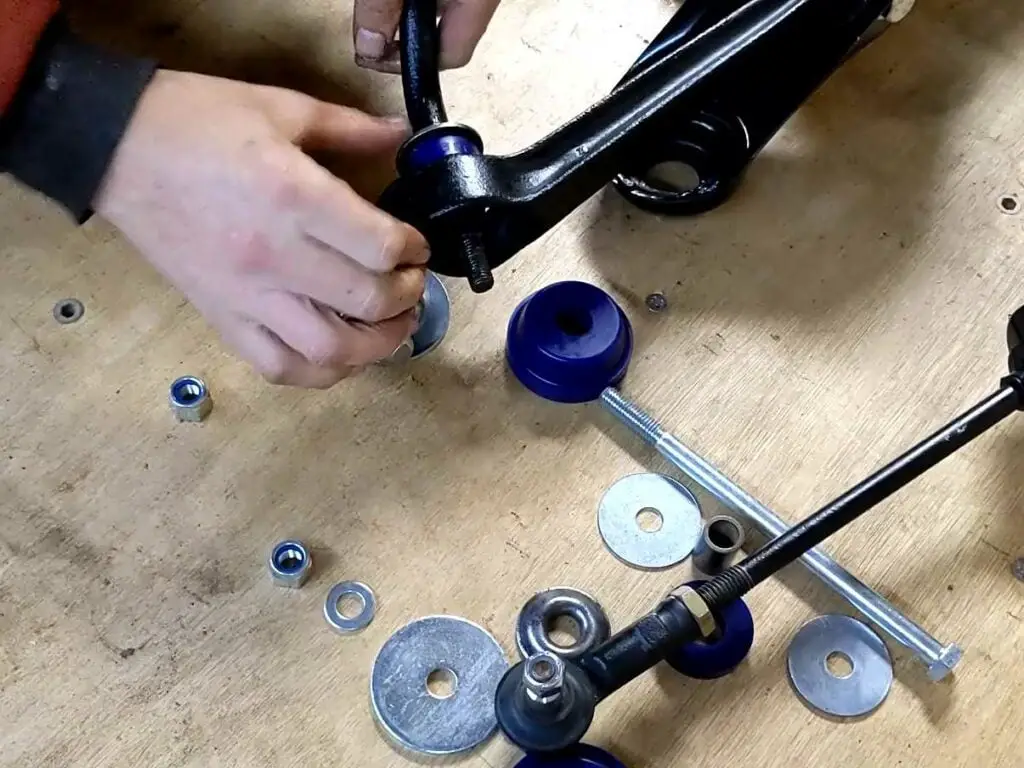
With the arms fitted I could now fit the anti roll bar. Because it’s under tension it’s normally a tough job to refit the bar while the suspension is in the car, but I figured I’d have an easier job with the whole thing on the bench. And I was right; with the arms free to move up and down, the bar only needed some slight persuasion to slip into the holes in the arms.
The only real problem I had here was with refitting the bolts to the end of the bar; I couldn’t compress the new bushes down enough to get the nut on the end! Fortunately one of my vice grips turned out to be just the right size to be able to squeeze the whole lot down and still leave room to get the nut on by a couple of threads.
The anti roll bar went in quite easily while on the bench. These mole grips were just the job to compress the bushes. Which allowed me to put the nut on the end.
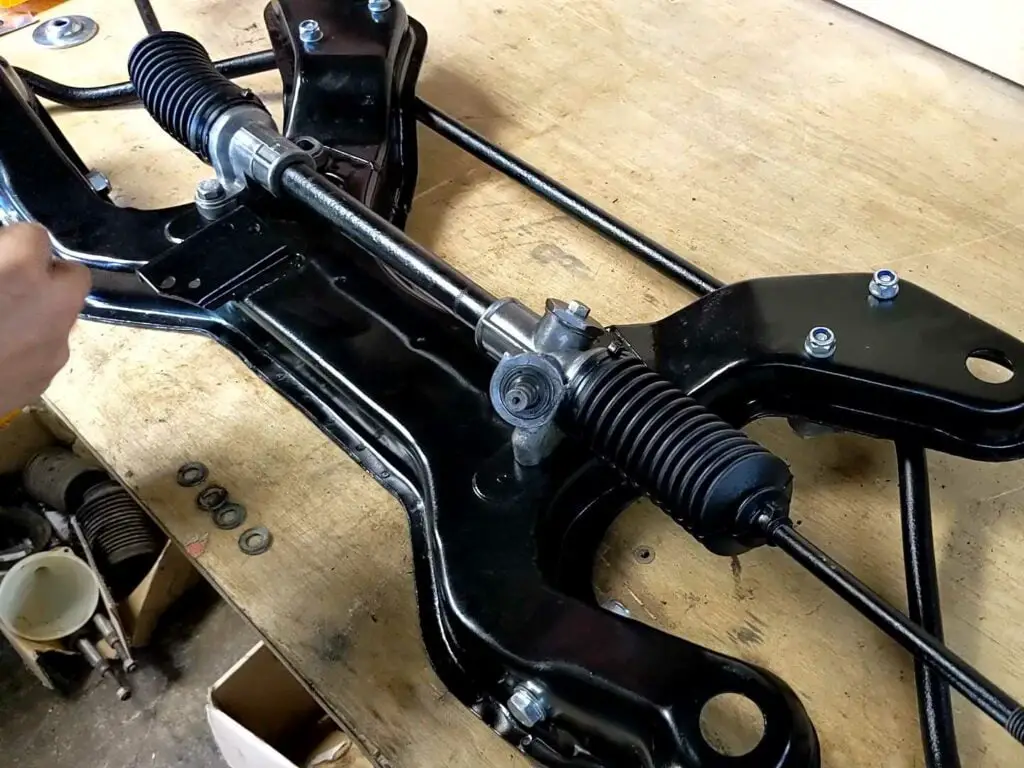
Then the steering rack was fitted, and the centre anti roll bar clamps were tightened down.
The steering rack simply bolts down to the subframe. With everything in place, I was able to tighten up the anti roll bar clamps.
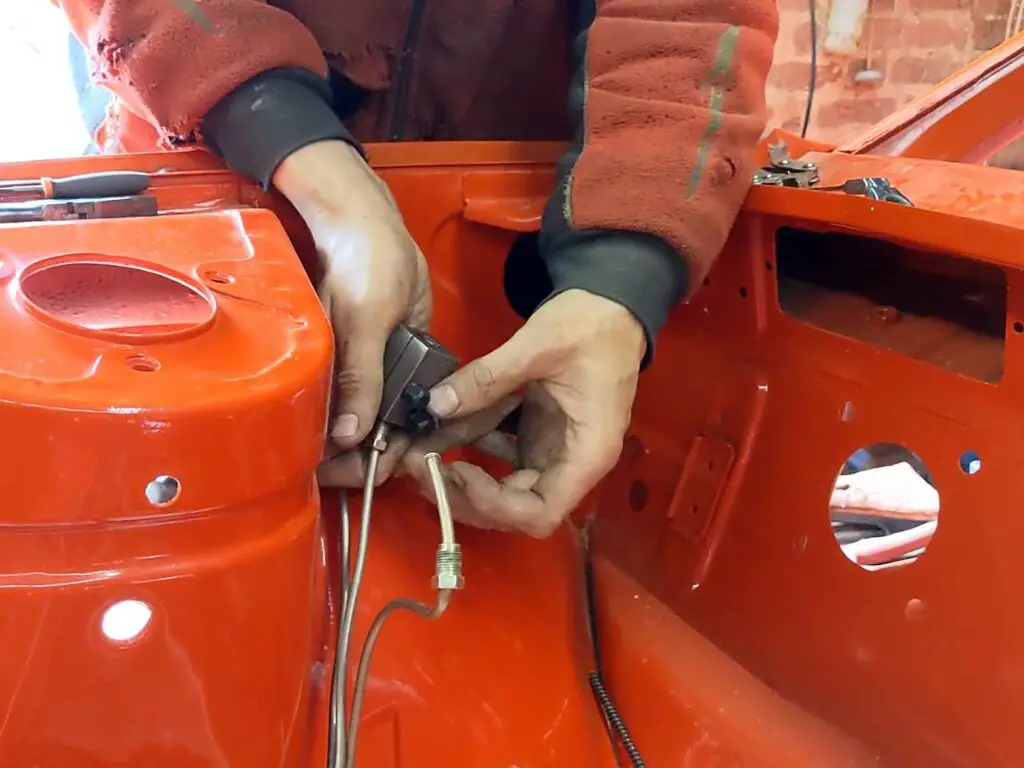
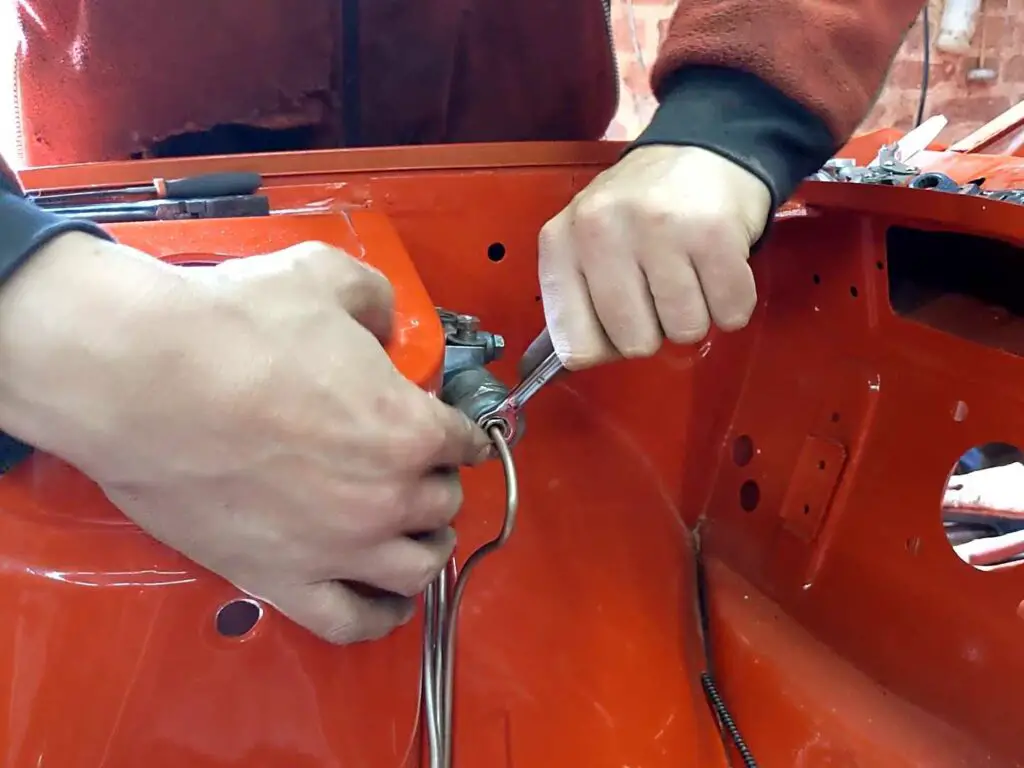
Fitting New Brake Lines
Before I fitted the suspension, I thought this would be a good time to finish up the brake lines. It would be much easier to do while I could still sit inside the engine bay!
New brake lines were made up and flared. Some of it was easier to do in situ. The brake balancer was then refitted.
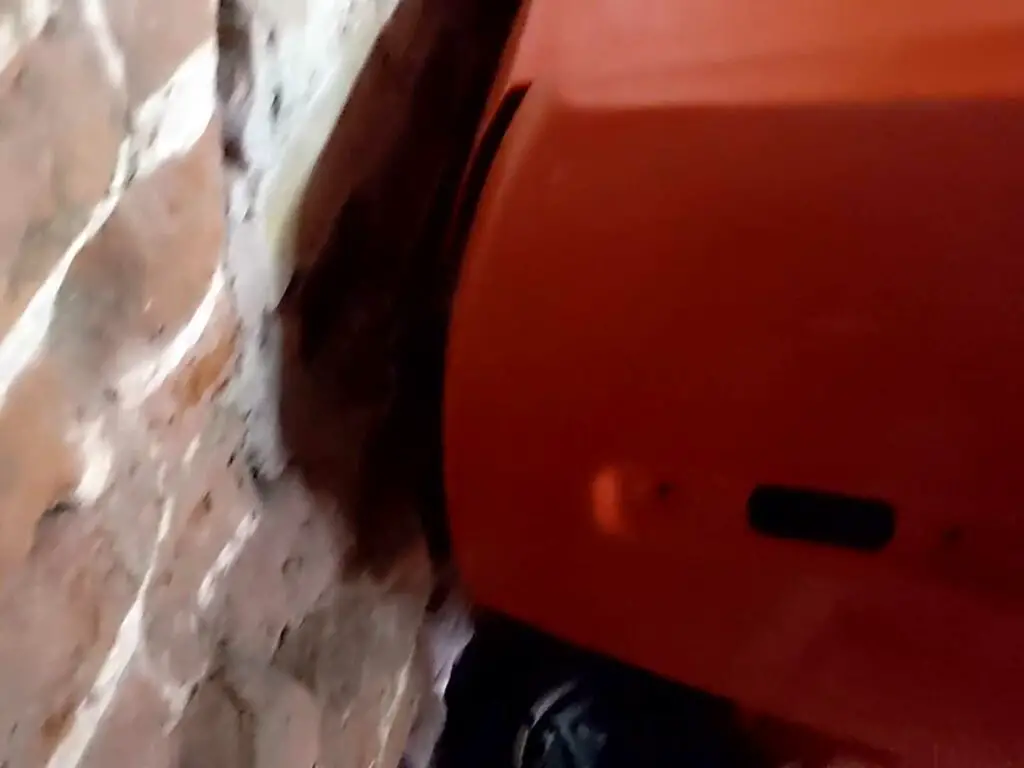
Preparing the Car
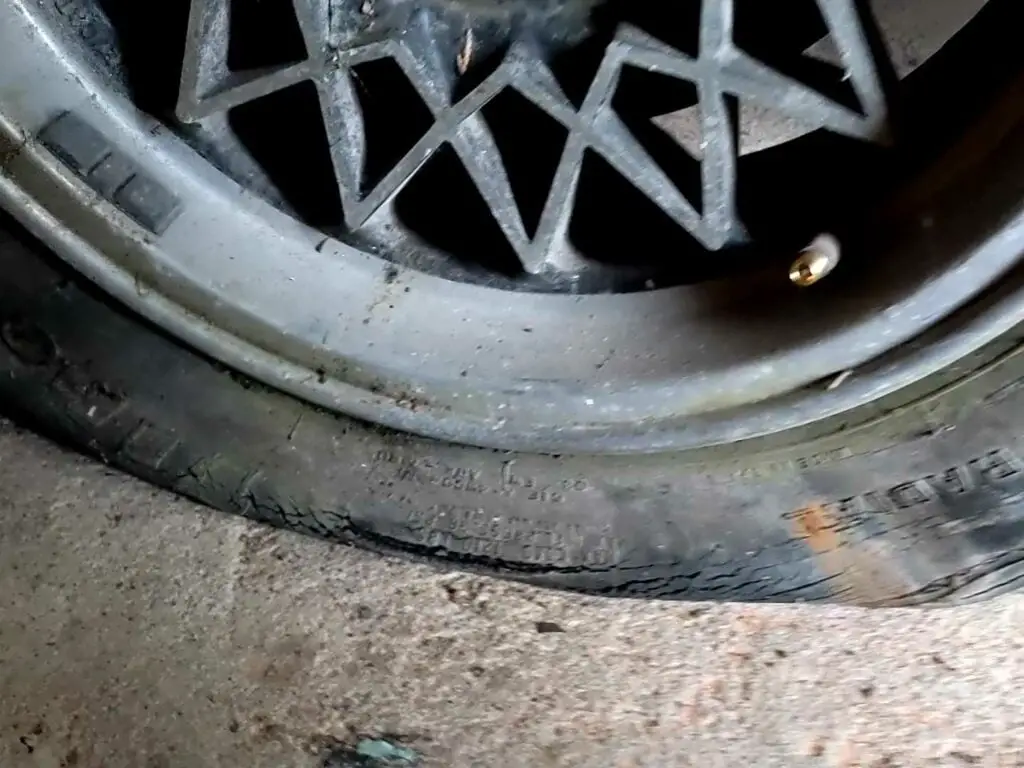
Before I could fit the subframe and struts, I needed to get the car in position and take out the dolly I’d made before. One of the rear tyres had gone flat (perished!), so I had to pump that up a little before moving everything forward.
I guess I’ll need to be replacing this tyre. The car was pushed right up against the wall, so I needed to move it. Luckily the tyre managed to hold air long enough to move the car forwards.
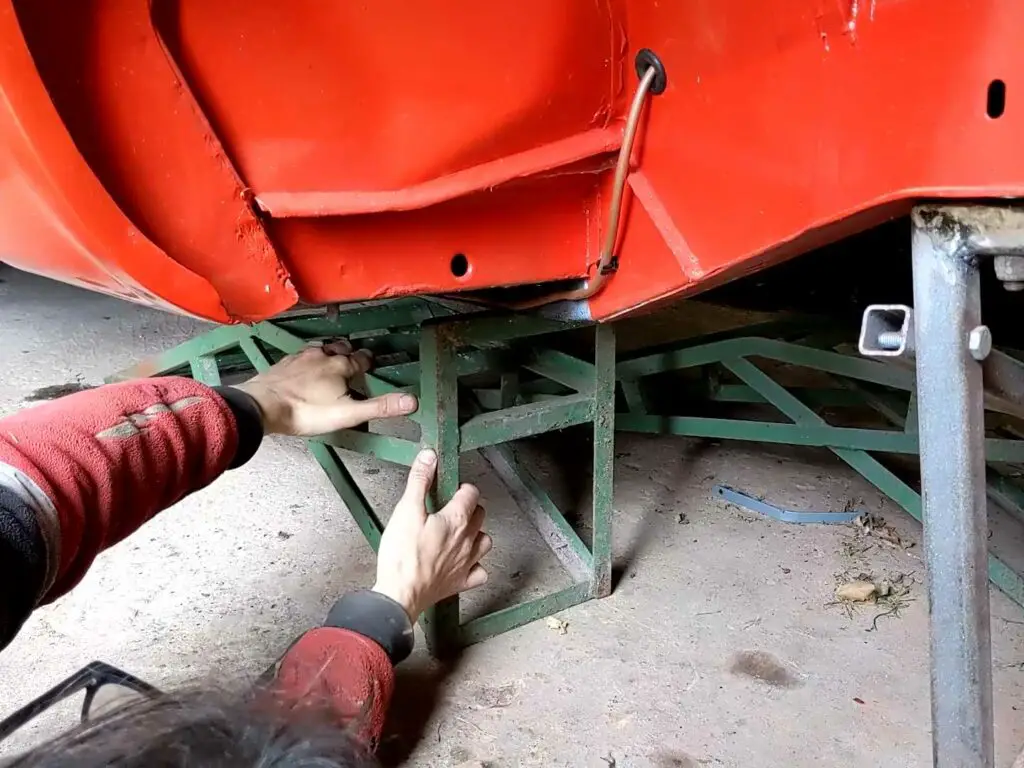
Then I got the car up on axle stands once more and the dolly came off for the last time:
These axle stands are a perfect height to hold the car up. The dolly comes off, now no longer needed!

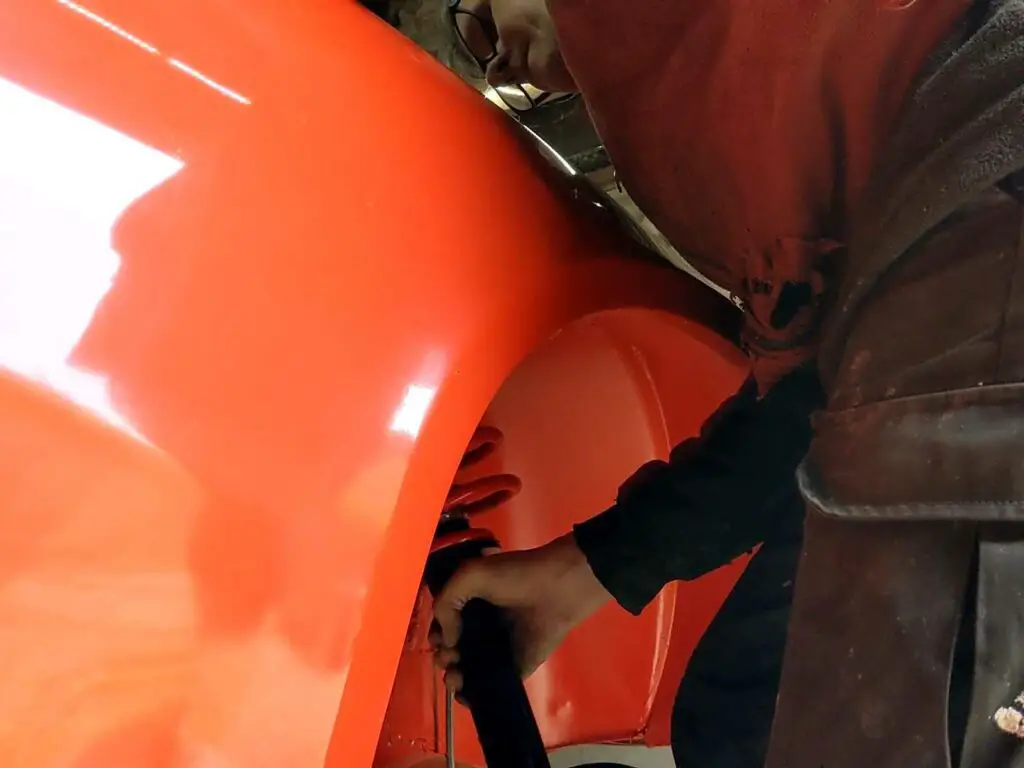
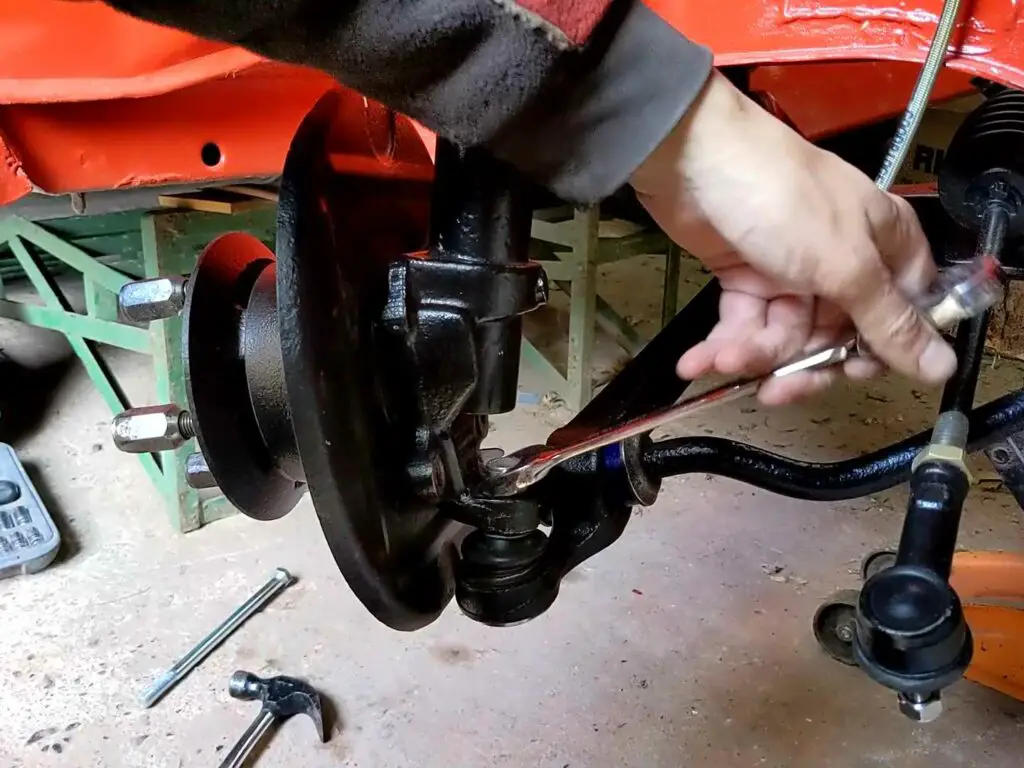
Fitting the Struts
The struts went in first. A simple, if fiddly job; I passed them up into the wheelarch and then leaned over to get the nuts on to the top mount. This would have been much easier with two people, but it worked out okay doing it by myself.
The strut goes in… held in place… while I fit the nuts to the top.
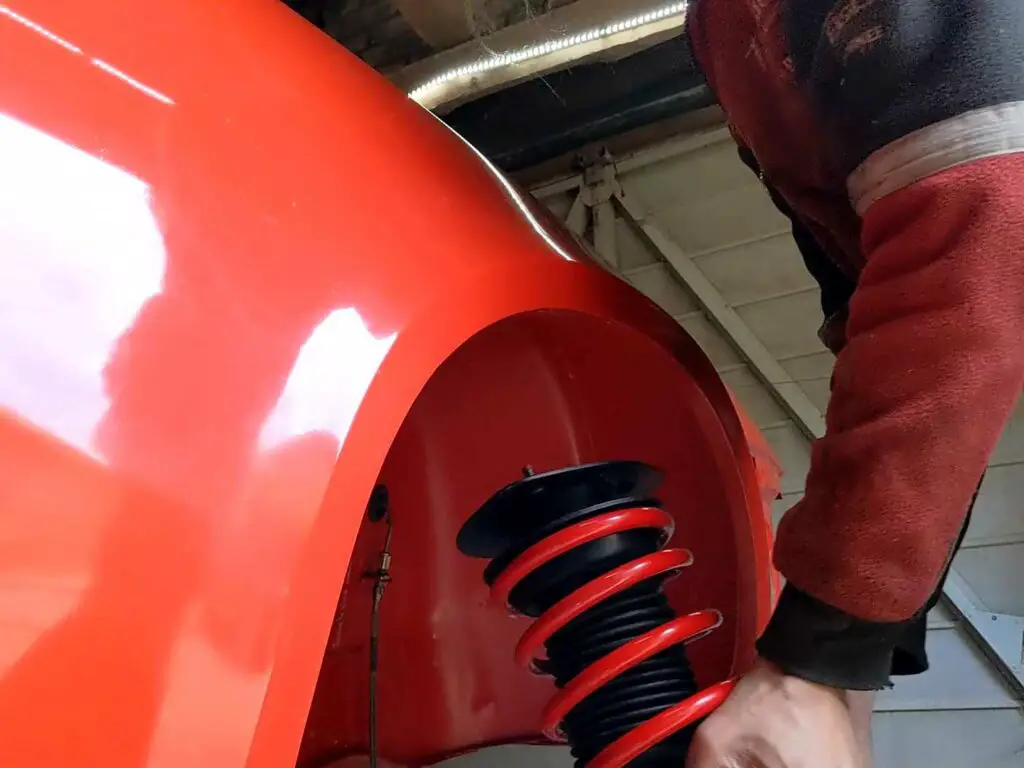
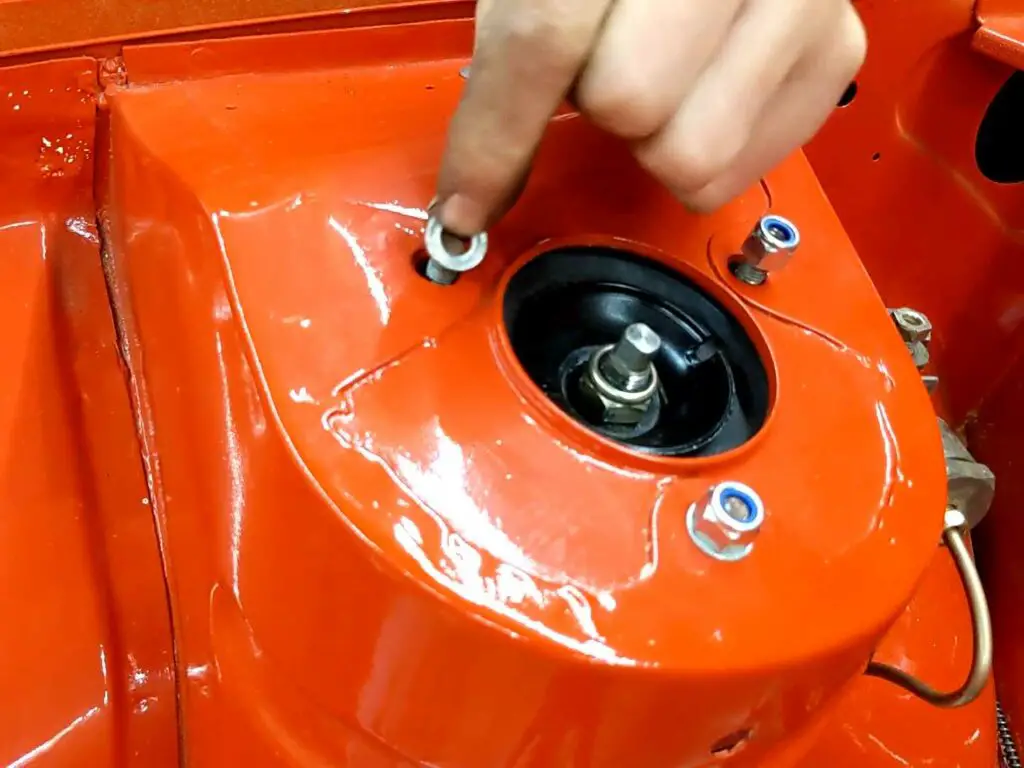
I left the nuts loose to give the struts a little bit of movement while I fitted the subframe.
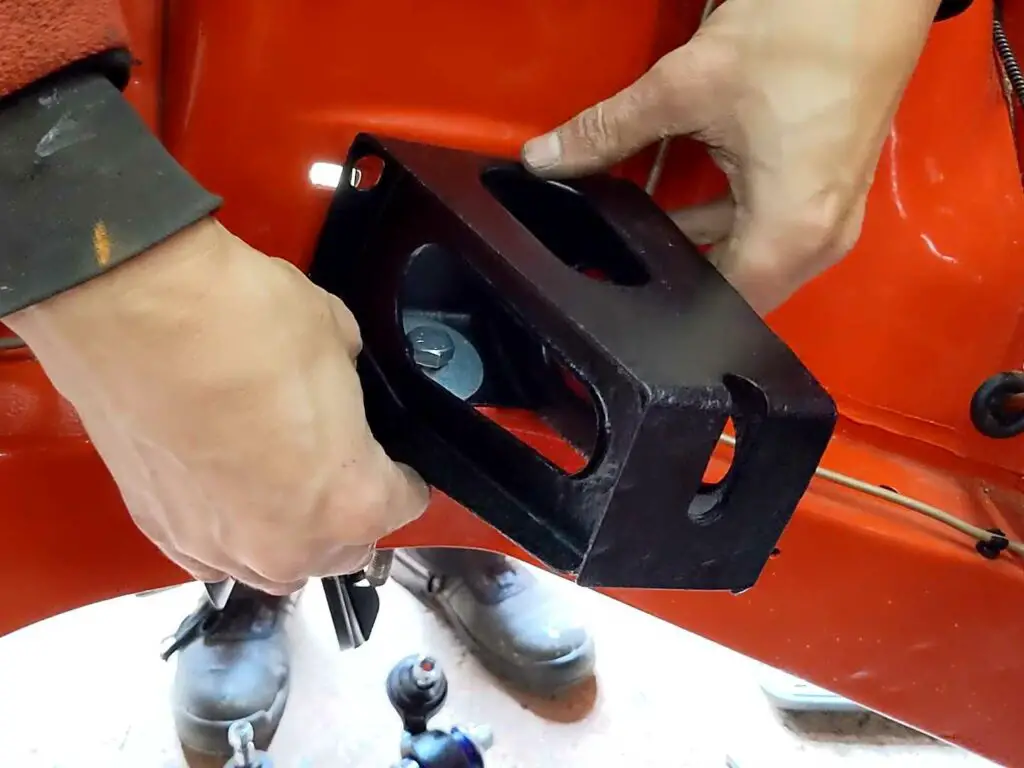
Fitting the Subframe
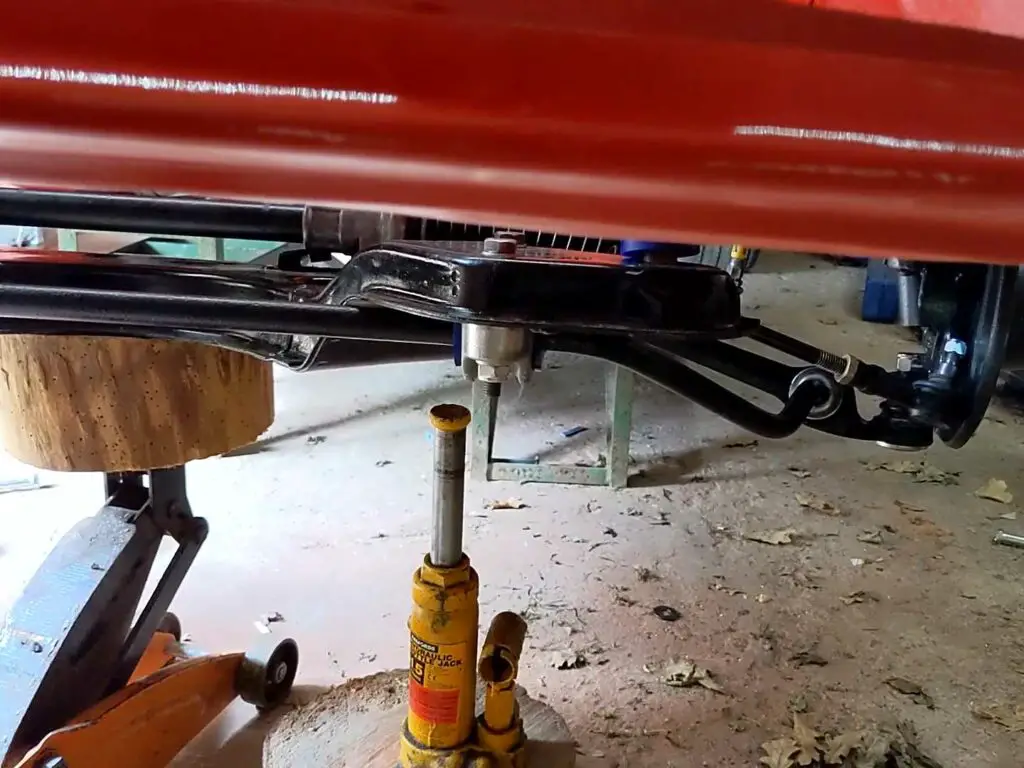
Fitting the subframe itself was an altogether trickier affair. Technically it’s only four bolts to fit it, but it’s a fairly heavy thing and needs to be lifted in place before you can bolt it in.
I used my trolley jack to lift the precariously balanced subframe up into position. I had a few false starts (mainly because the jack couldn’t lift the subframe high enough! and it slipped off a couple of times, but eventually I had it up and very precariously in place. If I were to do this again, I would probably use my engine hoist to lift it in place. It would have been a lot less hassle!
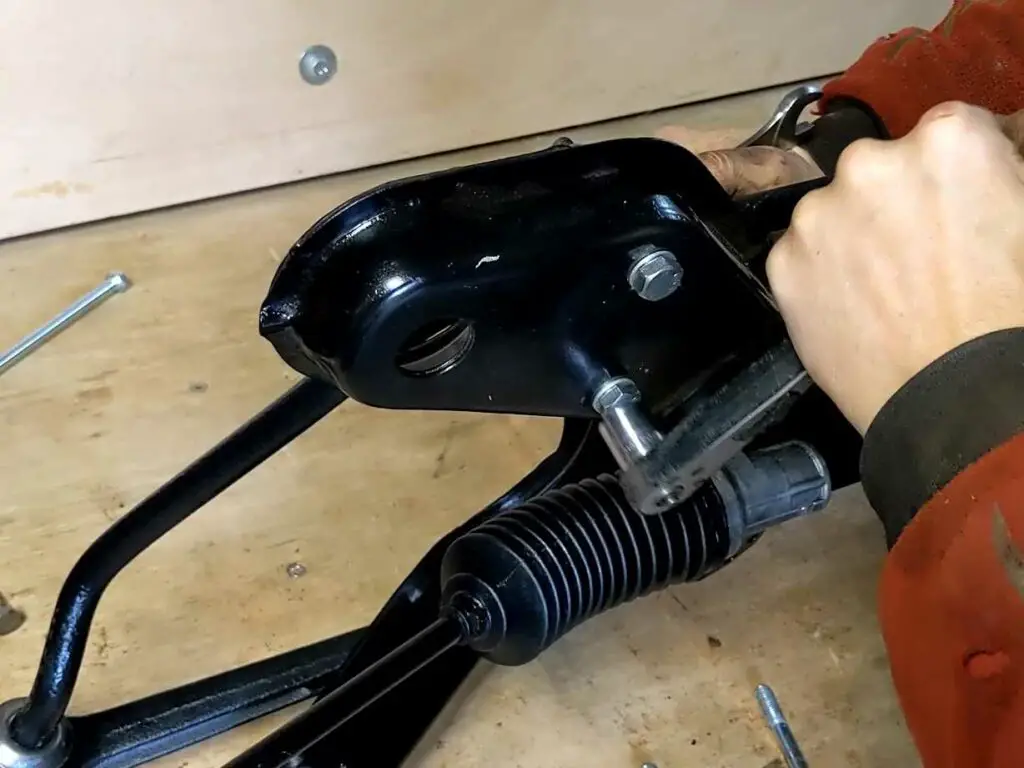
I bolted the arms to the struts first of all, and this made it stable enough that I could then get the bolts, spacers and bushes in place.
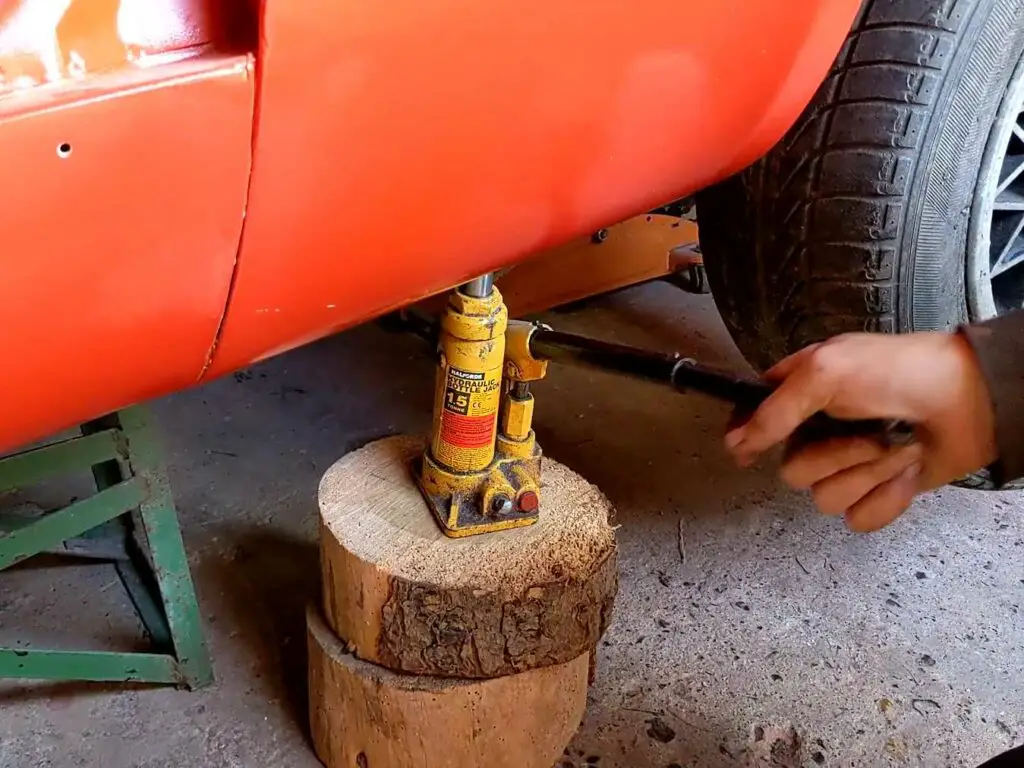
The engine mount bracket went in first. Then the subframe was lifted up… I had to use a block of wood here, as the jack wouldn’t go high enough. Finally in place! Now to bolt it all down.

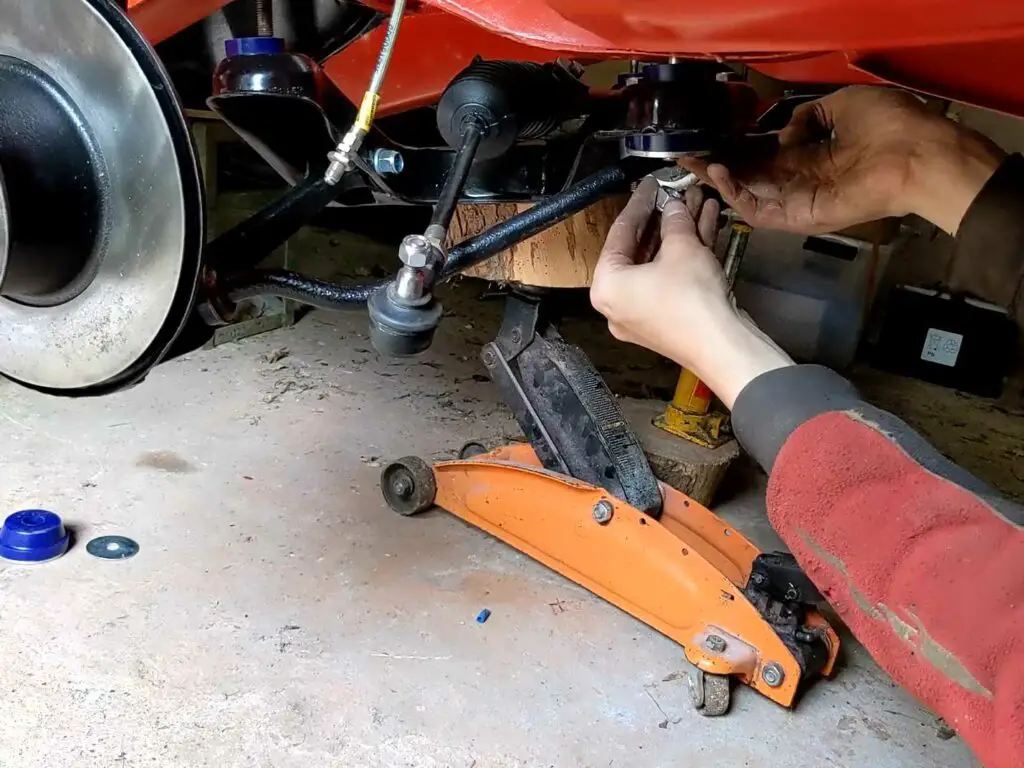
With everything in place, I was then able to get the bolts tightened, and the subframe was finally fitted! I left a few bolts loose, such as the lower arm bolts (they’ll be tightened once the suspension is fully loaded), but otherwise I got everything else tightened and now the car is ready for the engine and gearbox fitting when that’s ready.
Nuts go in place… and tightened up. Then everything else was fitted and tightened.

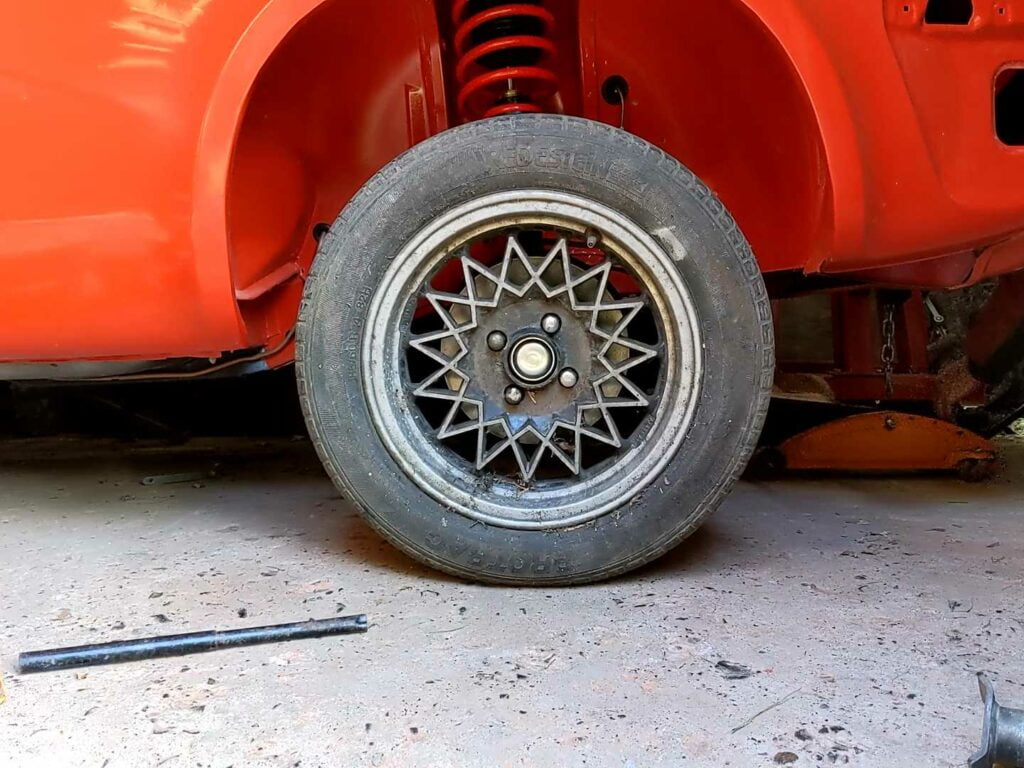
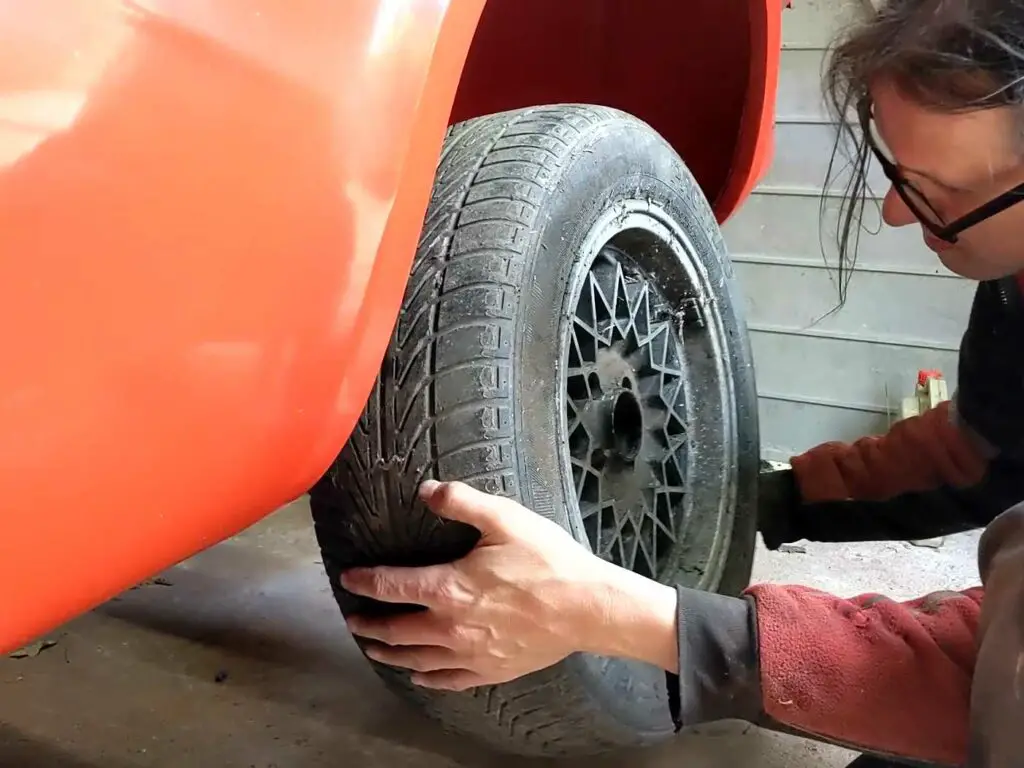
Then it was time to get the wheels back on and the car on the ground! It’s actually been quite a while since she had all four wheels on the ground like that, so this was quite a moment for me.
Yes, I know the tyre is the wrong way round. Looks sketchy, but it’s actually quite stable. Back on the ground at last!
The Video
As always, I made a video. Enjoy!
You might find a slight increase in front ride height after fitting those Ford bearings in the strut tops without modifying the aluminium cone. Maybe only half an inch or so. Many of us who use those bearings machine a recess into the aluminium cone first to cancel out the extra thickness.
I’m expecting a little increase anyway, as is always the way with new suspension. That’s a very good tip though; if it does bother me I’ll look at doing that!
Thanks for posting your project! I’m working on a front suspension rebuild at the moment and this was extraordinarily helpful. Great work