With the fuel tank fitted, it was time to turn my attention to the rear axle. I figured it would make sense to get the rear end sorted out – at least the underside part – before getting the wheels on and moving to the front end.
The axle I had isn’t actually the original one. When I bought the car it was fitted with a 4 speed gearbox and corresponding axle, but I wanted to upgrade to a 5 speed box for those motorway miles. So I bought this axle a few years ago and replaced the old 4 speed axle.
It’s not original to the car, I know, but honestly, that ship has sailed. This car was originally an automatic, and converted to manual back in the nineties some time. In fact, the axle I got rid of wasn’t the original one either – a leaking seal drained all the oil out of the axle and toasted the whole thing, so I replaced it early on in my ownership. I’m fairly sure the engine has been swapped at least once, too. So with the exception of the driveshaft, the entire drivetrain has already been swapped out before anyway.
Being as I bought it as a used unit, this axle is of unknown quality. It moves freely and while rusty it does seem solid enough. The only downside is the diff cover had rusted through at the point where the handbrake cable bracket attaches. I’d tried a welded repair years ago but had just made a mess of it.
Stripping Down the Axle
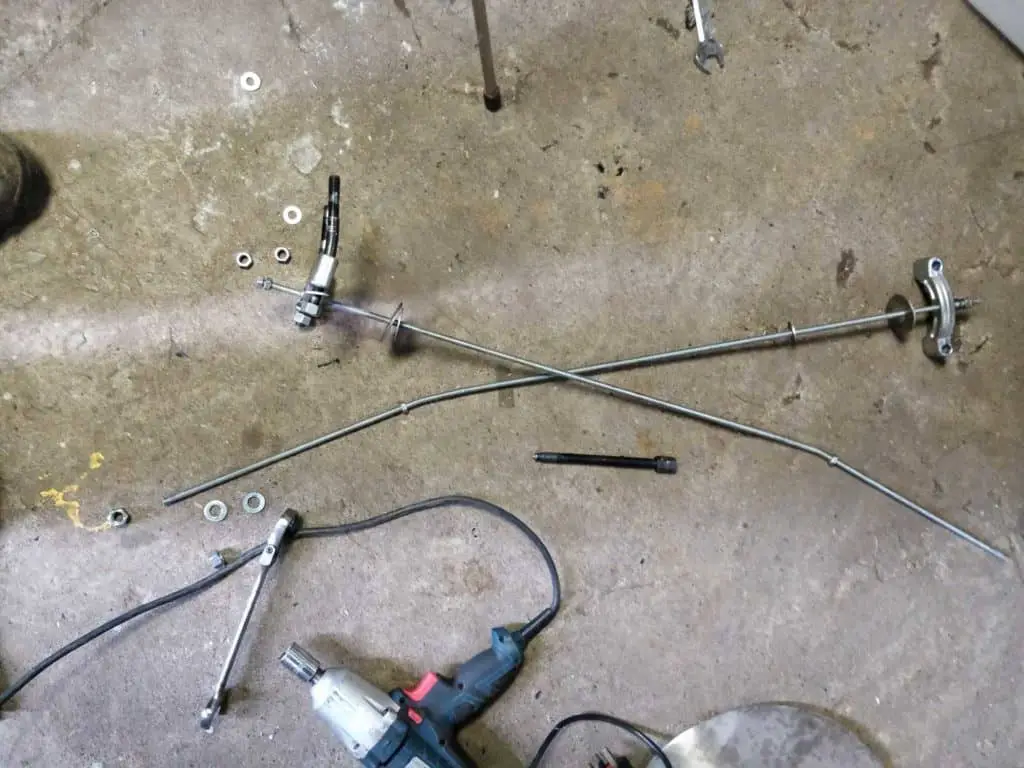
The first job, of course, was to strip the axle down.
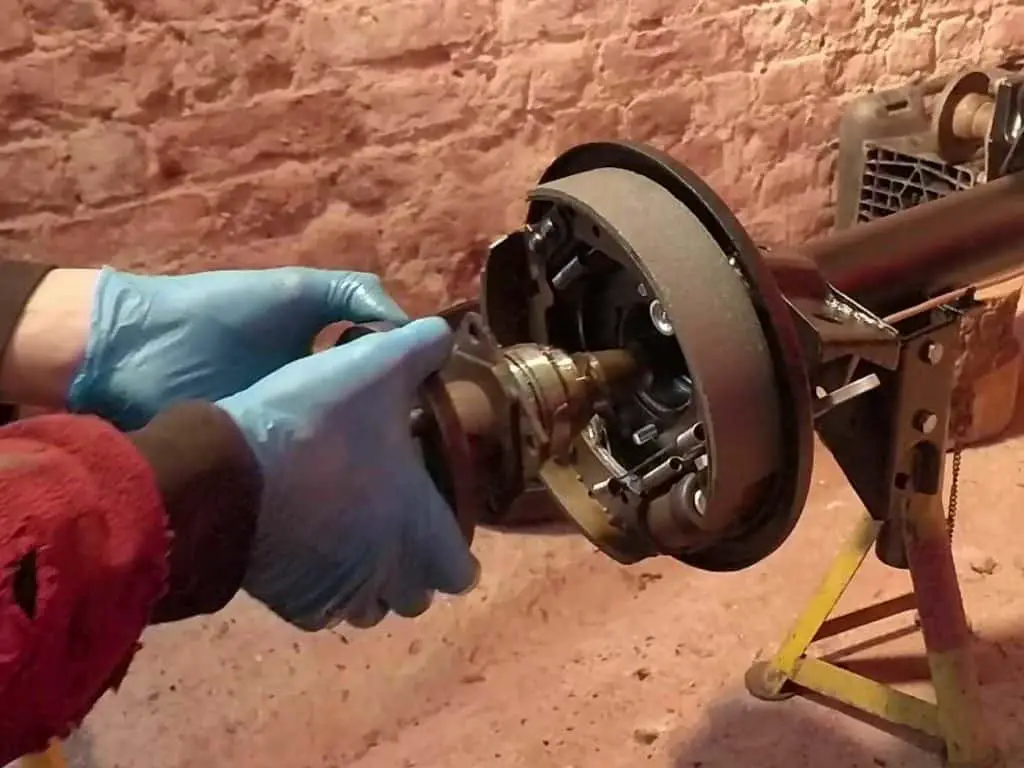
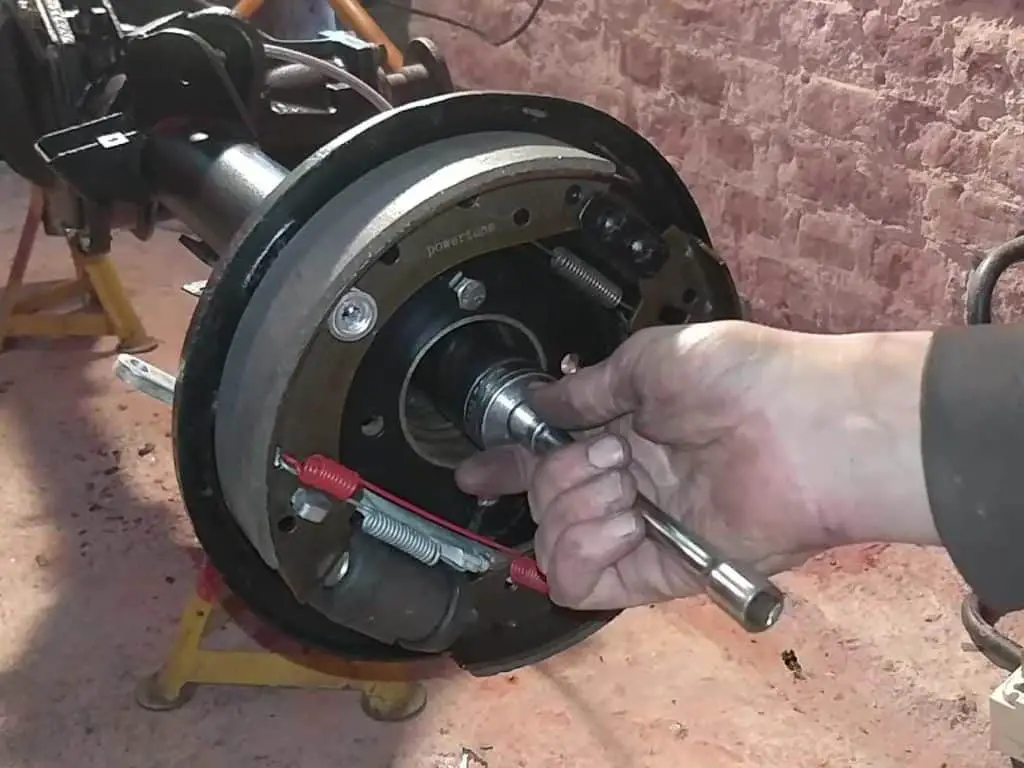
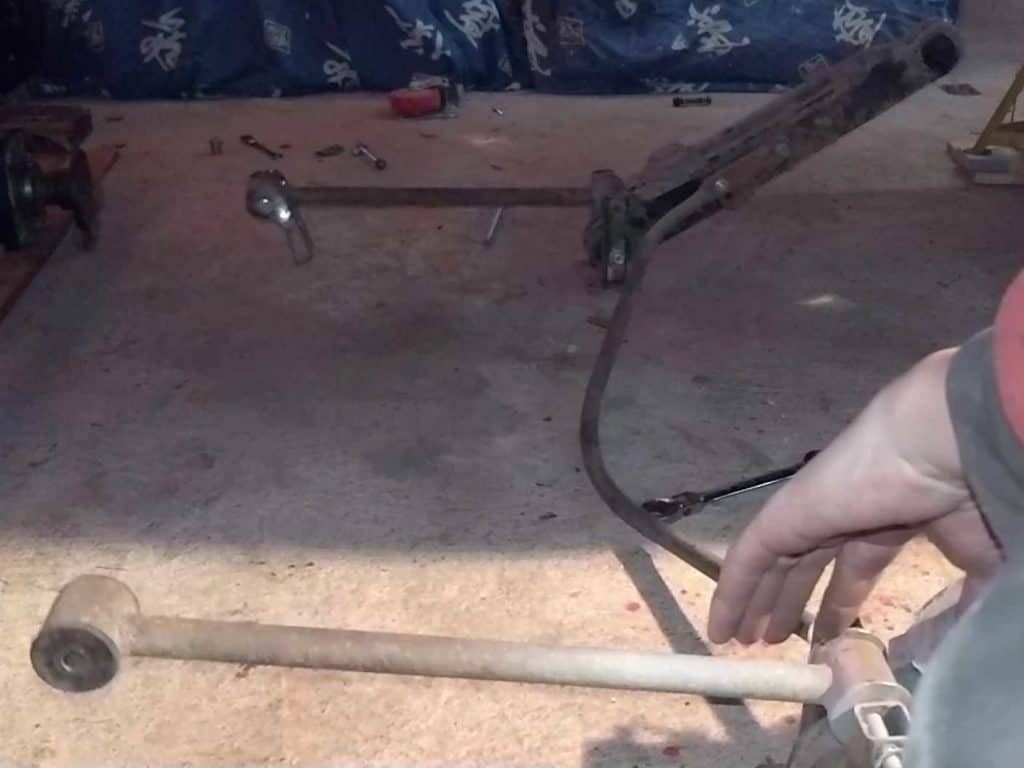
I’d already taken the drum brakes apart and stashed the parts away, so all I needed to do there was to take the drums off. Then it was a simple case of undoing the four bolts holding each axle in place and pulling the shafts out. They didn’t want to come out easily, so I flipped the drums around and refitted them, then used a rubber mallet to tap the shafts out.

The shafts were unbolted… and tapped out of the axle with a rubber mallet. Job done.

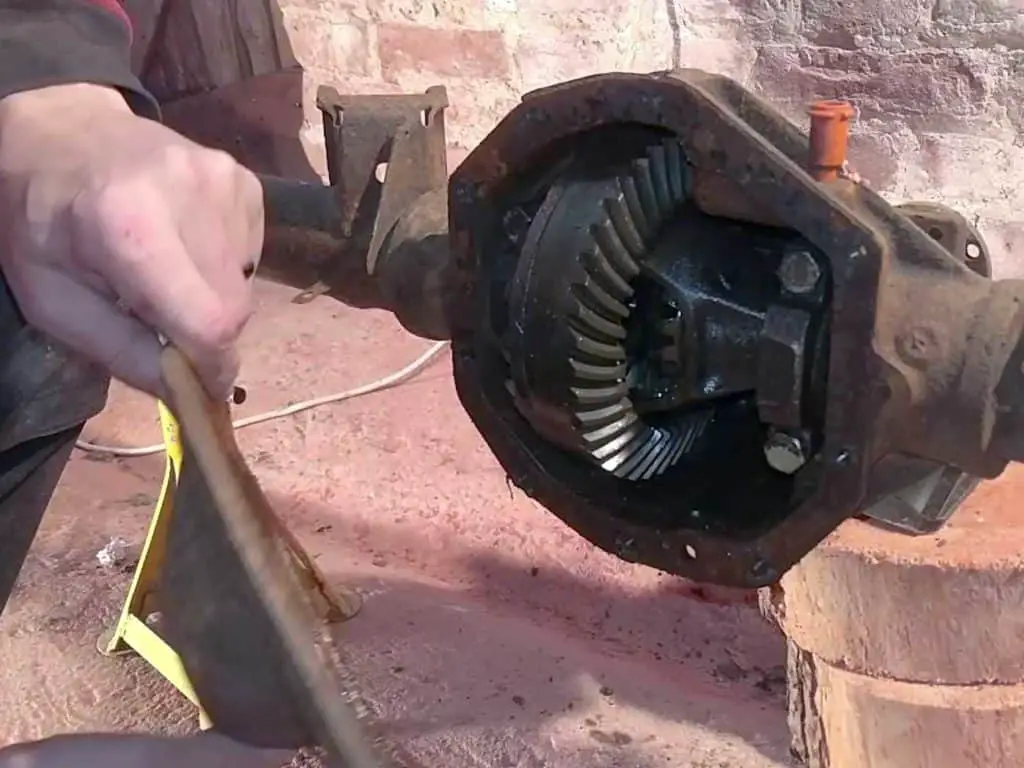
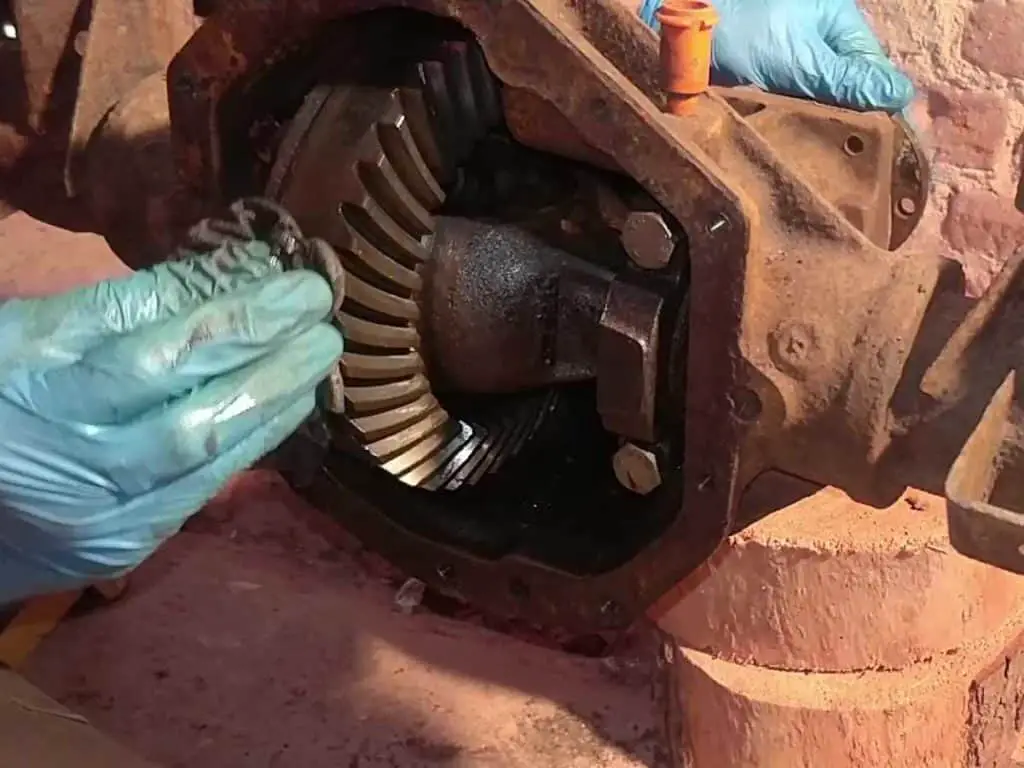
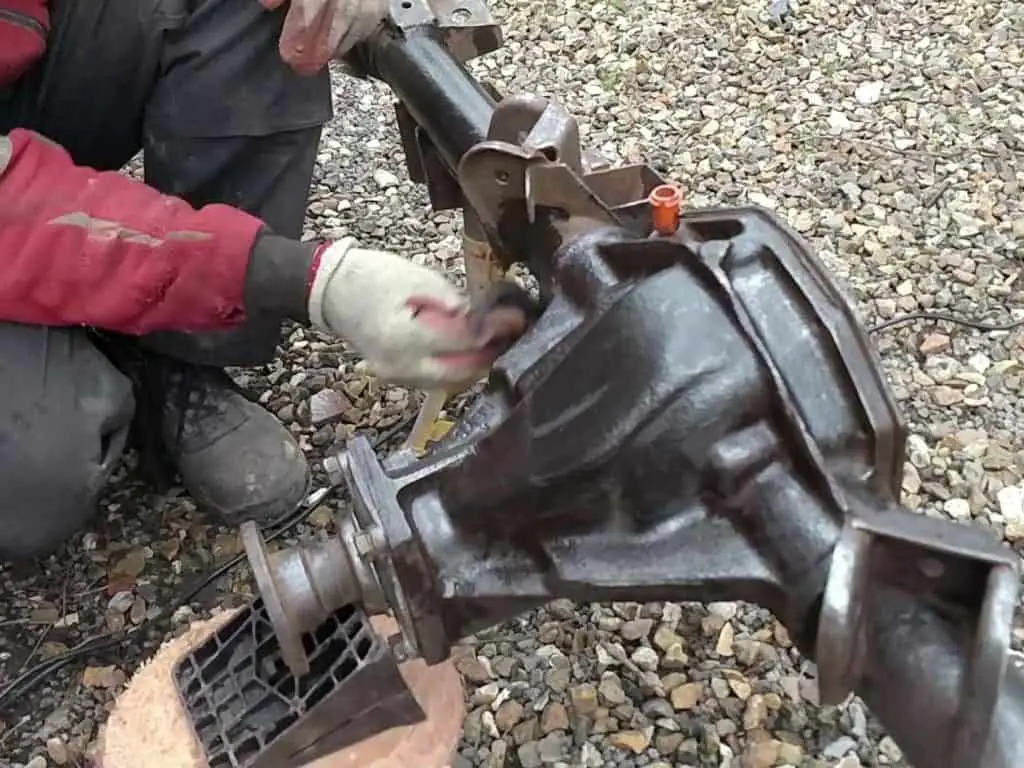
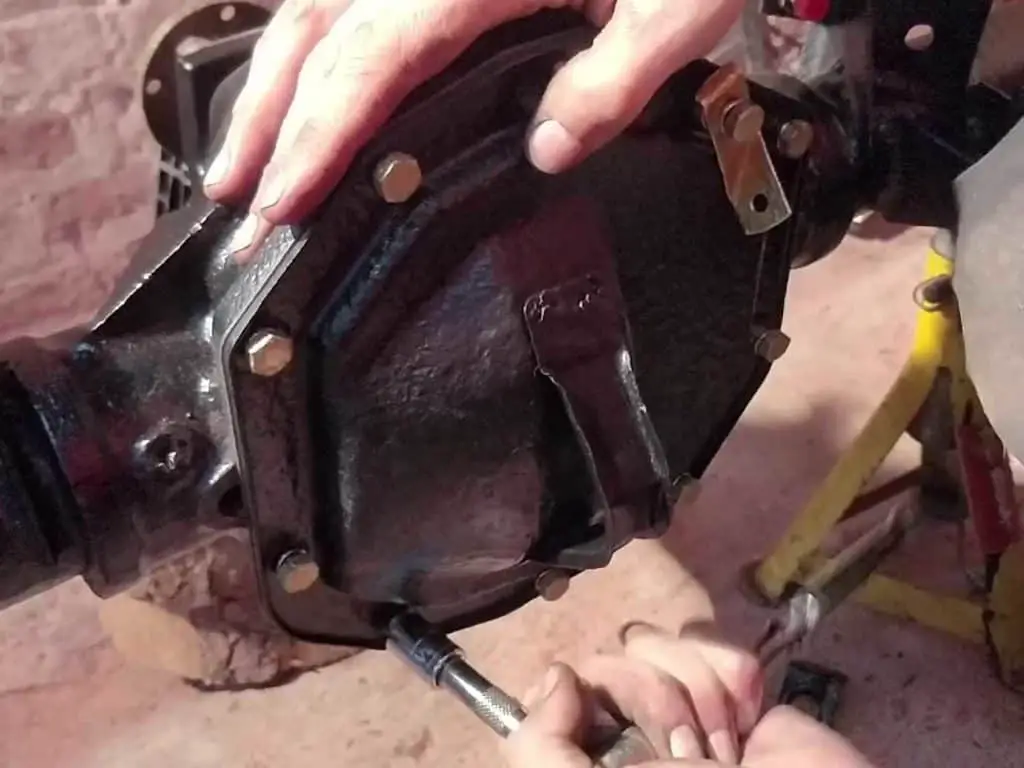
I also took the diff cover off, just to inspect everything in there. I wasn’t planning on doing much with the diff; there are too many parts no longer available and taking all this apart could have led to more problems.
I was a bit worried things had gone a little rusty after several years sitting without oil, but it turned out the oil I’d sprayed in there before had done the job. Aside from the diff cover itself, everything was rust free and moving smoothly. If the diff turns out to have issues once I get it on the road I’ll go back and do something about it, but for now I decided to leave well enough alone.
Taking the diff cover off. Diff looks okay and moves smoothly enough. The cover is going to need some work though.

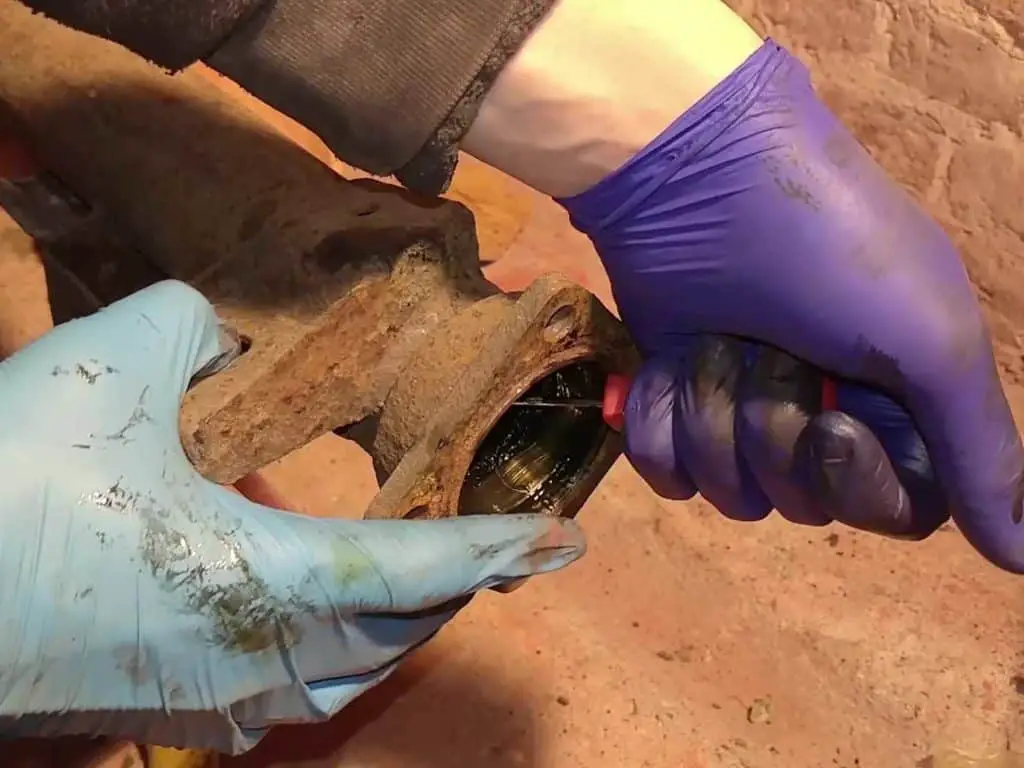
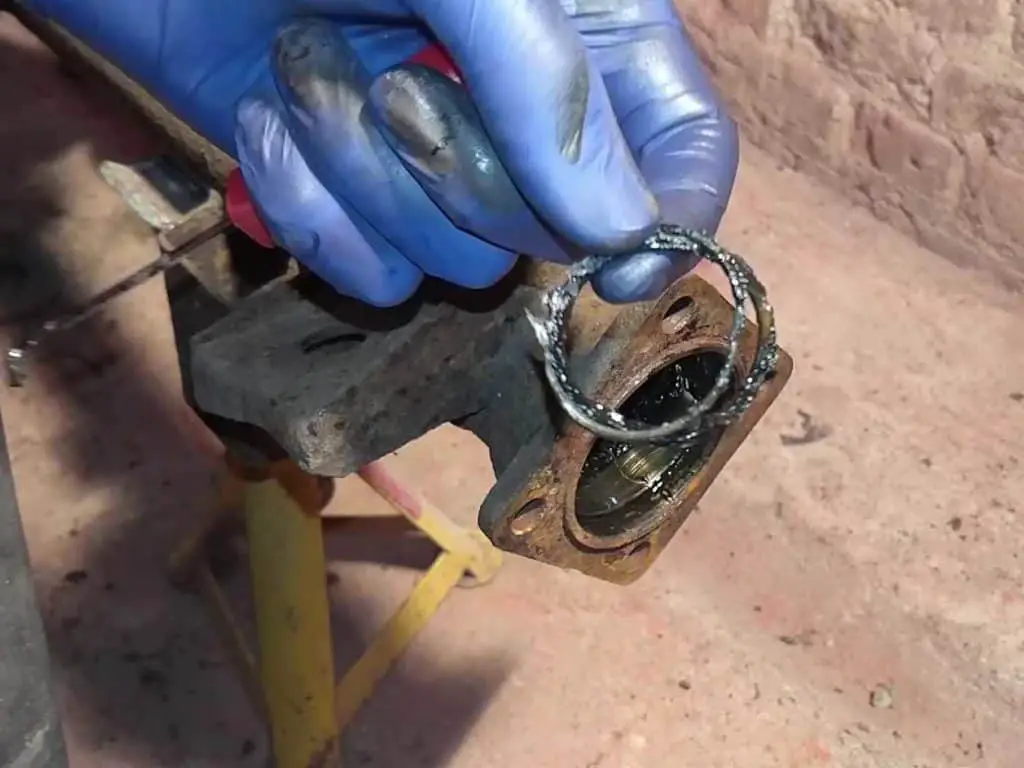
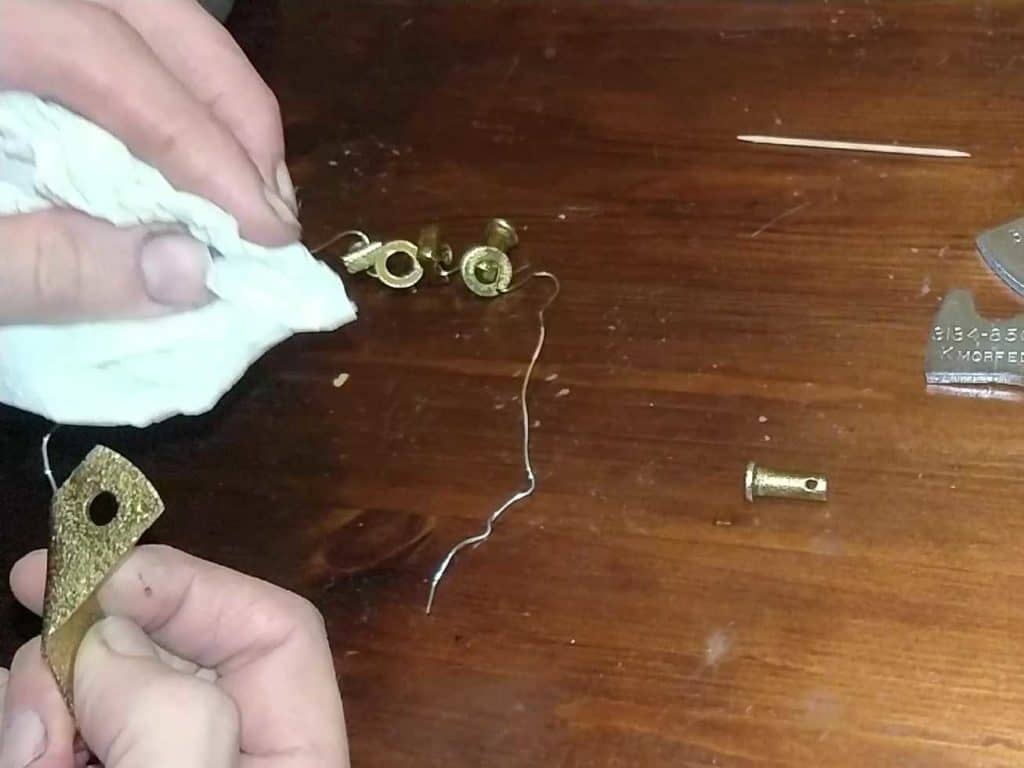
I then pulled the oil seals and the bearing races out of the axle tubes, and gave everything a good clean. The seals were stuck in there pretty well, so I had to pull them out in bits.
The oil seals didn’t want to come out… …but I prevailed. Then I gave everything a good clean.
Then I dragged the whole axle outside and got to work with the angle grinder.
The axle was rusty, but it was really only surface rust that cleaned right off. I used my trusty angle grinder for most of it with a wire wheel attachment, along with my drill and a selection of wire wheels for the fiddly angles.
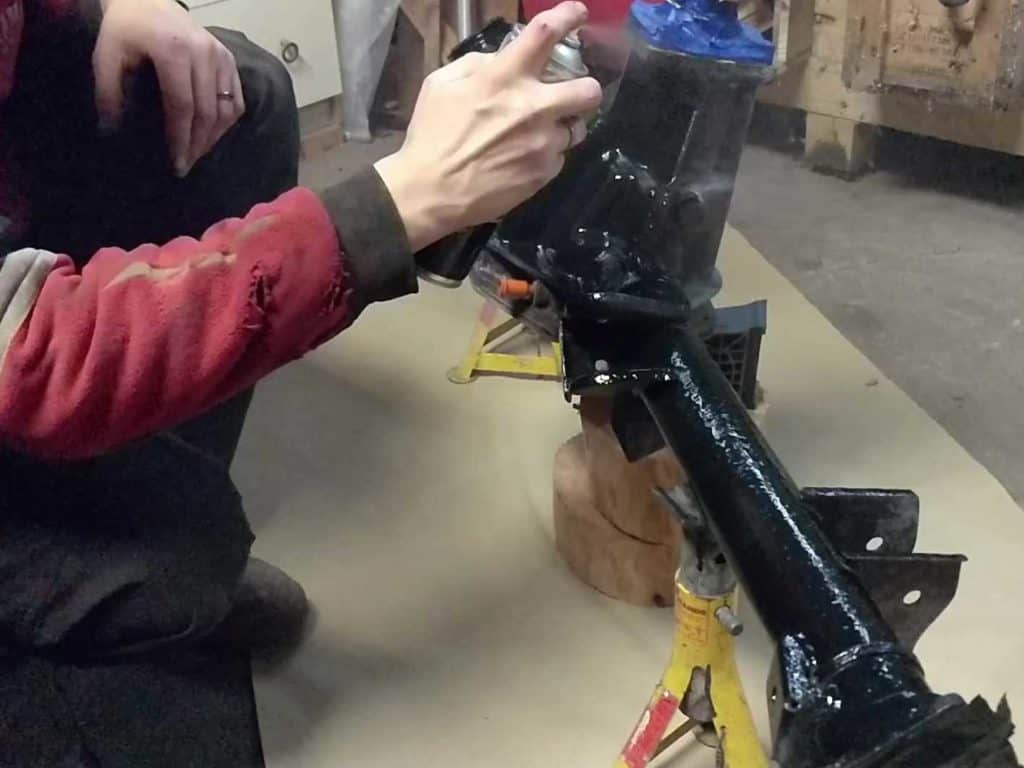
Once that was all cleaned up, I wiped everything down with white spirits and then treated the whole axle with a rust converter.
With all that done, I gave the axle a couple of coats of black satin paint – the same Simoniz ‘Tough’ paint I used for the fuel tank.
Covering up the axle tubes. I didn’t want any dirt getting in here! Then I got busy with the grinder and a wire wheel. With the rust stripped off, I cleaned up the axle with white spirits. After some rust converter treatment, the whole axle got a couple of coats of paint.

Stripping Down the Axle Shafts
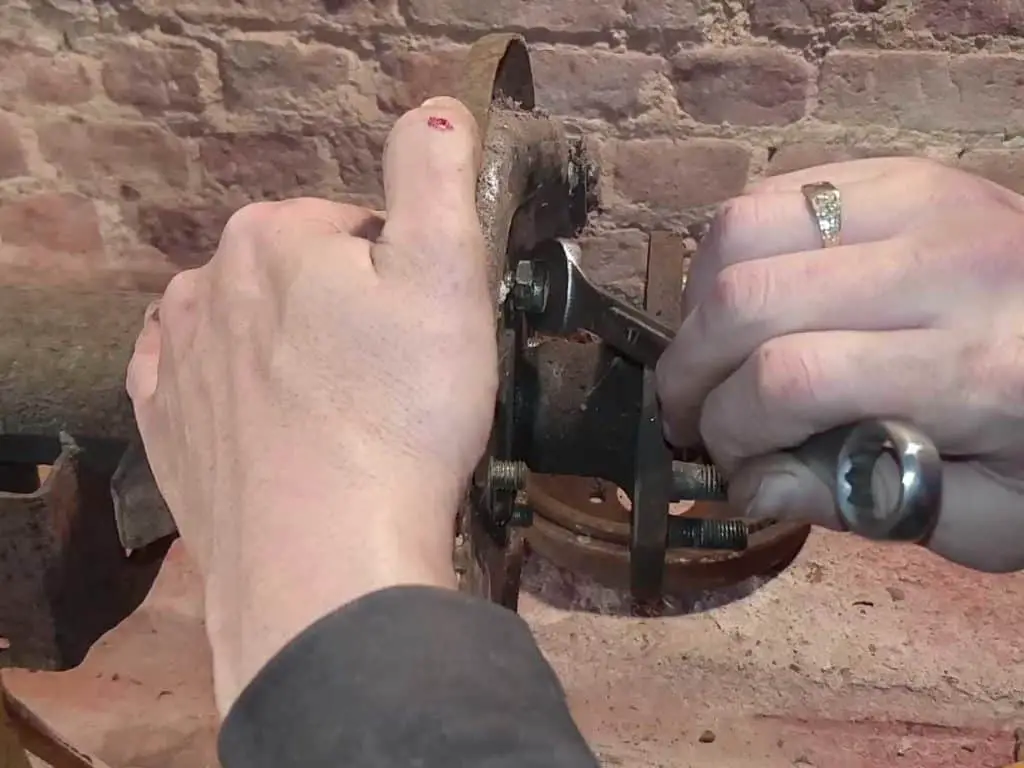
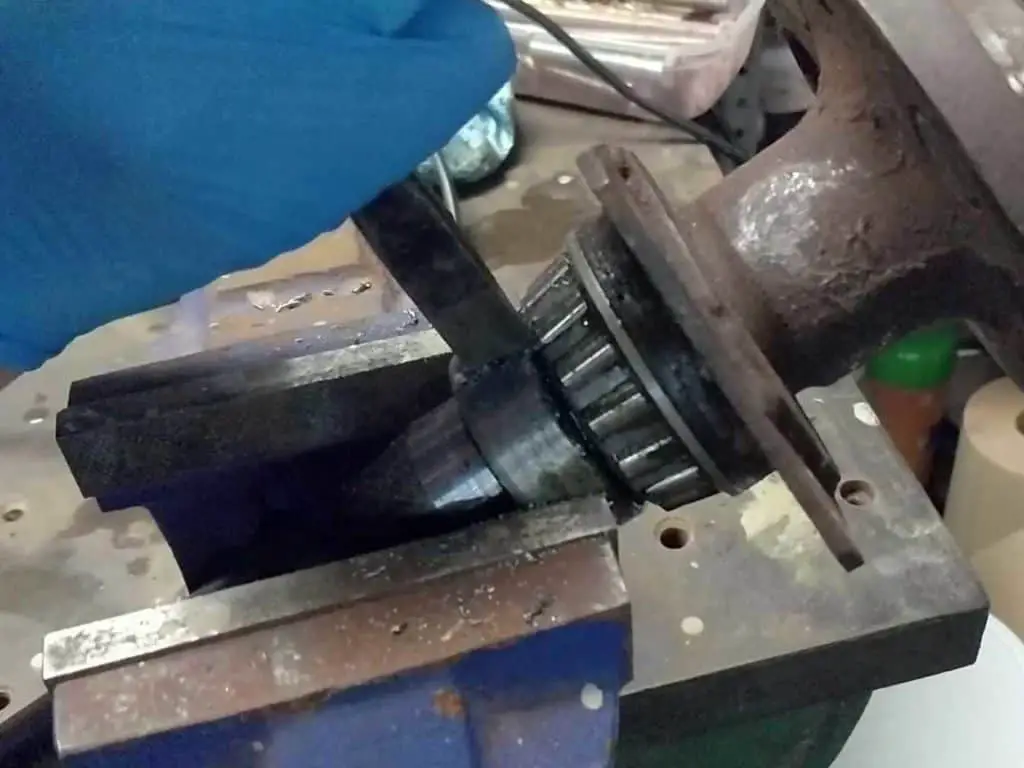
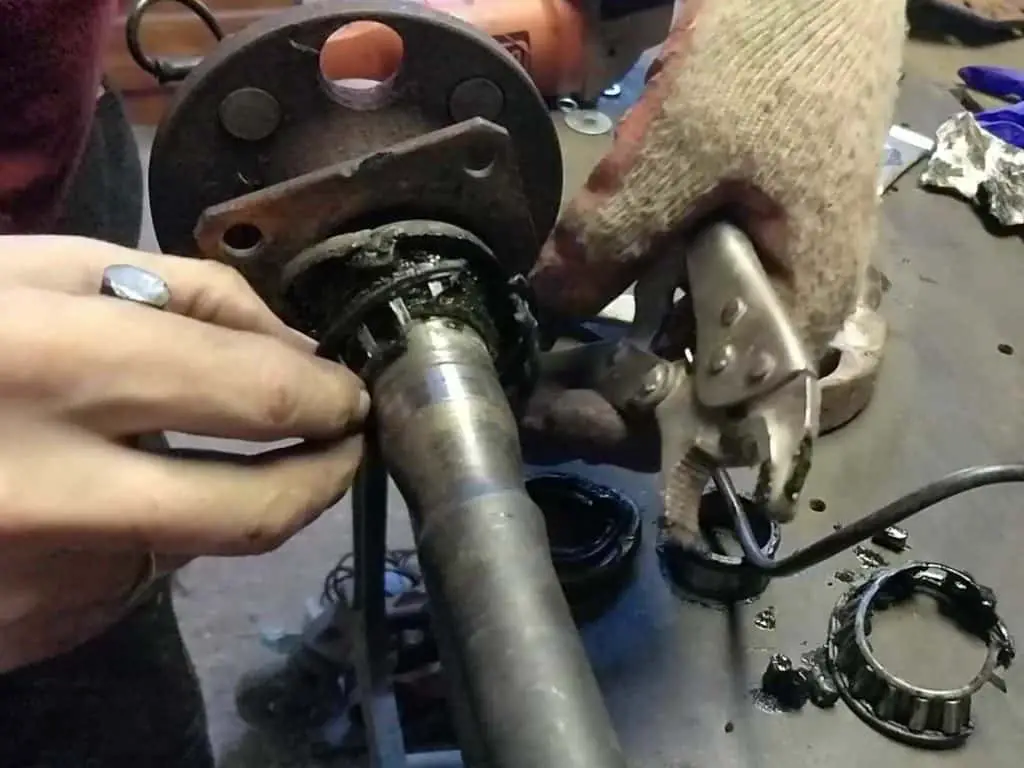
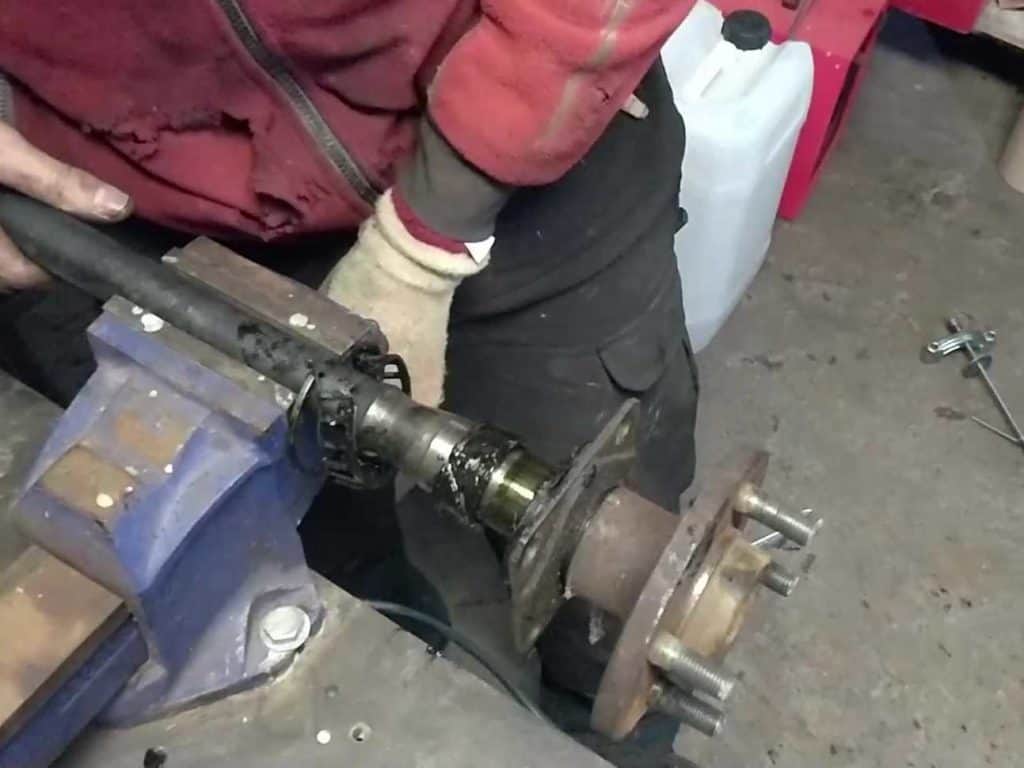
This was the bit I’d been fearing for a while. I wanted to replace the bearings, but they’re an interference fit on the shaft and they’re also secured by a locking collar which is an even tighter fit.
Taking the collar off isn’t a big problem; you just need to drill a couple of holes in the collar (making sure not to drill through to the shaft!) and then crack it with a chisel. That took about five minutes per side, a fairly straightforward job.
The end of the axle shaft. Note the collar locking the bearing in place. Drilling some holes in the collar… …and then breaking it the rest of the way with a chisel. Once broken, it just slides off.

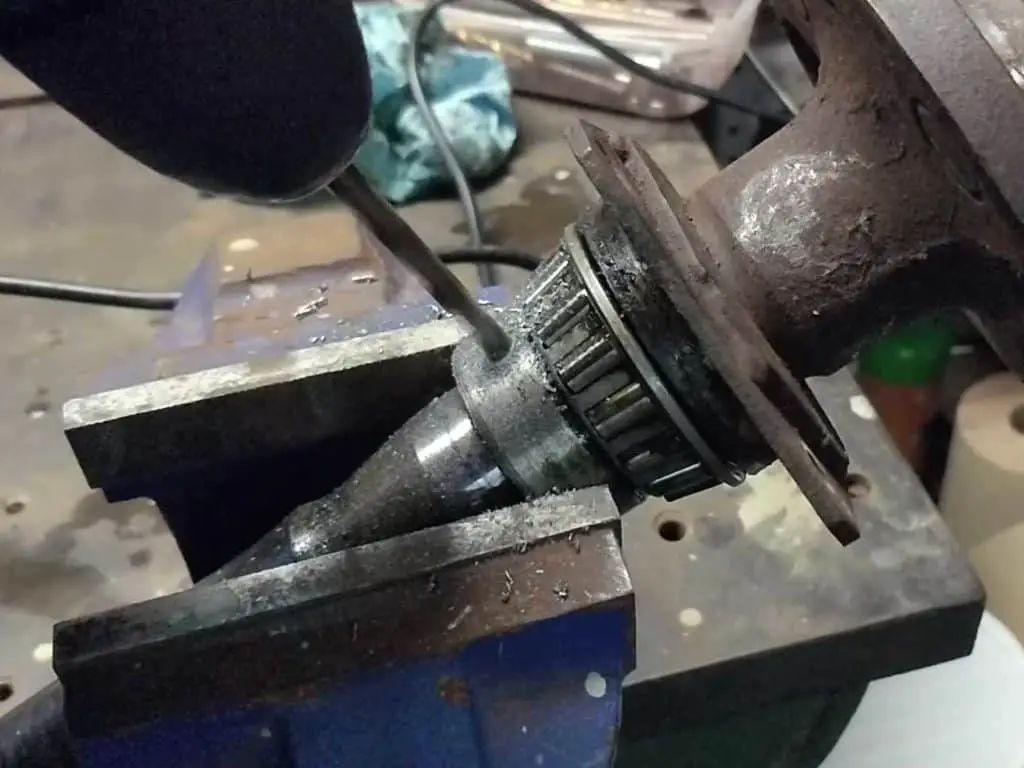
The bearings, on the other hand, were a whole bunch more difficult. In theory they’re not as tight a fit as the collars and so I tried just hammering them off. But that didn’t work, and I made myself stop before I just damaged the shaft.
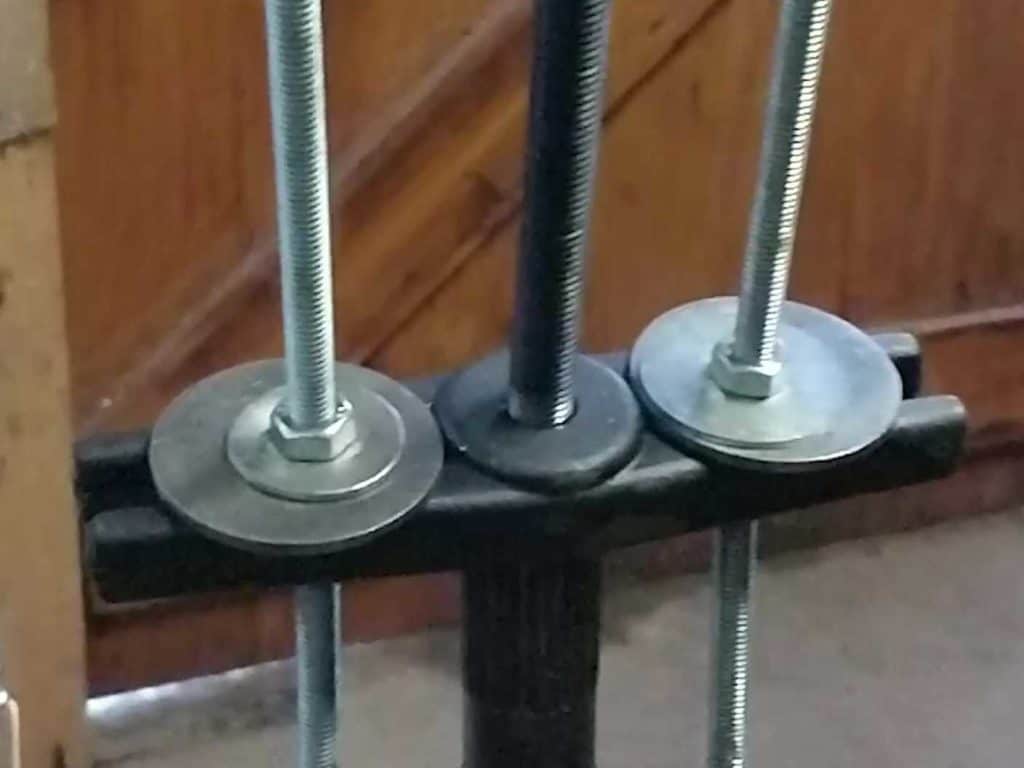
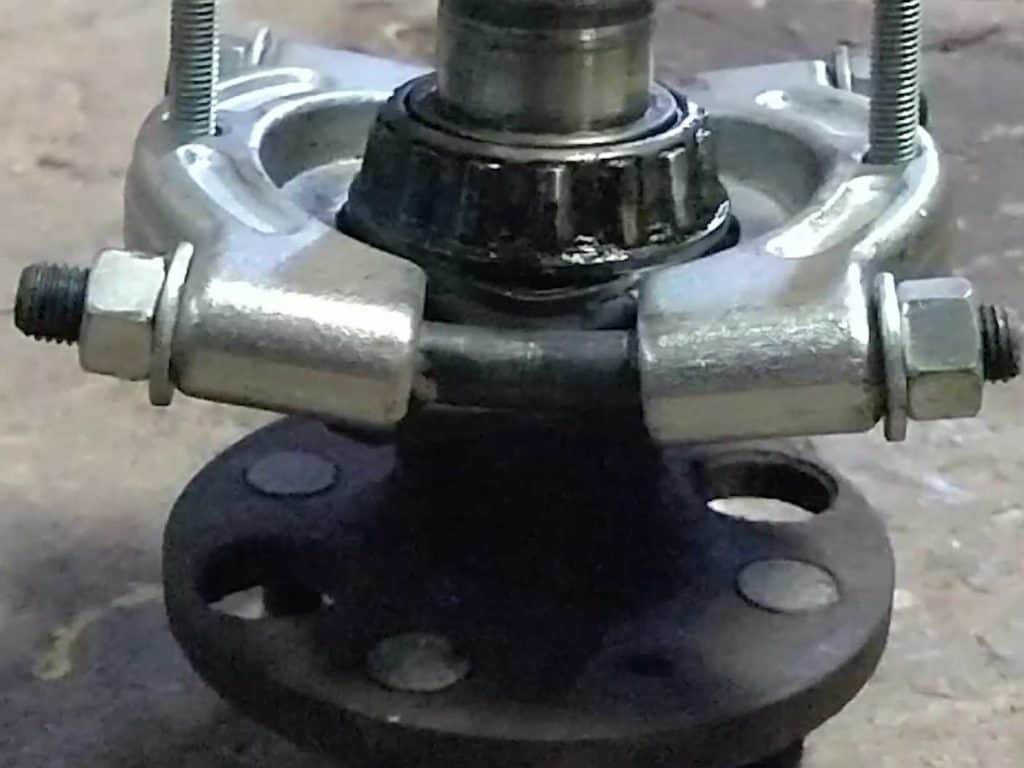
Instead, I bought myself a proper bearing puller kit. The problem with the regular bearing pullers is they’re not designed to deal with being on such a long shaft, so I had to rig up some extensions with some threaded rod.
Unfortunately, the bearings were on so tight it not only bent my extension bars, but actually managed to bend the bearing puller as well – and didn’t even shift the bearing!
I rigged up these extensions for my bearing puller. Somehow, the puller bent before the bearing moved. A lot of time and money wasted in a matter of minutes.
I resorted to violence after this.
Not wanting to mess around with bearing pullers any more, I figured I had three options: 1, take the shafts to a machine shop and let them deal with it; 2, buy a hydraulic press and press them out that way; 3, cut the bearings off.
I went for option 3.
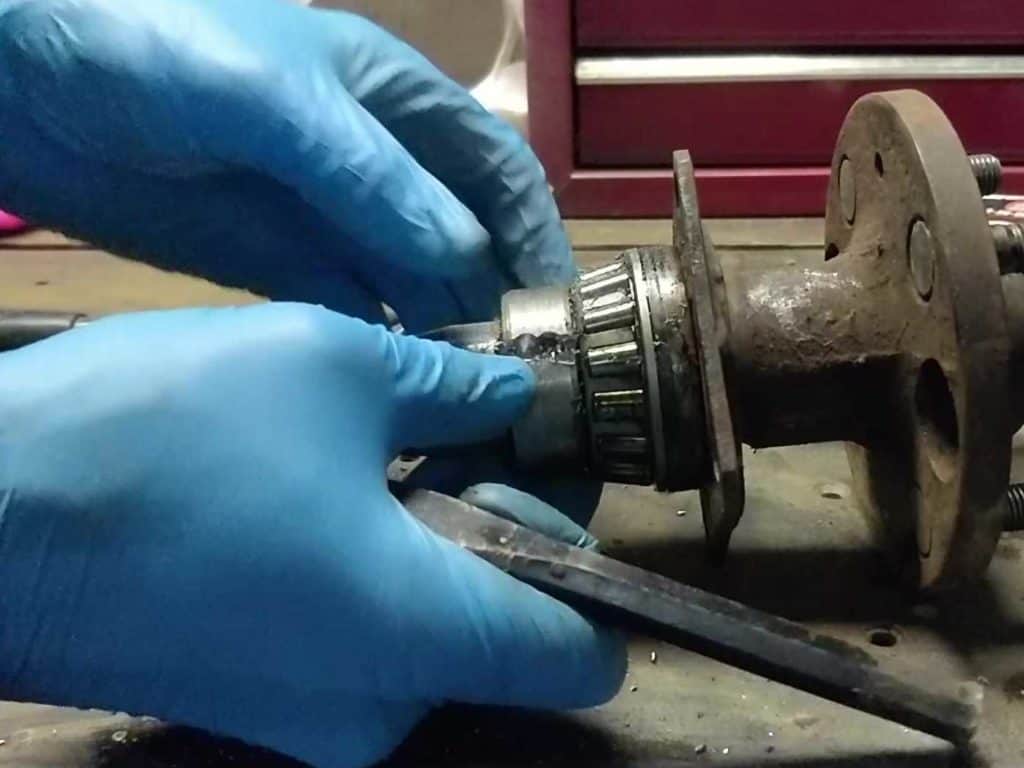
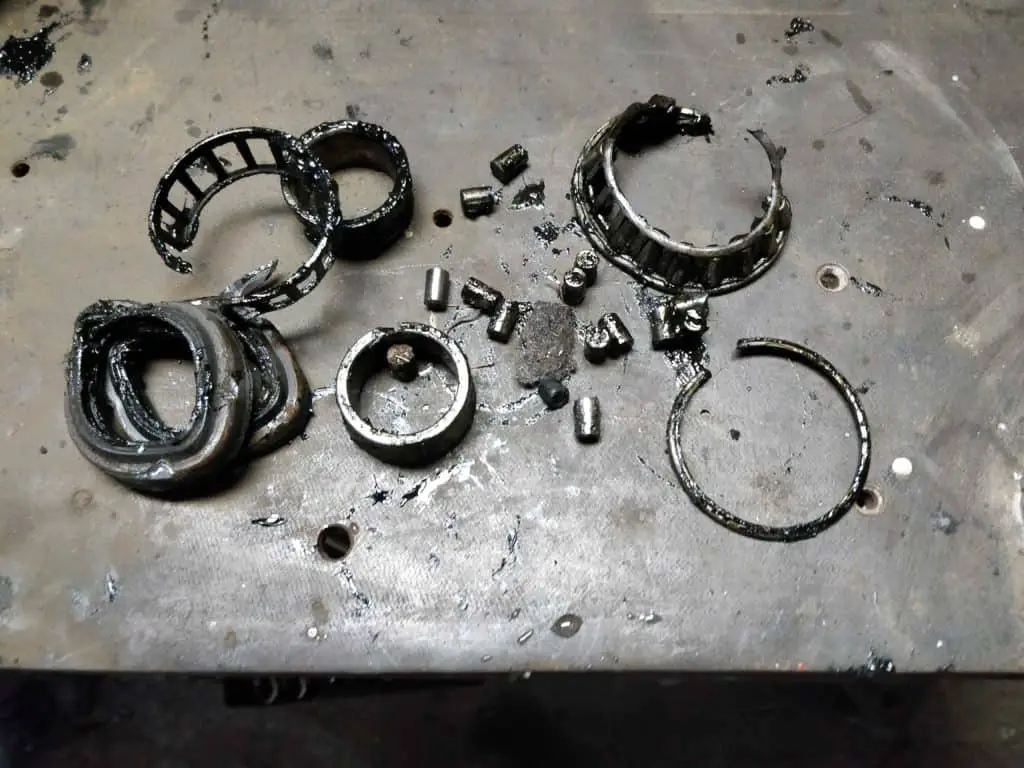
I cut the bearing apart with the grinder and a cutting disc, then gently started scoring the inner race. I had to be careful here not to cut too deep and cut into the shaft itself, so it was a slow process of cutting a little at a time and hammering it with a chisel until it came loose.
Pulling the old bearing off, leaving the inner race behind. Carefully cutting into the bearing race… …and slowly chiselling it off. I had to be careful not to damage the shaft, so this took a while. But I got it eventually. The broken remains of the old bearings. They put up a good fight, but I won.
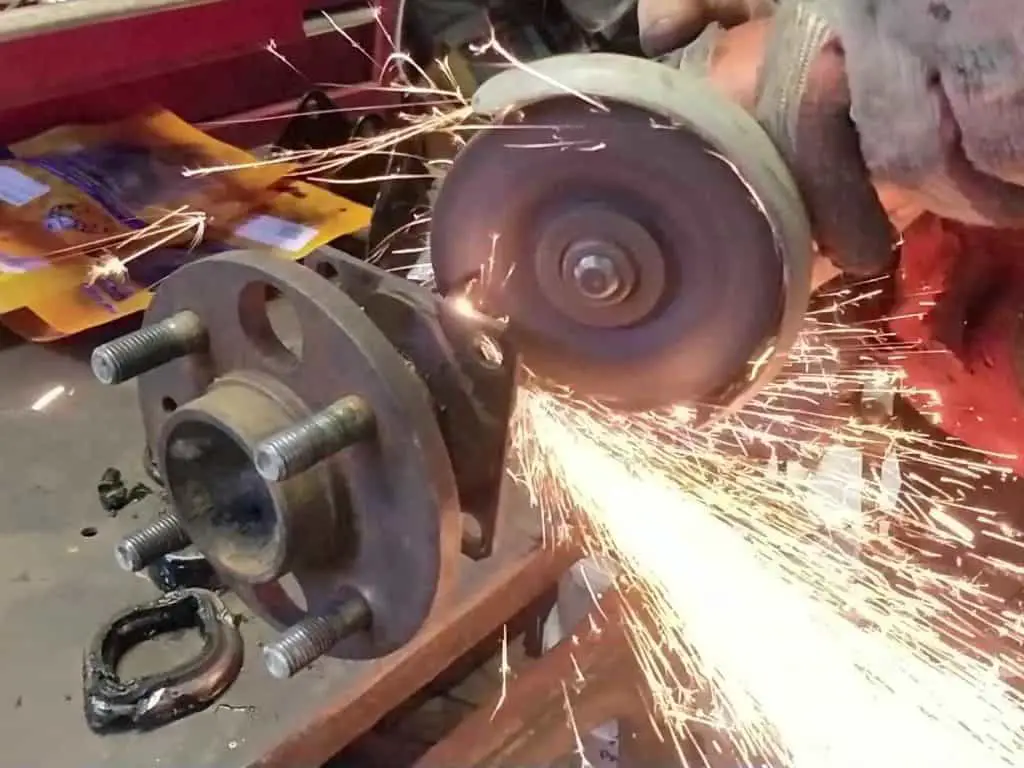
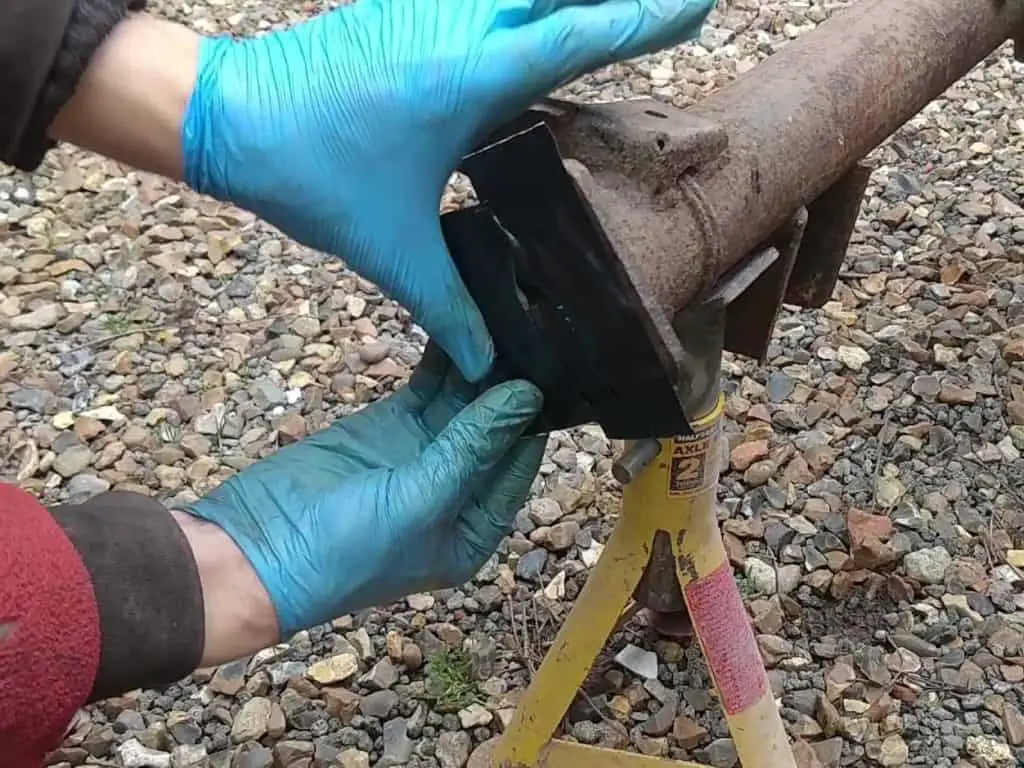
Repairing the Rusty Diff Cover
After that mess, I decided to move on to something else. So I grabbed the diff cover to start working on.
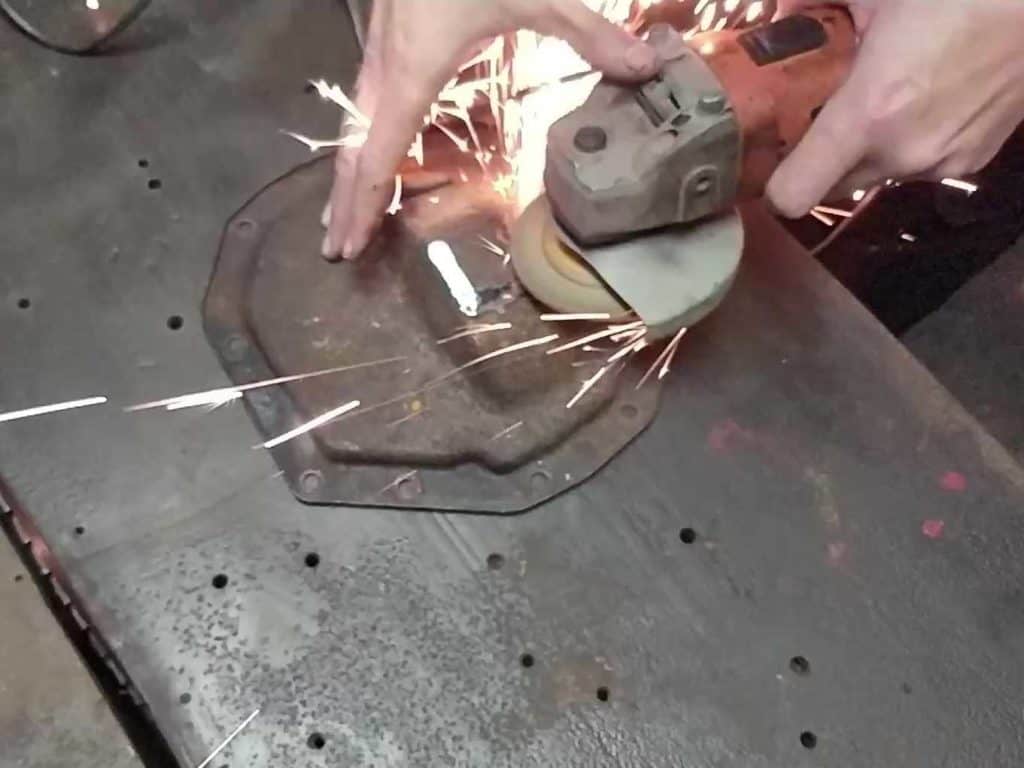
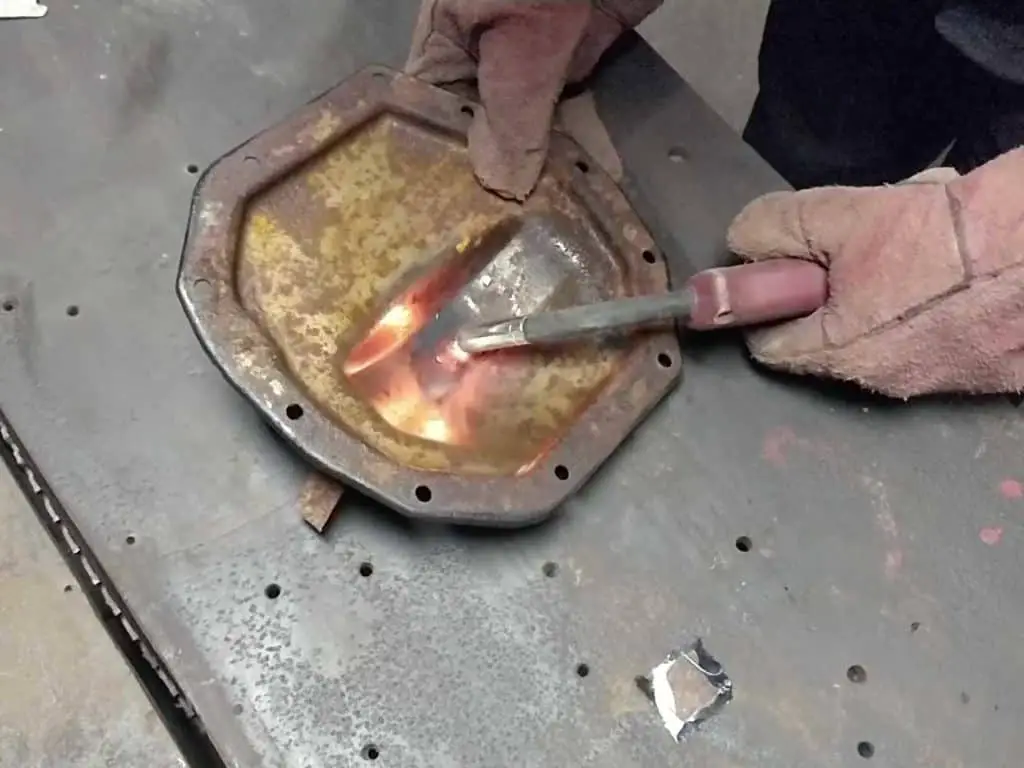
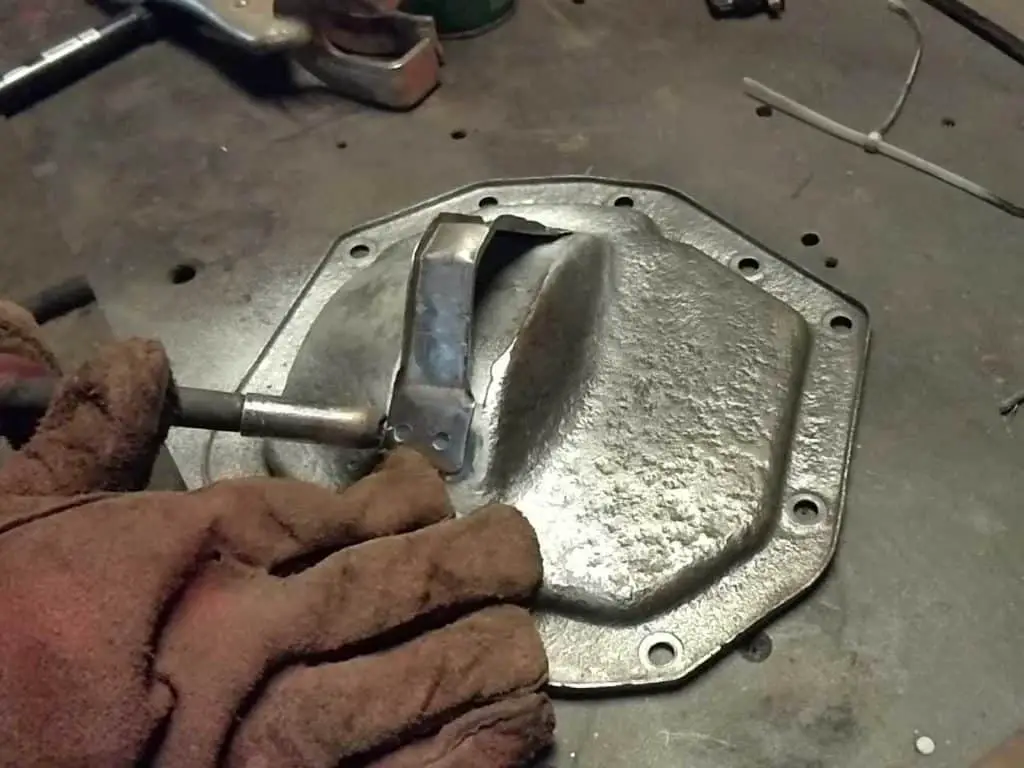
The main problem with it is that it rusted through at the point the handbrake cable bracket was welded on. I tried to repair it years ago, but I couldn’t make it leakproof. That was in my early days of welding, so I thought I’d have another go and see if I could do a better job this time.
I ground off the old repair patch and cleaned everything up. Then I attempted to weld it again to seal up the leak – unfortunately I just blew through the metal pretty much immediately. Where it’s rusted through, the metal is very thin and difficult to weld.
Grinding off the old patch… Not actually too bad, but not leakproof. Attempt 1 to weld it up properly. It didn’t work.
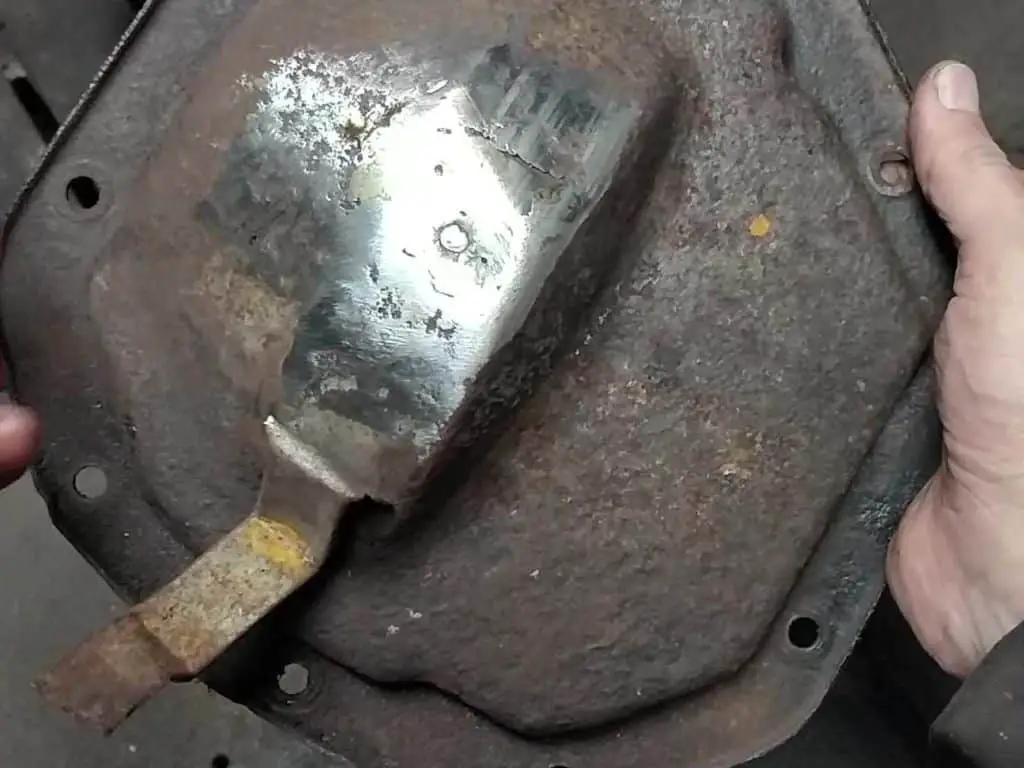
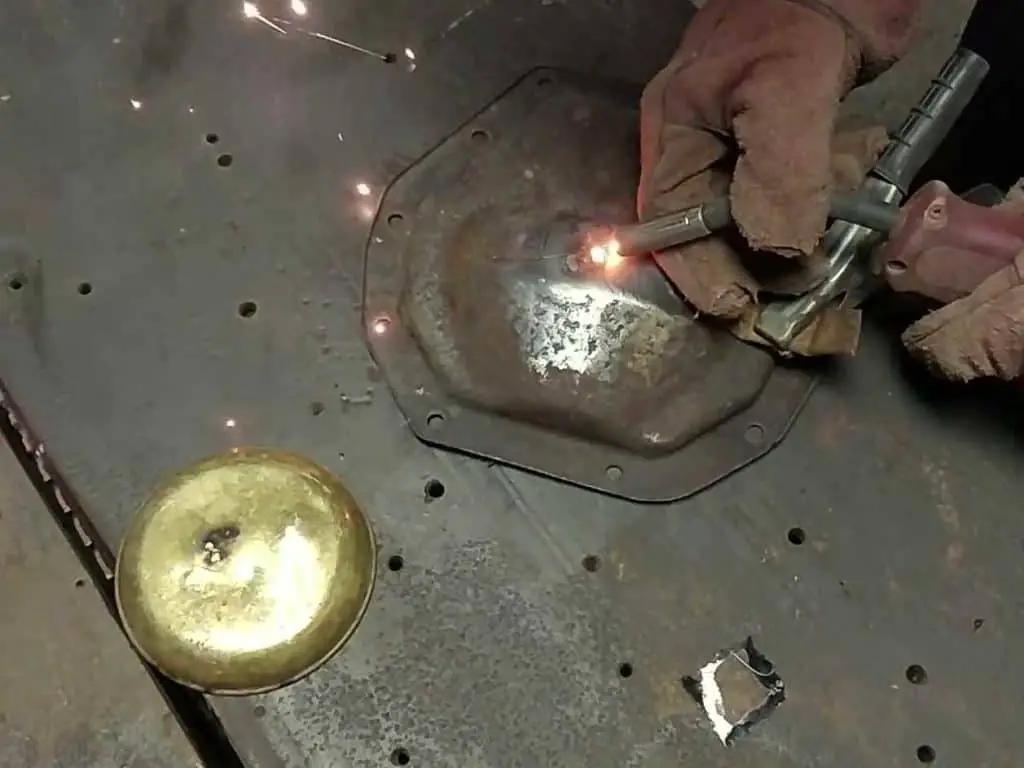
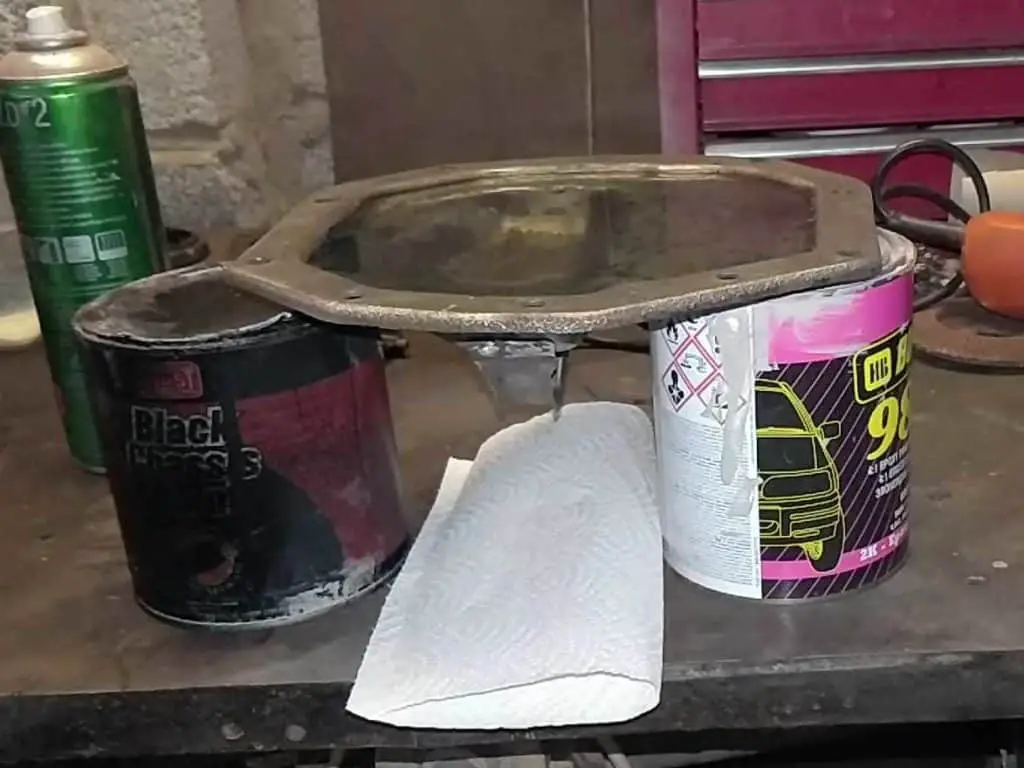
So I tried a technique I’d heard before: Apparently copper is quite resiliant to welding and can be used as a backing to weld against.
I didn’t have any copper, but I did have an old brass dish that I thought might work. While brass isn’t as good as copper and the dish was really too thin anyway, it did sort of work – it melted through the dish (which was scrap anyway) but allowed me to build up enough weld to seal it properly.
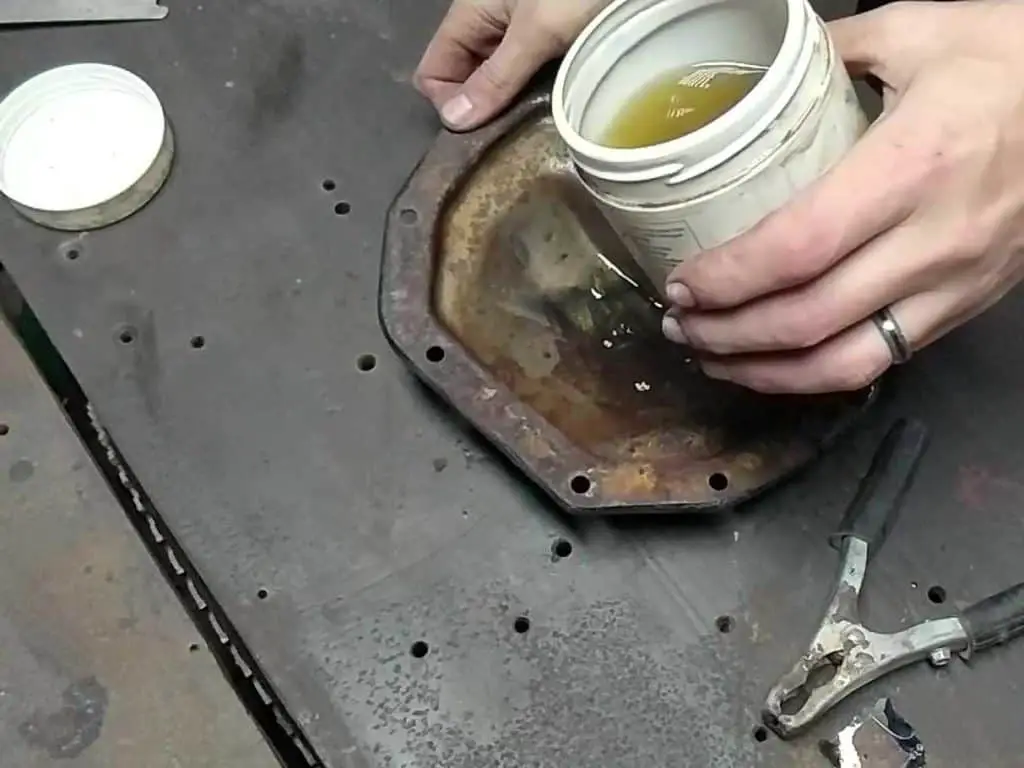
With it finally sealed up (and without a patch on top this time!), I gave it a quick test with some white spirits. Happily, it didn’t leak. Just to be on the safe side, though, I put a coating of J B Weld on each side just to seal it for sure.
With the brass dish, I was able to weld it properly. Testing for leaks… Adding a coat of J B Weld just to be sure.
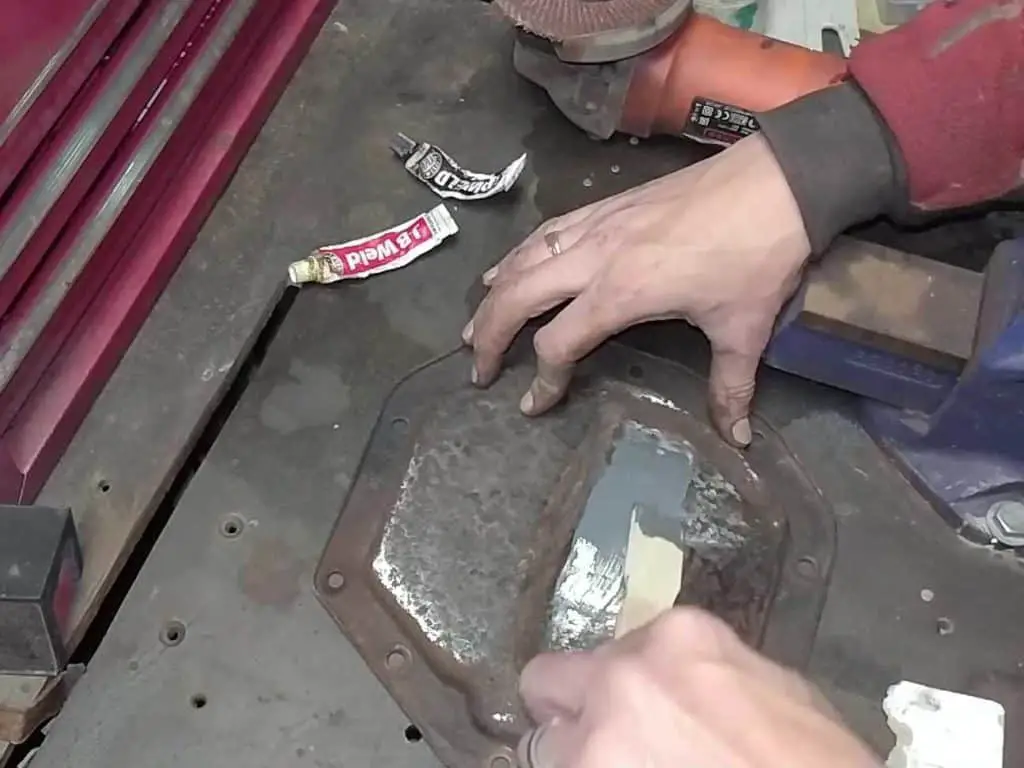
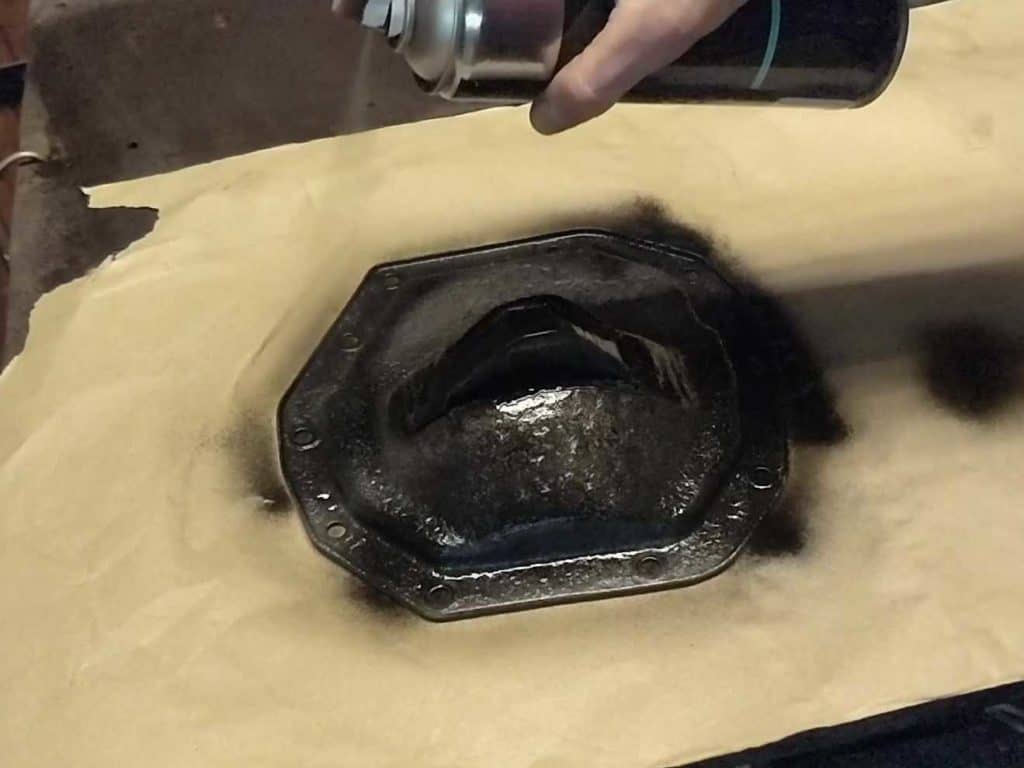
With that done, I made up a new bracket for the handbrake cable and gave it a final test for leaks, before painting the whole thing.
Welding on a new bracket… …before a final test for leaks. It’s all done, time for a coat of paint.
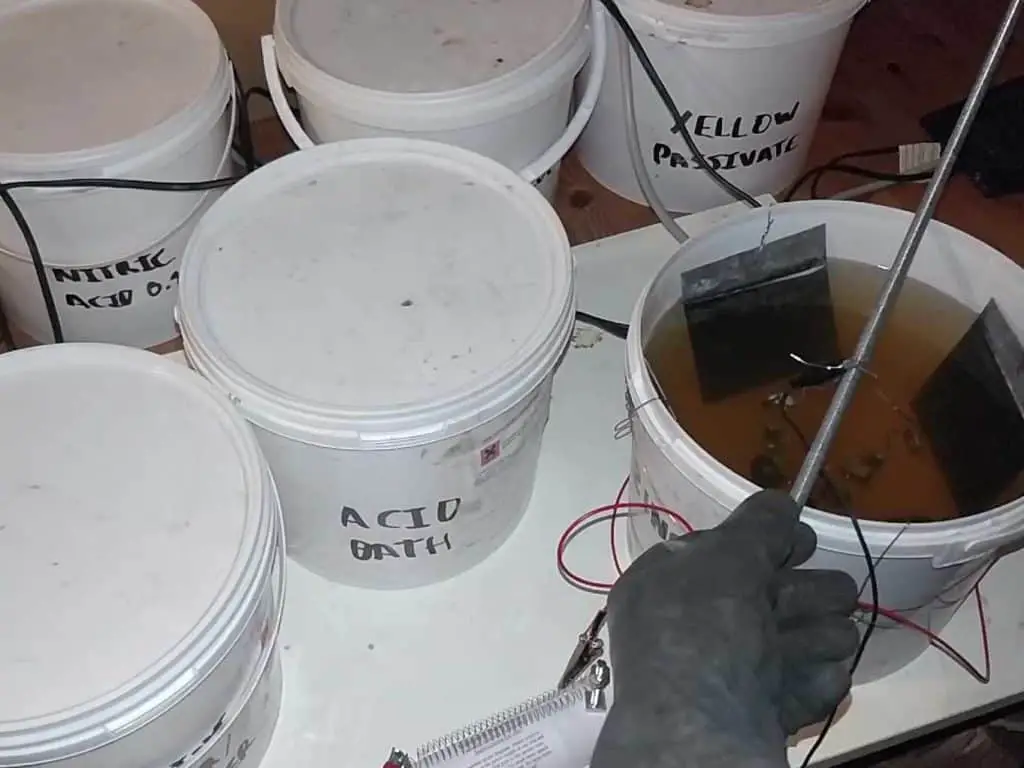
Cleaning up the Hardware
Most of the nuts and bolts on the diff were dirty and rusty, and I would normally have just tossed them out and replaced them with new ones. But I’d just bought a zinc plating kit and wanted to try my hand at plating, so all the hardware from the diff (except for any nyloc nuts, they were just replaced with new) got cleaned up and zinc plated. Apart from going a bit overboard with the yellow passivation, I think they came out pretty decent.
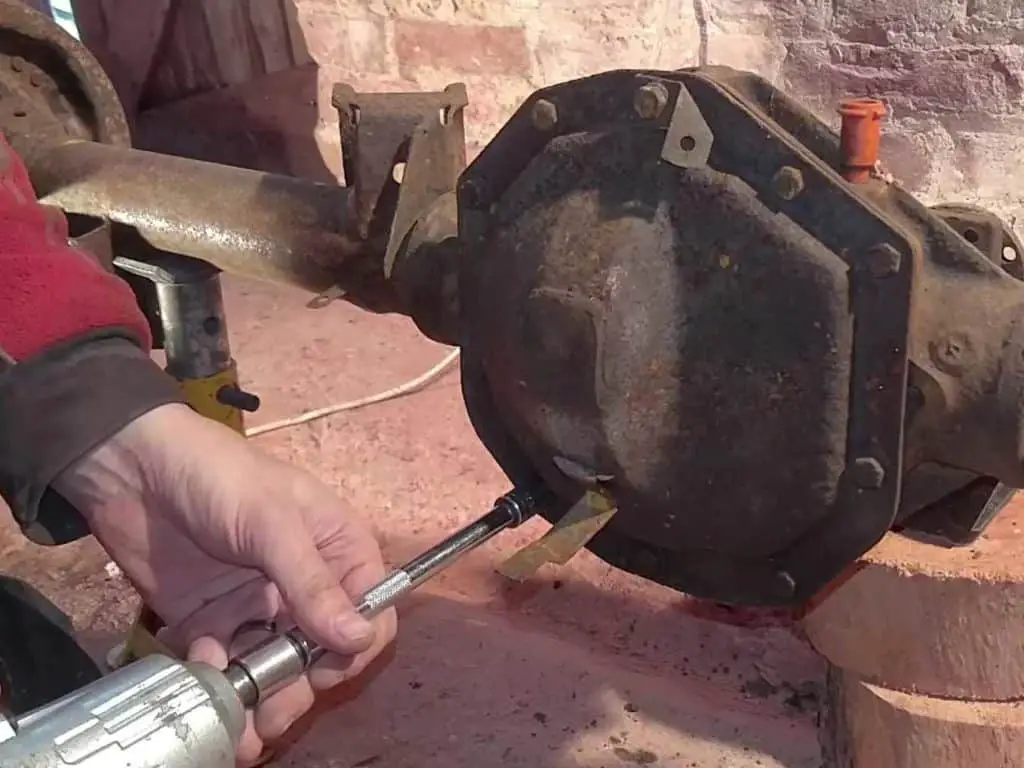
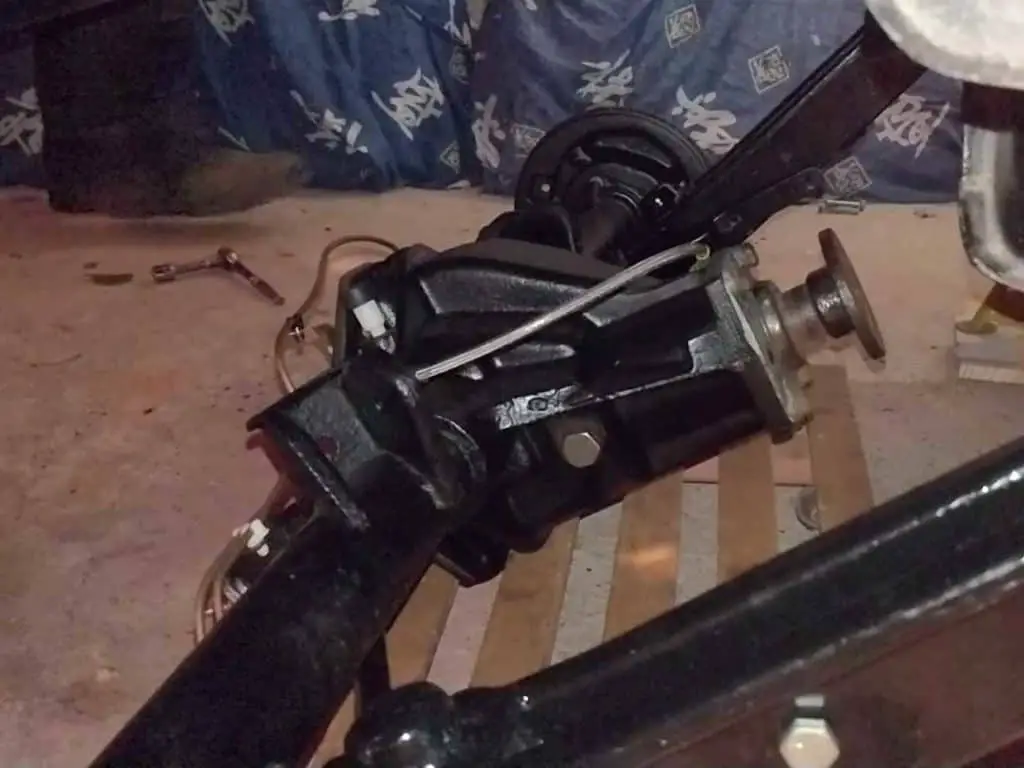
Once that was done, I refitted the diff cover.
Zinc plating all the nuts and bolts… … and cleaning up. A little too much gold, but they came out pretty good. Refitting the diff cover with the newly plated bolts.
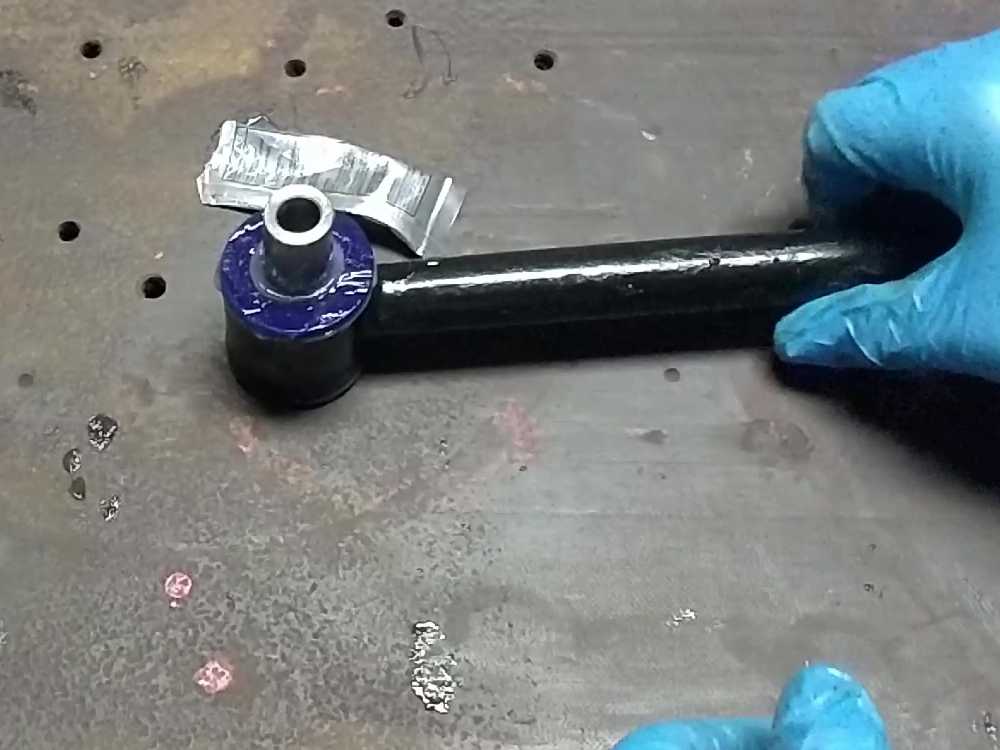
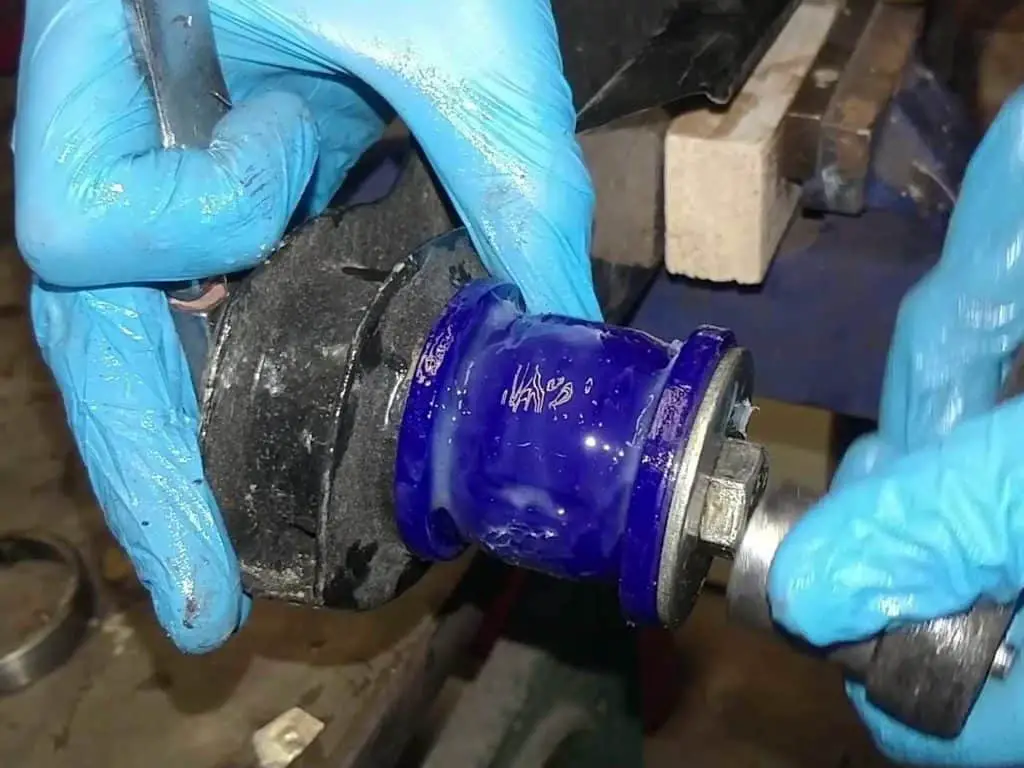
Fitting the Suspension Bushings
After a bit of thought, I elected to fit polybushes throughout the front and rear suspension. I was a little worried about giving the car a harsh ride, but I figured if it was too bad I could swap some of them back to rubber bushes.
The decision was finalised when I found a full car set of Superpro bushes on eBay for a not bad price.
It was a greasy and messy job, but in the end not as difficult as I’d feared. The tie bars were simple as they were two piece bushes and just slid into place, while the trailing arm bushes were one piece and needed to be drawn into place. I made up a tool from a long bolt and some strong washers. It took a few attempts with the bushes wanting to slide anywhere but into the hole, but I got there with a little patience.

The tie bar bushes were easy to install. The trailing arm bushes needed a bit of persuasion… …you need to draw the bush into the hole with a bolt and washers. With a bit of patience and plenty of grease, it’ll slide in eventually.

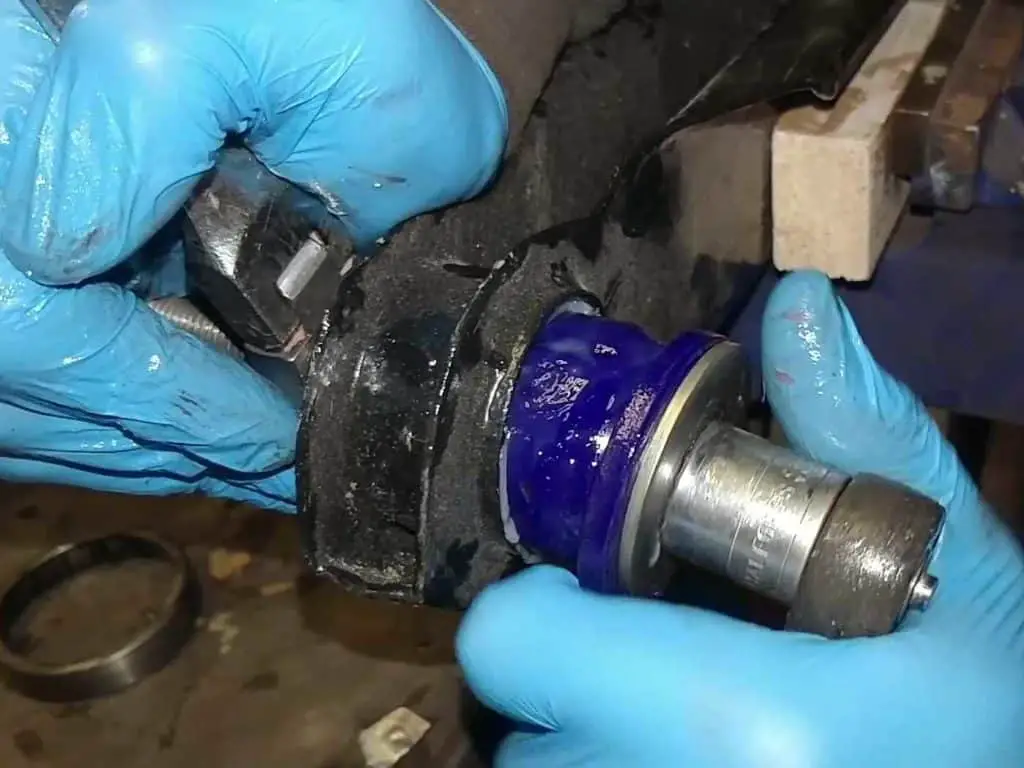
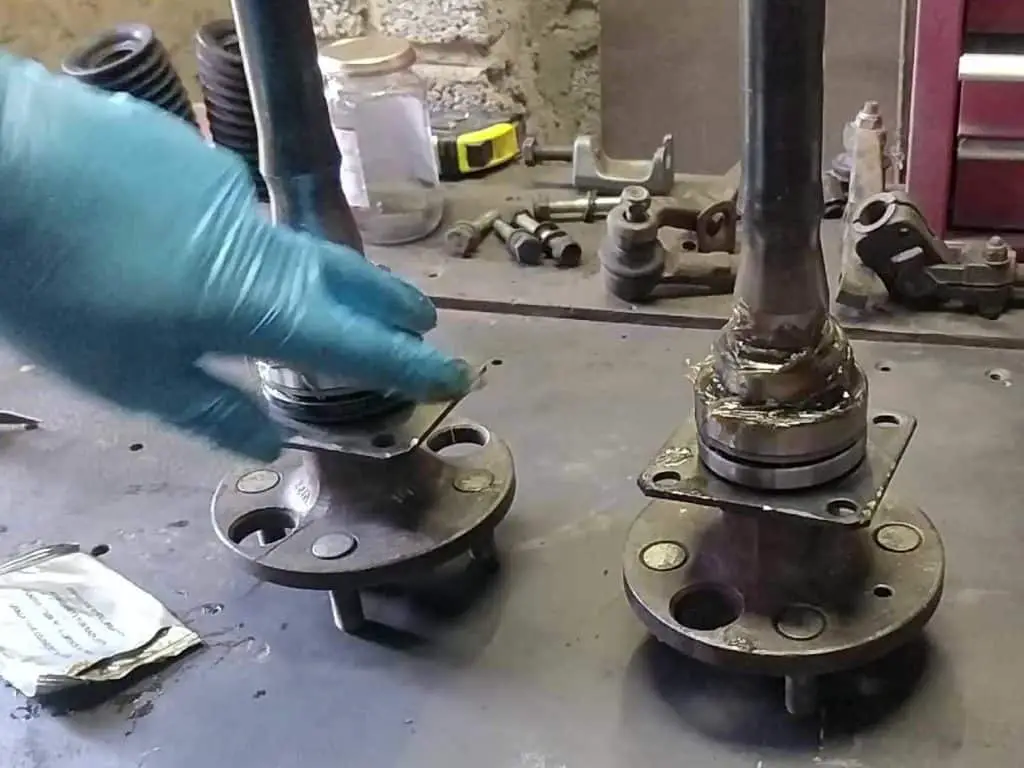
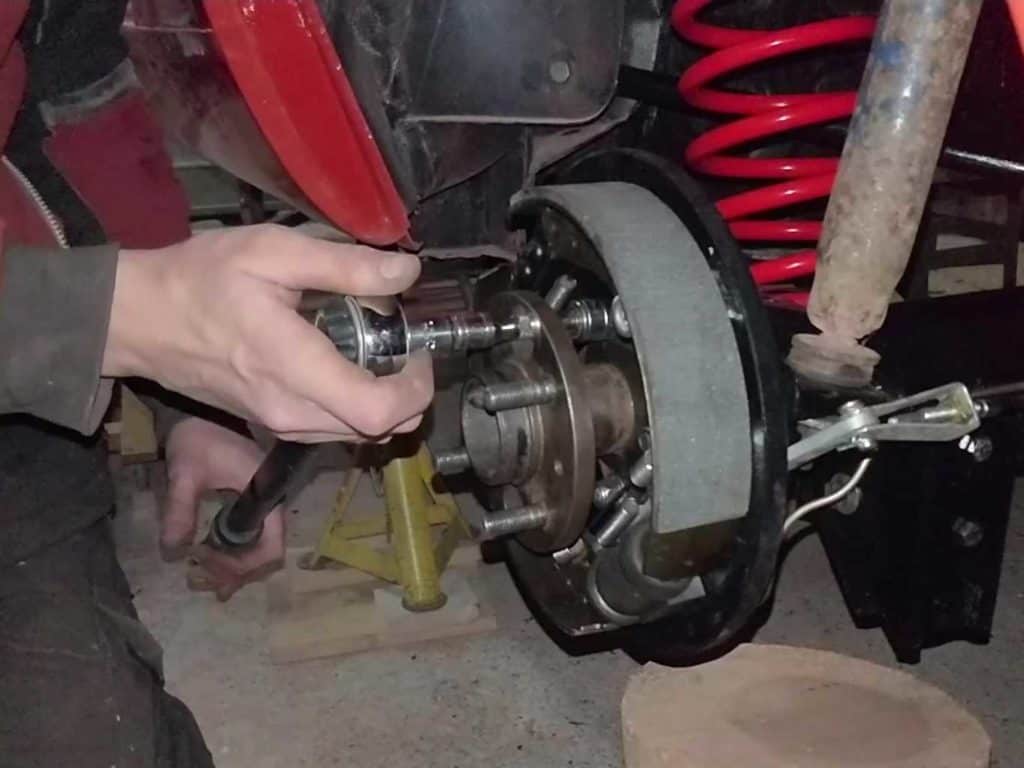
Fitting the New Axle Bearings
This turned out to be a bit of a farce – and an expensive one at that.
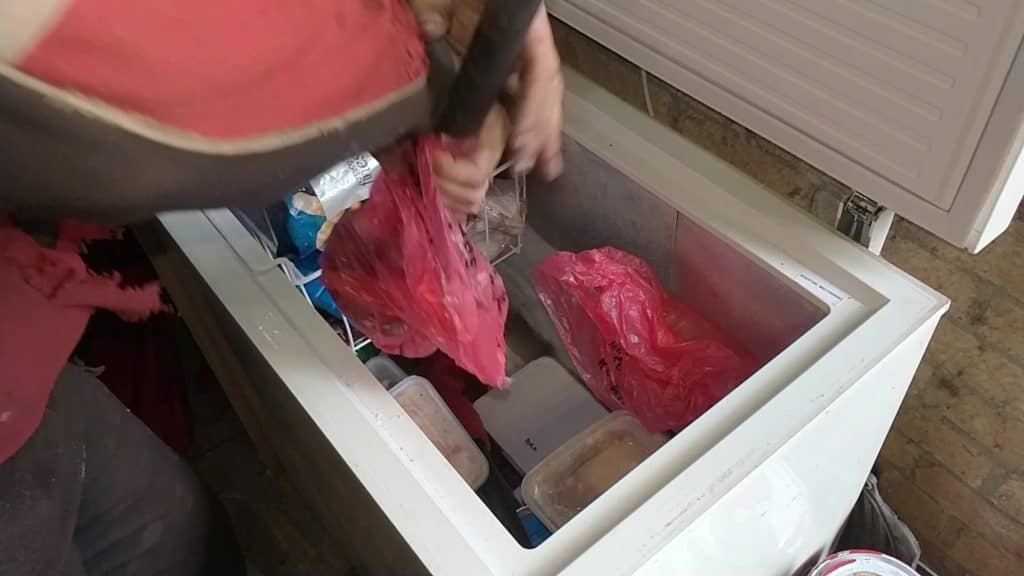
After the debacle removing the old bearings, I was prepared this time. I put the axle shafts in the freezer overnight (to shrink them slightly) and warmed the bearings and collars in the oven for 30 minutes before fitting to expand them.

Not what you expect to find in the freezer. What’s for dinner? ? Fitting the end plate and oil seal ready for the bearings.
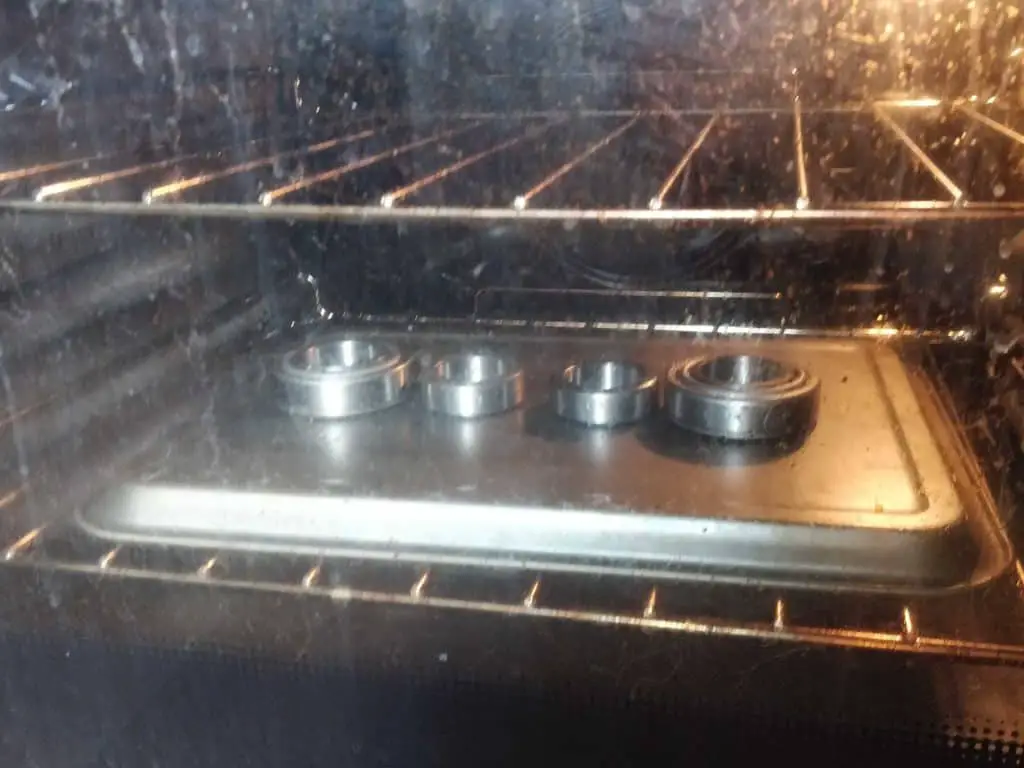
What was supposed to happen next (according to the various blog entries and how-tos I’d read) was that the heated bearing and collar should slip straight on to the shaft, thanks to thermal expansion. The theory is certainly sound.
What did happen, though, was that the bearing slid about halfway into place and then got stuck. Even hammering it down with the bit of tubing I’d bought specially for the job wouldn’t shift it. I couldn’t move it up again or down further.
So I had to cut that shiny new bearing off the axle again (I was getting quite good at it by this point) and order a new one. I took the time to upgrade to some more expensive Timken branded bearings this time. And, not wanting to have to cut those off as well, I splashed out on a hydraulic press. I figured this wouldn’t be the last time I’d need one, and having one around might prove handy.
With the shiny new press, getting the new bearings fitted was a pretty straightforward (if slightly unnerving) affair.
(Unfortunately I lost a lot of the footage from this, so I have no shiny pictures to show! ?)
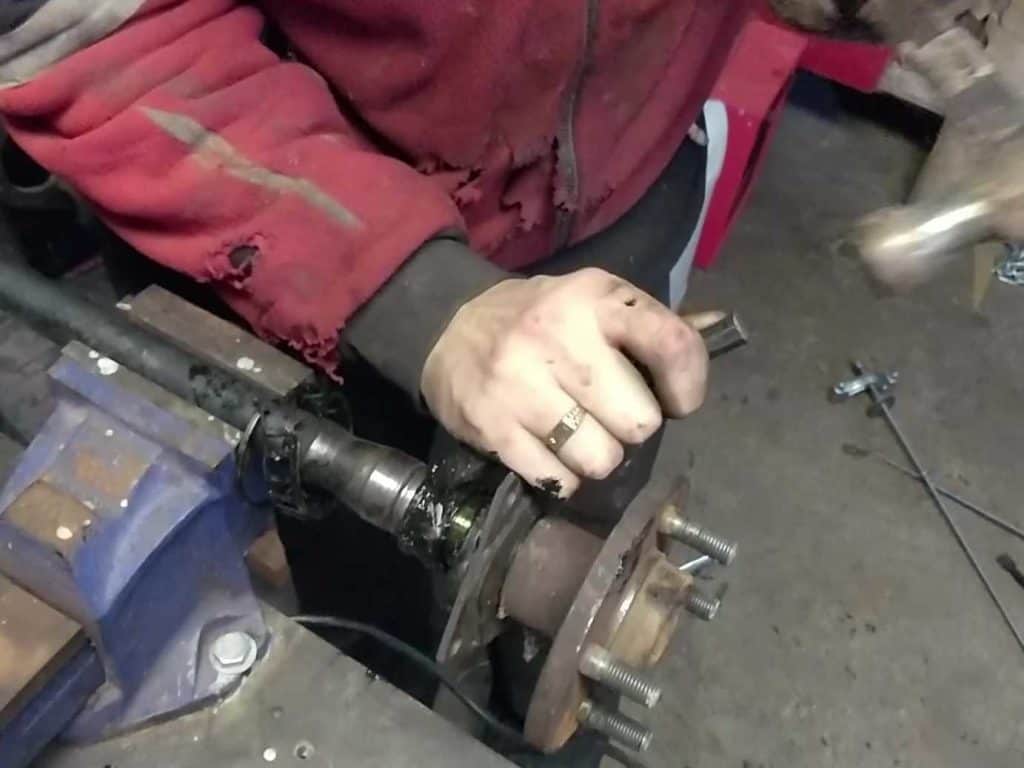
Fitting the Shafts to the Axle
With all that done, it was time to get everything together and fitted.
So I greased up the new bearings, fitted new oil seals to the axle tubes, and then slid the shafts into place. A pleasantly straightforward job for once after all the stress of the bearings!
Greasing up the new bearings… …and fitting new oil seals to the axle tubes. Sliding the axle shaft into place.
Fitting the Axle to the Car
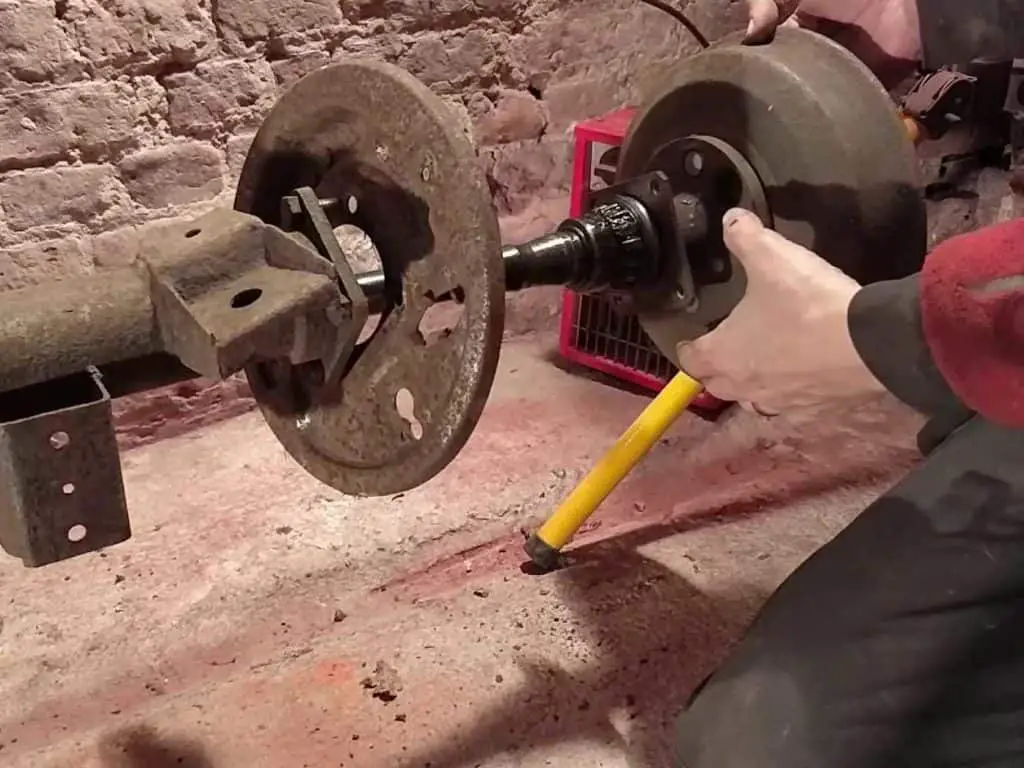
With the axle now complete, I wheeled it into position before taking the dolly I’d made for the rear off – that was no longer needed, and just in the way now.
Moving newly assembled axle into place. Then the old dolly comes off… …and moved out of the way.
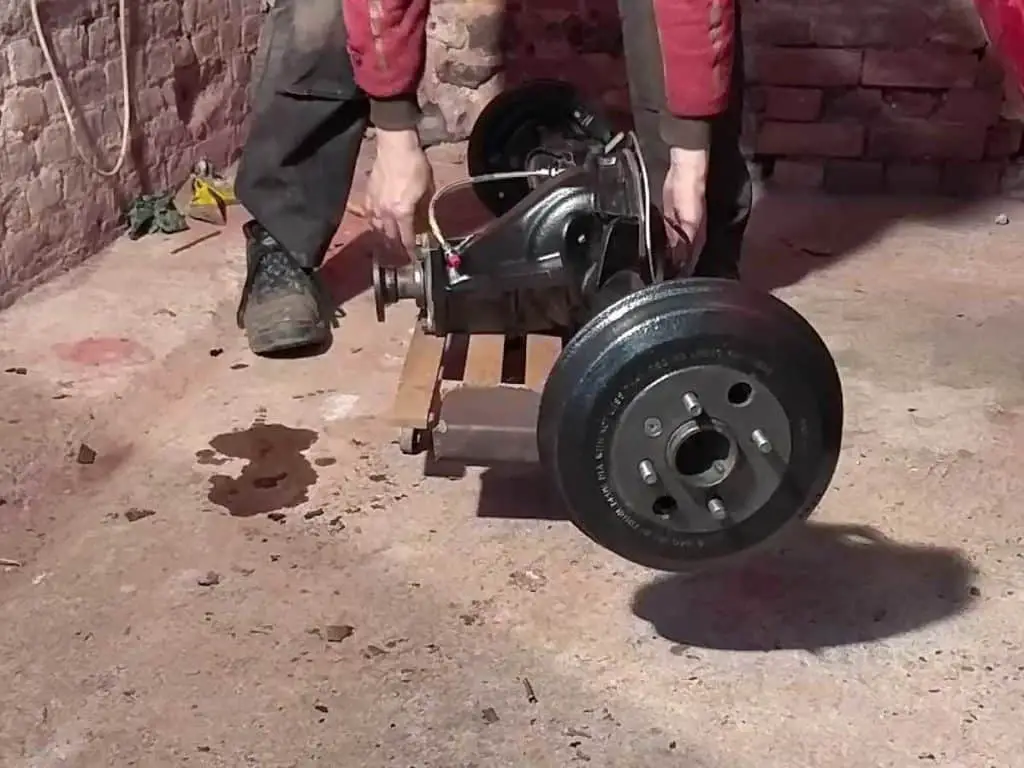
Then the axle was moved into place and fitted.
That above sentence sounds simple, but the reality is it took almost an hour to fit the axle. It’s a heavy beast and difficult to move, and yet needs to be placed fairly precisely to get everything lined up to fit.
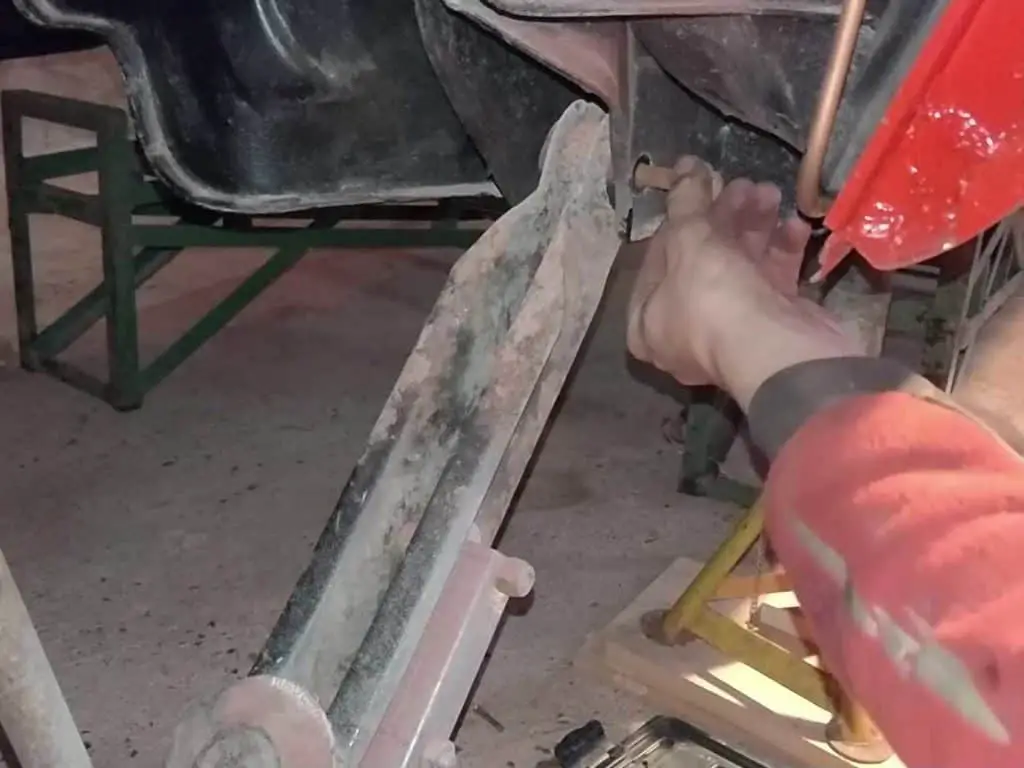
The trailing arms were fitted first and were fairly easy, then the anti roll bar was bolted (loosely) into place to stiffen everything up. The tie bars were last, and probably took the longest – getting all the holes to line up well enough to slide the bolts in place took some going!
But after a lot of grunting and heaving, the axle was finally fitted. I haven’t bolted everything up tightly yet, I’ll wait until the car’s complete and fully loaded before I do that. This should only be done when the suspension is in its normal position.
The axle roughly in place. With anti roll bar fitted, everything is a bit stiffer. Trying to line these holes up took ages.
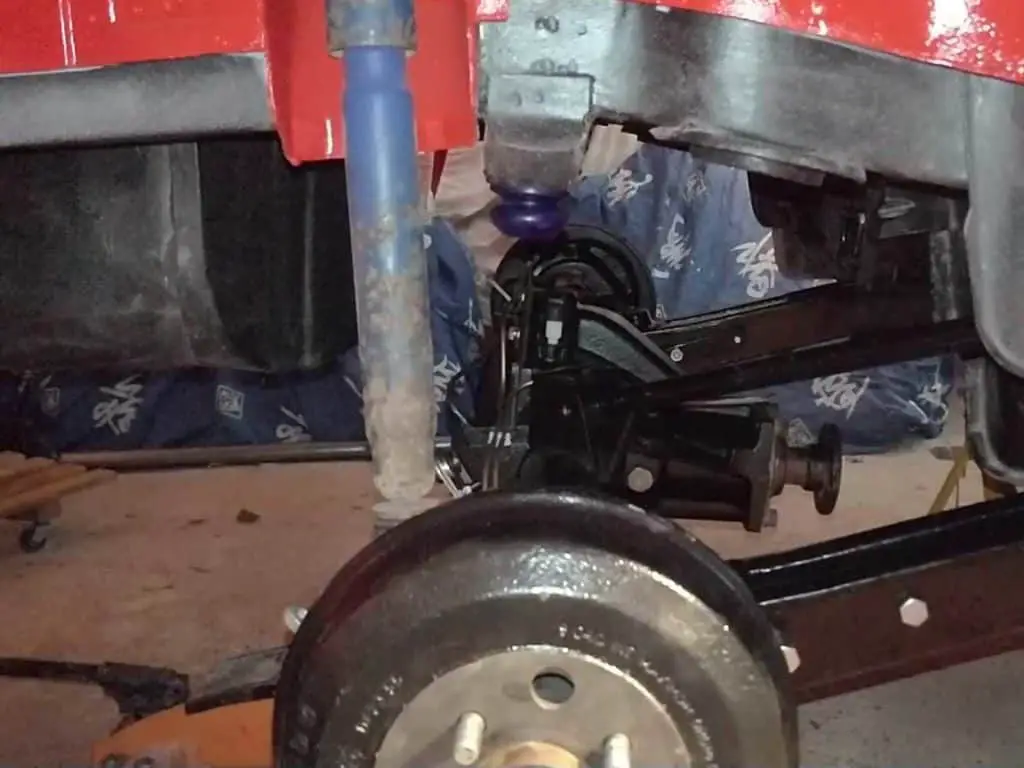

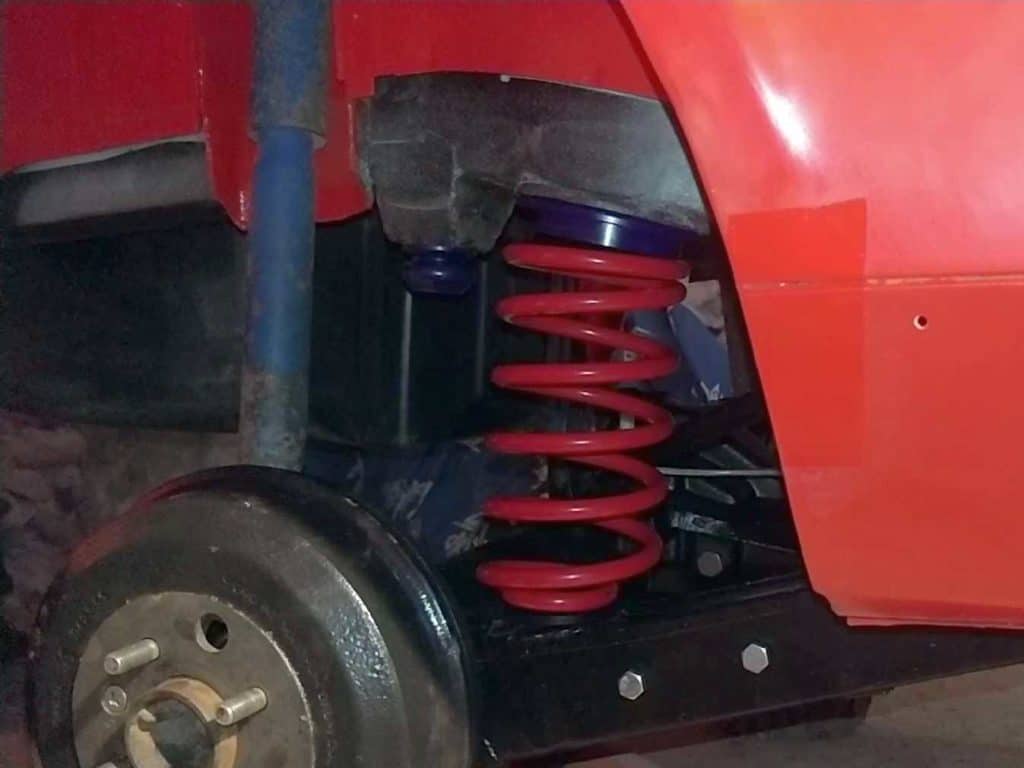
With the axle in place, I then fitted the new springs and shock absorbers. I had to fit the old ones here as the new ones I’d ordered hadn’t yet arrived. Unfortunately I needed them in place to stop the axle bottoming out, so I just had to fit the scabby old ones. I’ll fit the new ones soon.
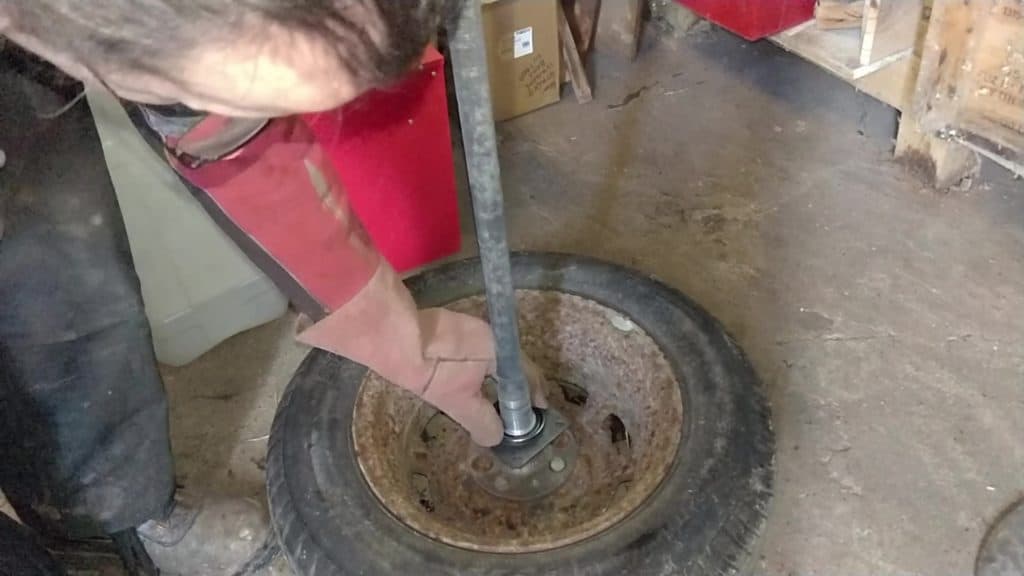
The last job on the list was to tighten the shaft retaining bolts down to correct torque – something I figured would be easier to do with the axle on the car, rather than sliding about on the axle stands like it had been when I fitted the shafts.
(Shiny new) spring and (scabby old) damper fitted in place. Tightening down the axle bolts.
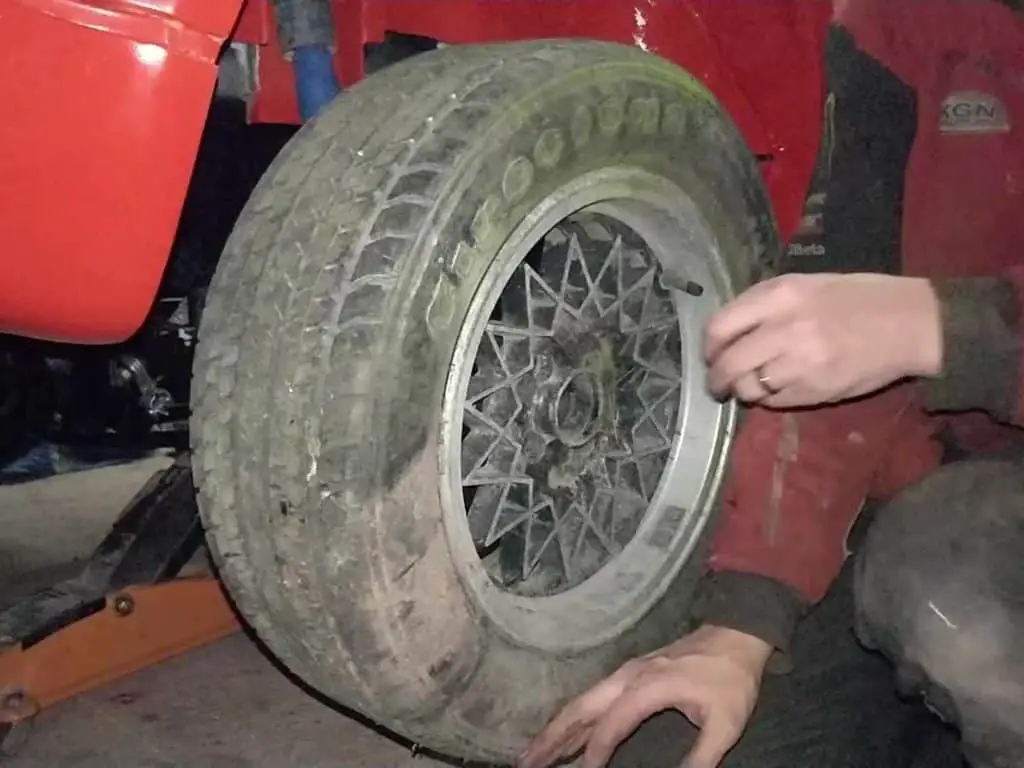
With all that done, it was finally time to fit the back wheels…
I know the wheel is dirty. That’s a project for another day.
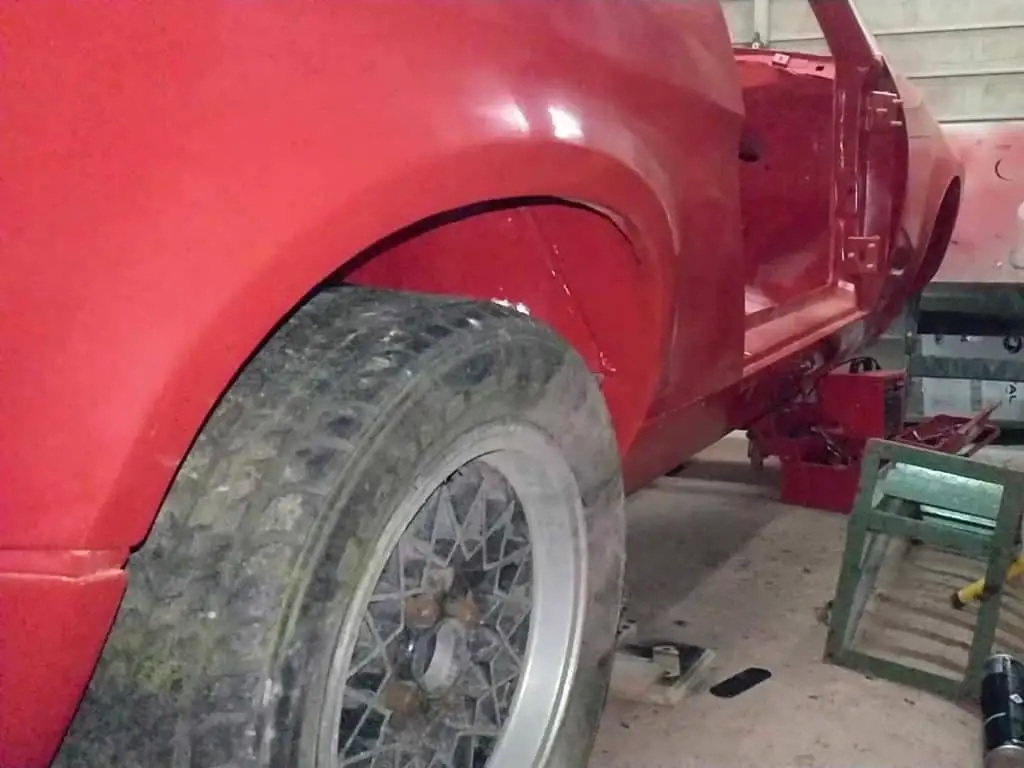
And finally get the car back down on her wheels. Well, the back ones at least!
The Video
And here’s the video of all that!