The boot area is now pretty much finished. 🙂
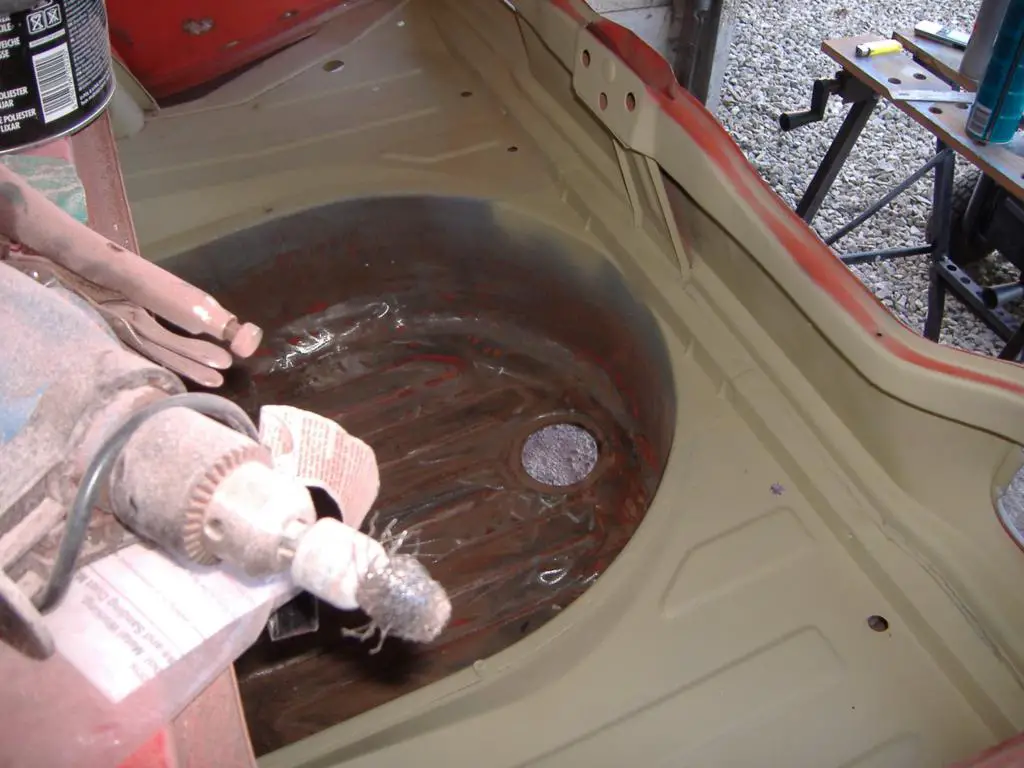
I spent a couple of evenings over the last week prepping and painting the wheel well area, as per instructions. It came out pretty well:
After cleaning and applying Metal Ready:
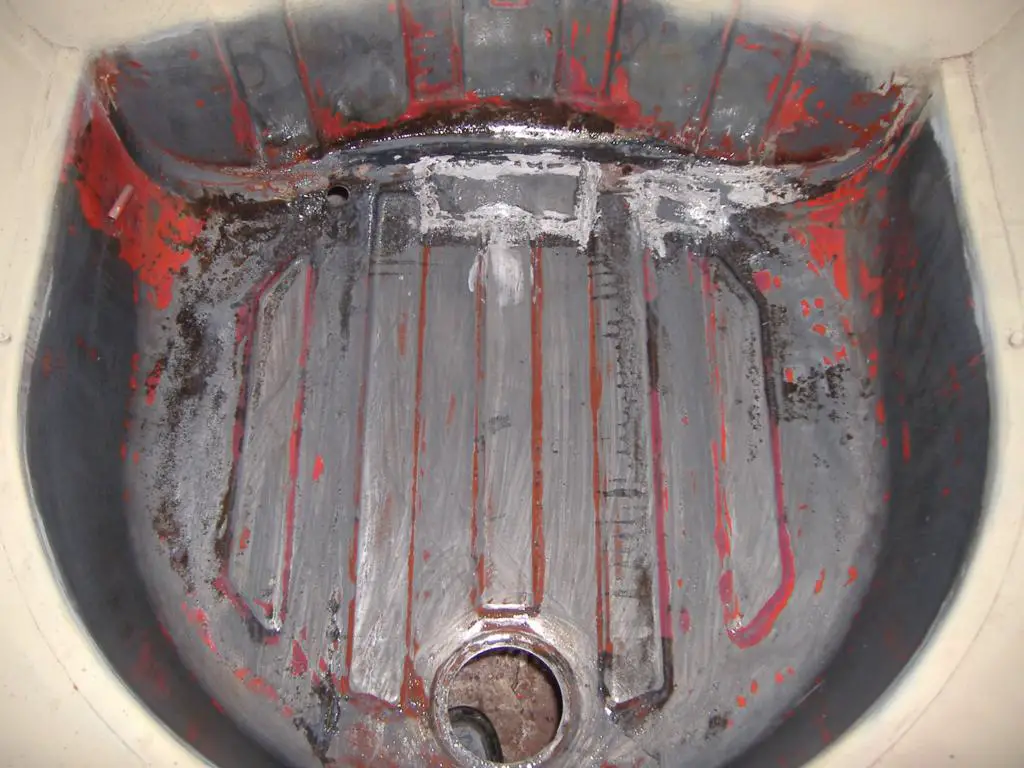
(Greyish surface is from zinc treatment, part of the Metal Ready)
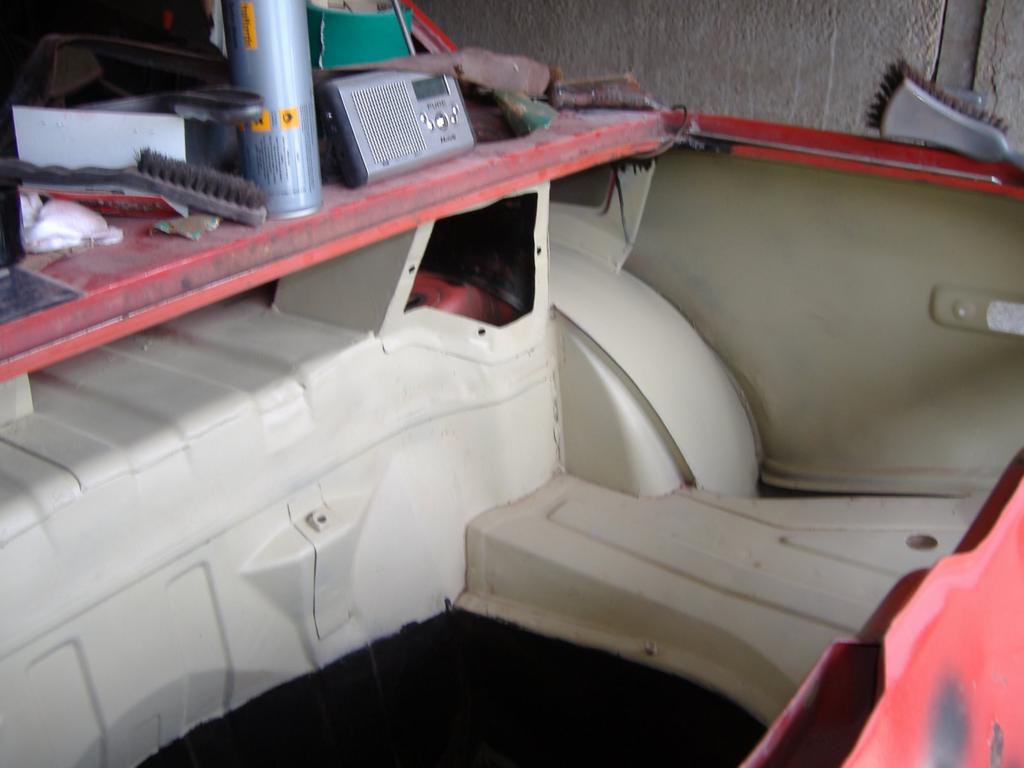
And after painting:
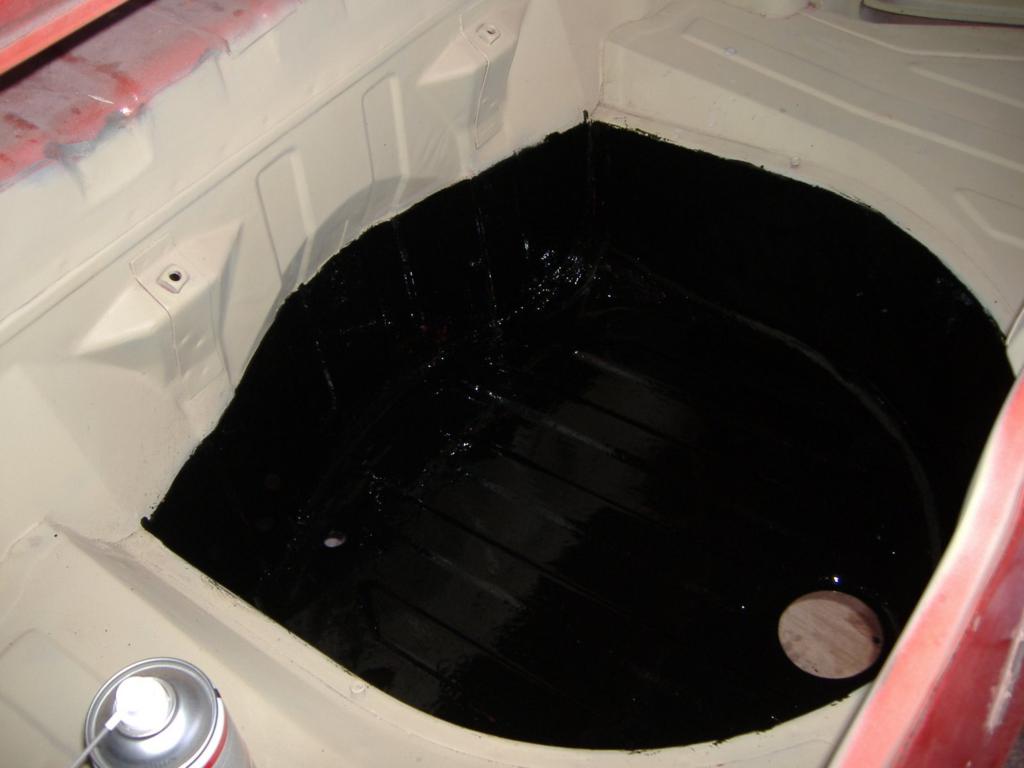
Ooh, shiny!
I’m quite impressed with the whole thing, it leaves a good coating (although a little glossy for my taste), and, while a pain to actually use, I’d say it’s worth the effort. Although I might not be saying that once I’ve done the whole underside!
The Marine Clean (degreaser) is a good product in itself, I used it to clean up the propshaft guard as an experiment, that was covered in old oil and gunk – two minutes with a bit of wire wool and it came up spotless! The nuts and bolts were just soaked in the solution, and didn’t even need scrubbing.
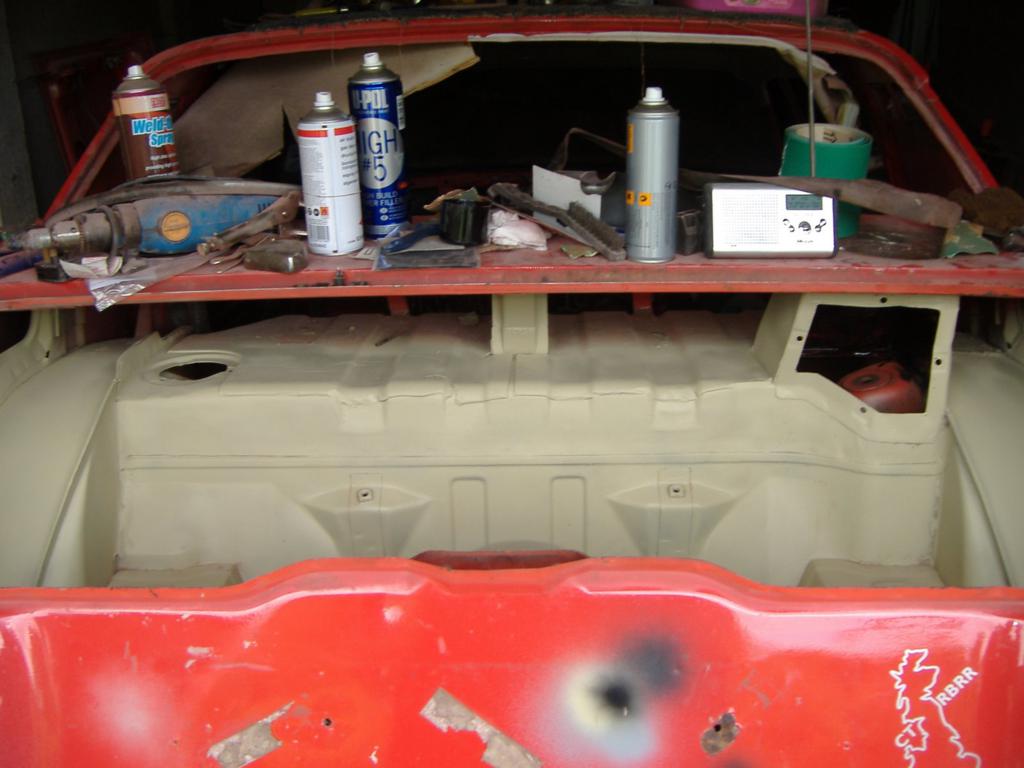
The wheelarches and back panel have been rubbed down and coated with primer, with a lot of help from Amy, so that leaves the boot more or less done. It’s going to need another primer coat and some flatting back, plus priming the wheel well, but that can be left now until the car is ready for the respray.
I spent most of Saturday underneath the car, rubbing down and scraping off any rust and gunk still there from the first time around, plus any surface rust built up since then. I have to admit, I hadn’t intended it to be so long sat in bare metal before painting, but that’s the way it goes sometimes. No harm done though, there’s no serious rust that wasn’t there already, just a little surface rust here and there. Plus, the POR-15 instructions state that a rusty surface is preferable for better adhesion!
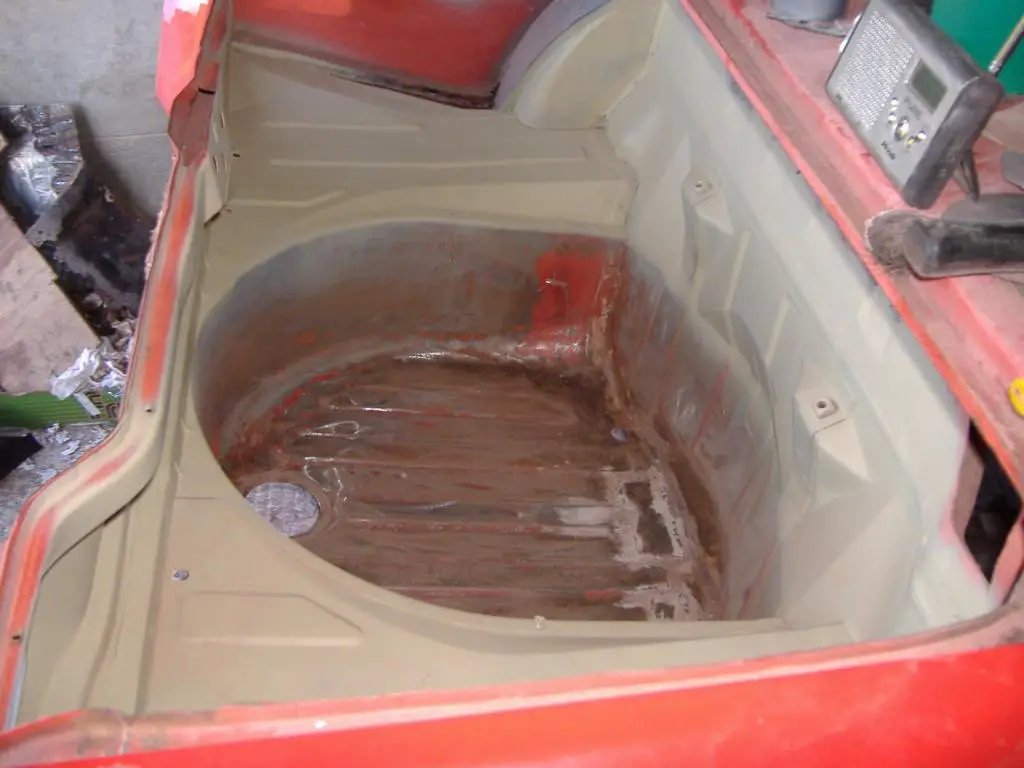
There is quite a bit of rust up in the fuel tank area (great moisture trap, when you think about it), and the chassis legs were quite pitted along the tops of the beams. I tried to get it off with the angle grinder, but ended up doing most of it by hand.
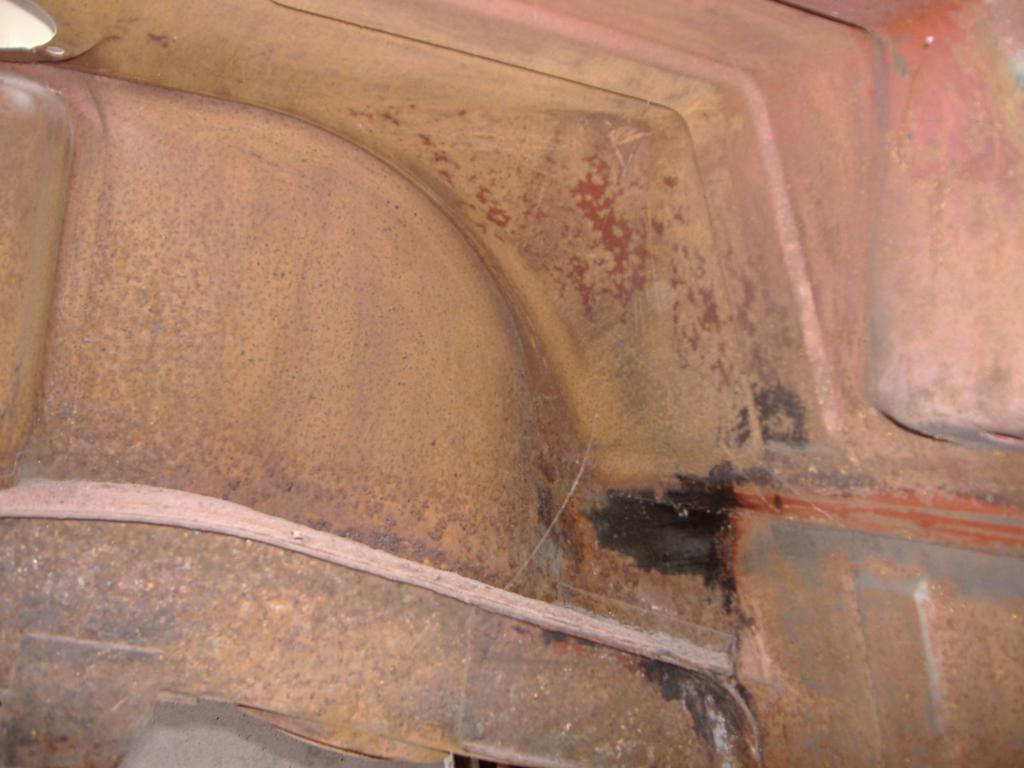
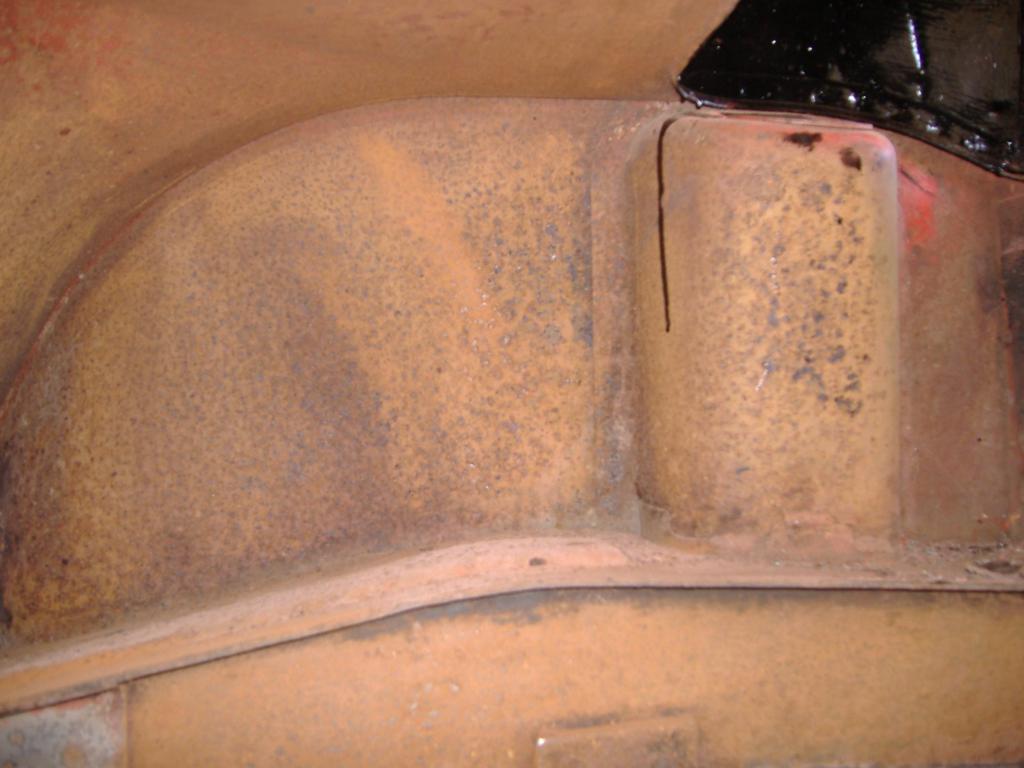
(pics taken before work started, BTW)
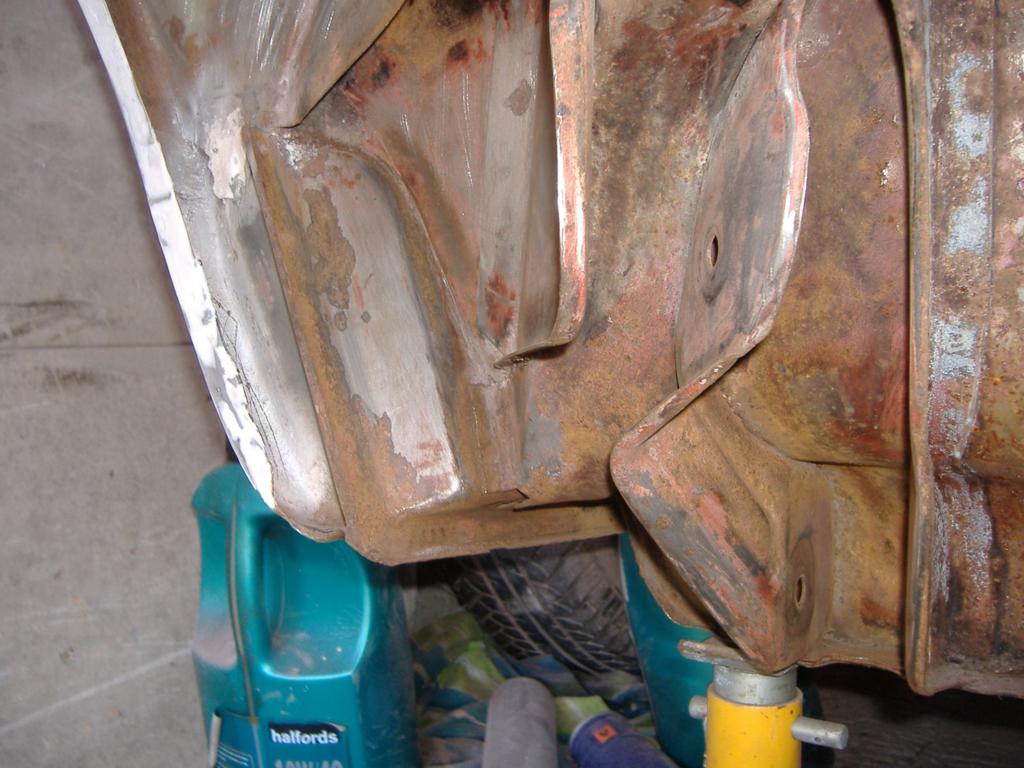
The suspension mounts were a serious pain to do as well, due to lack of access. All done now, at least as good as I can get them:
I’ve now got most of the underside ready (just the drivers footwell panel, plus the outside of the spare wheel well), and all I can say is I’m glad it’s nearly done. It’s difficult, painful and filthy work. I’ve just finished cleaning up in the bath, where I left some pretty industrial strength tidemarks!
I’ve ordered some more POR stuff, so I’ll be able to start the cleaning and prepping soon. I’ve figured the only way to get this done properly is to use the pressure washer, and just accept that I’m going to be coming home on a few occasions soaking wet and filthy. All in a good cause!