The rear wing is continuing, but it’s going to be slow work. I ground off the excess from Saturday’s work, tidied it up a bit and added in some more filler:
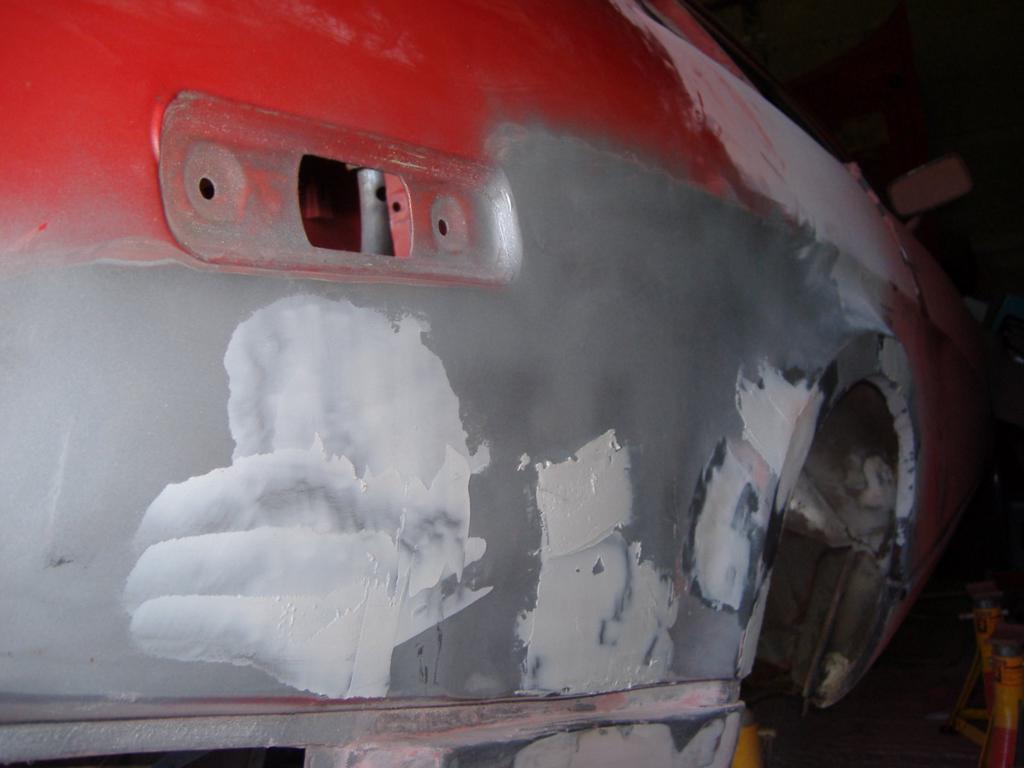
That took me all of about 15 minutes. :-s
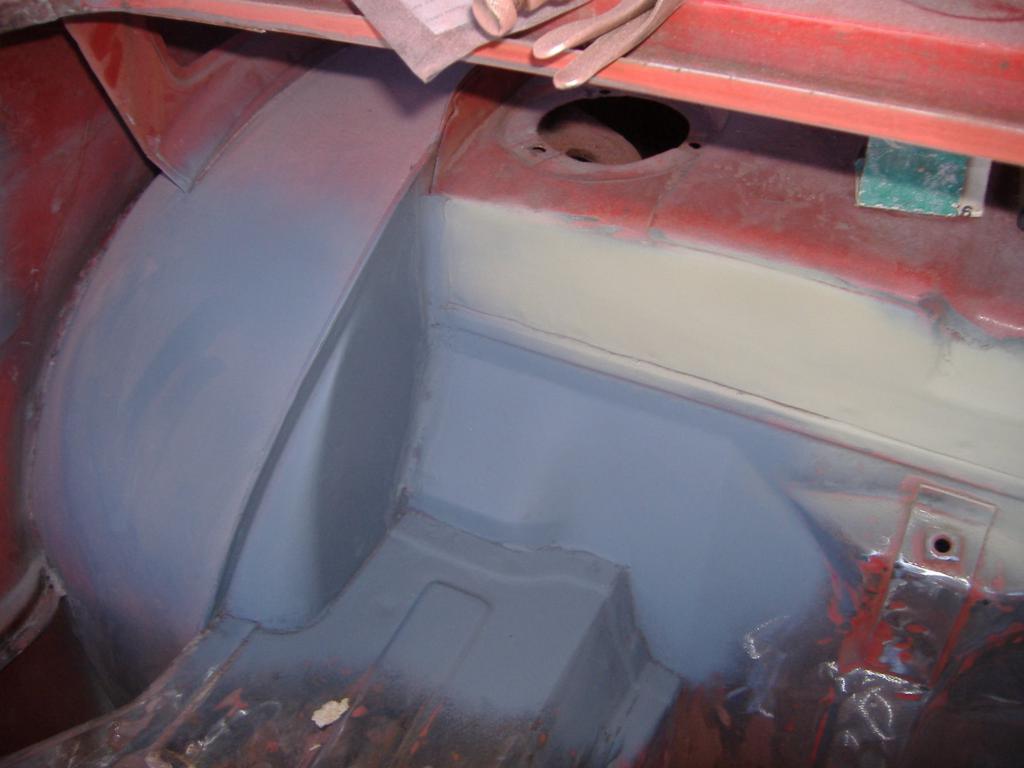
So while I’m working on that and waiting for filler to dry, I’ve started prepping the boot area for painting. I got some high build primer and started on the top area – all ok in that bit, but there was a couple of spots of old paint that show up much more than I thought they would. Therefore, I’m going to need to do a lot more rubbing down of the old stuff before it’s going to be good enough for my liking.
So I’ve started doing a small area at a time, I think this will mean I can concentrate on it a bit more and get a better result, rather than trying to do the whole thing at once. I started on the trickiest areas, the rear corners. I had previously put seam sealer on the joints, but decided to scrape all that off and start again. Also, there was some of the original sealer still hanging around, so that all had to go.
Like everything else at the moment, it’s slow work, but it’ll be worth it in the end. I know this whole area is going to be carpeted, but that’s no excuse in my eyes!
Finally the areas were ready for priming – a quick coat of standard grey primer to check for any imperfections:
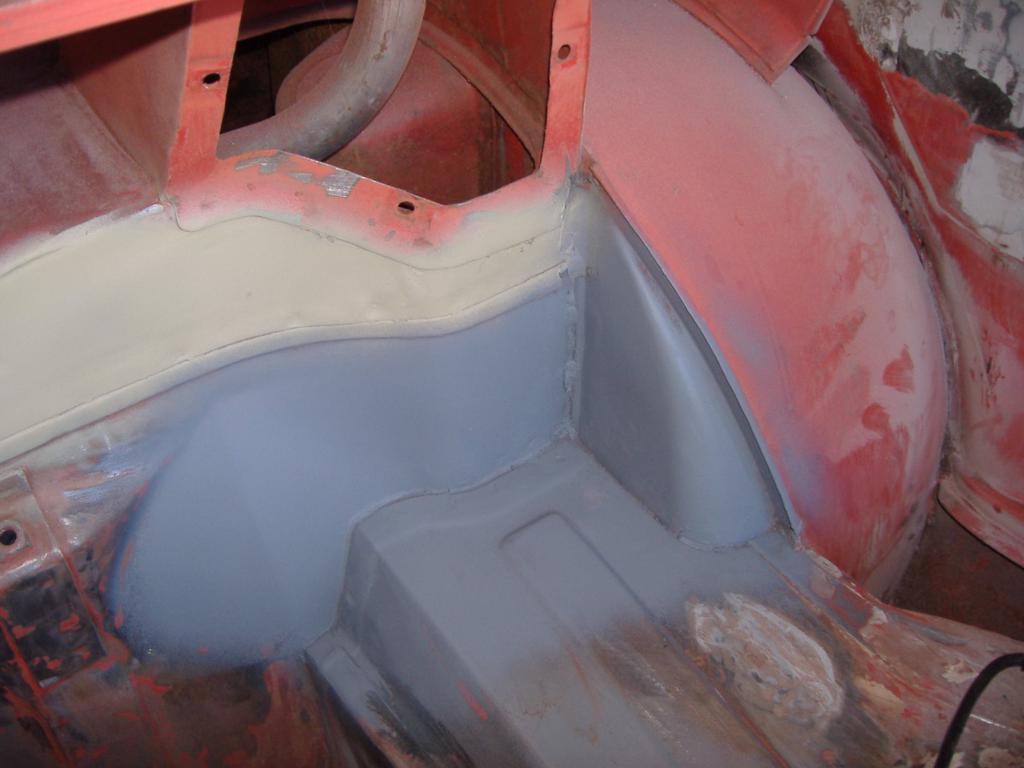
It’s amazing what a difference thirty seconds with a paint can makes! Once the other areas are finished (the wheel well is going to be painted with POR-15 first) and primed, I think the boot’s going to look pretty good. OK, so it’ll be the wrong colour, but it beats looking at bare metal!
It’s funny how these things work: several hours of hard slog, rubbing, grinding and scraping makes almost no visual difference. A few seconds waving a paint can about transforms the thing! Still, it’s all the hard work doing the prep that makes the difference in the end, so I don’t mind doing it so much.