The engine and box came out this weekend. 🙂
The first job was to pick up the engine hoist. I’d arranged to borrow one of the works vans for the weekend, but ended up having to go and collect a hire van for work, and pick the hoist up in it on the way back. A LWB Mercedes Sprinter van is probably overkill for the job, but at least it was empty, unlike the works vans which are usually full of junk!
So, van and hoist collected and breakfast eaten, we headed off to the garage. The first job was to pull the car out of the garage a little way and jack up the rear end:

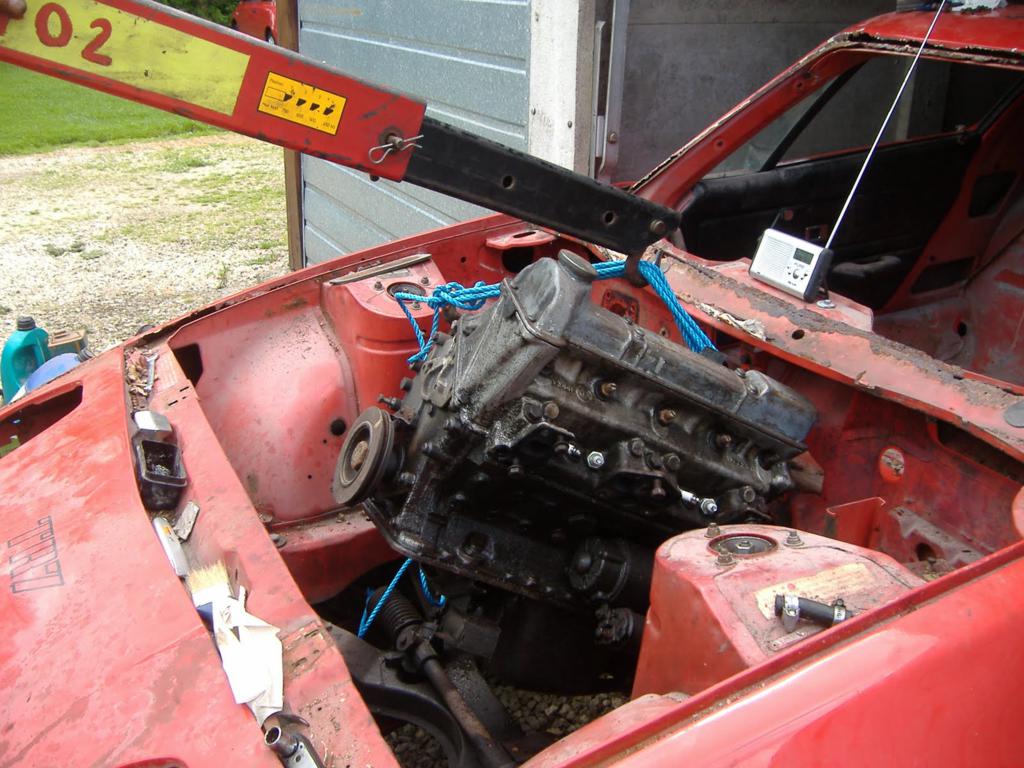
Before supporting the gearbox and removing the mount. Next job was to hook up the engine to the hoist and tension it so I could remove the engine mounting bolts:

I used a strong nylon rope for this, I couldn’t find a chain anywhere with anything like the shear strength I wanted. With this stuff, one piece alone would have been just strong enough for the job, I used six 🙂
Then the mounting bolts were all removed. No real problems, although the bottom mounting bolts were a bit of a pain due to the location, plus they were too tight to the rubber mount to get a socket (or even a ring spanner) onto them. I had to go in from underneath with an open spanner:

Neither comfortable or dignified!
But they all came out and then it was time for the lifting. That went fairly well, except I didn’t really plan too well for the gravel surface. Trying to pull an engine hoist plus engine and box along gravel isn’t easy! After a lot of pulling and straining we got there, but we had situations like this:
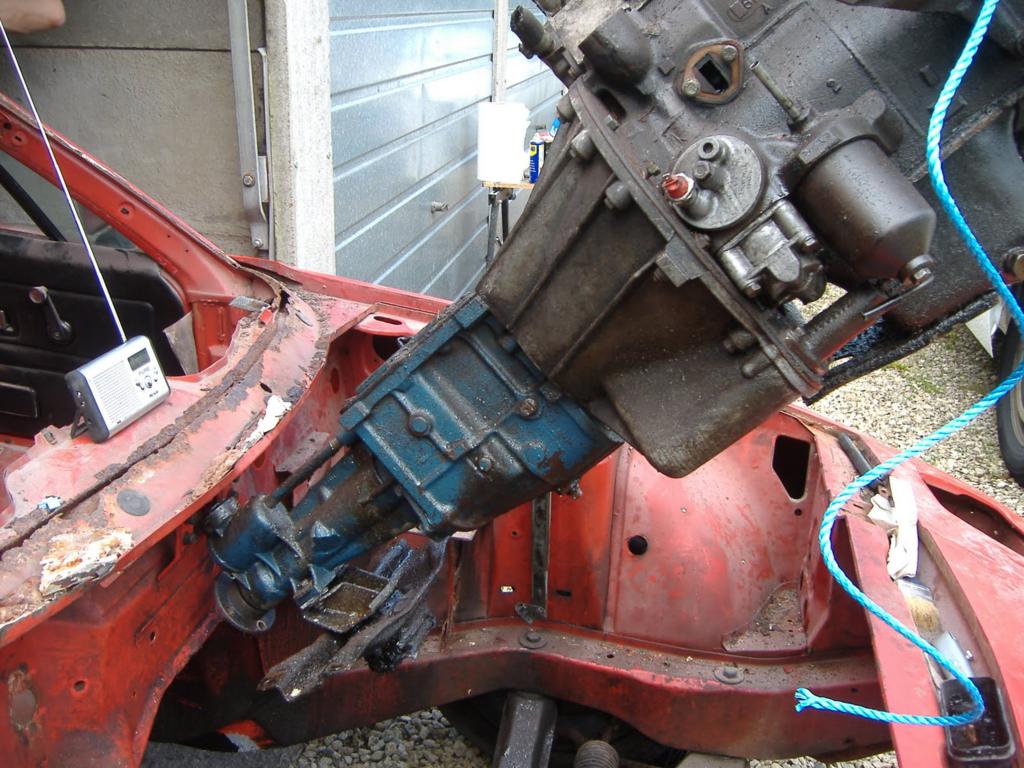
If we’d had a smooth surface to roll things along it would have been quite easy to do, as it was it was a bit of a struggle and the ‘box kept getting caught on the body. I also forgot about the speedo cable hole, so when it was all tilted gearbox oil leaked all over the floor. Oops!
After waiting for that to drain, a final bit of pulling and it was out:
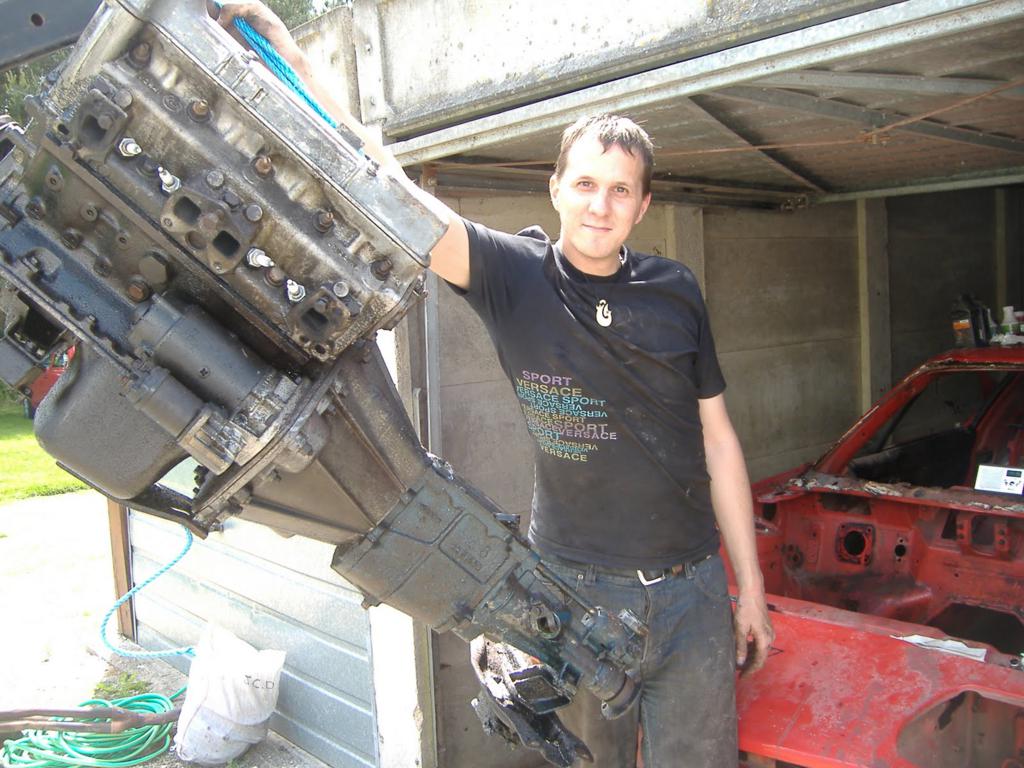
The gearbox was then removed and we started to clear up. As moving the thing around was difficult, we decided rather than wheel it in to the van it would be easier to reverse the van over the hoist to get the engine in. So after a bit of precision teamwork reversing (not easy when you can’t see the back doors), we had it in:
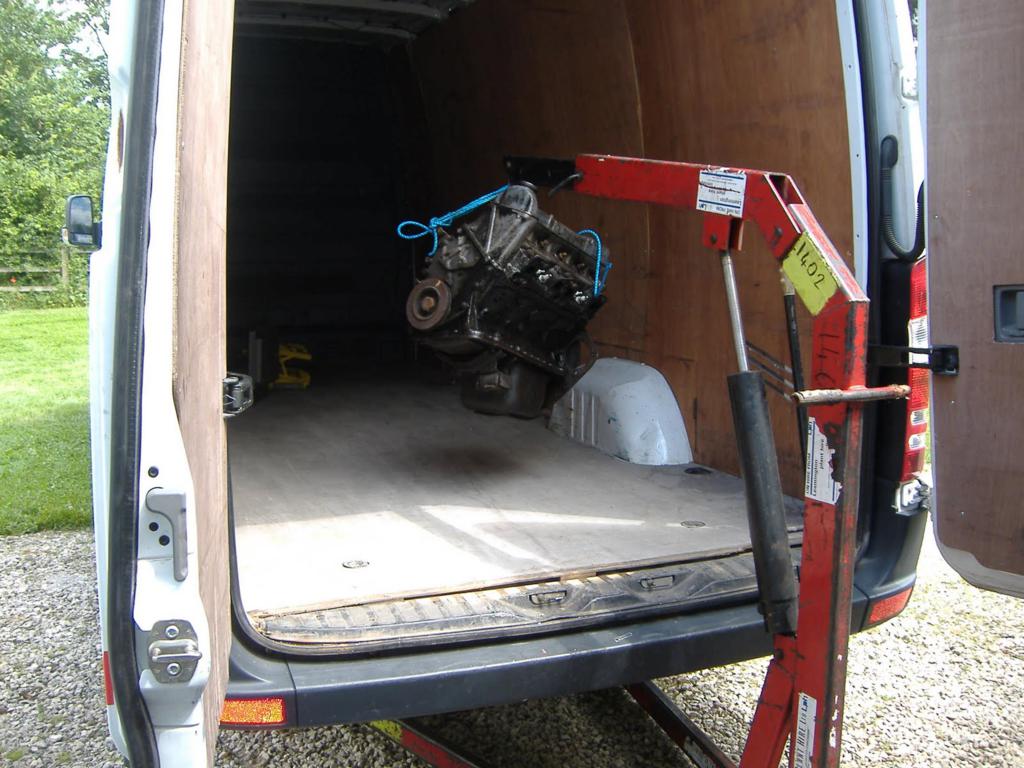
Before clearing up and heading off for a well earned one of these:

Then back to the yard at work to give the engine and box a quick blast with the pressure washer, before stashing them out of the way. I’ll be sticking them both on ebay at some point to see if anyone wants either of them.
Back to the garage after that to start cleaning up the engine bay. As you’d expect, it was a filthy oily mess:
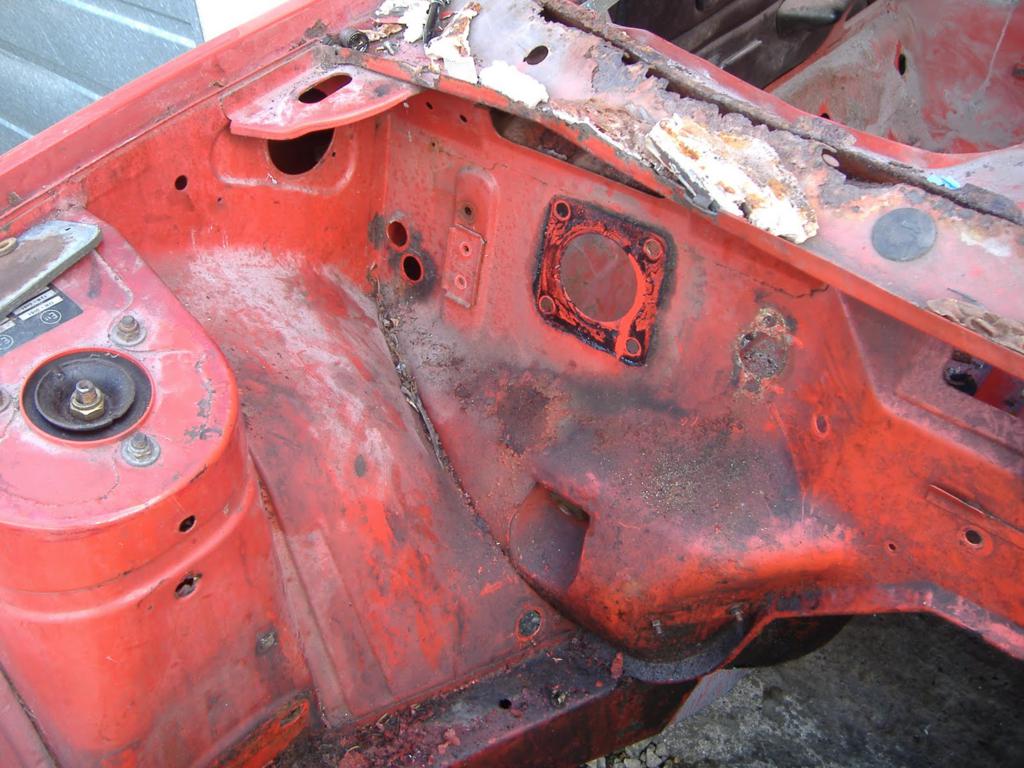
So I gave it all a good clean up. It looks better but not great:
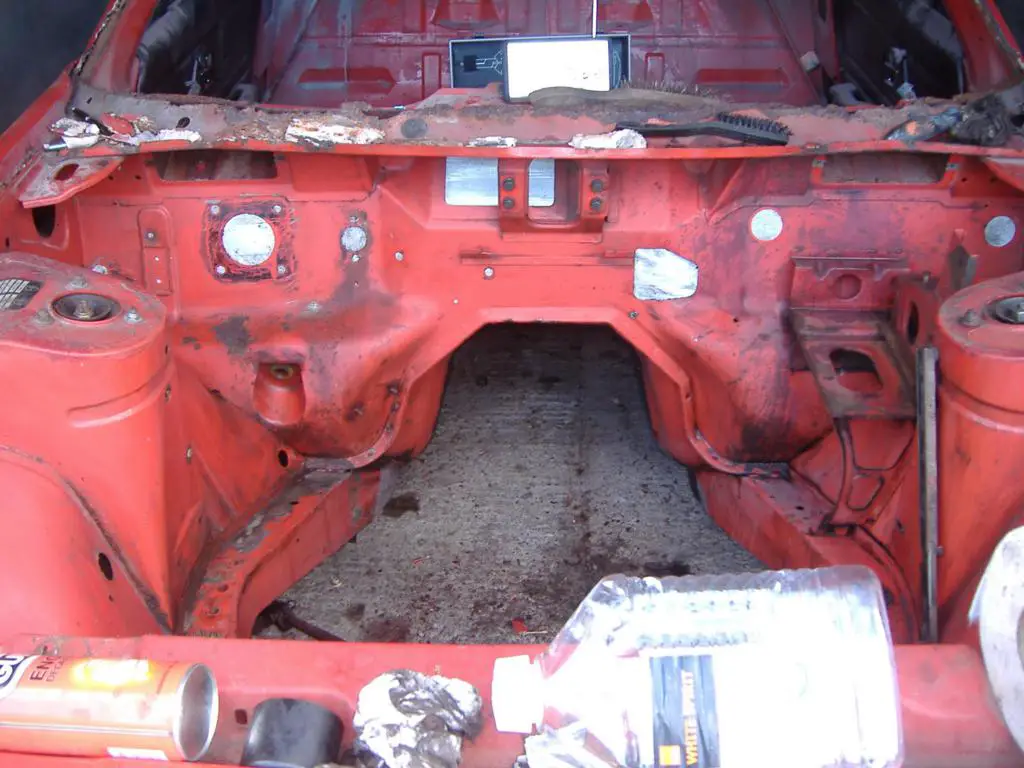
Looking good wasn’t really the point here – I just wanted to get the muck off so I wouldn’t keep getting filthy every time I worked on it.
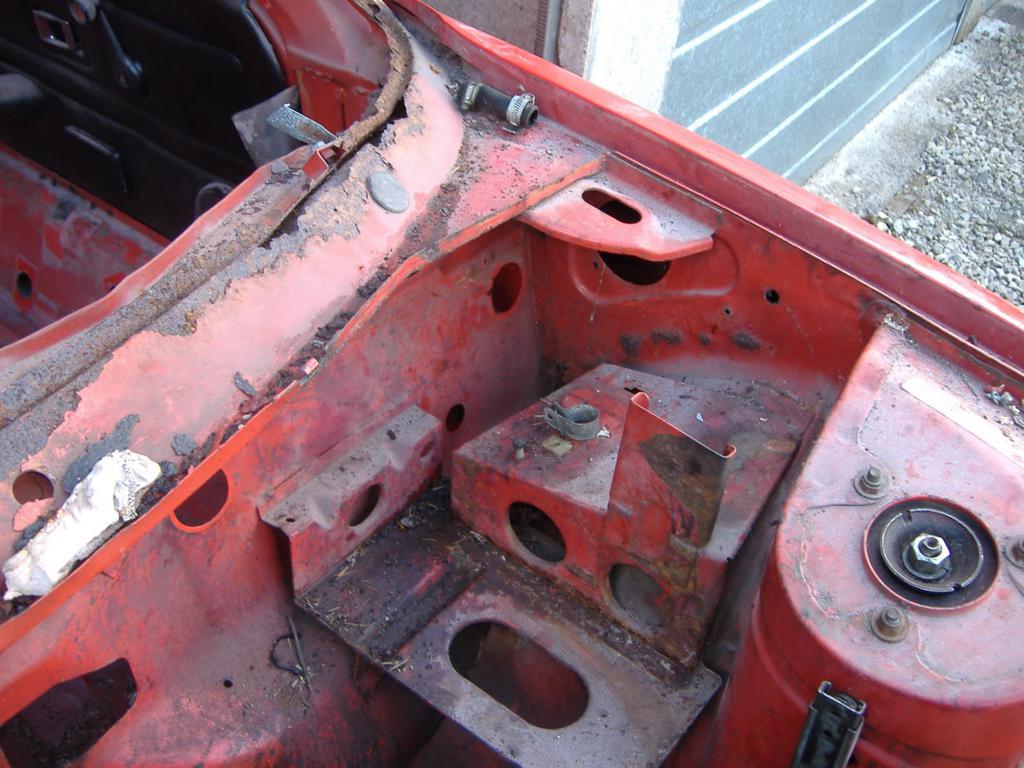
As far as the engine bay is concerned, there’s a couple of bits of rust to sort out, and I think I’ll end up pulling off the battery tray, if only to get to the bodywork underneath. I can see a coating of rust there that needs attention before it becomes a problem. Other than that, it should just be a case of getting all the old paint off and reprimering it, ready for the paint job.
A pretty good, if filthy, bit of work. 🙂