Saturday morning was time to get painting – and the weather obliged with a half decent day to do it in!
So after a quick check over the car and a rub down to get some metal ready residue off, we were ready to start. The car had picked up a bit of flash rust over the two days since doing the metal ready:

But no big deal, and most of it came off with a quick rub.
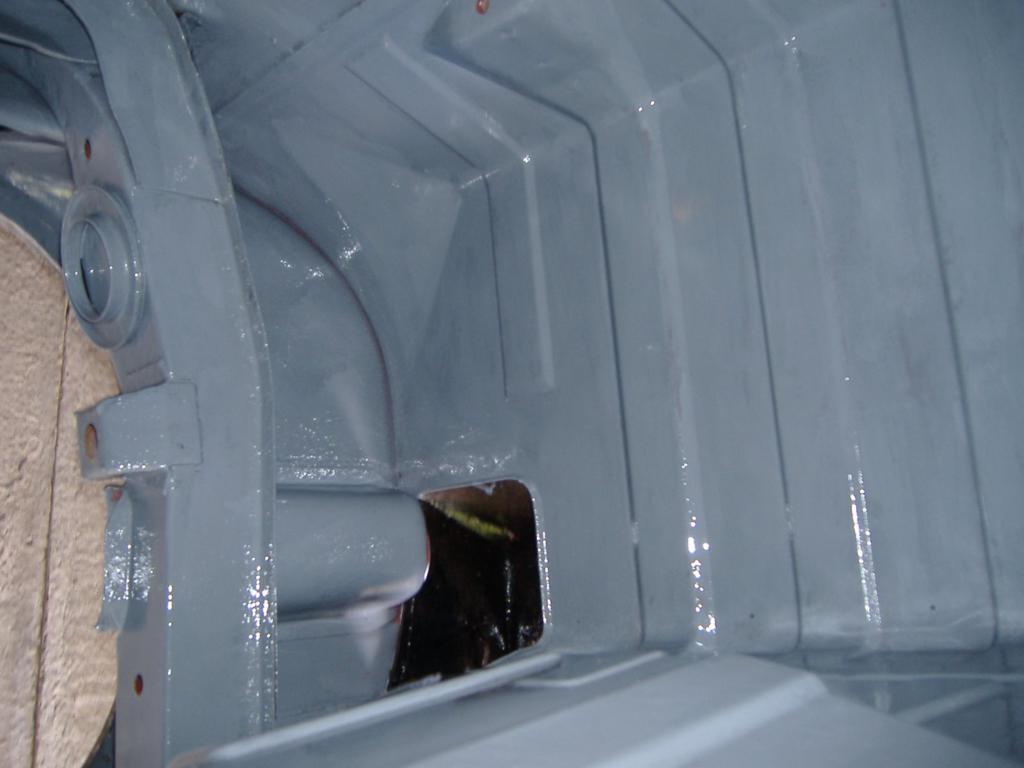
So, down to the painting. I started on the underside of the floor panels, I figured it would be best if I got the difficult bits out of the way first. And it certainly was difficult – there’s about 1 foot of clearance under there, which makes dipping a paintbrush, moving it to the part of the car you’re painting, and getting the paint onto the metal, very fiddly and messy! And because I was painting upside down, the paint kept running down the brush and onto my hand.
Regardless, I got it done, and was a reasonably tidy job:

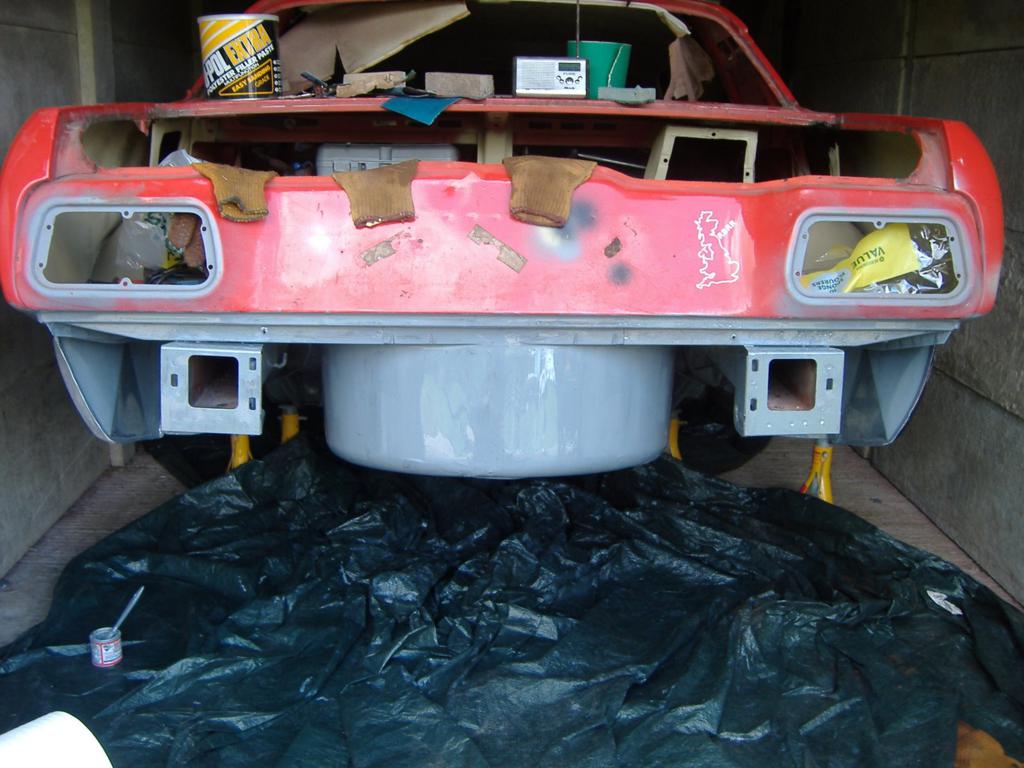
While I was doing that, Amy was busy at the back end, and we slowly worked our way into the middle, her doing the wheelarches while I sat in the fuel tank cavity. Overall, the first coat took about an hour and a half.
The instructions say to recoat after the first coat is touch dry (But with a slight ‘drag’), which should take anywhere between two and six hours, depending on humidity. I guess it must have been quite humid, because by the time we’d stopped for a cup of tea, the first coat was dry enough to paint over.
So off we went again, much quicker the second time around as this was more of a patch coat to go over the thin parts from the first coat. I had one incident where I got stuck to the tarp, lifting it up and spilling my paint can(!), but I just used the puddle of paint as an impromptu can to finish off.
overall, we’re quite happy with the results, although the visual impact isn’t as great as I was hoping (probably because the colour is close to metal anyway), it certainly looks clean and tidy. I think it’ll look great with the black topcoat on!

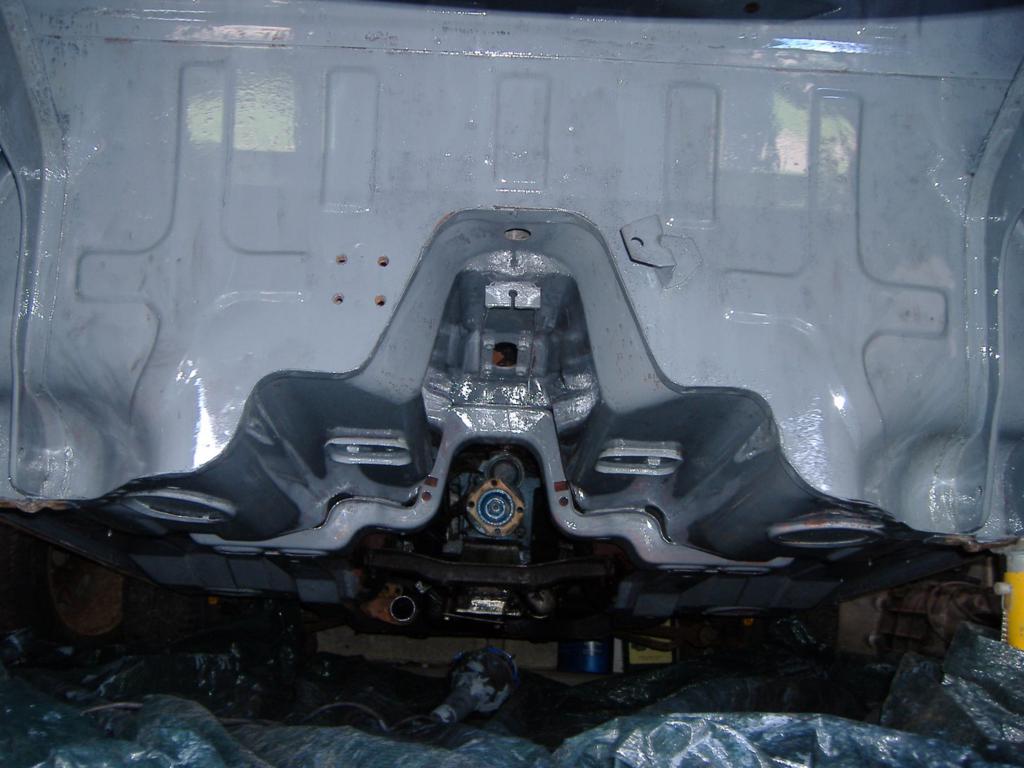
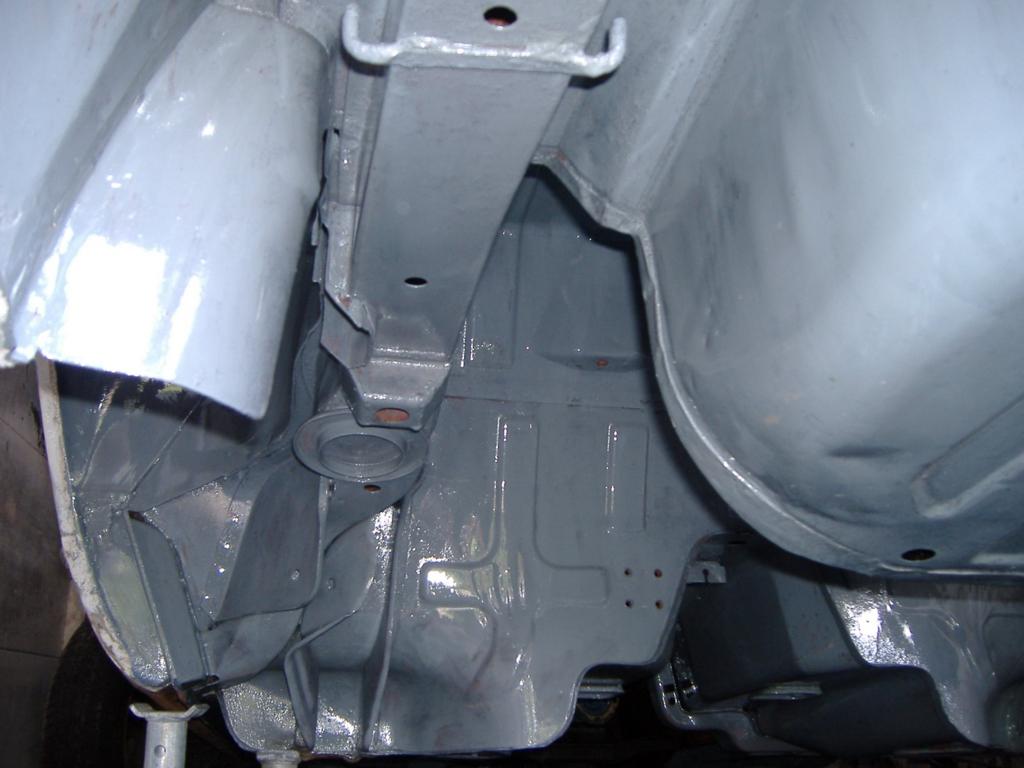
If some of those pics appear patchy, it’s because they were taken after just the first coat, and were still partly wet.
Overall, a pretty good job, if a bit messy – we’re both covered in paint that won’t come off now! We did wear gloves and so on (in fact I had a full body coverall on), but some spillage was inevitable.