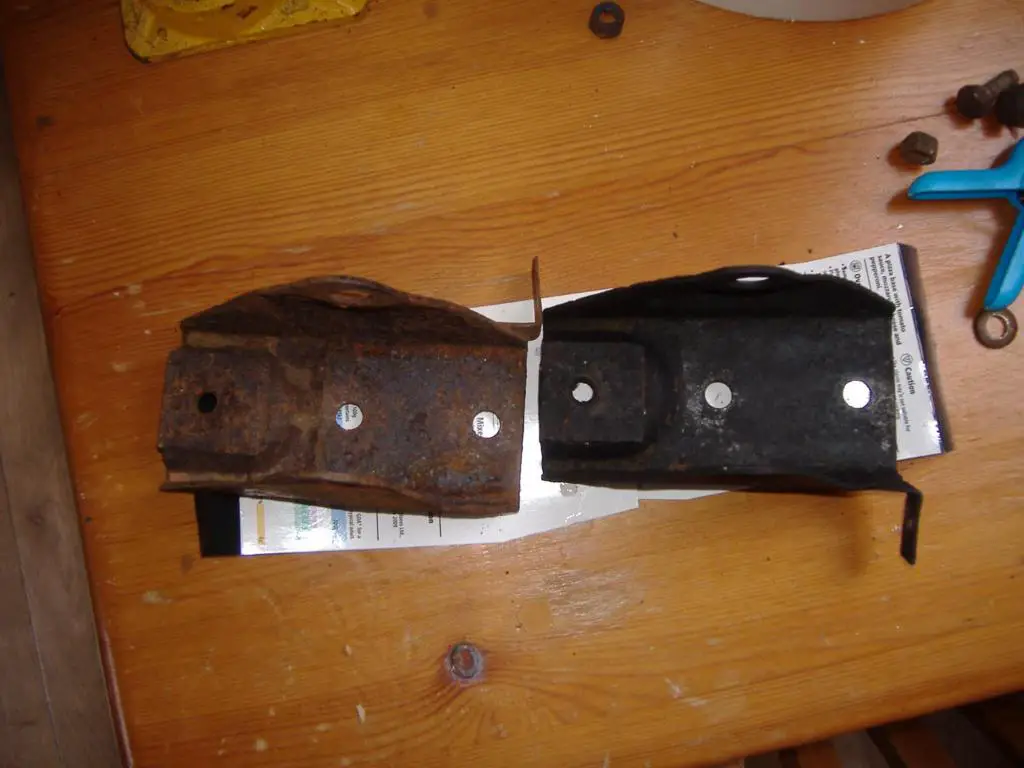
Now the underside is done, I’ve started work on the other parts – first up was the bumper, which is a bit rusty, but solid enough.
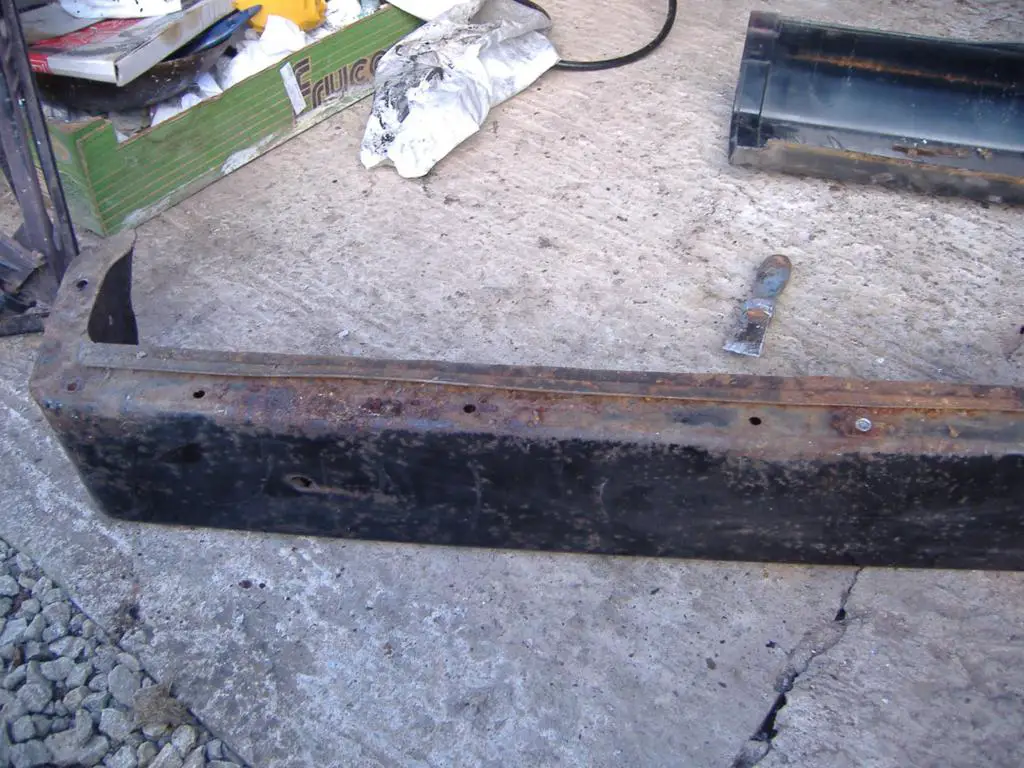
The bumper cover is cracked from some long ago accident, so that’s scrap:
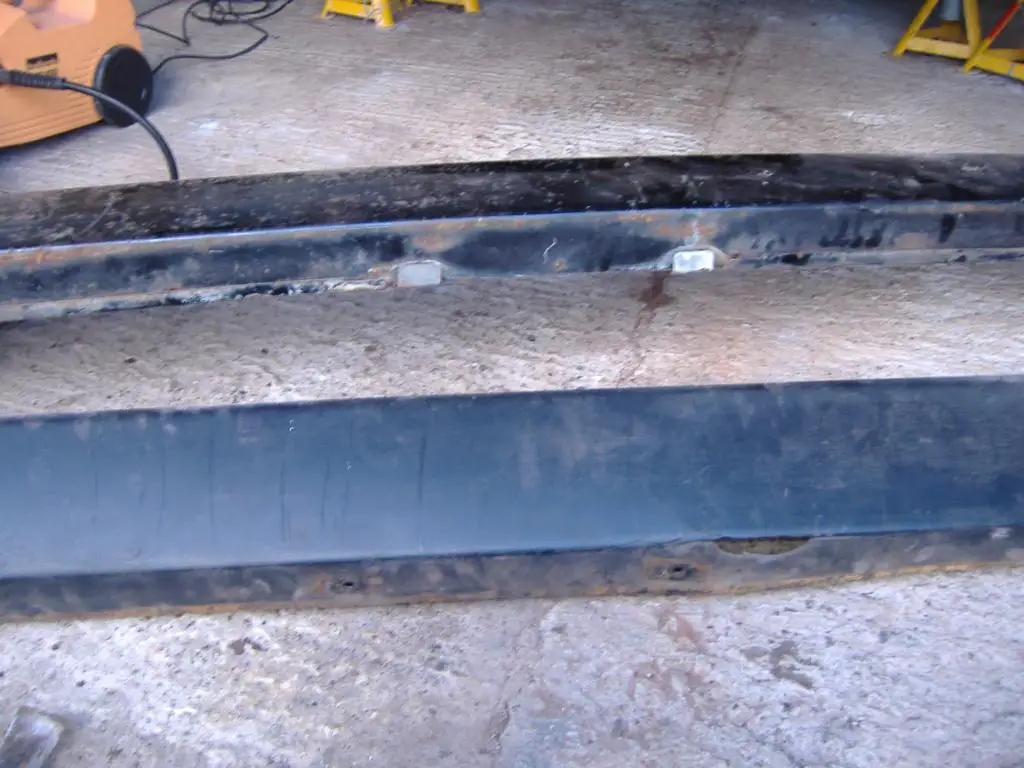
And the mountings are rusted and siezed, so they’ll all need replacing:
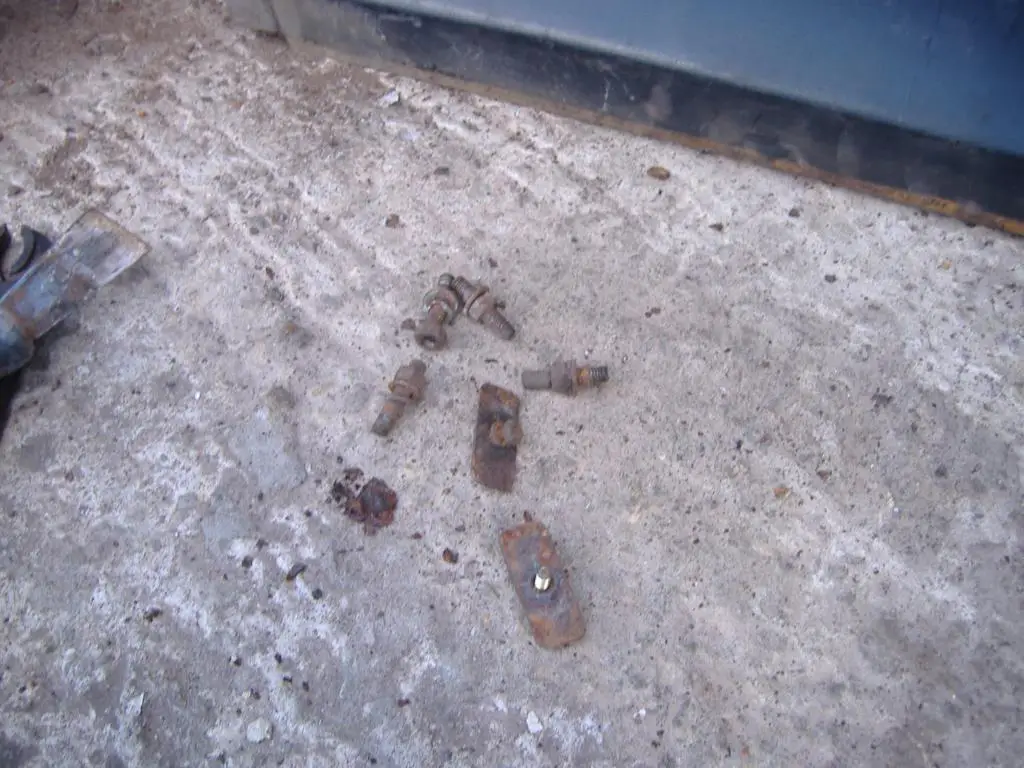
The actual bumper mounting studs all need replacing, which is a problem as they don’t seem to be available. Looks like I’ll have to dig out my tap & die set and fabricate some.
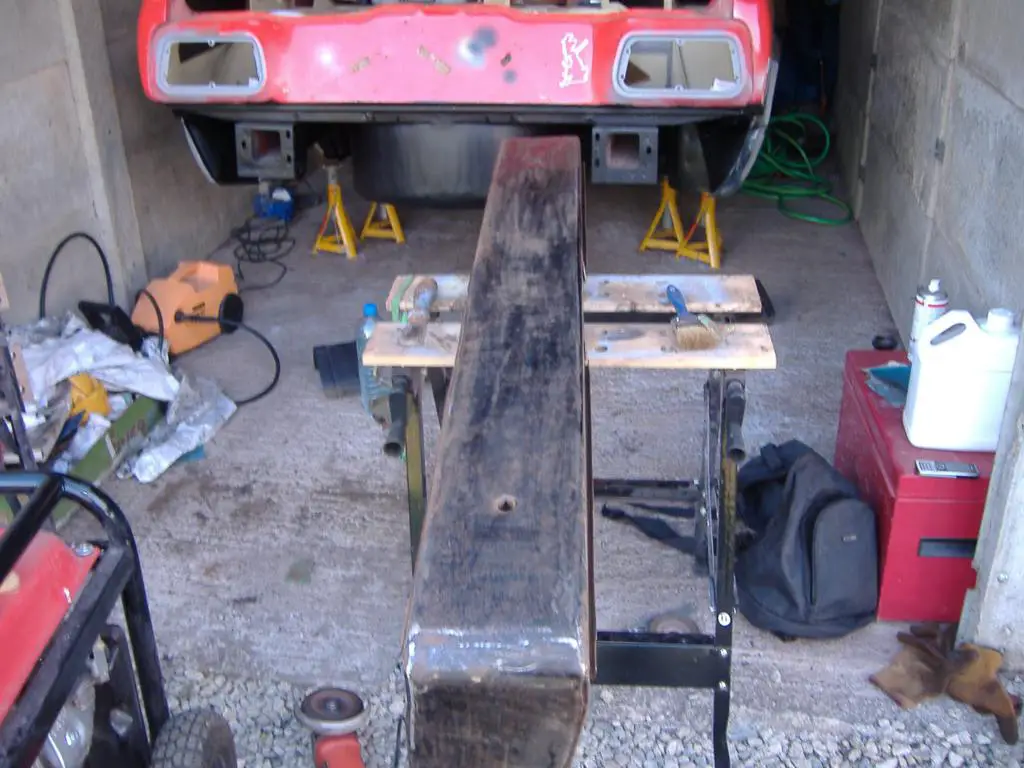
I’ve now rubbed down all the rust, and now it just needs a good clean and it’s ready for painting:
I also turned my attention to the axle, specifically the brackets and back plate. The bump stop brackets were a rusty mess, so I derusted them by electrolysis. I like this method, it does a good job with minimal effort!

The backplate was a different story though – the bracket that holds the handbrake cable in place was almost rusted away (that should have been a sign) so I ground it off, fabricated a new bracket and derusted the rest. All was going well, until the actual welding:
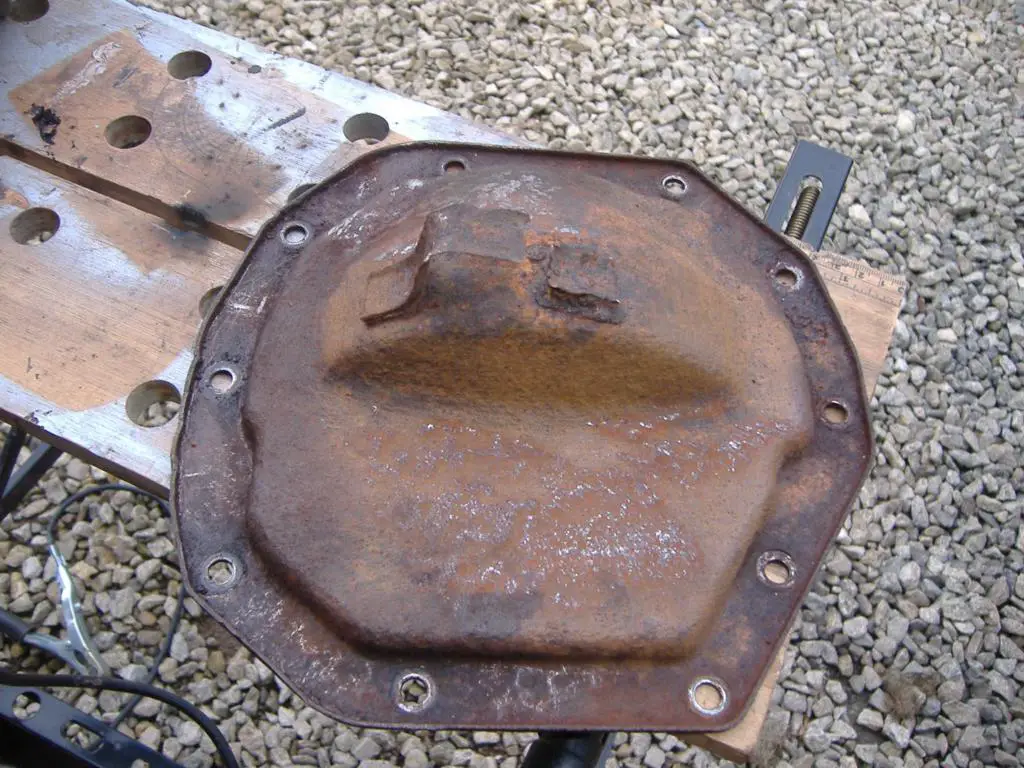
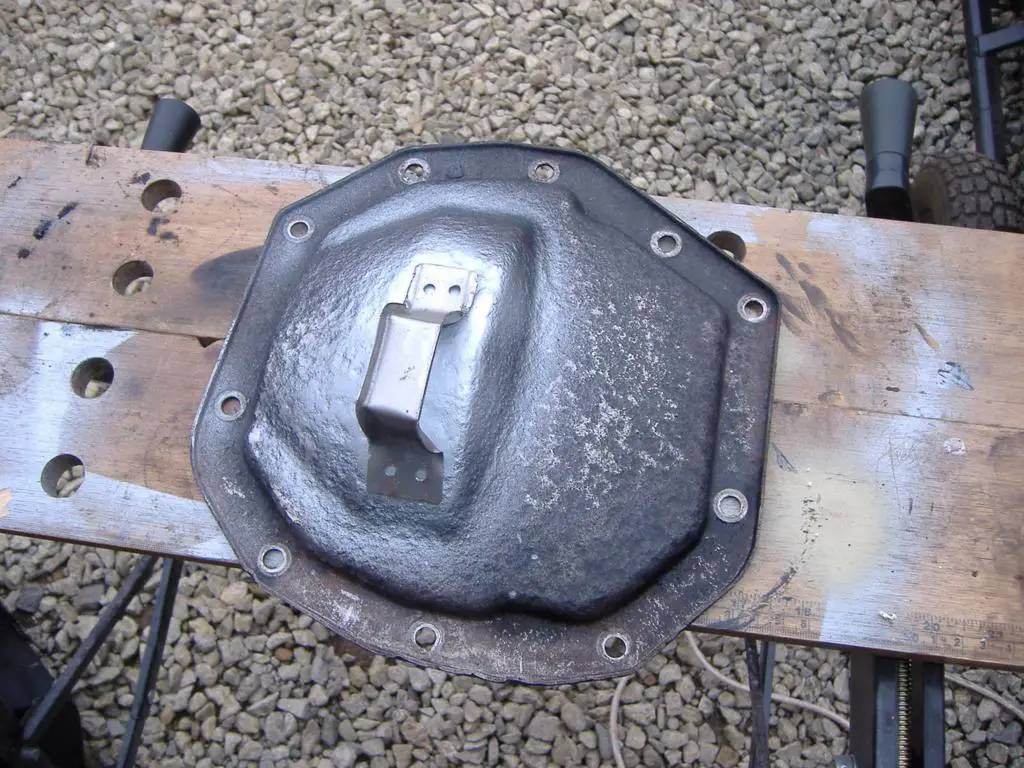
When I went to weld it, however, I immediately blew a hole in it. Turns out the rust had gotten too far, and the metal was wafer thin in places. I tried patching it, but I ended up welding patches of what was basically weld. After all that, I couldn’t get it leakproof, so gave it up as a bad job. At least I found that out now, rather than after I got it all back together and found it leaked oil all over the floor.
It’s got me thinking though – I’m now wondering if this axle is a false economy. I was planning to use this to get the car going, and changing to a refurbed axle with the correct V8 3.08 ratio further down the line. That seems a little pointless now – I might as well do it properly to start with! So that’ll be another £450 or so to raid out of my piggy bank. 🙁
Back at home, I turned my attention to the instrument panel. I’d cleaned it all up months ago and resprayed the casing, but rather clumsily snapped the speedo needle (to be fair, it was fragile and pretty brittle). So I ordered a new panel to cannibalise for parts. The new speedo is fitted, although it’s about 30,000 miles short of what the proper mileage should be! I need to see if I can reset that to where it should be. I was planning to just swap the needles over, but I can’t get them off! I haven’t tried too hard, but I don’t want to force it and break another one. I swapped the centre light panel over as well, the original one had obviously been swapped around before and the warning lights didn’t work as they should (eg the coolant light would come on when I got low on petrol, and the handbrake light never worked).
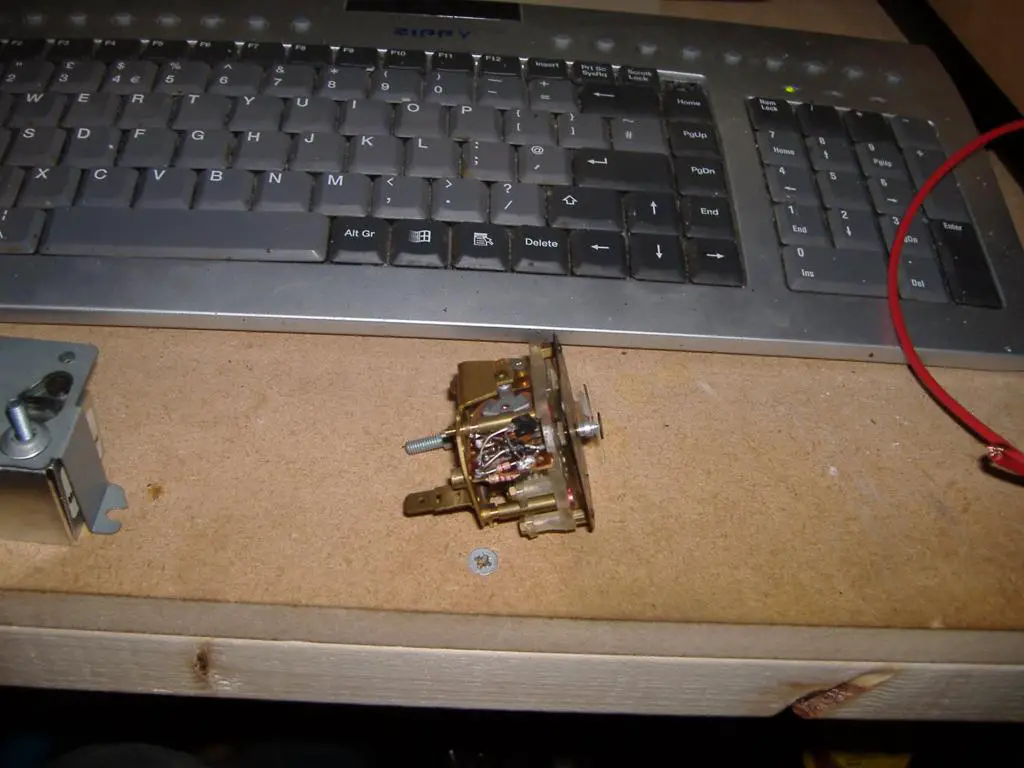
The other thing was the clock – mine never worked properly. I know a lot of people just switch this over to an oil pressure gauge, but I wanted to keep the clock, so I opted to repair it. I found a method to repair them at http://www.smallscalerailway.com/TR78clock_2April08.pdf, and ordered the bits from him too (He’s a nice guy BTW). I’ve been putting the job off because it looked so fiddly and easy to get wrong, but I gave it a go tonight. It certainly was fiddly, but fairly straightforward. I now have a working clock! I don’t know if it keeps good time (although it did in the 30 minutes or so I tested it for), but we shall see.
It’s all back together now, I just need to a) sort out the mileage, b) swap the tacho for the correct V8 one once I get that, and c) swap the backlights for LED ones ( details here). Nothing that should take too long.
Finished (for now) result:

Repaired clock with new components in:
Tomorrow I’ll be fiddling about with the rear light clusters.