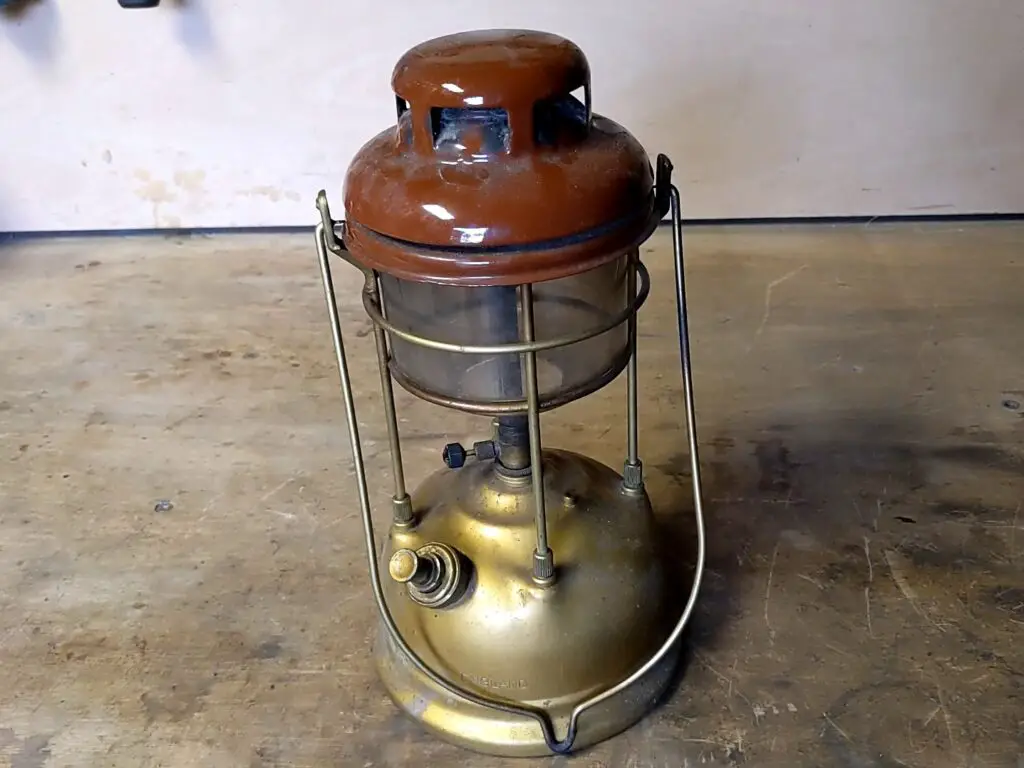
This old Tilley storm lamp was an auction find; I paid I think £15 for this plus another pressure lamp (that I sold on for parts). Not a bad price, considering the condition.

Initial Inspection
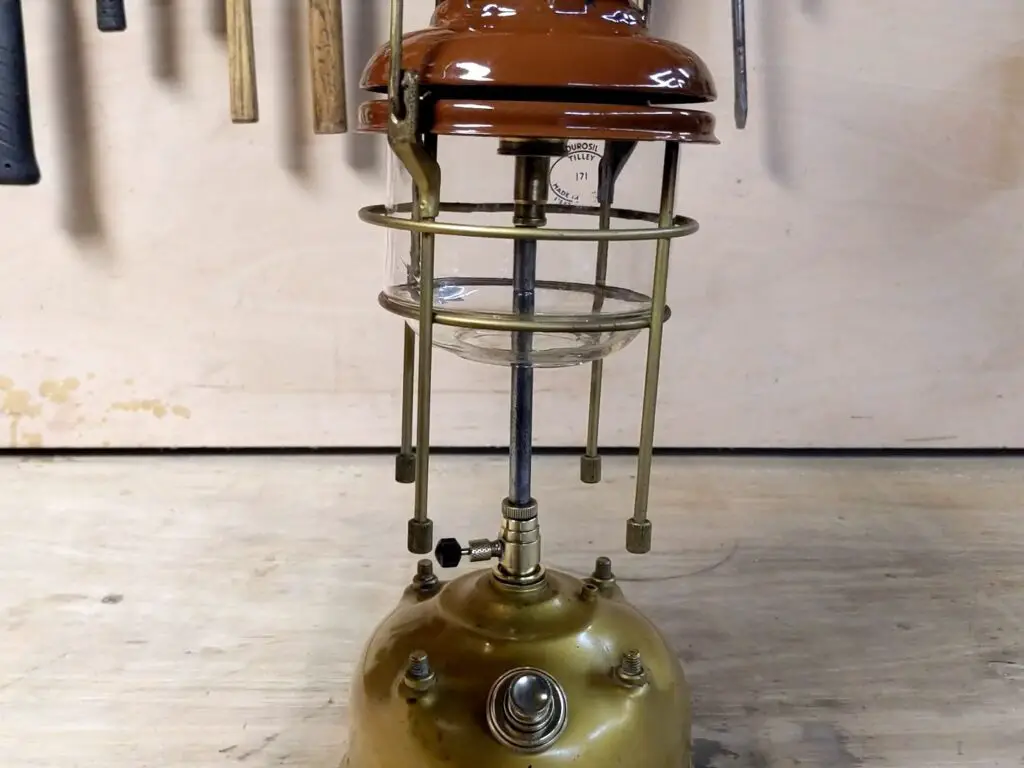
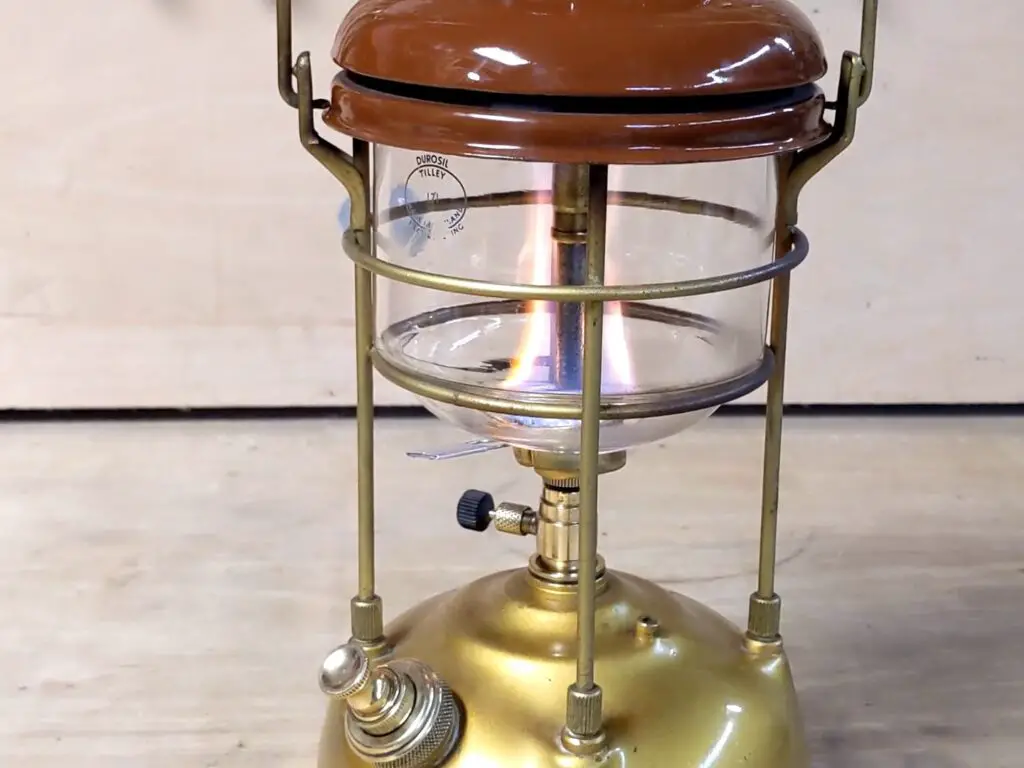
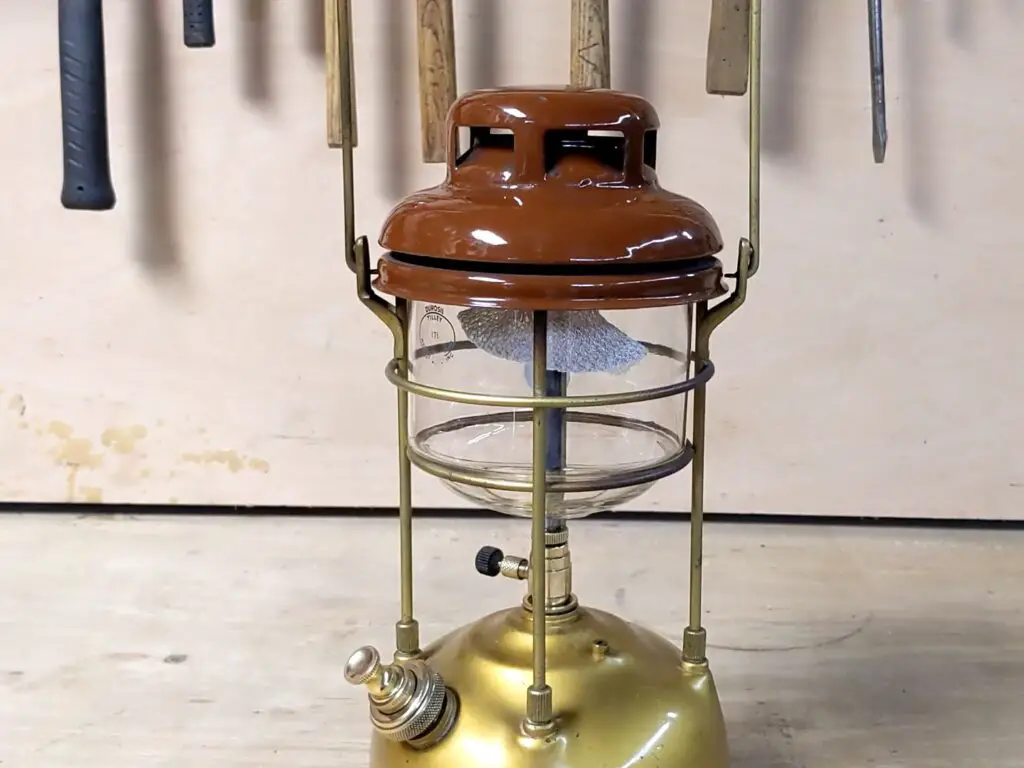
Buying this at auction as I did, I didn’t get much of a chance for more than a cursory inspection until I got it home. So I didn’t really even know what I had! But after pulling it out of the box, I soon determined a) it was an early model, the Tilley X246A, dating from roughly the 1950s, and b) it was in relatively decent condition and everything was complete and intact. Perfect!
So this wasn’t going to be a heavy restoration. I like my vintage things to have a bit of patina; a few signs that they’ve had a life and been used. Usually the things I pick up to restore are too far gone to preserve much of this, so this was a good chance to keep things as they were for once!
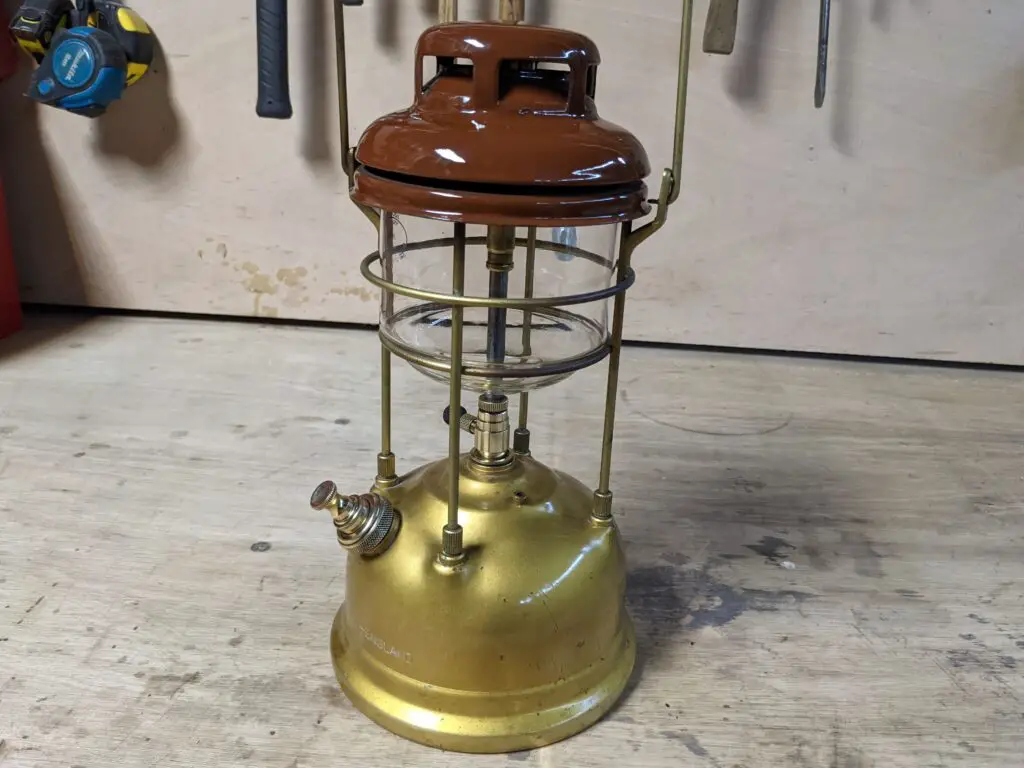
Besides, I’ve had problems with repainting lamps like this before – it’s hard to find a paint that really withstands the heat of these pressure lamps, particularly around the chimney area. So I was happy to see this one didn’t need repainting – it had a couple of small chips, but nothing I couldn’t live with.
No, this lamp only needed a real good strip down and clean, then rebuilding with new seals and washers. The washers were probably the original ones and were pretty much rock solid. Fortunately replacements are easy enough to find and not particularly expensive.
Disassembling the Lamp
Stripping these old Tilley lamps down is a fairly straightforward process. They’re designed to be taken apart regularly for maintenance and cleaning, so they don’t need much in the way of tools.
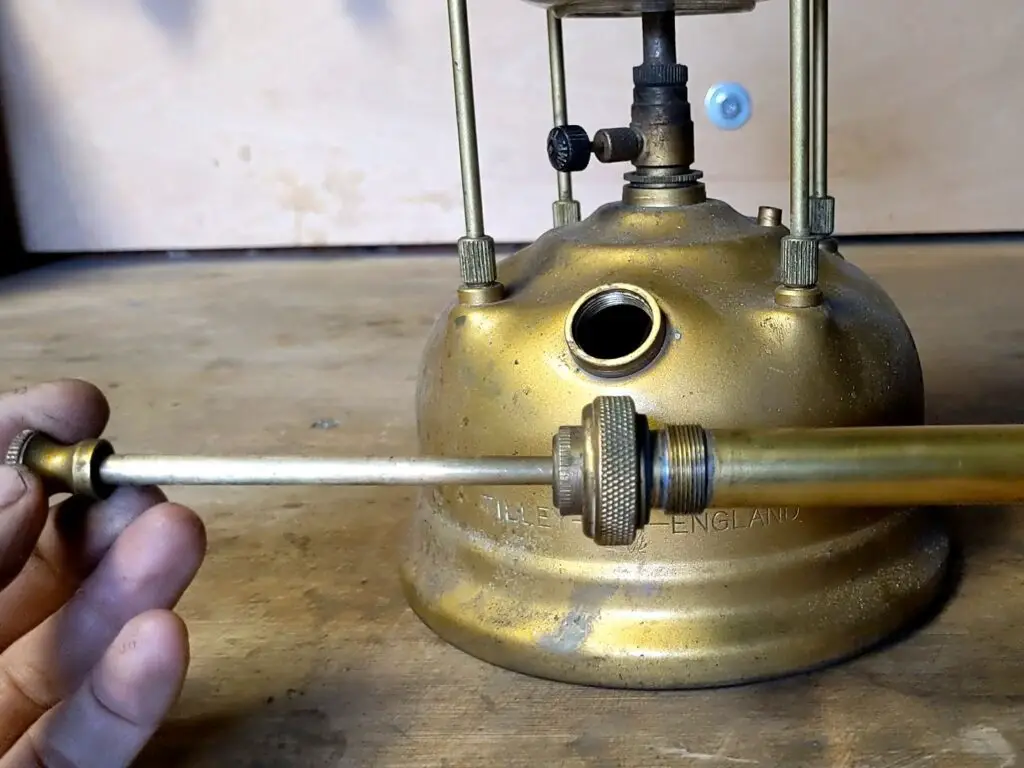
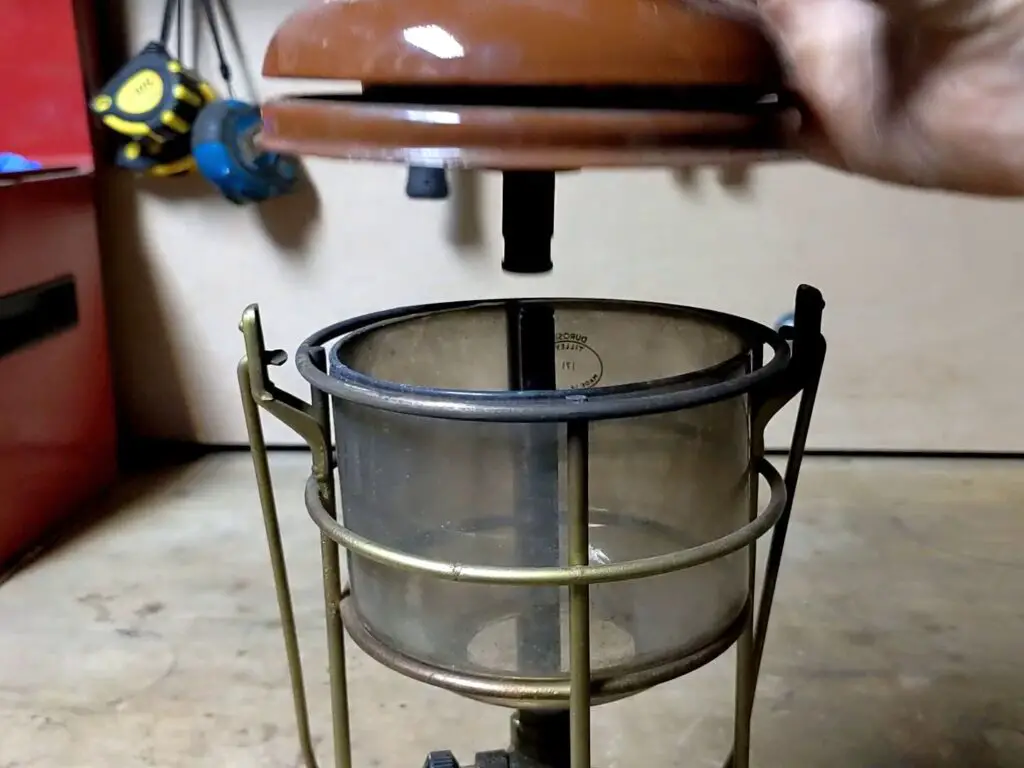
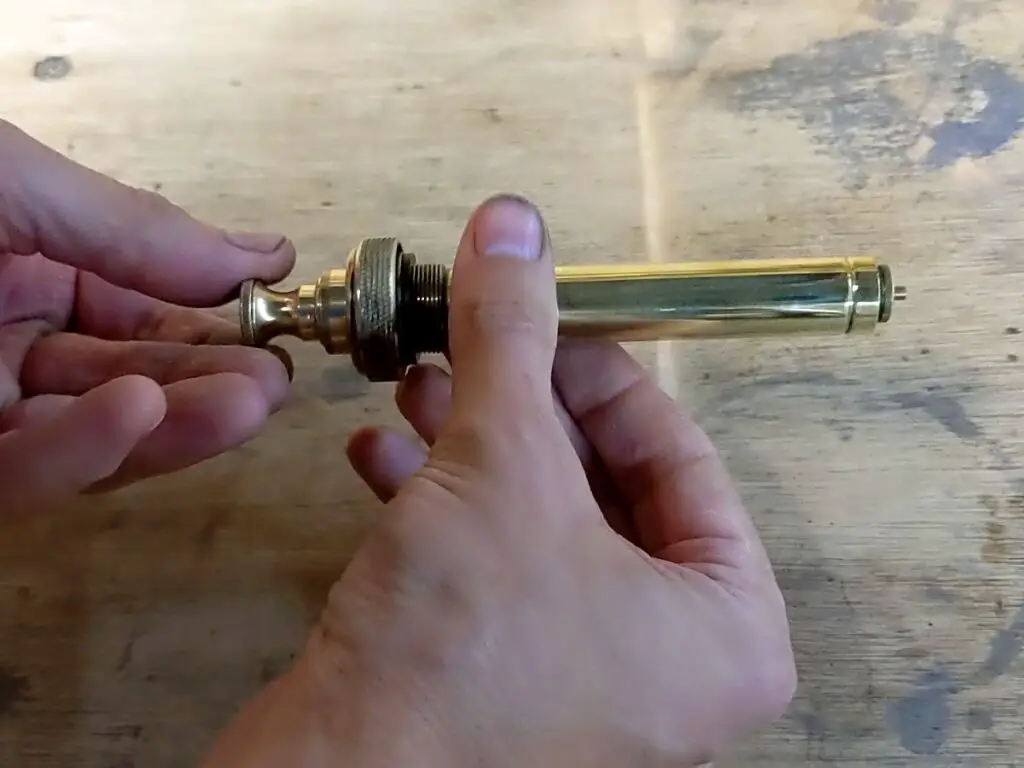
The pump assembly came out first:
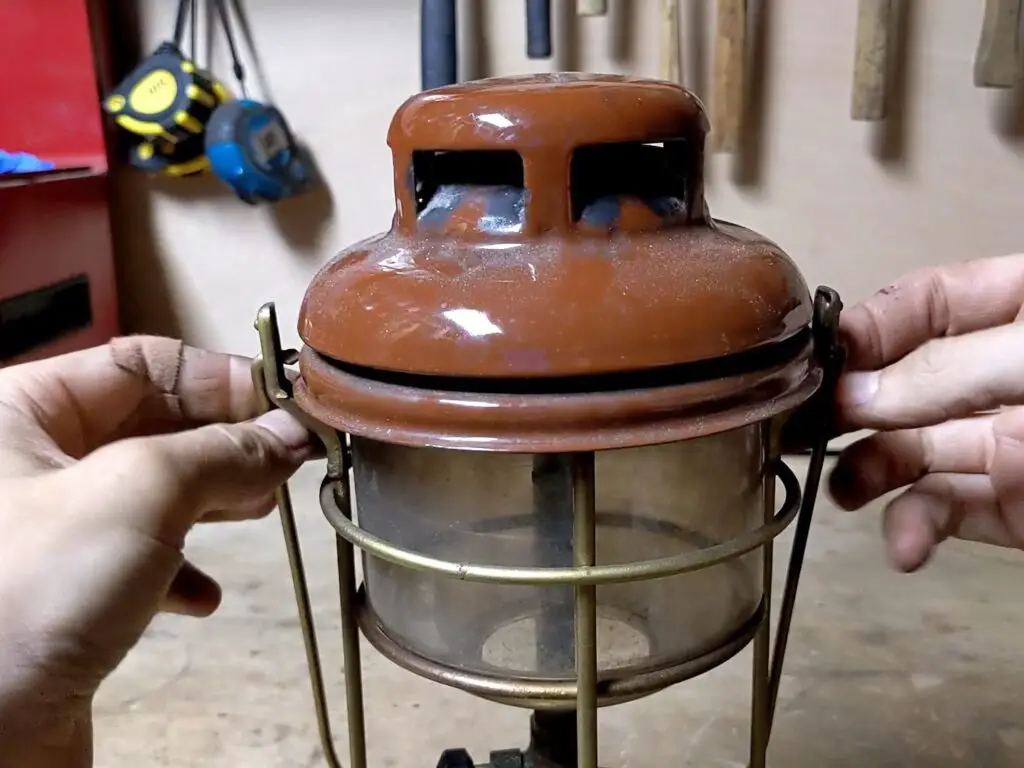
Then the chimney:
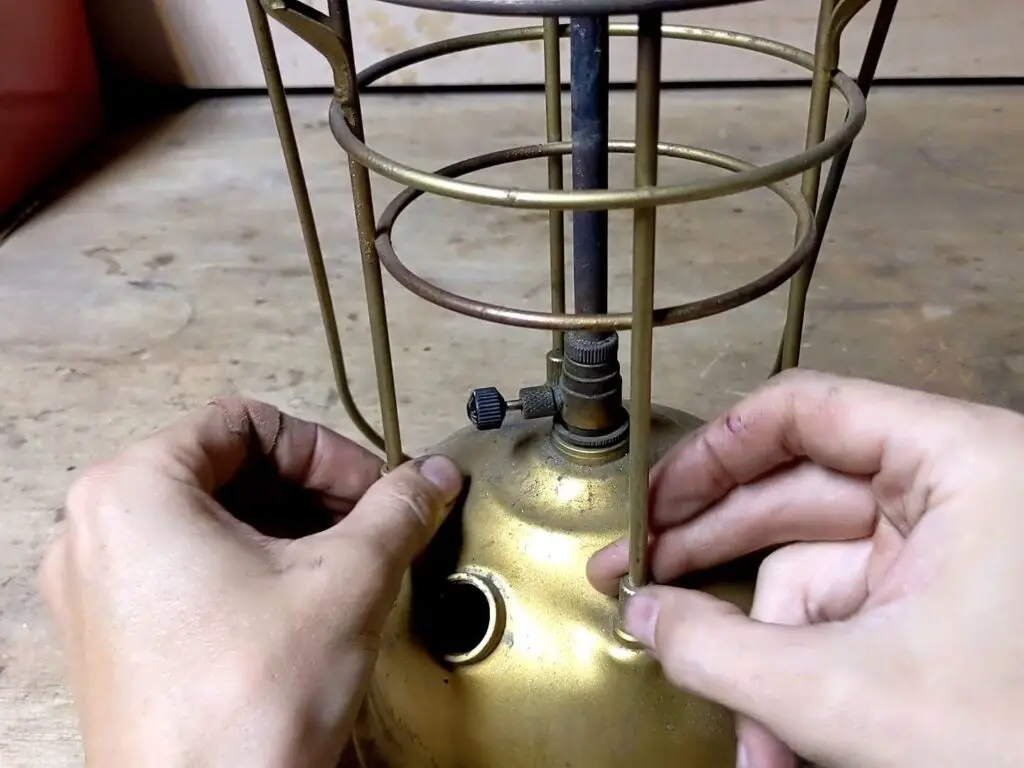
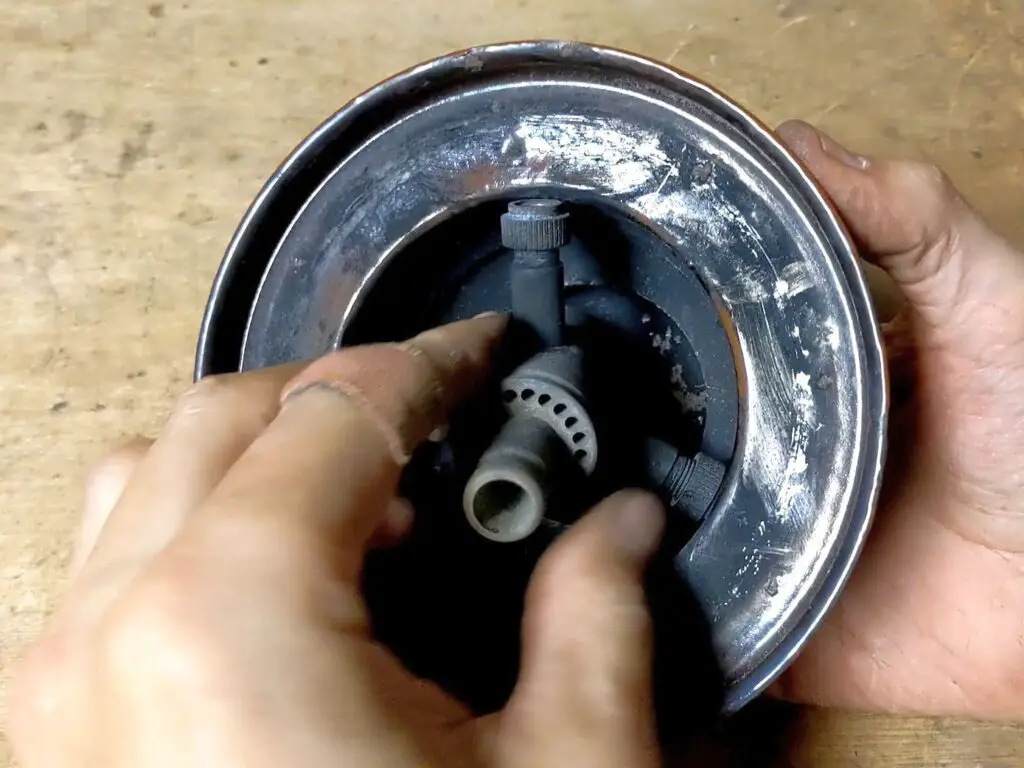
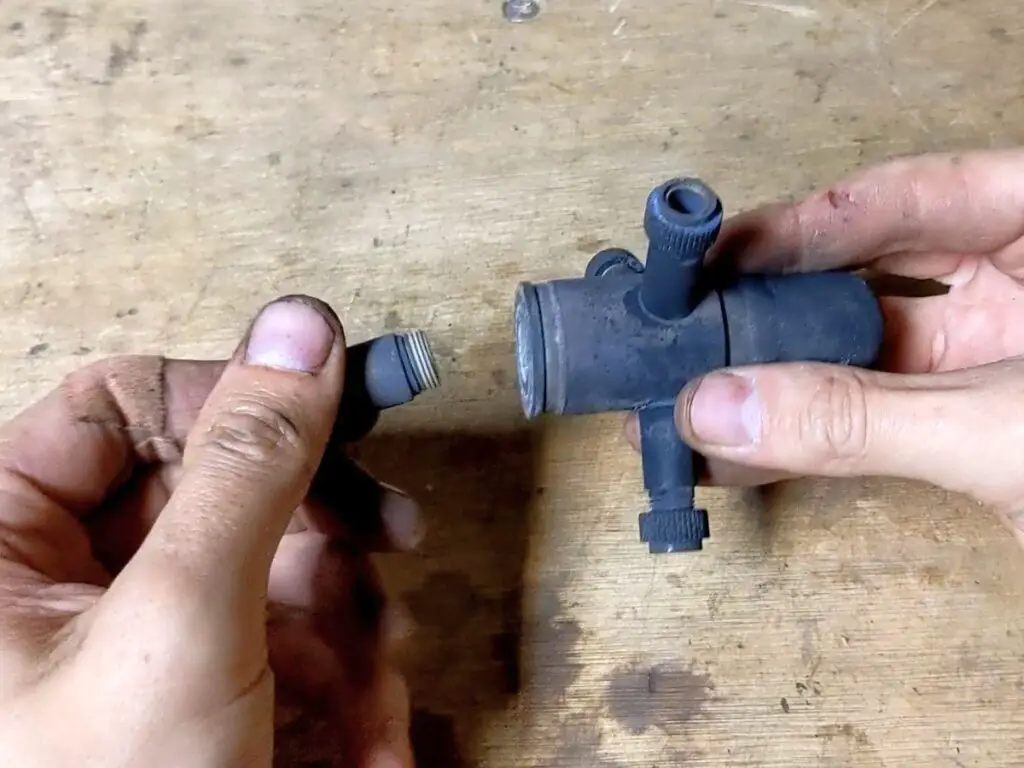
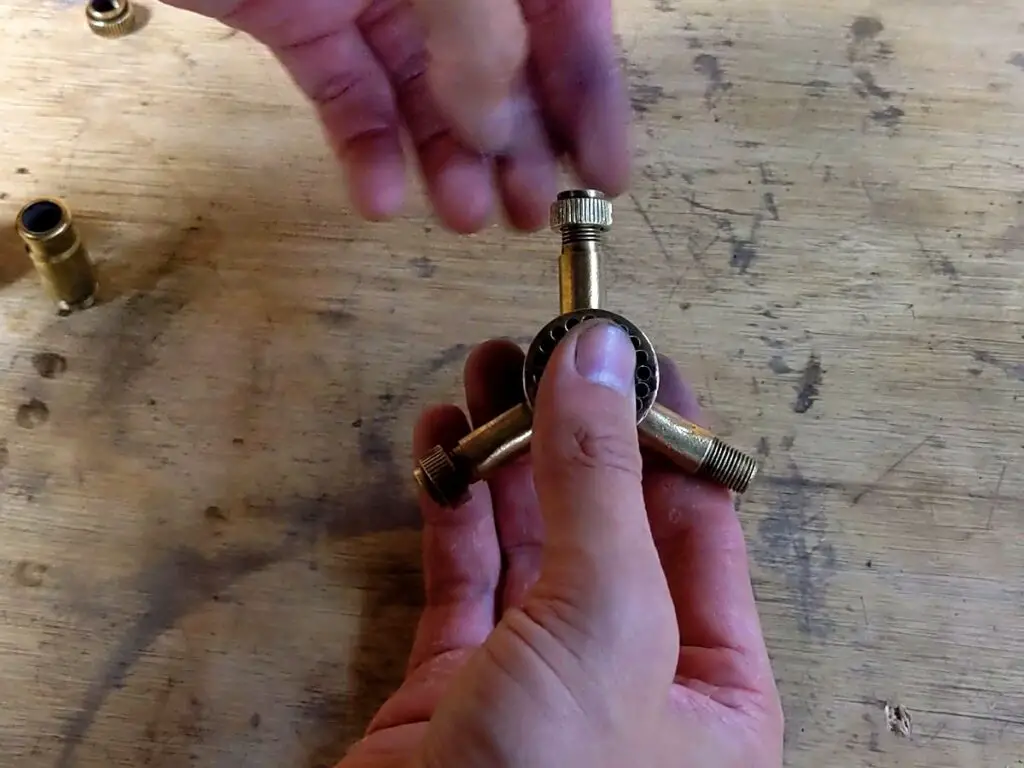
Then the vapouriser and control valve assembly was removed and taken apart:
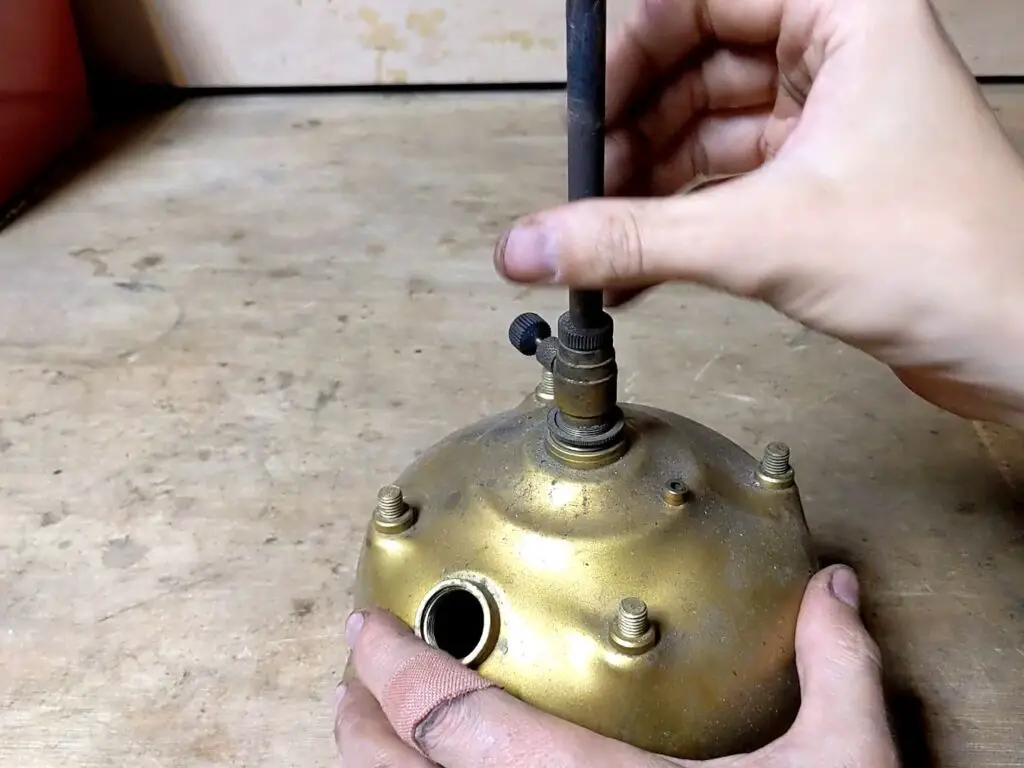
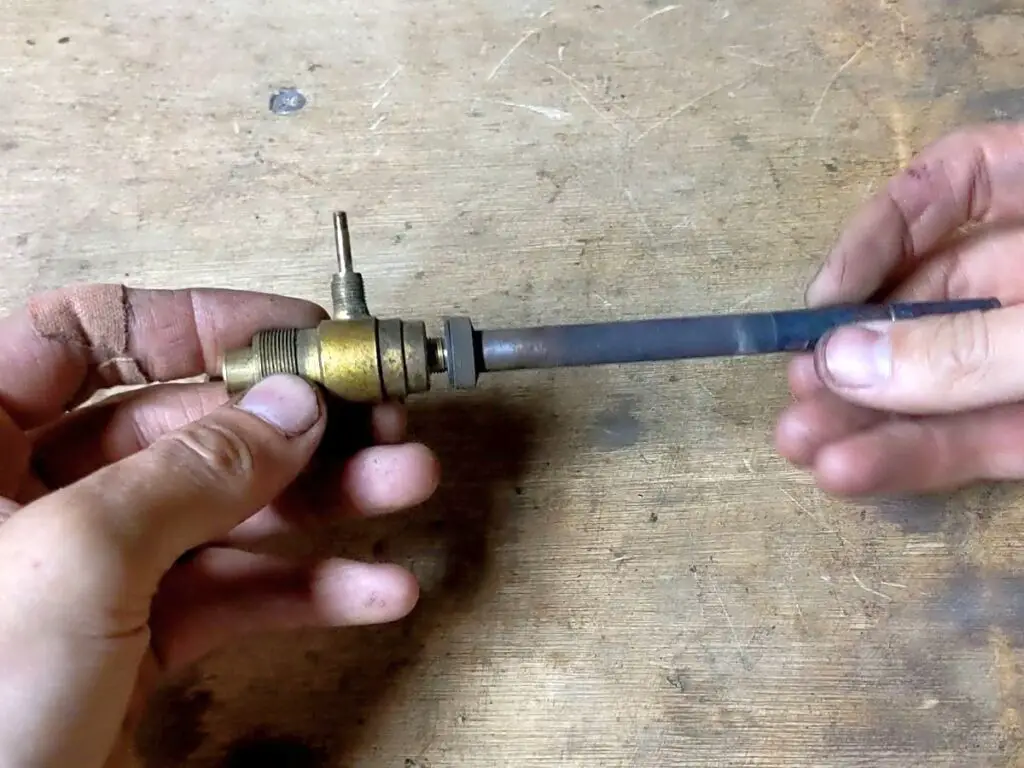

Then finally the pump assembly can come apart.

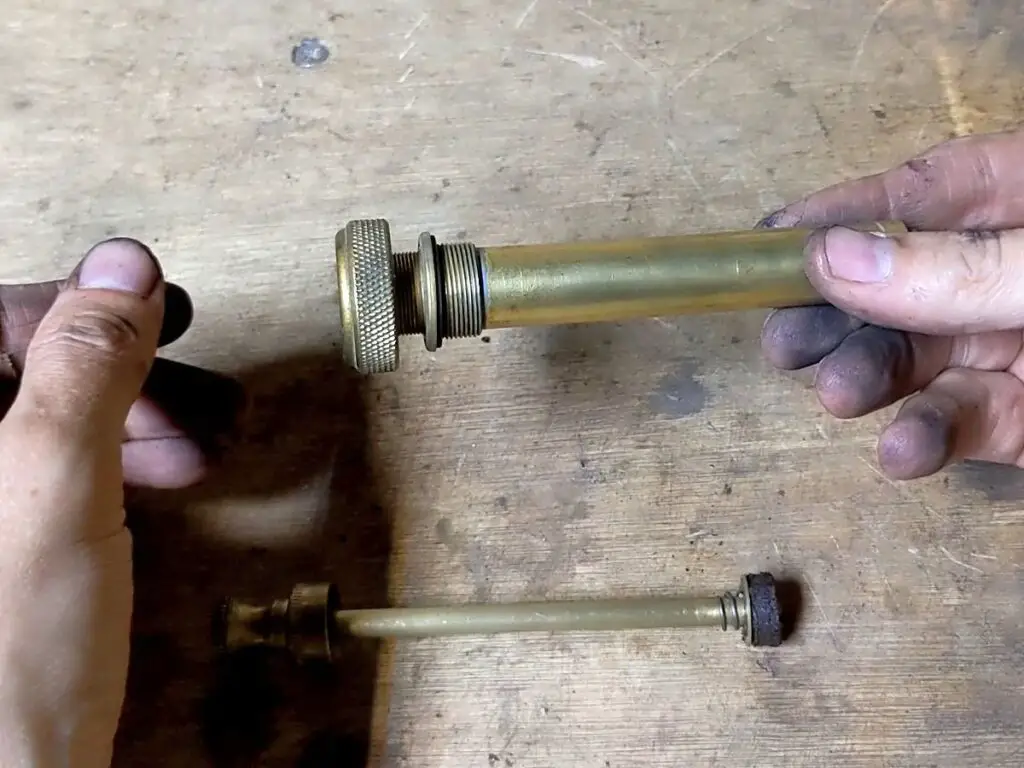
You can in theory take these all the way apart using no tools at all. In practice, though, they do get gummed up with carbon and old oily deposits and so sometimes need a bit of persuasion with some pliers or similar. In this case, though, it all came apart no problem, I just needed pliers to remove the pump washer.
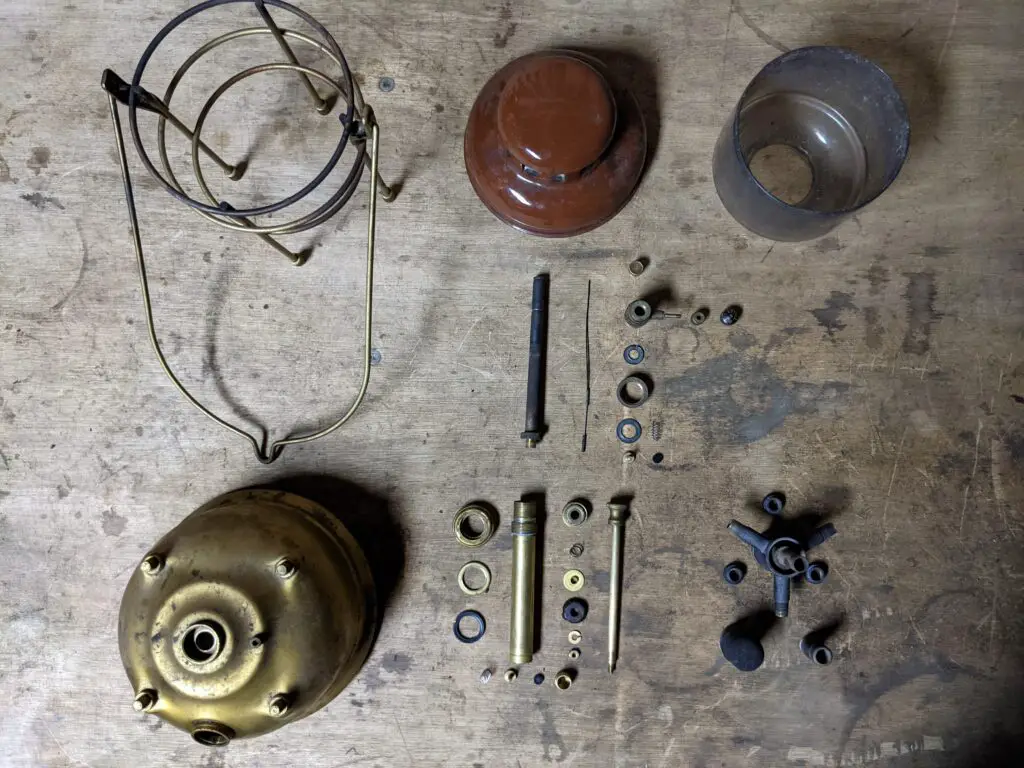
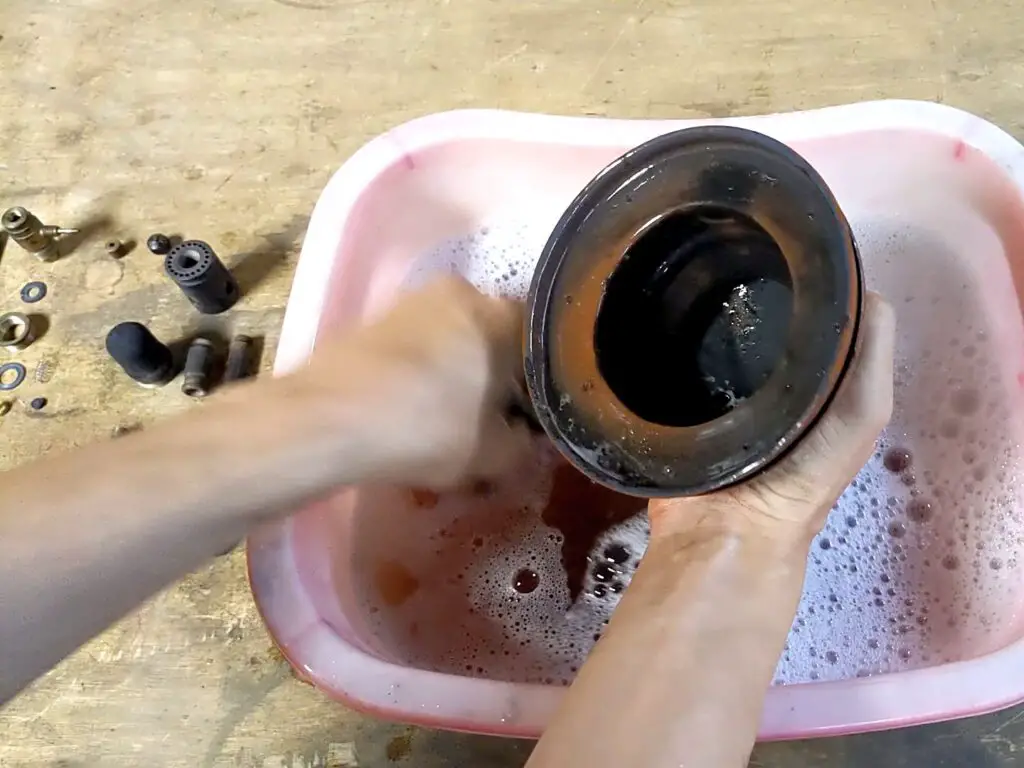
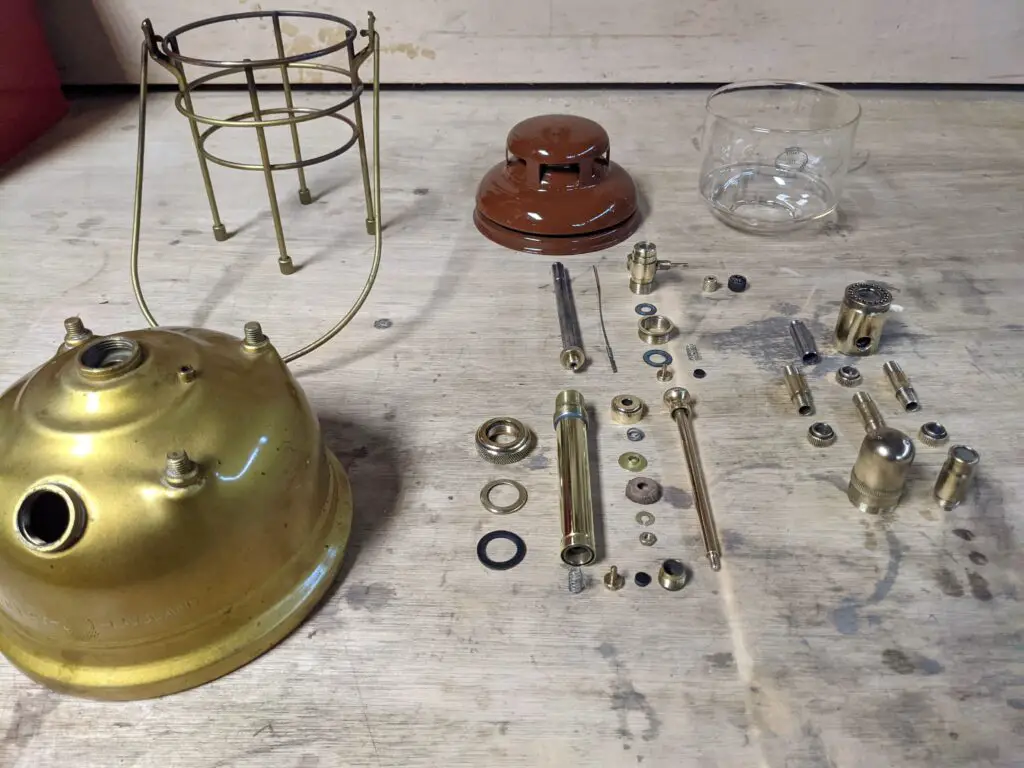
Cleaning the Parts
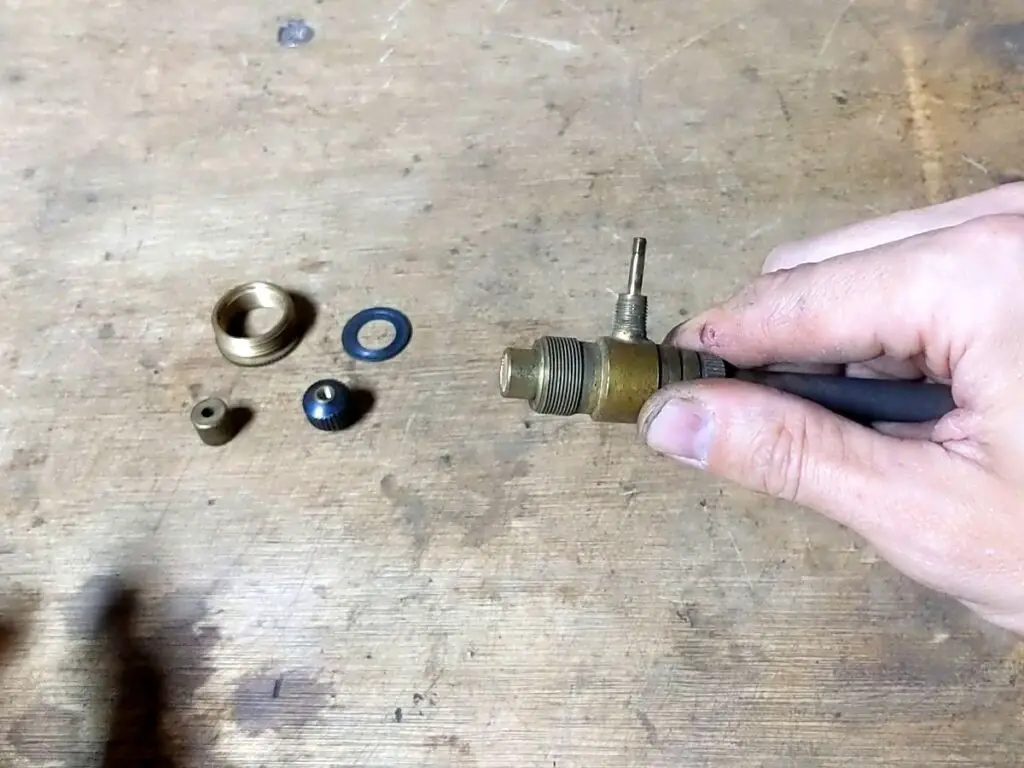
With the lamp in bits, I gave all the parts a good look over. Aside from the washers and seals which perish with age and should be replaced as a matter of course, there’s not a lot to go wrong with these. The main issue tends to be with the vaporiser – it has a tiny hole in the top that easily gets blocked. Otherwise, everything just needs cleaning with some good old fashioned soap and water.
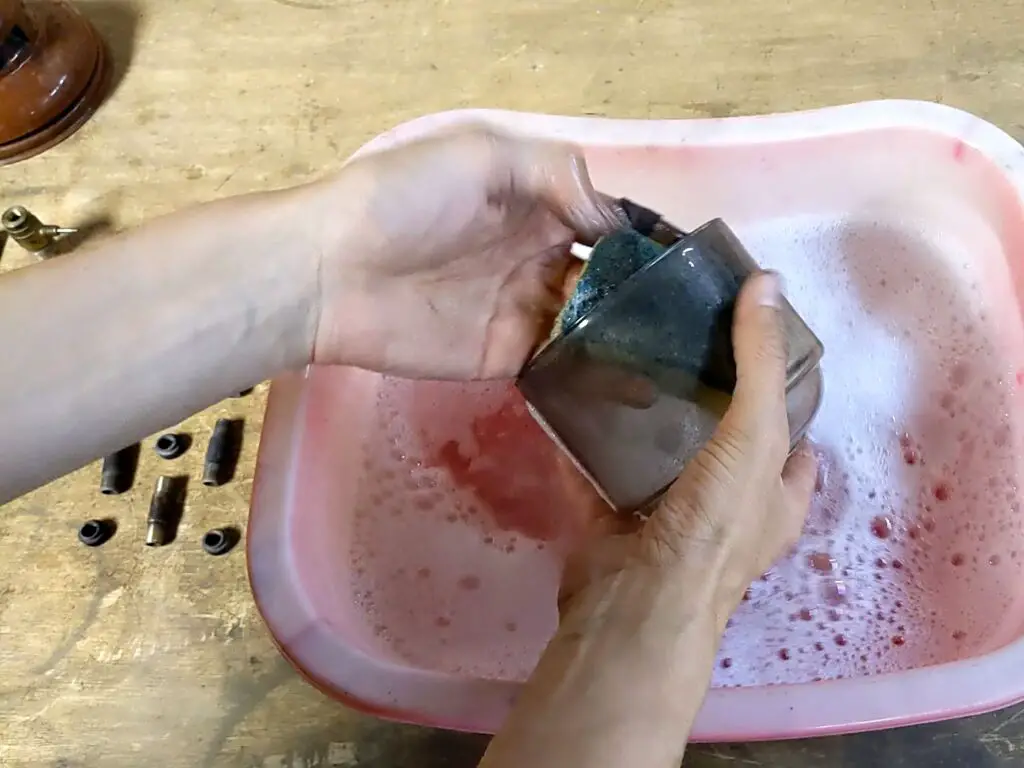
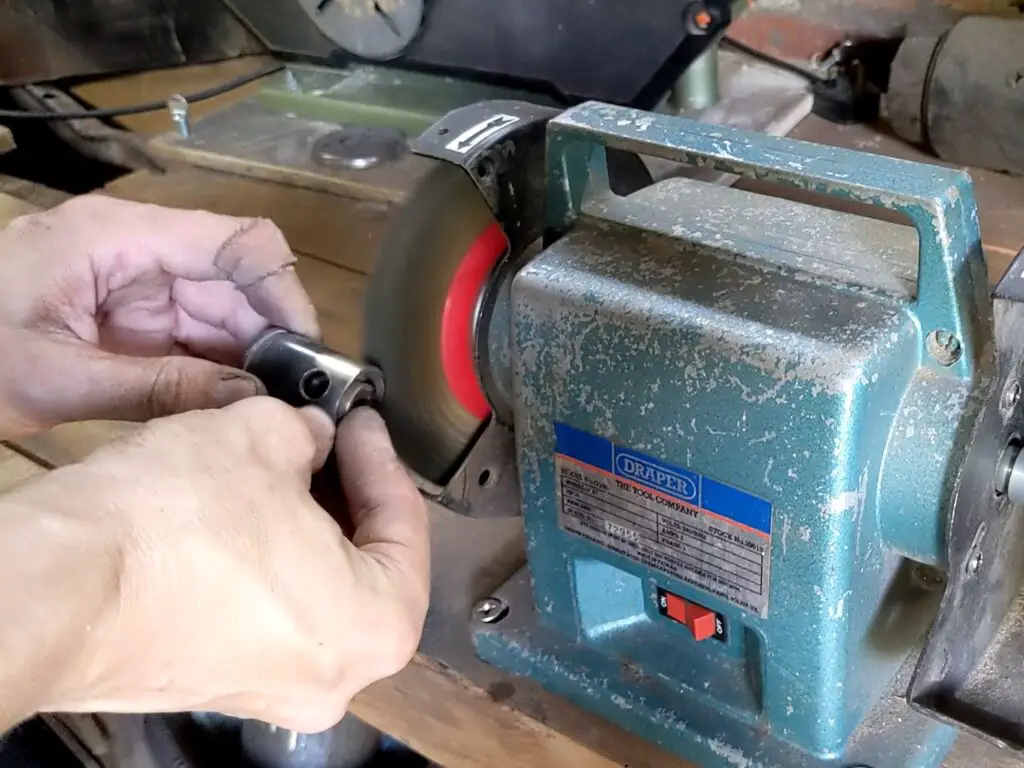
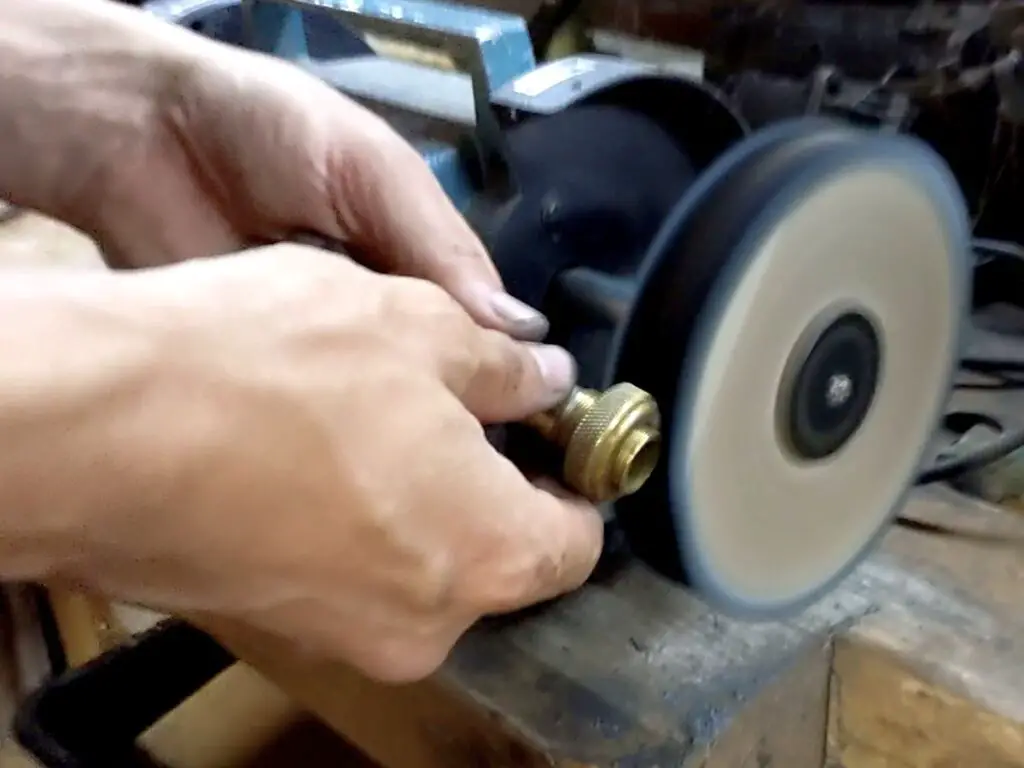
Because I can’t resist polishing brass, I took a bit of time with the brass parts to clean and polish them up to a nice shine, too. It’s not strictly necessary, but it does make the lamp look a lot better!

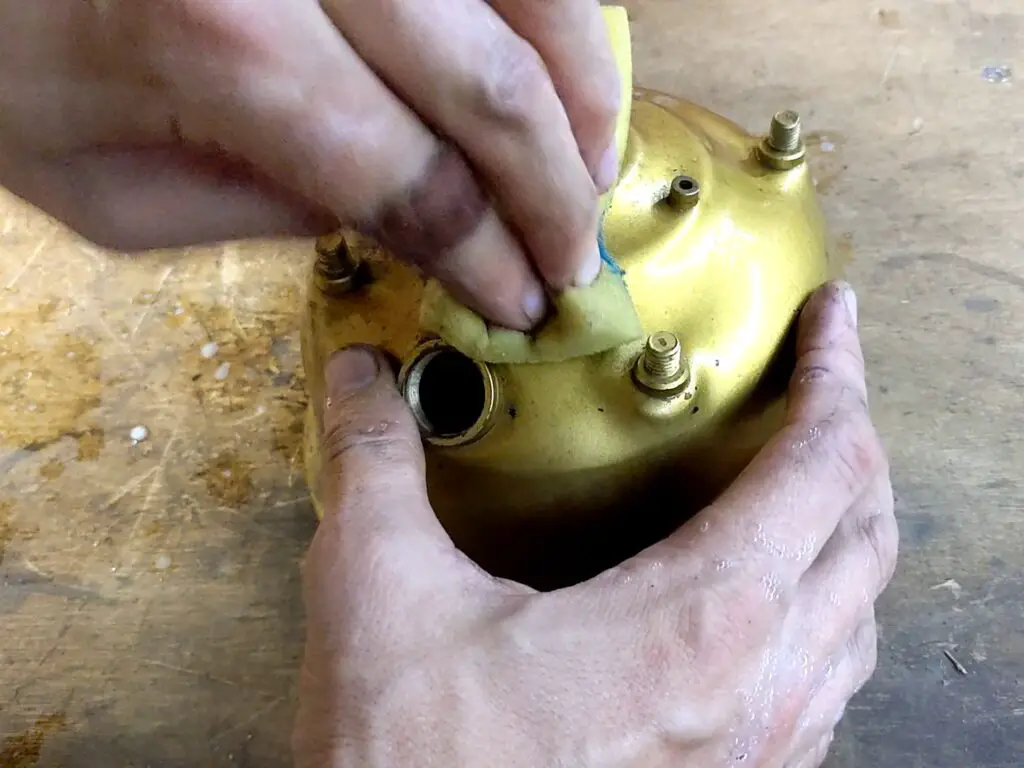
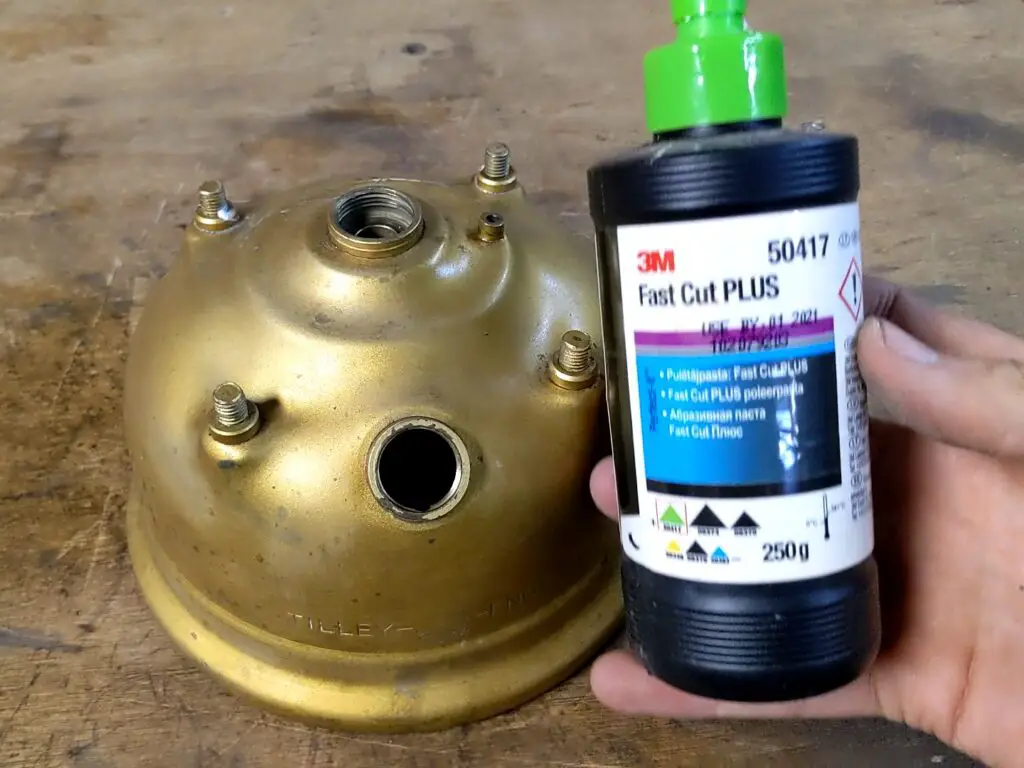
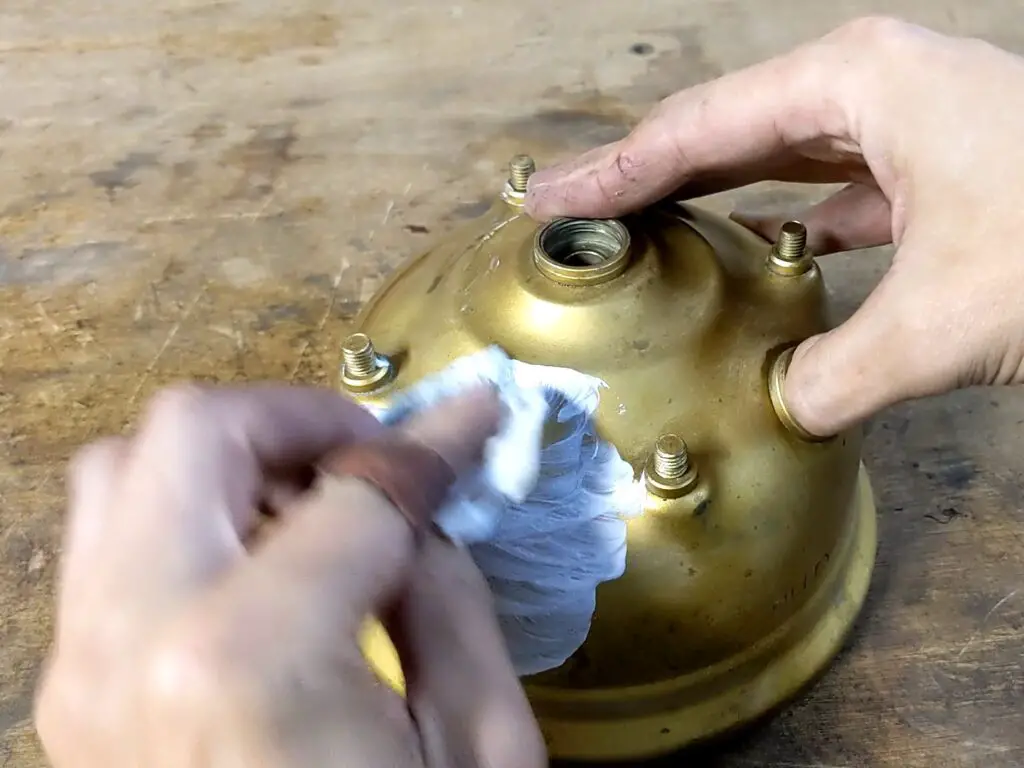
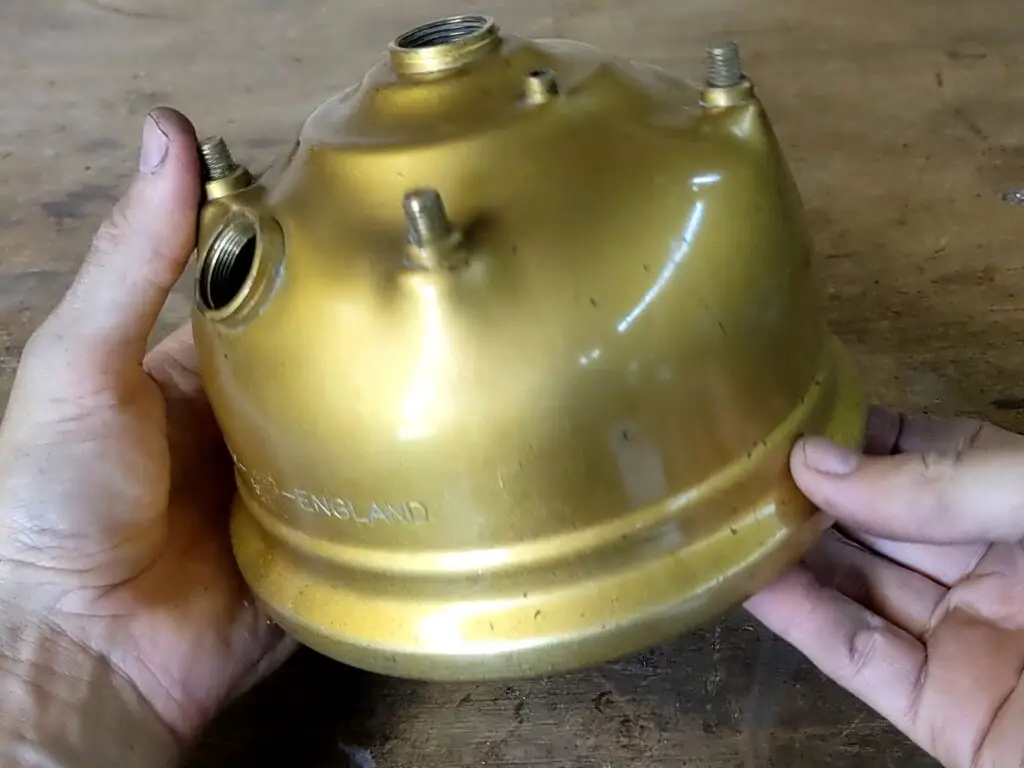
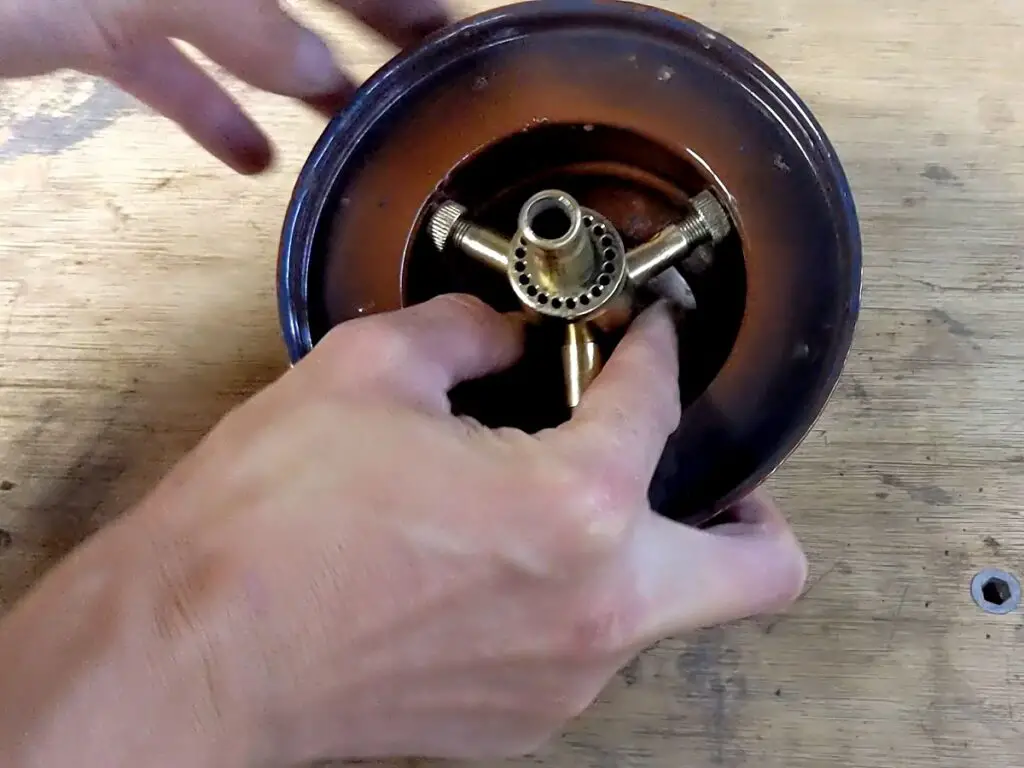
The base was looking a bit dull and tired after I’d cleaned all the dirt off. Oddly enough, these are brass underneath the paint. I was tempted for a while to take the old paint off and polish the brass base, but I wanted to keep it original. So I got to work with some polishing compound and brought some life back into the paint. The paint was quite thin from wear in places, so I had to be careful not to rub right through! In the end I was happy with the result – clearly used and age marked, but still looking good and shiny.
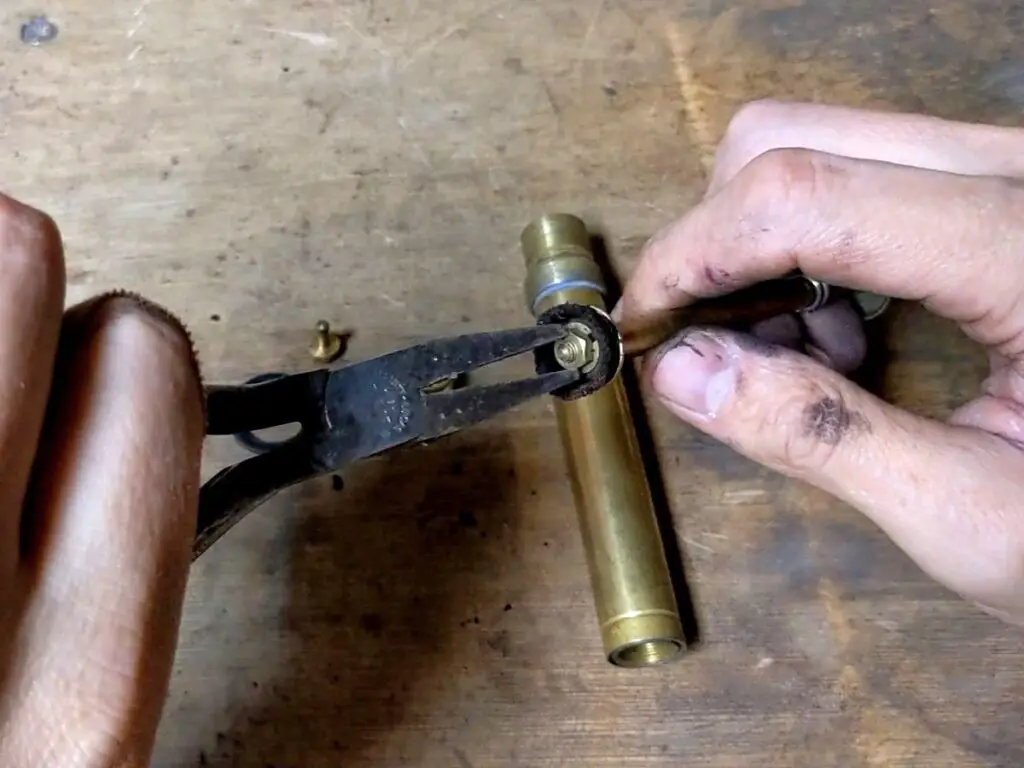
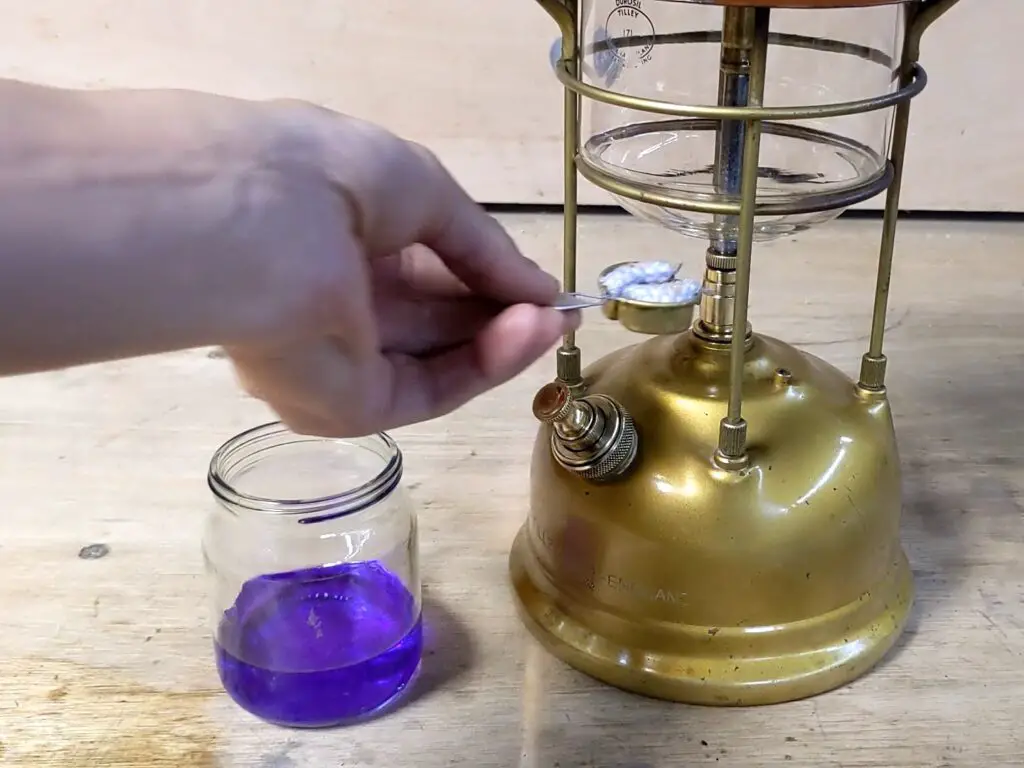
The only real bit of maintenance I did was to clean out the vaporiser. As mentioned above, this is a narrow tube leading to a tiny hole and is easily clogged with debris and old paraffin deposits.
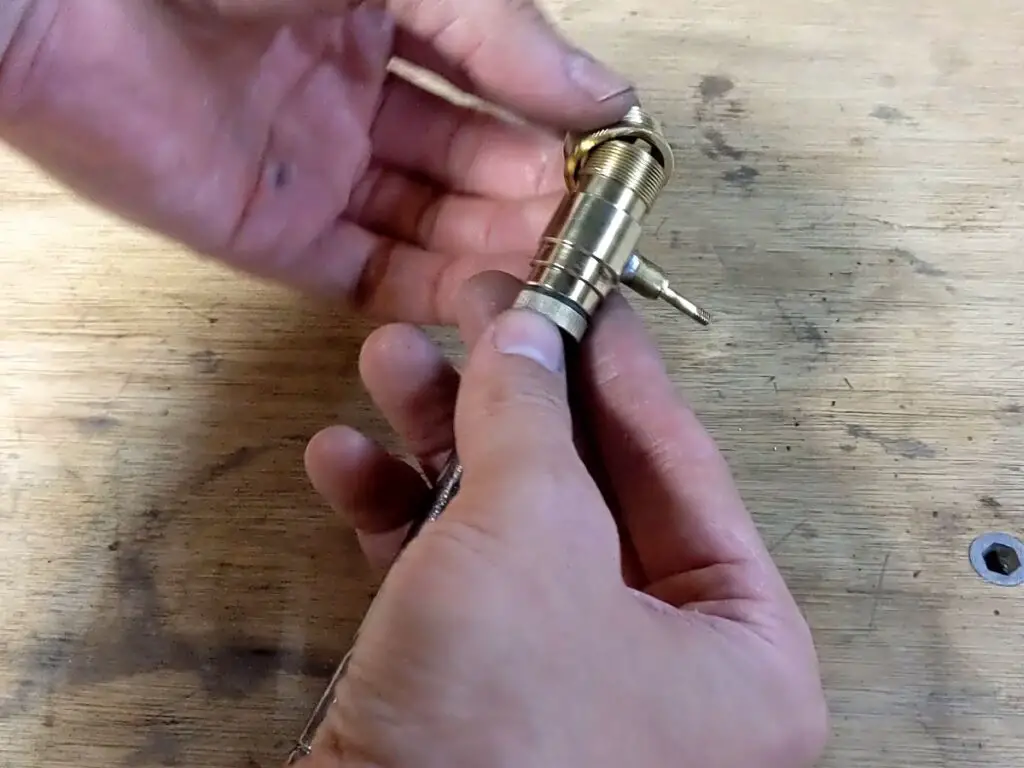
It’s possible to carefully clean out the hole with a piece of thin wire (in fact you can buy specialised cleaning wire) but that runs the risk of enlarging the hole and ruining the part altogether. Another option is to heat the vaporiser with a blowtorch to burn up all the deposits inside. I did four or five heat cycles and managed to get a good few burned bits out of the tube.
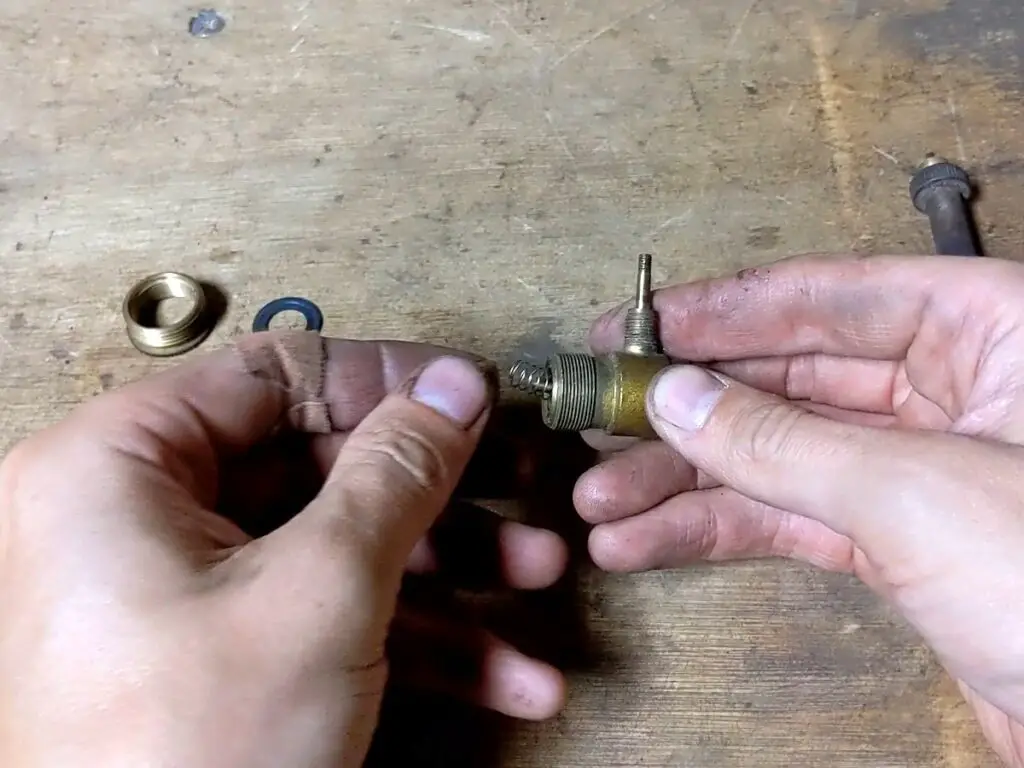
Replacing the Seals and Washers
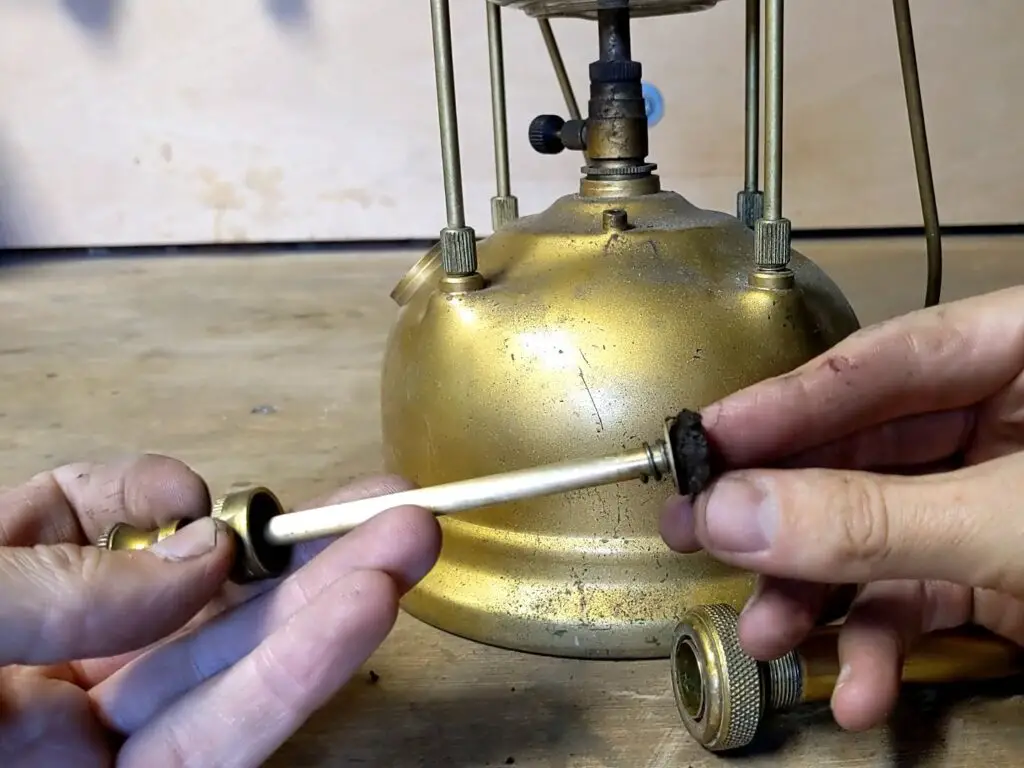
As you’d expect on something roughly seventy years old, the rubber seals and leather pump washers were old, brittle and leaky. Fortunately, replacements are easily available. There are several places that sell them, including several different eBay sellers. You can buy kits that have everything you need.
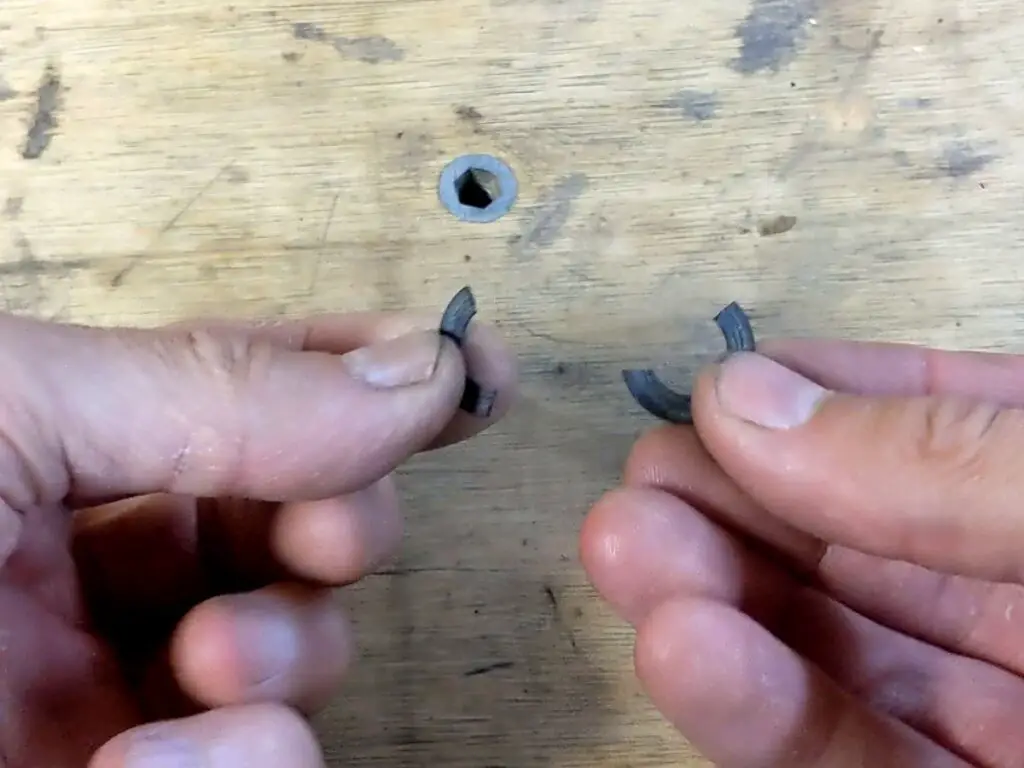
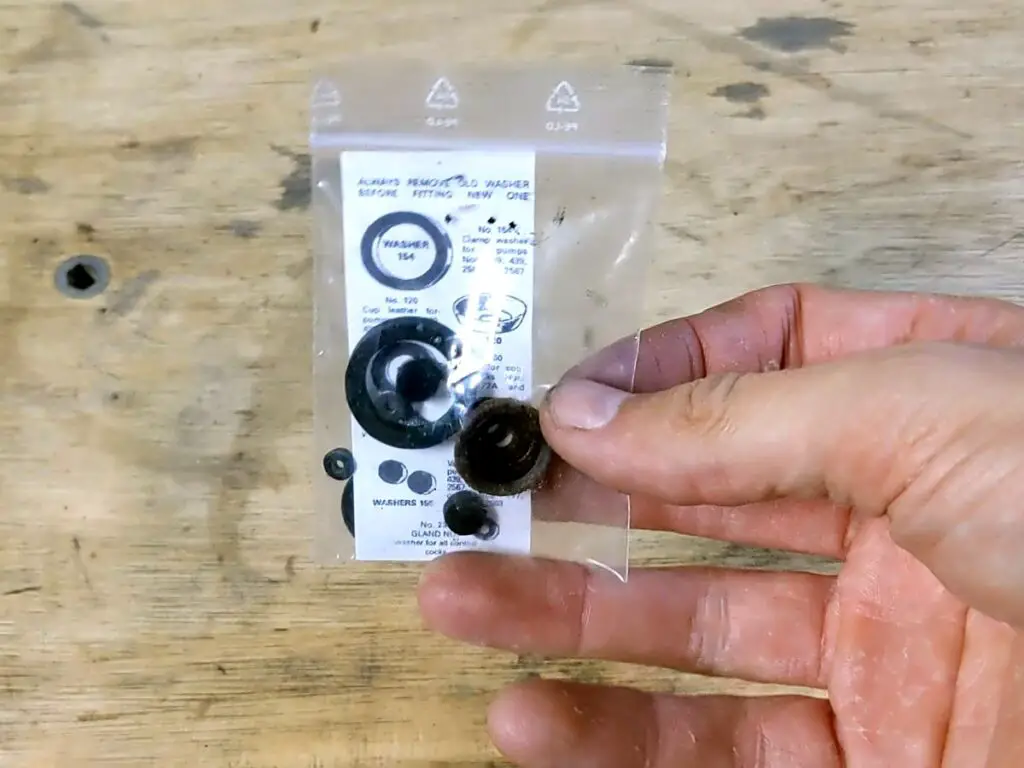
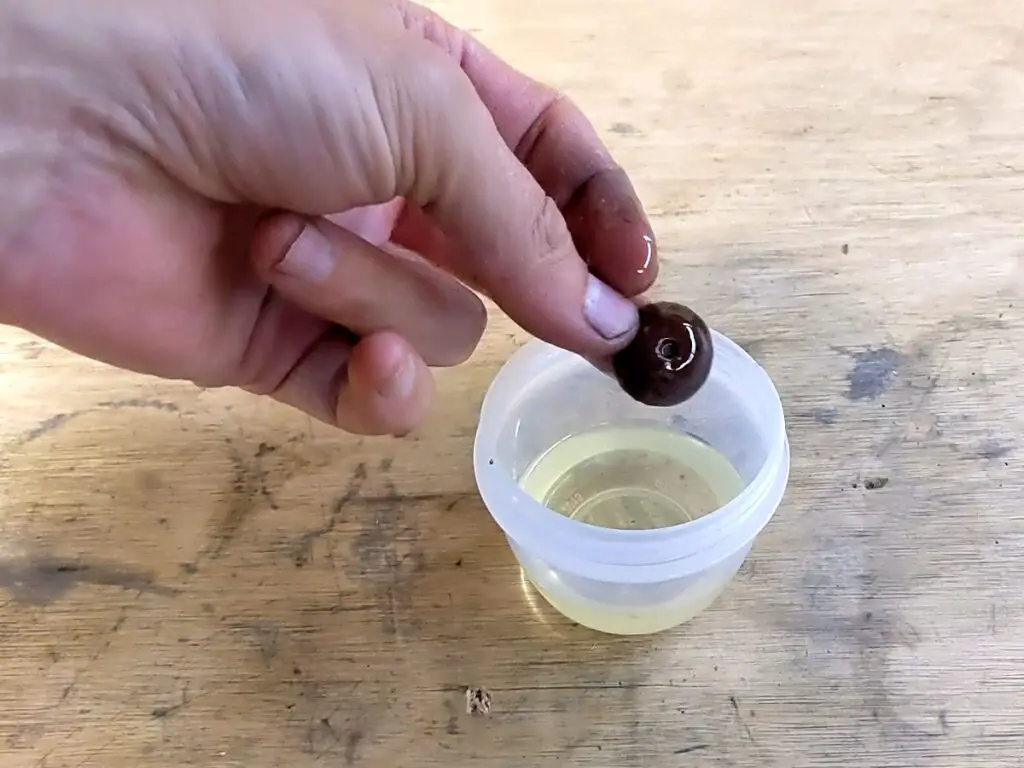
The rubber washers are just a straight swap, but the leather pump washer needs a bit of loosening up first. I did this by soaking it in vegetable oil for a little while.
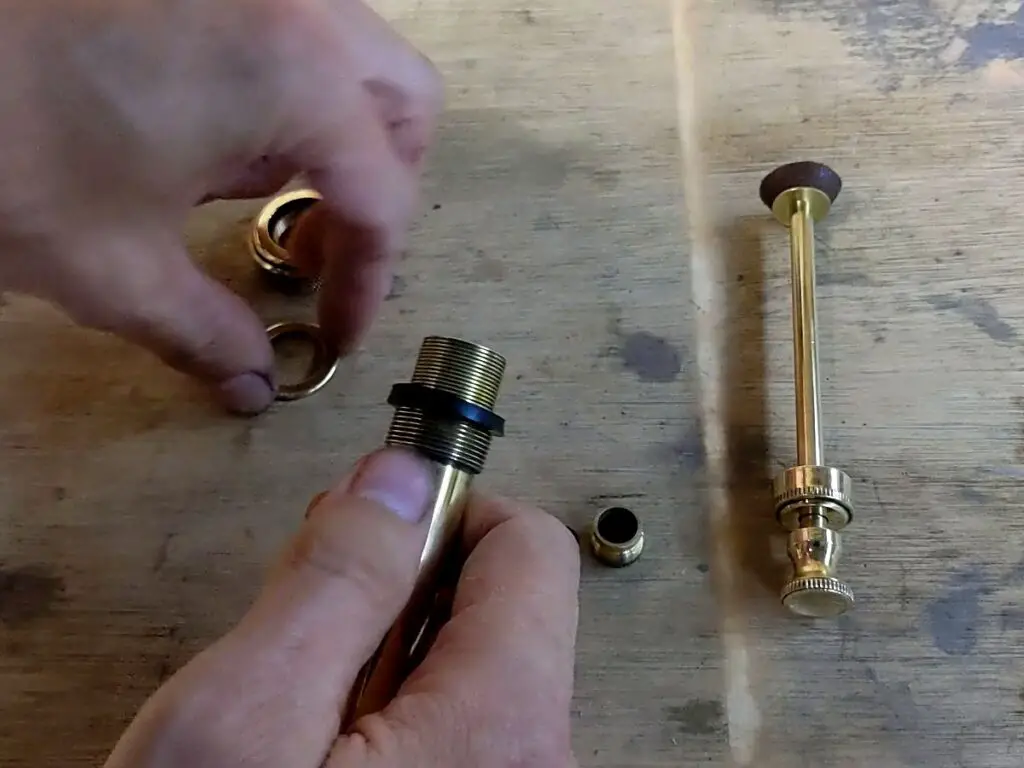
Reassembly
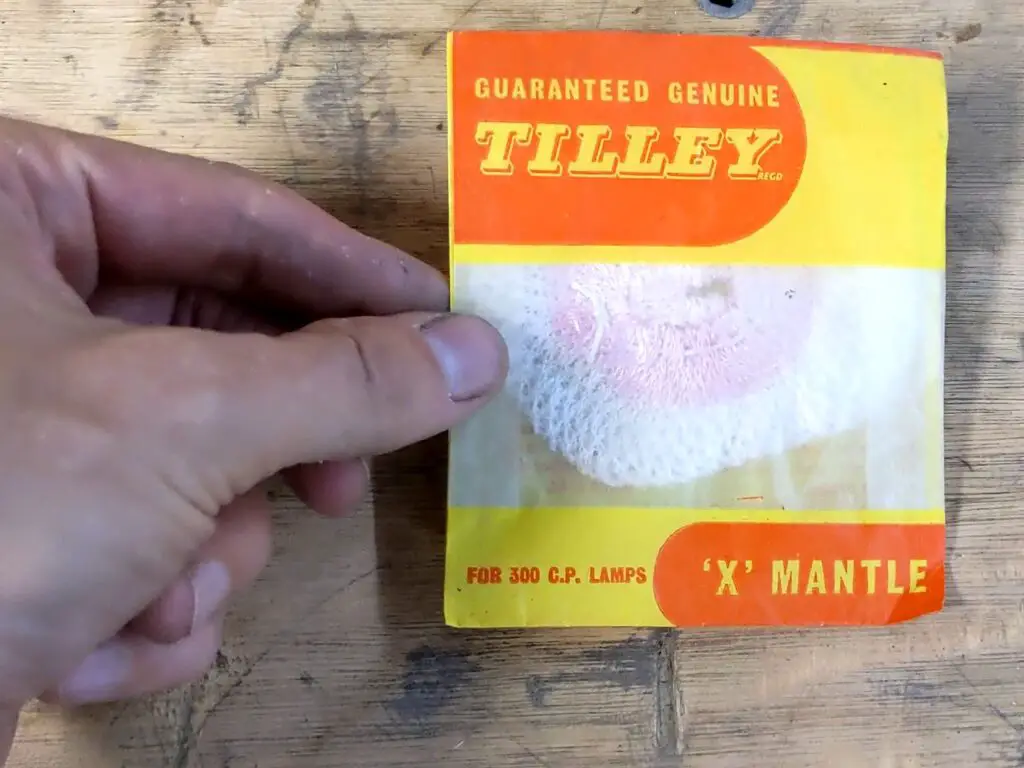
Putting the lamp back together is fairly straightforward. The only real tricky part is fitting the mantle, but that’s still quite doable with a little bit of patience. I opted to leave this until I’d tested the lamp first, just in case I needed to take things apart again – the mantles are very fragile once they’ve been burned!
Testing the Lamp
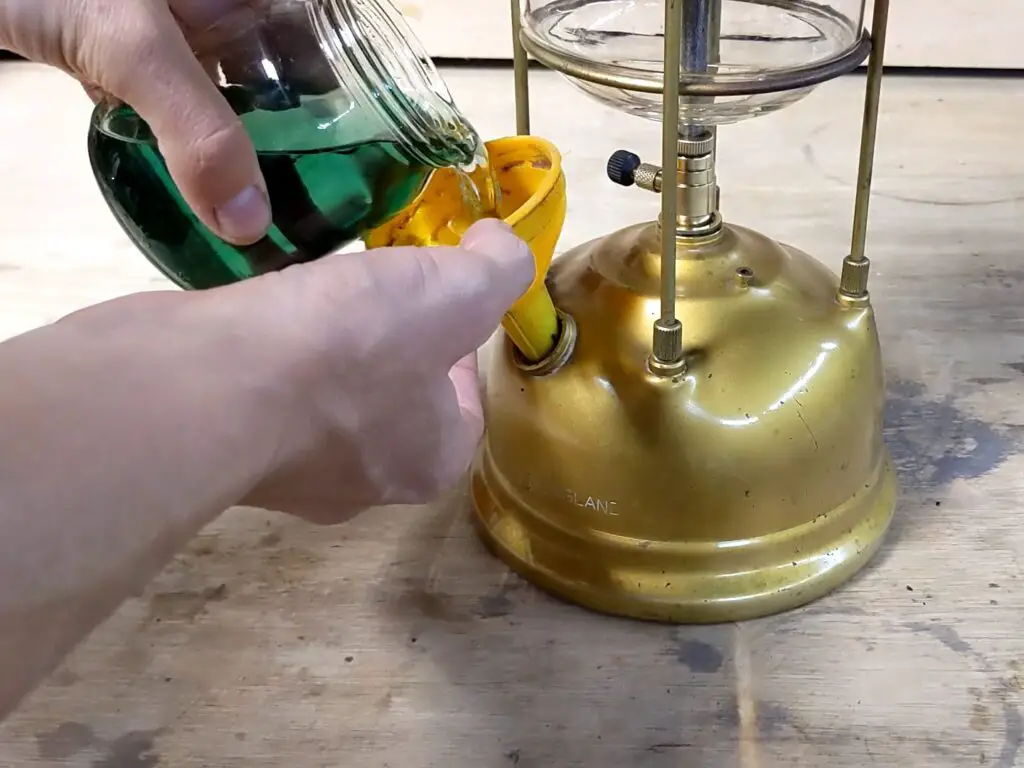
With the lamp back together, it was time for the moment of truth – does it work?
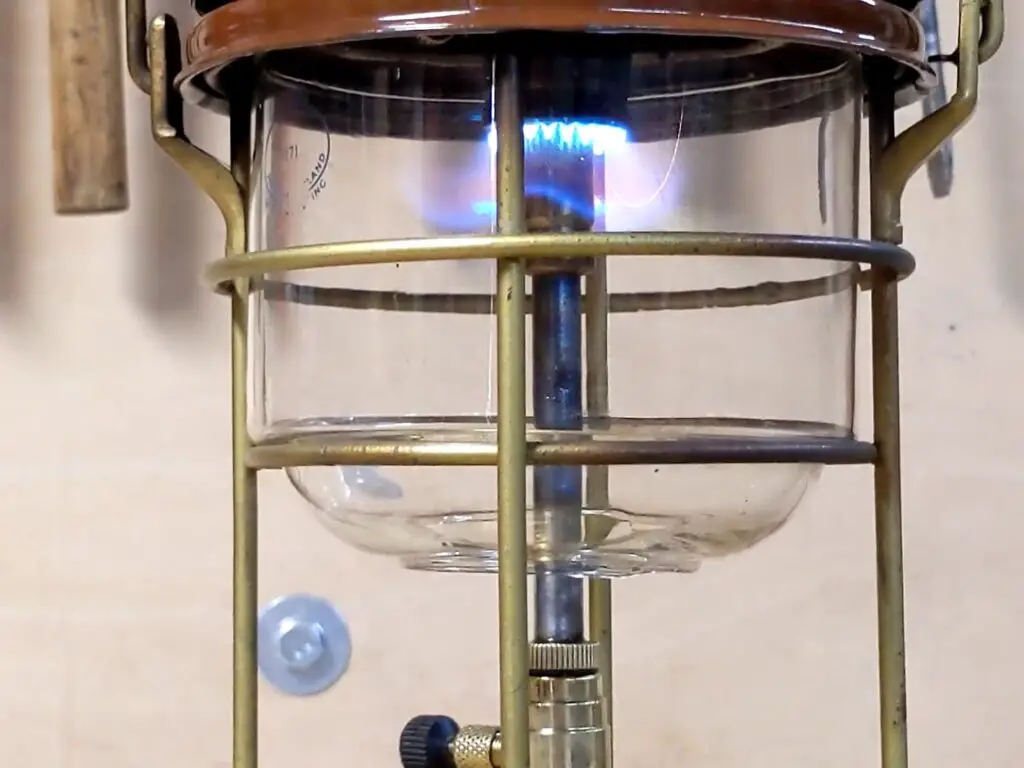
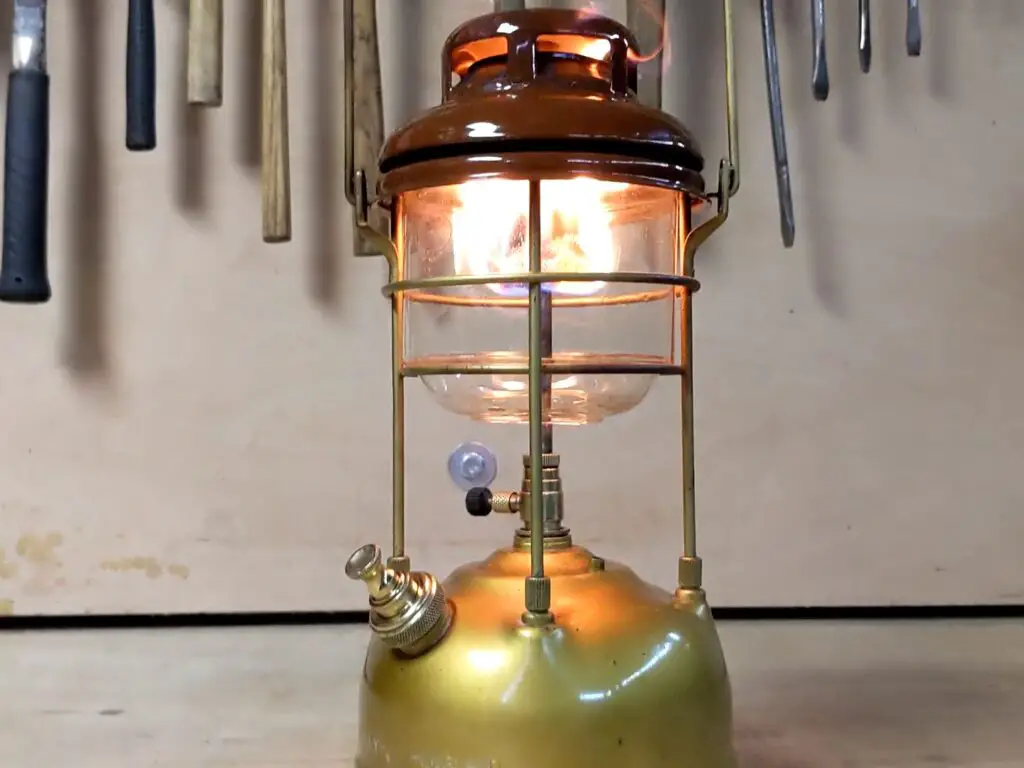
With all new seals and washers I wasn’t too worried about the lamp leaking, and in fact it didn’t. My main worry was the vaporiser still being blocked, but as it turned out that was fine too. I poured in some fresh paraffin, lit the (new!) torch and put it in place, pumped up the tank and then turned the valve to be rewarded with a nice level hiss and (after a little tweaking) a nice even blue flame. Success!
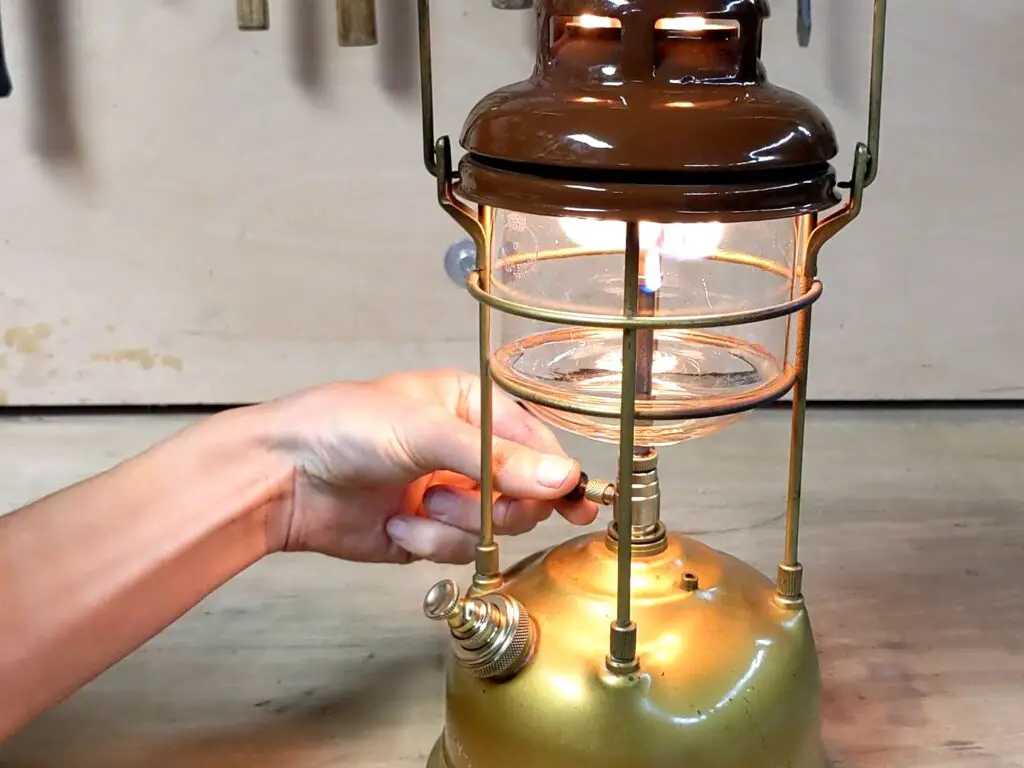
Now I knew the lamp worked, all that remained was to fit the mantle. The lamp came with a few spare mantles – possibly as old as the lamp itself! But they looked fine so I fitted the first one and then pumped up and relit the lamp once more.
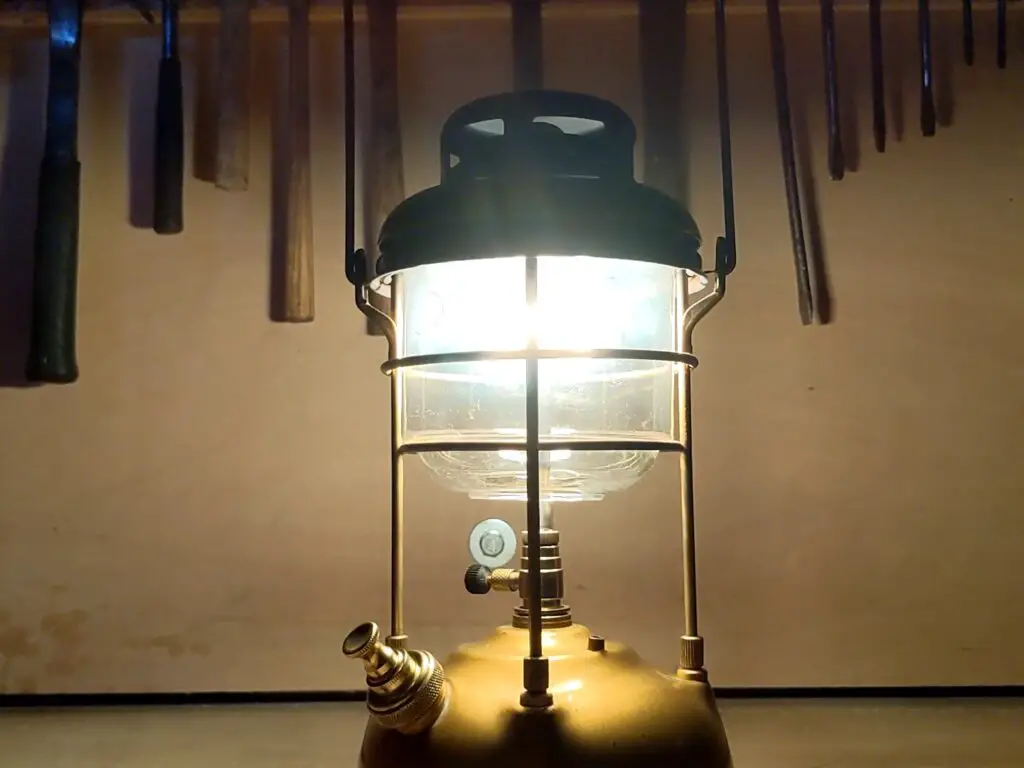
It was a little finicky getting started – there’s an art to this – but once it had all warmed up and the mantle was properly burned in, it settled down to a nice bright yellow/white flame and that lovely gentle hissing sound. Result!

The Video
I got all this on video and put it up on my YouTube channel – and here it is!

This was great really step by step, my Tilly is older though so wondering if there are any videos for vintage brass Tilly’s.