After finishing the wipers (actually I did the wipers at the same time as the headlights, but I did this as a separate entry to keep things clearer!), I started on the headlights.
The bulk of the work was actually on the headlight motors and lift mechanisms. For those of you that don’t know, the TR7 has pop up headlights, powered by two lift motors. While somewhat notorious for failing and ‘winking’ when one of them fails to work, they’re actually reasonably robust if maintained well. I only ever had one issue with them, and that was easily solved by spraying a little WD-40 on the linkages.
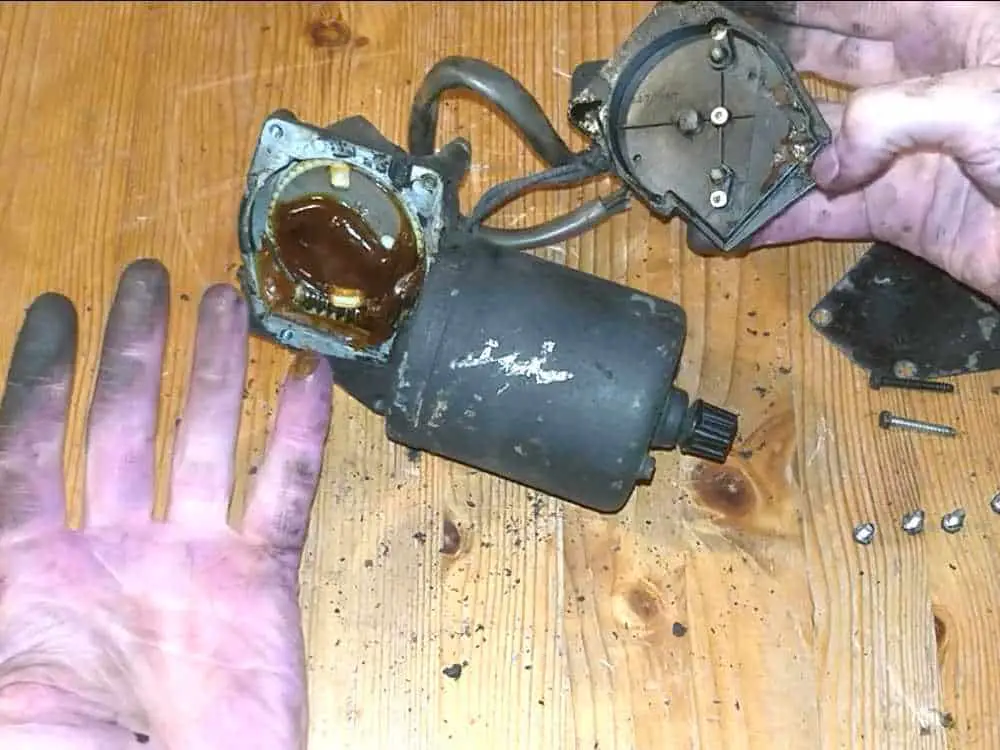
Stripping the Motor Assemblies
I’d actually made a start on this years ago (again, just like the wiper motor), and had got as far as assembling one complete lift mechanism. I had problems getting the motor to turn manually, though, so I left it to come back to at a later time.
Well, that time is now!
While the lift brackets were quite old and crusty, I’d managed to pick up some new ones while they were on sale a few years ago. I’m normally about repairing rather than just replacing, but these were cheap enough to make it not worth the bother of cleaning up the old ones. I’d already fitted the one rebuilt motor to the old assembly, so now I just needed to strip it all down again.
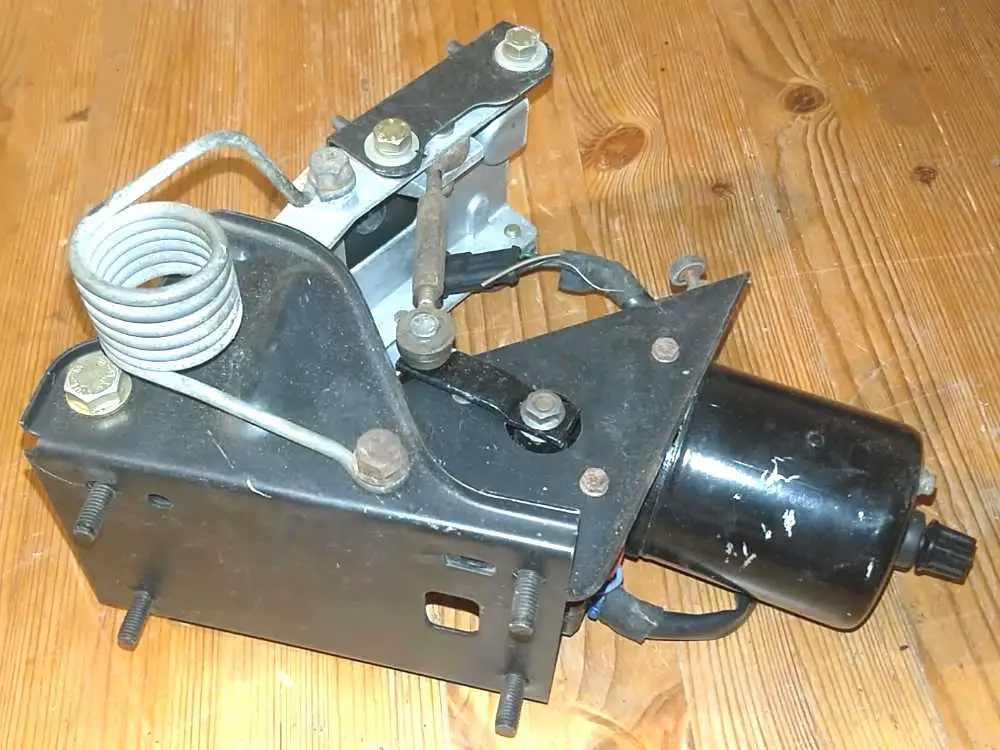
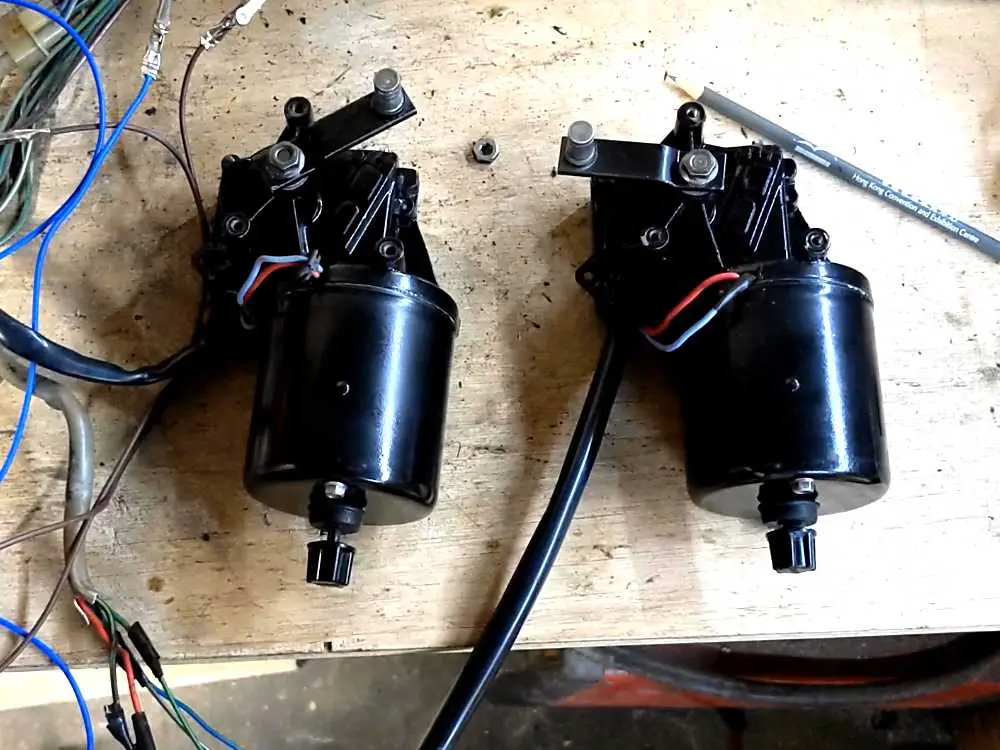
The lift motor I’d restored before. 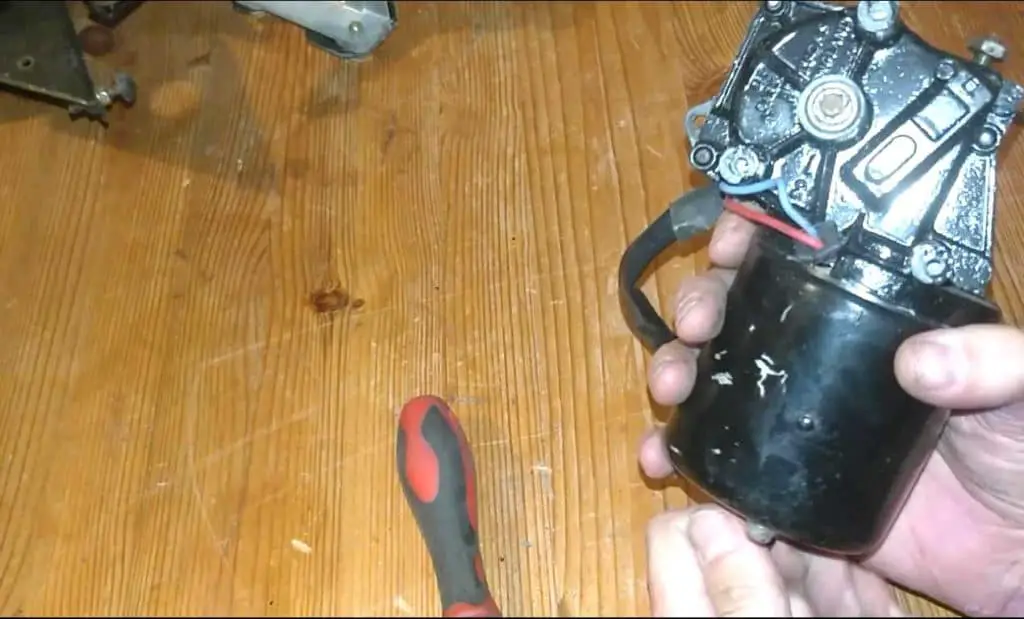
Testing the old motor to see why it wouldn’t turn… 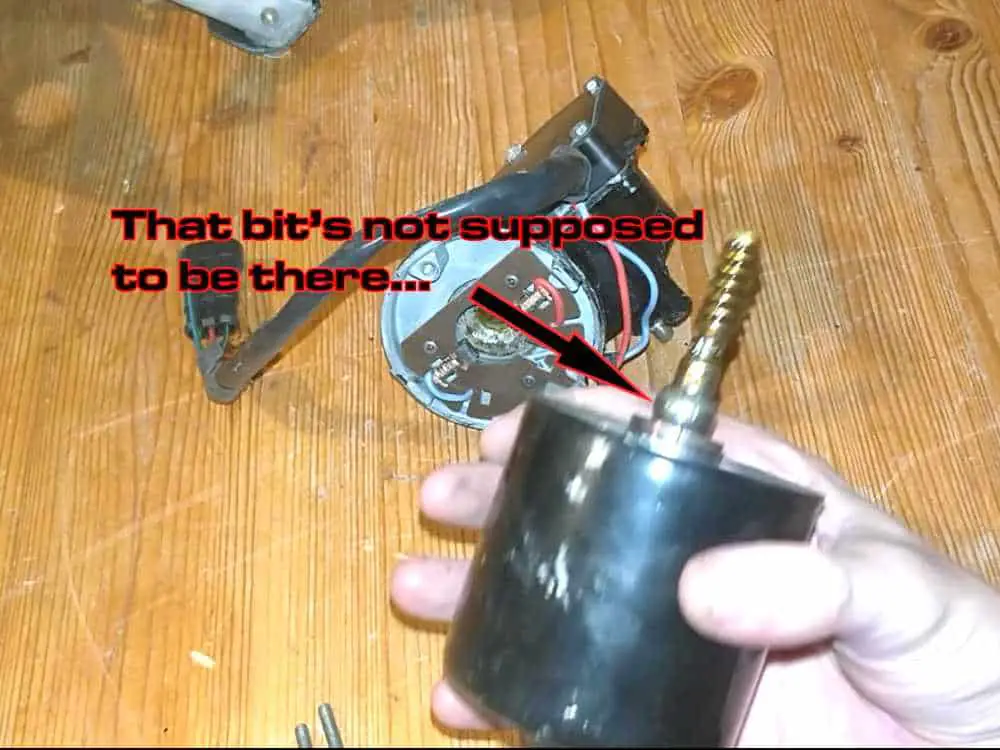
The bushing got stuck on the shaft here. 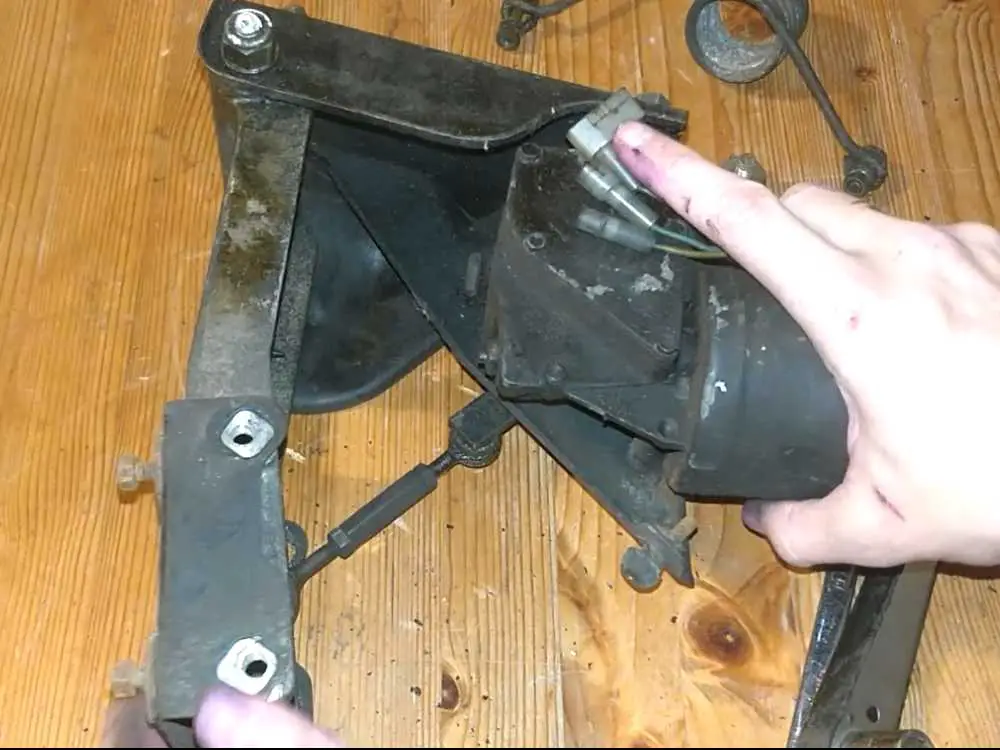
Then I stripped apart the other assembly – I’d not touched this one yet.
The the motor off, I pulled it apart to see what was wrong. It was fairly obvious; the bushing that held the armature in place had come apart and was jammed on the shaft. As I had a spare motor around, I decided to just use this one for parts rather than trying to repair it.
Stripping Down the Lift Motors
With the motors removed from the lift brackets, I took them apart. They’re not all that complex, and I wanted to replace the brushes while I had everything apart as well as clean them up and put some new grease in.
Stripping the motor down. They’re pretty dirty! 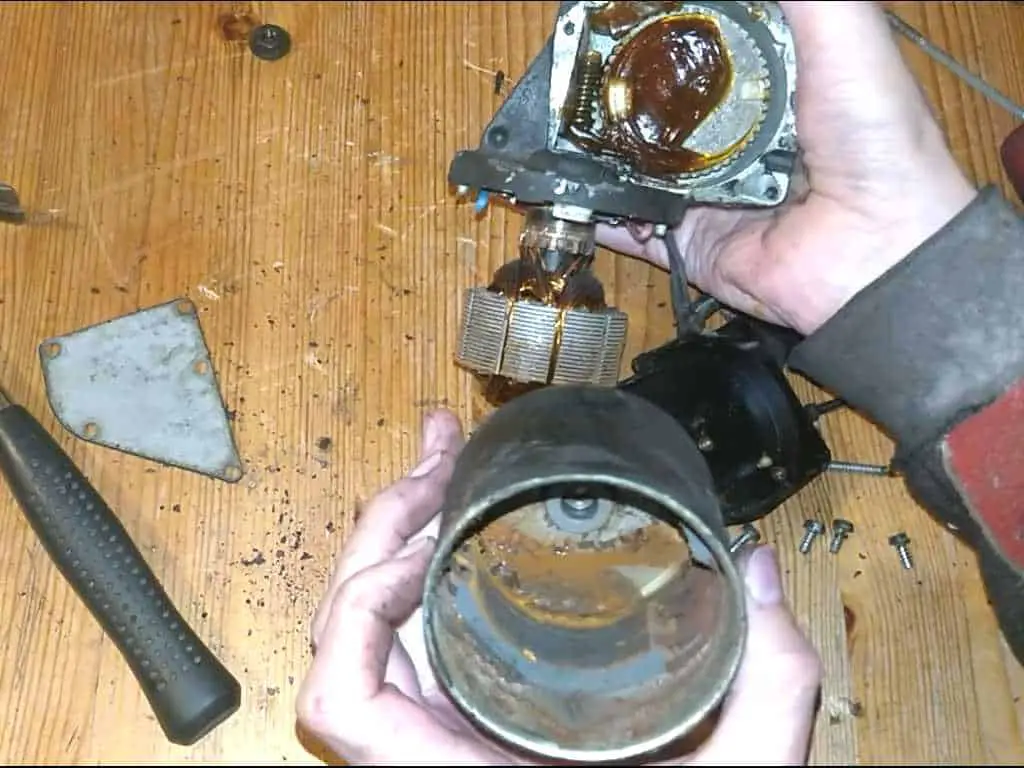
Motor housing. Not the rust at the bottom. 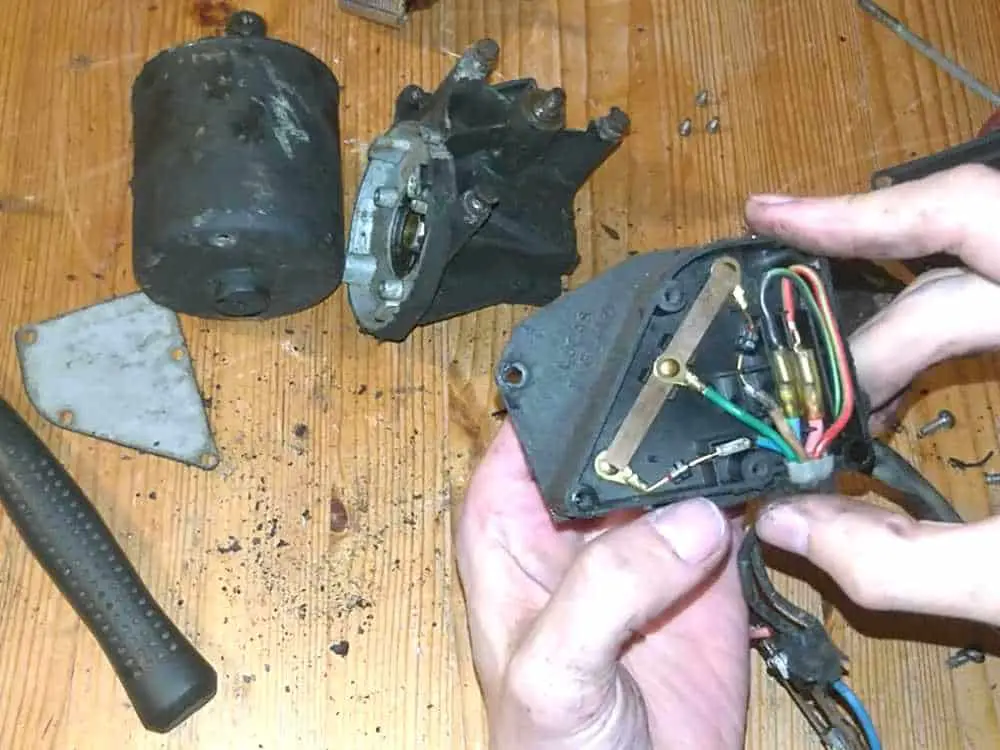
The wiring part of the motor. I decided to replace all the wiring.
Cleaning the Parts
With everything apart, I gave everything a good clean up. It was pretty grotty from years of being right at the front of the car, so it took a fair amount of scrubbing to get all the road dirt and grime off.
Once everything was clean, I primed and painted everything with chassis black paint to protect it for the years to come.
All the parts got thoroughly cleaned… 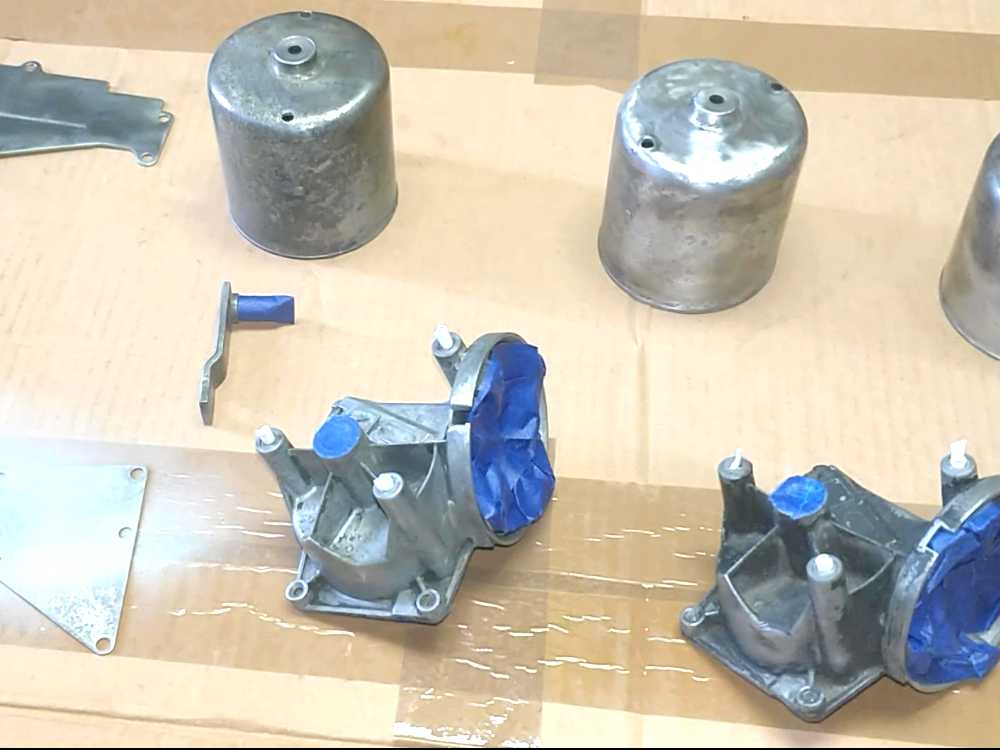
then primed… 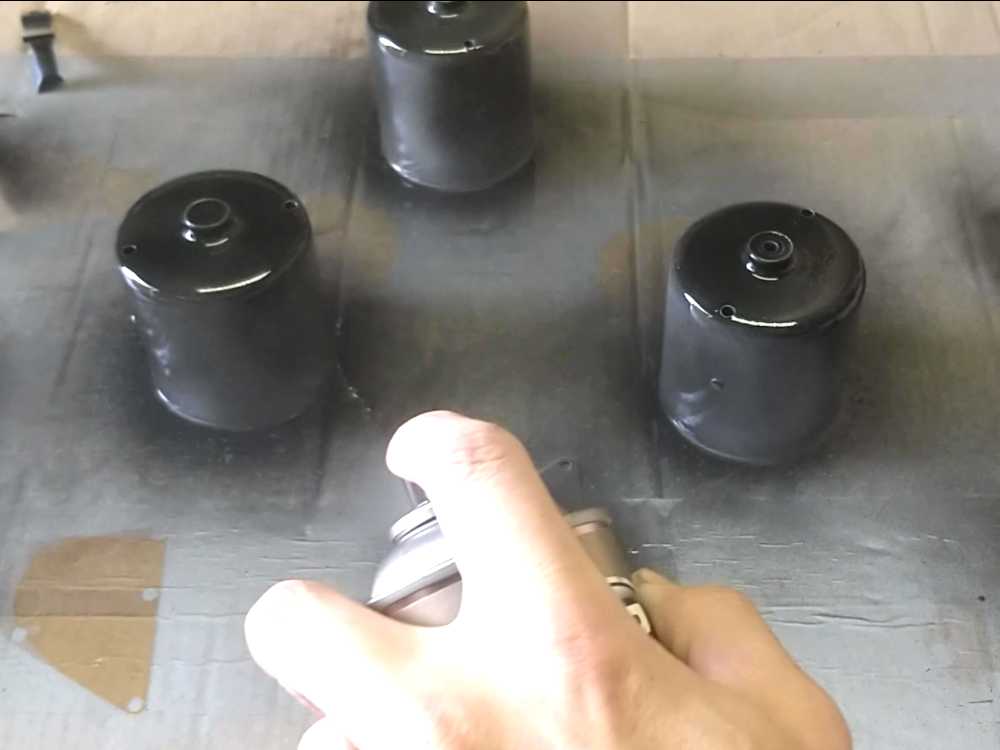
and painted.
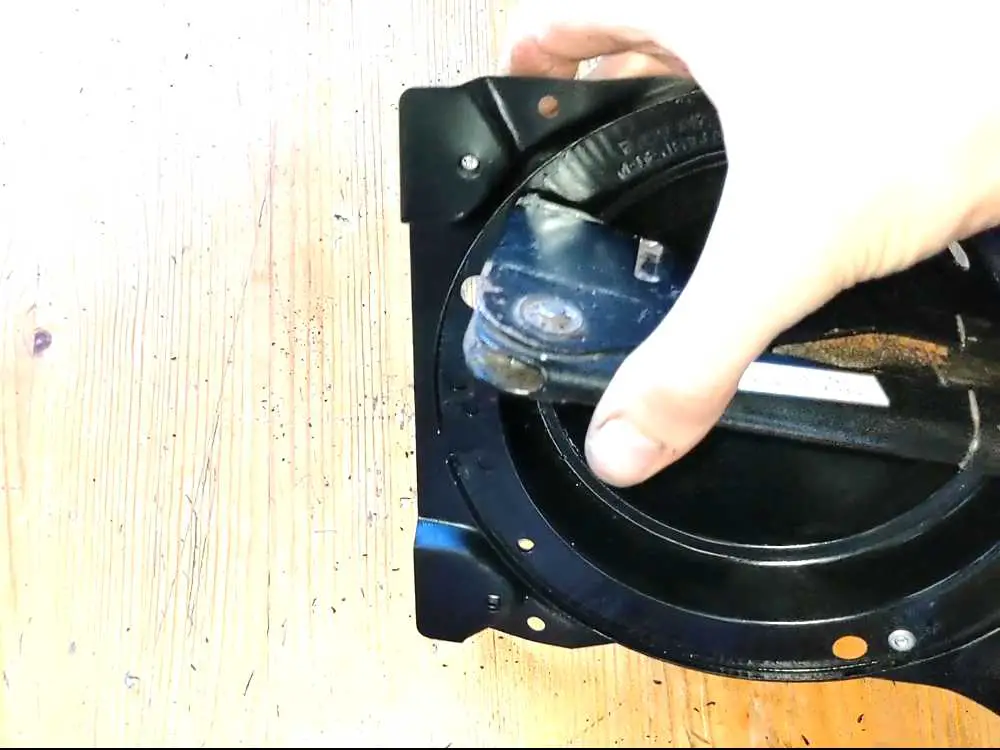
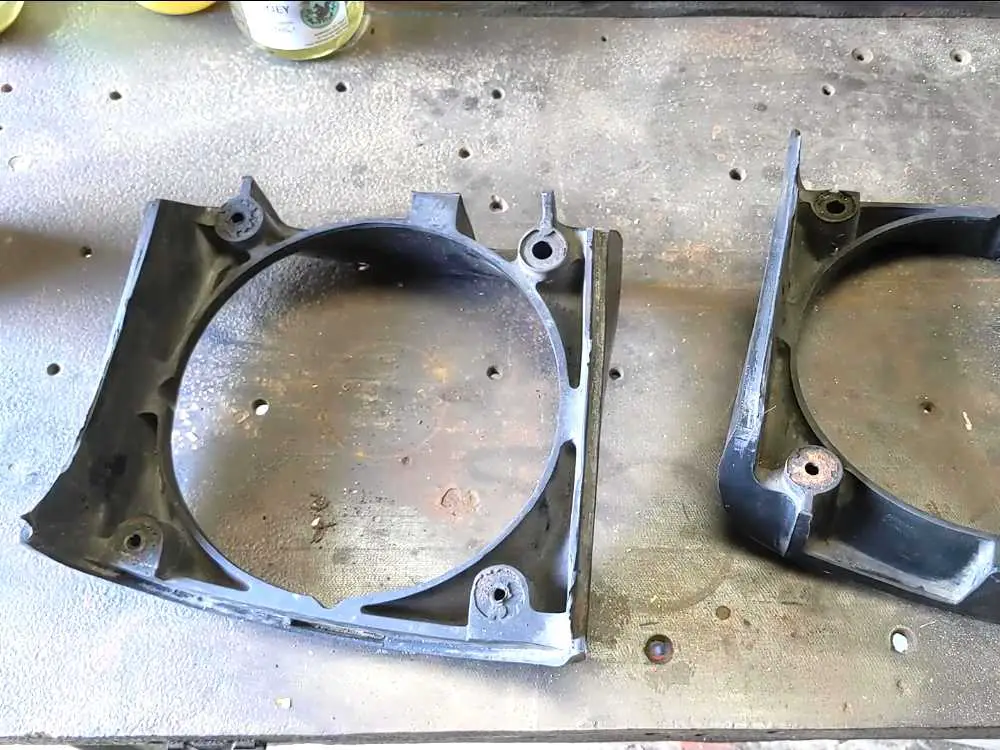
Stripping down the Headlamp Pods
While all the motor parts were drying, I turned my attention to the headlights.
The headlights themselves are fairly new – I upgraded to halogen a year or two before I took the car off the road – so they didn’t need anything other than a quick clean. The mounting brackets and everything that holds it all together were in a fairly rough shape though, so I took the time to clean them all up and remove all the rust before priming and painting all the parts.
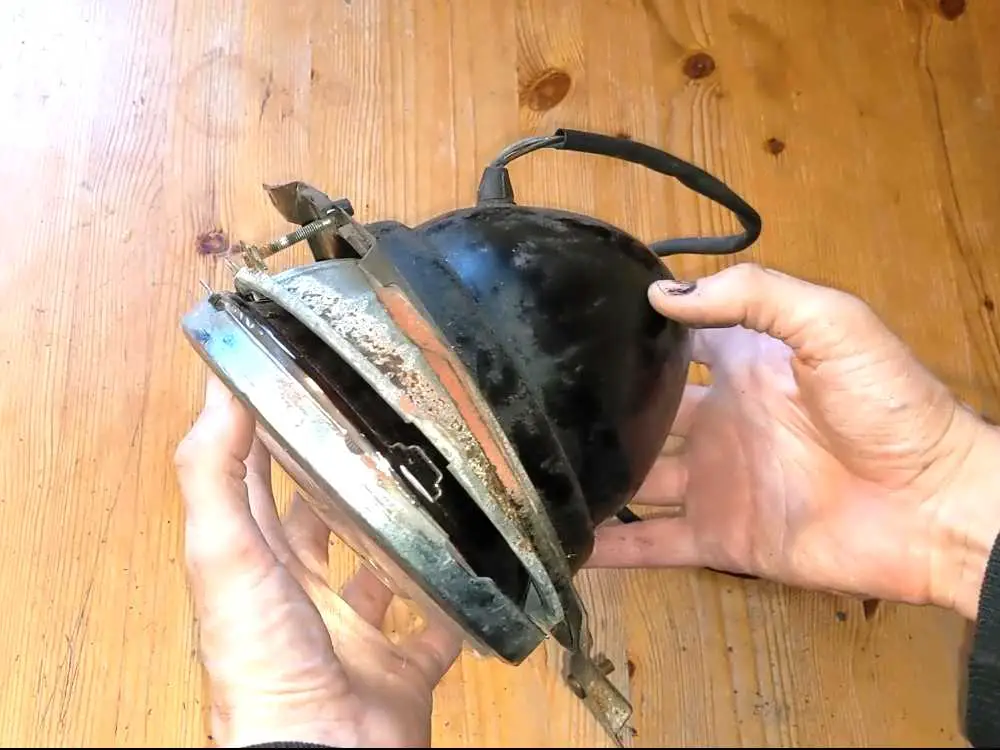
The headlamp assembly. Works, but needs a lot of cleaning. 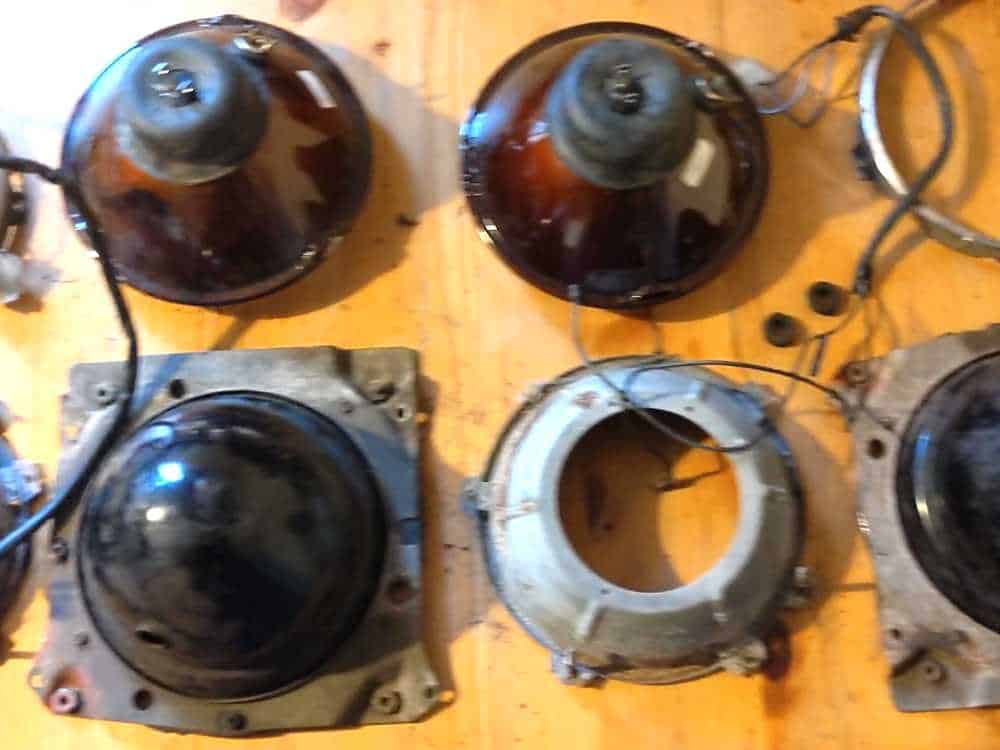
The assemblies stripped and ready for cleaning. 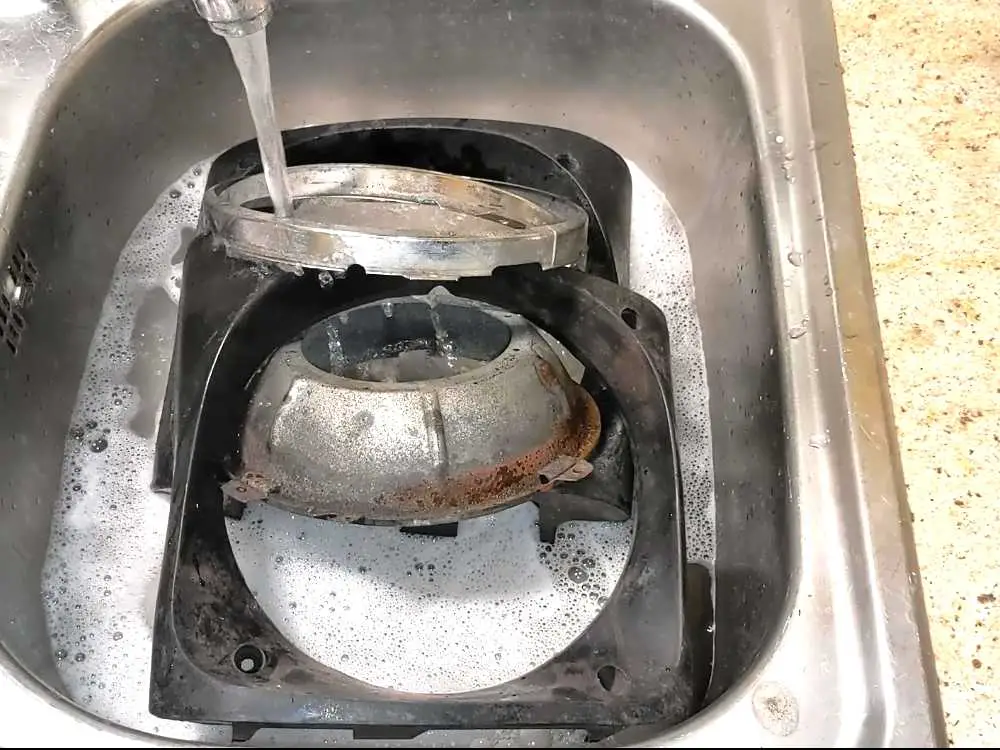
Cleaning up! 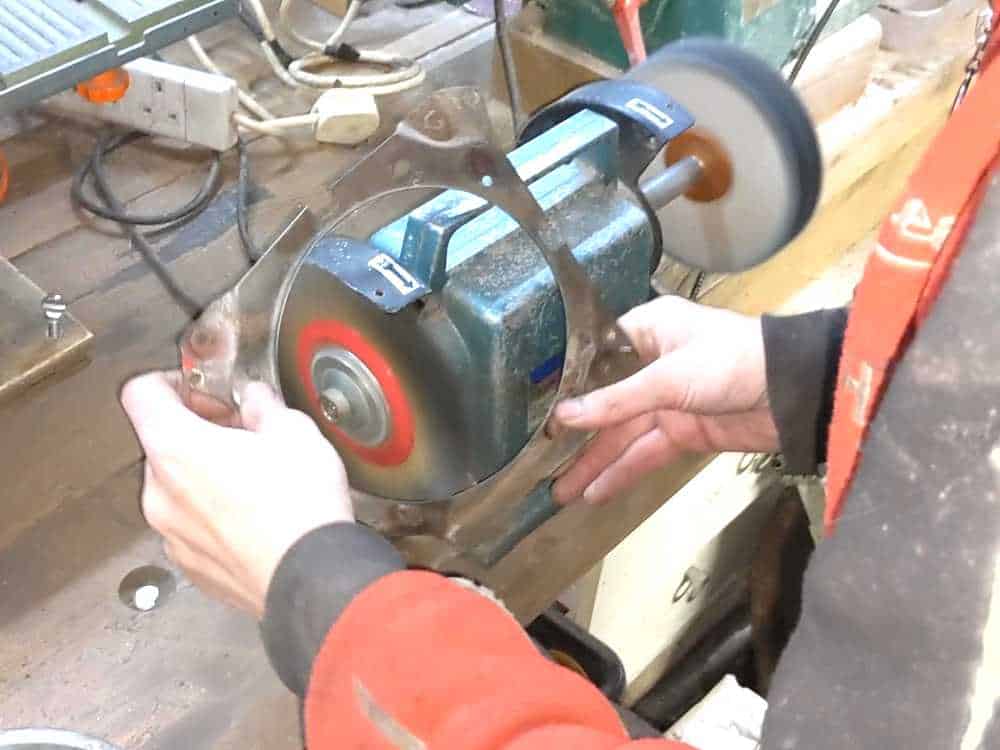
I stripped the rust off with the wire wheel. 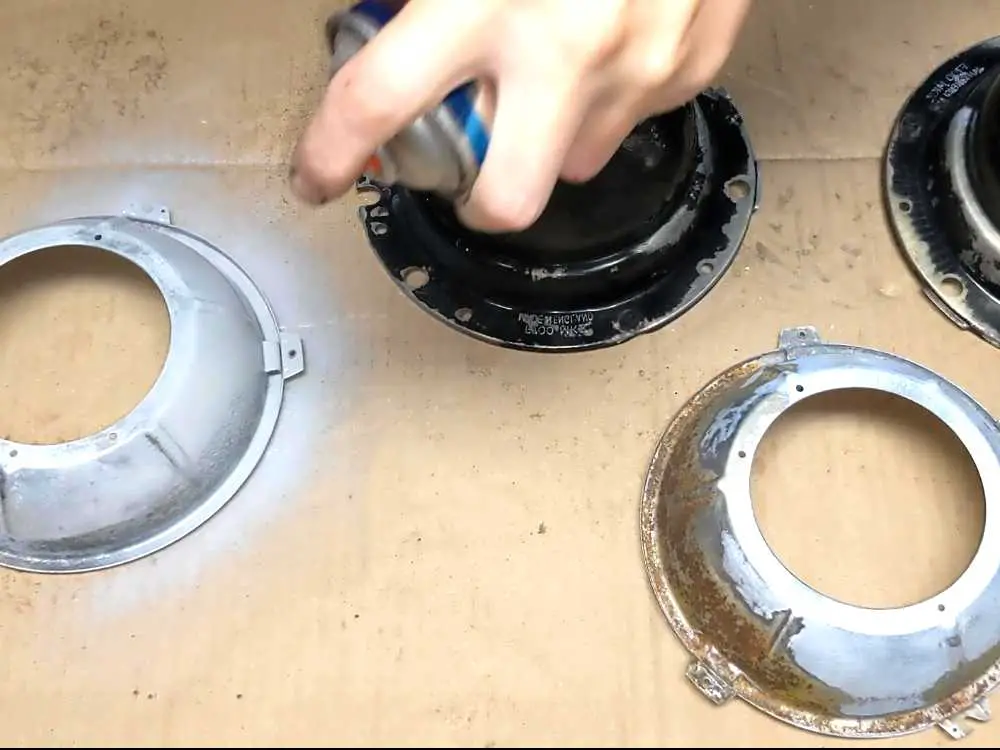
And primed… 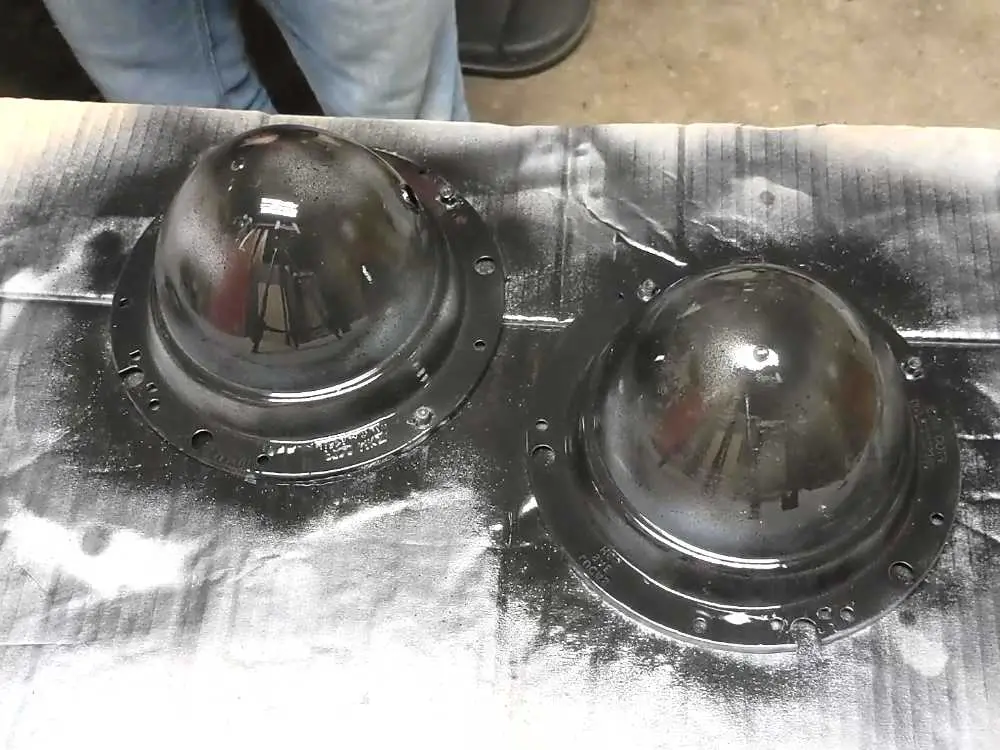
and painted all the parts.
Fixing the Wiring
Then it was time to fix the wiring. The wiring is fairly simple, just a brush set, a contact switch and a couple of diodes. I was already going to replace the brushes, but the wiring was starting to split and corrode so I decided to replace that as well.
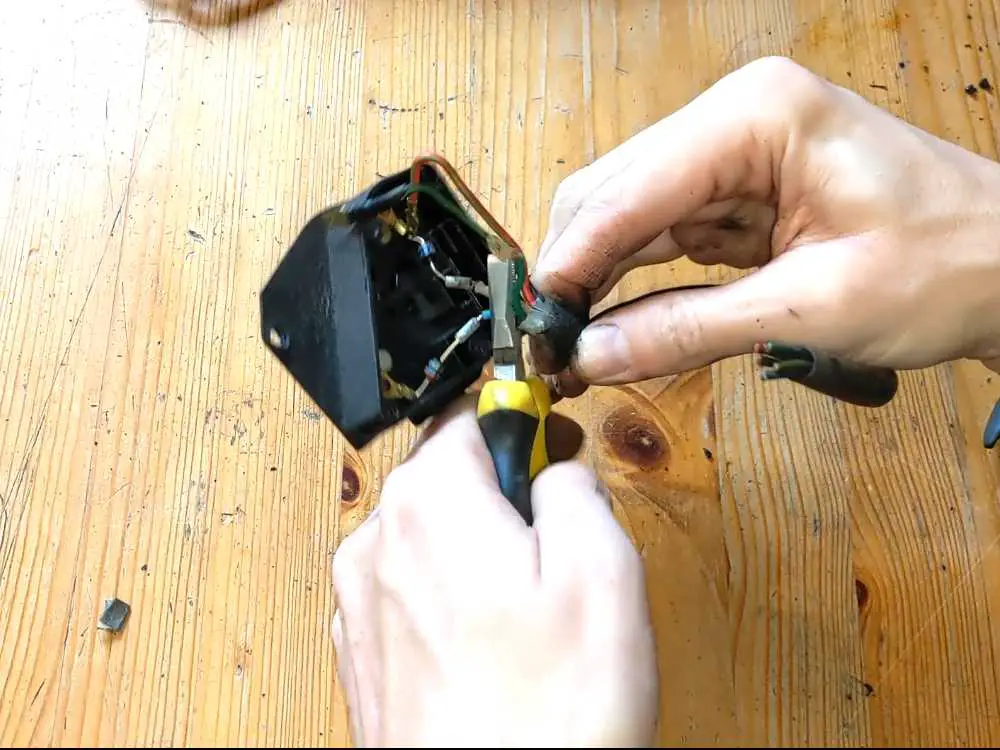
While I was there I wanted to clean up the contact strip. I tried cleaning it with an emery board but didn’t have much success, so I ground off the central rivet that holds it in place and was able to clean it properly once it was all removed.
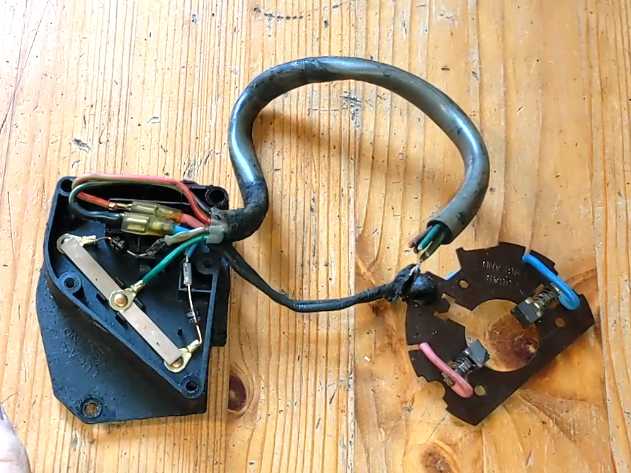
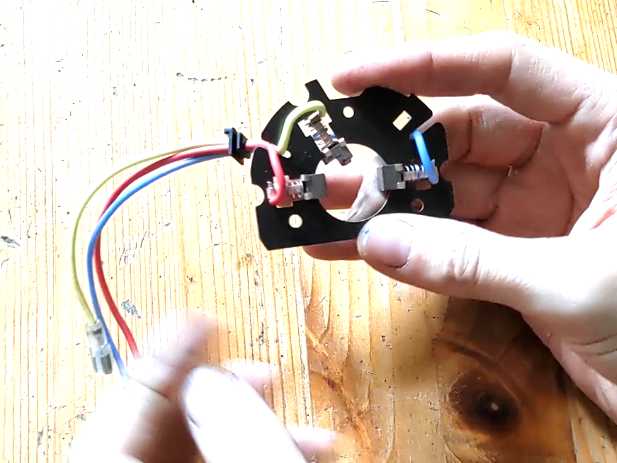
The wiring assembly. I’ll replace all these wires. 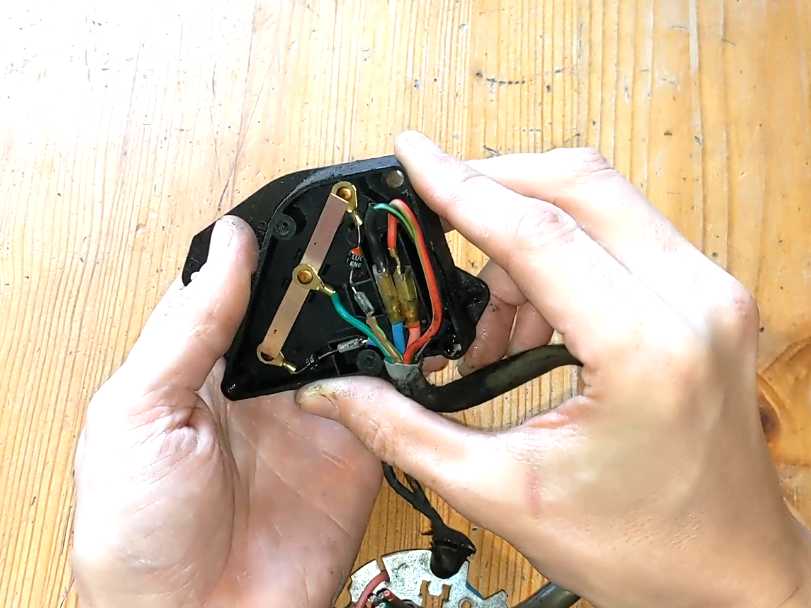
Checking the contact switch. 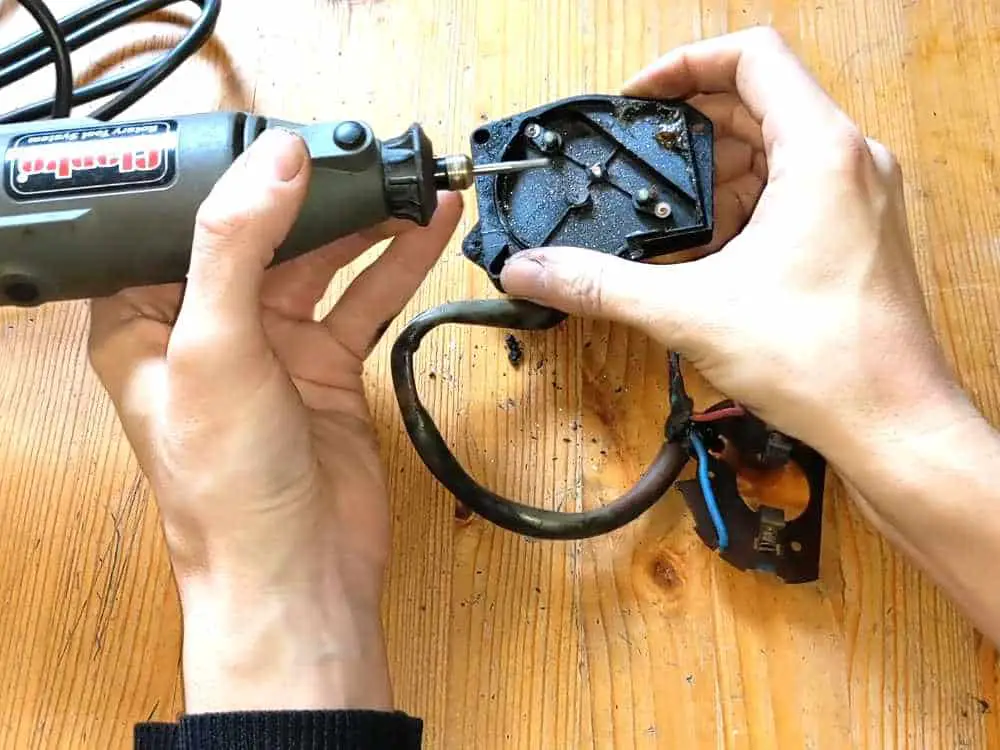
I couldn’t clean it properly, so I ground off the rivet… 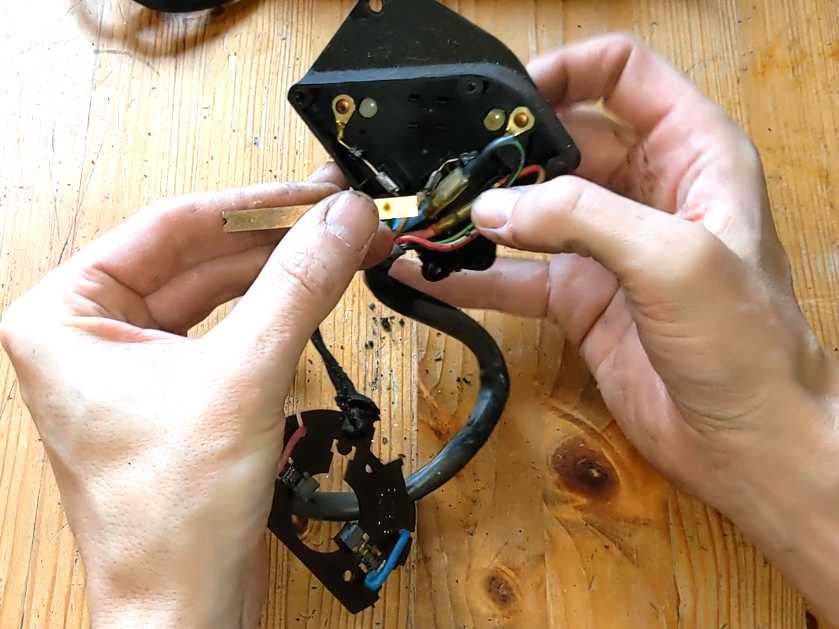
and removed it from the housing. Note the buildup on the end of the metal strip – this would have caused problems.
Then I cut all the old wiring off and soldered new wiring in place. I elected to keep the diodes there and solder the new wiring to those.
I then refitted the contact switch; rather than using a rivet again I fixed it in place with a small nut and bolt. Just to be sure it stayed in place, I dropped a little threadlock on the nut.
With it all reassembled, I gave it a quick test – all good.
Cutting the old wiring off… 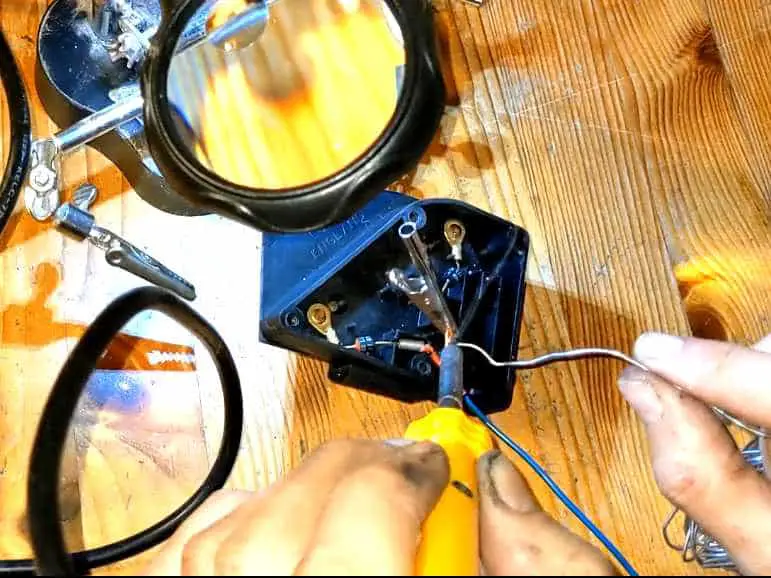
and soldering new wires in place. 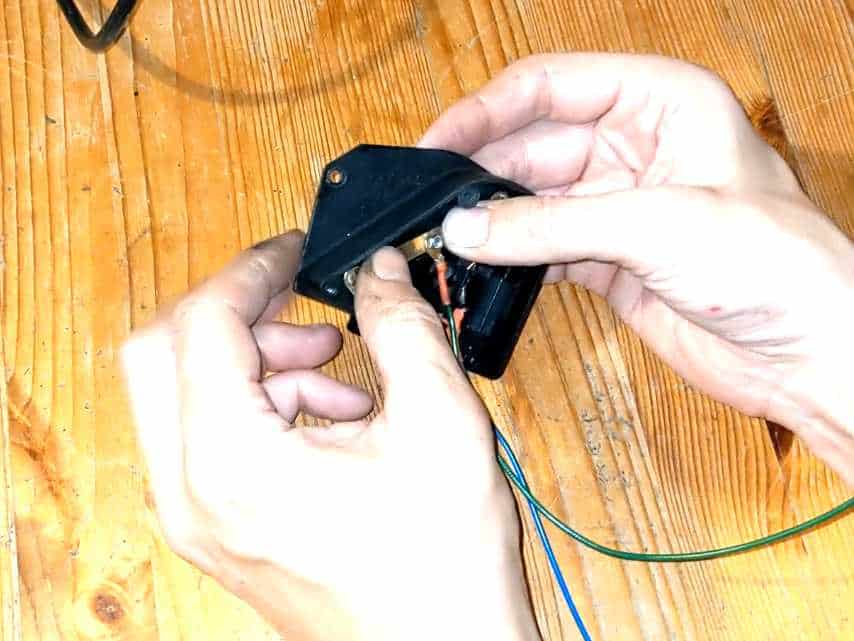
Refitting the contact switch. 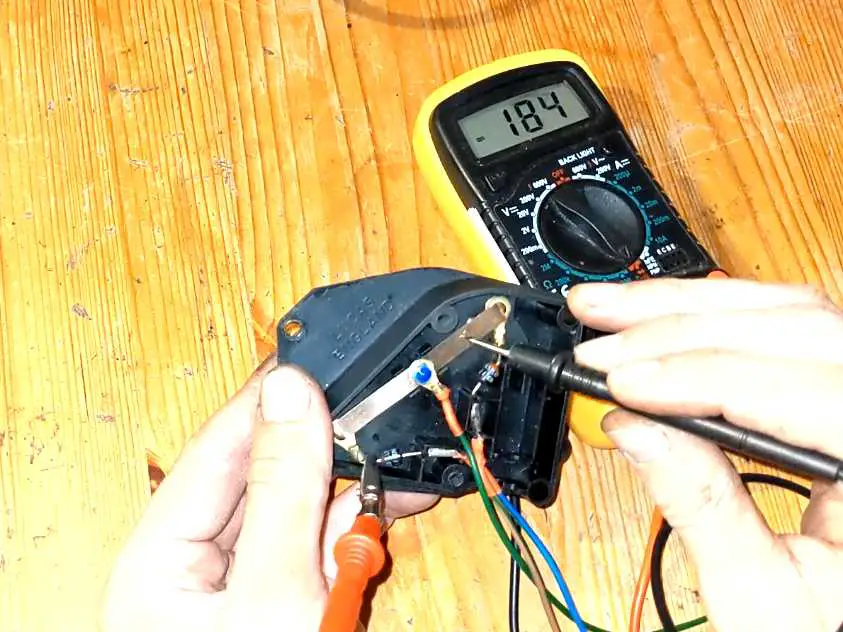
I gave it all a quick test before moving on.
Then it was time to fit the new brushes. The exact replacement brushes are no longer available, but that’s not a big deal – the brushes for the Lucas 14W wiper motor are the same, except for the additional brush for the 2nd speed. I just removed that with a pair of pliers!
With that in place, I fitted it to the rest of the wiring, and then everything was ready for reassembly.
This is just a Lucas 14W wiper motor brush set… 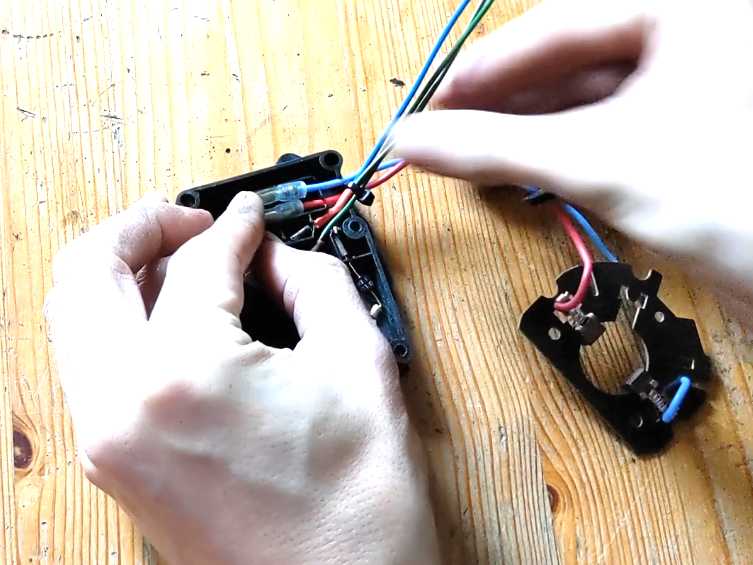
I just removed the unneeded third wire and fitted it.
Assembling the Motors
With everything cleaned, painted and rewired, it was time to put it all back together. There’s a lot of components in play here, so I started with just the lift motors themselves.
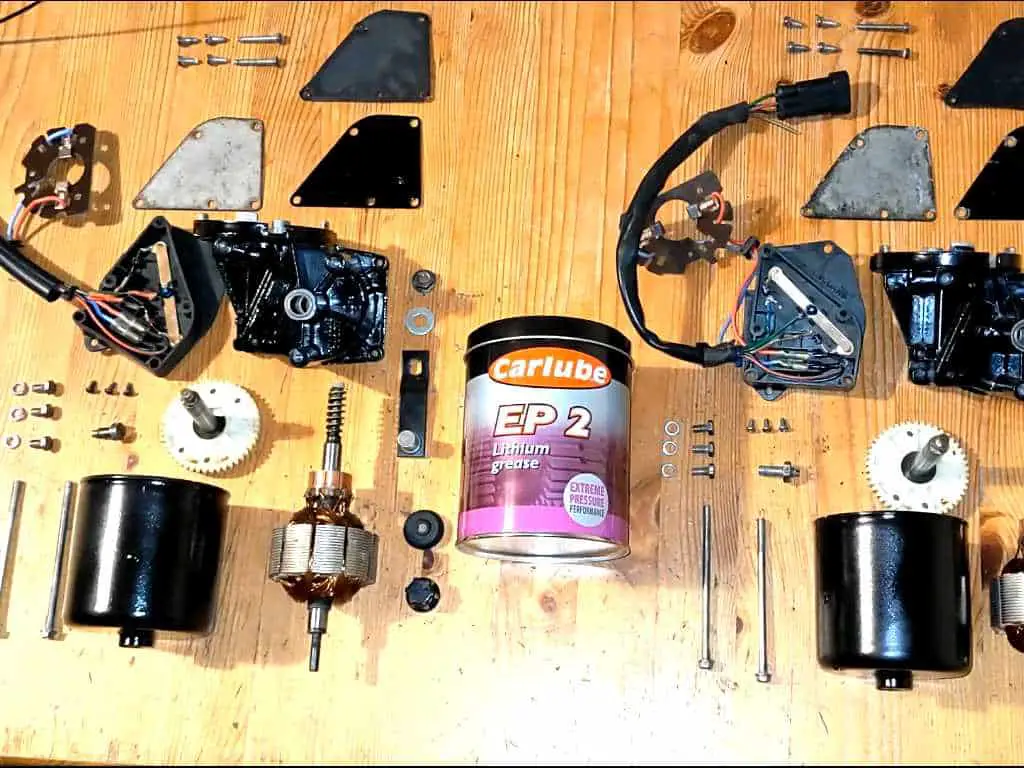
All the lift motor components ready for reassembly.
Reassembly was a fairly straightforward job; I used a standard lithium grease for all the moving parts. The grease recommended in the service manual is no longer made, and as far as I can tell this is the closest equivalent. That said, it’s not as if these motors will see a lot of use (unlike, say, the wiper motor) so I don’t think it’s too critical here.
The only issue I encountered was with one of the gears; there’s a plastic bit that engages with the contact switch, lifting it up and breaking the connection (this is what the motor uses for parking properly). It had got loose somehow and twisted around. When I tested the assembled motor, I got a nasty clicking sound as it caught on the casing. It wasn’t a big deal though; a bit of superglue held it in place.
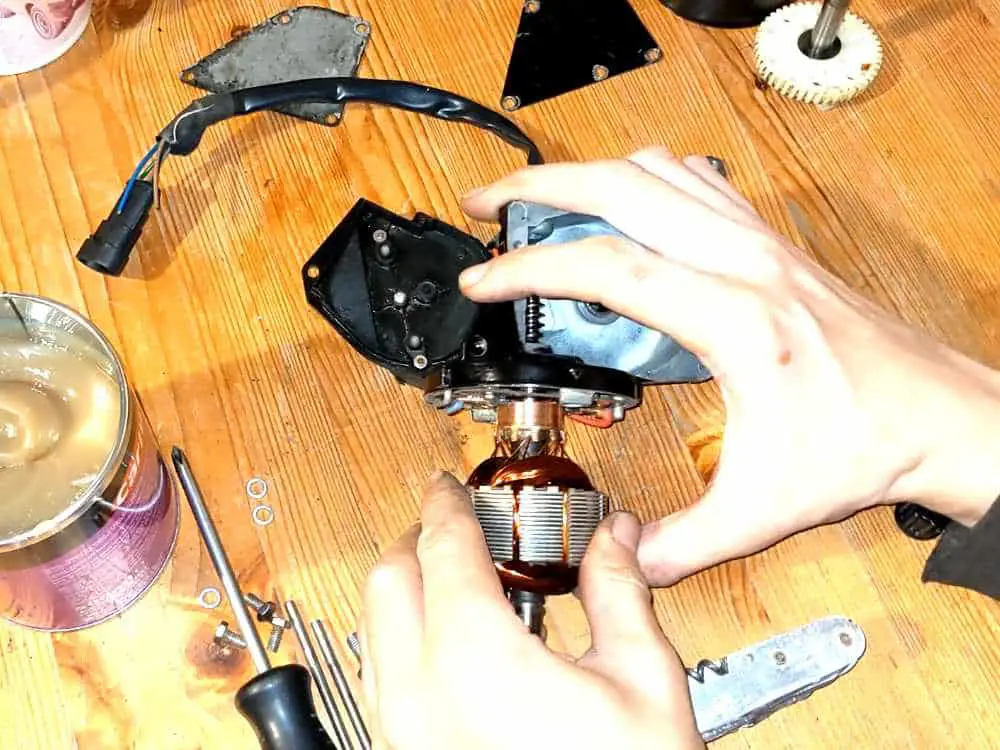
Reassembling the motor… 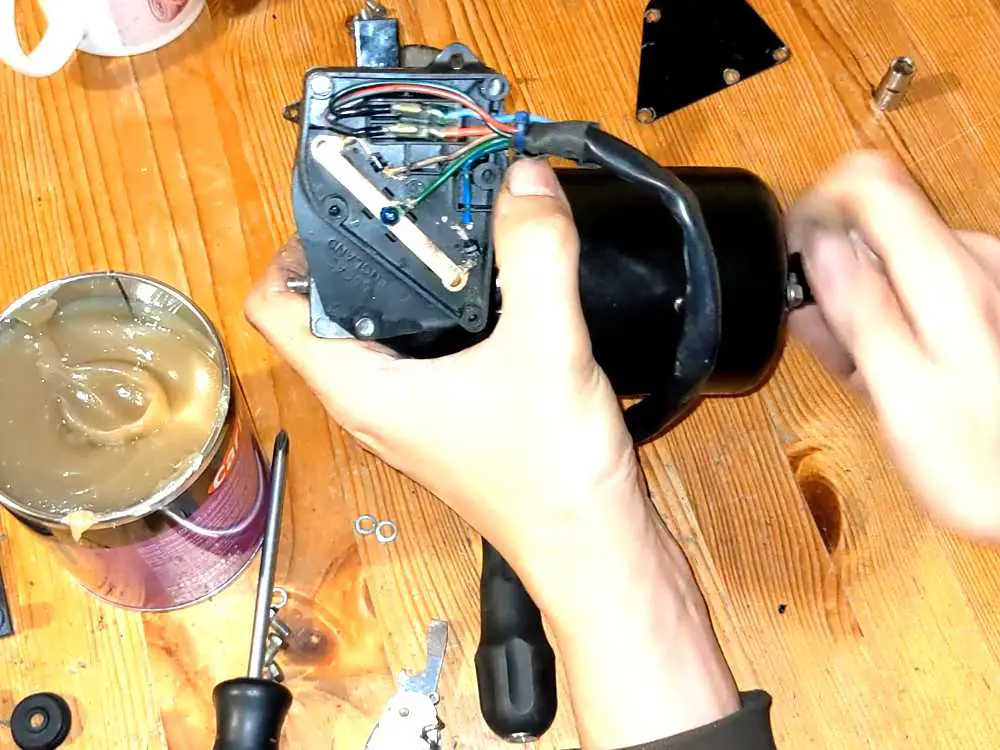
and testing. 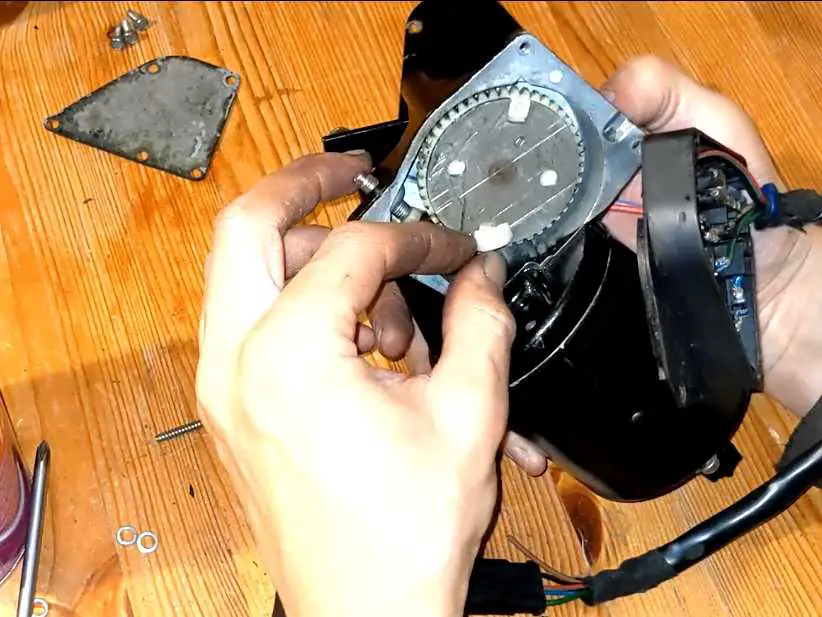
This part was loose; a bit of superglue fixed that.
Testing the Motors
With the motors rebuilt, it was time to test them.
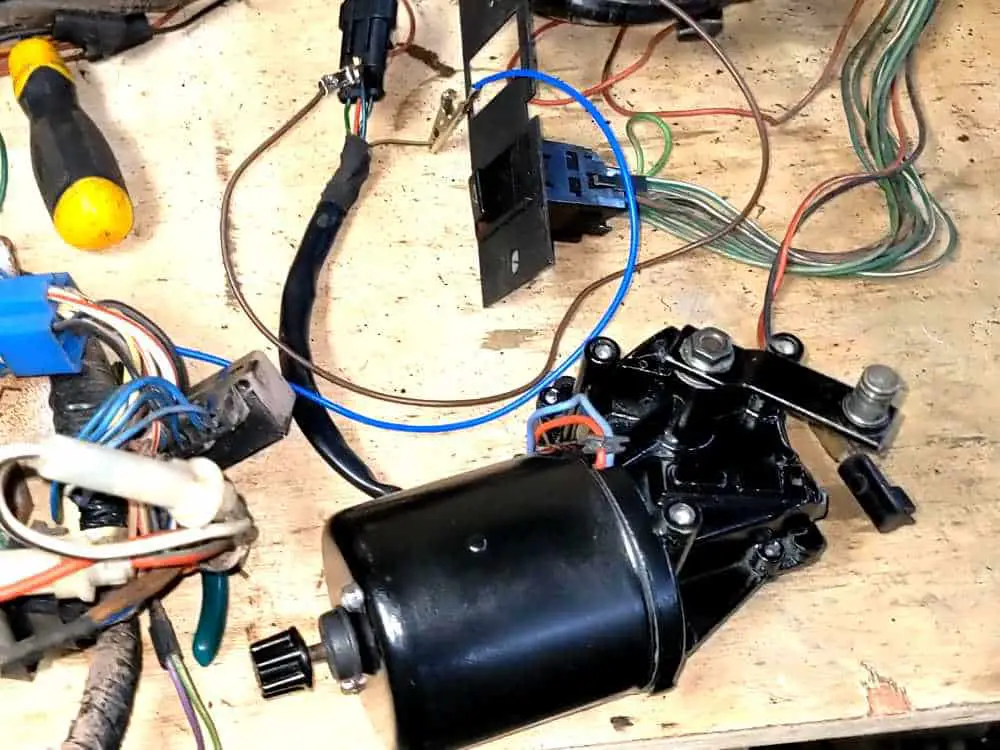
I had the wiring loom out on the bench already (I was testing it and preparing for repairing/replacing the wiring; more on that soon!), so it was simple enough to test. The relays and switches were already in place, so I just needed to connect the motors.
Unfortunately some of the wiring is quite badly corroded so I needed to make a few little bodges here and there; just temporary ones though, and frankly no worse than a lot of what was already there!
Headlamp motor hooked up ready for testing 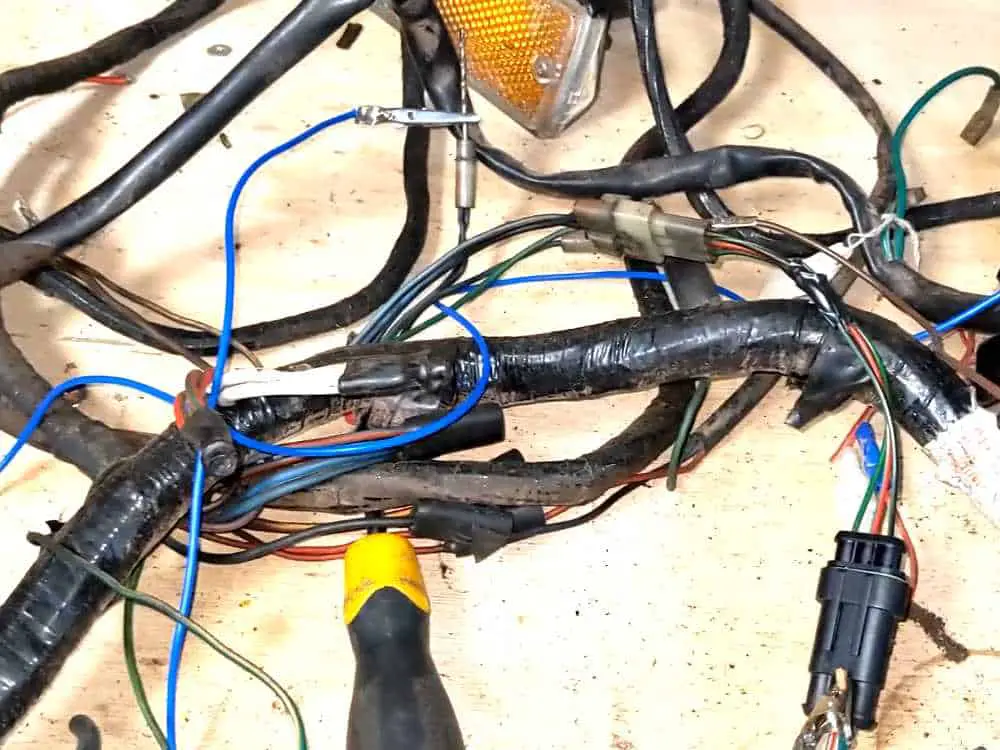
Some ‘creative’ wiring solutions!
One motor worked perfectly. The other motor just didn’t want to shift at all. So I checked the electrics again. One of the diodes wasn’t giving the readings it should, so I replaced it. Luckily I had that spare motor around, so it wasn’t too big of a deal!
With that replaced and reassembled, I gave them another test. It still dragged a little, and then eventually stopped working. A little nudge on the arm got it moving again, but something wasn’t right. I pulled it apart and realised I hadn’t done a great job of cleaning up the gear shaft, so I cleaned it properly and got rid of the old grease buildup on there. On reassembly (again!), it worked just fine.
Motors being tested. One worked fine, one not at all. 
I diagnosed a faulty diode, which I replaced… 
And then cleaned up the gear. Properly this time.
Assembling the Lift Mechanisms
Now the motors were complete, I was able to put the lift mechanisms together.
This was a fairly straightforward process, with the only fiddly part being the fine tuning of the lift arm. It has a turnbuckle and needs to be spaced properly for the pods to lift correctly. I just followed the instructions from the service manual and it worked fine.
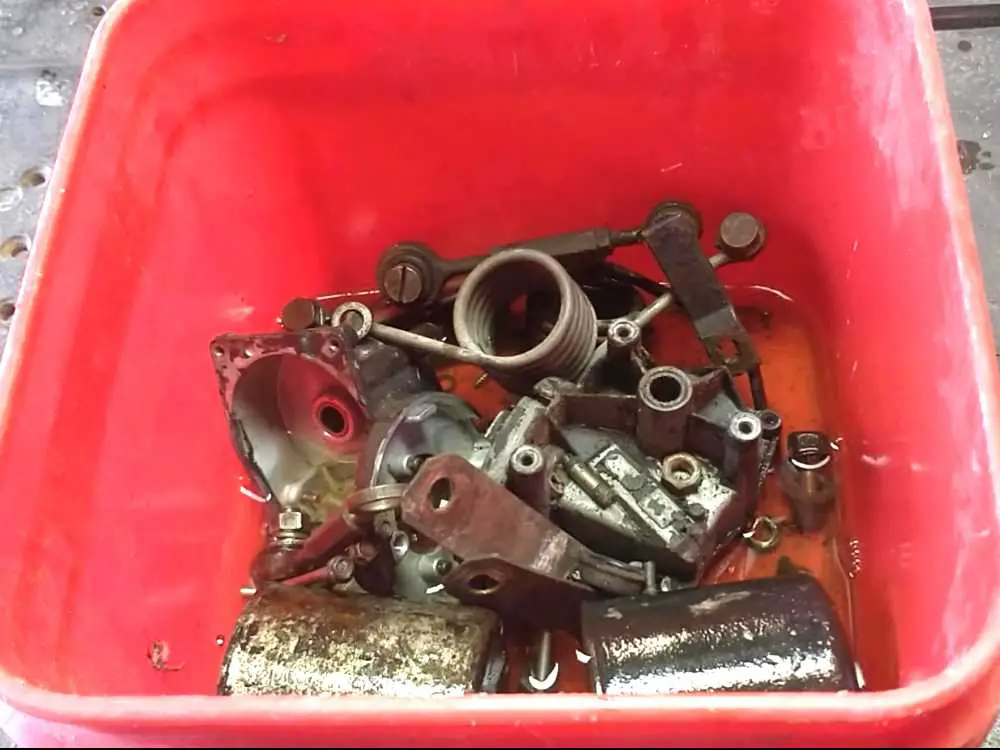
All parts ready for reassembly. 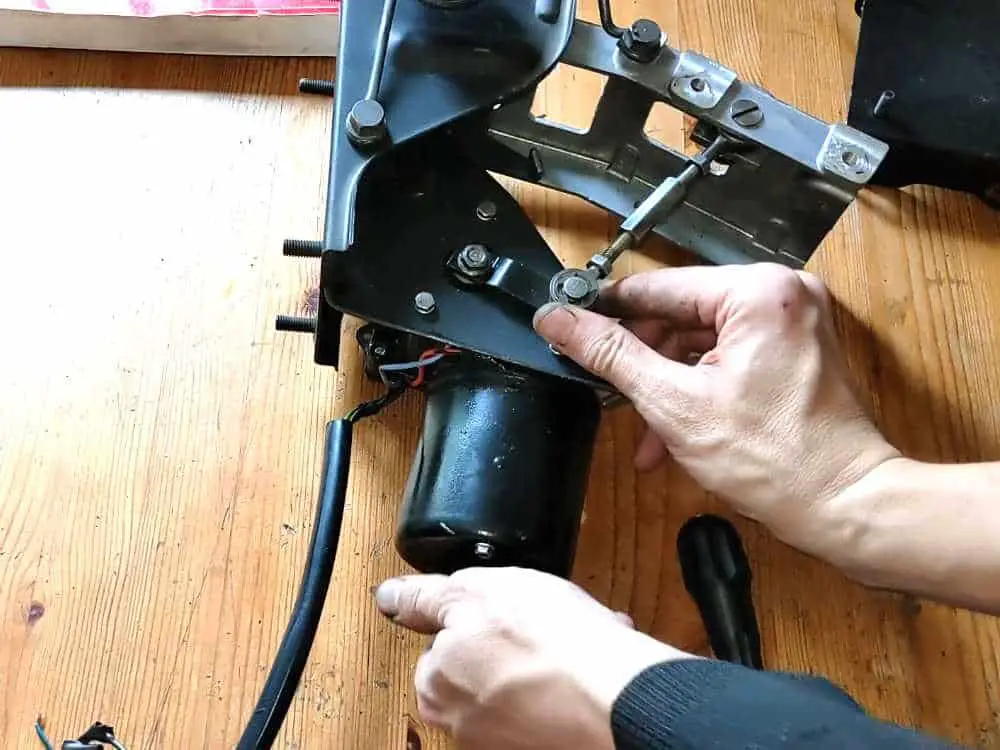
Everything fitted. 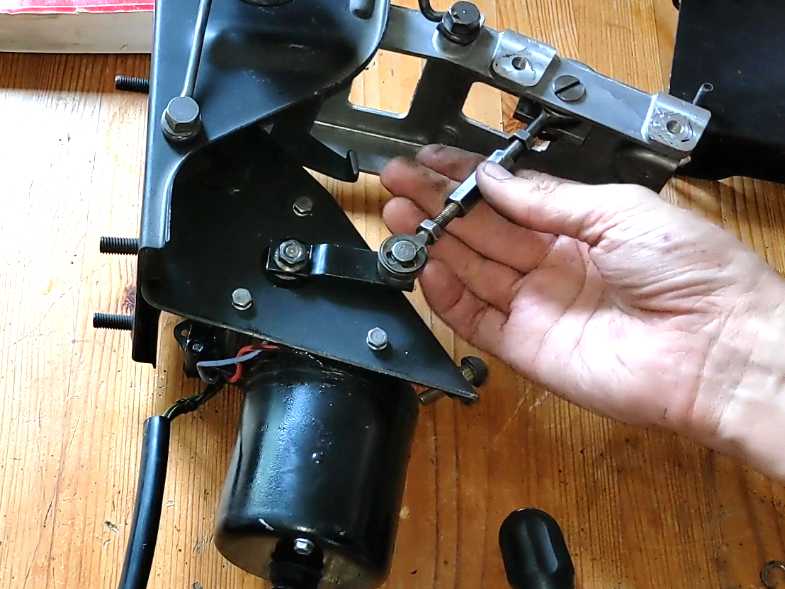
Adjusting the lift arm turnbuckle.
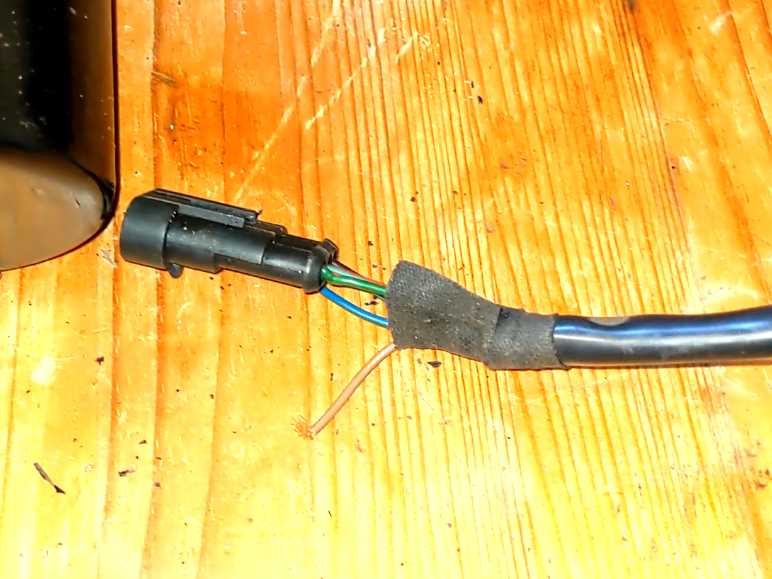
Wiring New Connectors
As the old Lucas connectors were past their best, I took the opportunity to swap them out for something a bit more moden and watertight. I opted for Superseal connectors.
I didn’t have the proper crimp tool, but with a bit of care and patience it’s easy enough to get a good connection with a pair of needlenose pliers.
The one mistake I made here was wiring up the connectors without first fitting the wiring grommets – they’re a tight fit to get through the small hole! I got around that by slicing the grommet a little to widen the gap.
Fitting new Superseal connectors. 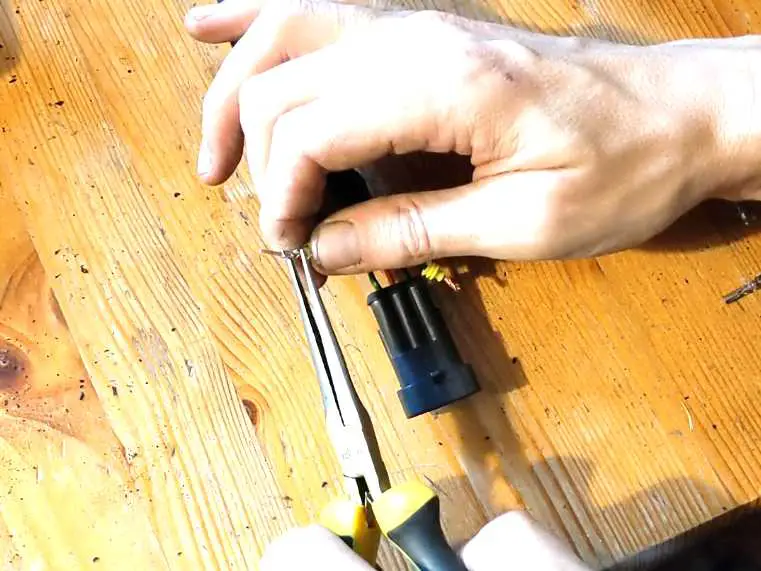
It’s fiddly, but you can wire these without the proper crimp tool. 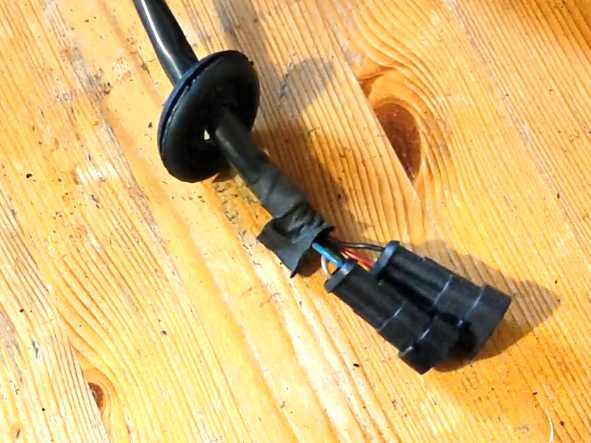
Job done, ready to fit to the car!
Assembling the Headlamp Pods
The last job was to put the actual headlamp pods together.
The headlamp bowls are riveted to the backplate, so that was the first part. Then I fitted new wiring looms. They’re actually a standard BL part as fitted to a lot of cars of that era, so I just bought replacements rather than wiring my own. However, I still needed to cut of the bullet connectors and replace them with more Superseal connectors.
Then I fitted the backplate to the pod; I used all new stainless steel screws for this as the old ones were rusted and past their best. The headlamp backing bowl was next, complete with the adjuster screws. These are available new, but the ones I had were still perfectly serviceable so I just reused them.
Then the headlamps themselves were refitted and secured with the chrome ring.
Riveting the bowls to the backplate. 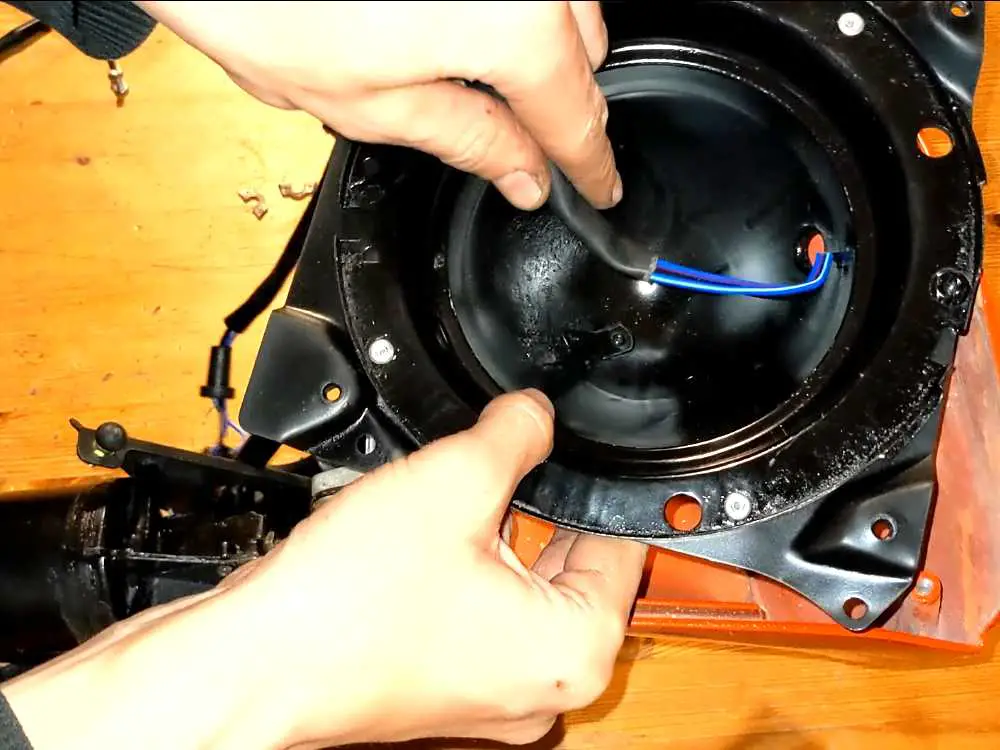
Fitting the new headlamp wiring looms 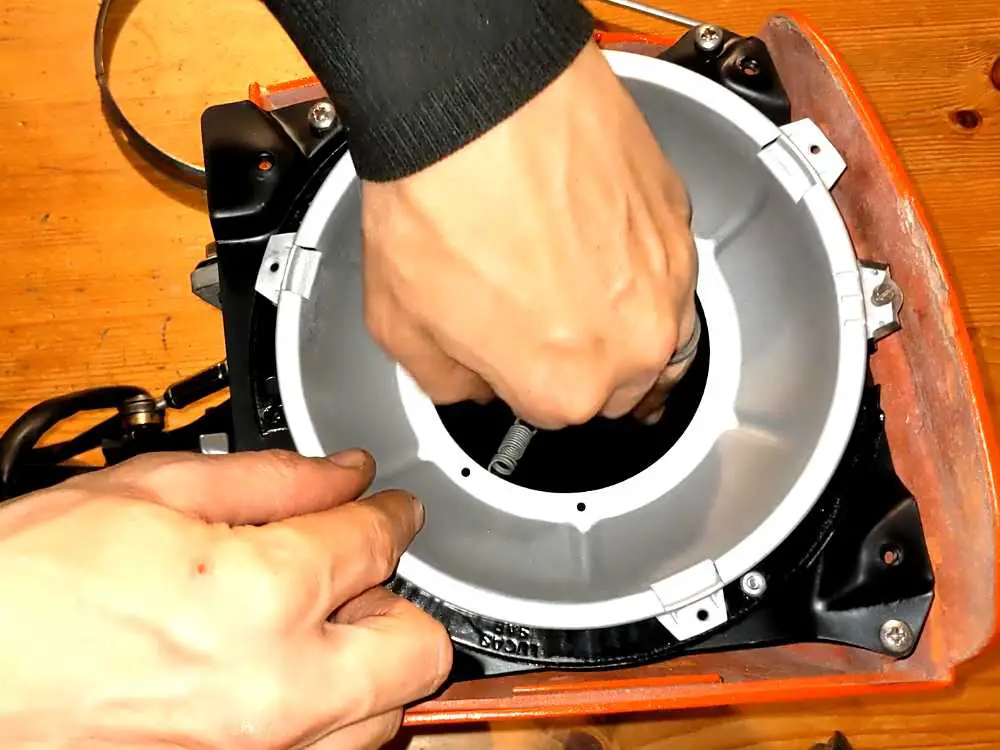
And the backing bowl and adjusters. 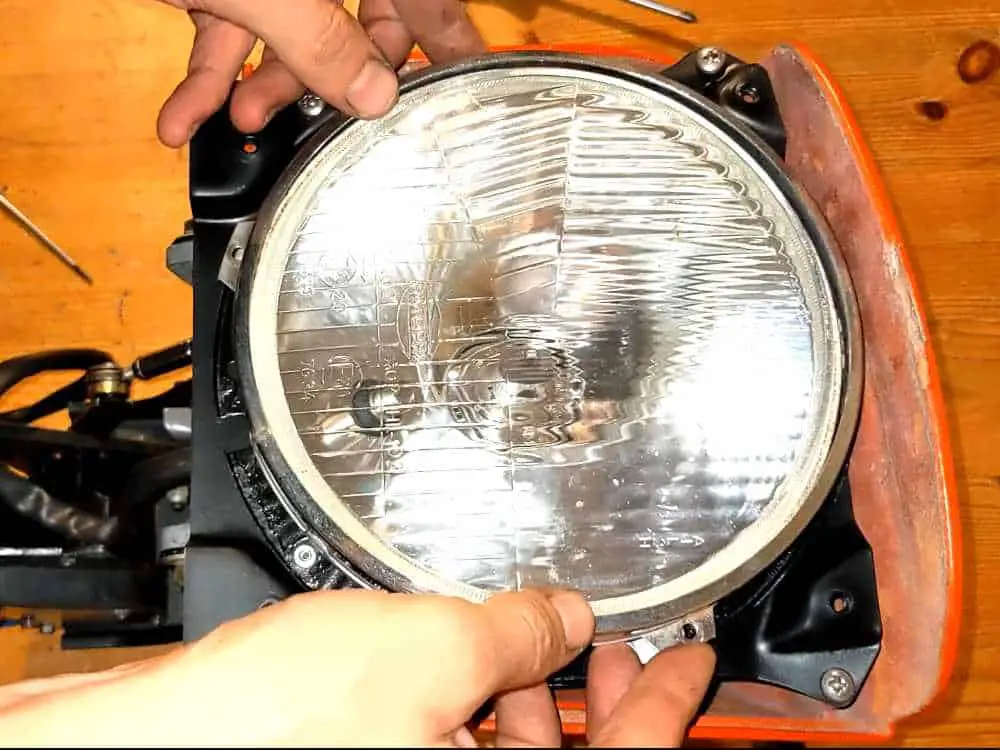
Headlamp fitted, secured with chrome ring.
And that’s now ready to fit to the car!
Fitting the Headlamps to the Car
This was a fiddly job, although not too complicated.
I left the headlamps in the up position to fit them; this allowed me to drop the whole mechanism through the hole in the front panel. Then it was just a case of lining everything up and getting the bolts through the bulkhead and fixing them in place.
With that done, and before I tightened everything down, I spent a little bit of time adjusting everything so they lined up properly against the front panel.
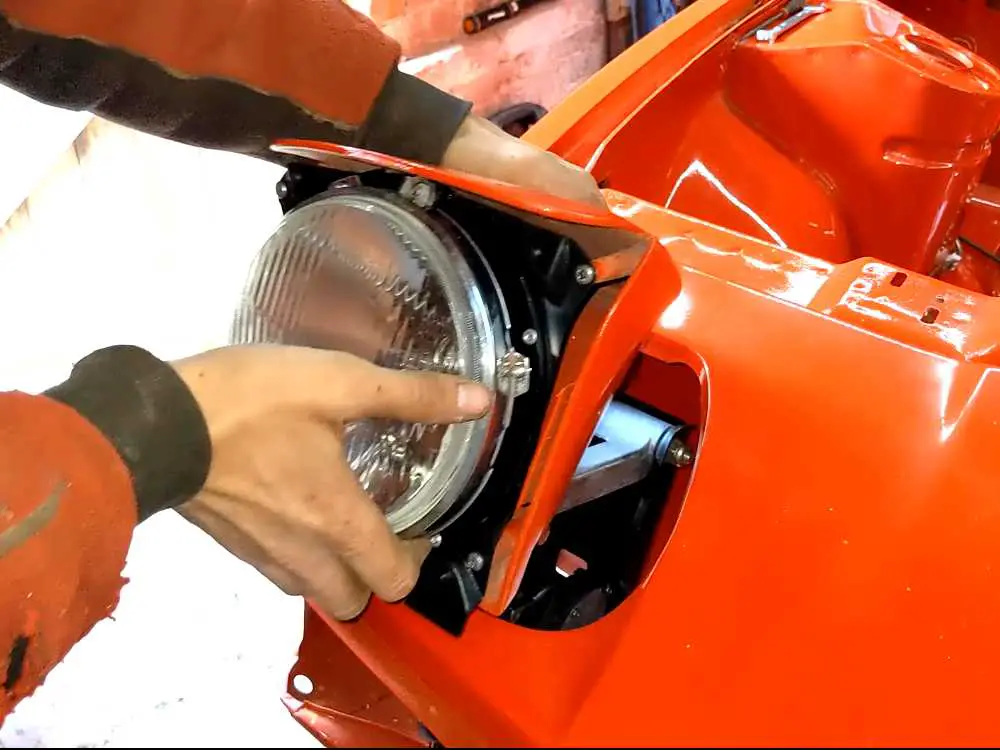
The pods were dropped in through the hole… 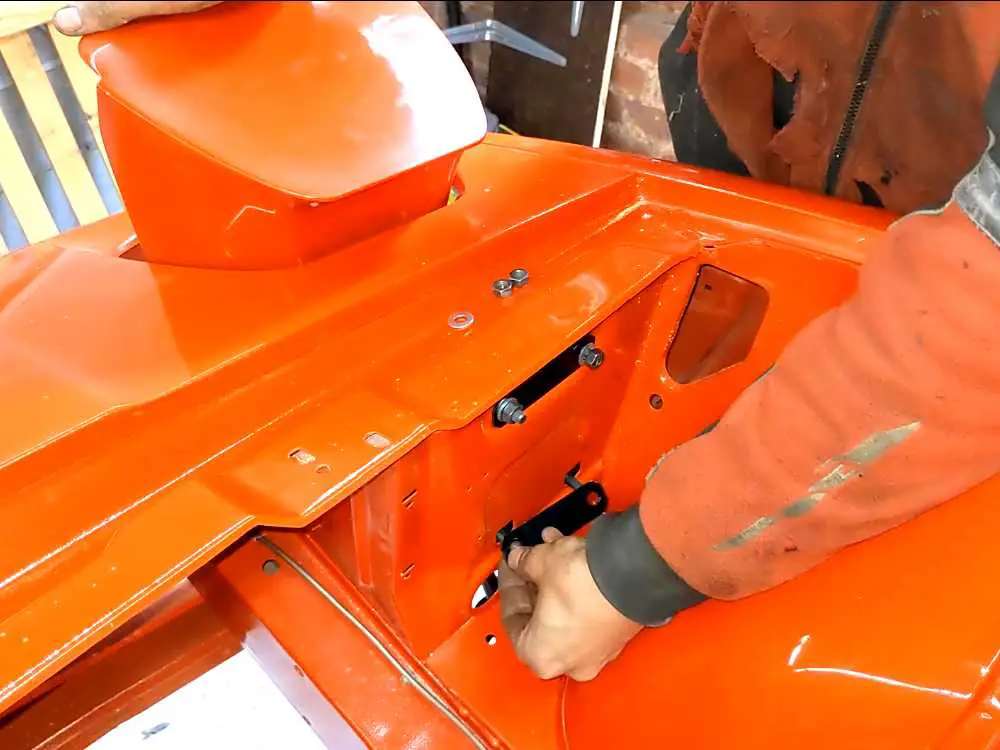
and then fixed in place. 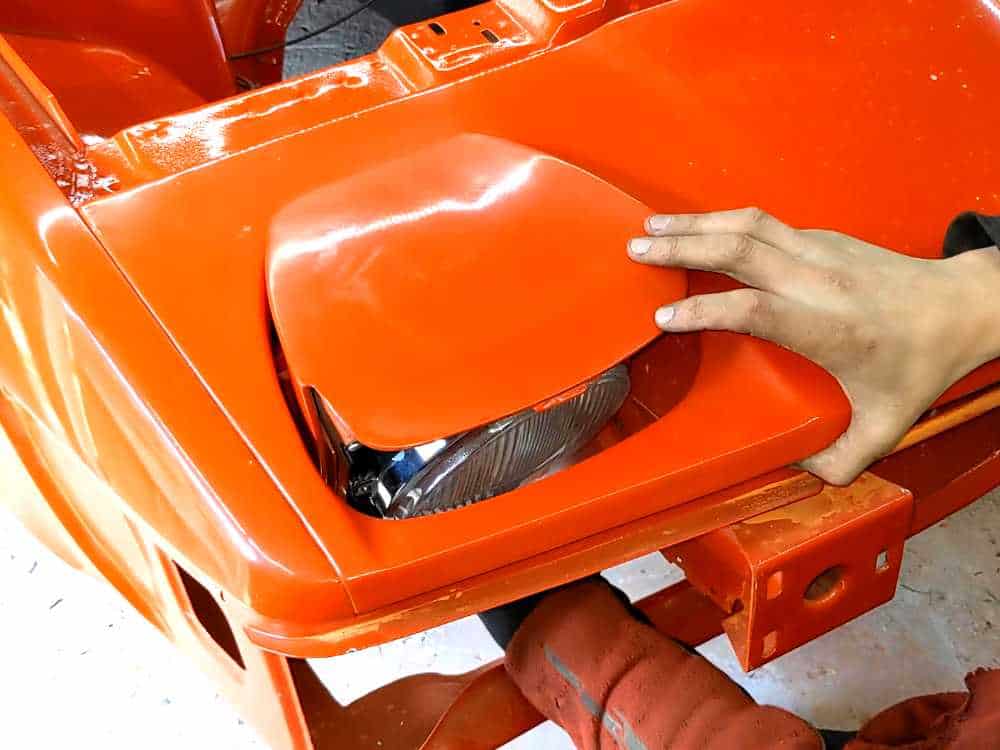
A little adjustment before tightening them up.
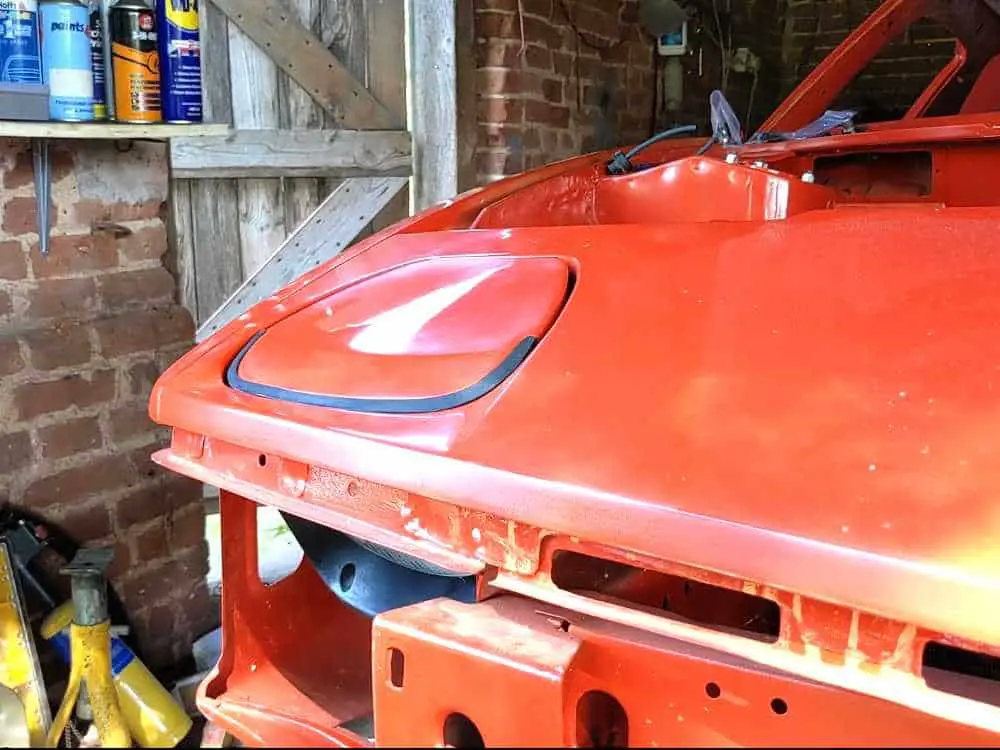
Cleaning and Fixing the Rubber Surrounds
The only thing left was the rubber headlamp surrounds.
They were in a bit of a bad state to begin with; many years of road dirt and cleaning products had left them looking pretty awful. I spent a fair amount of time cleaning them and scrubbing the residue off. They’re not perfect, but they’re 45 year old rubber. They’re never going to be perfect again. They’re good enough!
The mounting plates are simply washers glued to the rubber; predictably these have a habit of coming apart. Some people have come up with better ways of securing these, but I decided to try simply gluing them back in and seeing how they held up. If they come apart again I’ll try something better.
Once they were clean and the two broken mountings repaired, I fitted them to the car.
The rubber surrounds. 
I fixed the broken mounts with superglue and new washers. 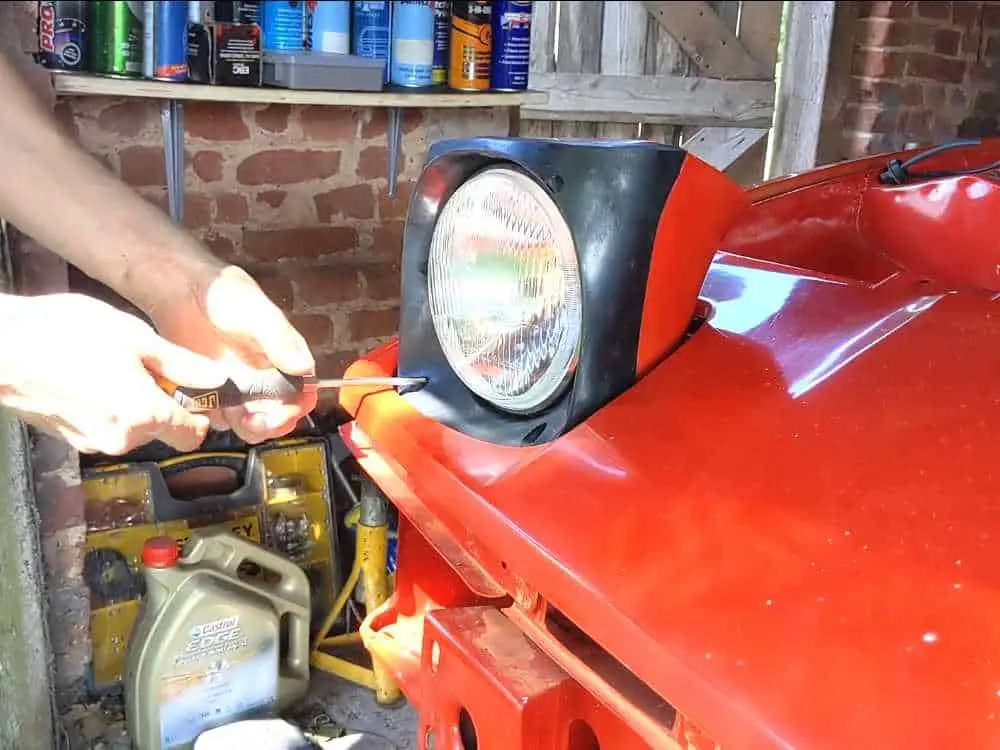
And now fitted to the car.
And that’s that job done now!
Job done! Headlamp fitted and in place. 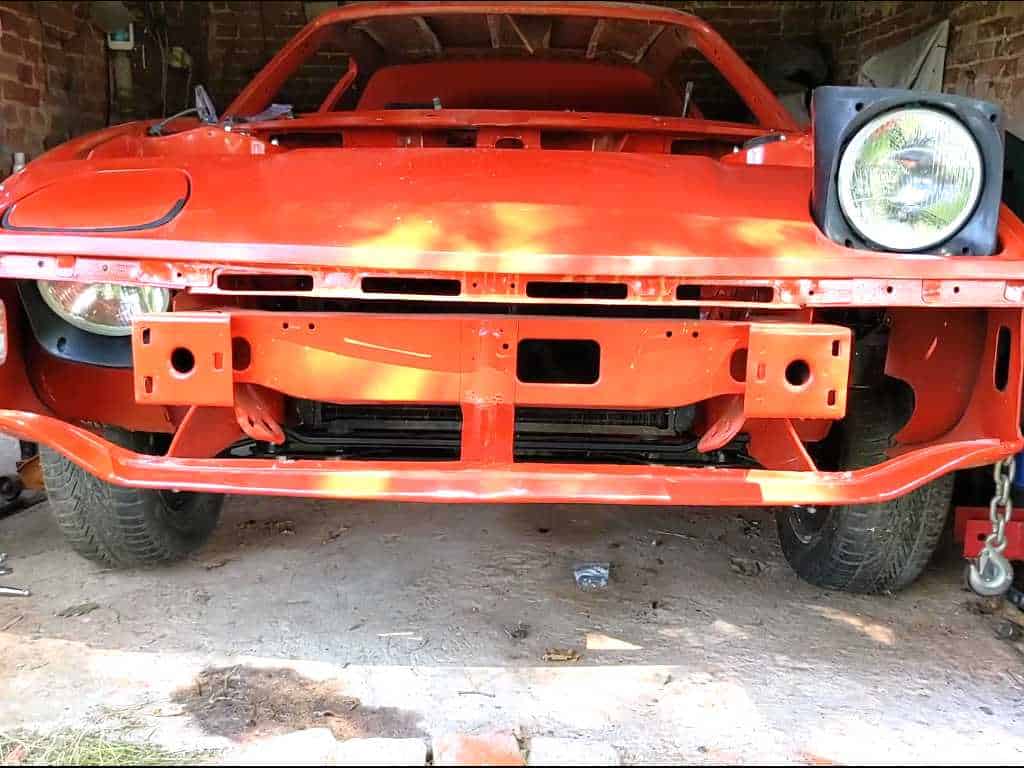
And yes, I did the other one too 🙂
The Video
As always, I made a video. Here it is!