Blimey – seven months to the day since my last blog entry!
I’d like to say I haven’t been idle since then, but unfortunately as far as the TR7 is concerned, I have. The dark nights and cold weather restrict my ability to do much work at the garage, and frankly I’d prefer not to be mucking around in the cold and wet weather if I don’t have to. So once the nights draw in, that’s pretty much it until the following spring.
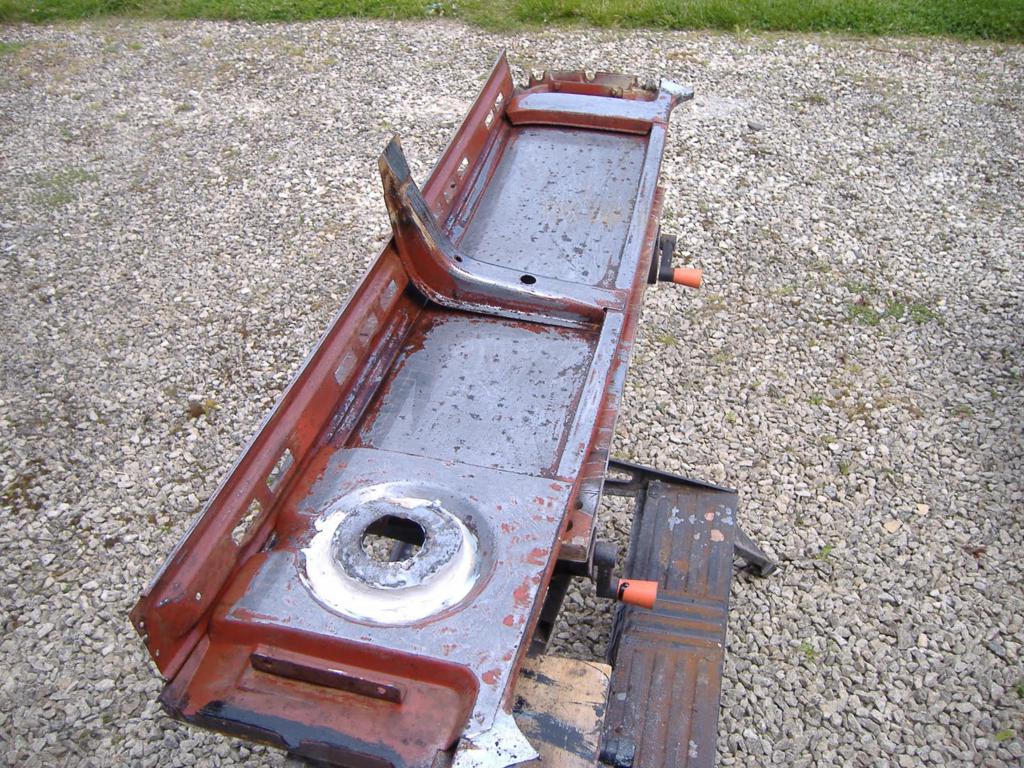
This weekend was the first decent one of the year where I haven’t been busy with other things, so off I went to the garage to pick up from where I left off. I left it with the back end nearly done, just the rear deck to finish off and put back on. Unfortunately, while it’s not wet in there, it does get damp during the winter, and this left a nice coating of rust on the underside of the deck (as well my new sheets of steel – Doh!). So, the first job was to rub it all back to clean metal – it wasn’t too bad, just surface rust, so it didn’t take too long. To be safe, I treated it with some rust remover and then gave it a coating of Metal Ready, before spraying it with etch primer.
Before painting:
I completely forgot to take any pics after it was painted, but it came out quite well – not that it’ll ever really be seen!
Once that was dry I put it back in place.
I’m not sure where I went wrong, but there’s now about a 1-2mm gap on each side where the deck meets the wing. I assume I cut back more metal than I replaced when I repaired the wing panels, as there wasn’t any sort of gap there before…
A bit of tightening of the screws closed the gap a bit, but I’ve had to fit washers between the two panels to stop the metal bending out so there’s still a small gap there. I was planning to completely seal this joint anyway, so it’s not really a big deal. The problem is, this joint is known for flexing (apparently), so normal body filler is out of the question (it’ll just crack), the gap is too wide for seam sealer and my welding skills aren’t good enough to seal the joint that way. That just leaves lead soldering; that’s something I’ve never tried before so it’ll be a new skill to learn. I’ll be doing that shortly, once I get hold of the bits I need.
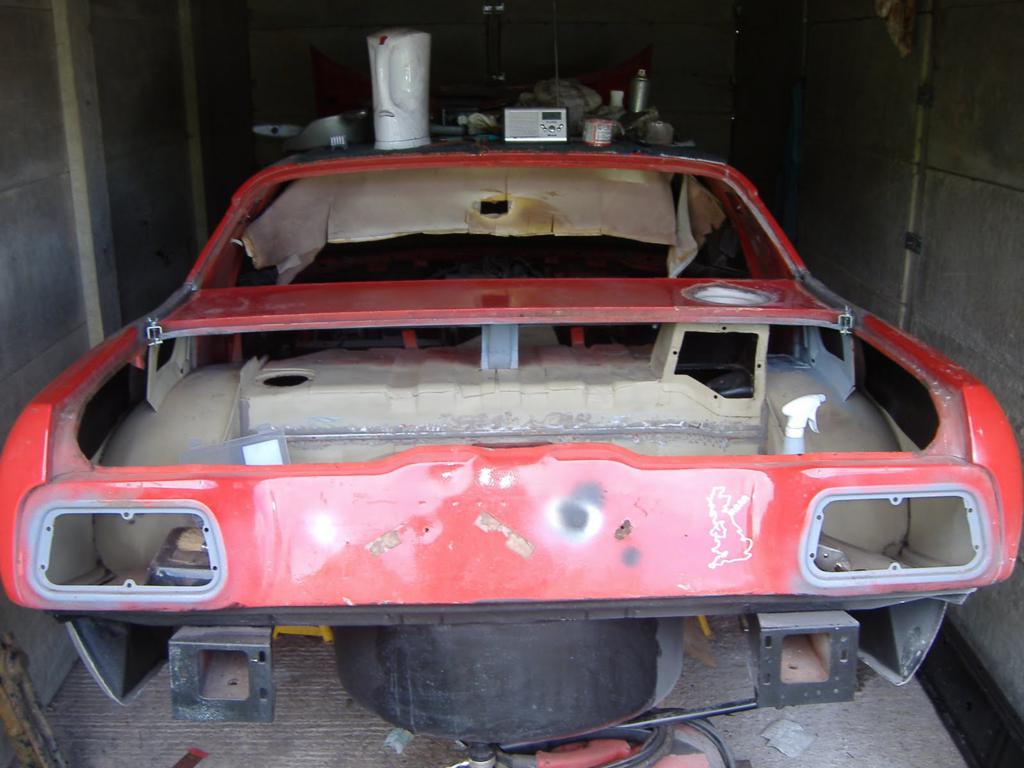
With the screws tightened and the deck more or less in place, I decided to do a bit of trial fitting before I started welding it all together. So the rear screen and the boot lid came back out and were fitted in place:
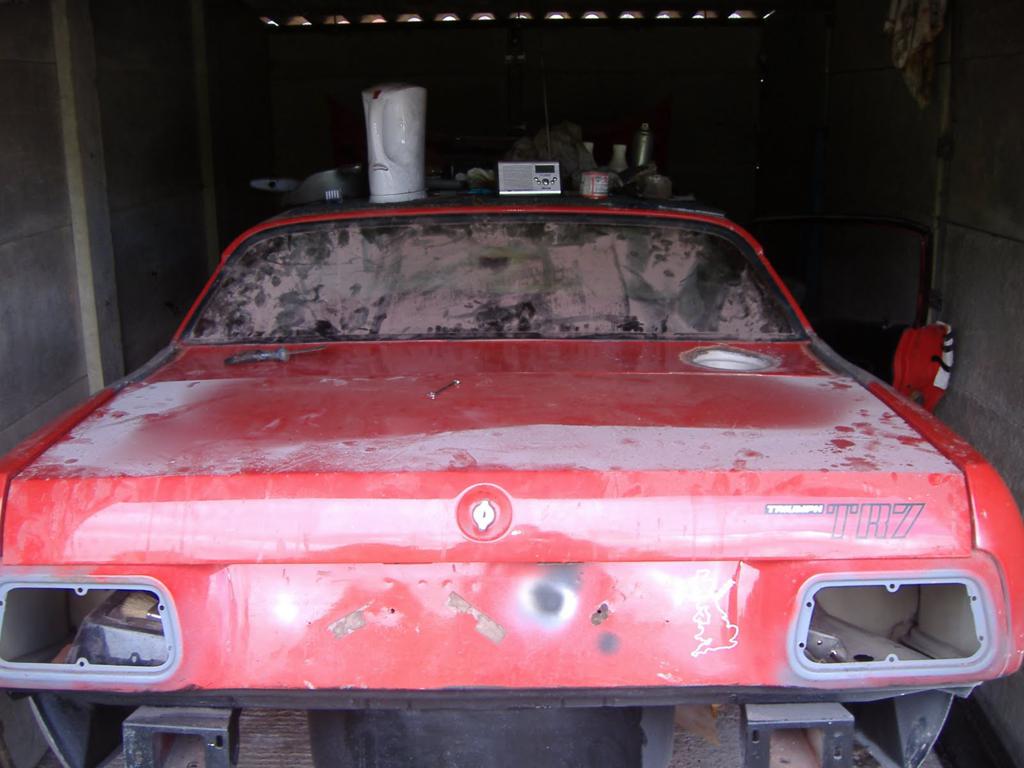
It proved to be a little bit too far back, so I smacked the crap out of it with a hammer adjusted it for fit to get it where it should be before a final tightening of the screws, and it was ready for welding into place.
Just before I finished for the day I managed to get one corner welded:
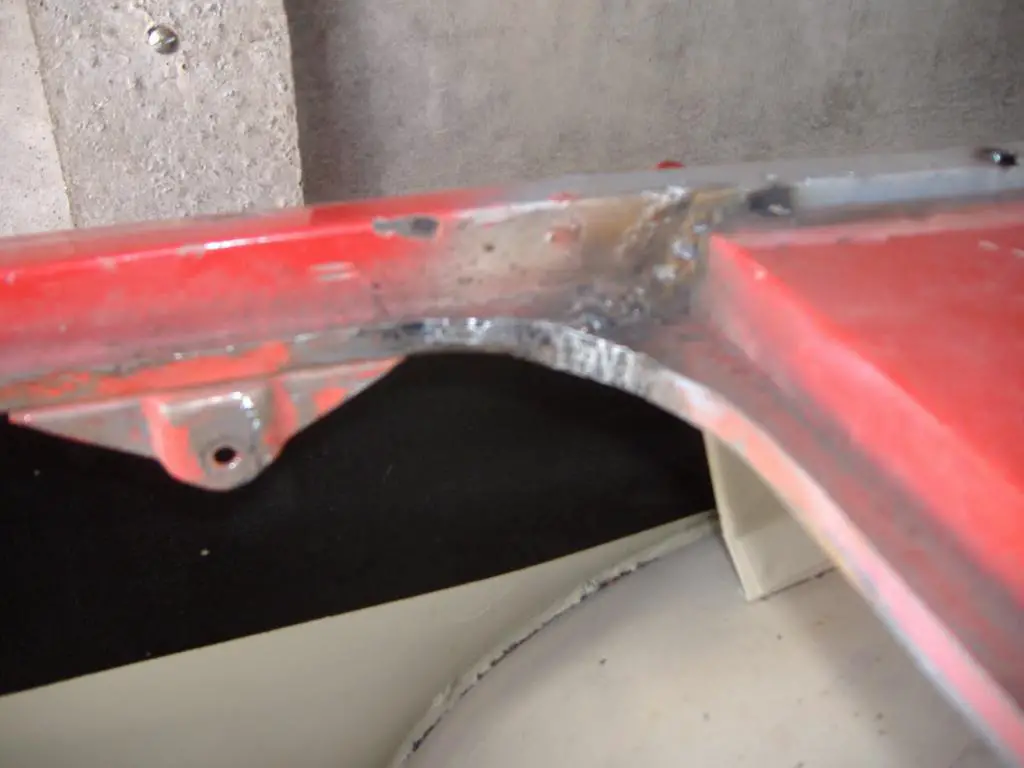
It needs finishing of course, but I’m happy with the result. Once I’ve got it tidied up it’ll look better than it did before – I’m obviously not the first person to have the deck off, and the previous work was less than perfect. The angles are too tight to get anywhere with the grinder, so I’ll need to do this bit with the dremel; not something I’m looking forward to as the dremel has no guts to it, so it’ll likely take ages. Oh well!
I’m looking forward to getting this finished now – once the deck welding is finished I’ll be bolting the rear suspension (just old bits for now – no point in fitting nice shiny stuff yet, not before the car is resprayed) and axle back on, and then she’s ready for me to turn the car around and start on the front.
