As mentioned in my last entry, I needed to fill the gaps between the rear wings and the deck. I’d decided that the best way of doing this was lead soldering (or body soldering, or lead loading – whatever you want to call it), so the kit was duly ordered and delivered from Frost.
I started yesterday – a small test piece first:

That went quite well – despite what I’ve heard it’s not hugely difficult, the key is to keep the temperature right, too much heat and it quickly turns to liquid and all runs away. So, on to the real thing:


Probably a bit too much lead on there, but pretty good for a first attempt I think. The gaps are solidly filled now, which is what I was aiming for. As you can probably see, I burnt the paint quite a bit – good job it’s all coming off anyway!
After tidying up the excess (it’s fairly soft and can be easily removed with a file), I cheated a little bit and finished off the imperfections with body filler.
End result:


Just a little bit of finishing on the LH wing, but otherwise – done. I’m happy with the result now, I was going to put a fake seam in there to keep the original look, but I really don’t think it needs it.
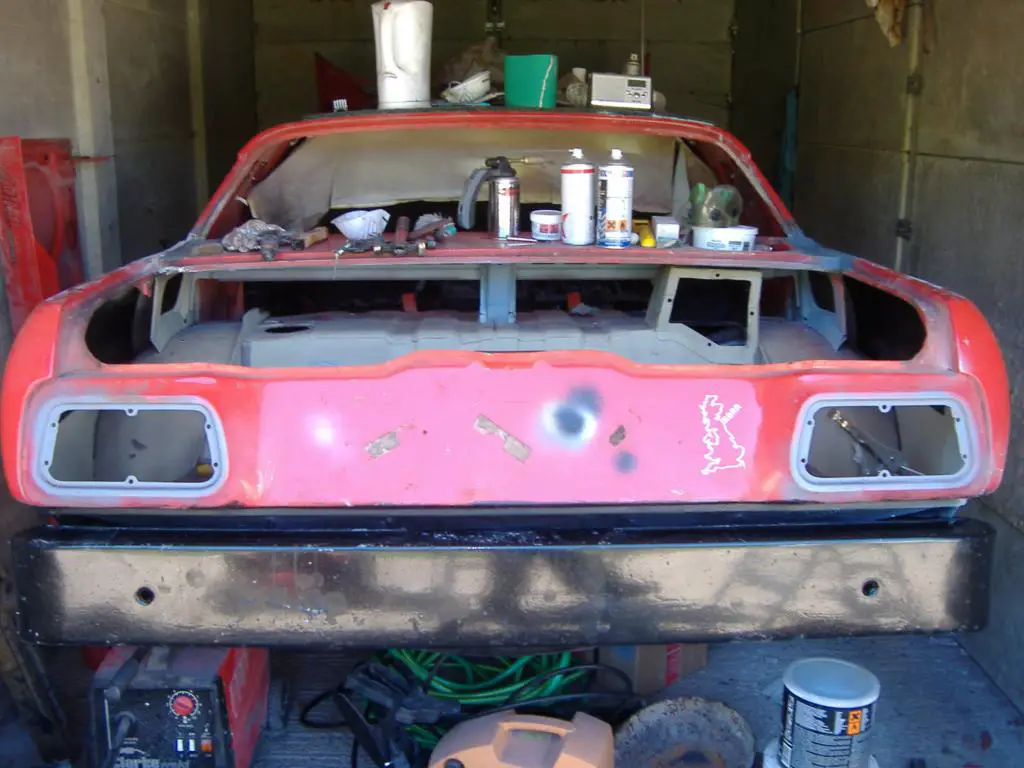
The other job for the weekend was to (temporarily) refit the bumper. More to get it out of the way than anything, it’s been sitting around on the garage floor for ages and getting in my way.
The original studs holding the bumper on were scrap; every single one of them had the nut seized in place. As these are NLA from everywhere I looked, I decided to make my own. I had planned to get some steel rod and tap the appropriate threads on, but my local DIY places came up empty – they’re not the best for raw metal! The best I could find was some threaded rod, which I figured would do for now.
So I could screw them in tightly I needed to weld a washer onto each one:
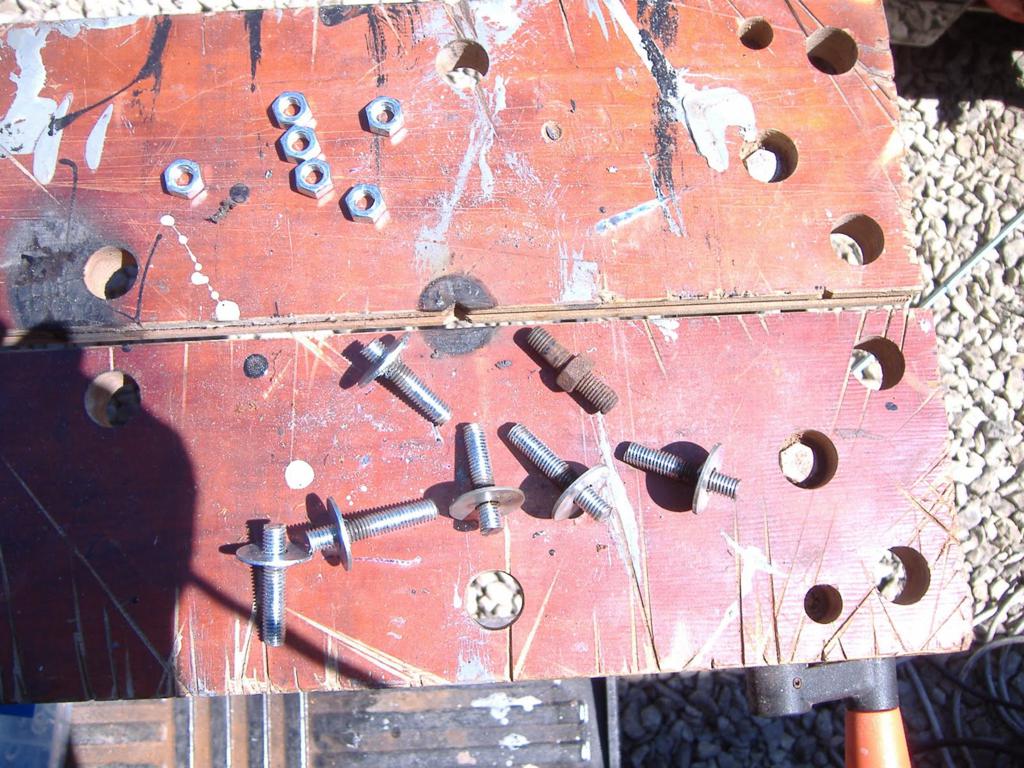
Before putting the whole assembly together.
Now I just need to finish off the wing and another couple of bits of patch filling, clean up the boot area, prime any bare metal, put the bootlid on, reassemble the rear suspension and axle, and she’s ready to start on the front. At last!