After finishing with the rear of the car – at least for now – it was time to start work on the front. Ultimately I’d like to get the car down on her wheels , but while the weather was bad (this entry was a while in the making – I started these bits in March) and the garage was cold, I thought I’d start on a couple of bits I could do inside. The motors on the front (wiper motor and headlamp lifts) seemed like a decent place to start. In theory, at least.
About the TR7 wiper system
Like a lot of British Leyland cars of the era, the TR7 was fitted with a variant of the Lucas system which involves a cable drive acting as a worm gear. But rather than the more usual 14W wiper motor fitted to most BL cars, Triumph opted for the rarer Lucas 16W wiper system – that tended to be used on higher end cars, such as the Lotus Esprit and certain Rolls Royces.
Illustrious company indeed, but it does mean that parts are a bit trickier to come by. Which would become a problem on this rebuild!
Cleaning Up the Motor
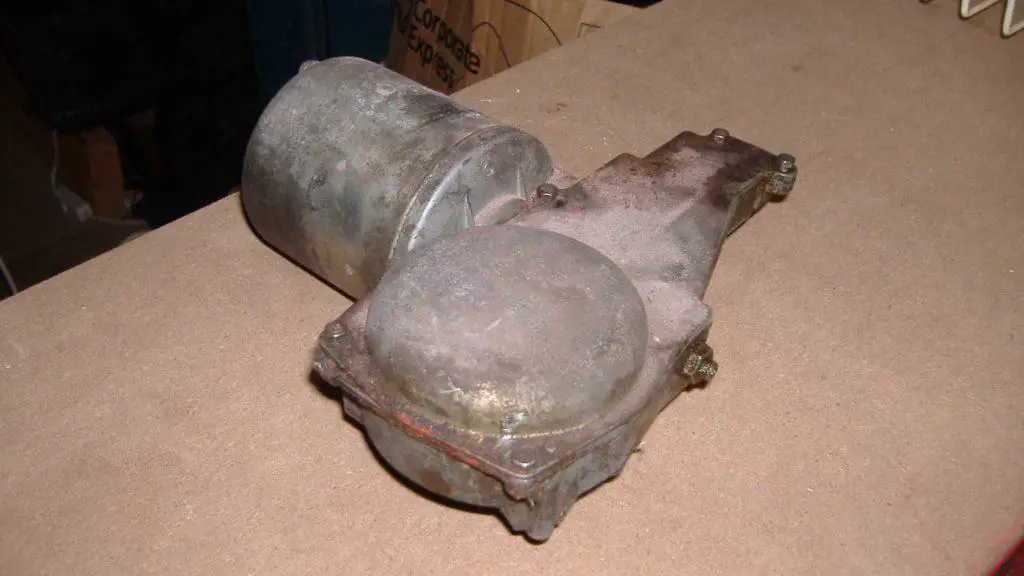
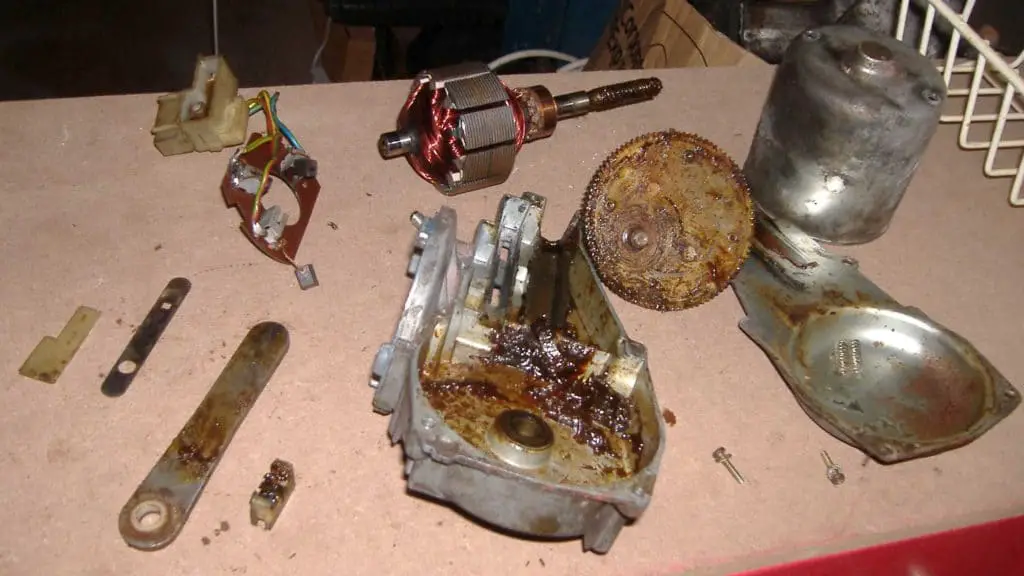
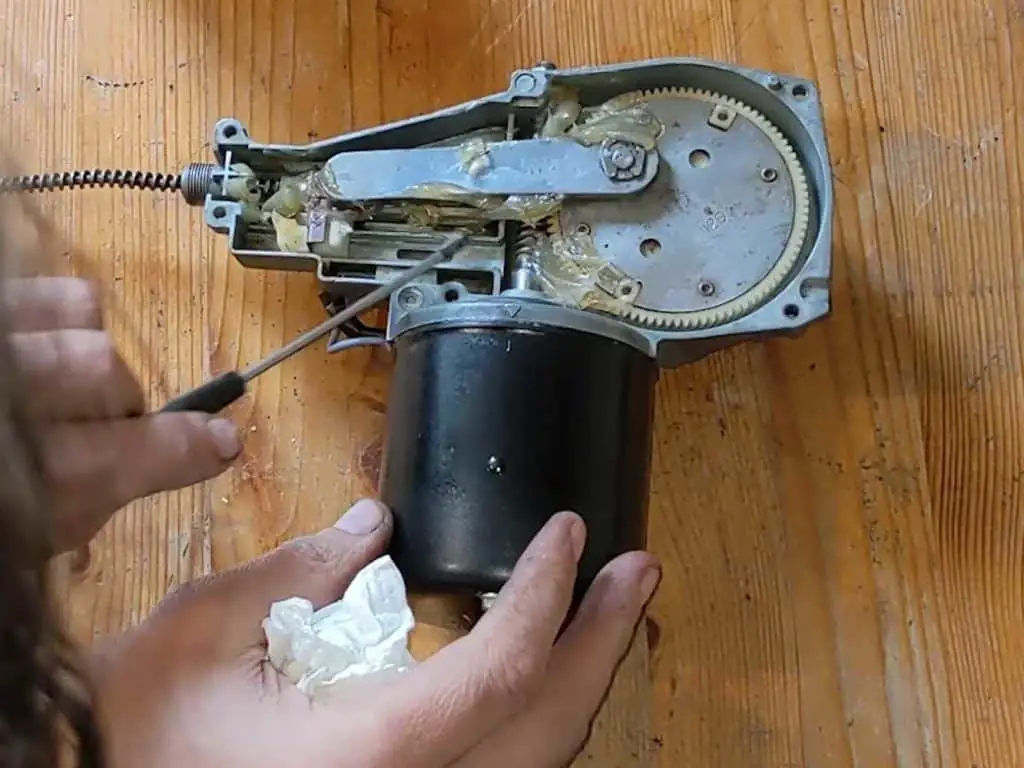
The main cleaning of the motor happened years ago, right when I was taking the car apart. I pulled the motor assembly apart and gave it all a good clean. I’d just got a polishing wheel kit for my bench grinder too, and had a lot of fun polishing the various bits. Quite possibly that’s why I stripped the motor down to begin with!

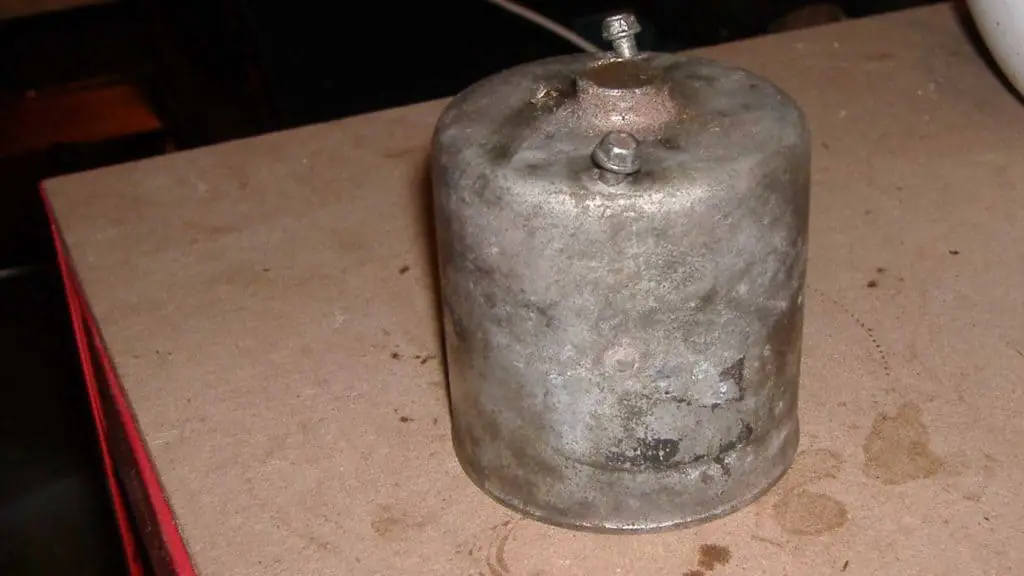
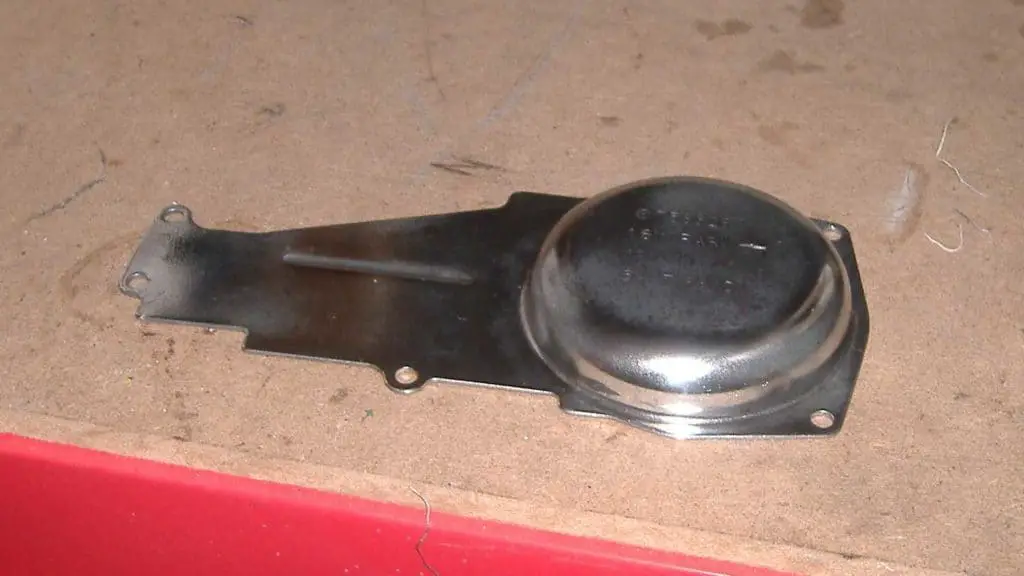
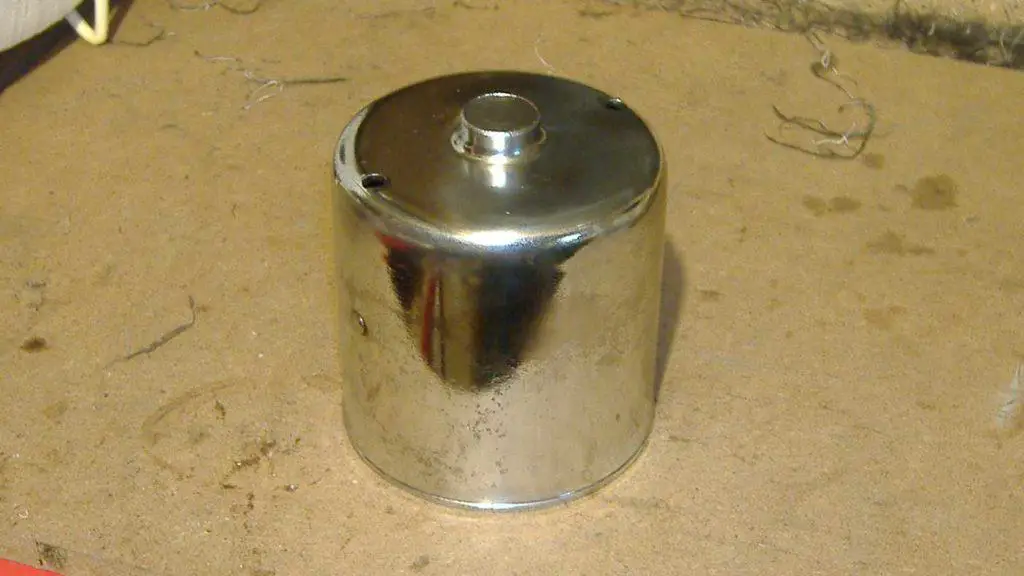
The motor before I got started cleaning. Wiper motor stripped down and ready for cleaning. Motor casing needing some polishing. Cover plate after some polishing! And the motor cover looking shiny.
But rather than carrying on with the job, I apparently decided to put the bits in a box and shove it to one side for ten years. And now here we are. Well, at least the motor’s clean already!
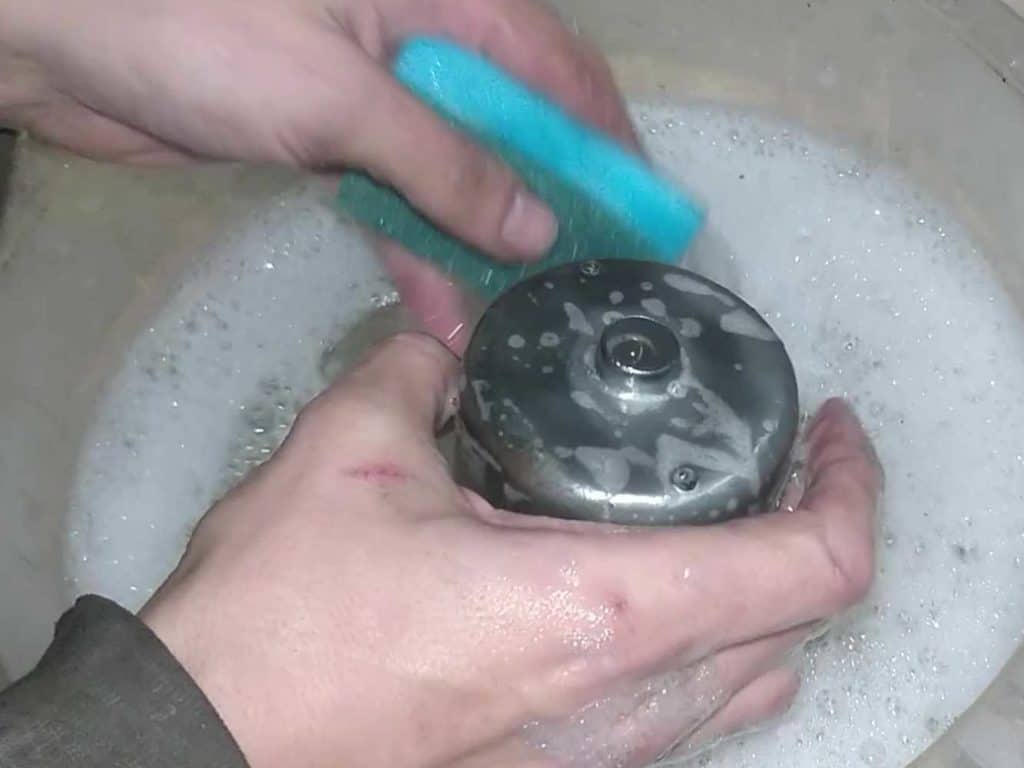
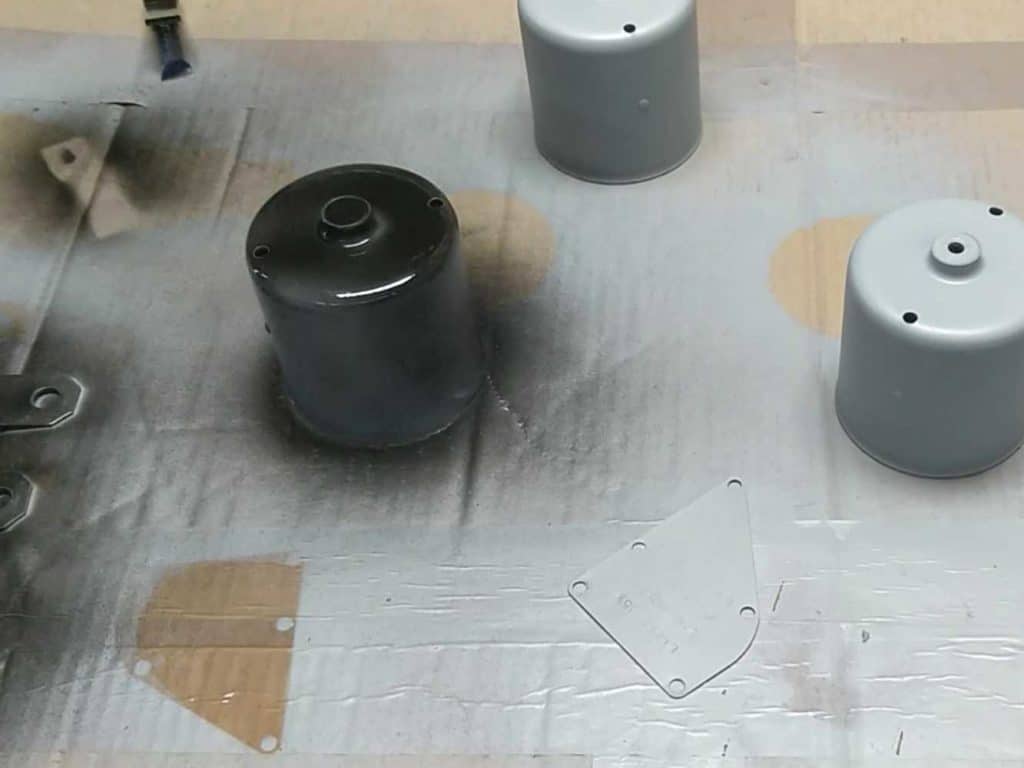
The first job was to clean the parts up again and get rid of all the dirt and grease that had built up over the years. Then all the parts got primed and painted:

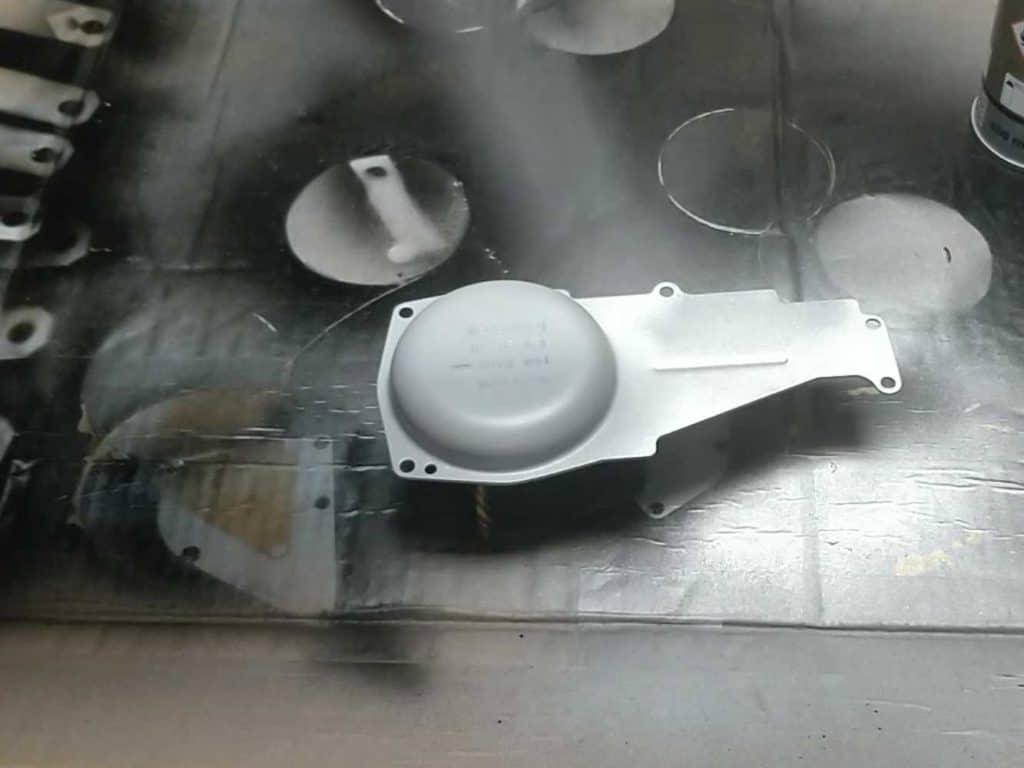
Motor parts were cleaned… …and then painted. The cover plate was painted silver.
Cleaning the Drive Assemblies
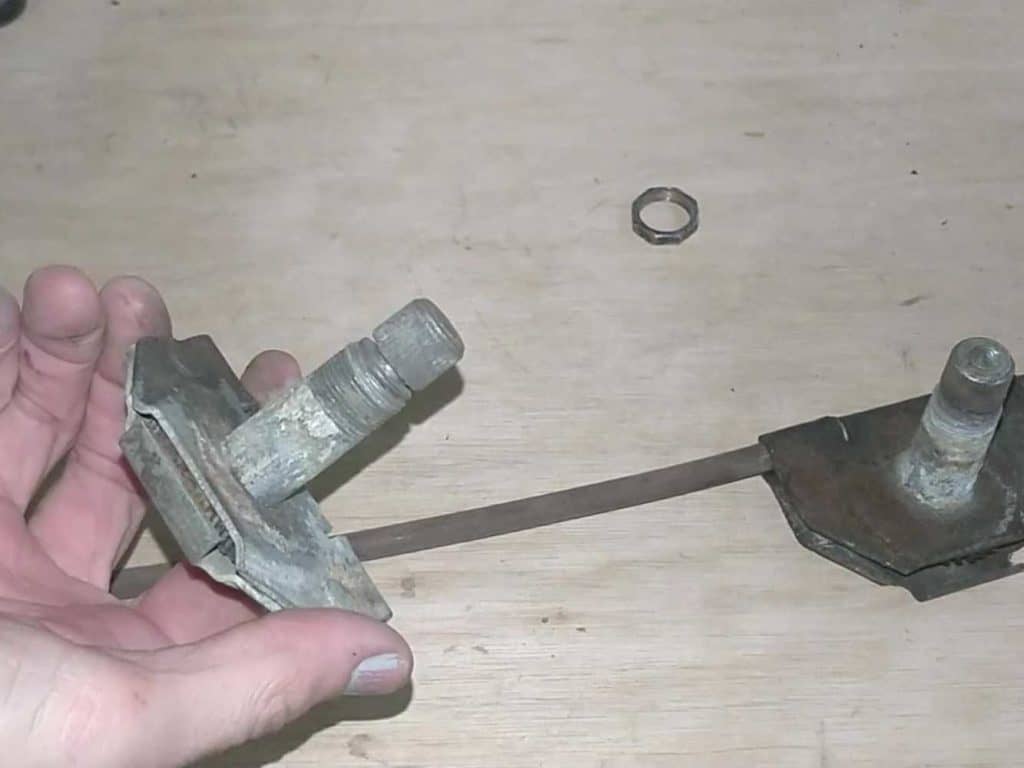
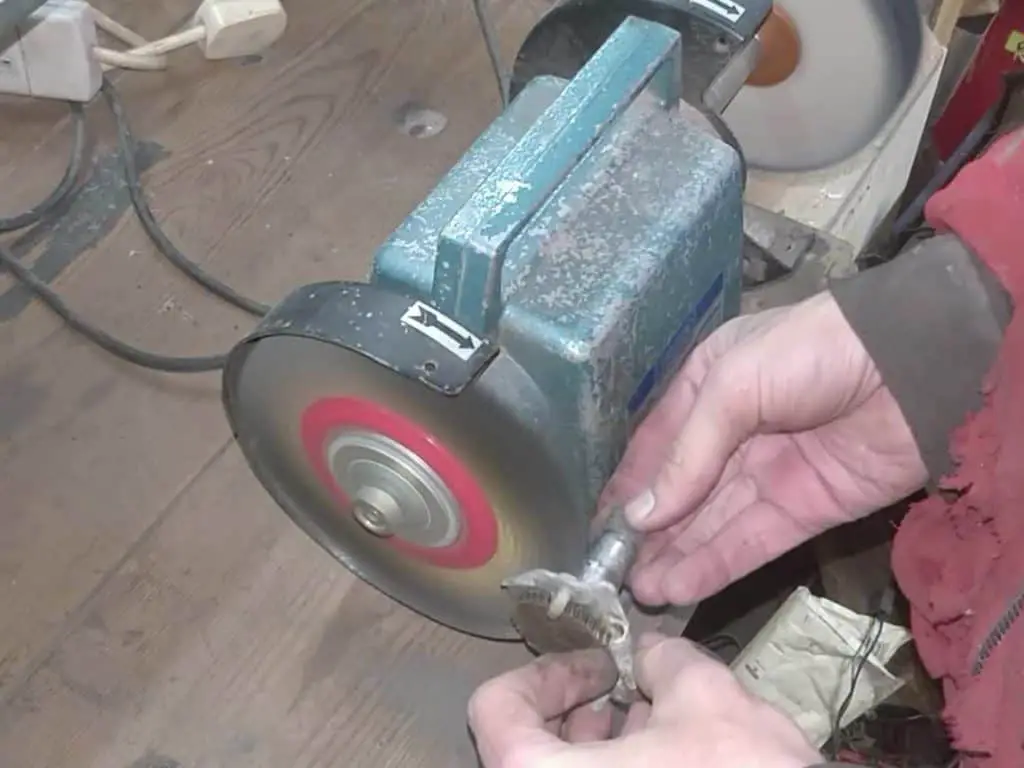
While I’d cleaned up the motor parts in the past, the drive cable system and the wheelboxes hadn’t been touched, and still had the decades of engine bay dirt and grease. I pulled everything apart, cleaned it all up with carb cleaner and white spirits and then gave it all a polish and paint.
While the drive assembly was a bit crusty, and the wheelbox shafts had corroded a little, it was all perfectly serviceable and nothing other than the fixing nuts and seals would need replacing.
Wiper wheelboxes looking crusty, but usable. Cleaning it all up on the wire wheel. 
A bit of carb cleaner got them moing freely… And then everything got a coat of paint.
Sorting Out the Parts
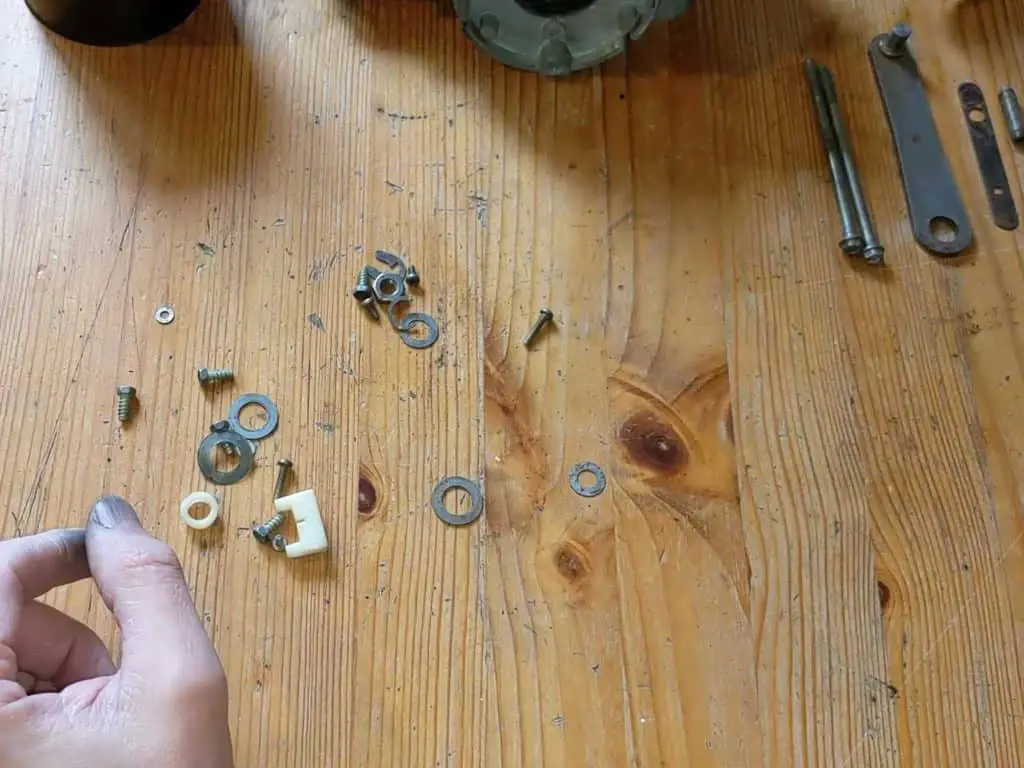
When I’d pulled the motor apart before, I’d just shoved all the parts in a box with no instruction as to what went where. Luckily, I enjoy a good puzzle! After a bit of head scratching, it was soon clear what went where, so it was time to start rebuilding everything.

Great. A pile of parts with no instructions. Most of it’s fairly obvious though.

Fixing the Wiper Park Switch
As I mentioned above, parts for the Lucas 16W wipers are hard to come by. In particular, the wiper park switch and the motor brushes are no longer available. This was a problem for me, as both of mine needed replacing!
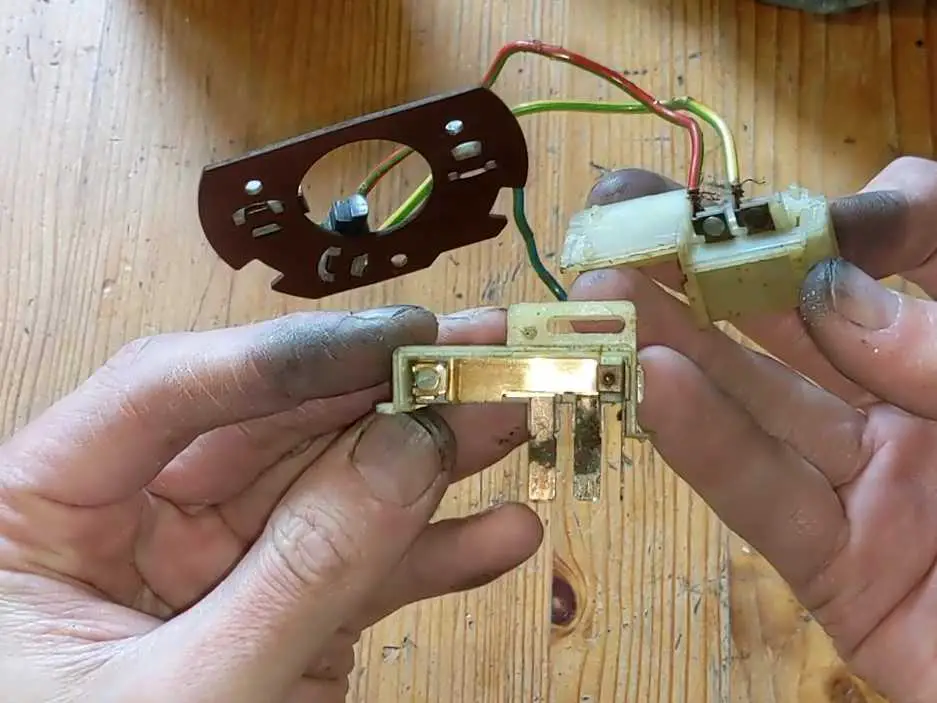
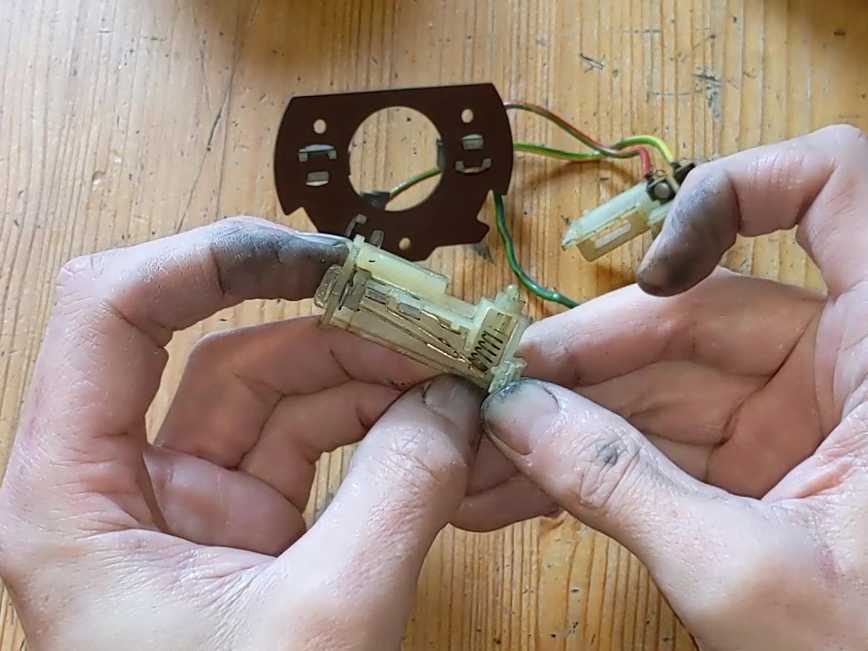
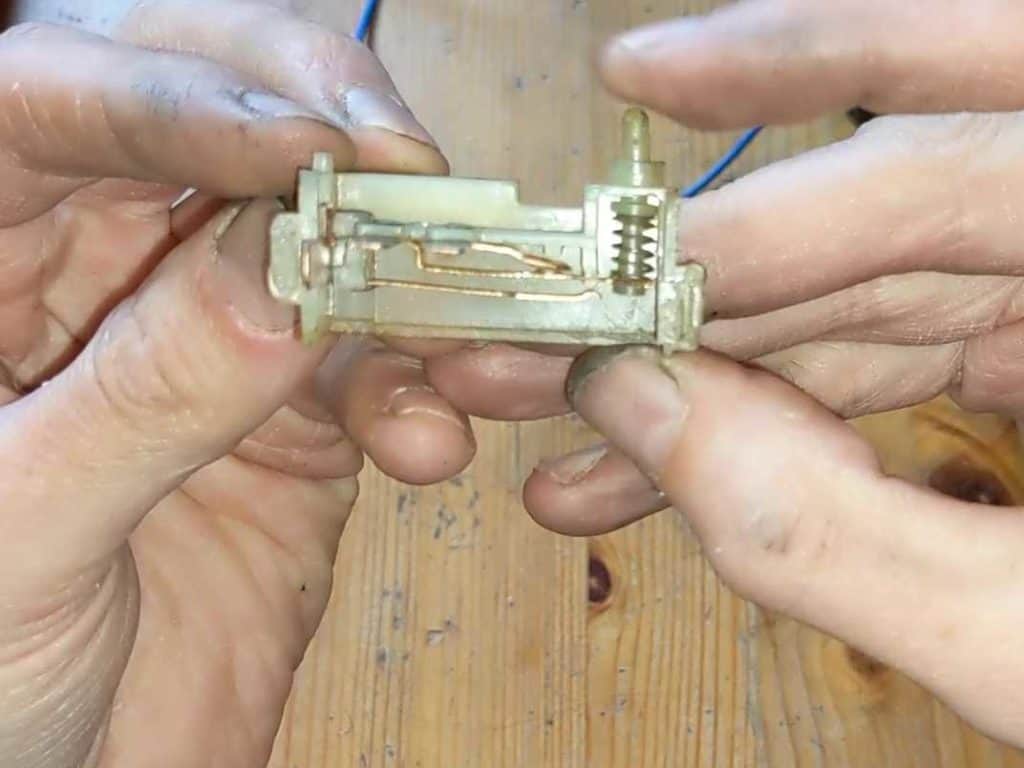
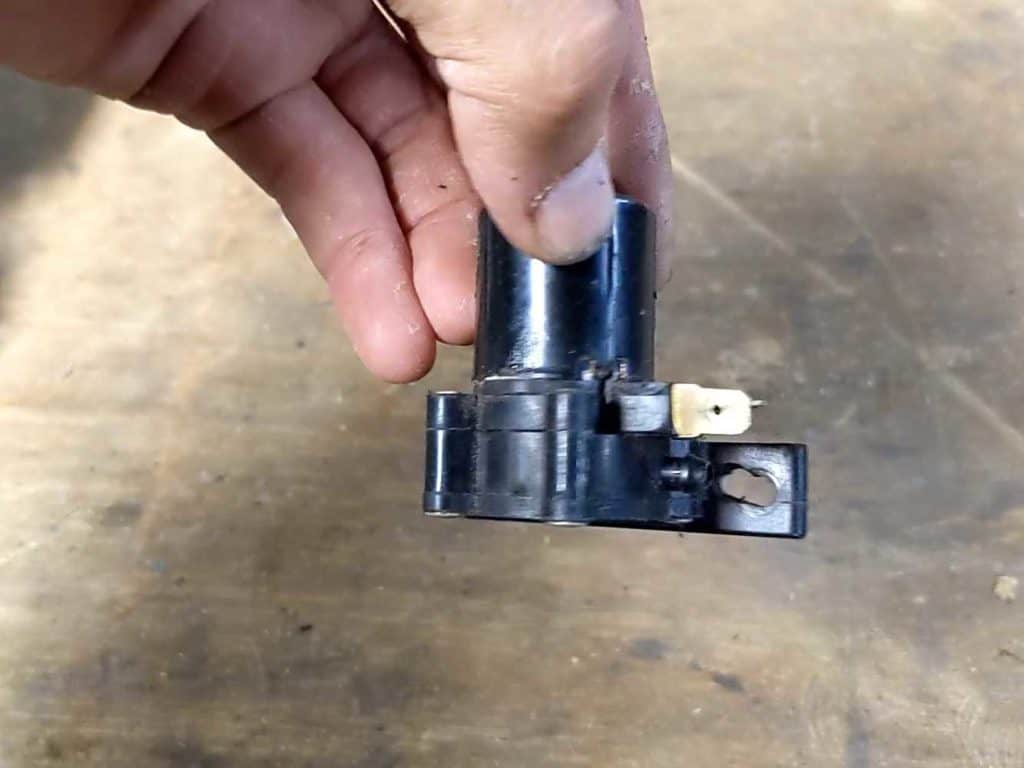
The switch was in bad shape; the housing had come apart (not too bad; easy to glue together again), the contacts were corroded (they should be able to be cleaned up though), and the pin that operates the switch had bent over the years and was sticking in the housing.
If this were a 14W wiper I’d just spend the £15 or so that a new switch costs and not think twice about it, but the park switches for the 16W are impossible to find. So I had no choice but to repair what I had.

Wiper park switch broken in half. 
The pin that operates the switch was sticking in the housing.
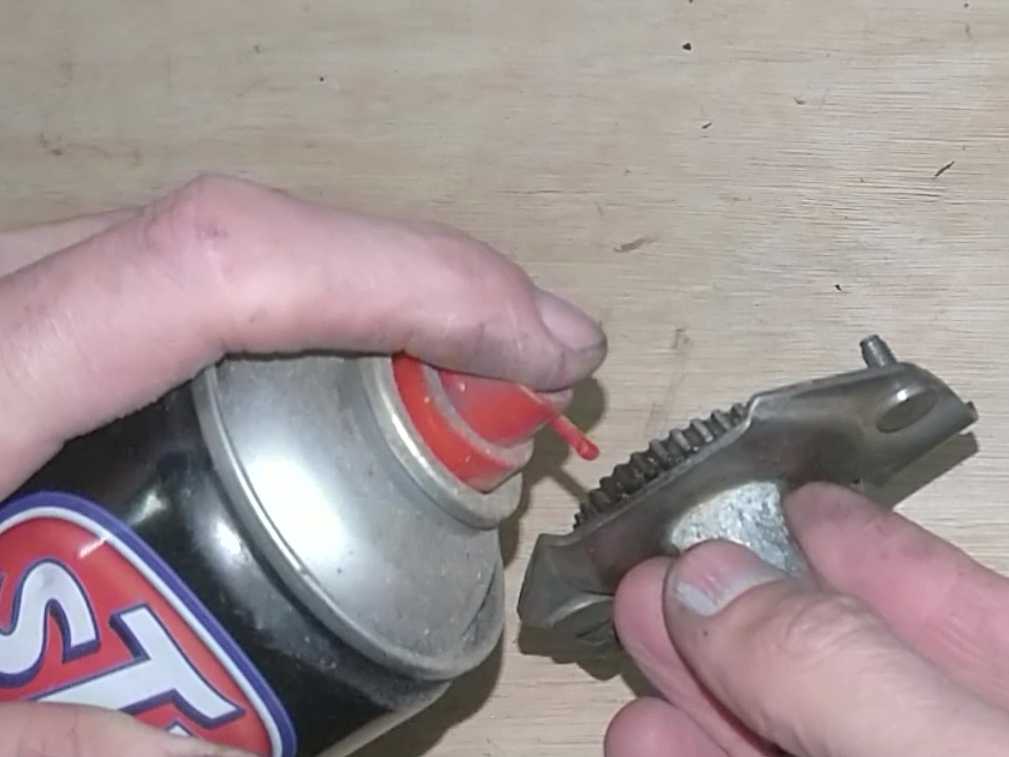
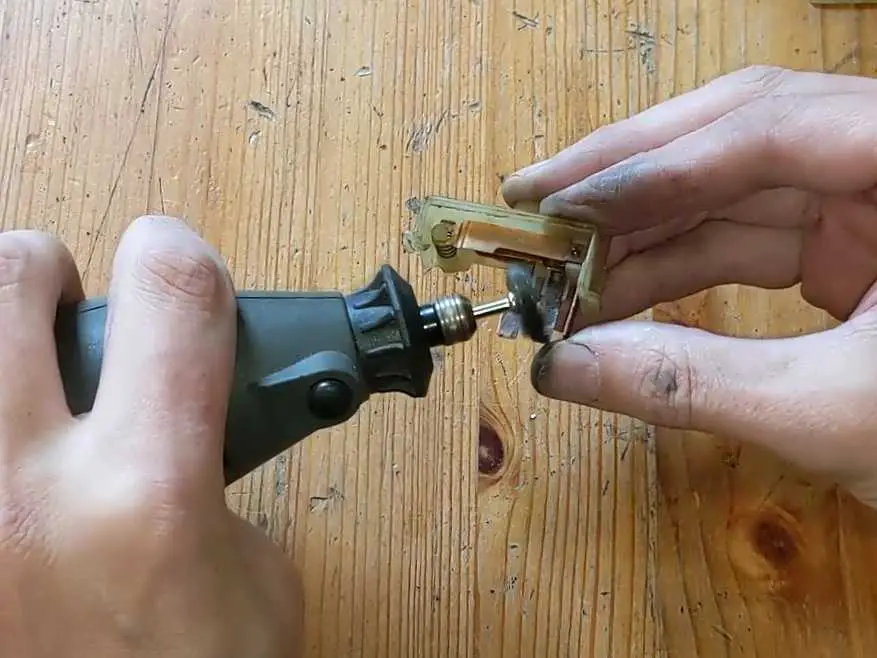
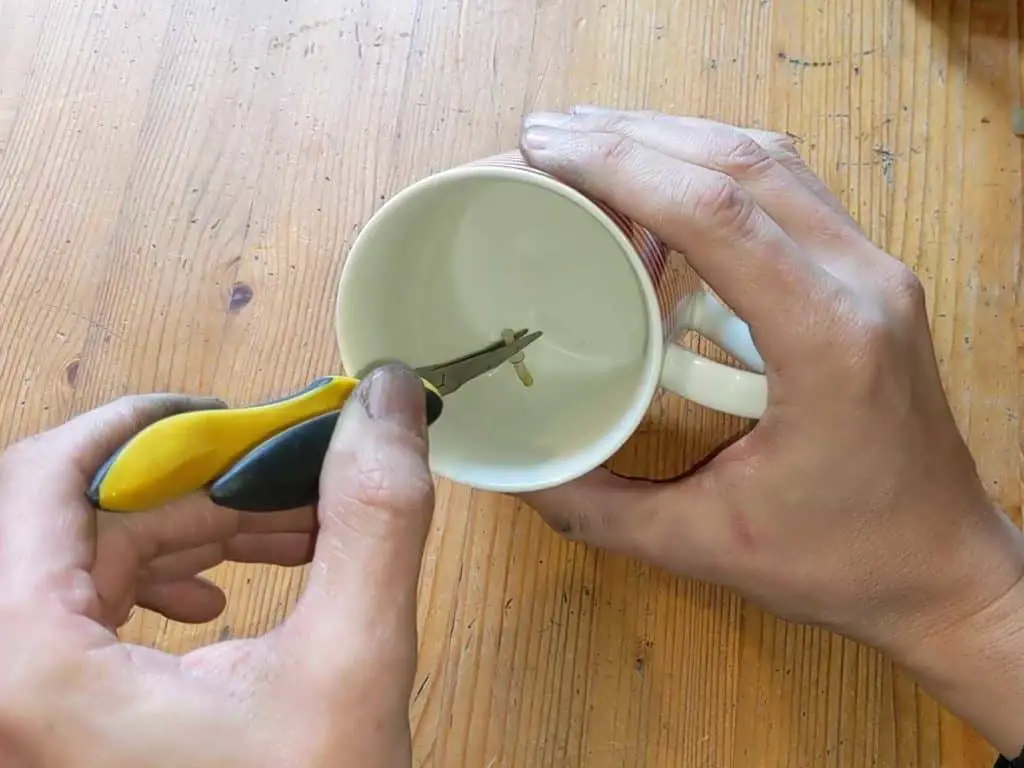
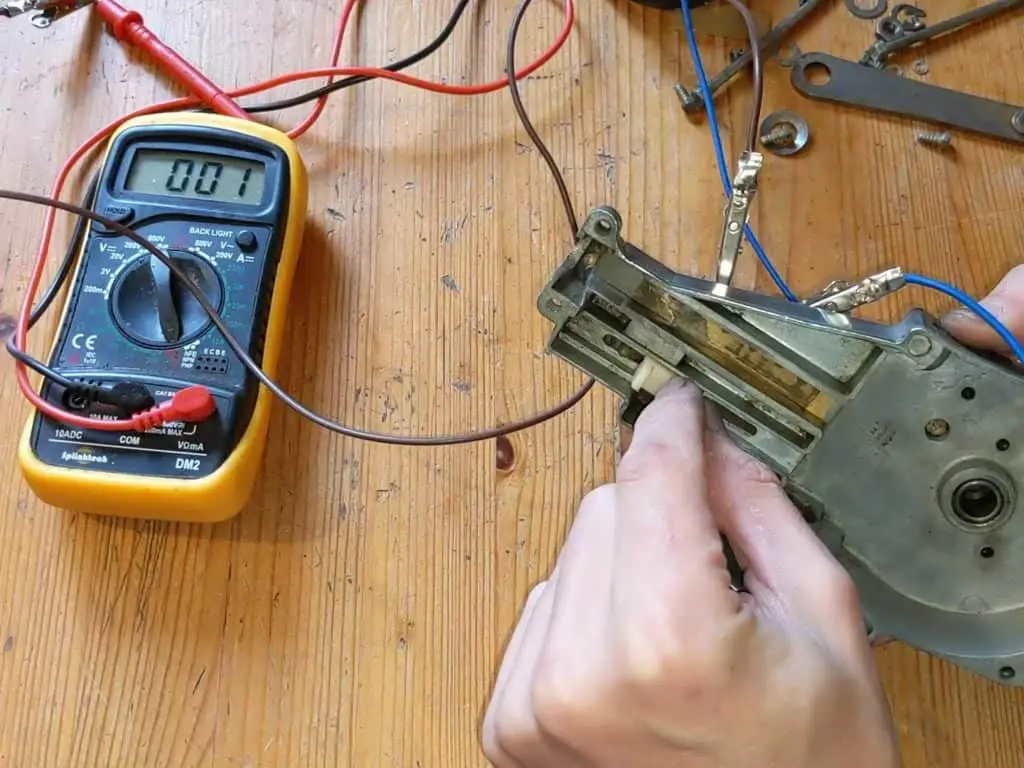
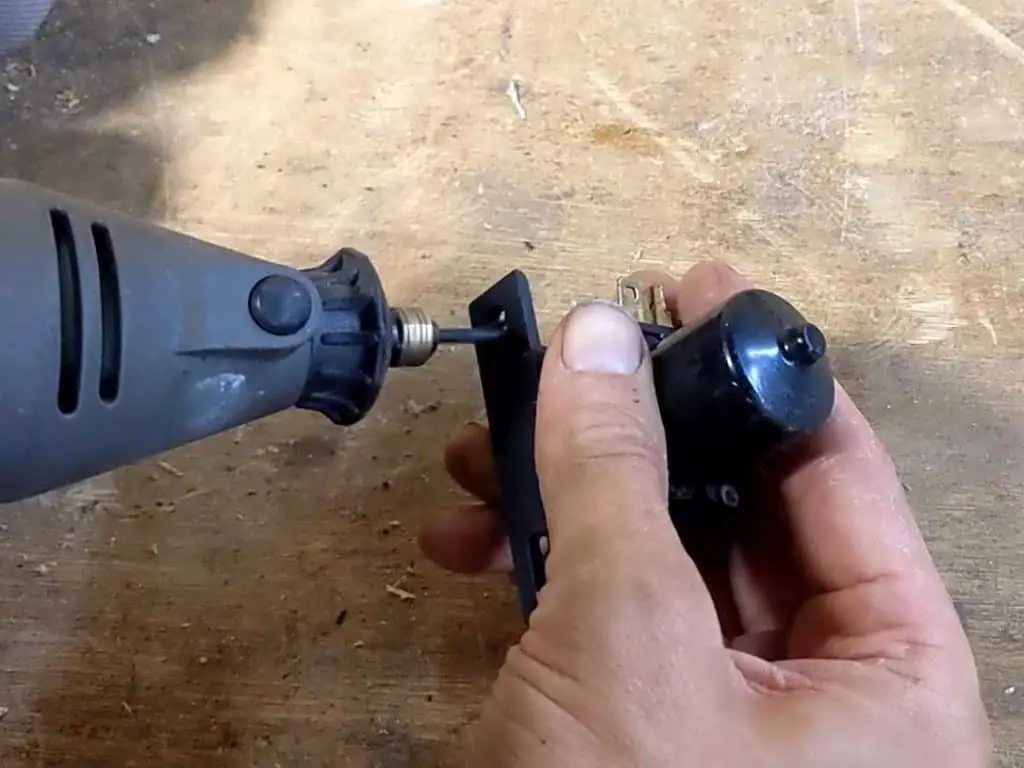
So I cleaned up the contacts with my dremel. While pitted, they’ll work just fine. The pin was a bigger issue, though; I had to pull the pin out of the housing first. Then I dropped it in some hot water to soften it up, where I was able to straighten it up (mostly; it still has a slight kink in it!). Then I refitted it to the switch. After a bit of time bending the contacts until it all lined up as it should, I tested it with my multimeter. It all worked great! So, this switch is saved.

The contacts were cleaned up… Then the switch was softened in hot water and straightened. Switch after the repair. All working as it should now. And it all tests fine.
Fitting New Motor Brushes
The motor brush set for the 16W is also no longer available. Fortunately, the brush set for the 14W motor is readily available and almost the same. Unfortunately, ‘almost’ in this case means some modifications are needed.
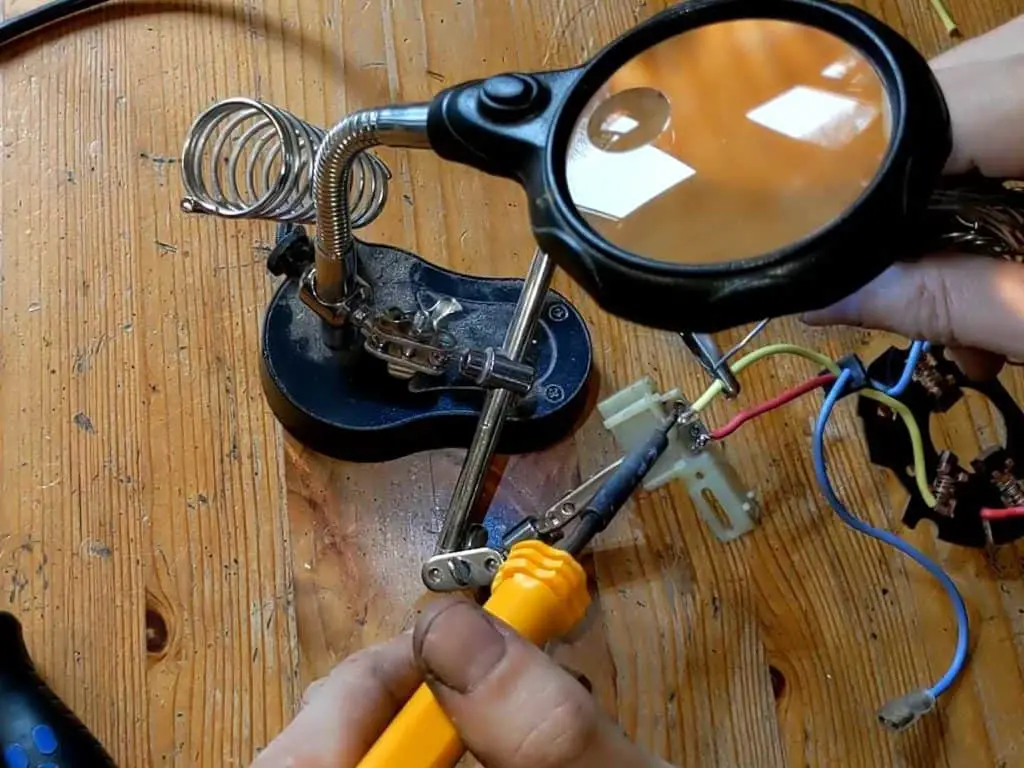
The 14W motor brushes connect to the park switch via terminals, vs the 16W switches which are soldered in place. That’s not a problem; I just snipped the terminals off and soldered the wired instead. It’s worth paying attention here, though; the wires are different lengths to what they need to be if you’re doing this swap. The red wire I found was only just long enough. I also messed up and cut the yellow wire a little too short, and had to splice in a little length of wire later on!
Trimming the 14W motor brush wires to fit… …and soldering to the park switch.

With the soldering done, I then fitted the brushes properly.
The main difference between the 14W and 16W brushes is that the brushes sit level with the mounting board on the 14W brushes; on the 16W they’re mounted on the top. This means that the brushes will sit at the wrong height. This is fairly easily solved, though, by just making up some plastic spacers and using longer screws to fit.
Fitting the 14W brushes with some spacers… Fitted in place. Note the spacers on each screw fitting. 
14W and 16W motor brushes compared.


Assembling the Motor
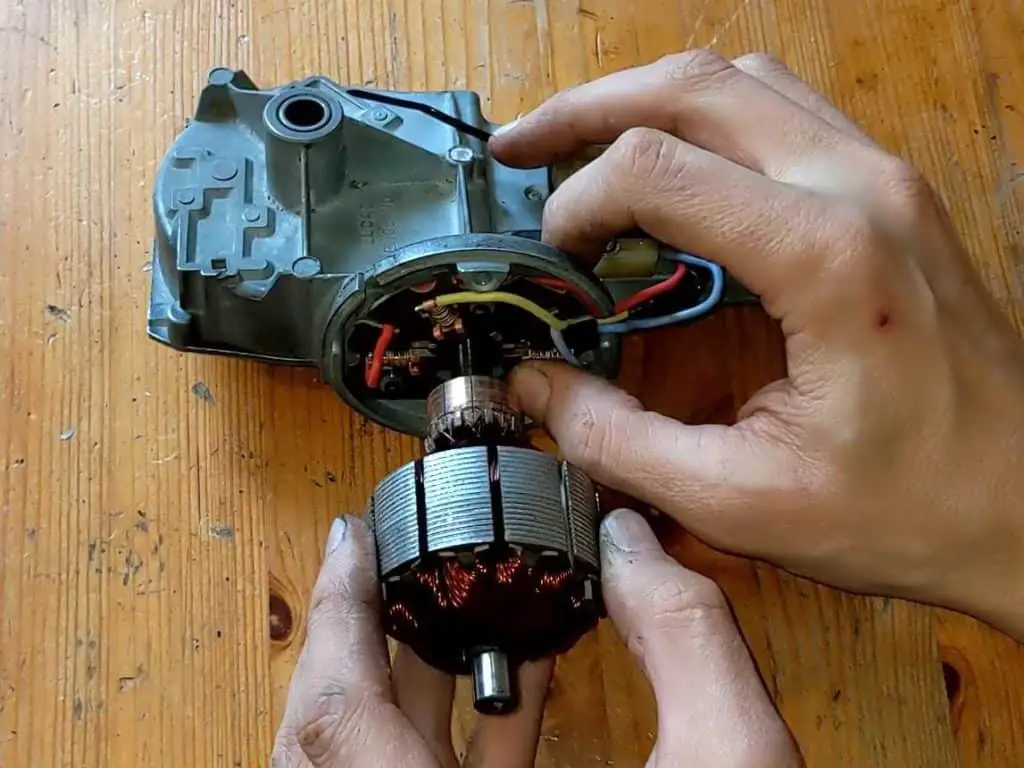
With the brushes in place and the park switch fixed, it was time to reassemble the motor.
The armature was greased up around the bushings and then fitted in place:
Bushes were greased… And the armature fitted. The brushes needed to be pushed back for the armature to fit.
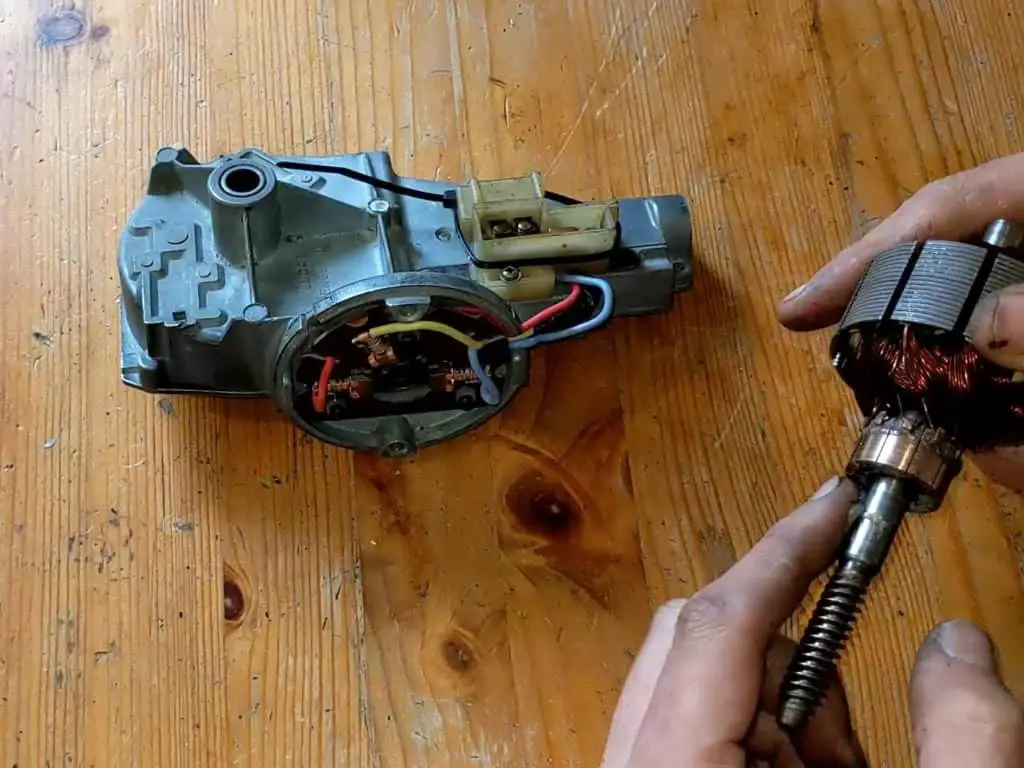
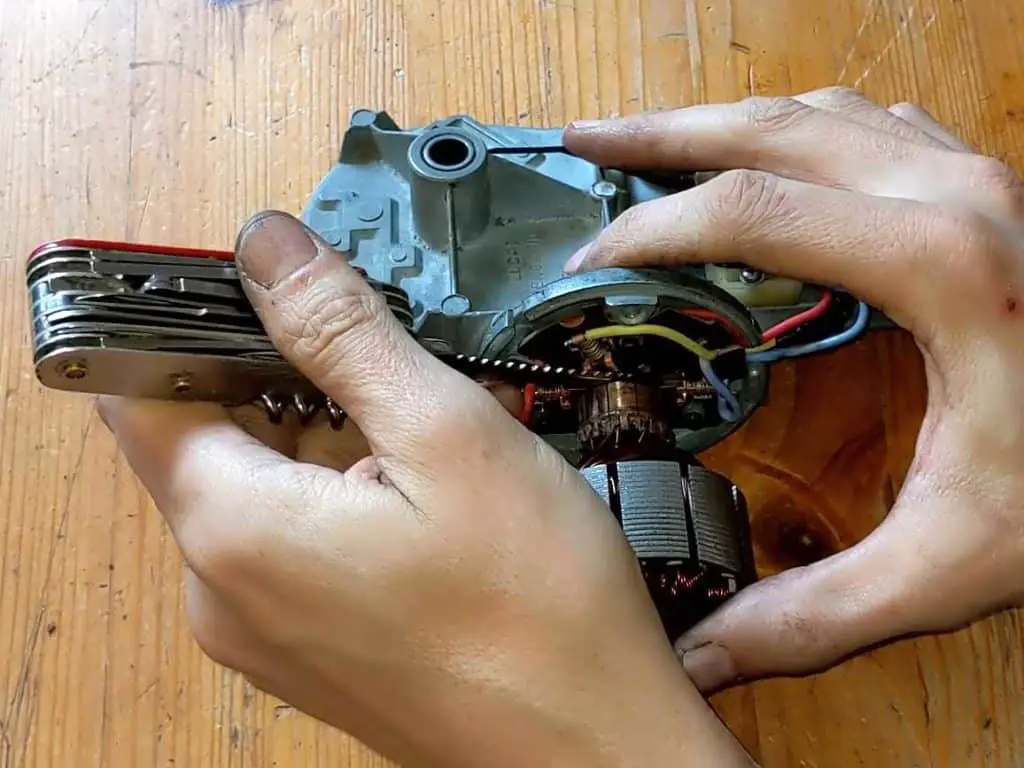
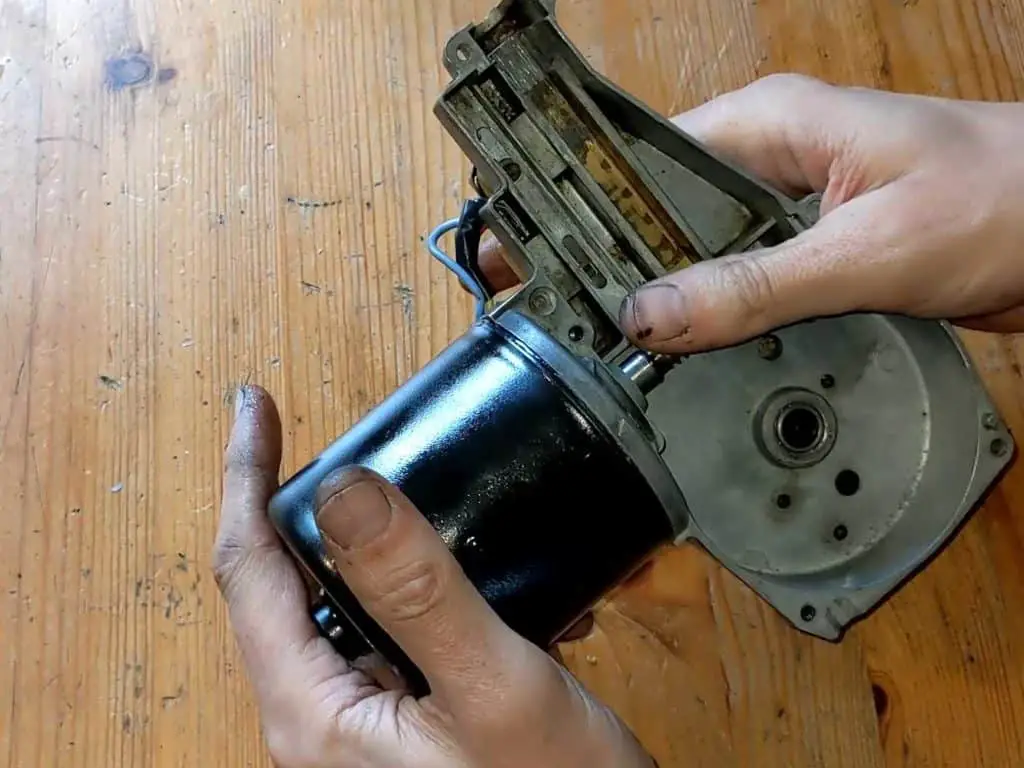
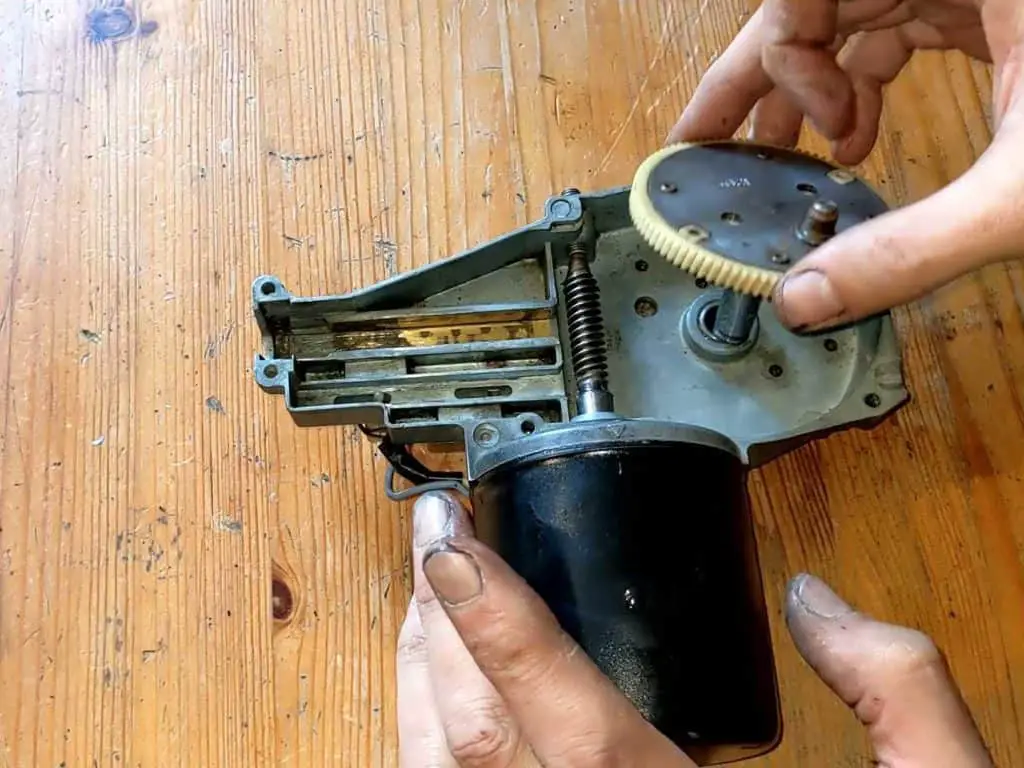
And then the motor casing, gear wheel and arm were fitted.
The motor case is pushed into place… And the gear wheel fitted.
Then the motor was tested – as it happened, I had the old wiring loom out to work on, so I was able to plug the motor in for a proper test. It worked great!
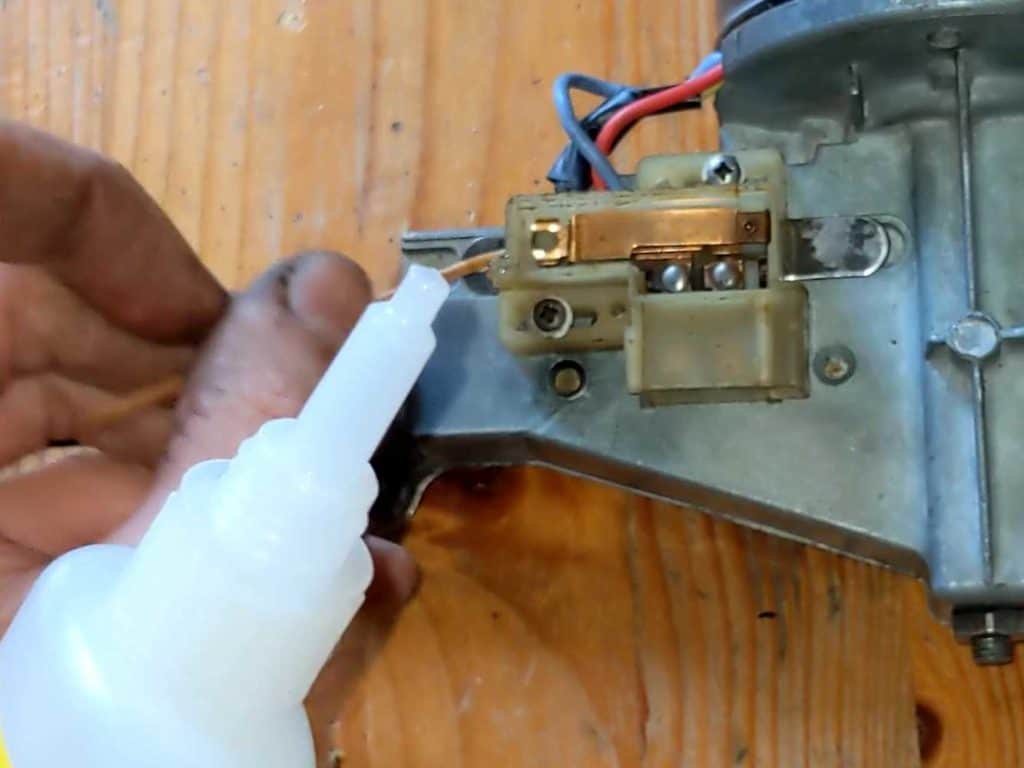
Now happy the motor was working as it should, I greased it up (I used lithium grease for this) and reassembled it with the cable in place. Finally, I glued the park switch together again.
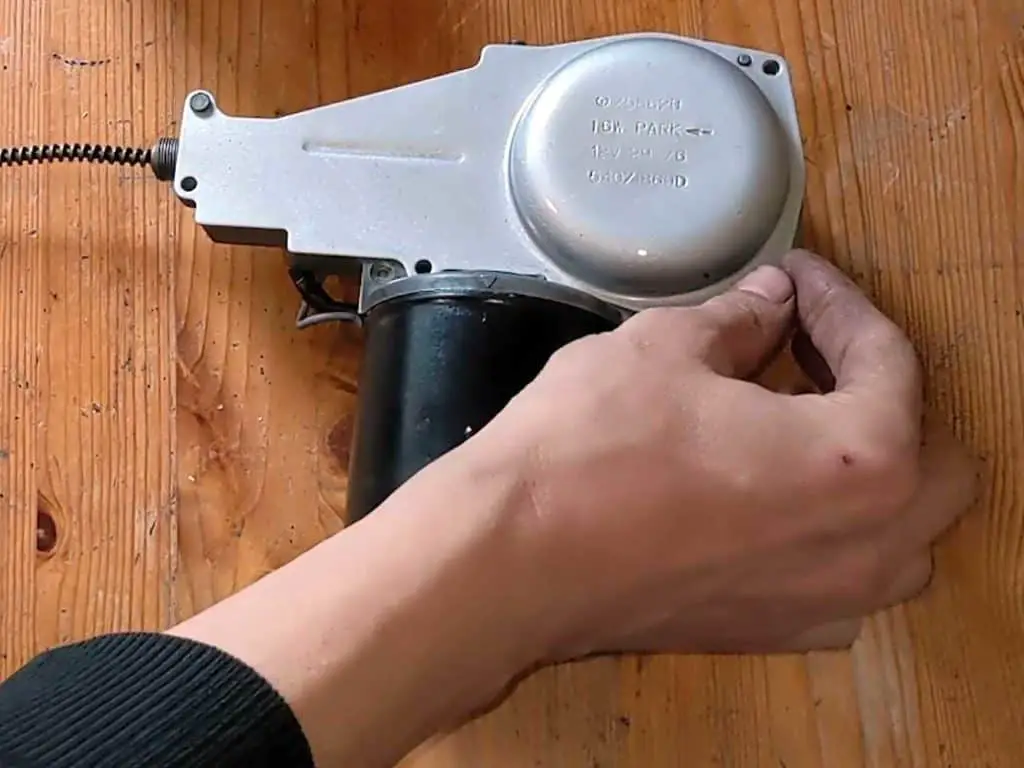
Bench testing the motor. Checked out fine. Greasing the motor mechanism. Gluing the park switch together… And fitting the cover.

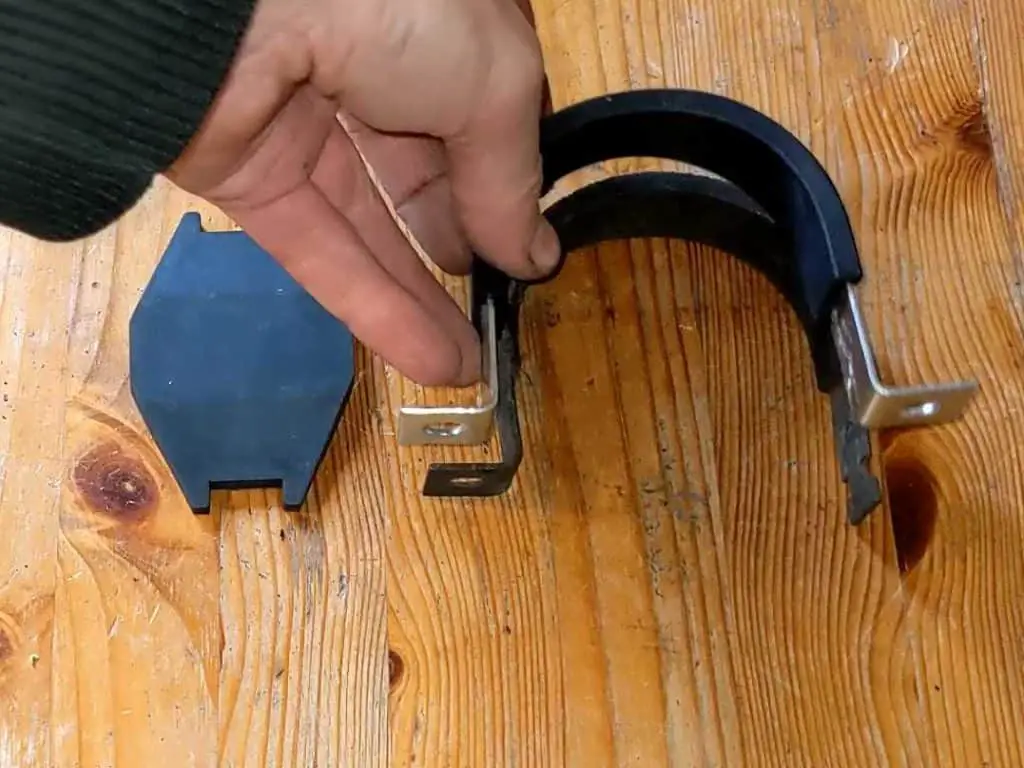
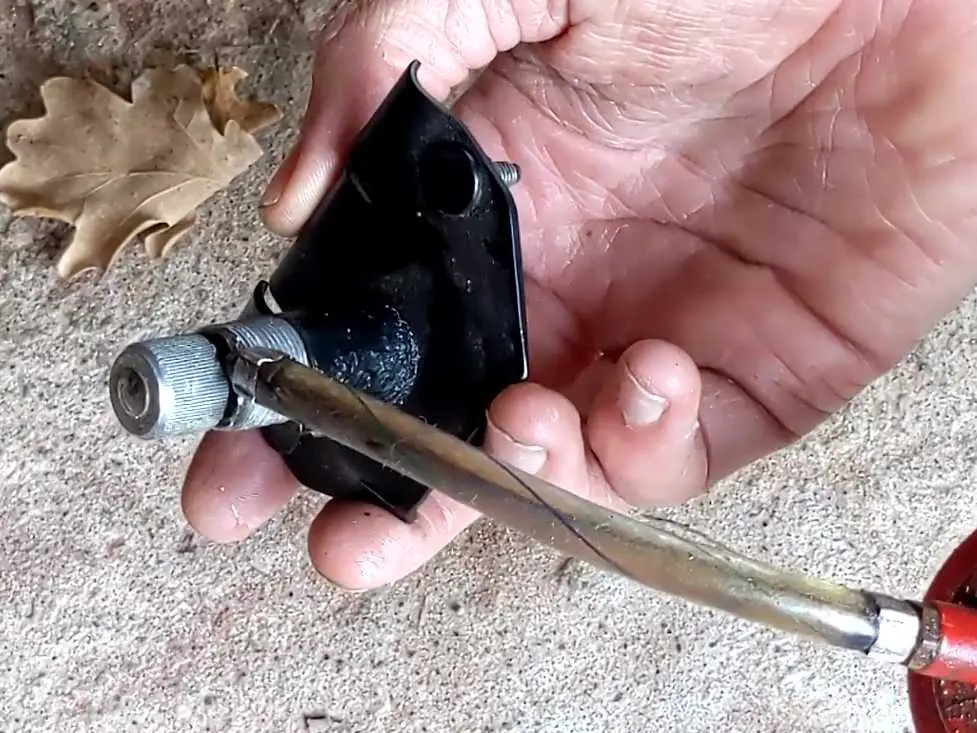
Replacing the Mounting Pad and Strap
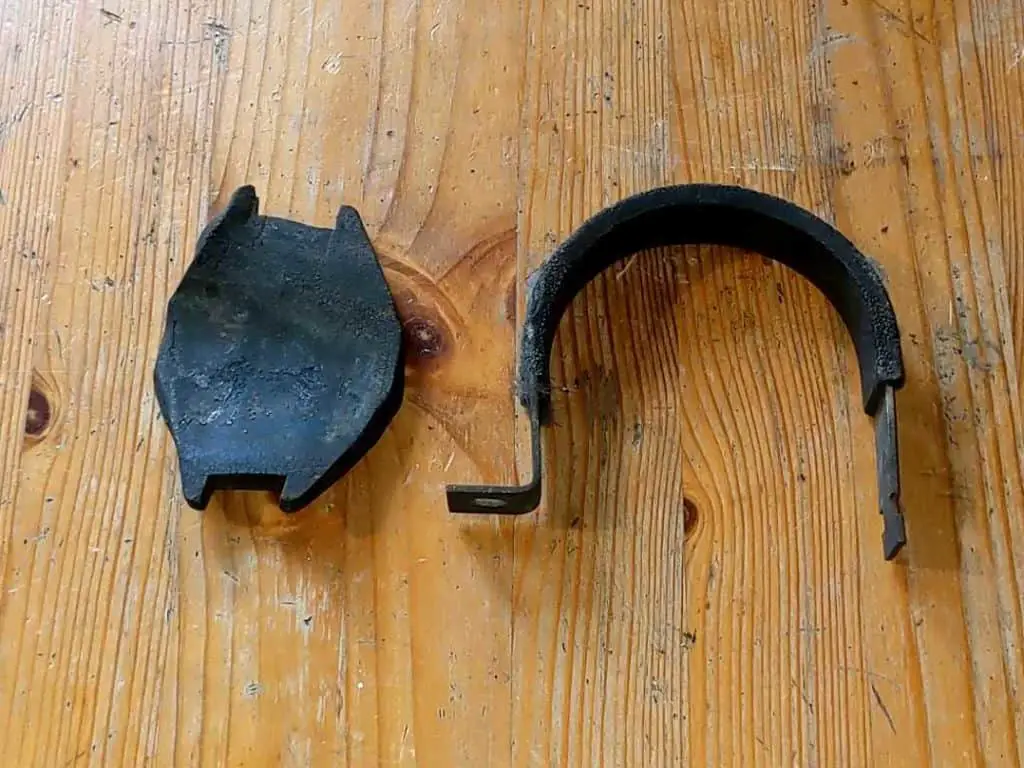
The last thing to do before I fitted the motor was to sort out the perished old mounting rubbers.
The mounting pad is a common part and easy to replace; the rubber for the strap is a bit trickier. I looked for ages to find the exact profile of rubber that I needed, and was about to give up and just use a strip of flat rubber, when I realised the mounting strap for the 14W motor is readily available and has the same type of rubber. So I bought one of those, pulled the rubber off it and fitted it to my (newly cleaned and polished) strap!
Old, perished mounting rubbers. And some shiny new ones.
Fitting It All to the Car
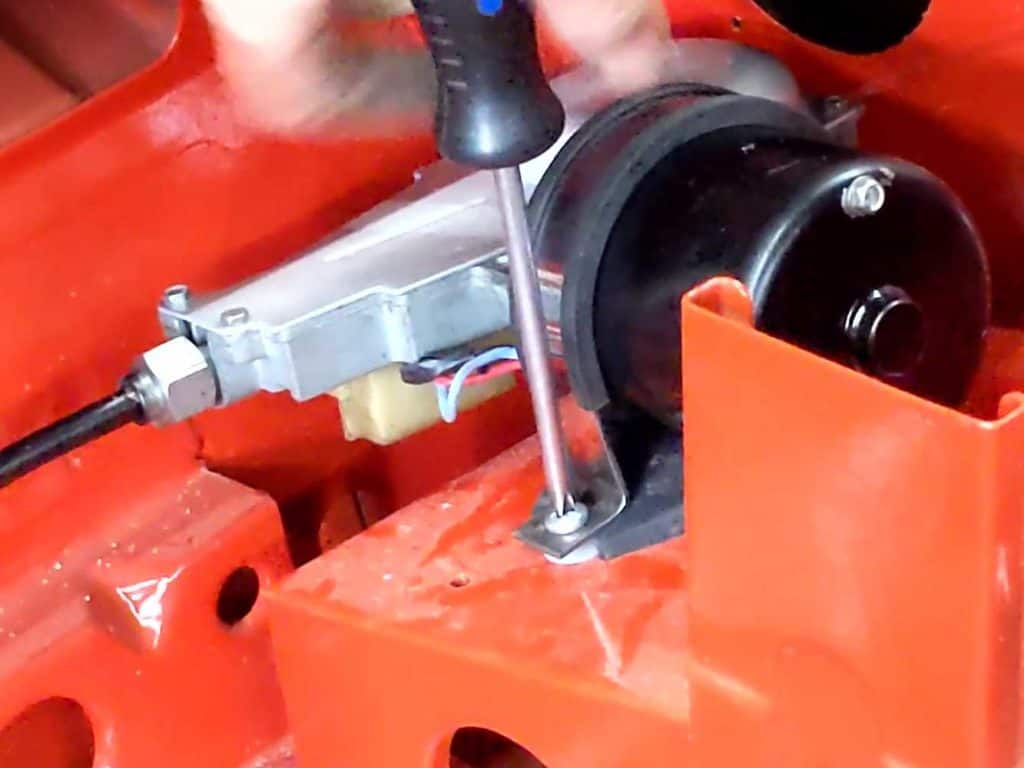
With everything now rebuilt, it was time to fit it.
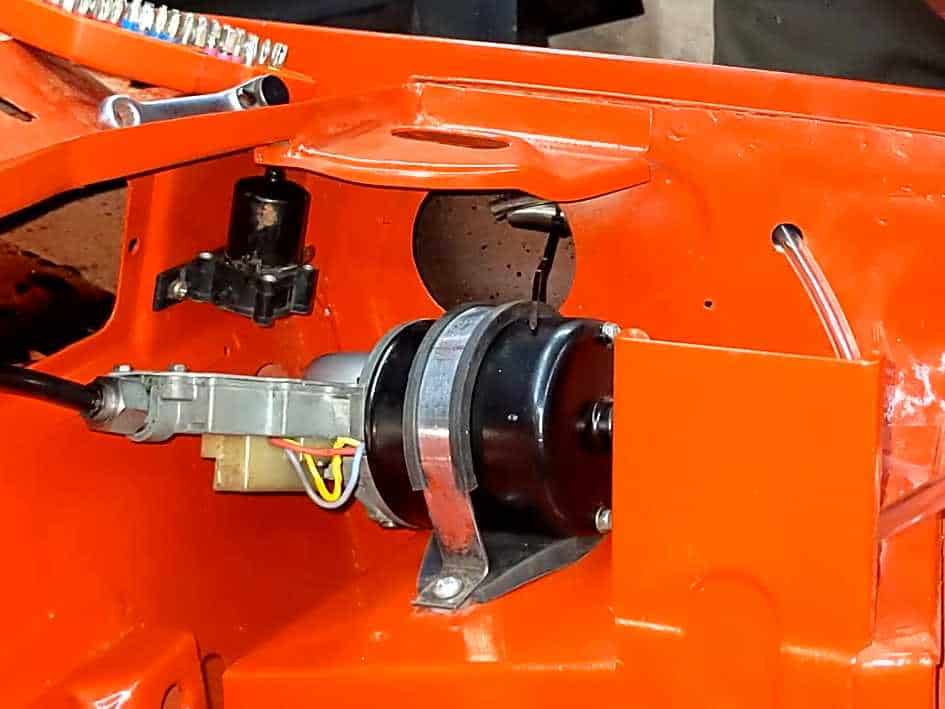
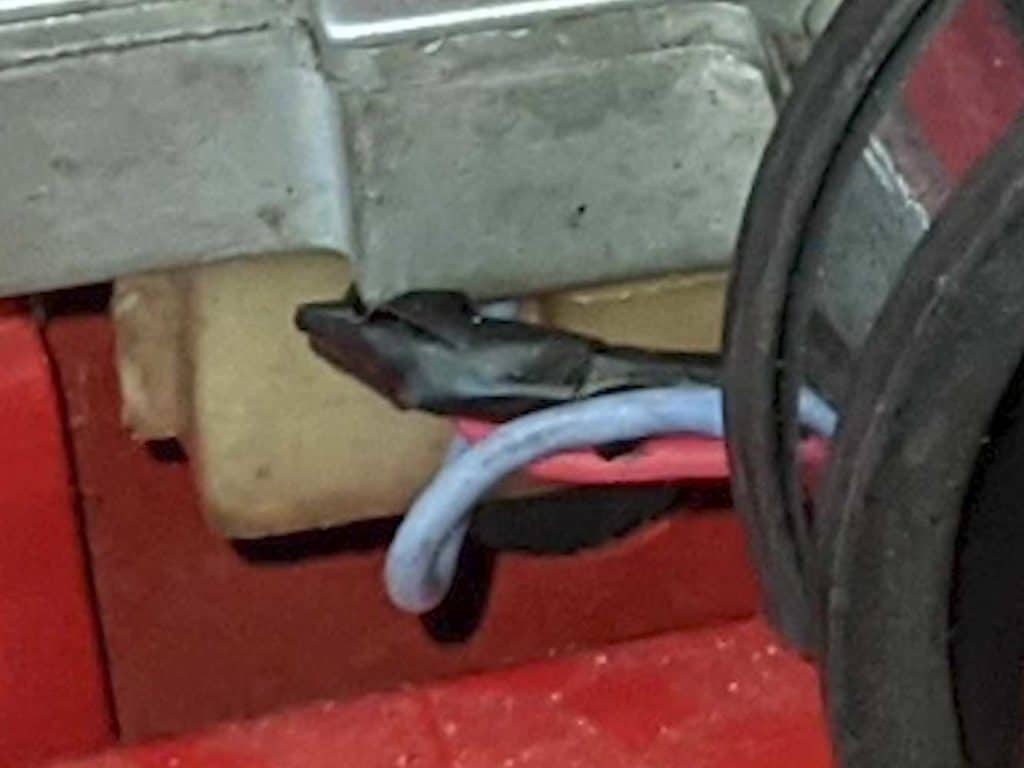
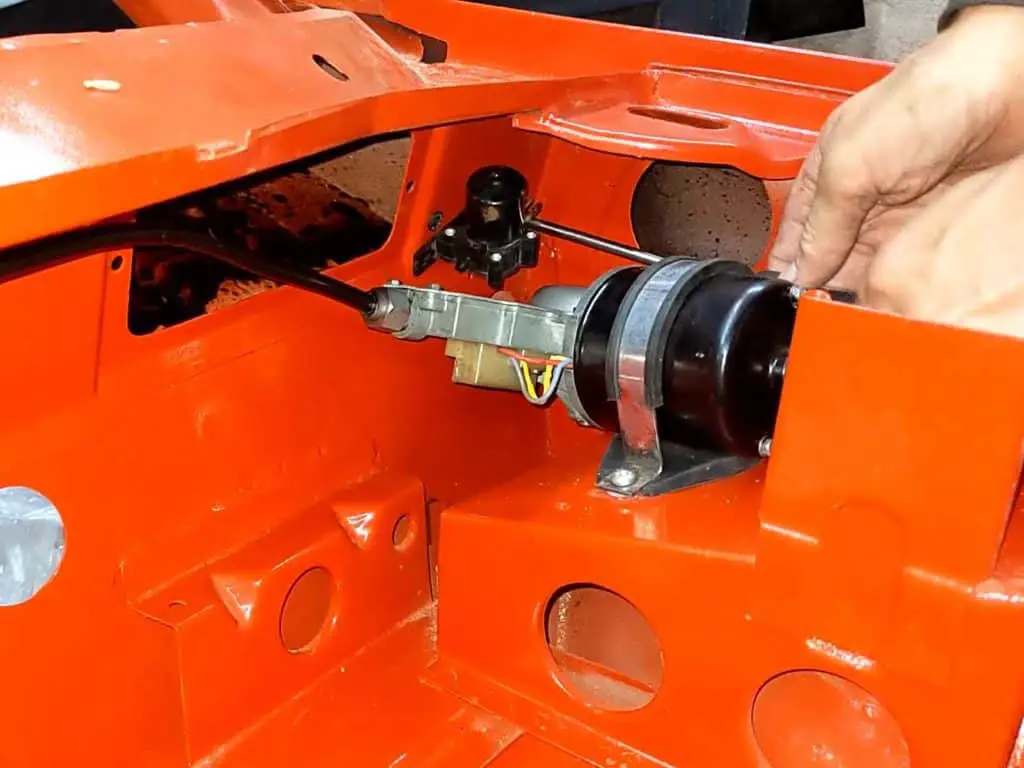
The motor itself is fitted with just a single screw, but getting it all lined up and sitting on the mounting pad is a bit fiddly. Unfortunately, when I fitted it I realised my spliced wire (and admittedly quite badly done insulation) was quite obvious, so I had to take the motor out, redo the wire and fit it again!
I fitted the motor… …then realised how obvious this was. 
So I redid the wiring and fitted it back in again.

Then I greased up the wiper cable (with lithium grease again) and fitted the tubes and wheelboxes in place.
The wiper cable got some grease… 
And the wheelboxes got a bit of oil. Bolting it all together. And fitting the wheelboxes.
The Windscreen Washer Bottle & Pump
With the wiper motor fitted, I turned my attention to the washer system.
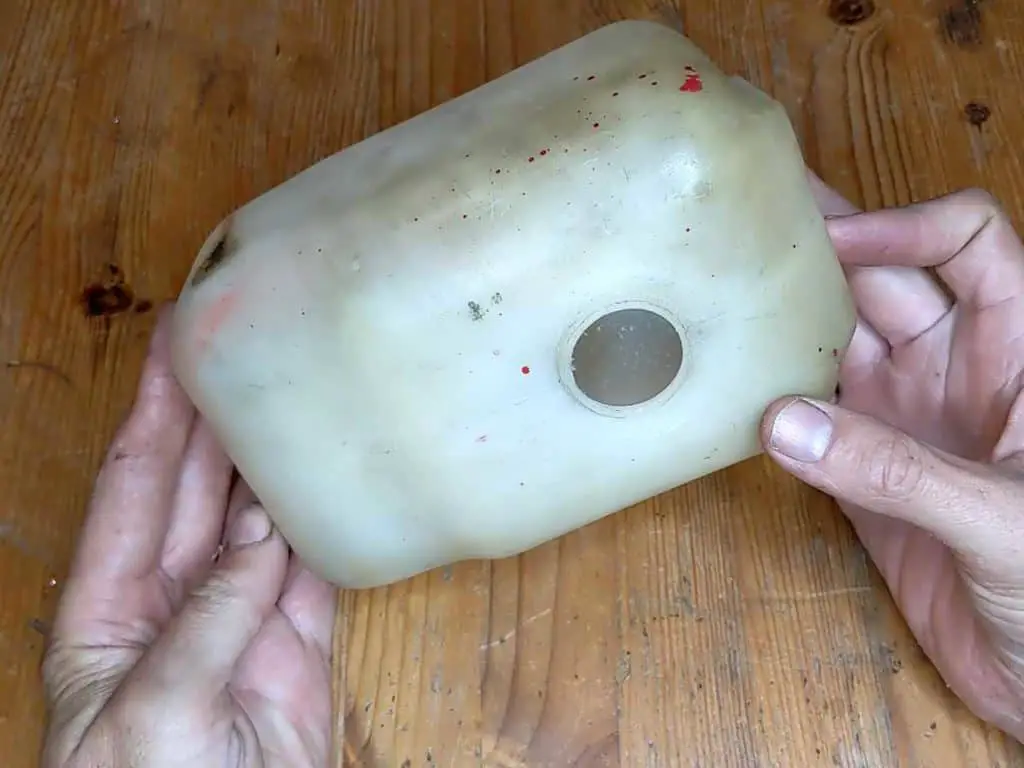
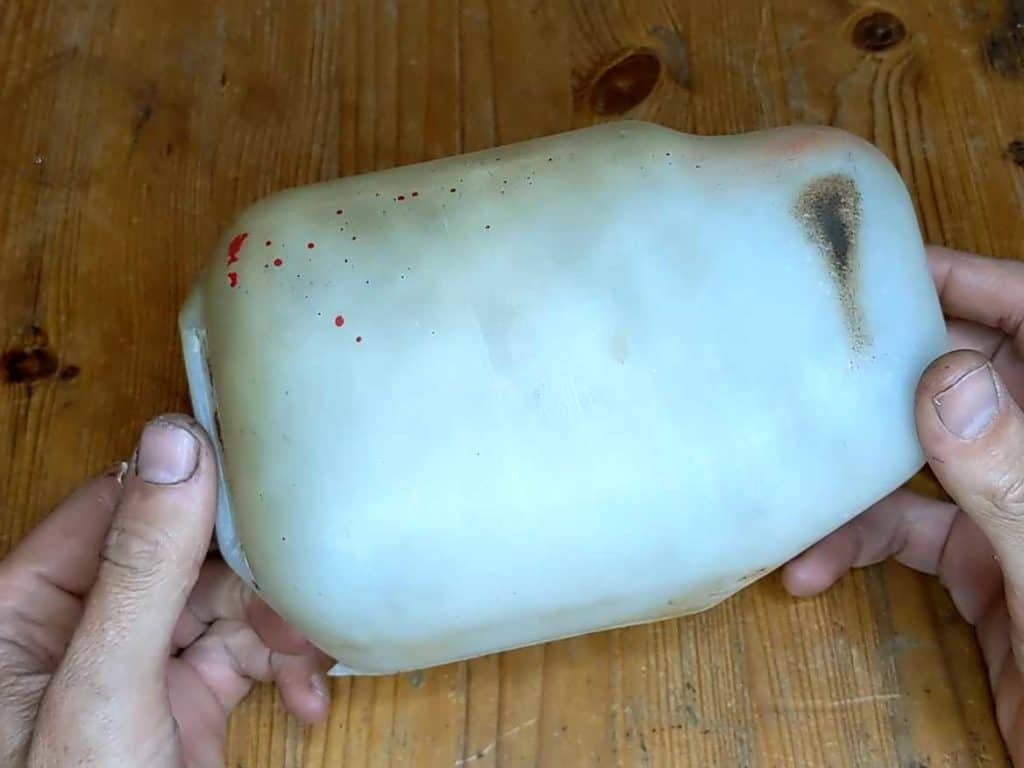
The bottle itself was looking pretty sorry for itself; but unfortunately these aren’t available new any longer, so I was just going to have to make the best of what i had. I gave it a good clean, which helped a lot, but it still looked a bit yellow and old.
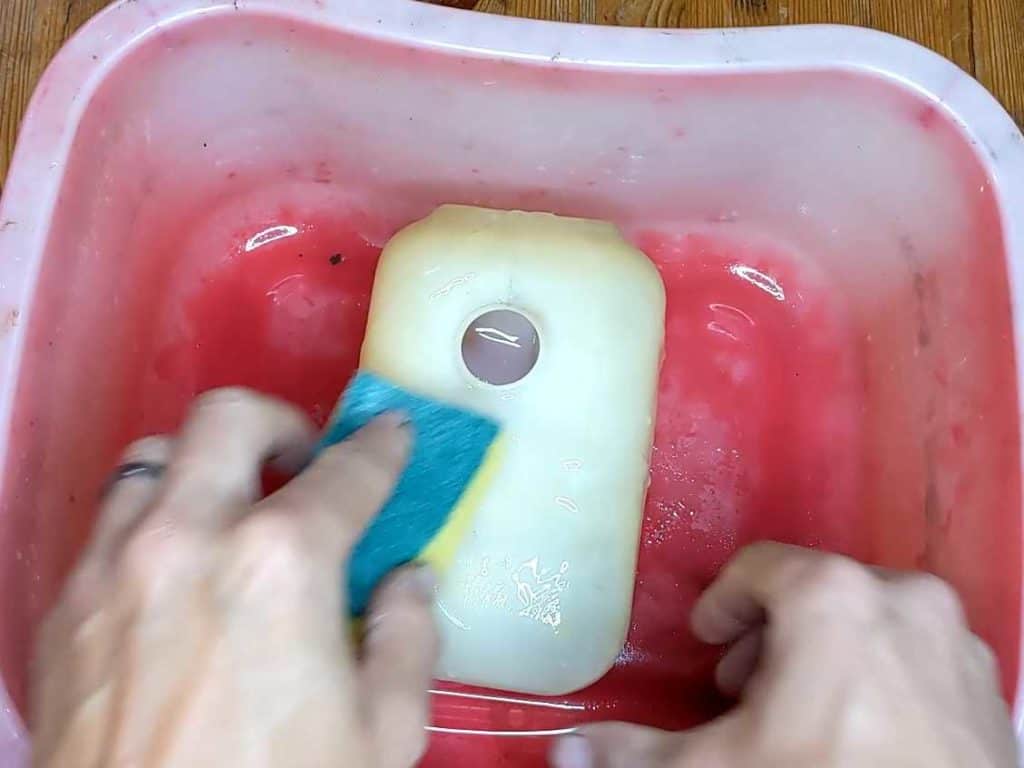
I tried scrubbing it with bleach but that didn’t do anything, so I tried retrobrite (or retrobrite, or retr0bright). I wasn’t too hopeful as that mainly works with ABS plastic, and this is (I think) polypropylene. Still, it was worth a shot. Unfortunately, that didn’t work either – after a few hours sat out in what passes for sunshine here in the UK, it just looked the same as when I started.
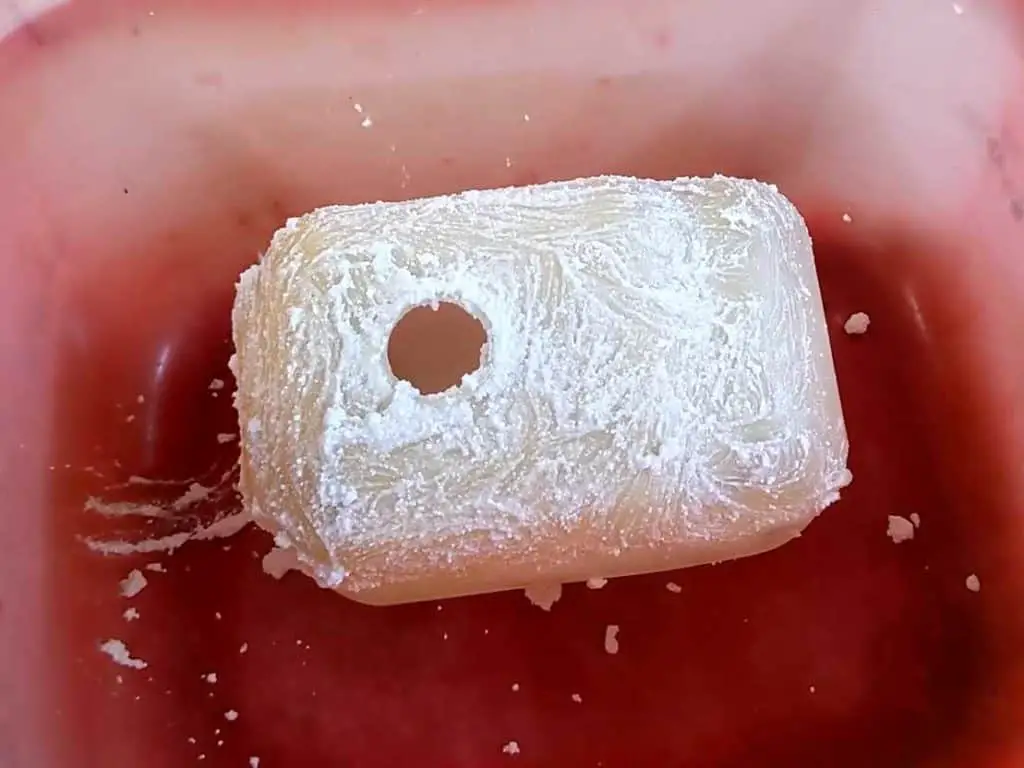
So I tried soaking it in hydrogen peroxide, and then oxiclean. Nothing worked. Out of desperation, I tried simply sanding it down. But no matter how much I sanded, the yellowing wasn’t going away. I stopped before I ended up sanding right the way through! I think whatever this yellowing is is a chemical reaction in the plastic itself, rather than any sort of surface staining.
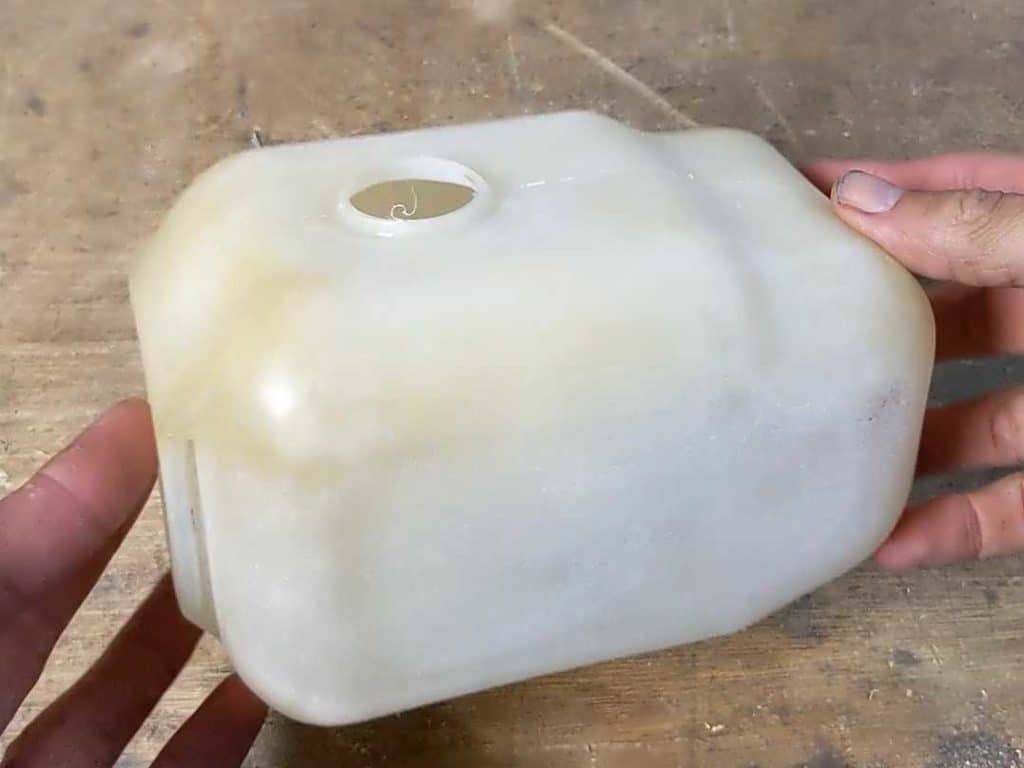
Ultimately, though, I just had to accept it – it’s 45 years old and it’s never going to look like new again. Unless someone starts remaking these, I’ll just have to live with it being a little bit yellowed.
Washer bottle before cleaning. Looking a bit old and scabby. I tried cleaning with bleach… And even tried ‘retrobrite’… But while it looked better than when I started, it was still a bit yellow and aged.
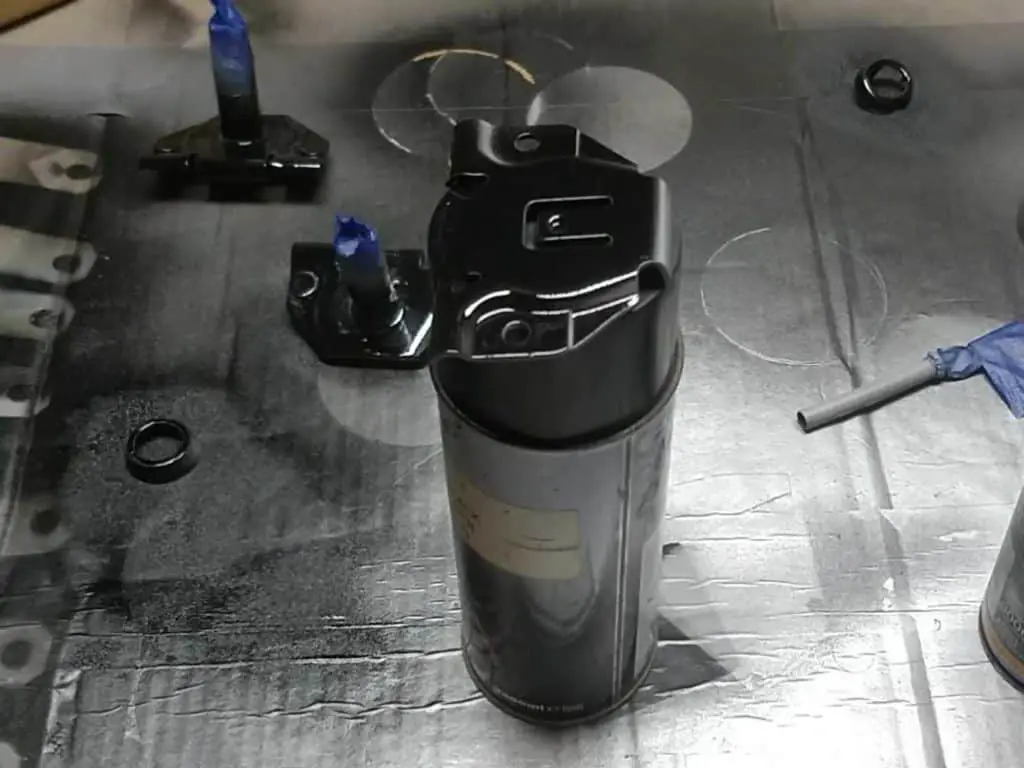
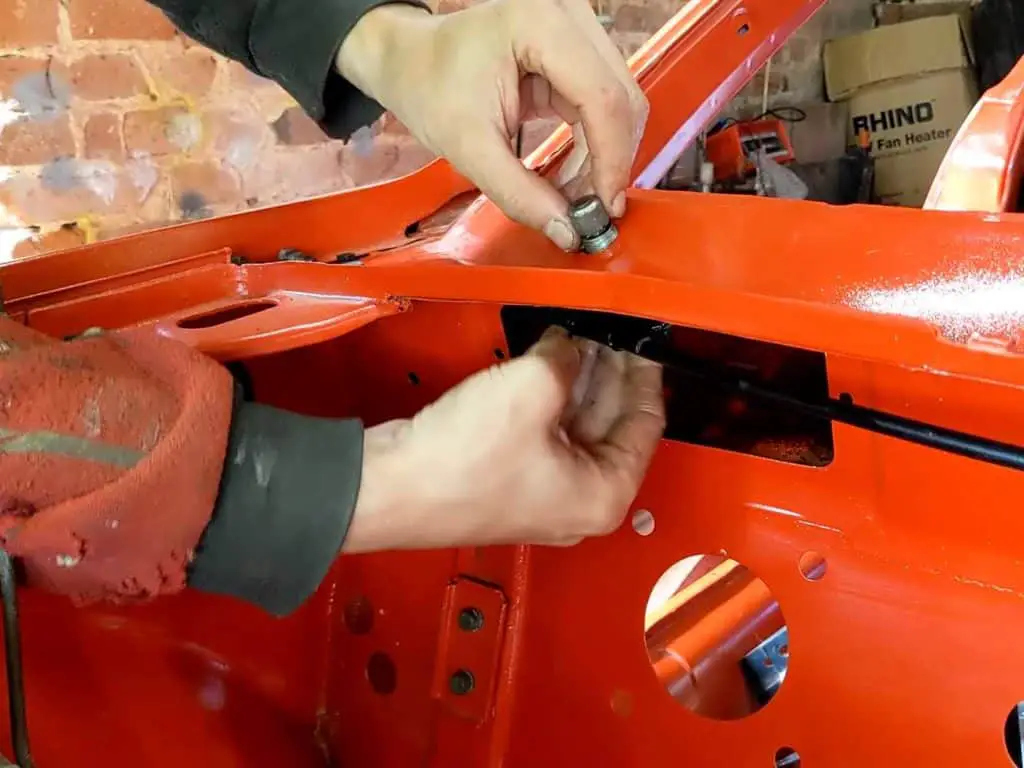
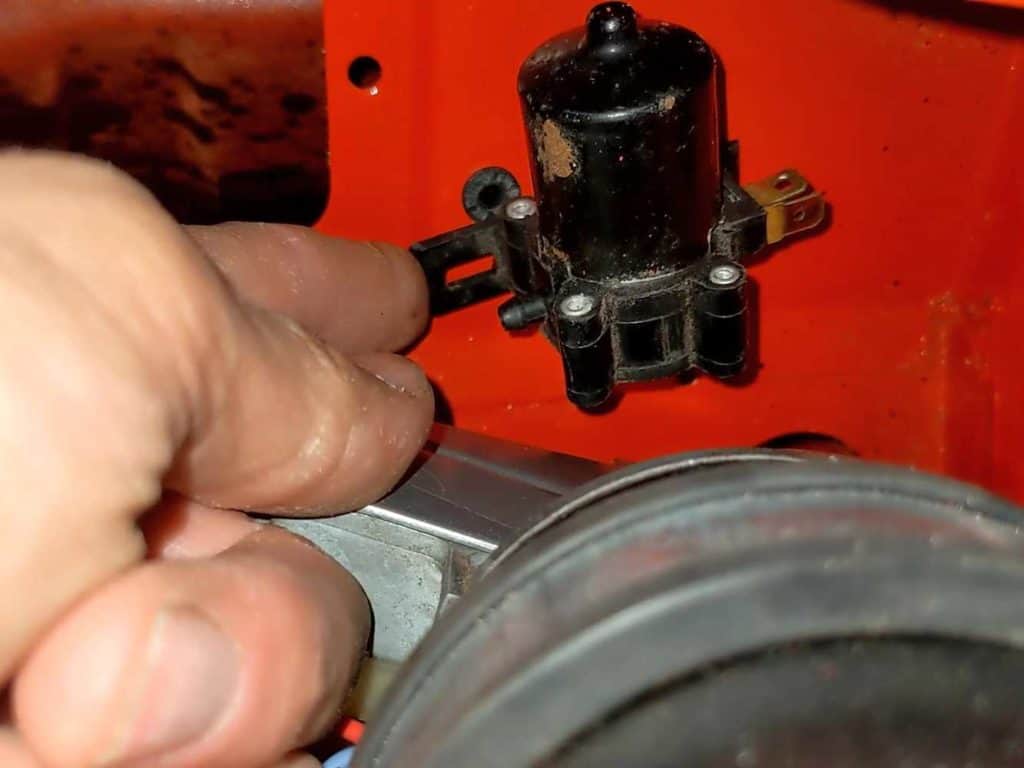
After that, I fitted the washer pump. The pump I had was one that had been sold to me as a replacement for the TR7 one, and so I was annoyed to find it didn’t fit! The holes were too far apart to fit the mountings on the bulkhead.
It was a simple enough fix to widen the screw holes, but I was still annoyed to have to do this. Buying parts advertised as fitting a car that just turn out to be generic aftermarket parts is a big annoyance of mine.
The ‘OEM’ replacement washer pump didn’t actually fit the mountings. So I had to modify it. Hole enlarged so it’ll fit. Fitting the washer pump to the bulkhead.
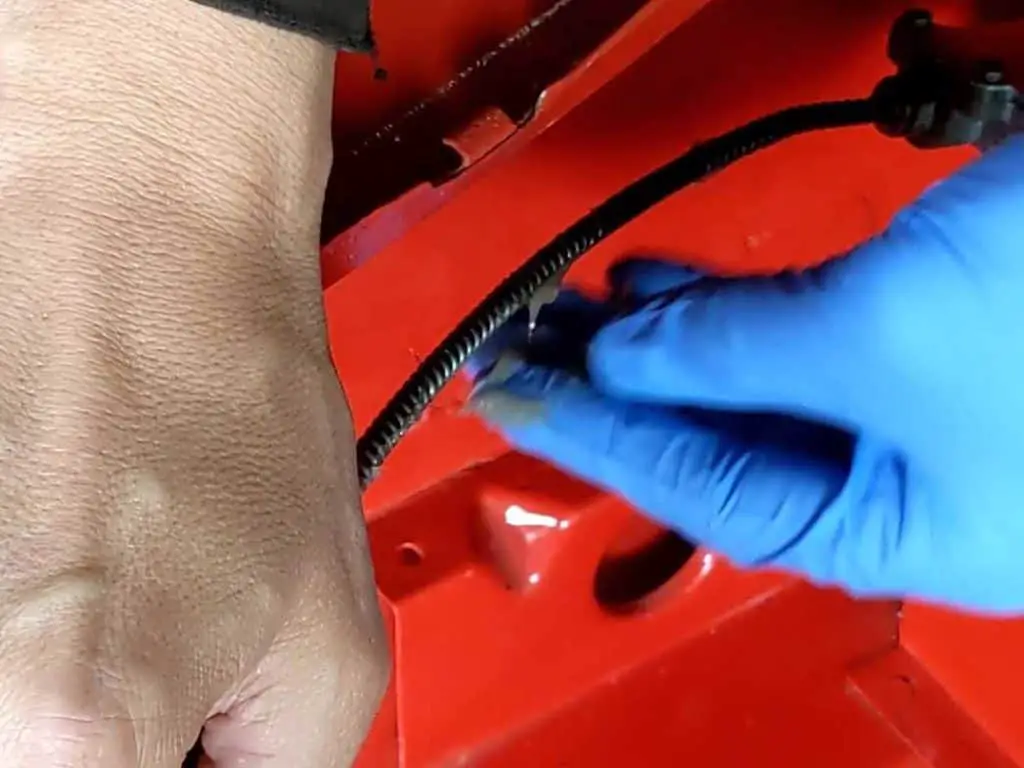
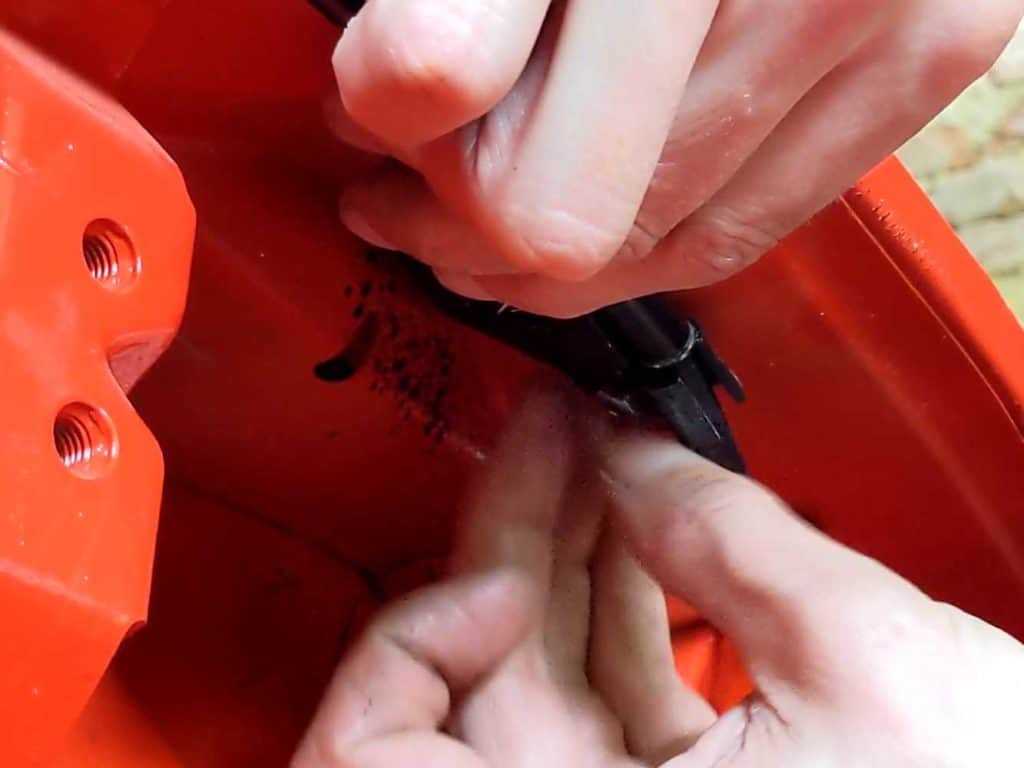
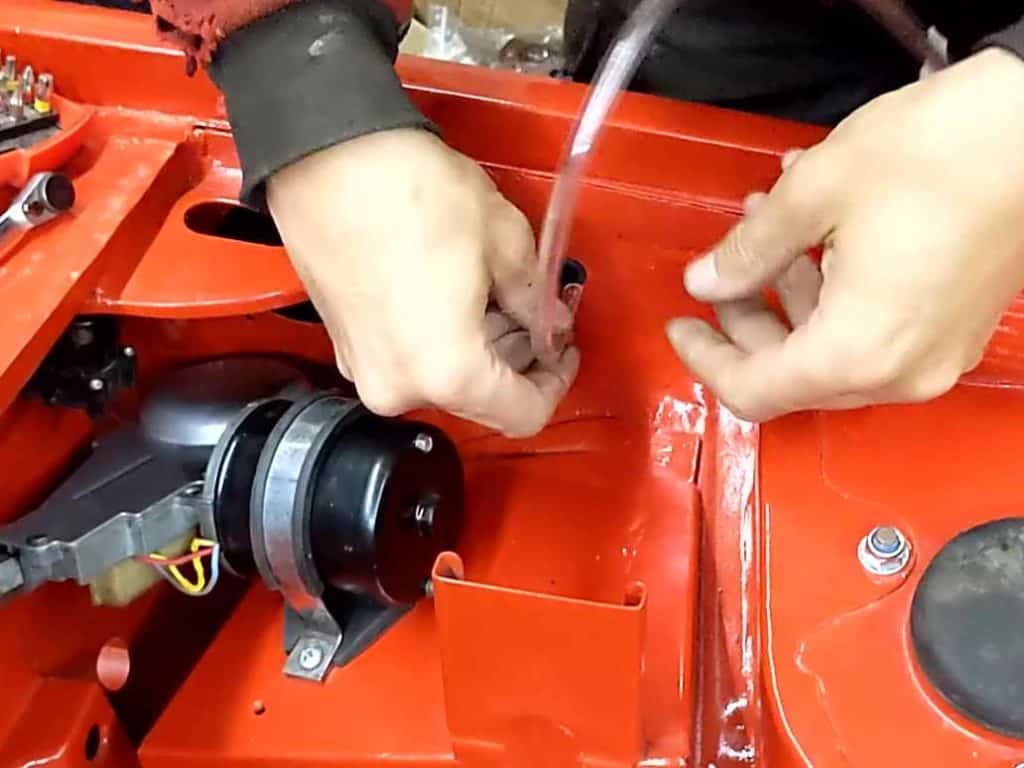
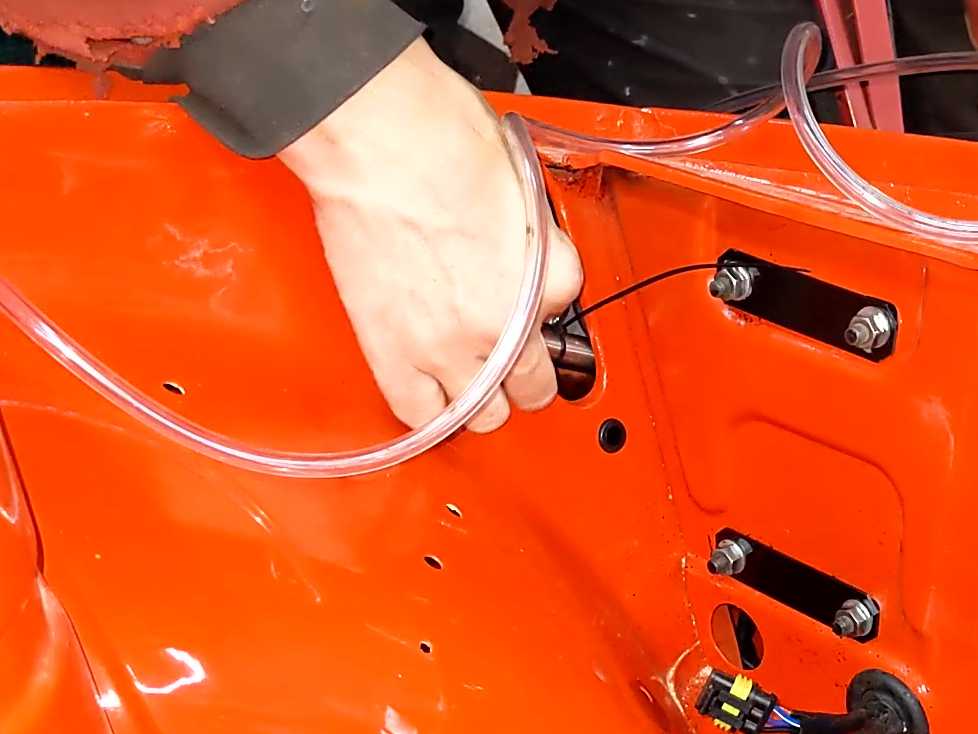
With that all fitted, all that really remained was to fit the washer hose. It runs through the inner wing and over the wheelarch, and getting it from one point to the other is fairly tricky. I ended up guiding a tube up from the front of the car, tying the hose to that and then pulling the tube out the front again, pulling the hose along with it. That did the trick, and was a good practice for when I’ll end up having to do that with the wiring loom!
Feeding the washer hose through the hole in the inner wing… 
I had to run a tube from the front and tie the hose on… 
…so I could then pull it all through to the front.
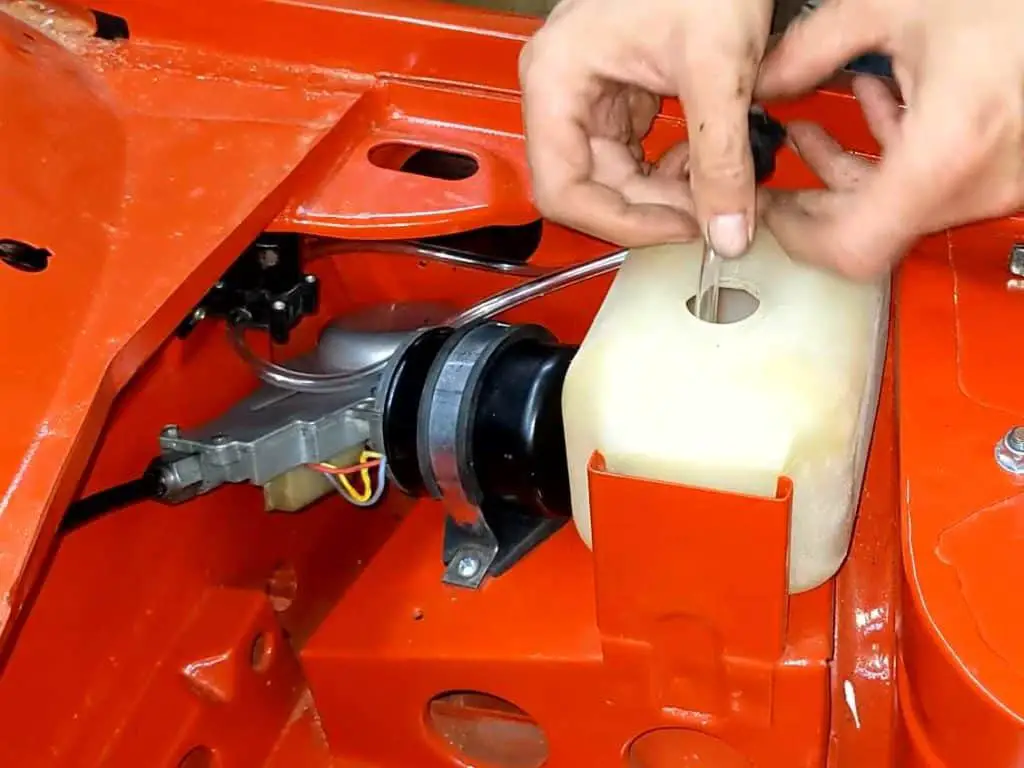
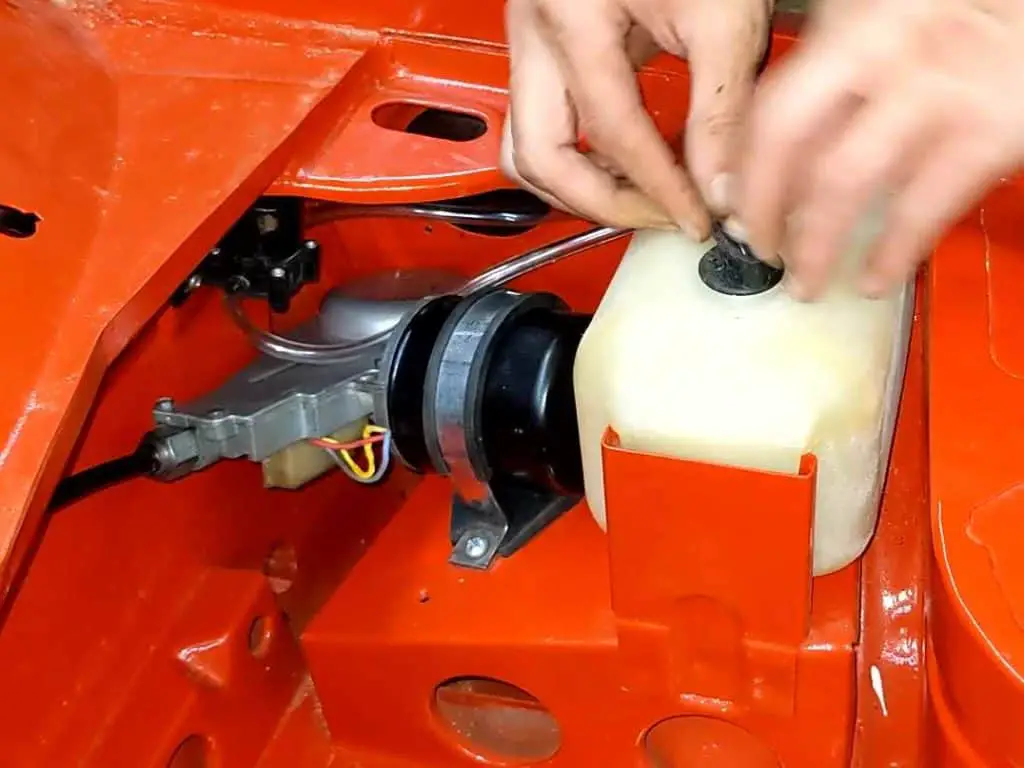
Finally, it was time to fit the washer bottle. That was a nice simple job, just involving running the tube through the bottle cap, fitting the non return valve and then putting it all together. Job done!
The washer hose goes into place… And the cap goes on, finishing this particular job.