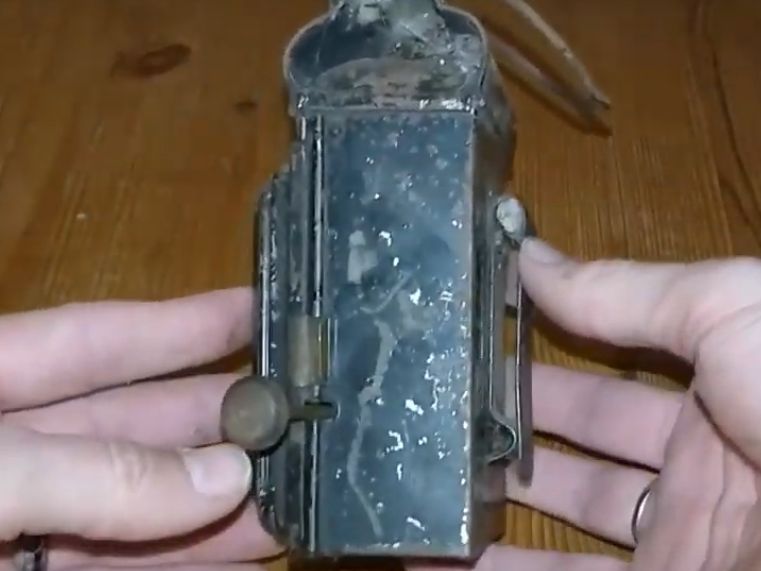
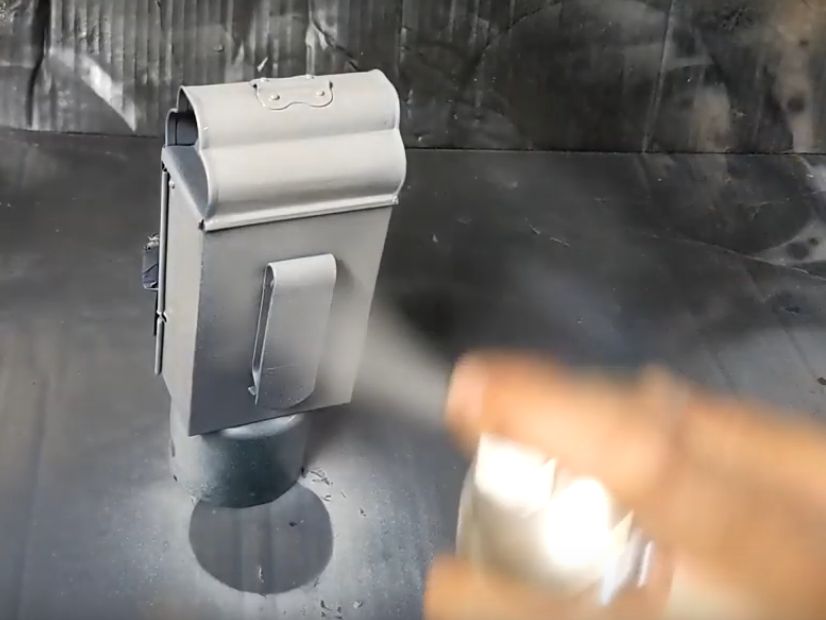
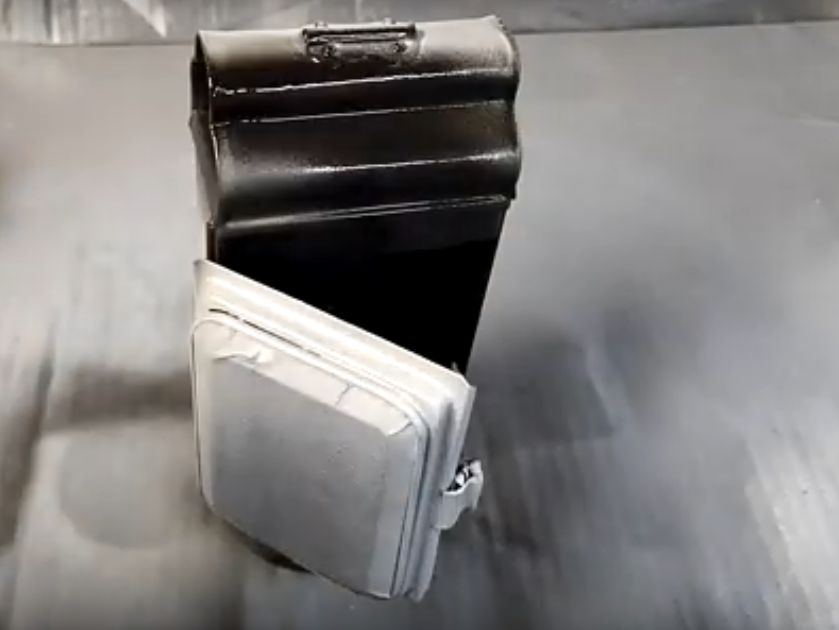
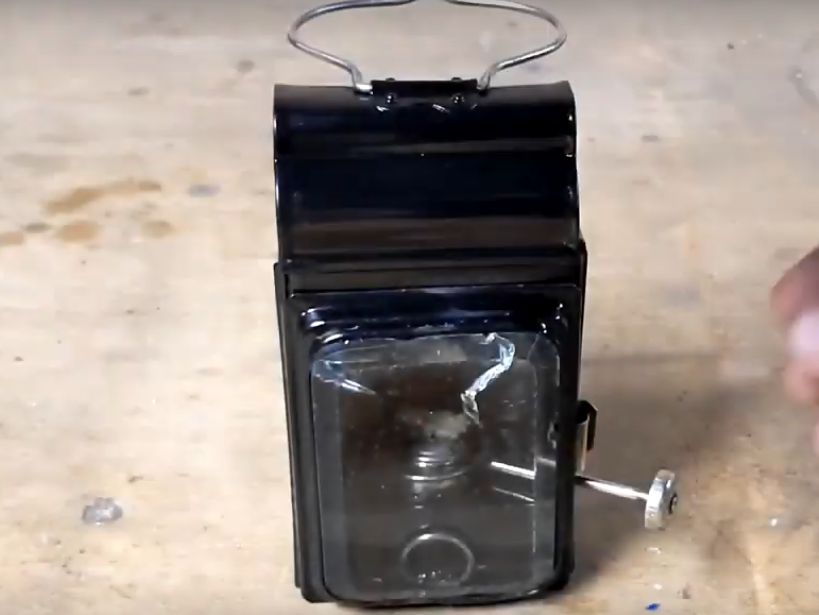
I bought this lamp a little while ago – it caught my eye as I’m a bit of a sucker for these old lamps!
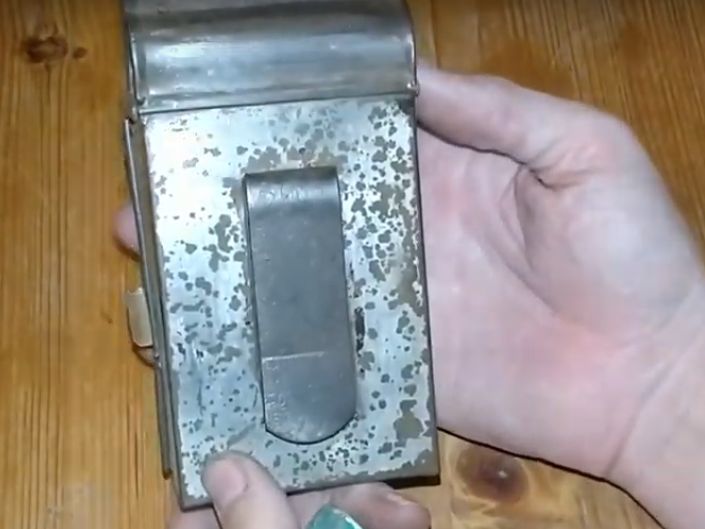
It’s an odd design, too; a clip on the back suggests a bicycle lamp, but normally those have coloured lenses. It’s smaller than most carriage lamps of the era, and railway or utility lamps tend to have glass on the sides too.
So I don’t honestly know what it is!
But never mind; let’s have a look at this one.
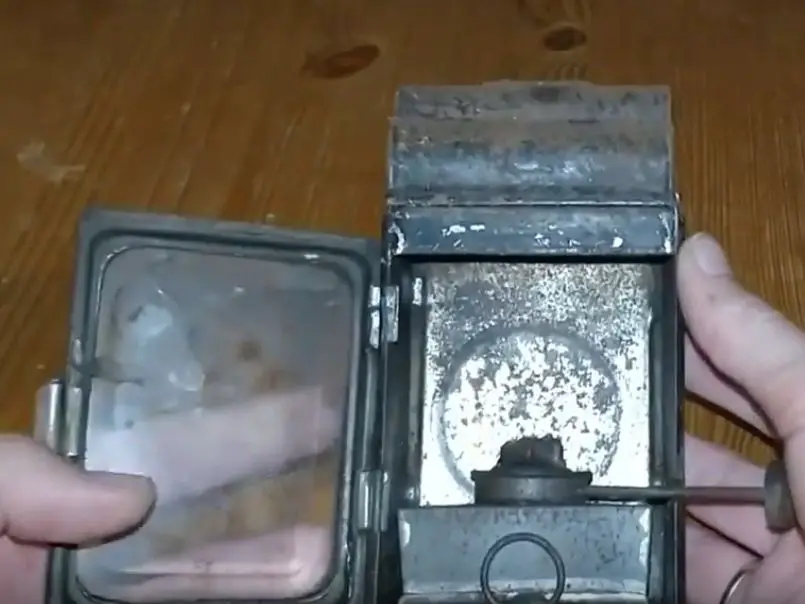
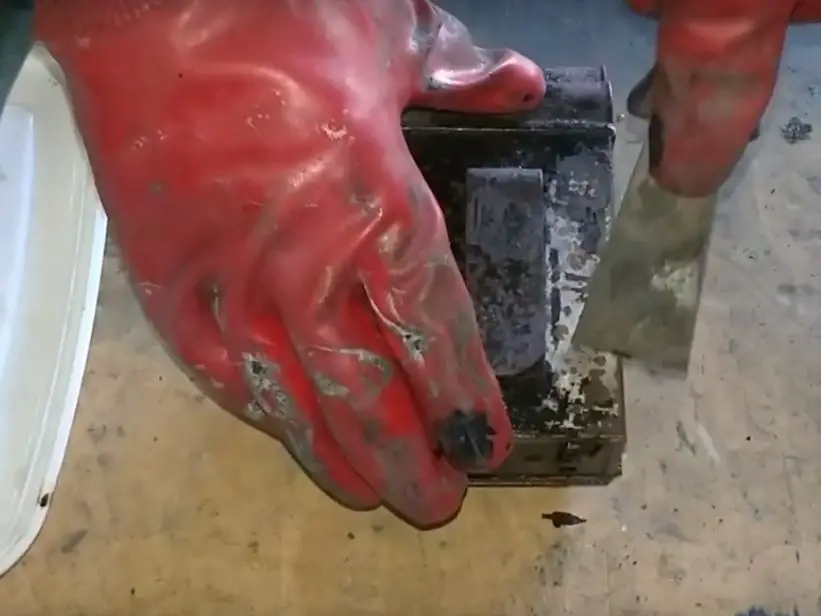
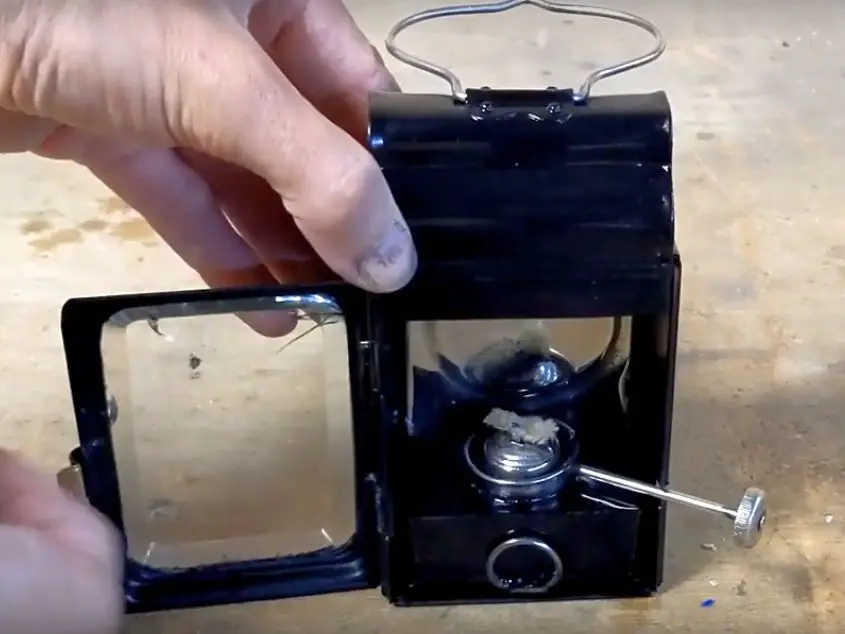
While intact and (probably) functional, it’s looking a bit sorry for itself! No matter, that’s what I’m here for. The main issue I can see is the cracked glass; it’s very thick glass and will be hard to replace. I opted to leave it as is – a little reminder of it’s history!
Cleaning it Up
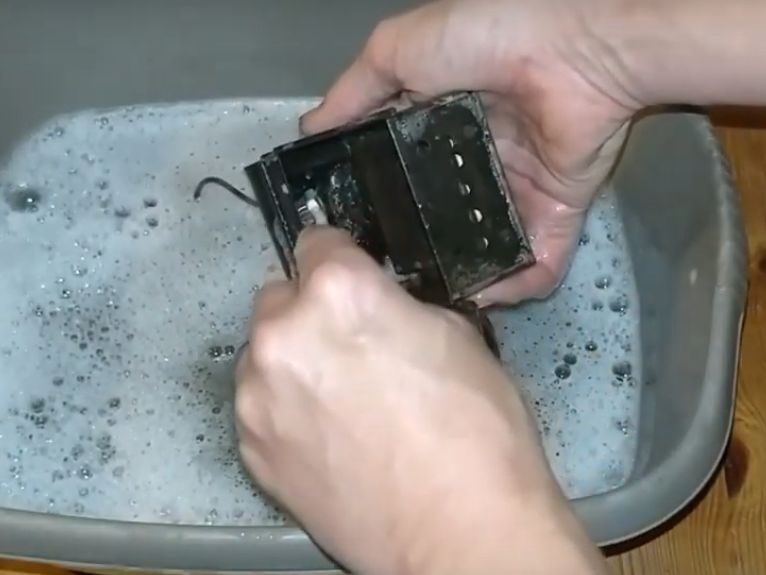
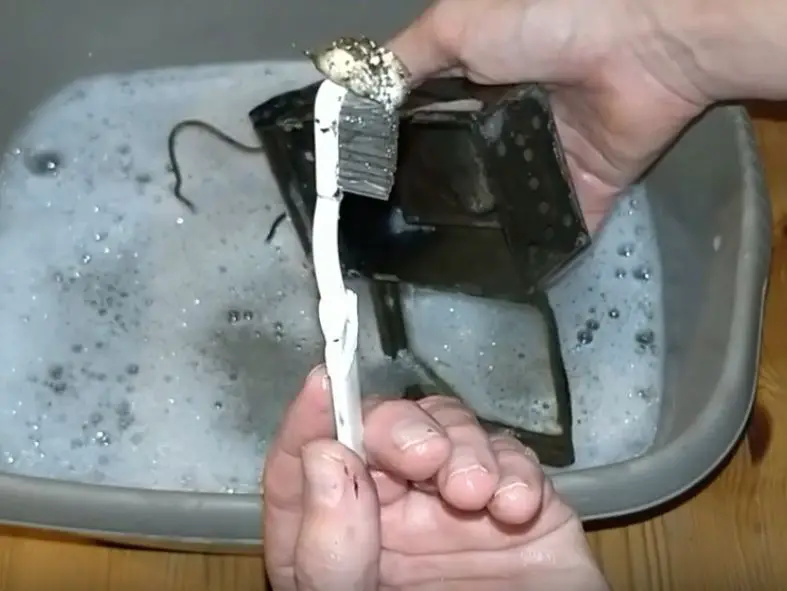
The first part of the restoration, as always, is cleaning it up. It’s sometimes hard to tell what’s rust and corrosion and what’s just dirt.
In this case, along with the usual years/decades of grime and the coating of soot that you’d expect, there were a couple of long dead insect larvae that needed to be evicted!
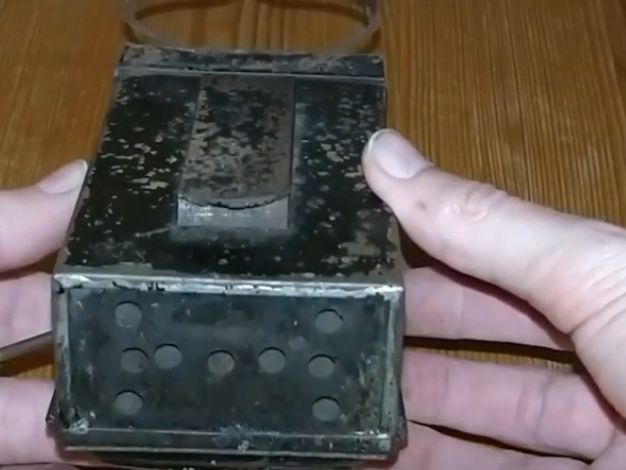
The cleaning didn’t reveal any surprises or fresh horrors – just the same chipped and scratched paint I already knew about.
The lamp body is tin plated, so most of it wasn’t particularly rusty, even in the places where the paint had been scratched off. So aside from a couple of small dents and some rust removal around the chimney area, this was really just going to be a cosmetic restoration.
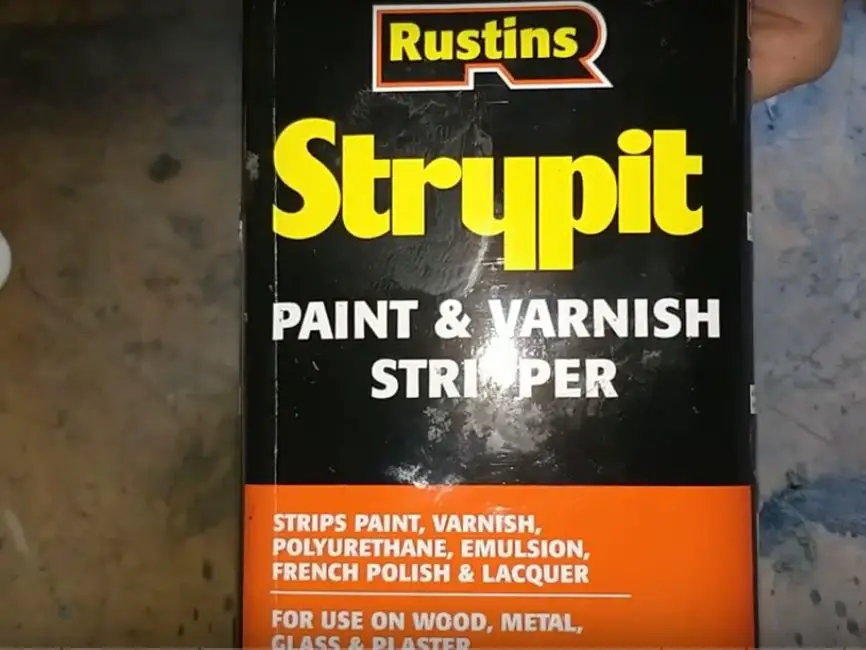
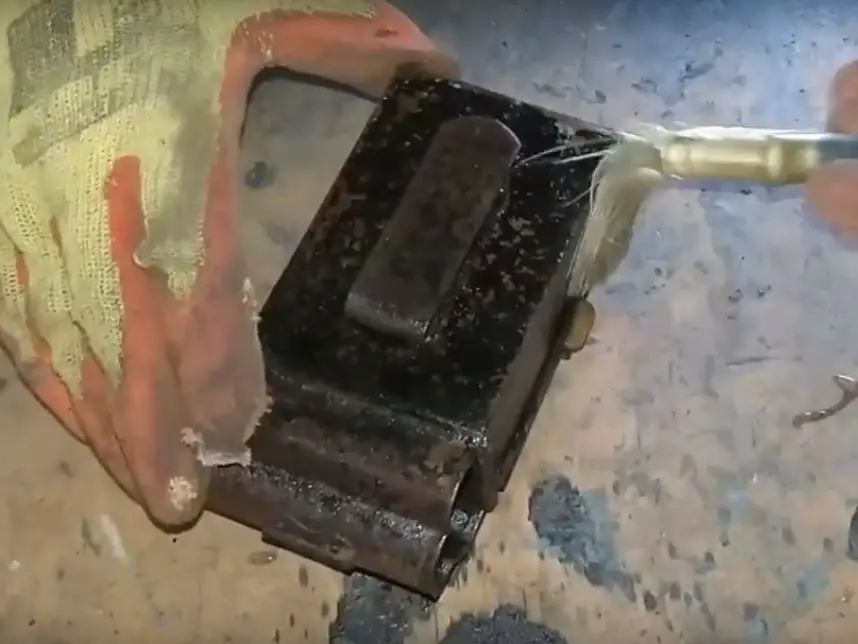
I started with some paint stripper – the existing paint was too far gone to be saveable, so the only real option was to strip it all and start again.
I went with a chemical stripper for this restoration; this had too many small nooks and crannies to make abrasive stripping particularly easy.
Modern paintstrippers aren’t what they used to be (for good reasons, to be fair), and I find it’s a bit of a tossup whether the stripper will work on a particular kind of paint. But in this case, the stripper I used took it off really well, with just a small amount of scrubbing to remove it all.
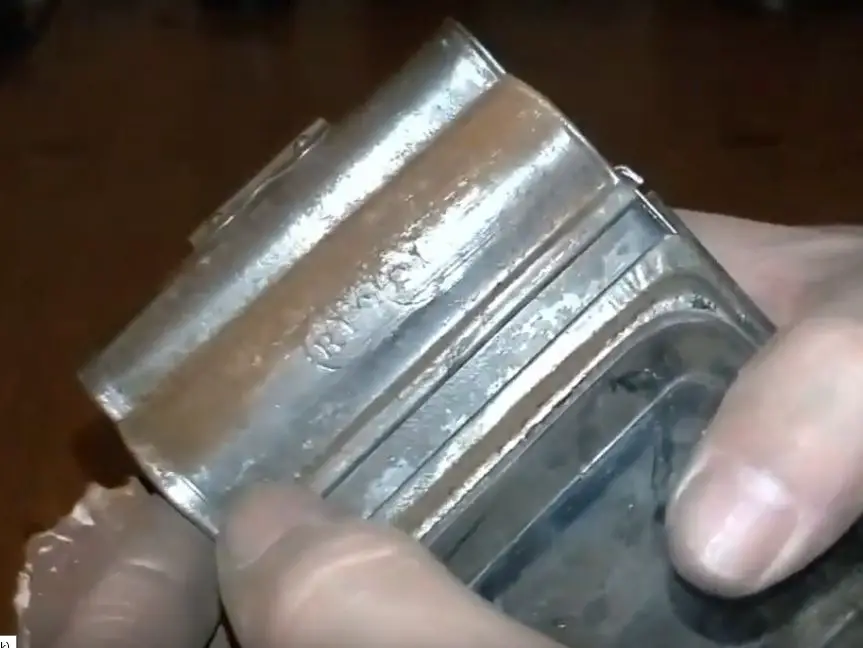
After some more cleaning, it came out pretty well, for the age!

The plating was starting to fail and leave bare patches, though. As this is something that would affect the eventual paint job, I took some time to sand the metalwork smooth. It will affect the plating of course, but the paint itself will give it adequate protection, so I wasn’t too worried about that.
Dealing With the Rusty Reflector
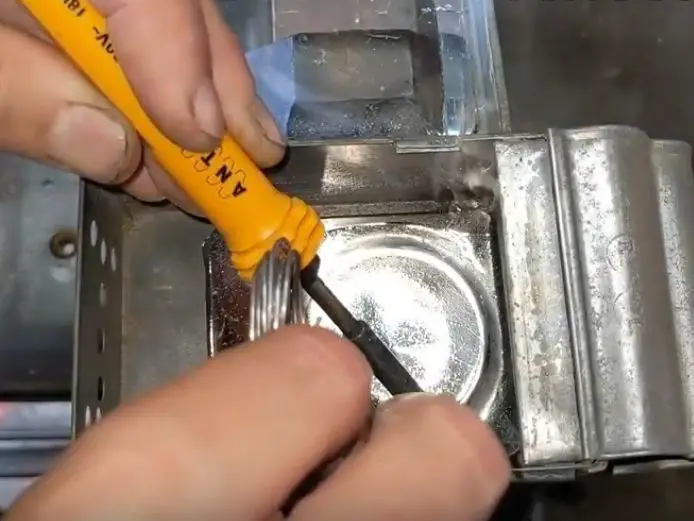
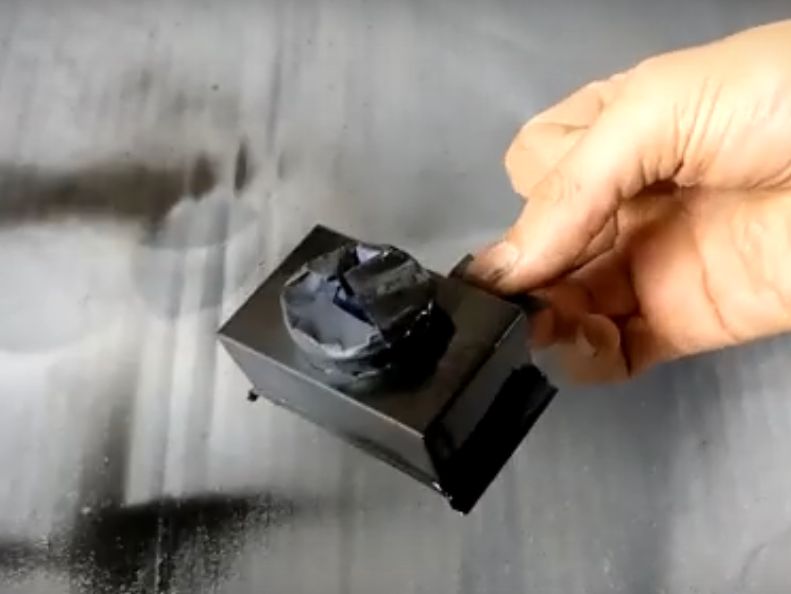
The only real problem area was the reflector inside the lamp – it was some sort of plated steel and the plating had failed, causing it to rust slightly.
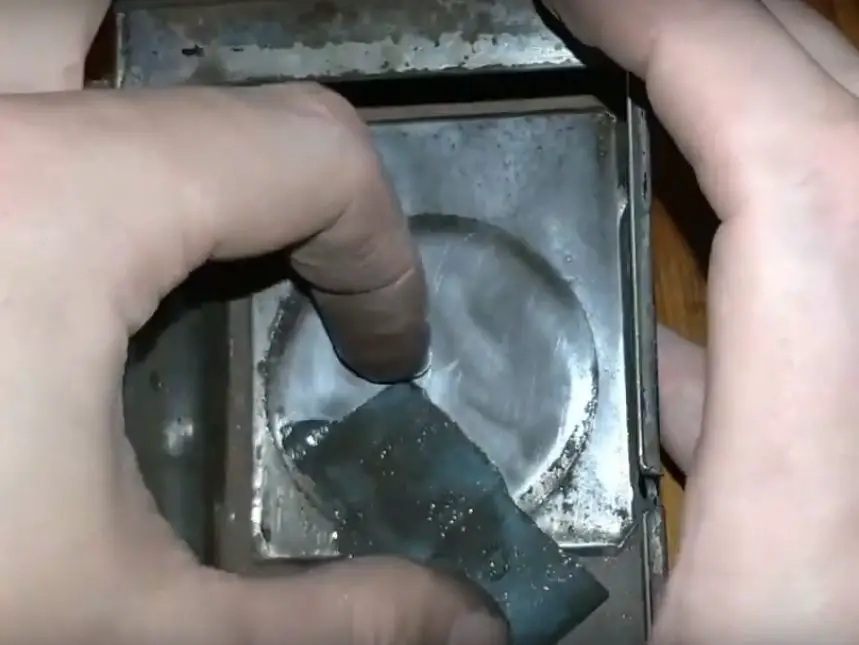
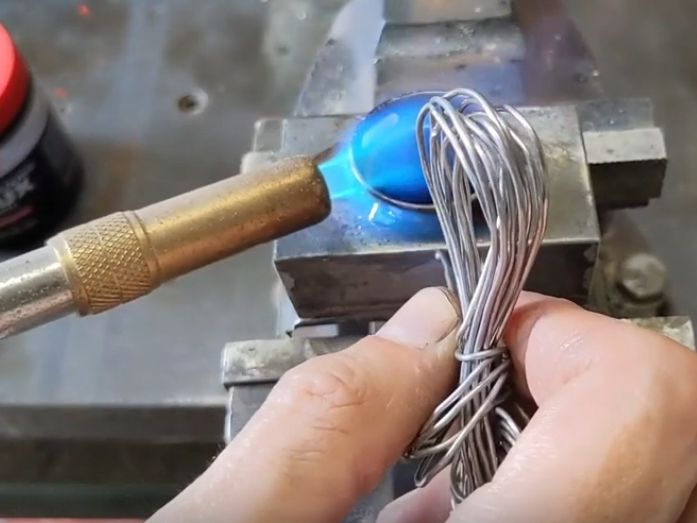
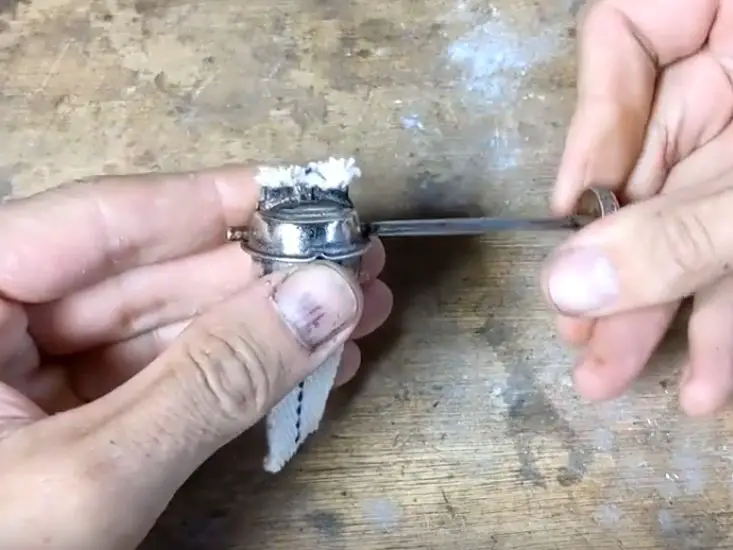
I first tried to clean it up with the reflector in place, but the plating was too far gone, so I needed to replate it. To do that, I needed to remove it from the lamp. It was soldered in place, so it was an easy enough job to melt the solder and remove the reflector.
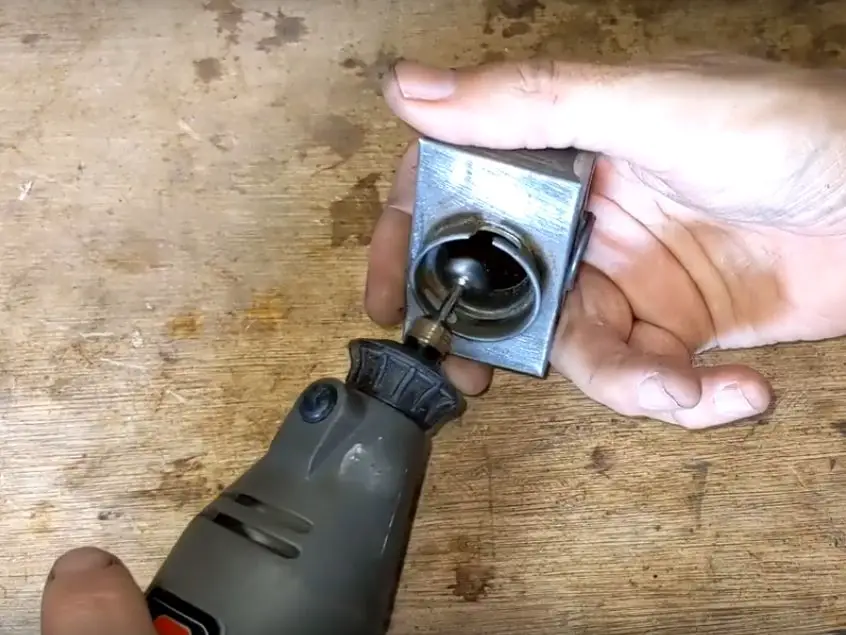
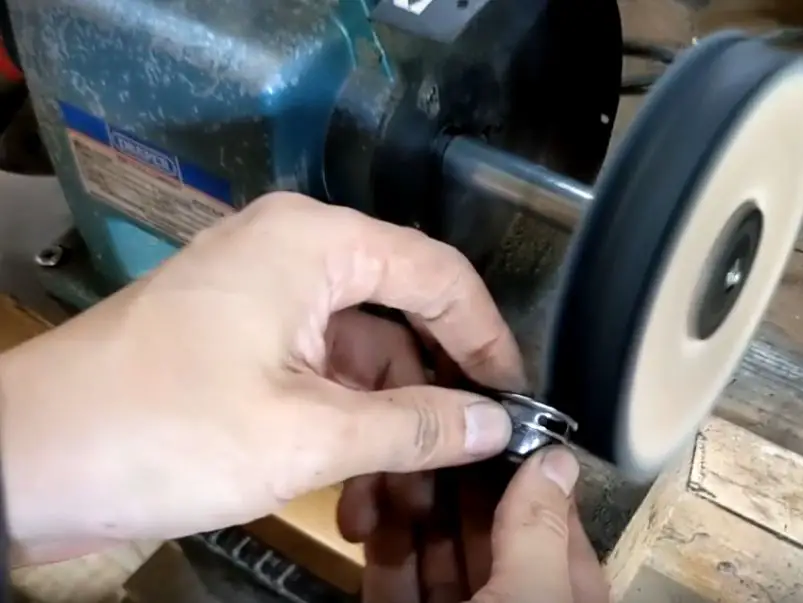
WIth the reflector out, I was able to clean it up properly. It came up okay, but still quite badly pitted and most of it was now bare steel. My original plan was to sand and polish all the pitting out, but before I could do that I started wearing right through the thin metal in places, so I had to stop there and call it good. It wouldn’t be perfect, even after plating there would still be some pitting, but that would have to do.
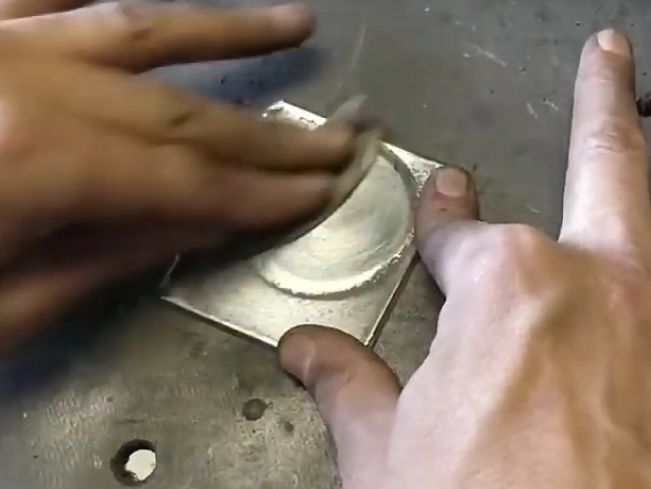
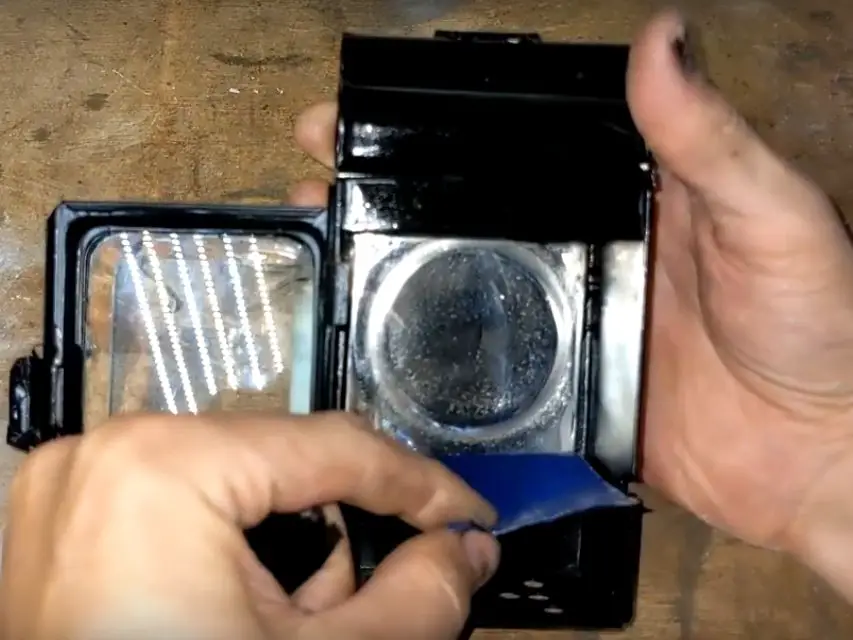
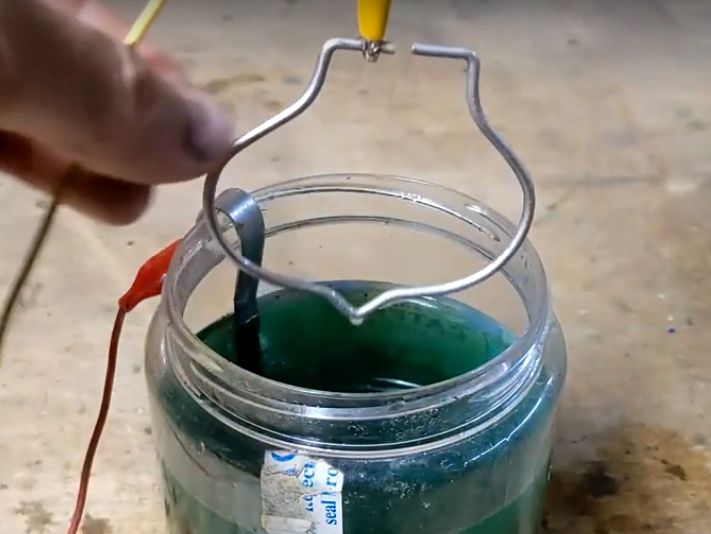
I then got it thoroughly cleaned and ready for electroplating. I don’t know what the original plating was, but I opted for nickel plating here as it’s fairly easy to do and gives a good shiny finish. Chances are, that’s what the original plating was too.

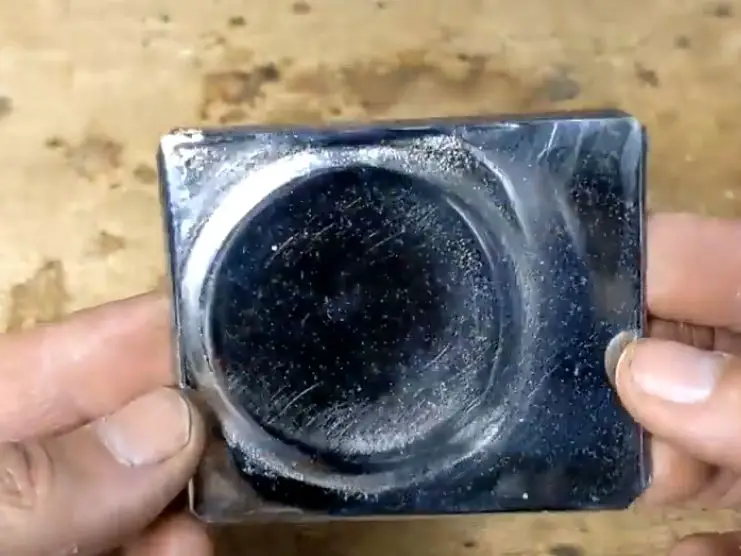
Once plated, I gave it a good polish. The end result is far from perfect, but I can live with it. The only real alternative is to make a new reflector from scratch.
With the reflector nicely polished, I just soldered it back into place. Job done!
Repairing the Paraffin Tank
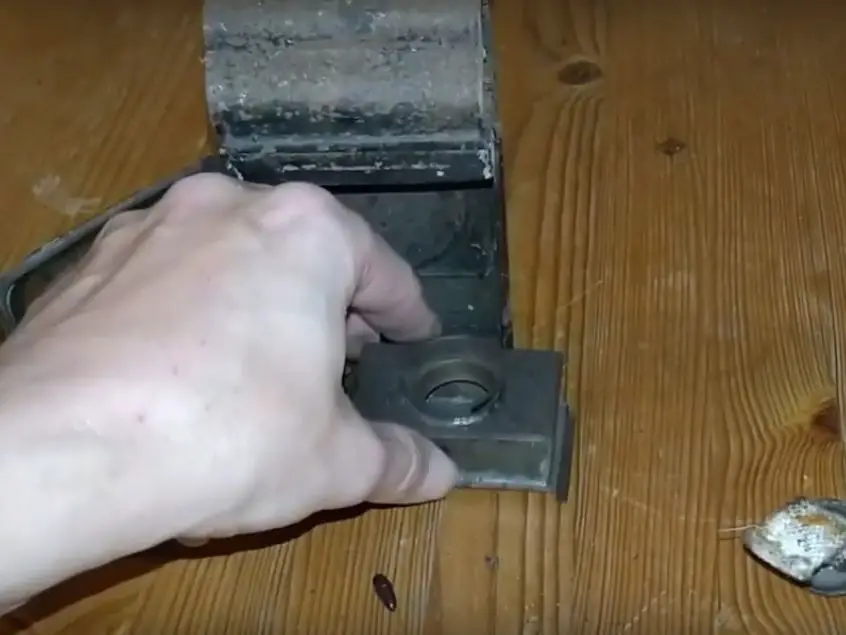
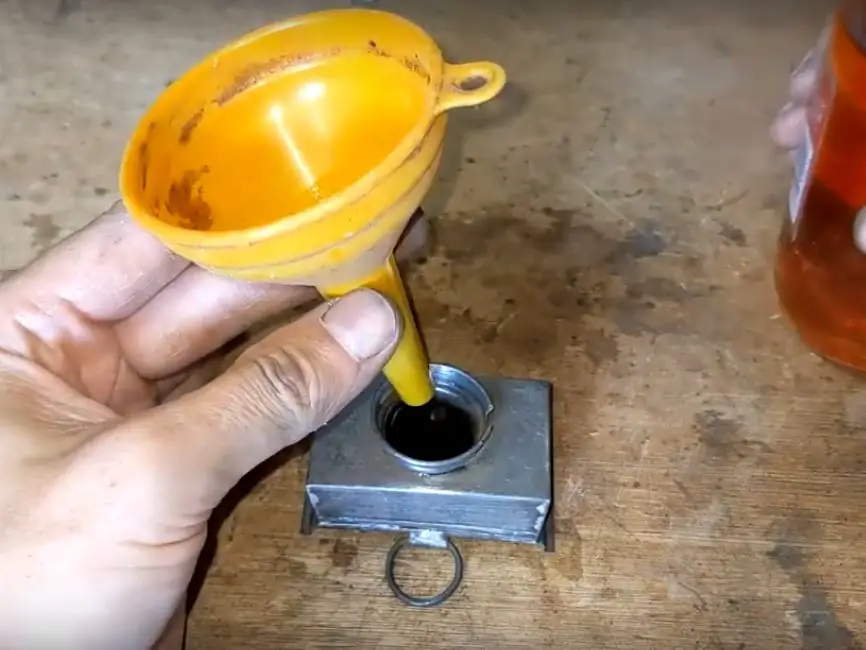
With the reflector soldered in place, the body was ready for finishing and painting – but before that I wanted to check over the paraffin tank.
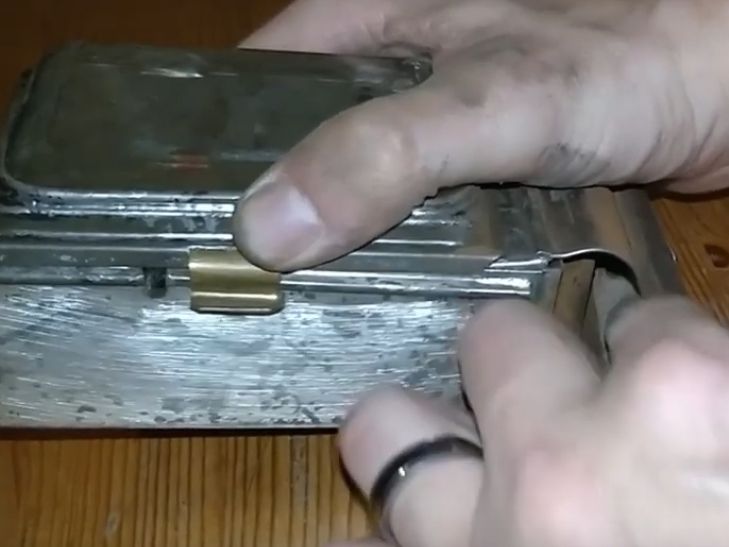
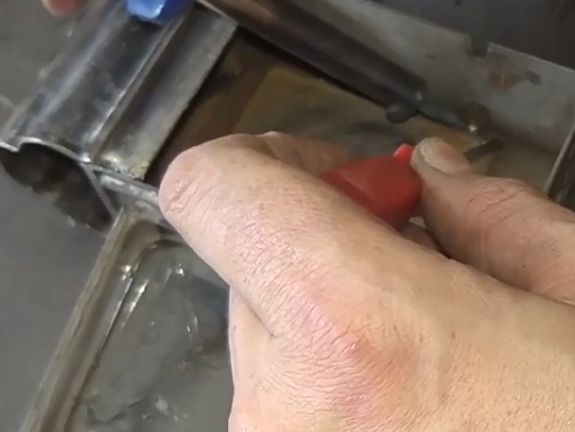
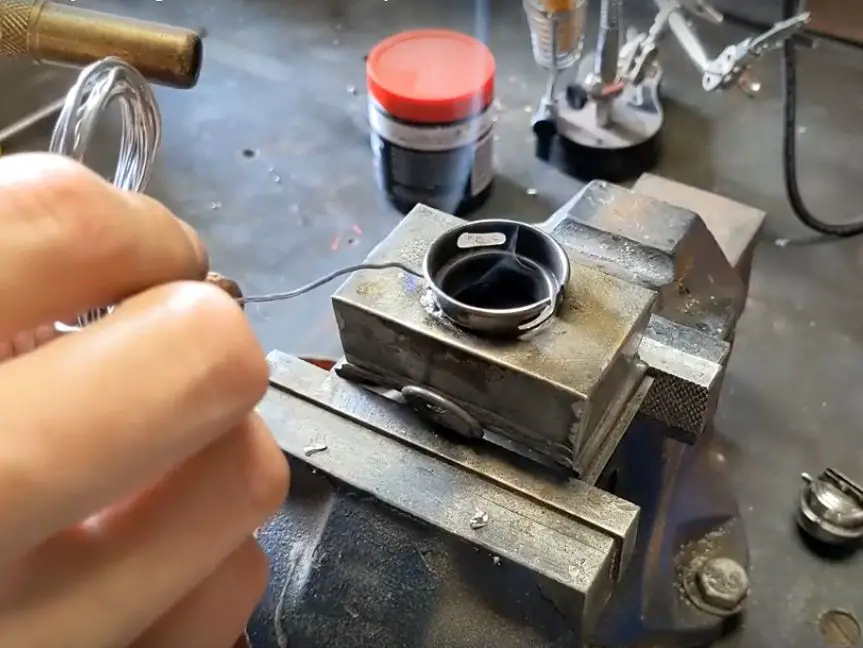
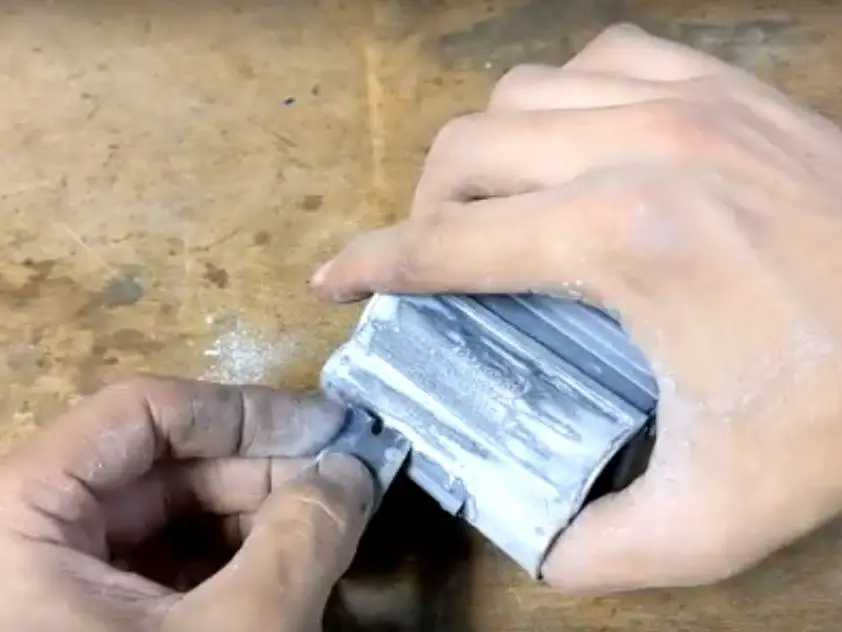
While it looked solid enough, I wanted to be certain it would hold the paraffin – it’s no good if it just leaks everywhere! So I did a quick test, filling it with white spirits. While it was mostly okay, it did leak a little around the solder joint on the cap. Not really a big deal, and it probably leaked like that from new, but I figured I should fix it properly.
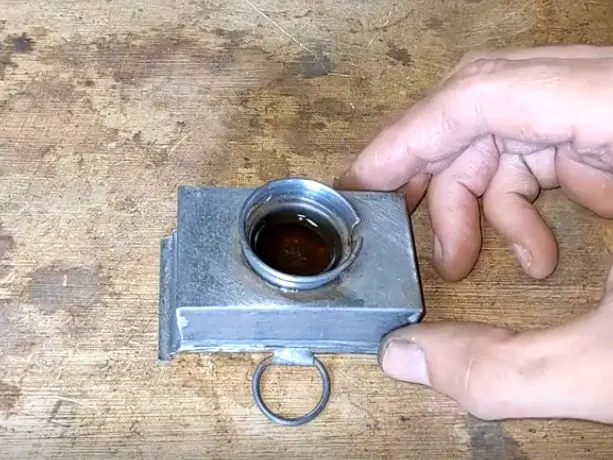
My plan was to just add in some new solder and seal the joint that way, but in the end I found it much easier to remove the cap, clean it all up properly, then refit it with a fresh solder joint.
Body Filling, Priming & Painting
With all that done, it was time to get everything painted!
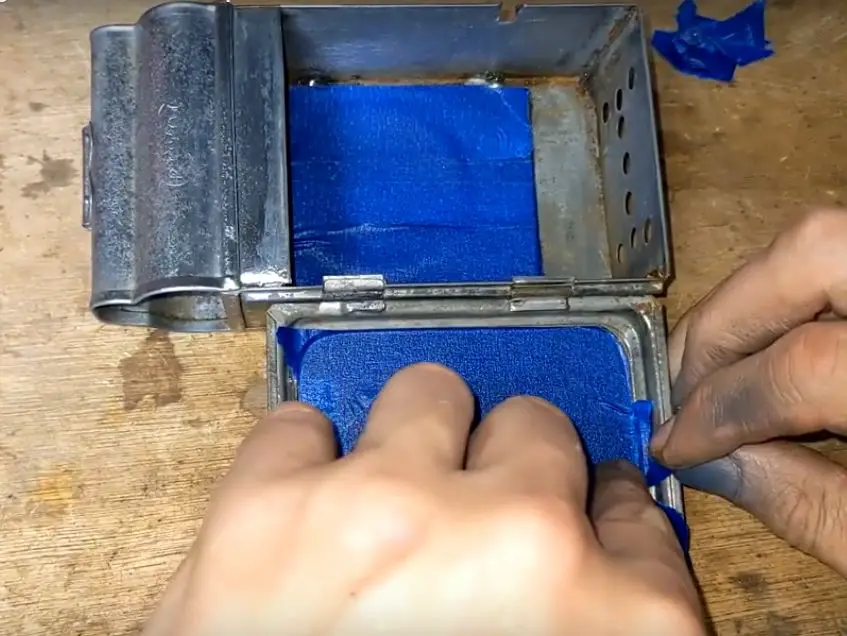
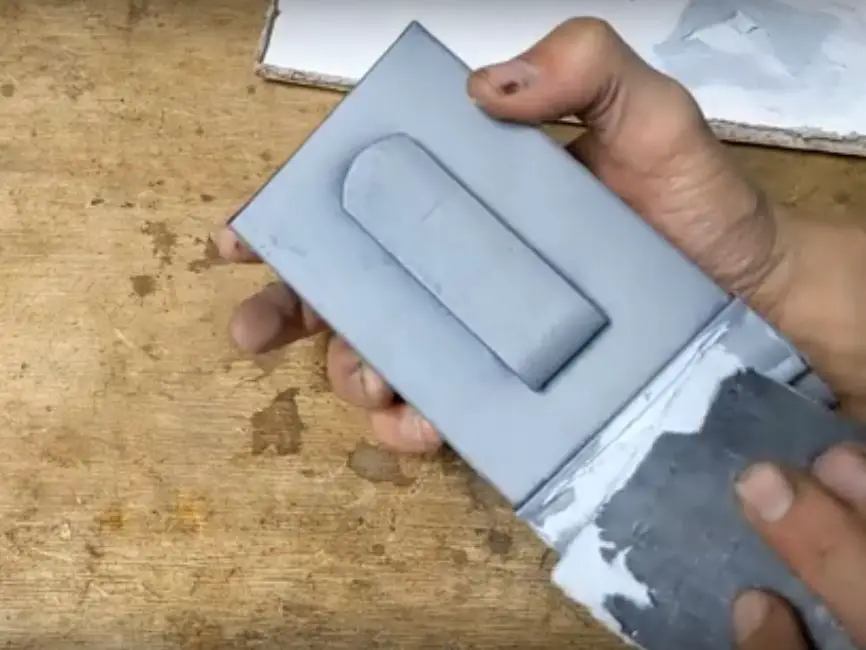
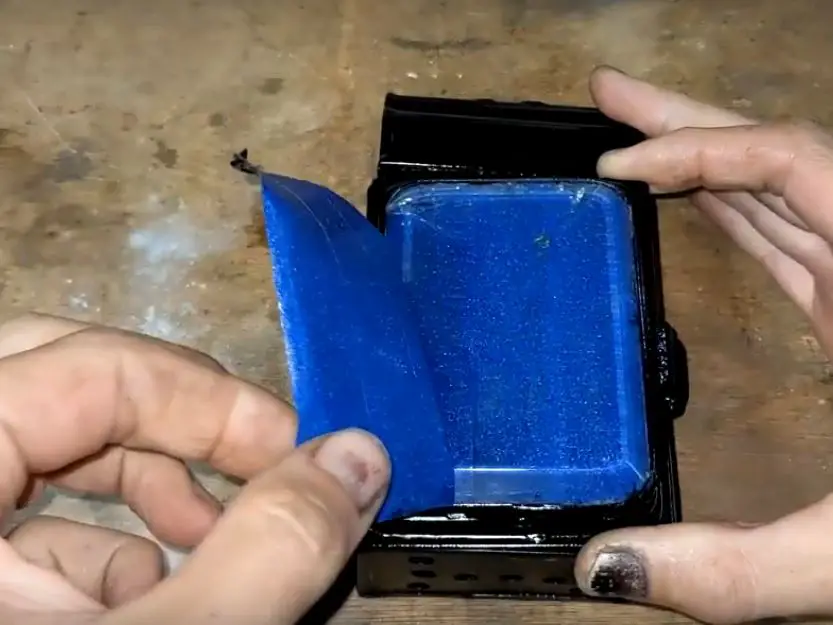
I carefully masked everything up; I couldn’t remove the glass or the reflector as they were soldered in place, so I just masked over them. Then everything got a coat of etch primer, followed by high build primer.
That left the body looking mostly smooth and decent, but there were a few rust pits here and there that needed more work. So I got out my body filler and patched in the small pits and holes to get everything looking new and smooth again. Of course, sanding all that smooth took most of the primer off so I had to repaint the whole exterior again! With that reprimed, I sanded everything down to 800 grit for a nice smooth base for the paint.
Once I was happy with the bodywork, I got to spraying. I chose a black enamel paint for this, which I hoped would be heat resistant enough to take the heat of the lamp.
Reassembling
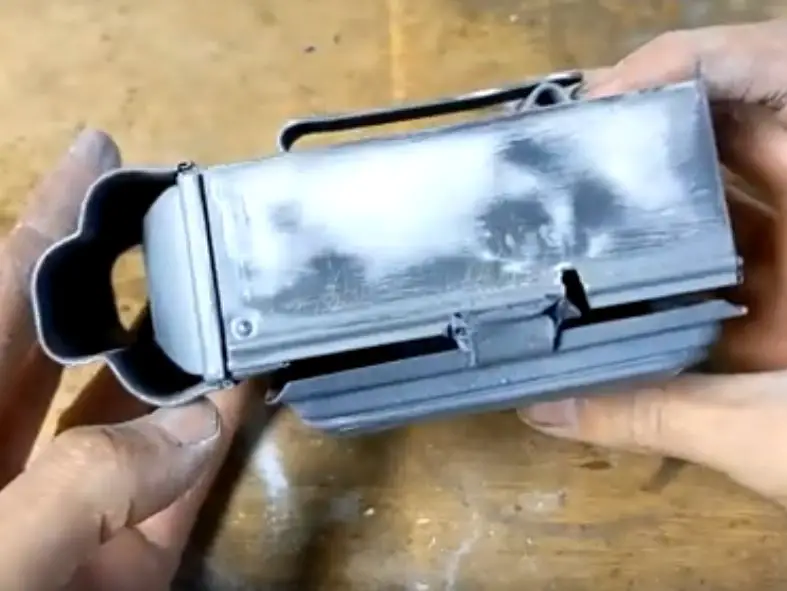
After letting the paint cure, it was time to put it all back together.
There wasn’t much to this; I fitted a new lamp wick, filled the tank and then put the tank in place. I also cleaned, replated and fitted the carry handle. And then it was ready for testing!
Testing
And finally, it was time to test the lamp!
The lamp lit up as soon as I lit the wick, and the control arm worked perfectly. Job done!
The problem was with the paint. Remember when I said I hoped the enamel paint would be heat resistant enough for the lamp? Well, it turns out it wasn’t. The trouble started as soon as I turned the lamp up even a little; the paint at the top of the chimney started to blister and bubble. Really not what I was hoping for!
I’m going to have to do a test at some point to find a paint that can recreate that nice shiny vintage paint while still being able to resist the heat well enough. Certainly, the enamel paint I used isn’t it. But for now, the lamp does look good and works as it should, so I’m going to call it good!
The Video
As always, I got all this on my YouTube channel. Enjoy!