
Now that the car is painted, it’s time to get it back together!
The fuel tank seemed like the best place to start: it’s buried right at the back of the car, above the axle. I’d need to get that fitted before I could do much of anything else.
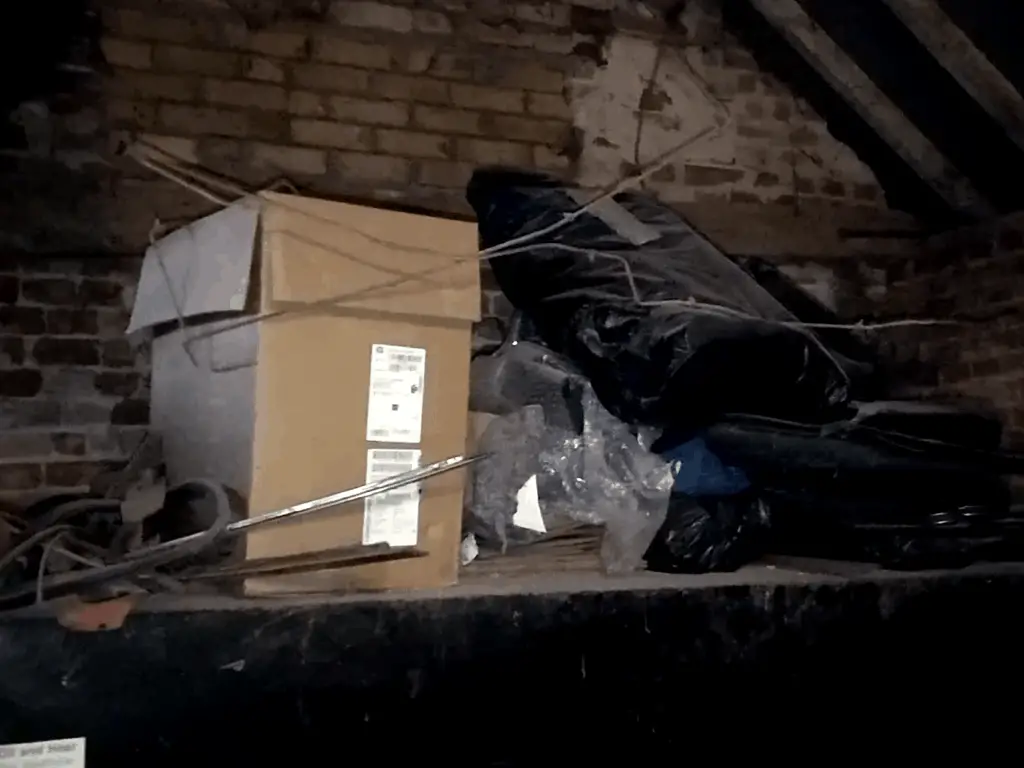
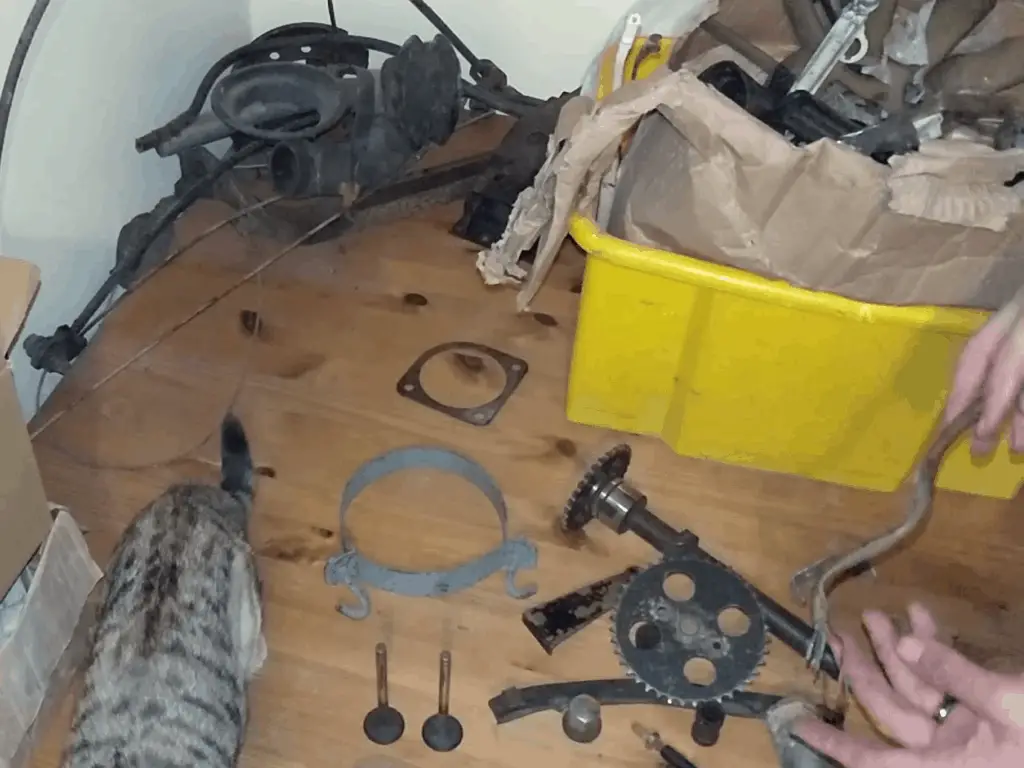
Now I’m actually at the stage where I’m putting things back together, it was a good time to go through my stash of parts and give it all a good sort out. Most of it came off the car years ago and has been dragged around in boxes since then, through two different house moves. I’ve also bought a few cheap things when I’ve seen them come up on eBay that’s been added to the stash, so I really didn’t know what I had. Time to drag it all out and have a look!

The TR7 bits are all stashed in the back of the shed. A small pile of parts… Becomes a larger pile. That’s everything. Hopefully.
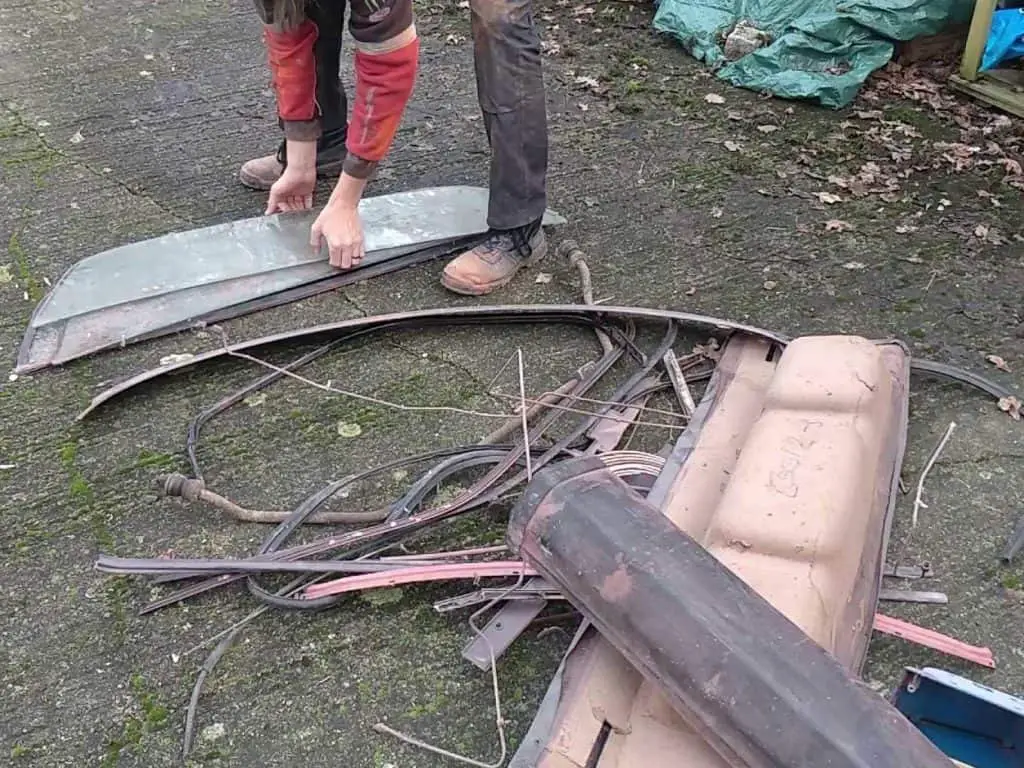
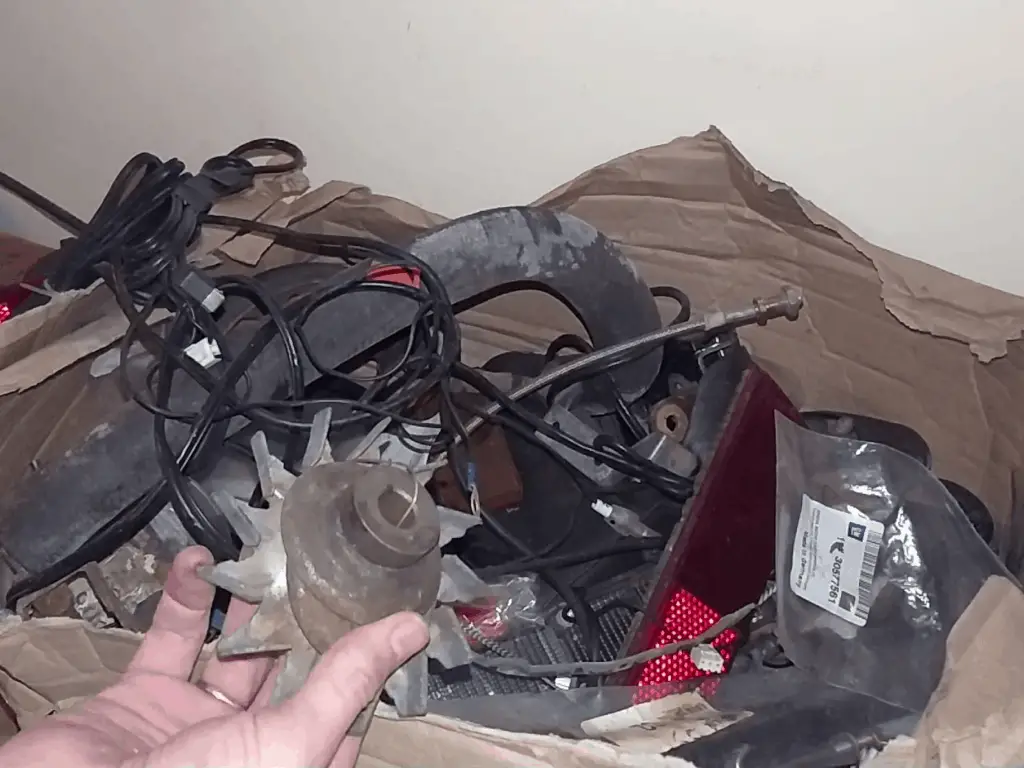
I dragged all the boxes in and had a fun couple of hours digging through it all and reorganising it. It was a bit of a mess; I had old V8 parts mixed in with 2 litre engine parts and interior trim!
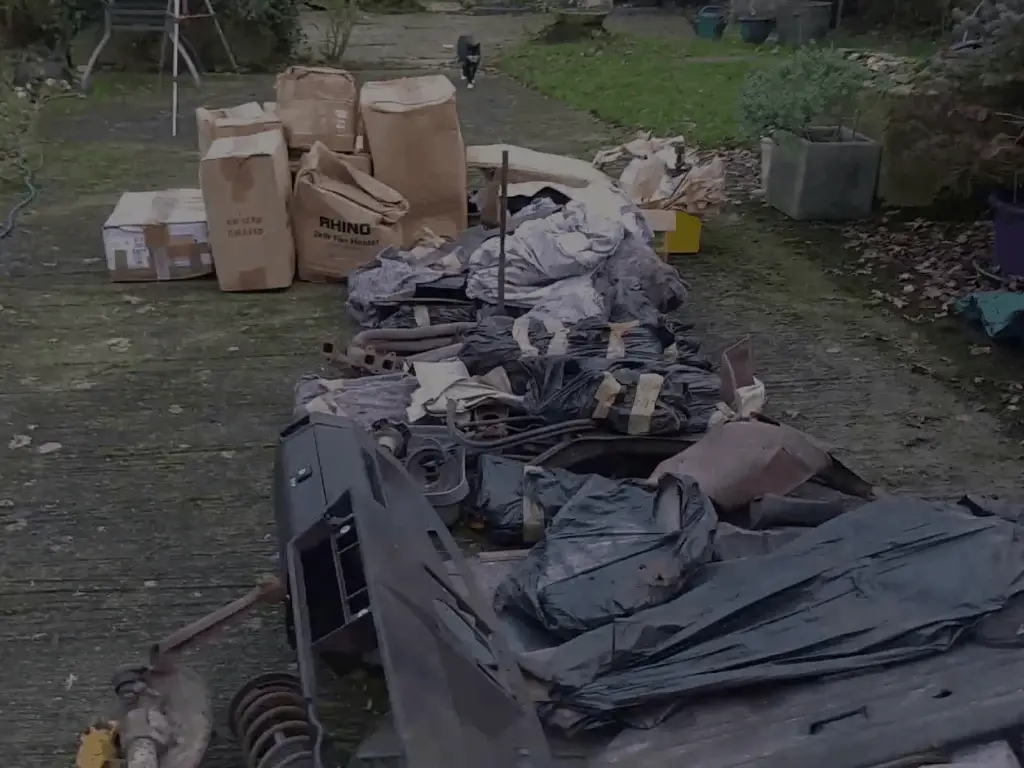
But in the end I had it all sorted out and boxed back up; this time I had it arranged in a more sensible order: all the interior parts in one box, the engine bay parts in another, and so on.
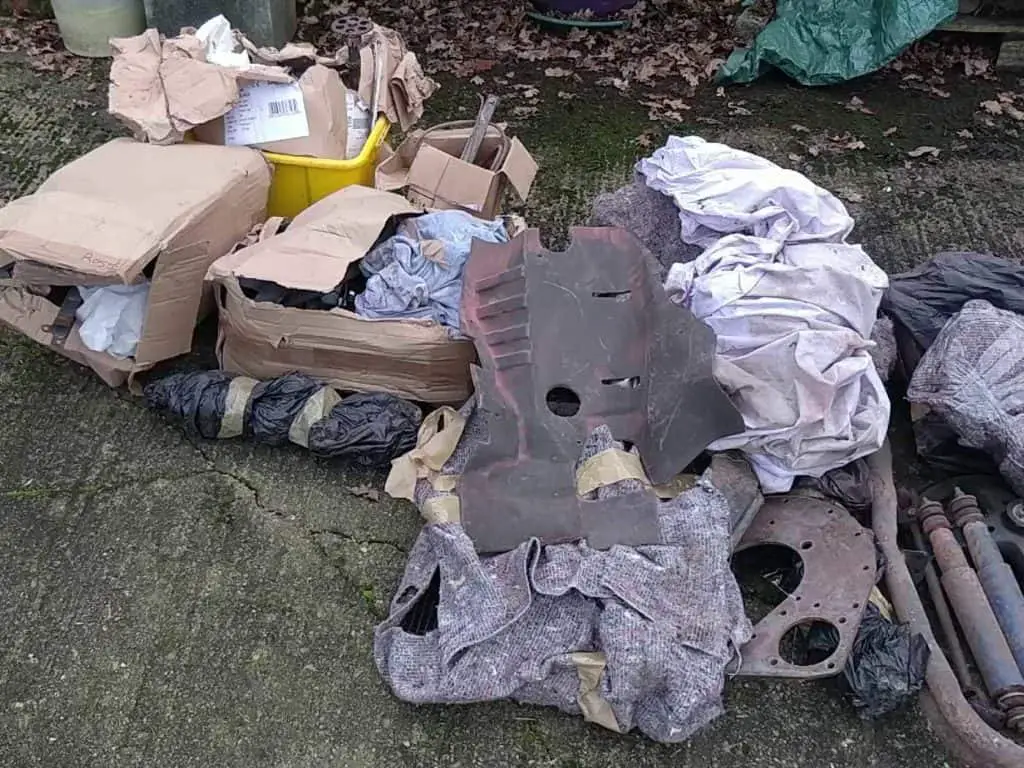
In spite of the disorganised mess and the moving around, I think I’ve got almost everything I took off the car. Notable (and annoying!) exceptions being the front grille strips and a box of decent condition bumper corners. Both of those are hard (read: expensive) to replace. I guess I must of left them behind at the last move; I can’t figure out where else they’d have gone.
Sorting through a box of random parts, helped(!) by a cat. Heater hoses mixed in with light clusters. It’s chaos! I have no idea what those alternator pulleys are from.
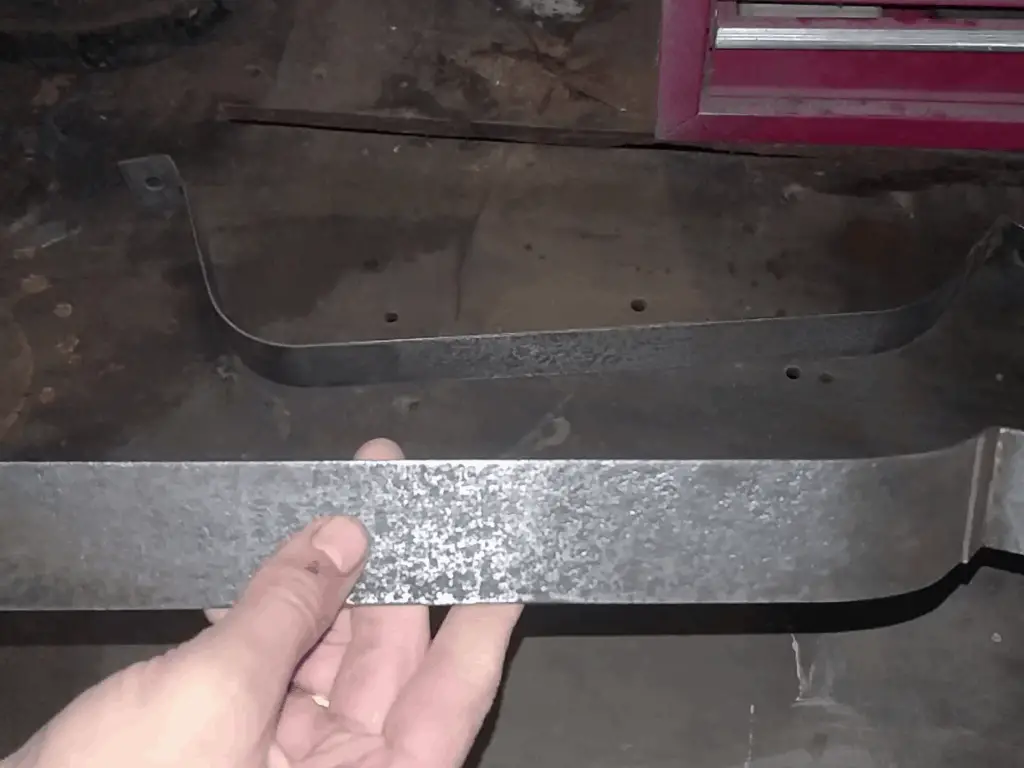
But with the stash all sorted out and put back away for later, I had the parts I needed: Mainly, the fuel tank straps and the filler neck. The fuel tank itself was deemed too rusty to reuse and scrapped years ago, so a new one was ordered.
Cleaning and Repainting the Fuel Tank Straps
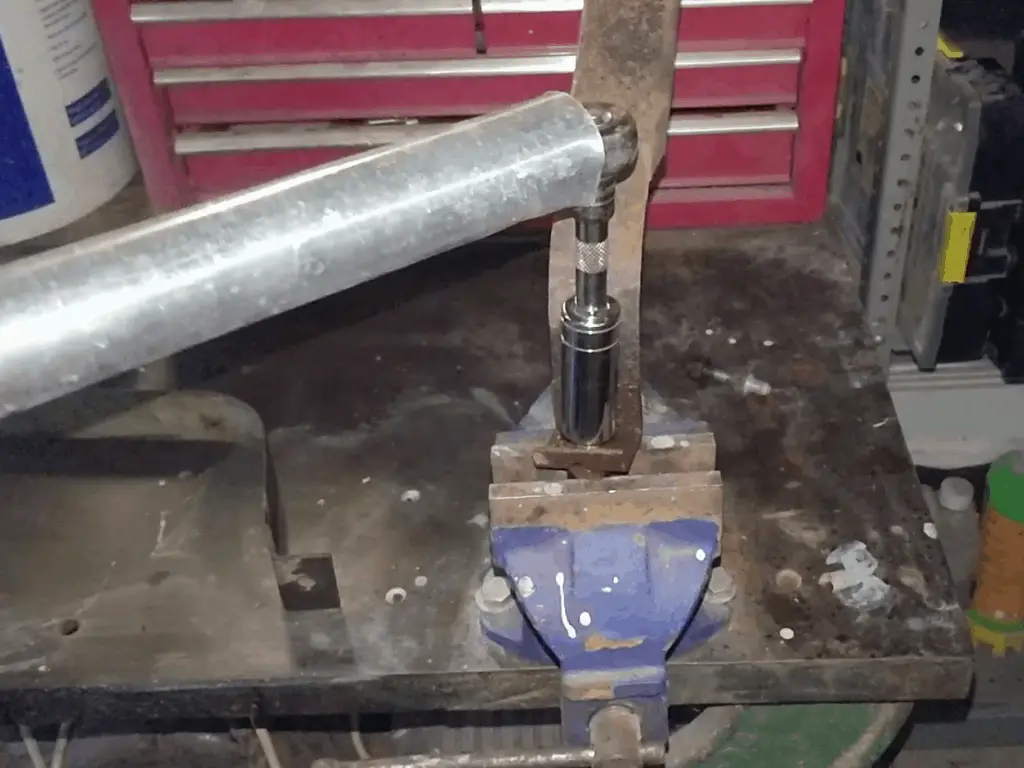
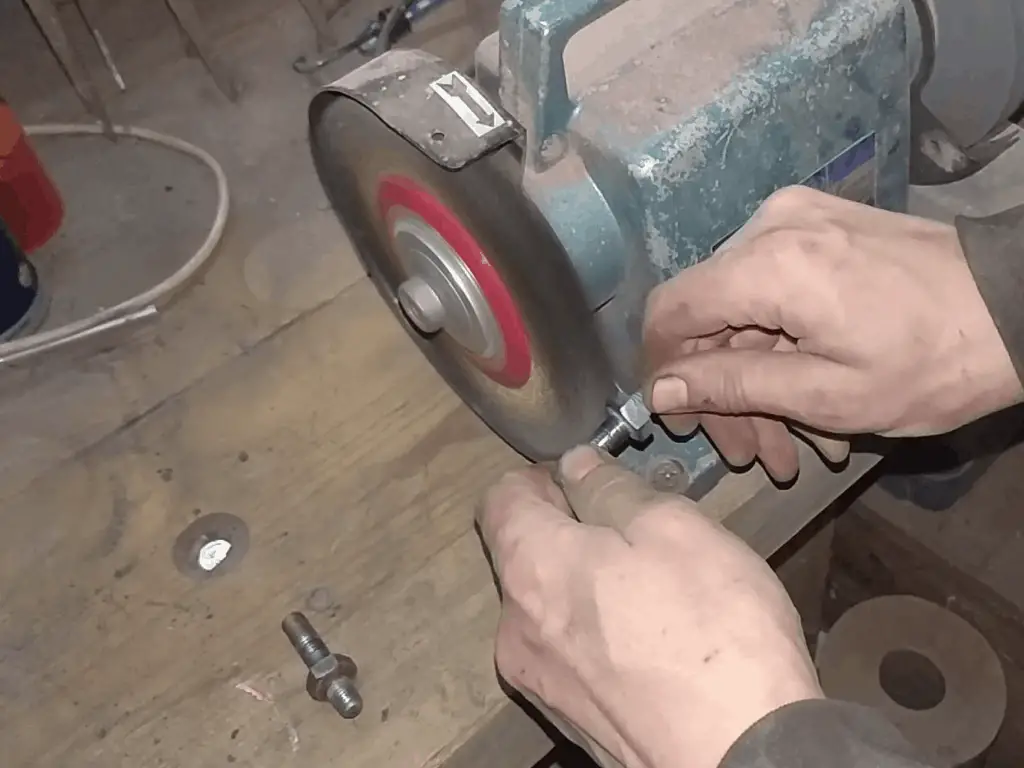
The straps themselves were in fairly good condition; a little bit of surface rust but nothing I can’t deal with. They did come with the mounting studs still attached, however, and they were fairly well seized in place. I had to spent a decent amount of time with some WD-40 and a breaker bar to get them free. You can buy new studs (and I did have to buy one; I could only find three) but they’re costly enough that I took the time to undo them properly rather than just grinding them off and replacing them.
The studs didn’t want to give up easily… 
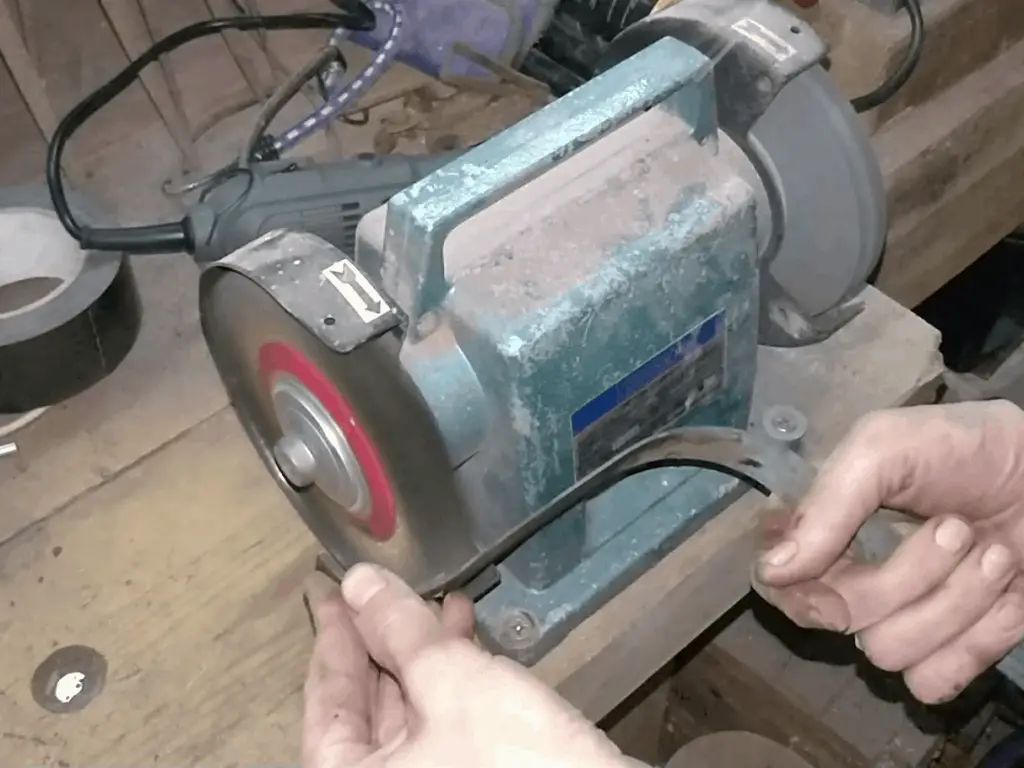
But I got them free in the end. Looking a bit grotty… But a session on the wire wheel soon cleaned them up.
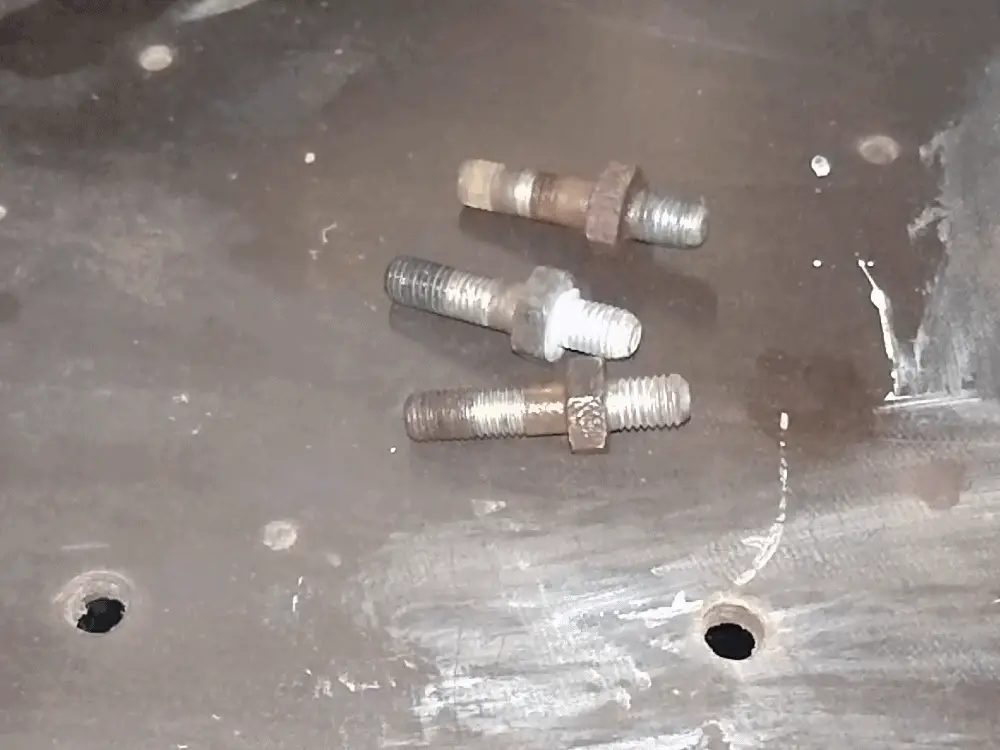
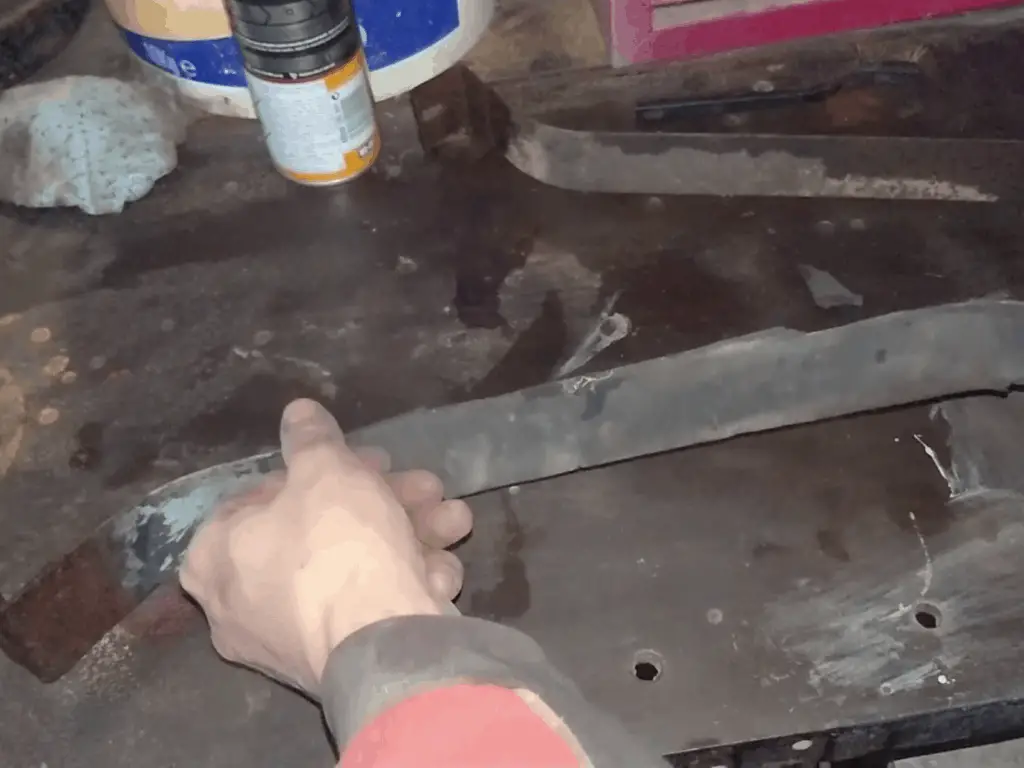
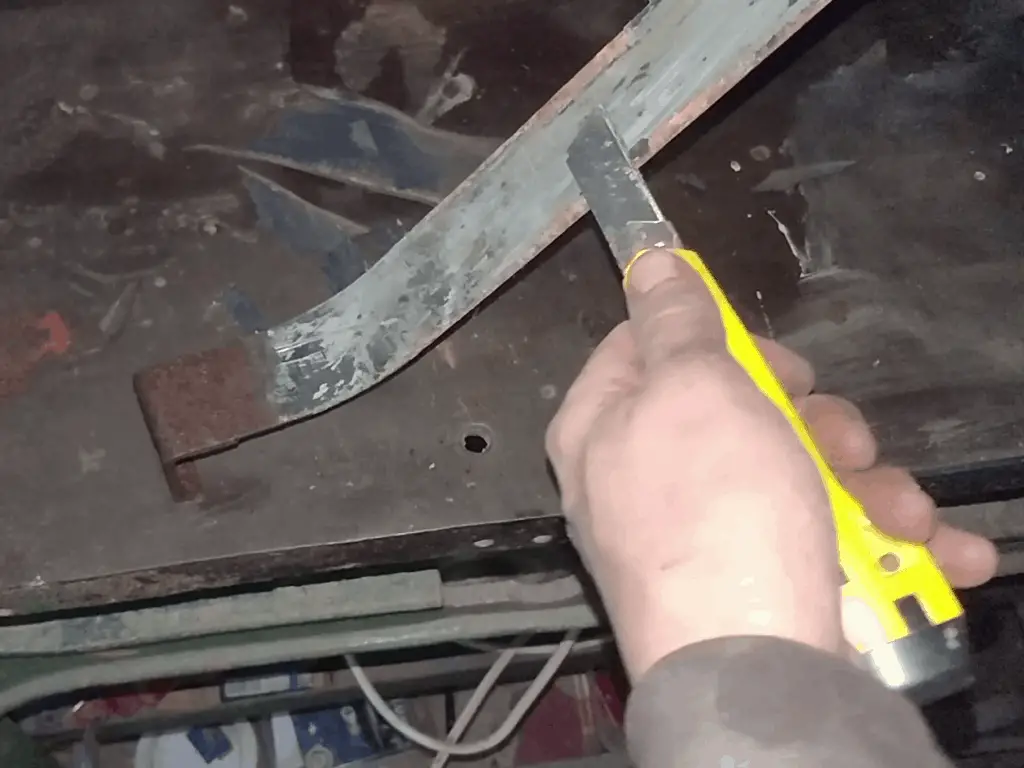
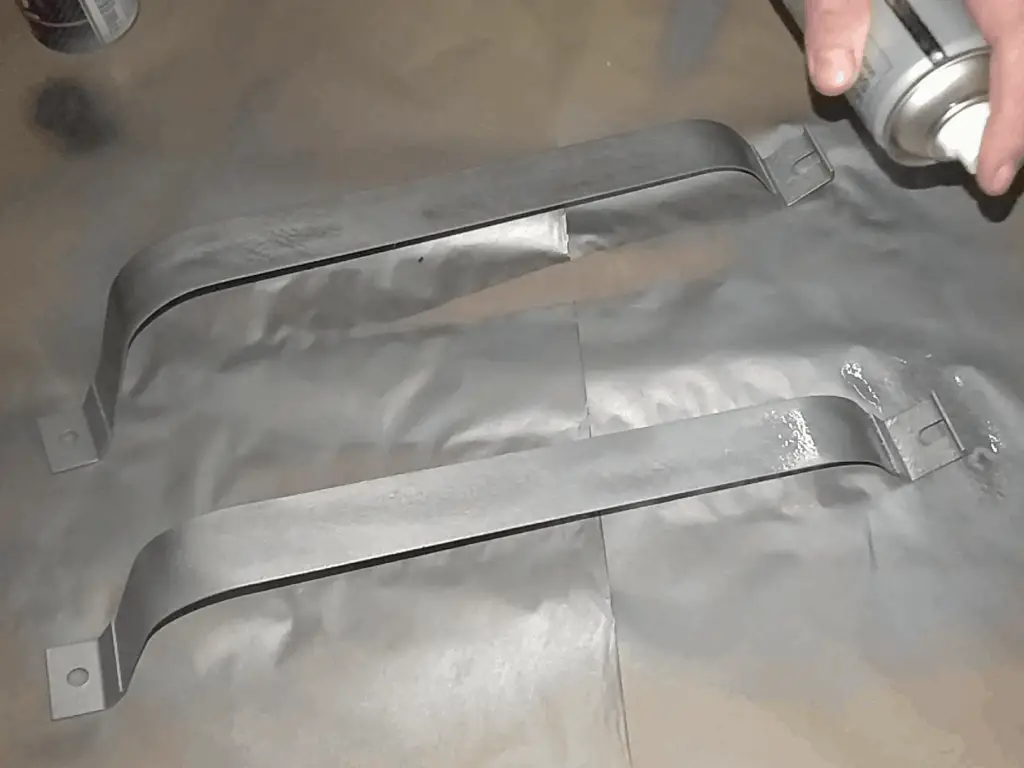
The straps themselves just needed the old rubber pads peeling off, then a good cleanup on the wire wheel. They’re a little pitted from rust but still plenty strong enough. Once I had them cleaned up, I painted them silver.
Peeling off the old rubber padding… …and scraping the residue off. They cleaned up great on the wire wheel. A little bit rust pitted, but still good to use. Finished up with a little paint.
The Filler Neck
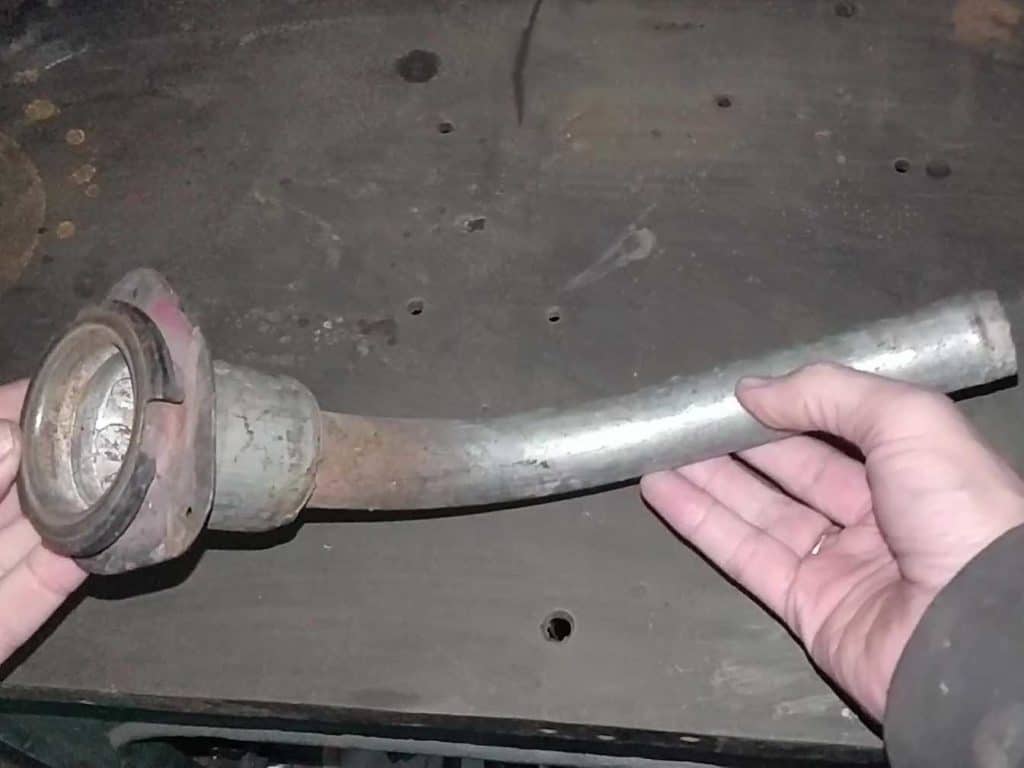
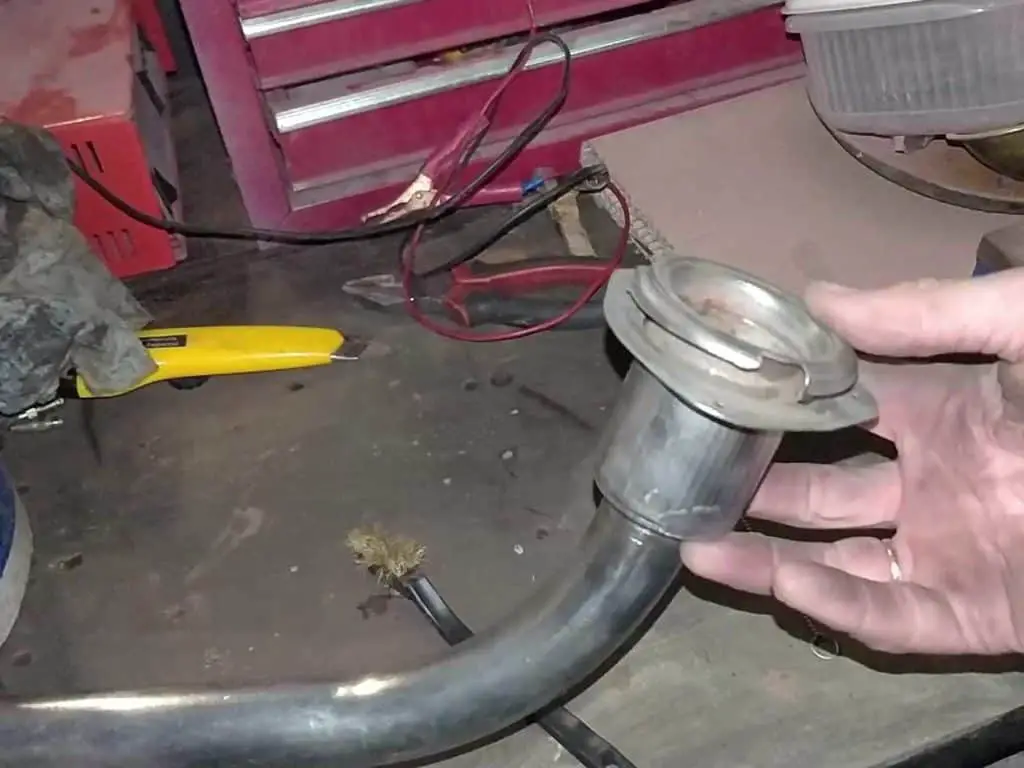
The filler neck was next; it was in reasonable shape, and just needed a bit of cleaning up.
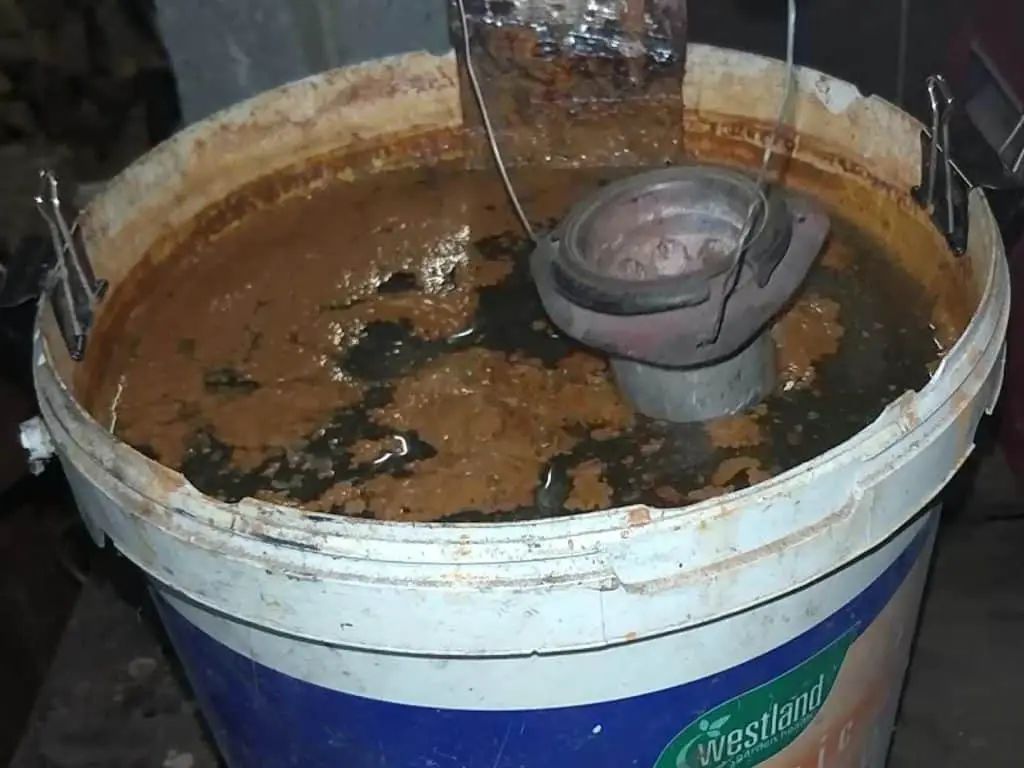
It had picked up a little rust, and as it was in hard to reach areas, I treated the rust with electrolysis. That brought it up great, and after a bit of cleaning up with the wire wheel and some brushes, it was ready to fit.
Not in bad shape, but could use a bit of cleaning up. In the electrolysis bath it goes… After a bit of manual cleaning, it came out pretty decent.
Painting the Fuel Tank
As I mentioned above, I’d scrapped the old tank. It was pretty rusty and while it wasn’t leaking, it looked like it was about ready to. Had I known at the time how much new ones cost (£265!) I might have given it a closer look. But, too late. I ordered a new one.
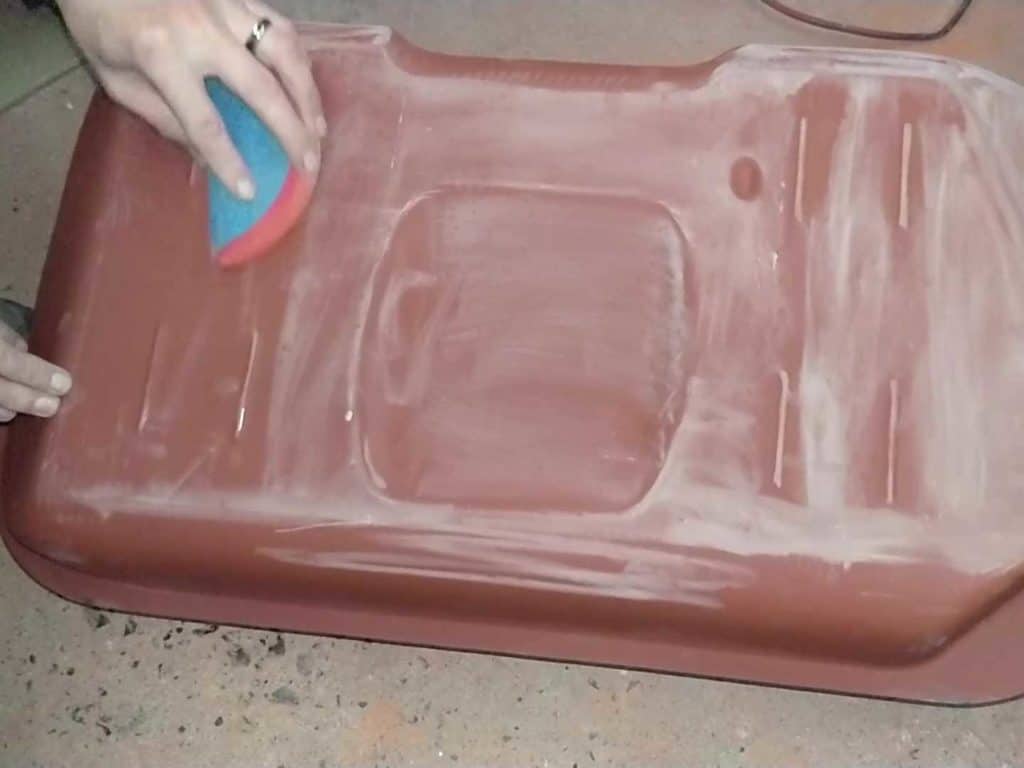
It was nice to actually be dealing with something new for once, and to not have to spend hours cleaning and derusting it! All the tank needed was painting; it came already painted with some red oxide primer, so I just flatted that back and sprayed it with some satin black paint. I used a specific paint that’s supposed to be hard wearing (Simoniz ‘Tough’), so time will tell if that turns out any good or not.
New and shiny. Well, not *literally* shiny. Flatting back the primer… …before painting in satin black.


Cleaning the Underside of the Car
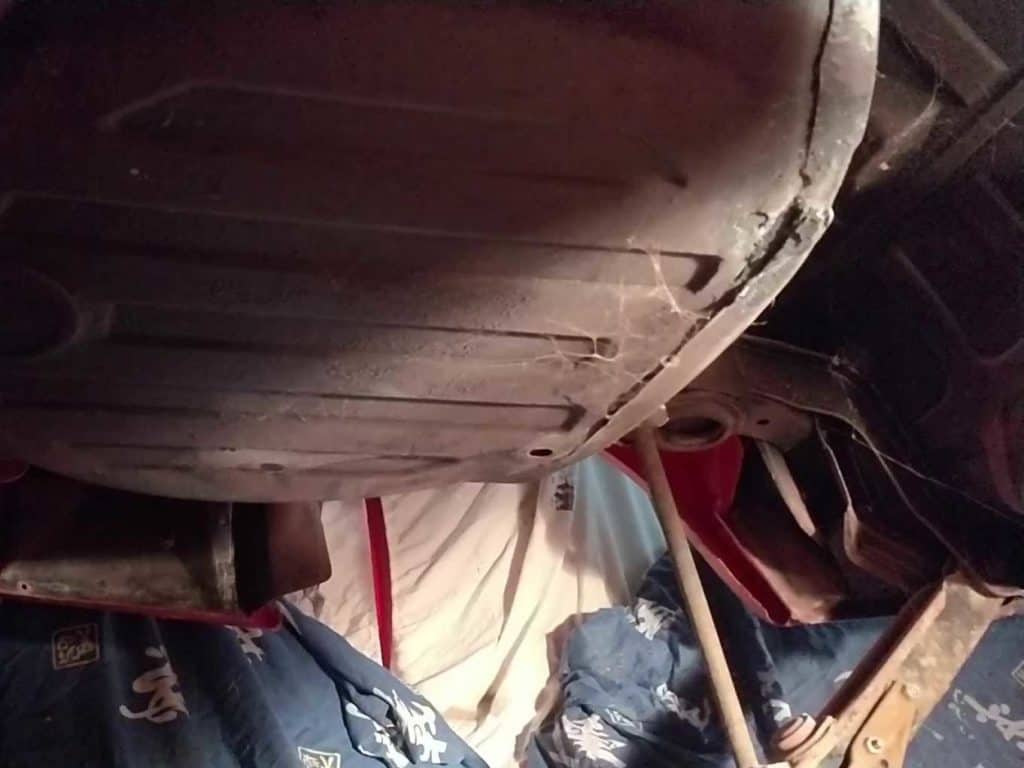
It had been some years since I’d been under the car properly, and in that time I’d created a lot of mess. So the underside was pretty grotty with cobwebs and dust. Before I got too far with putting everything back together, I rolled under the car and gave it a good cleaning.
It’s gotten pretty dirty under here… So no option but to climb under and clean it. It all came off pretty easily though.
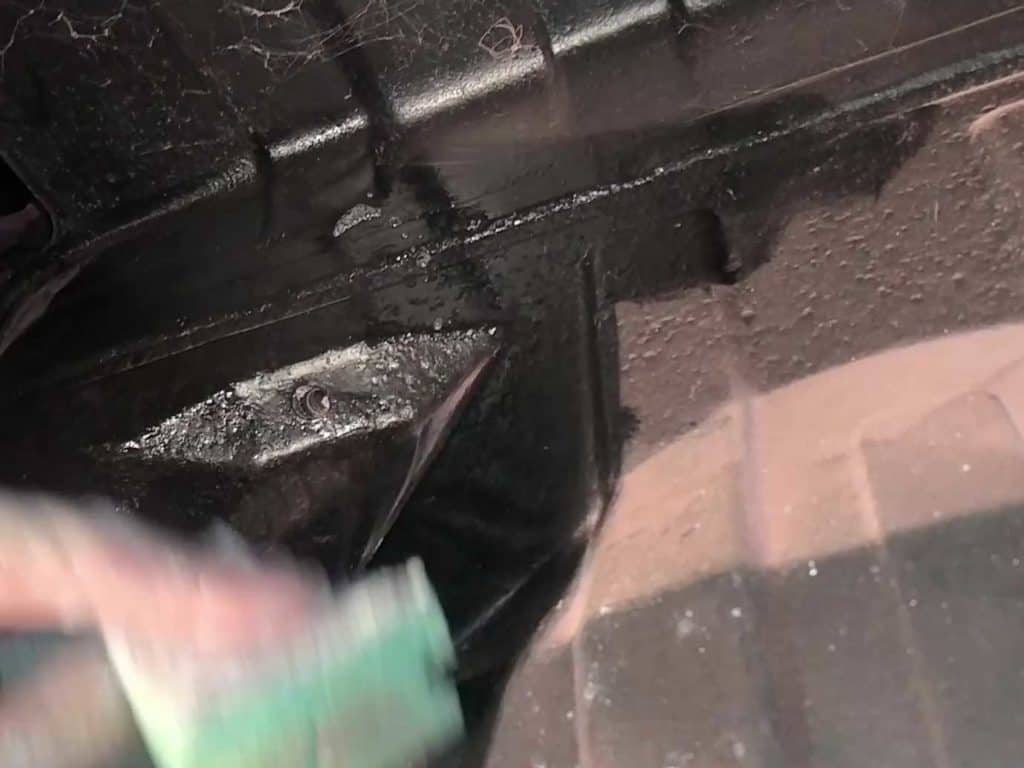
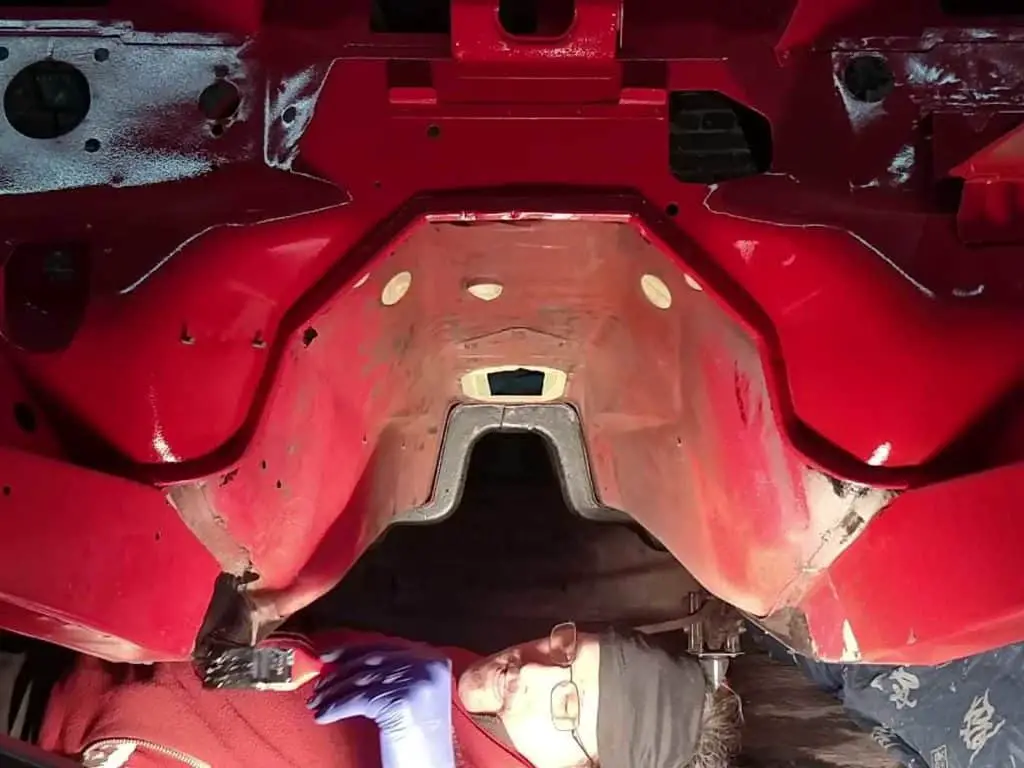
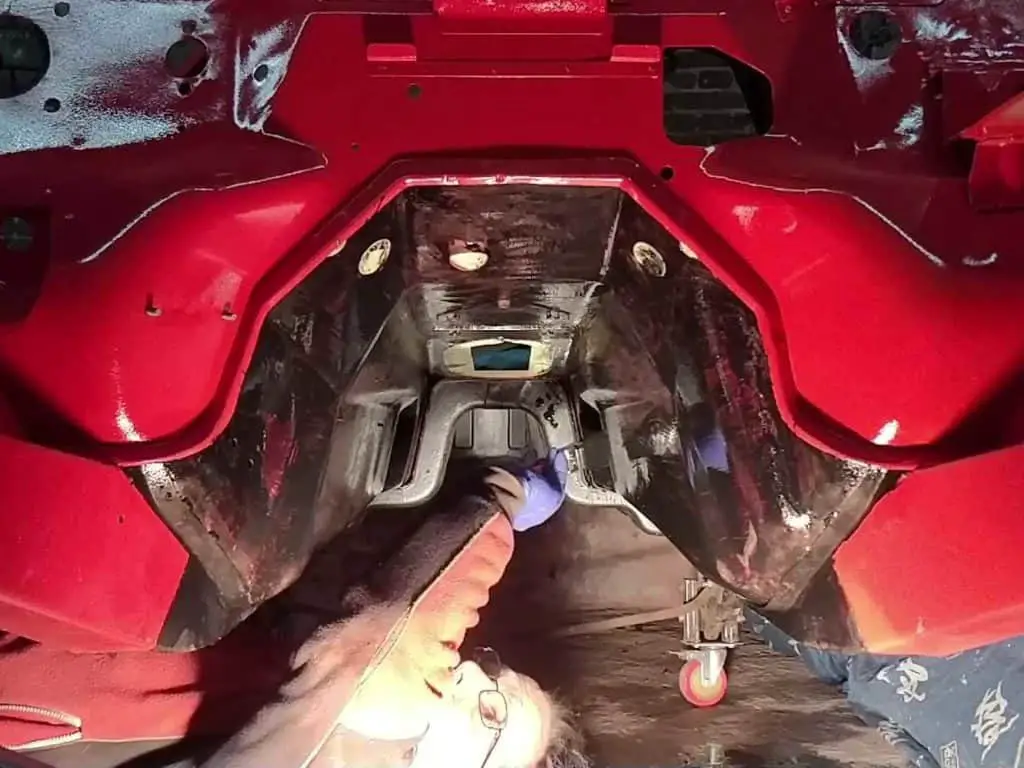
I also did the final bit of painting underneath – the gearbox tunnel had never been painted. Mainly because when I was doing all the underside painting before, there was a gearbox in the way!
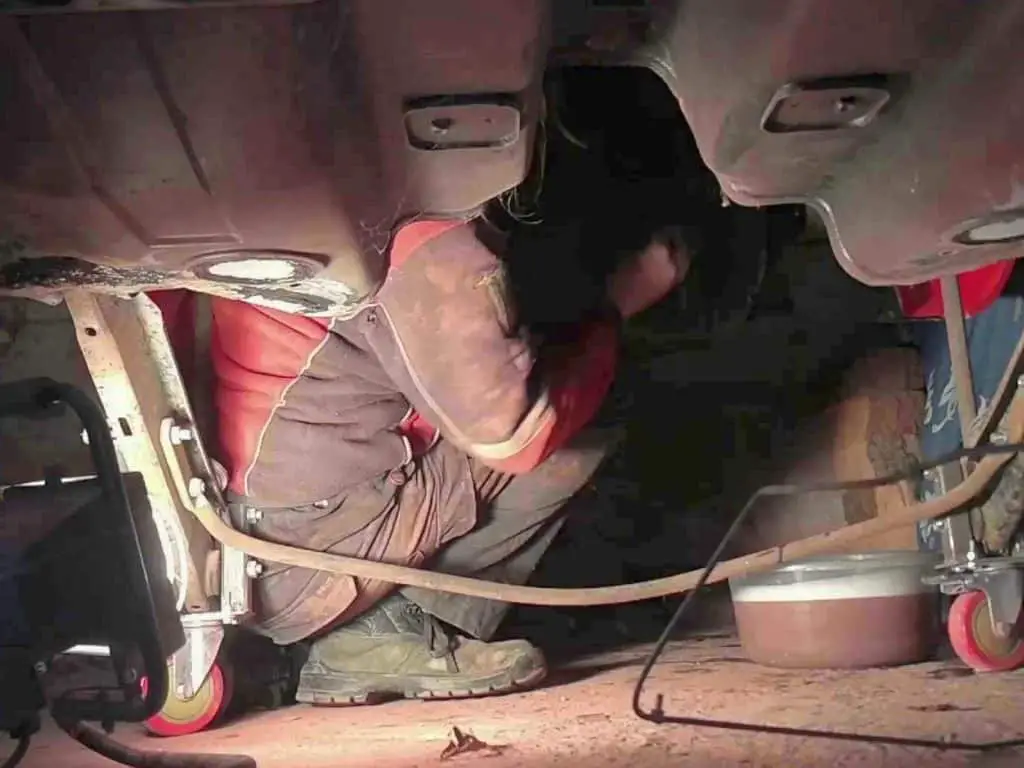
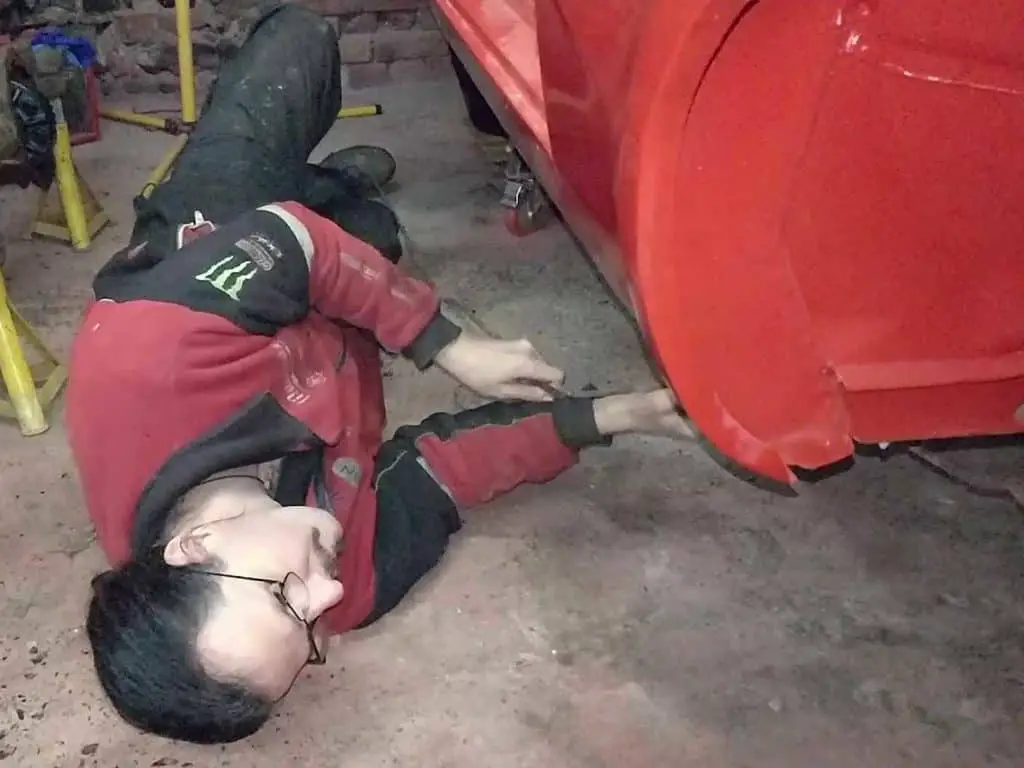
It wasn’t actually in bad shape – likely thanks to the thin layer of engine oil that had built up on it. Those oil leaks are good for something I guess. But I decided a bit of extra protection wouldn’t hurt, even just for the six months before the engine starts leaking again. So I crawled underneath and got busy painting.
Apparently I stick my tongue out when I’m working. Lying on wet concrete painting the underside of the car. This brings back memories. Not necessarily good ones.
Preparing to Fit the Fuel Tank
Now that the body was ready and the tank painted, it was time to prepare the tank for fitting.
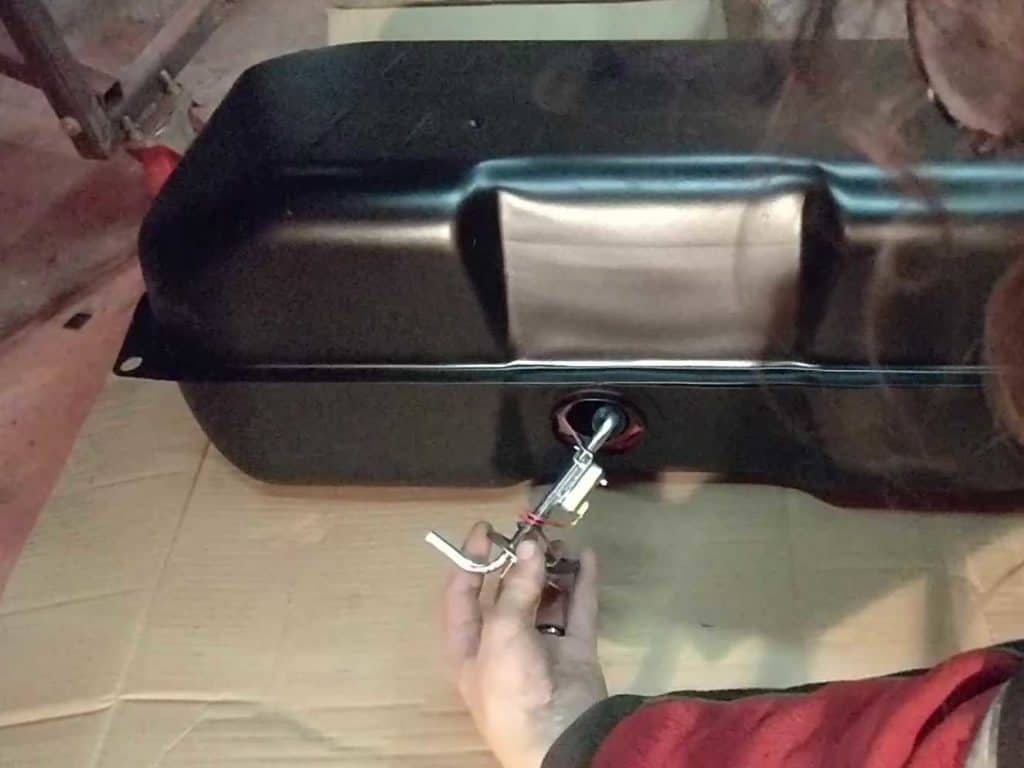
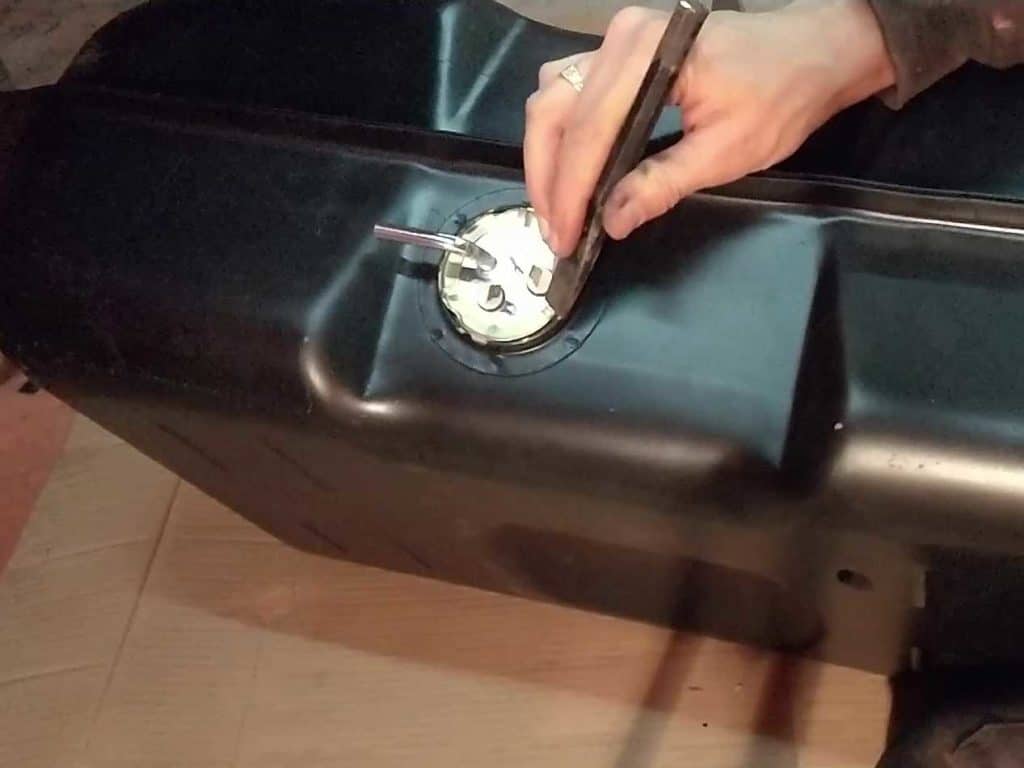
After some testing with a multimeter, I determined the fuel tank sender unit was dead – or at least, not working great. Even the slightest movement of the float would cause the readings to fluctuate wildly. That made sense – the fuel gauge was erratic at best when the car had been on the road before – at anything below 1/4 of a tank, it was pretty much useless. So I bought another one.
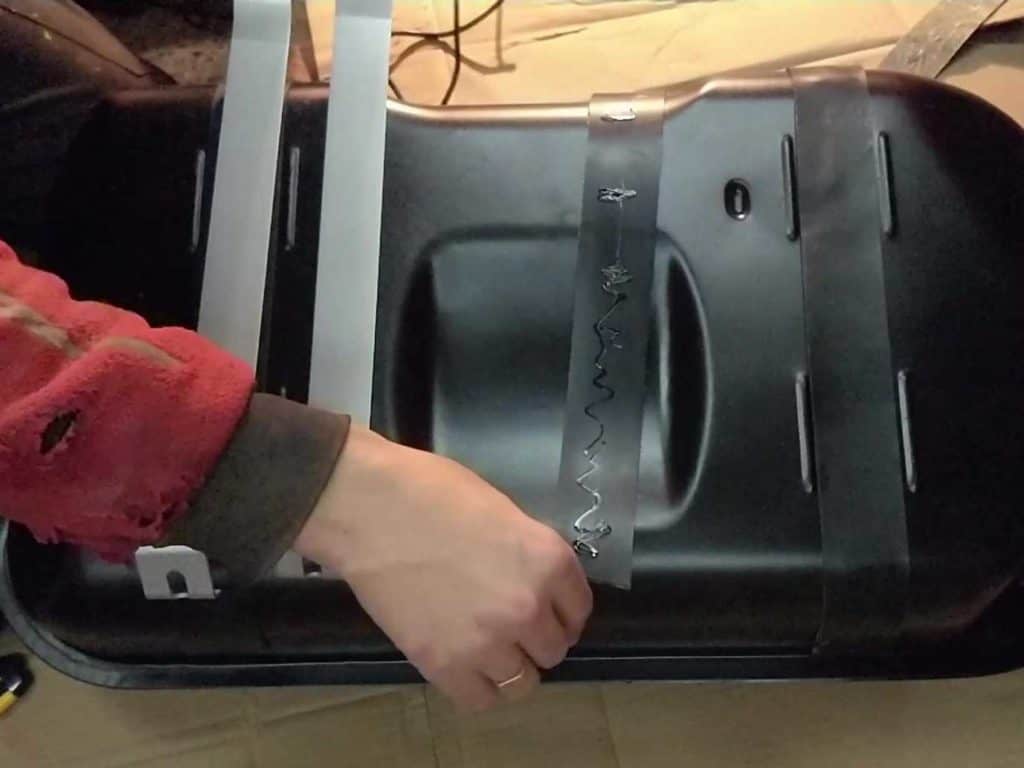
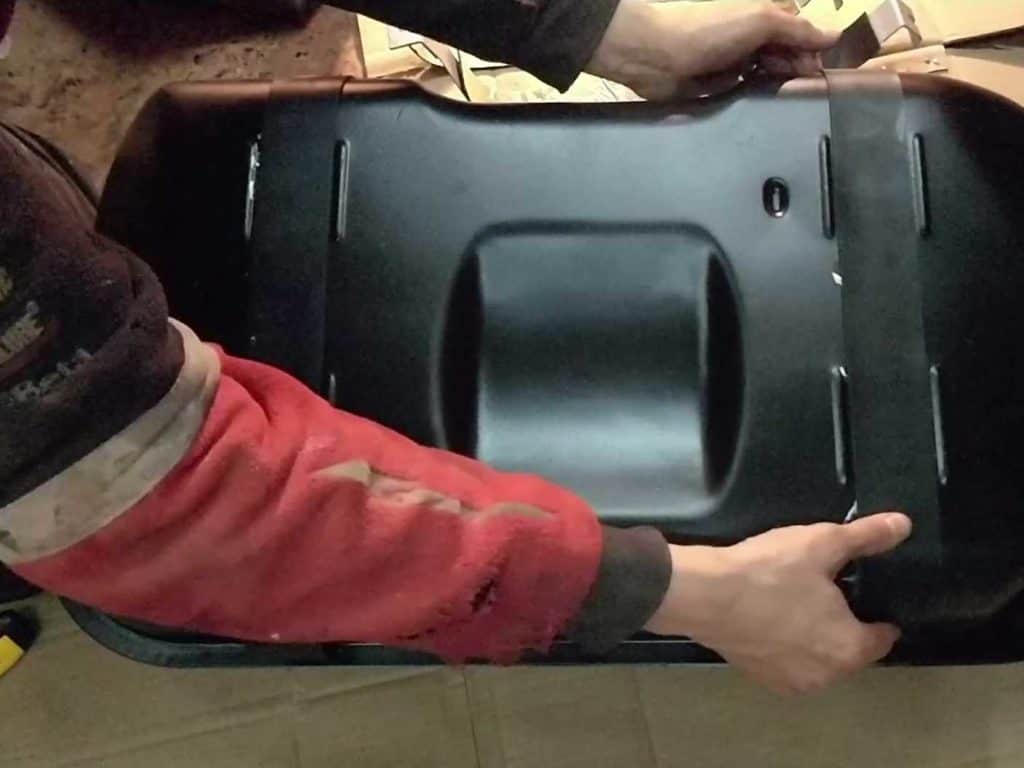
That got fitted in place, and then I fitted new rubber pads to the tank where the straps will go. I glued the upper ones with hot glue – they don’t need to be held on tightly as they’ll be pushed up against the body anyway, I just needed them to hold in place while I fitted the tank.
New fuel sender is fitted in place… …and the securing ring tighened down. New tank pads are fitted… These just need to stay in place long enough for the tank to be fitted.
Making New Fuel Lines
The last thing left before the tank was fitted was the fuel lines. I thought about doing something clever with plastic pipes and rerouting the whole thing, but in the end I decided to keep it simple and recreate the old pipes.
The old pipes were made of steel, and were properly rotten. One of the lengths had snapped when I removed them years ago, so they were clearly just months away from a bad fuel leak! I kept it all around though so I could use it as a template for the new one. It was a good job too, as the routing of the pipe wasn’t immediately obvious.
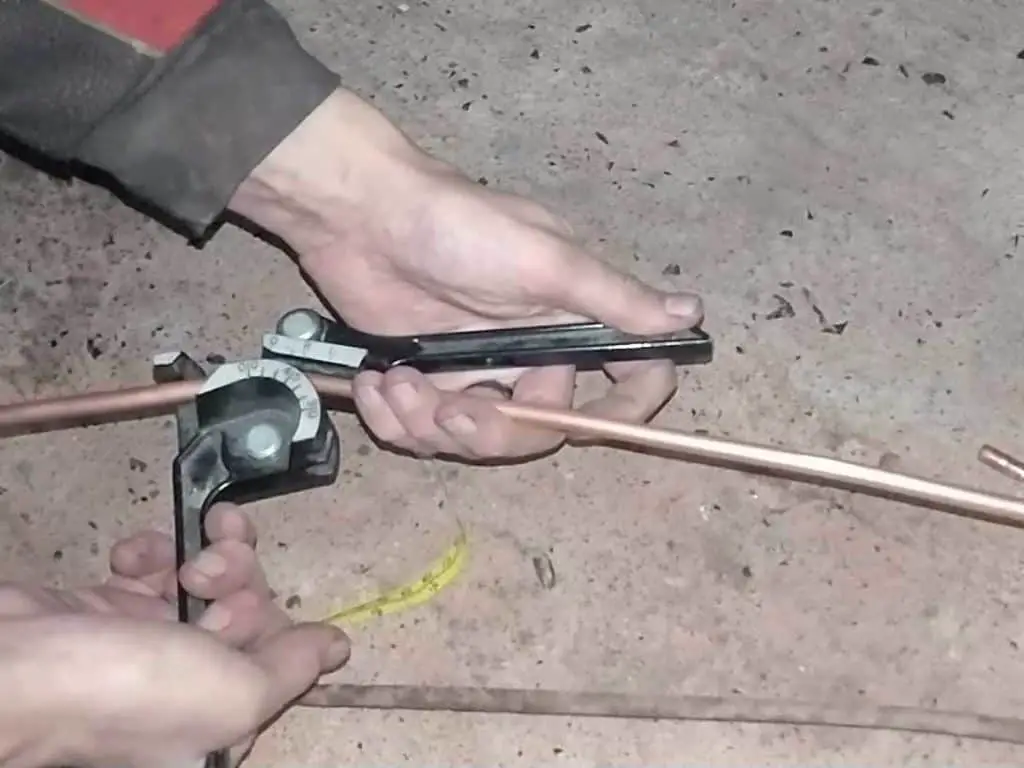
The new pipe is copper, so shouldn’t rust like the old one did. Beyond that, it’s the same as it was before, save for having to fit some different clips on the rear bulkhead – the original type were an odd rubber wedge thing, and no longer available. I just drilled a couple of holes and fitted the more normal type of pipe clip.
Laying out the old pipe so I can figure out how it goes… Uncoiling the new copper fuel line Bending the new fuel line to fit. New fuel line fitted… A joint is necessary here to link up with the fuel tank.

Fitting New Fuel Hoses
The TR7 tank is a simple affair, particularly the older ones. There’s a hose for the filler neck, a hose for the fuel sender and a vent. That’s all there is; nice and easy. On these earlier models, the vent doesn’t even hook up to the filler like more modern cars. It just vents to the atmosphere.
I had the old filler neck hose, but I’d kept that more as a template than anything else. It was 45 years old and starting to dry rot. New ones are no longer available and they have a bend in the middle, meaning a straight hose wouldn’t work. But I managed to find a flexible hose to suit. This was fitted along with the vent hose, and the tank was ready to fit.
Fitting the Tank
Finally, everything was ready to fit!
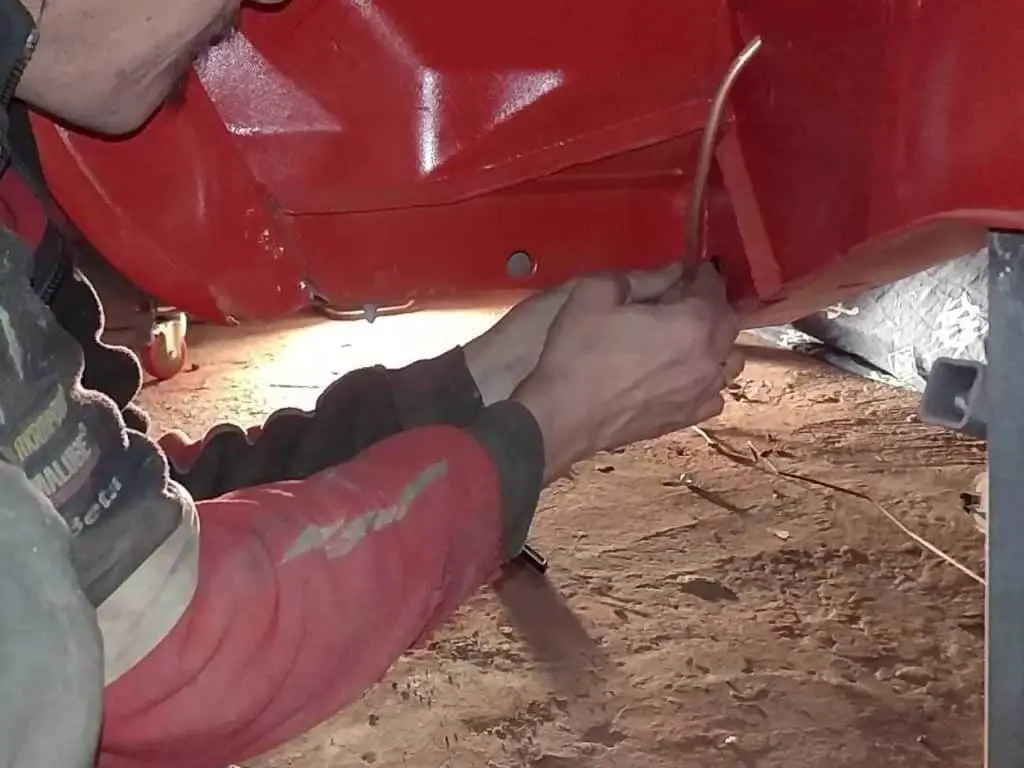
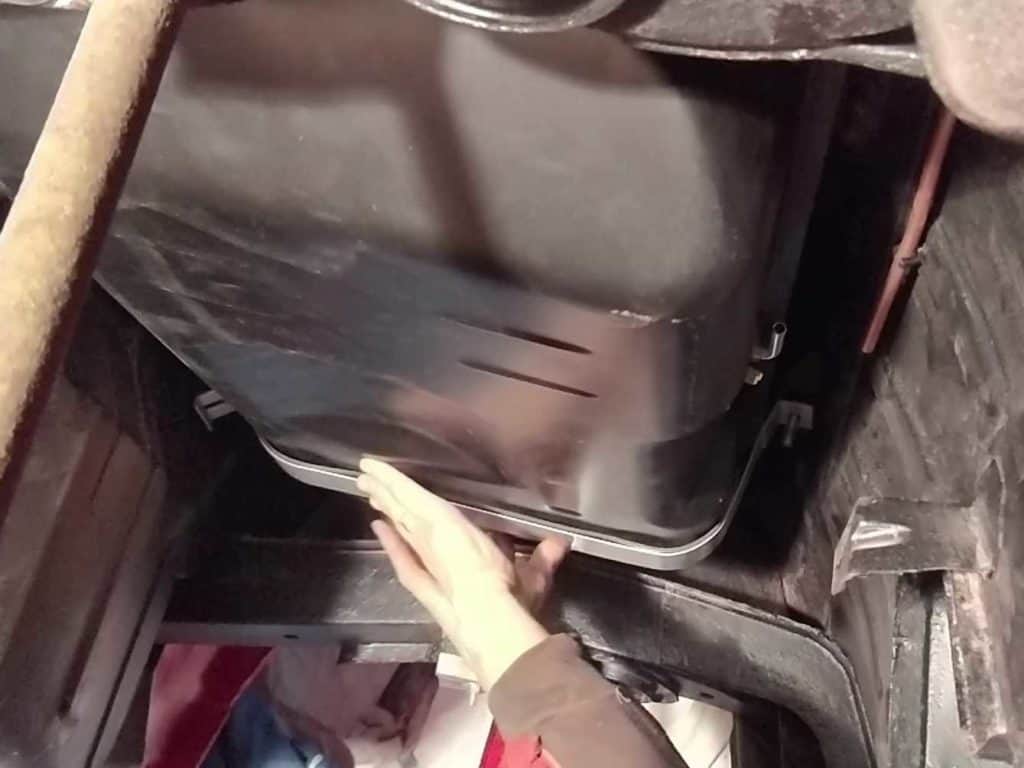
So I moved the tank into position below the car and crawled under myself. It wasn’t the most comfortable position and I’d been worrying about how I’d manage getting the tank into place and holding it there while I fixed the straps in place.
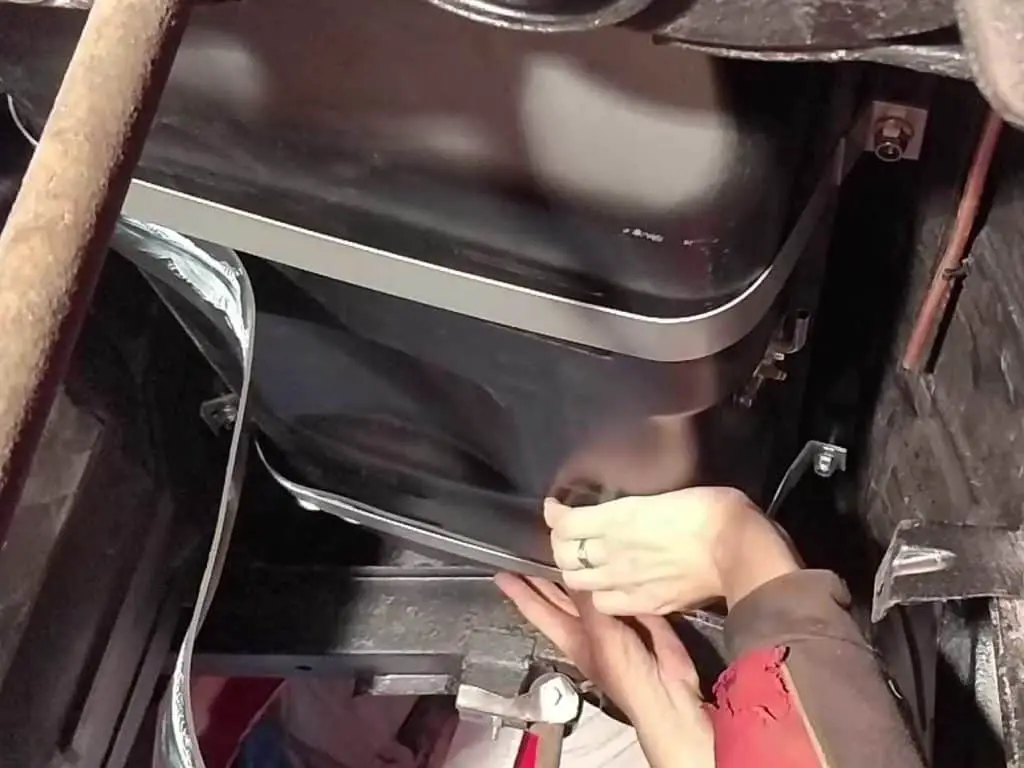
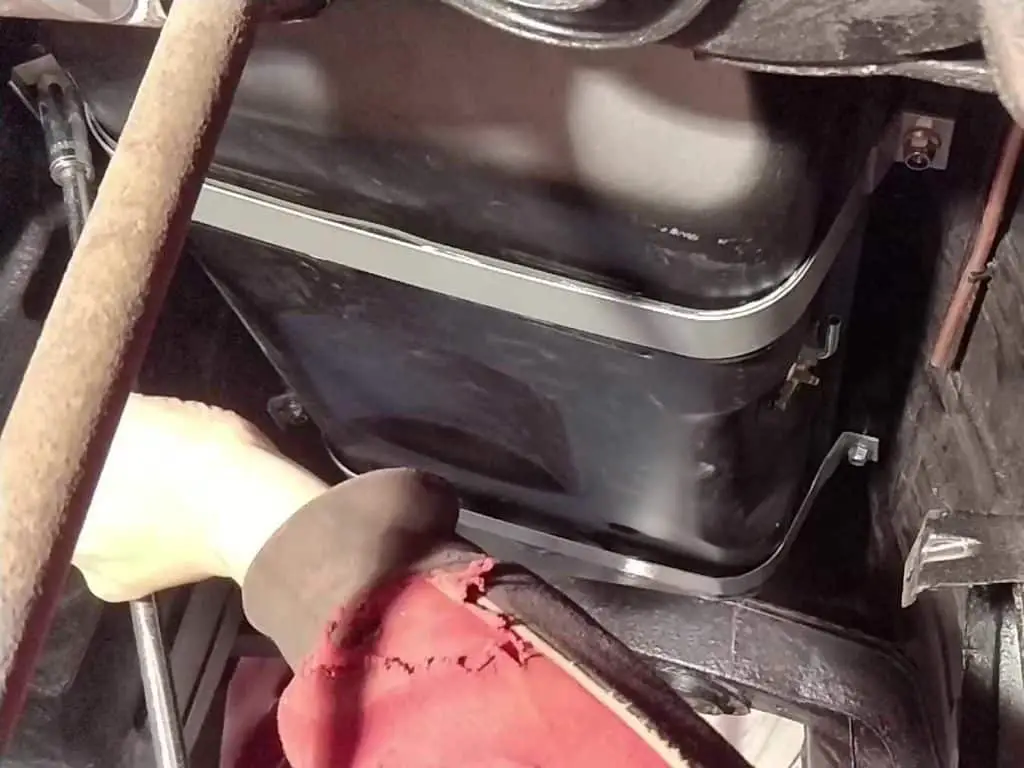
In the end, I managed to lift the tank up and rest it to one side on top of one of the chassis legs while I got the straps loosely in place. Then once they were fitted I slid the tank over to its correct spot and tightened the straps. The only real issue I had was the rubber pads; the glue I used was useless and even after two days wasn’t dry – all it did was make things slippery enough for the pads to keep sliding out of place. But that minor annoyance aside, it turned out to be fairly straightforward.
Lifting the fuel tank into place… Balanced on the chassis leg while I fit the straps. The glue I used for the pads turned out worse than useless. Finally in place and tightening the straps down.
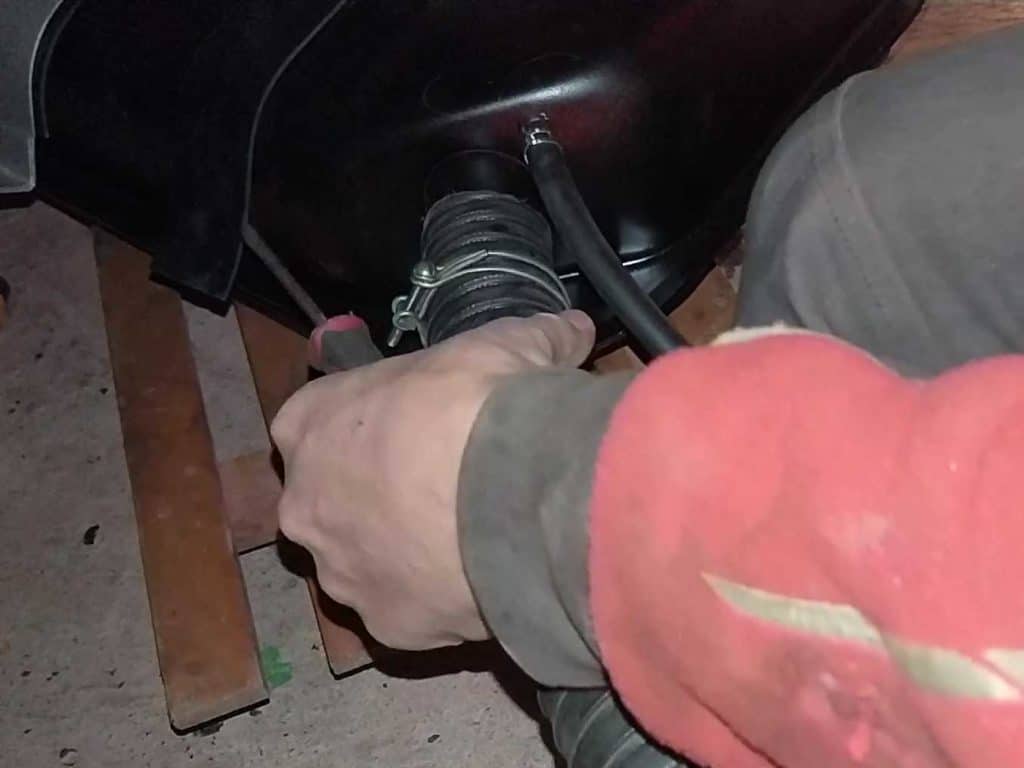
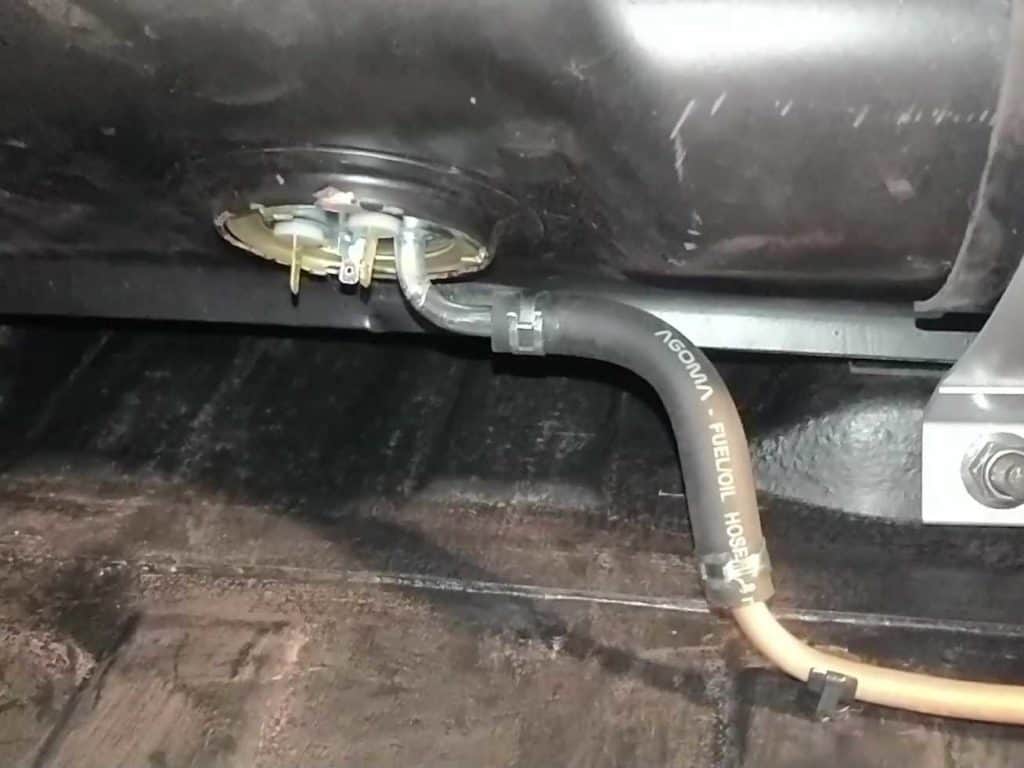
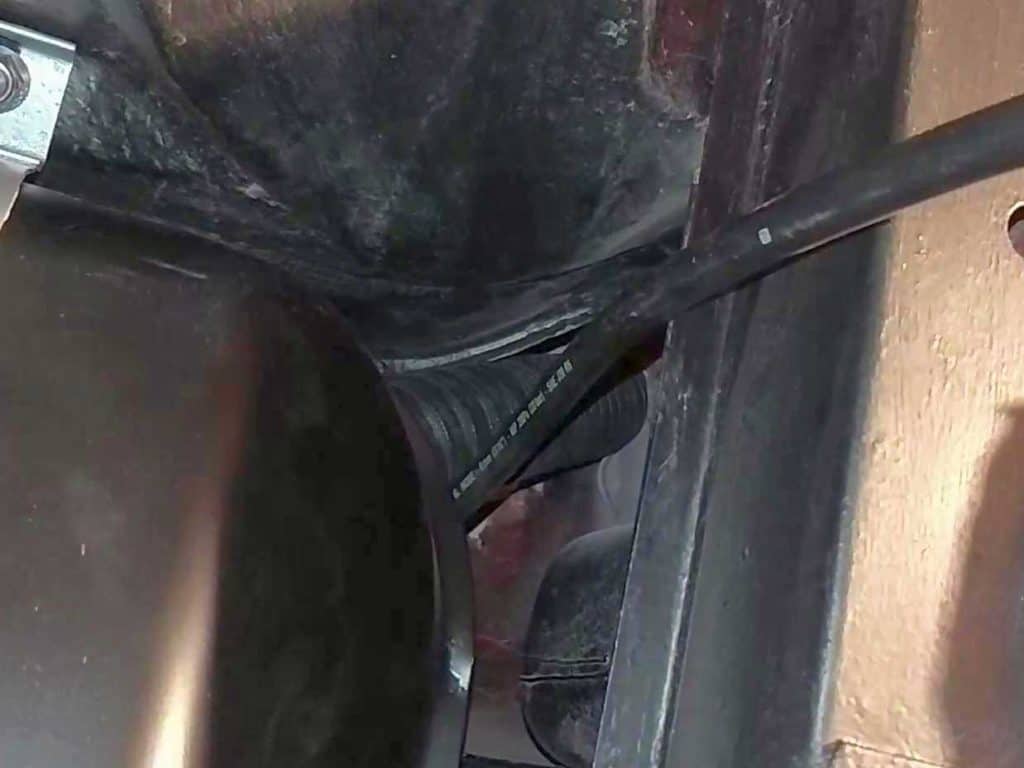
Once the tank was in place, all I needed to do was to fit the fuel hose connecting the tank to the pipe. The angle was a bit sharp so I had to bend the pipe a little, but it all worked out fine.
Fuel tank connected to the pipe. The vent hose just kind of hangs there.
Fitting the Filler Pipe
The last job was to fit the filler pipe.
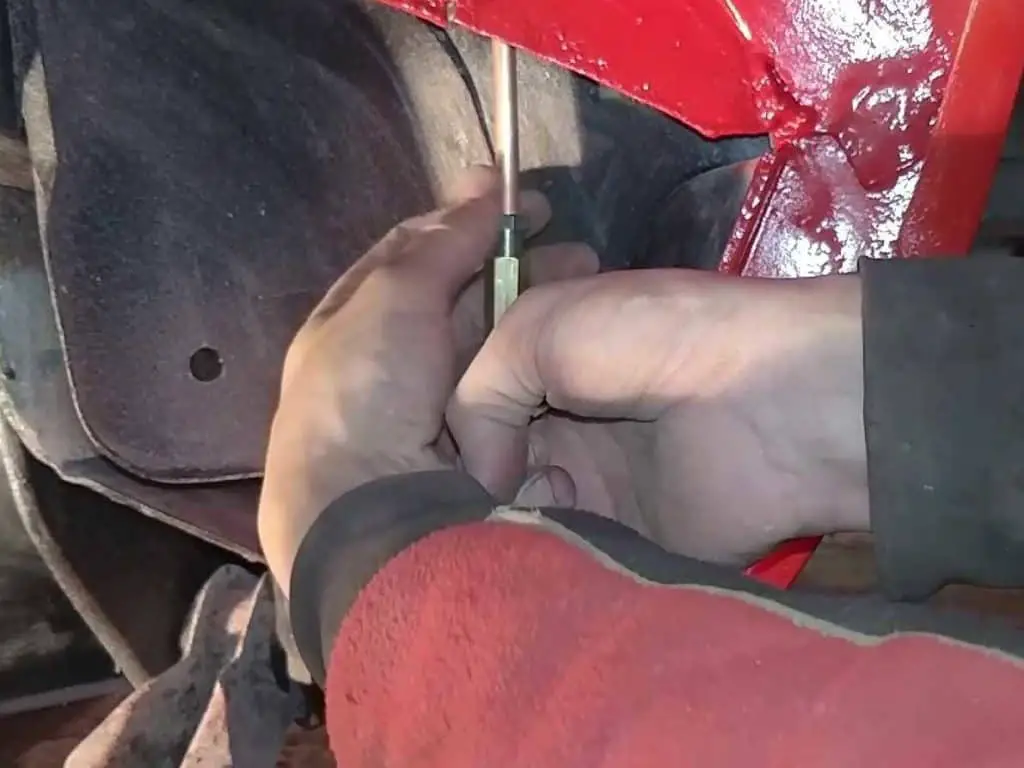
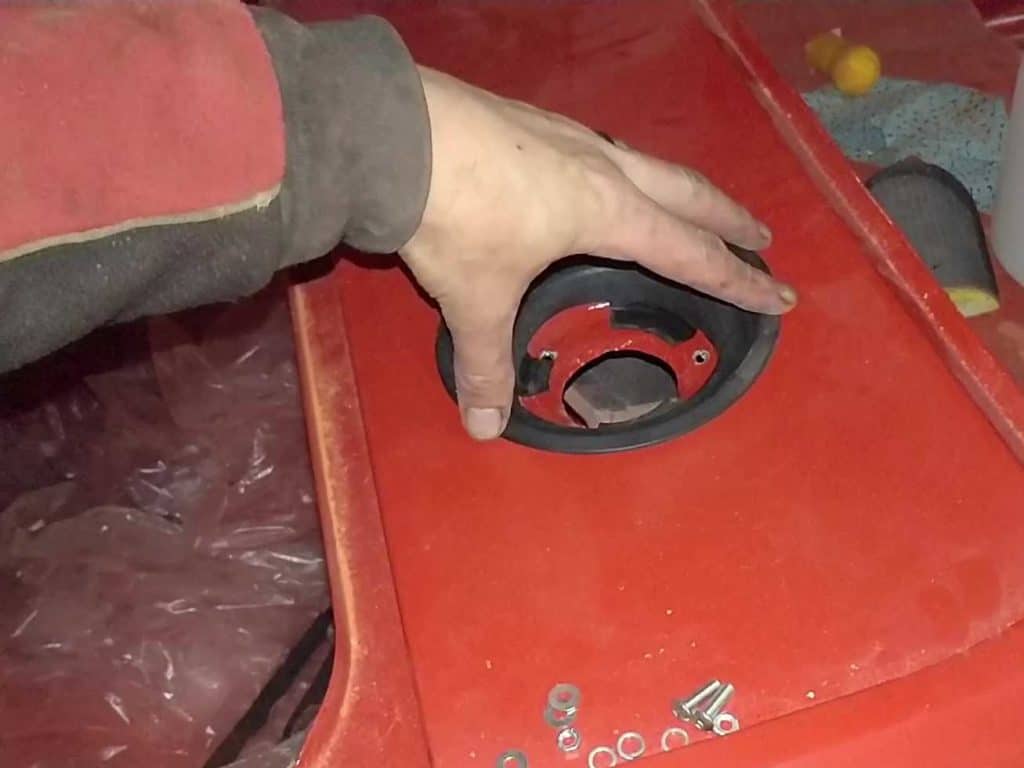
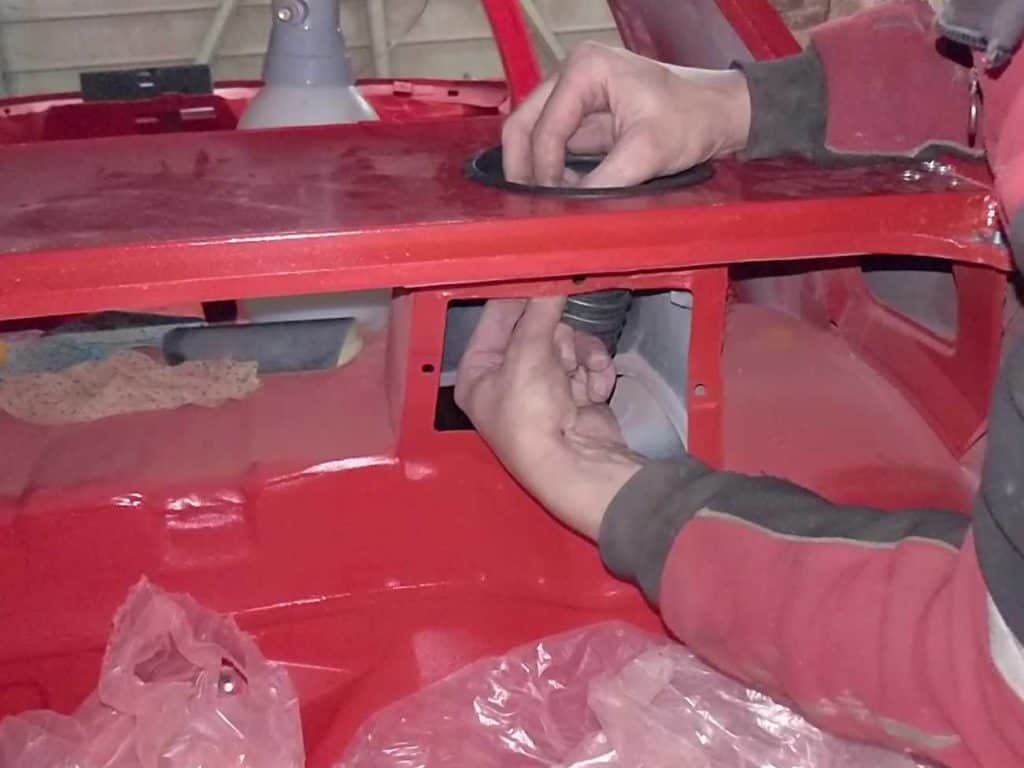
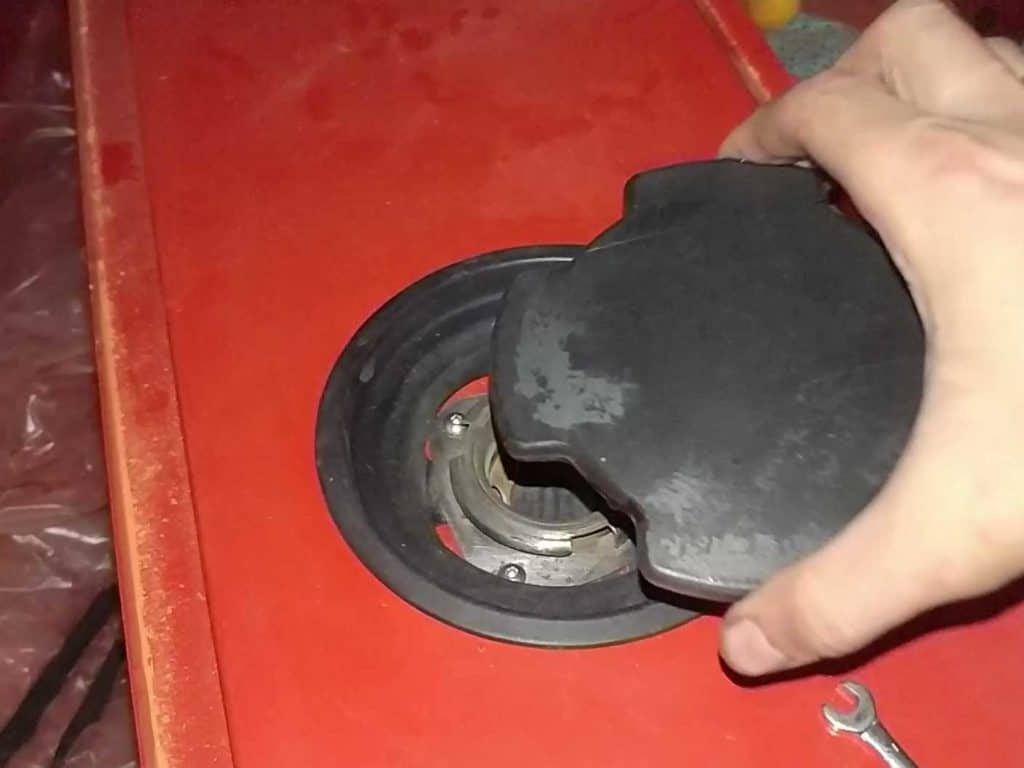
I was a little worried about this as I’d fabricated a whole new well for the filler to fit in to – the old one had rusted away. So I was a little concerned that things wouldn’t fit, or wouldn’t line up properly – but as it turned out, it worked great. I seemingly did a good job. So all that was needed then was to bolt it down and tighten up the hose. Not the easiest job thanks to the tiny access panel, but I got it done. After all this time, it felt good to be able to fit the fuel cap once again – the car is finally coming together!
Test fitting the filler neck bezel Screwing the filler in place. Not much access here! Job done, filler cap fitted.
The Video
As usual, here’s the video!