Are now done.
There’s just a bit of filling and finishing to be done, all the welding was done over the last couple of days.
The N/S arch wasn’t too bad, just one little patch at the bottom front, the rest is all rock solid. I’m happy with that. 🙂
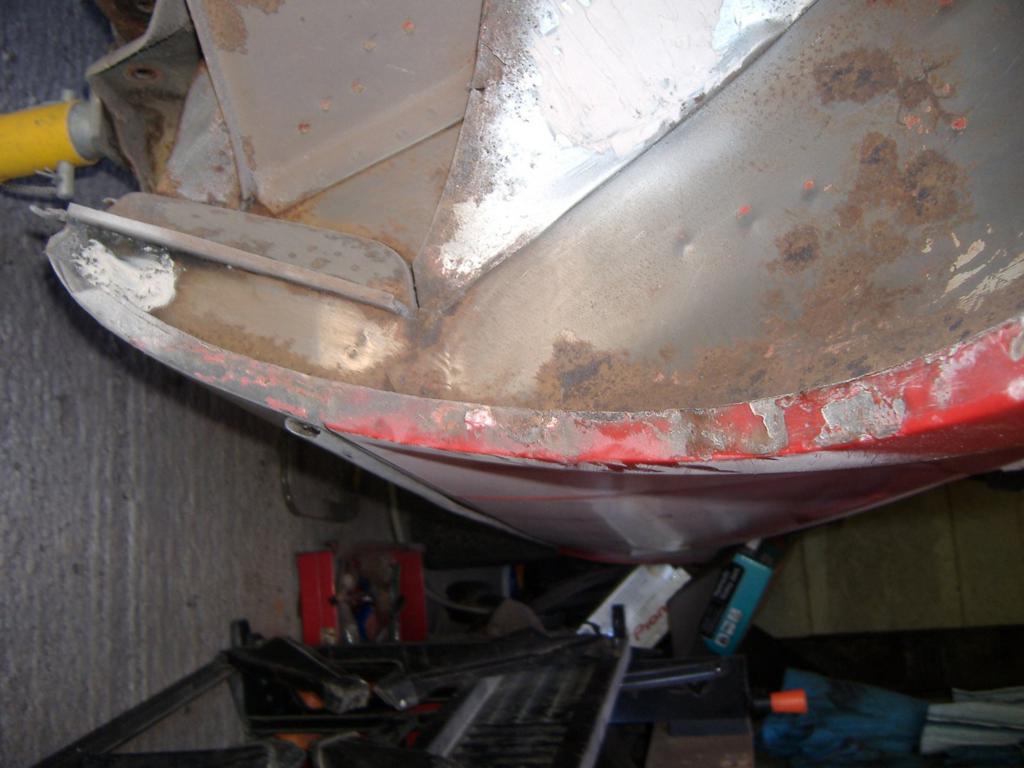
The O/S was a bit more flakey though – I found a couple of weak areas that needed attention, but when I started reshaping the lip with a hammer I heard what you never want to hear – rust flakes raining down! While the outer lip is more or less OK, the inner lip is pretty frilly. The work involved in fixing all that would be immense, however, so now I’ve got all the really rusty stuff out, and it’s still structurally sound, I’ll have to settle with treating it all with a rust encapsulator and making sure it’s all sealed up so it doesn’t rust any further.
The O/S arch needed three patches welding on in all, plus a plate on a small hole I found on the inner arch.

Now comes the fun of reshaping and sanding!
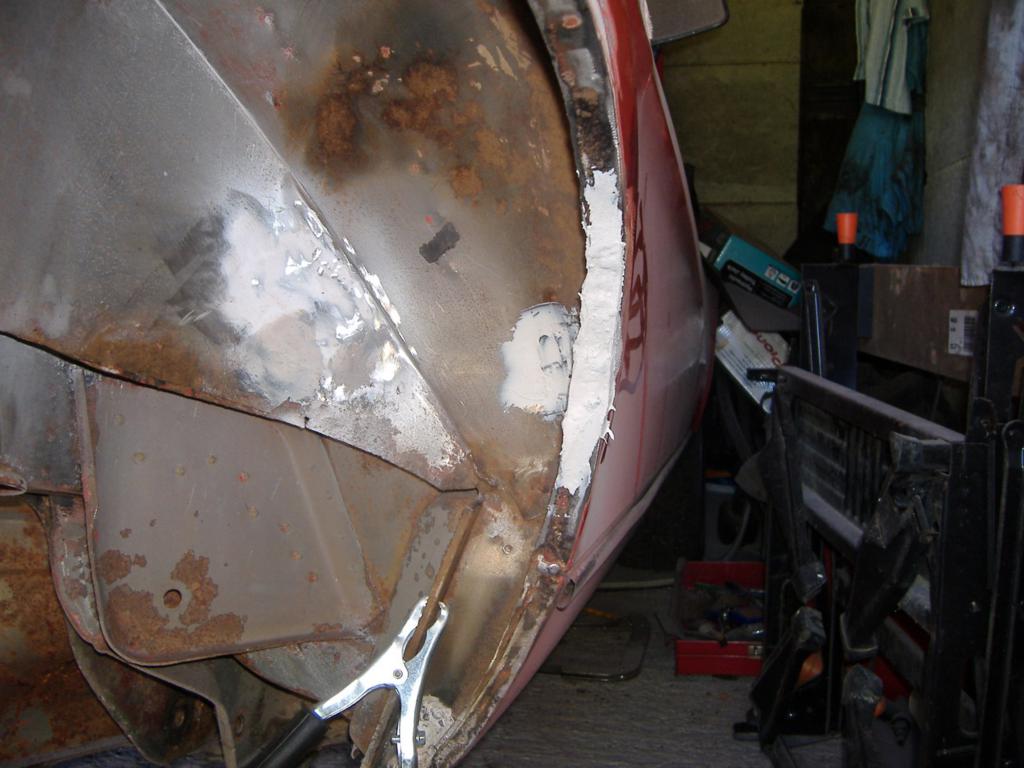
When I was doing the grinding and hammering, a bit of the wheelarch at the back cracked slightly – I dug it out, and a chunk of filler came off, revealing and old (and slightly rusted) dent:
Note the colour difference – I’ve noticed this shade elsewhere on the car, I’m now starting to wonder if the respray it’s had in the past was also a colour change? That might make things tricky…
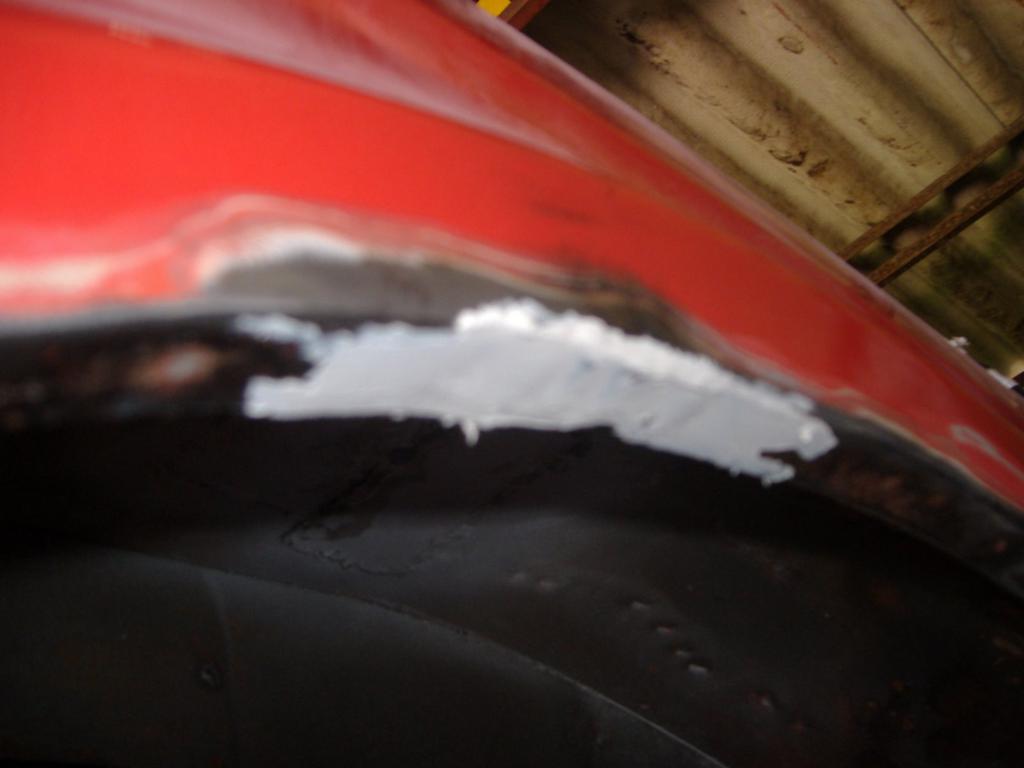
The rest of the afternoon was spent filling in around all the various patches and welds I’ve made around the rear, now they should just need a quick tidy up with the angle grinder (flap disc) and then it’s done.
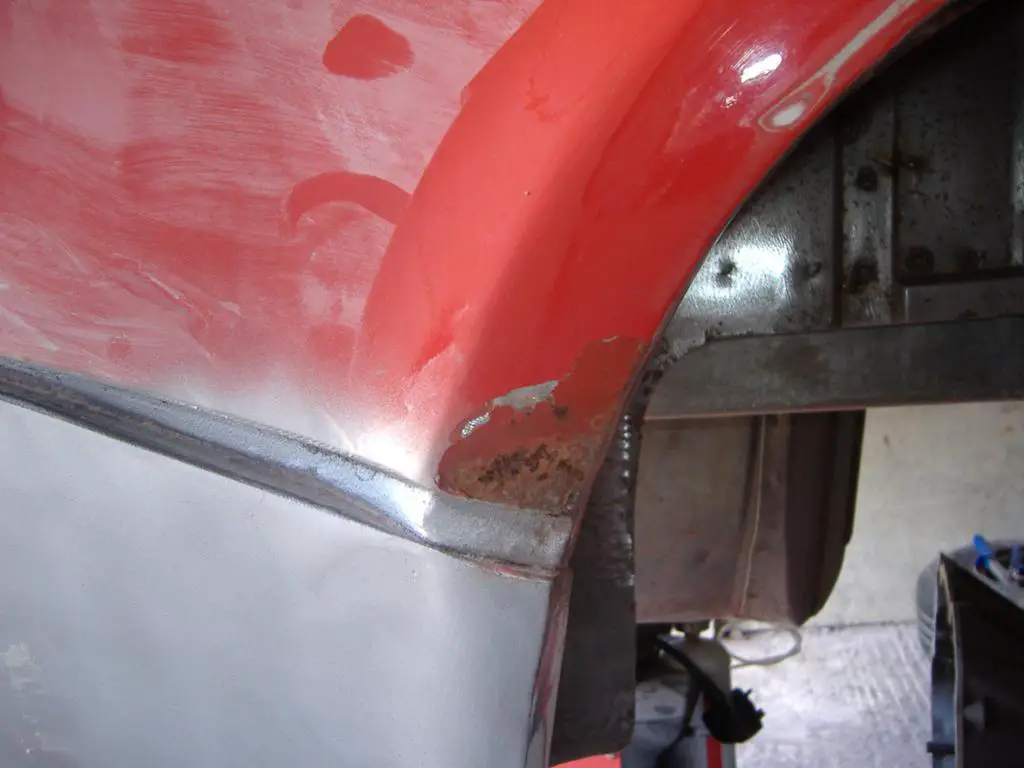
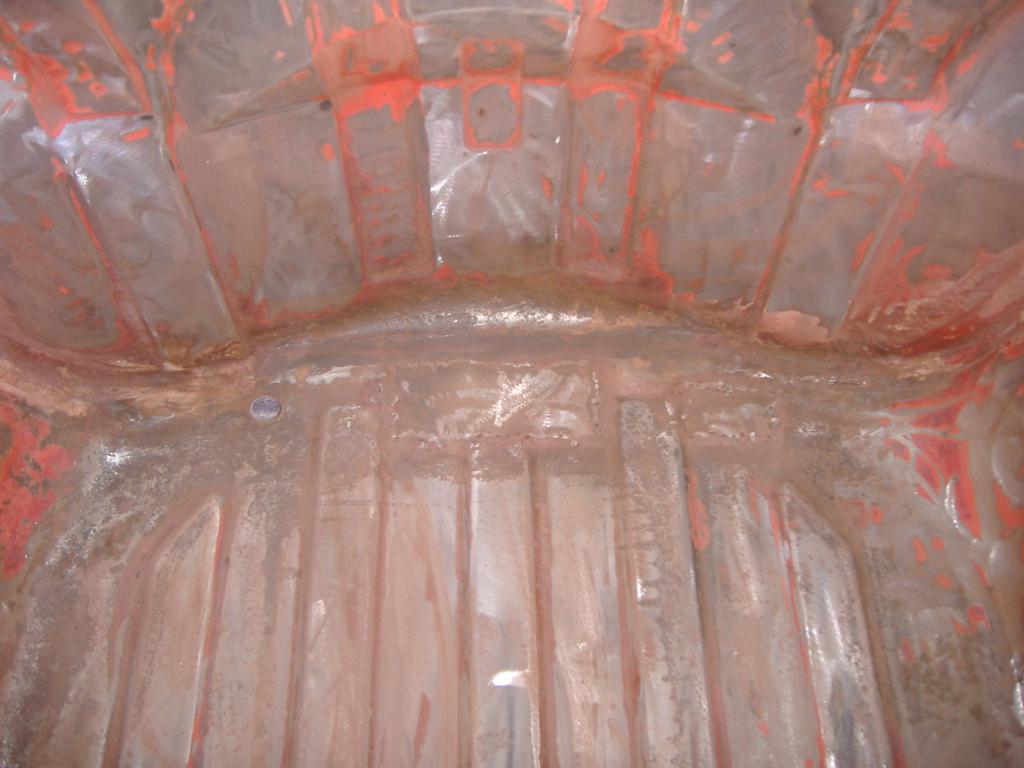
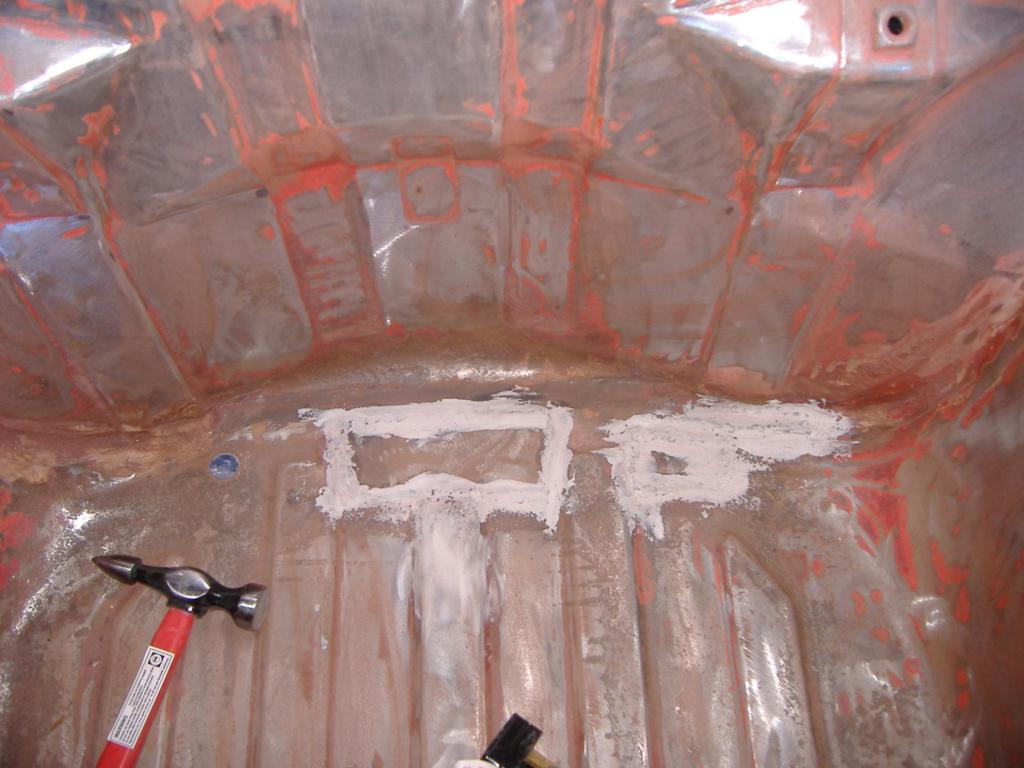
The last bit was in the spare wheel well, I felt I needed to tidy up my welding in there, so a bit of filler was applied:
I couldn’t do much more for the day until all the filler dried, so I packed up and left it there.
Next jobs:
- Finish filling and sanding on all filled areas
- Prep and paint spare wheel well with POR-15 (to be topcoated in body colour later)
- Look right underneath car to see if any more welding/treatment needs doing before prepping for paint.
- Drill hole and weld on nut for O/S seatbelt mounting
I’m starting to feel good about the whole thing now – the major work is finally done, and now it’s just the fiddly little bits to finish before the paint can go on. The end is in sight!
