No updates for a while, there really hasn’t been much going on. I’ve been busy with other things, and the only thing I’ve really been able to get on with is the filling of the front panel.
That’s more or less done now, I’m not totally happy with it – there’s a small ridge at the top, I think the metal might be slightly raised at the edge of the dent. It’s hard to tell, the difference is so small you can’t even see it with a straightedge. It’s an annoying dent to repair, if I pop the dent right out it bulges out above where it should, and if I hammer it down too much it pops back leaving a 2” or so dent to fill. I may end up grinding the filler out and starting again. For now though, I’ve done as much as I’m going to, so I’ve sprayed it in primer to stop it rusting and I’m going to call it good until I can get back to it again:
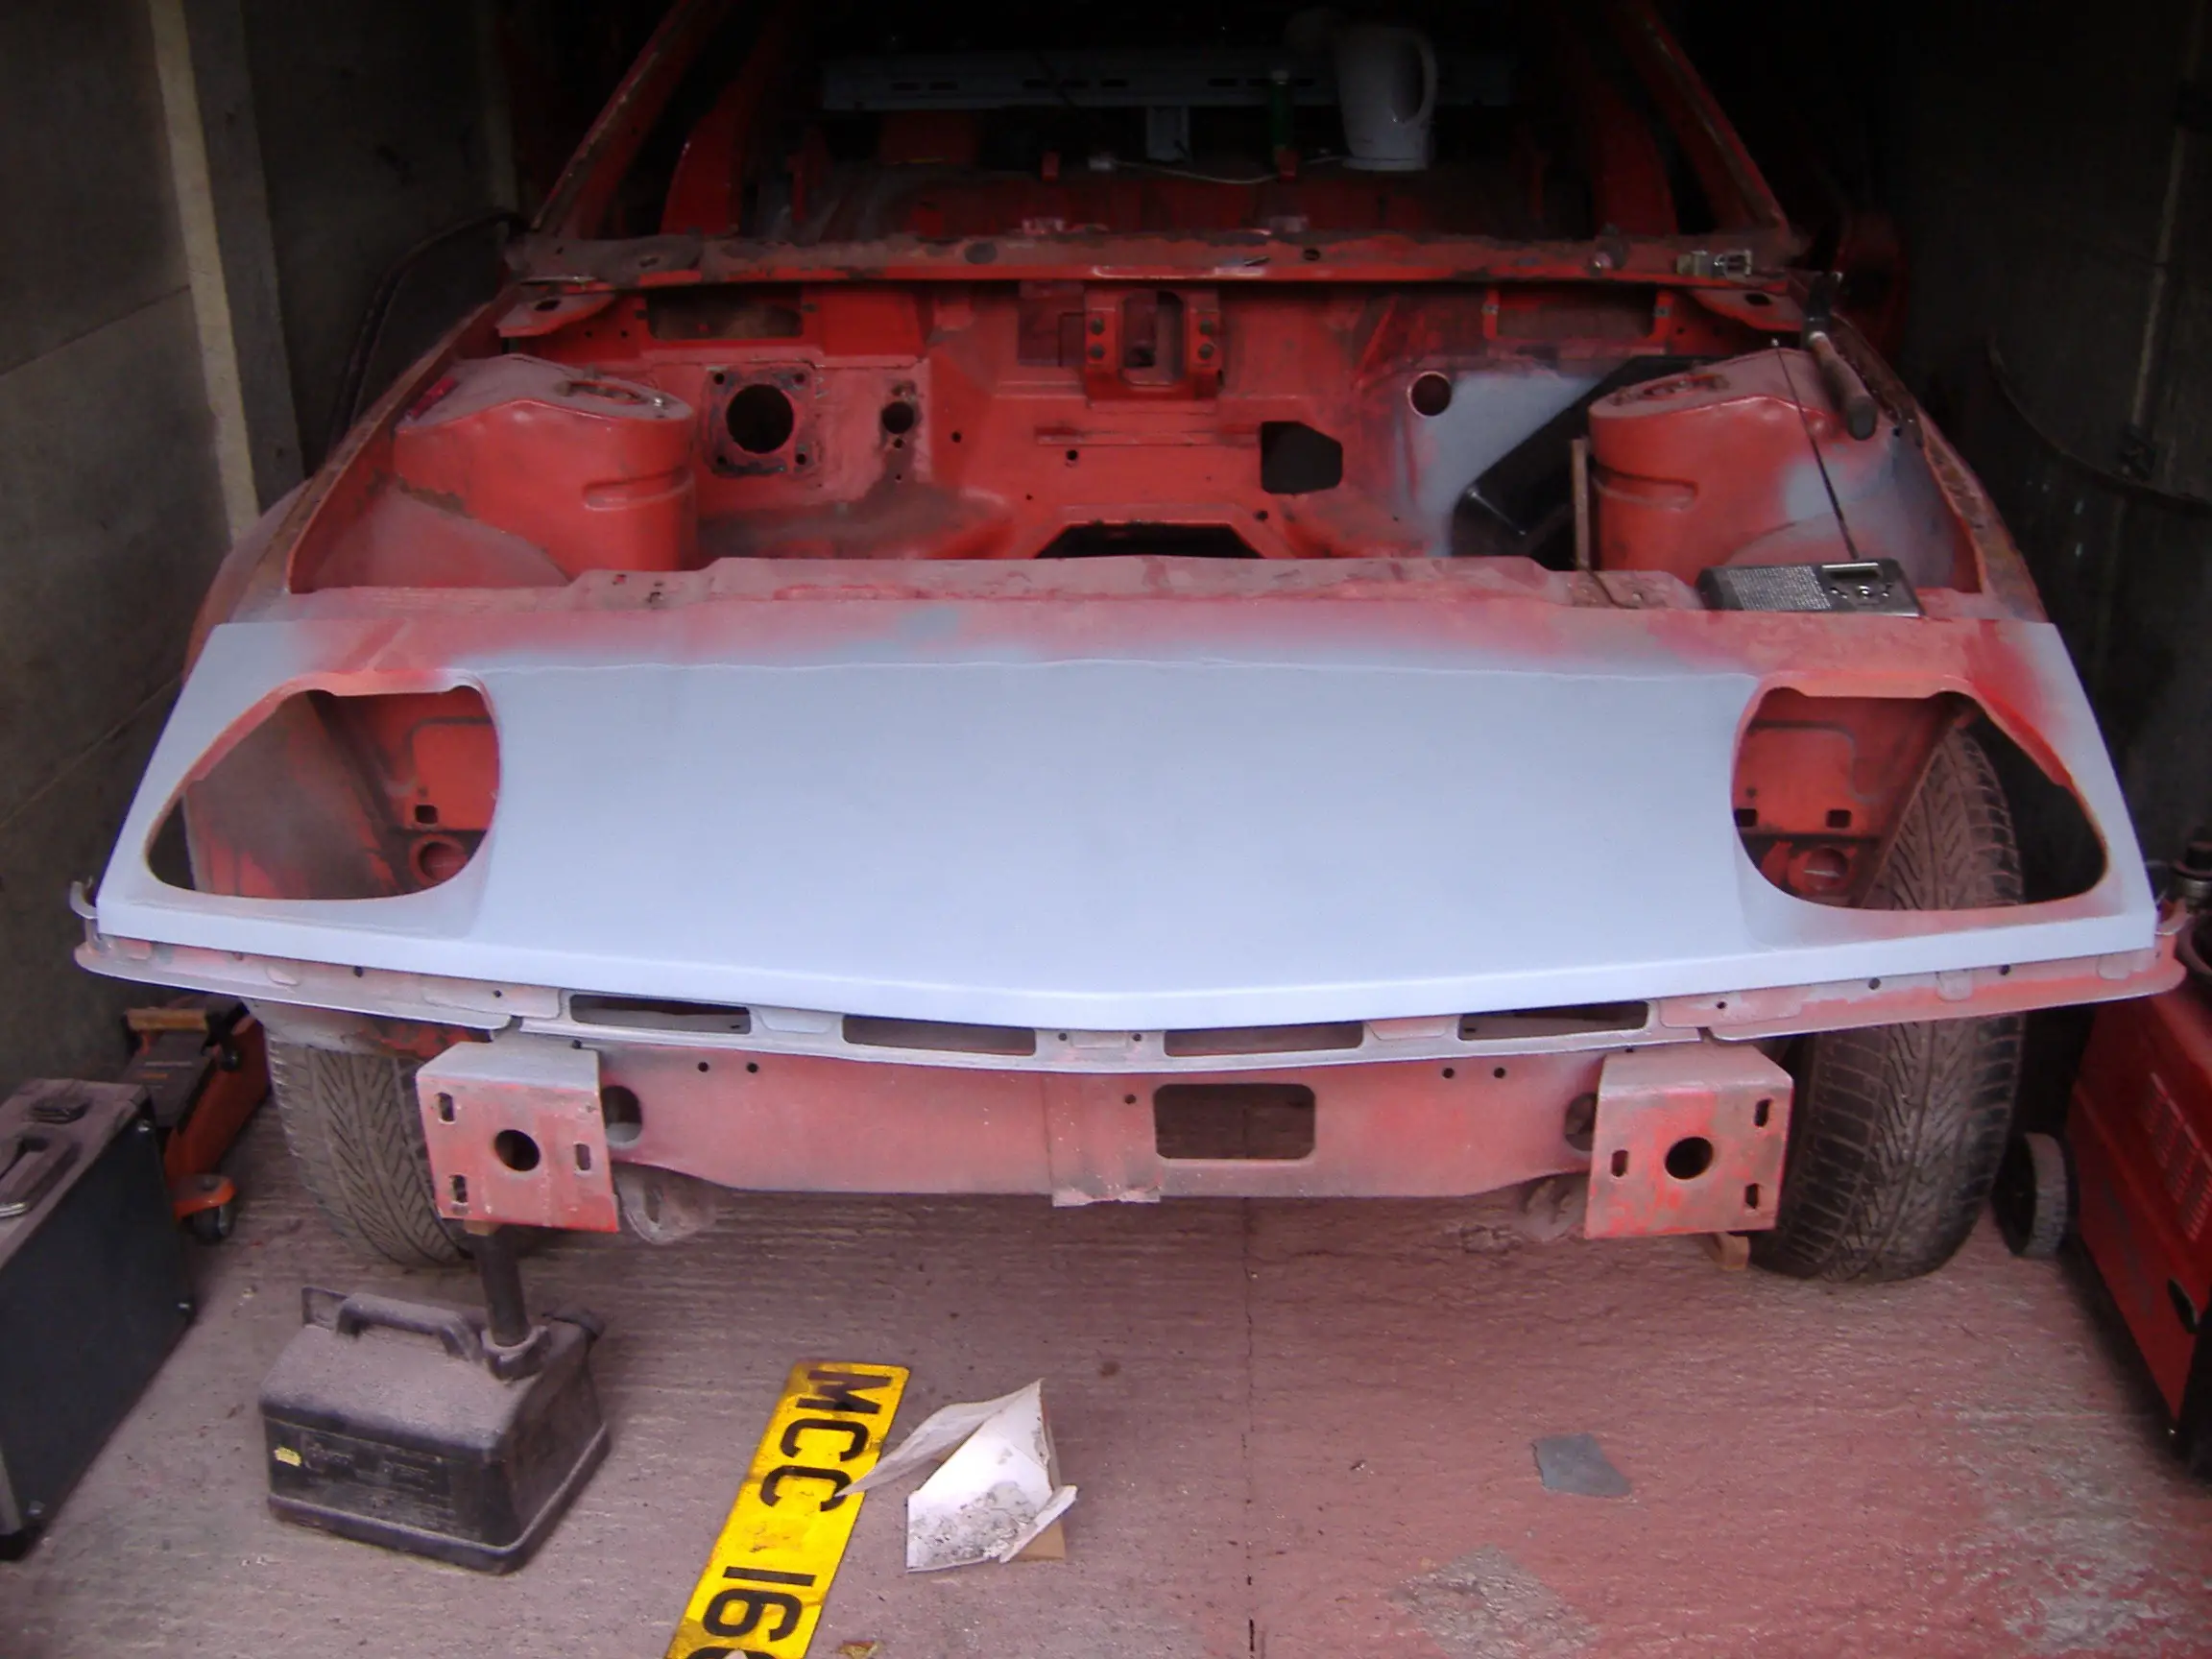
(If you’re wondering what the numberplate is there for, it makes a really handy straightedge!)
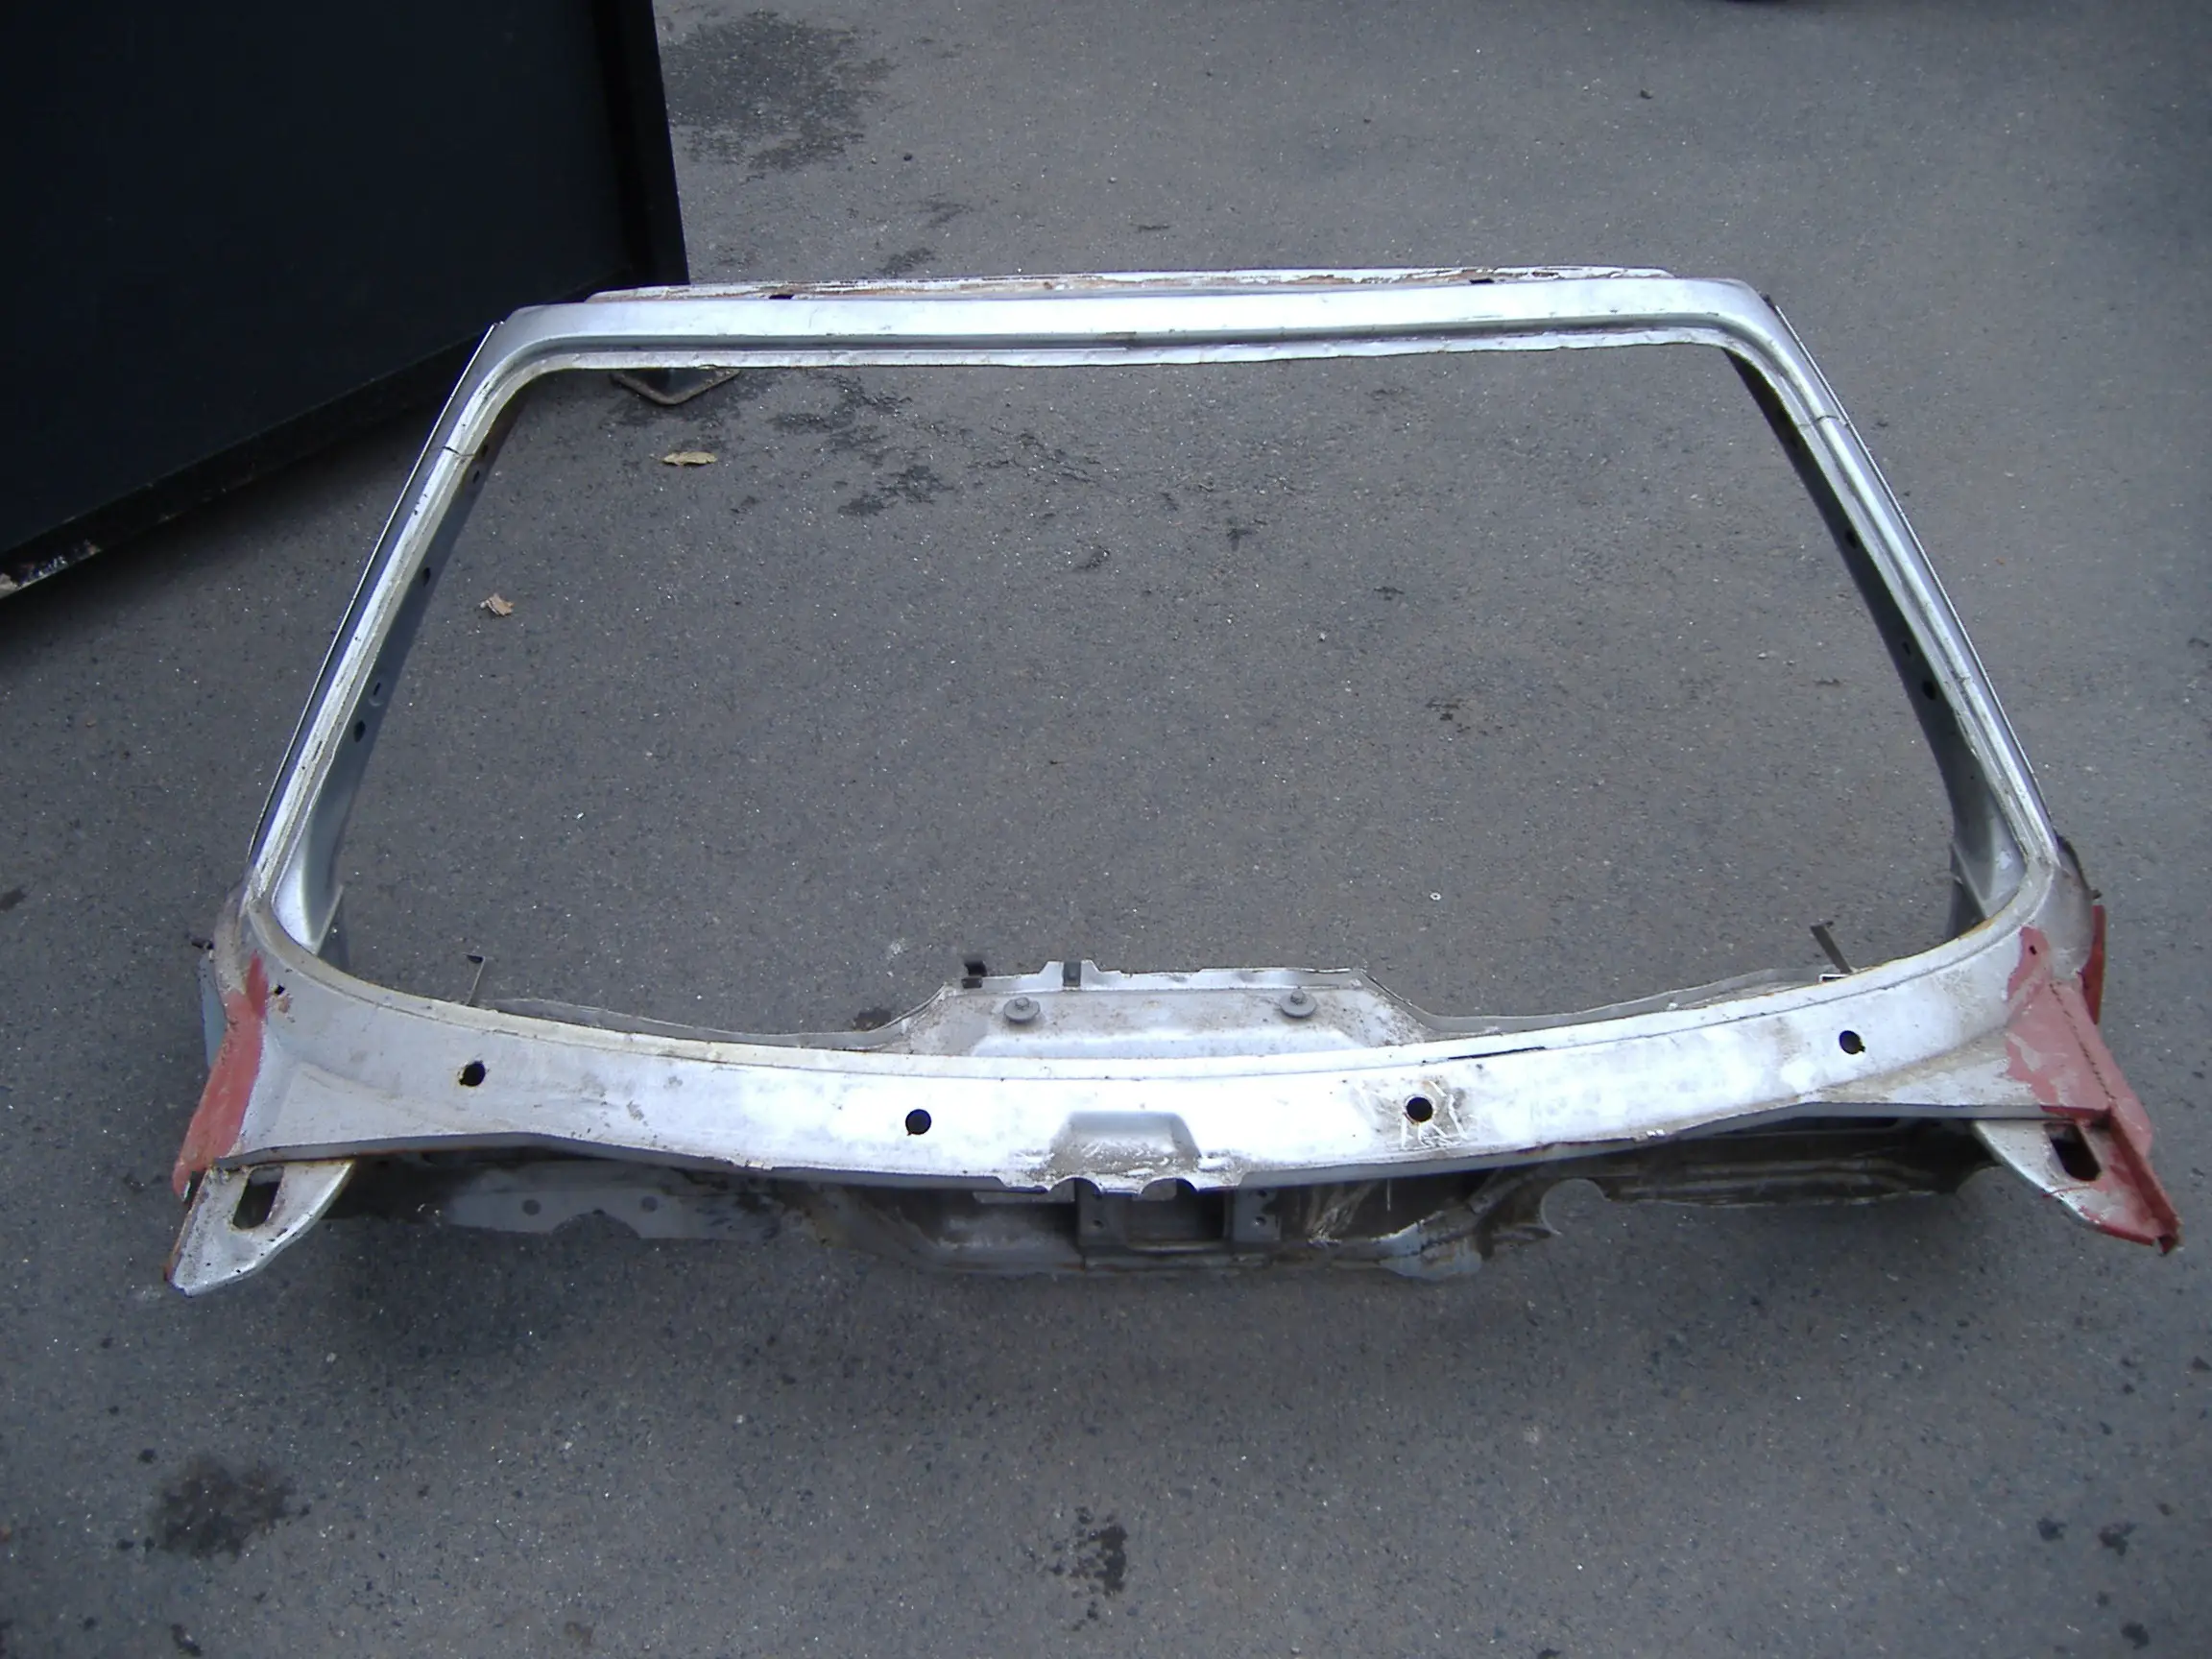
The reason I’ve stopped for now is that I’ve ordered and received a new windscreen frame, courtesy of S&S Preparations. It’s actually a DHC frame, but should work fine for my purposes. Apart from a couple of welded patches at the sides of the base, it’s in great condition:
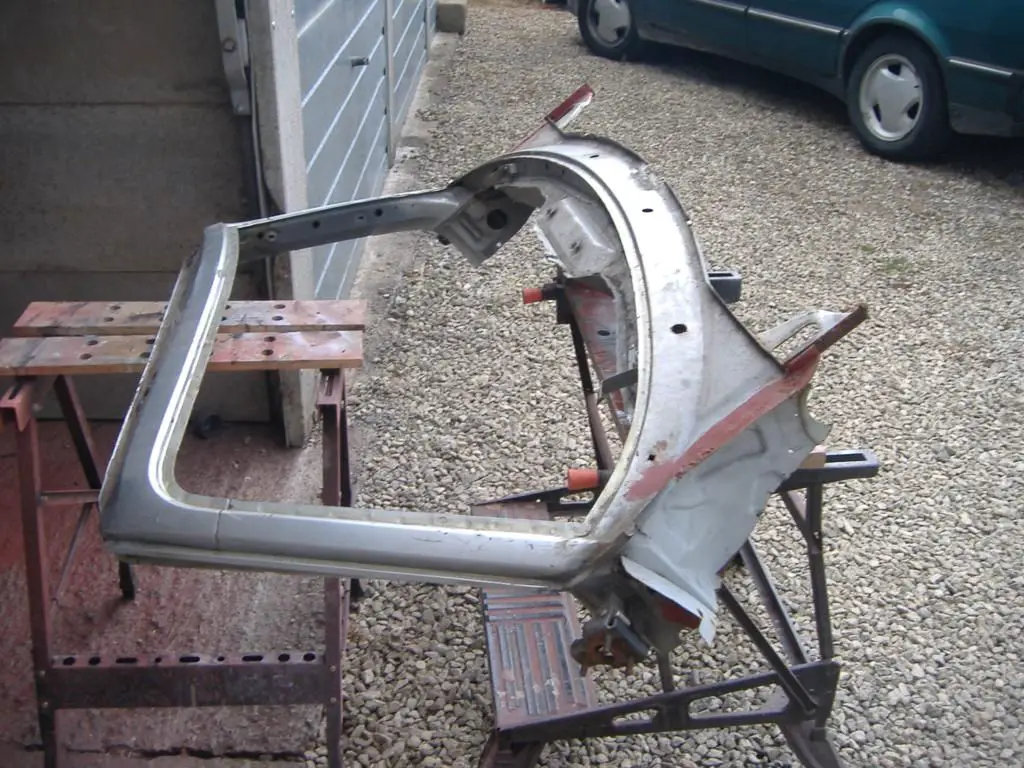
The plan so far is to cut all the remains of the bulkhead and inner wings off, then carefully remove the inner ‘A’ post panels and the top panel, to leave just the main surround panel and the panel underneath. Once I’ve got that done, then I’ll remove those panels from the car. I’m hoping to be able to get that done without having to cut any panels apart, leaving just spot welds to put the new bits in place.
The top panel is a slightly different story; as it’s a DHC panel going onto a FHC car, it’s not exactly the same (also, I don’t really fancy replacing the entire roof panel!), so I’ll be cutting out the lip just far enough back to get to the good metal, then doing the same on the donor frame (the lip and aperture at least is the same on both). Then it should be a case of seam welding the new bit in place and finishing with filler.
That’s the plan, anyway…