Ever have a day when you wish you hadn’t started something?
I went to the garage tonight with the intention of removing the last of the dashboard and the wiring loom. However, the inside of the car was a bit dark, so I thought I might as well have a poke at the windscreen to see if I could get it out and get some light in the inside. I’m really wishing now that I’d just cleaned it!
I had a bit of a poke around the surround to see how easy it might be to get out. To my surprise, I found that parts of the surround came up fairly easily, and in fact I could lift up parts of the windscreen itself by levering with a screwdriver. So I got to work, and after a bit of time and care, I managed to get the trim, then the windscreen itself off.
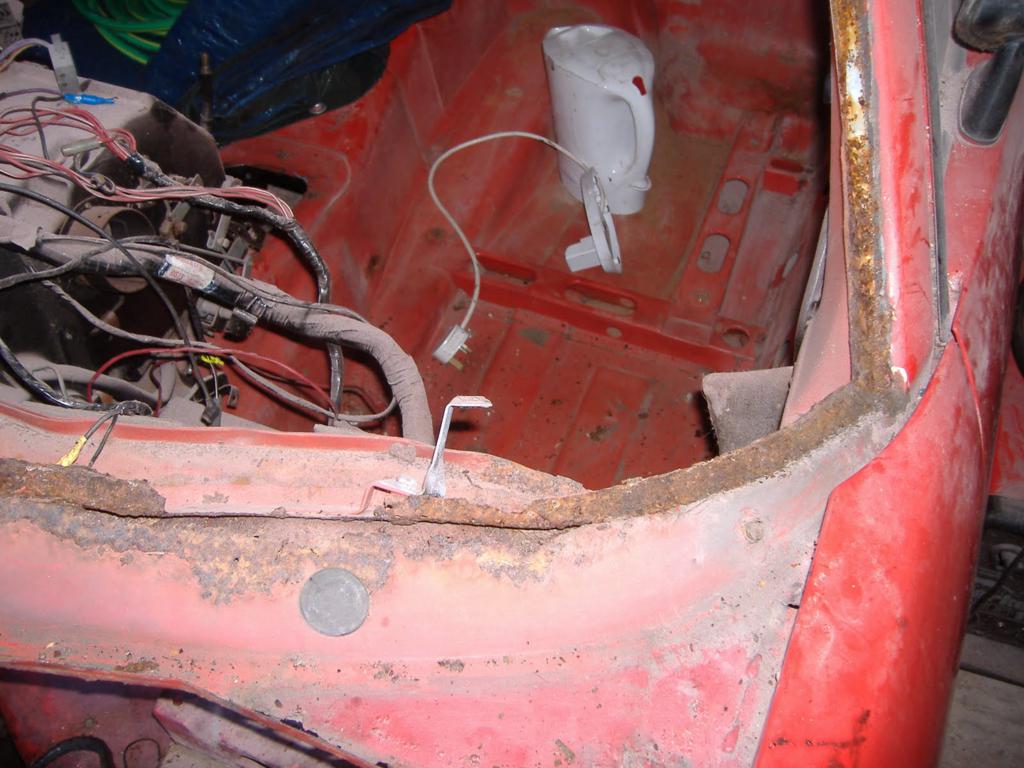
First impressions weren’t great, it looked a bit of a mess:

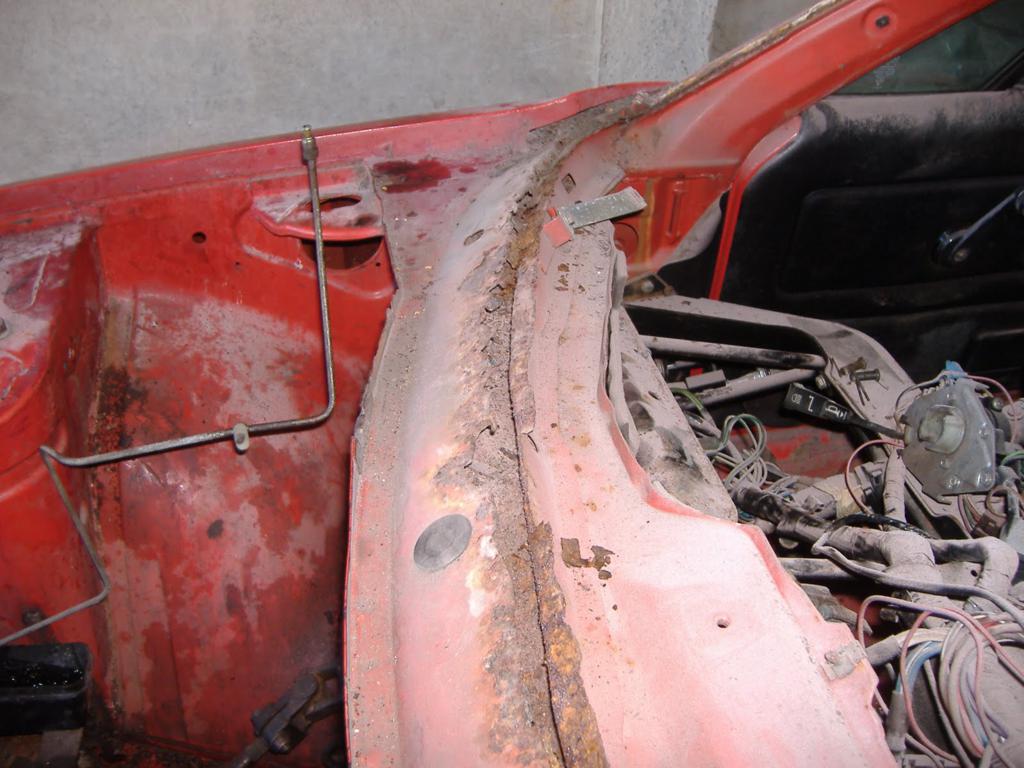

But nothing too bad – apart from the base, which I knew about and was prepared for. The lip along the top was a bit rotten, but the sides at least looked OK. But when I started cleaning off the old sealant, I noticed a bit of filler underneath. No problem, I started scraping that off, then attacked it with a file, then finally a hammer(!).
This is what I was left with:

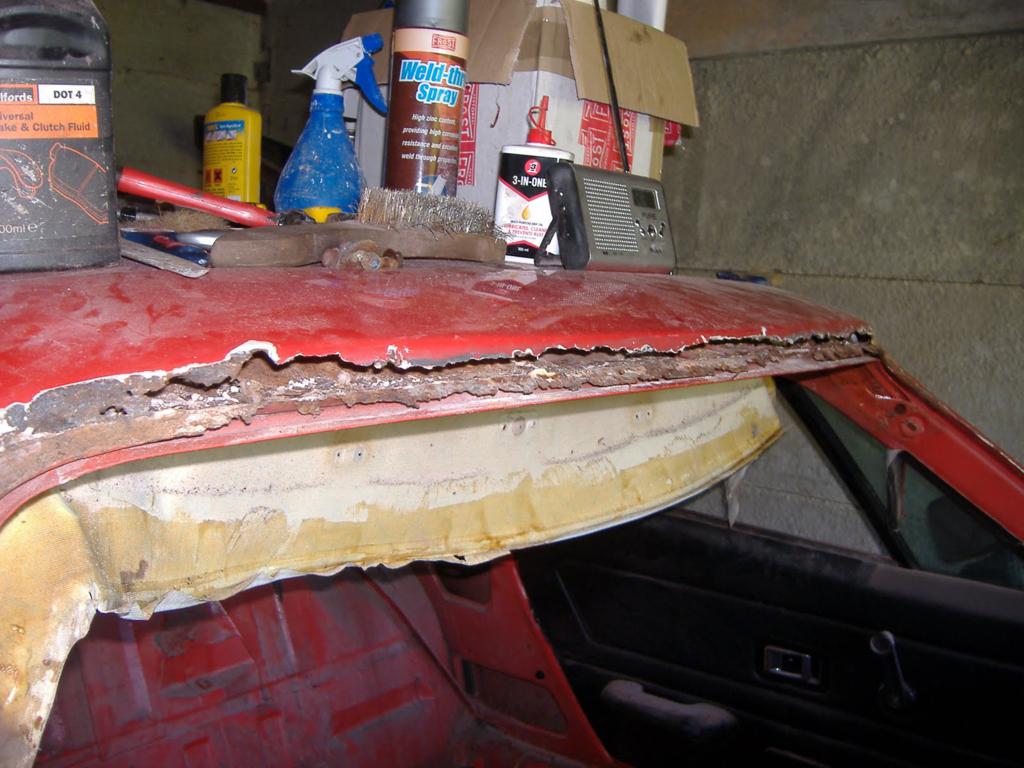
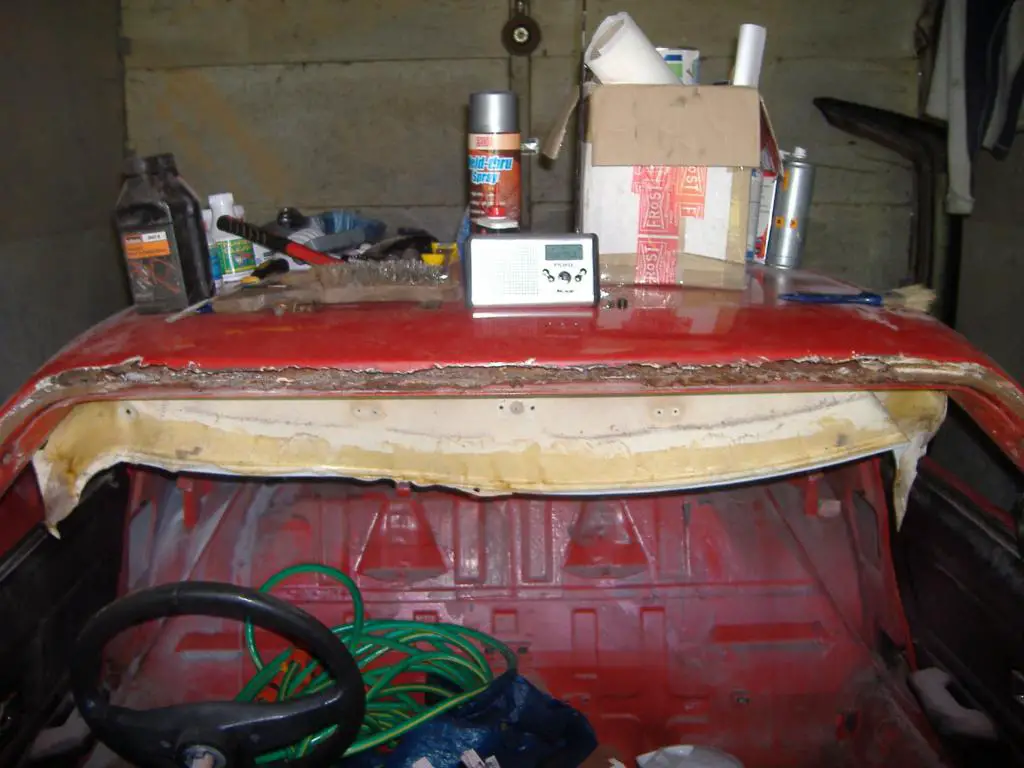

That’s right – the entire top of the screen surround had gone completely rotten and was just made of filler.
According to the paperwork I got with the car, it had undergone a ‘restoration’ sometime in the nineties. I now realise that was just an attempt to pretty her up; the legacy of that is a bad paint job and loads of bodged filler repairs.
The lumps of filler I hacked out:

I think that’s more filler than I’ve used on the entire project – even if you include the 90% or so that ended up as dust on the garage floor.
So, that leaves me with having to fabricate the top of the windscreen surround as well as the bottom. And worse, with that amount of metal gone, I’ve lost a lot of the reference points that I’ll need to get the new metal in the right place, and make sure the gap is correct.
What fun!
On the plus side, there’s a lot more light inside the car now!