After a bit of a hiatus(!), I’m now finding a bit of time to get back on with the work.
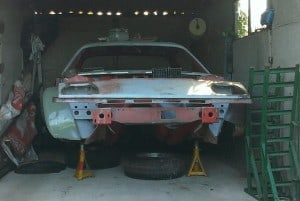
The first thing to be done was to carry on with the offside wing and wheel arch. When I left it before, the only bits that still had the old underseal that needed removing were the front wheel arches. So I removed the front subframe and suspension components:
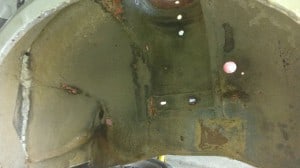
The arch area was pretty grotty:
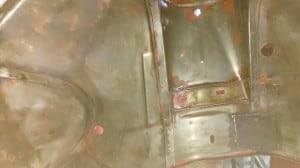
But cleaned up alright and proved to be quite solid:
There was a small welded panel just underneath the suspension turret, but it looked quite solid and professionally done (for once!) so I left it well alone.
With that done, I cleaned it all up, applied metal ready then a coating of POR-15. I’m using the same process for painting as for the rest of the underside (strip to bare metal, clean, apply Metal Ready, paint with POR-15, topcoat with POR Chassis Coat), however I had some problems with the order – I somehow managed to order black POR rather than the grey I’ve used before, not a problem really as it’ll be painted over, but I preferred the grey as it was easier to tell what I’d painted over when I do the chassis coat – and the Chassis Coat itself was out of stock for the next eight weeks. . Oops.
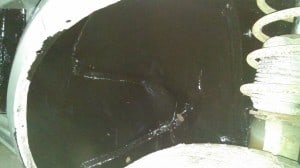
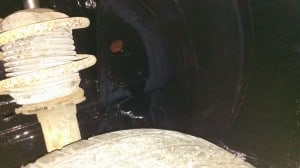
Still, I did the POR painting, let it dry and then put the subframe and suspension back together so I could roll the car out and make a start on the wing. Unfortunately I forgot to take any pictures of the arch after painting but before putting the suspension back on, but here’s what I’ve got:
Nice and shiny – unfortunately it won’t stay that way, the Chassis Coat is a fairly matte finish.
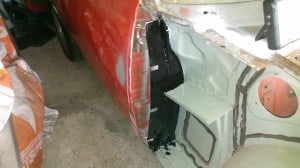
With that done, I made a start on the wing. The first thing that needed doing was to weld the filler panel to the A post – the old wings are a slightly different design and the filler panels are part of the wing, so my car never had them – and then get the inside edge painted:
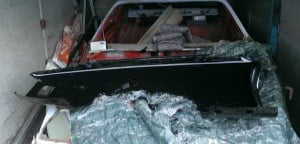
That’s POR 15 again, same as the rest of the inner wing, just a different colour. Once the wing’s on it’ll never be seen so I’m not worried about that. While I had the paint out, I rubbed back and painted the inside of the wing:
Now I’ve got everything lined up, all that remains is to grind down the welding surfaces, drill some holes and then the wing is finally ready to fit!
