It’s been almost a year now since my last blog on here. Oops!
I’ve not given up though, and I haven’t been completely idle (although work has been a bit slow, other projects and hobbies have been taking up my time), it’s been more of a case of the work being fairly slow and fiddly, with not much going on worth blogging about.
That’s starting to change now, though, with the winter months behind us and plenty of warm days ahead to get working.
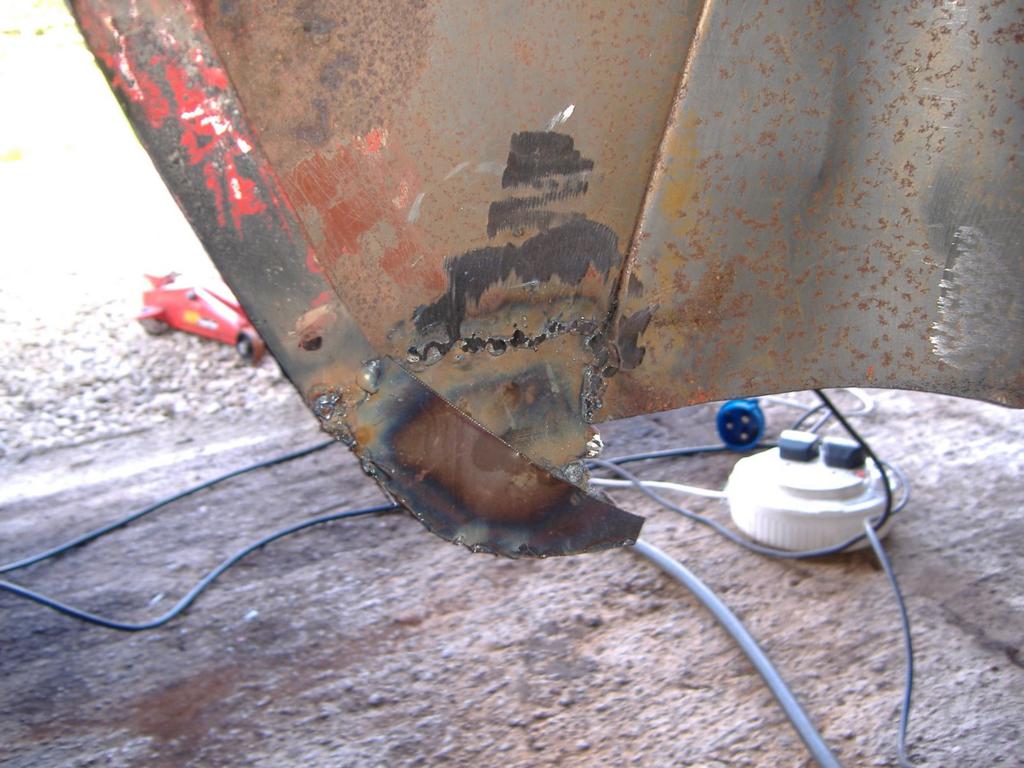
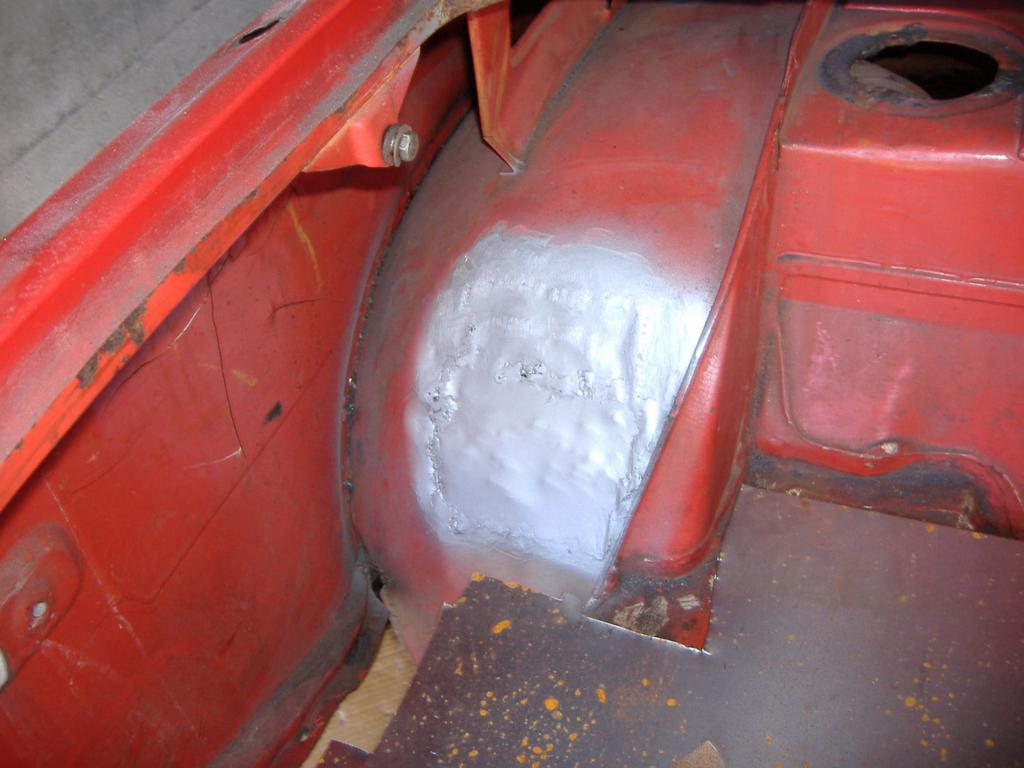
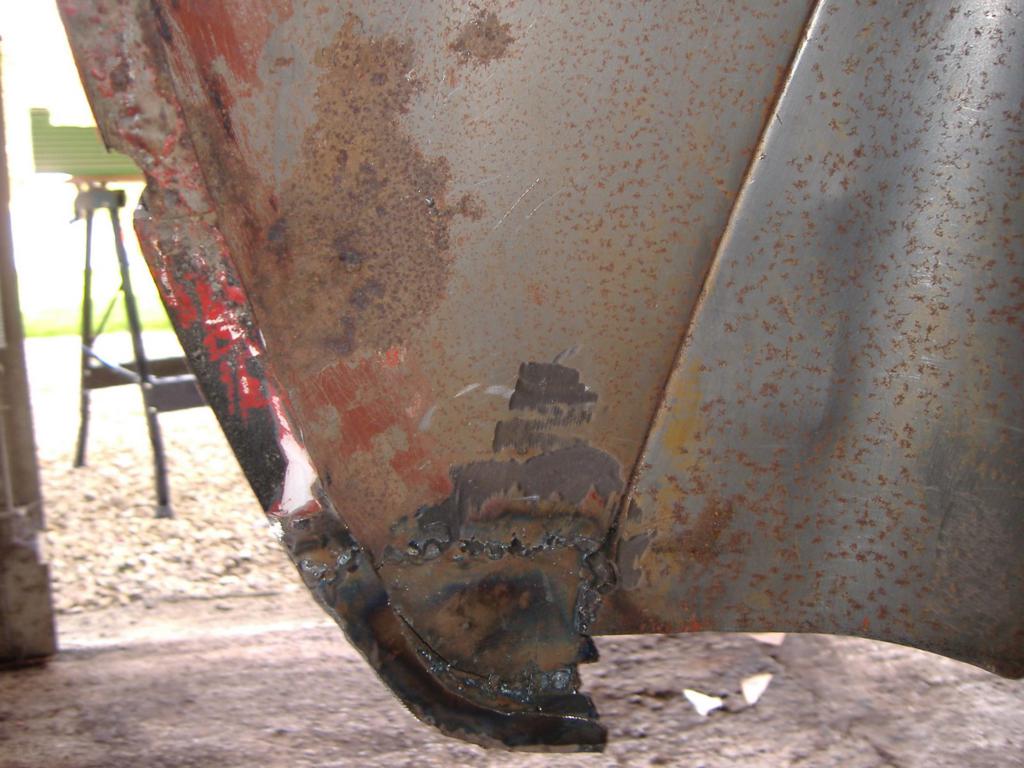
When I last blogged I was getting started with the welding at the back end. That’s now more or less finished now, with the only major part left being the N/S rear sill.
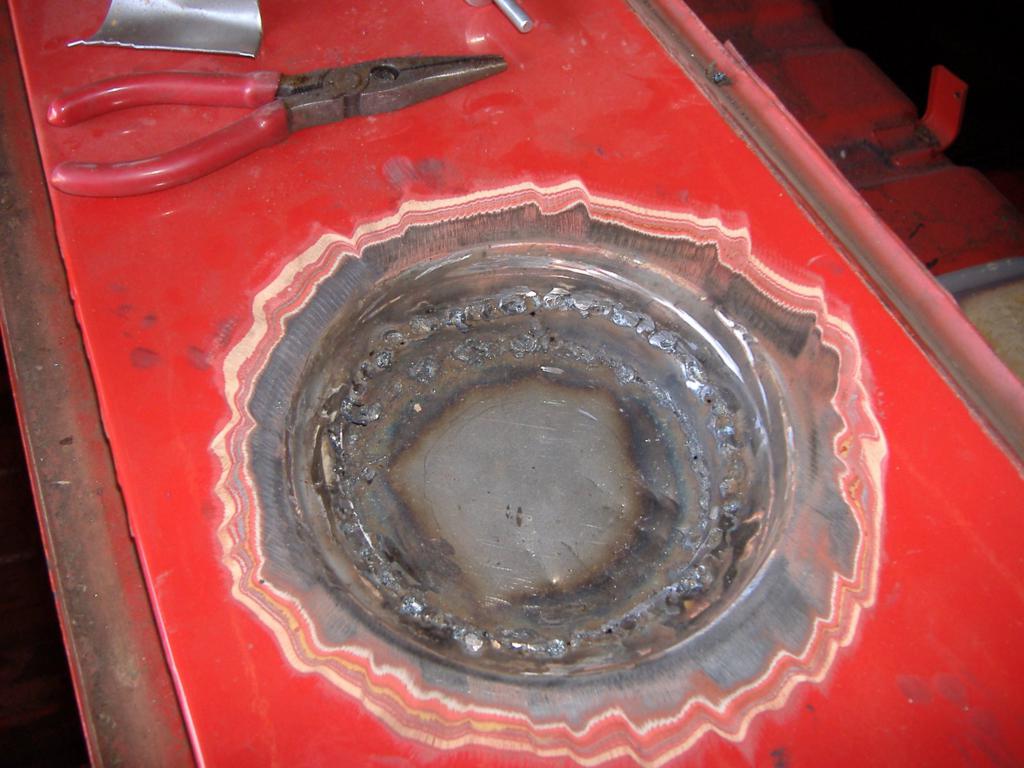
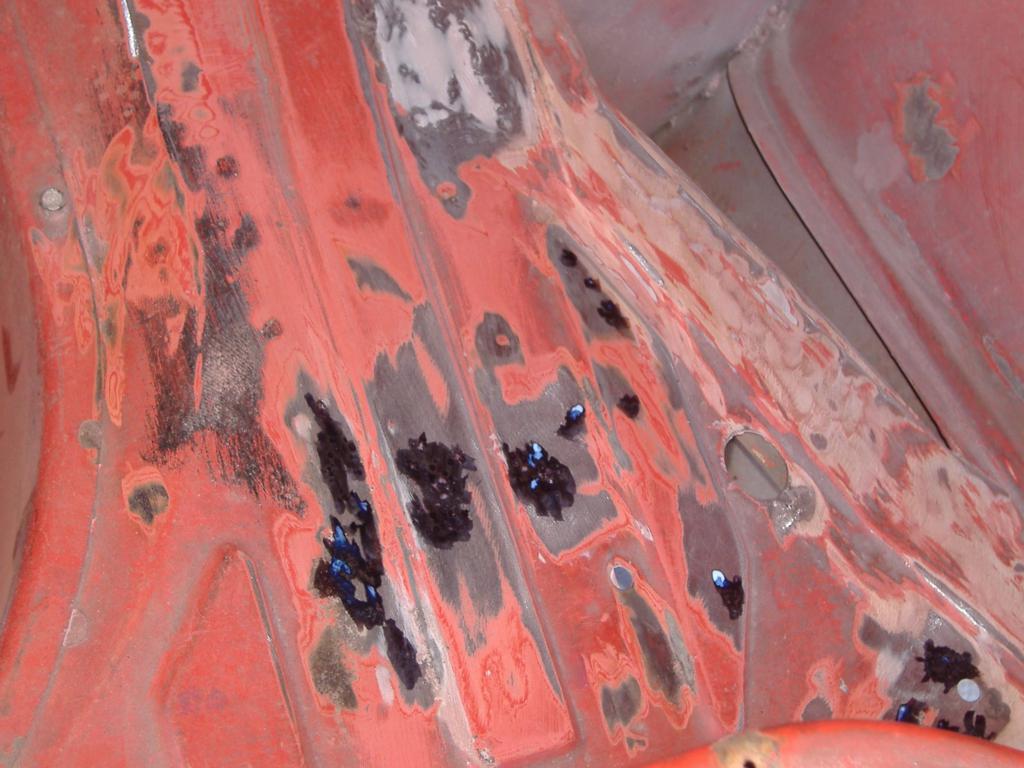
I wouldn’t say the welding has gone entirely to plan, I’m still very much a novice at this, but I’ve managed to get most of what I’ve needed done, and reasonably well – not exactly pretty, but strong enough and it’ll do the job. It just means using a bit more filler than you might otherwise expect. 🙂
Some Examples:

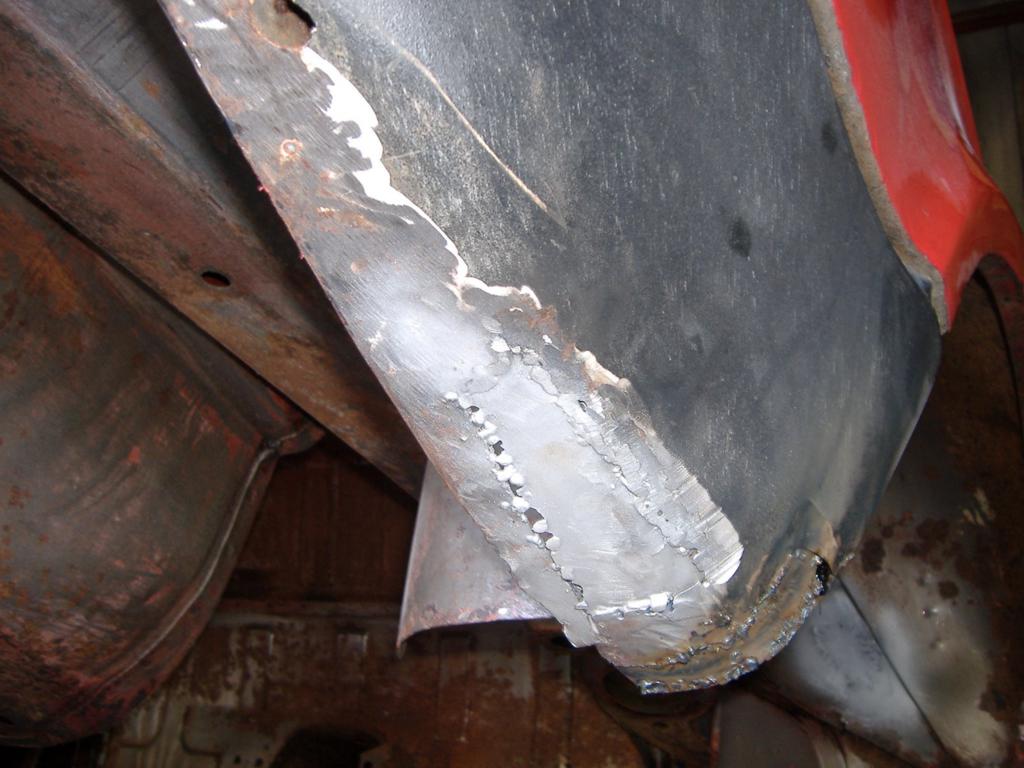
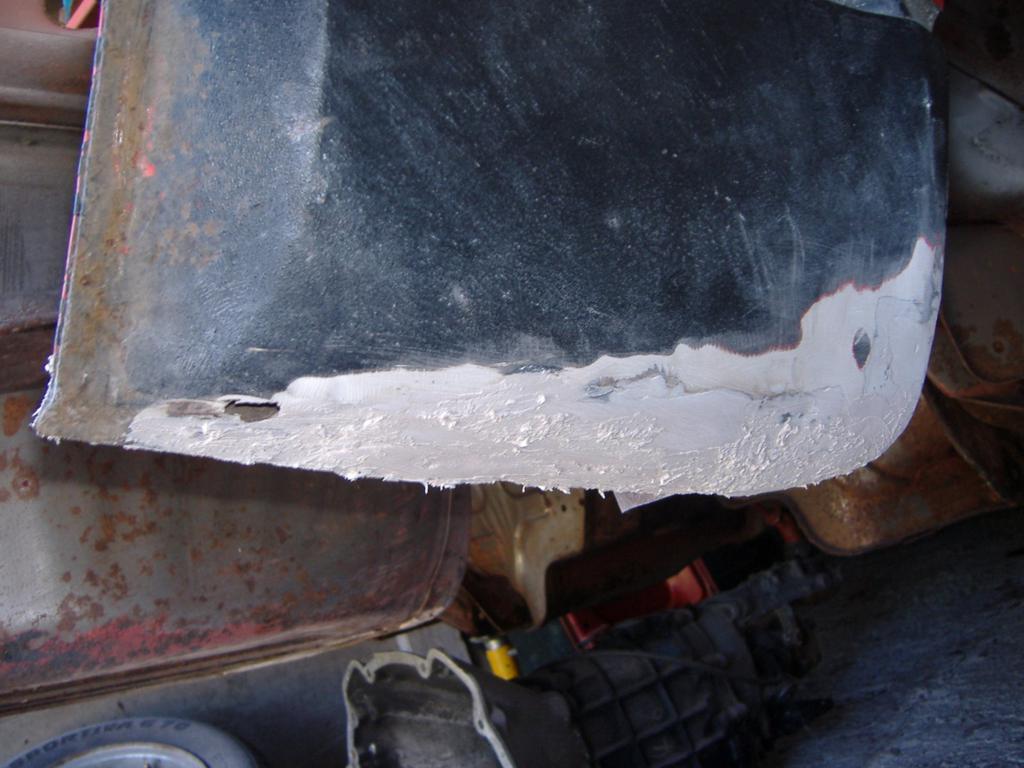
The last picture, if you hadn’t guessed, is the fuel filler bit – it turned out to be so rotten (plus someone had already patched it at some point in the past) I found it easier to just cut the lot out and fabricate a new one from scratch. It doesn’t look pretty at the moment but it works – I’m quite happy with this, it was some major work getting this all worked out, measured and fitted correctly. Since that pic was taken, I’ve cut the hole for the fuel pipe, now I just need to drill some drainage holes, beat it out a bit to remove any level spots where water can stand, and tidy it up with some filler.
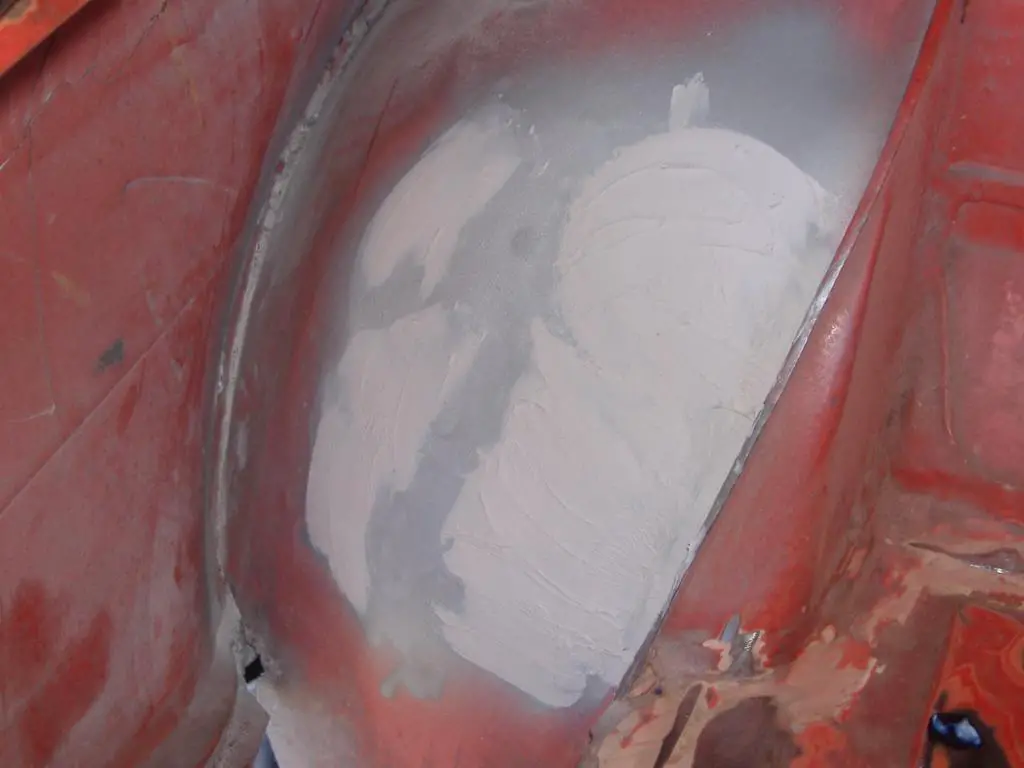
Now the welding is almost done (I hope to get it finished next weekend, when the new sill panel turns up), we’ve been concentrating on filling and finishing – the major areas are now filled and just need final shaping:
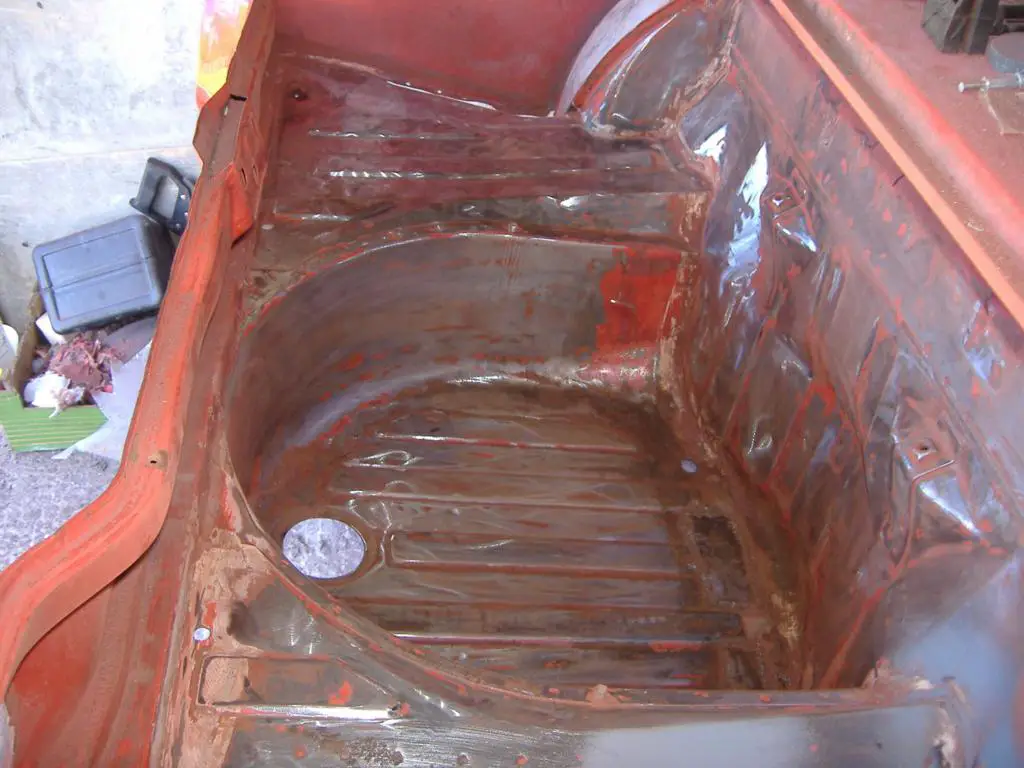
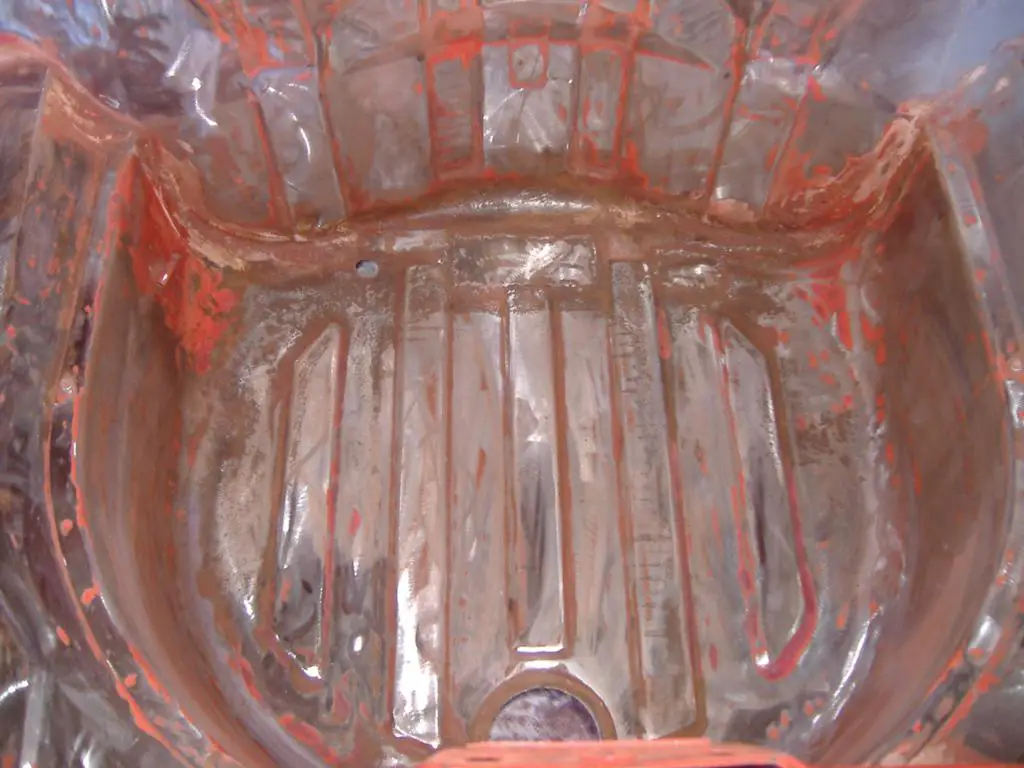
Today was spent stripping the paint from inside the boot – not the most pleasant of jobs. The paint in there seems to be pretty resilient to the stripper we’ve been using, so in the end we pretty much gave up on that and did it all with an angle grinder.:-)
If all goes well, next weekend should see the new sill welded in place, the rest of the filling done, and the inside of the boot ready to paint. Then after that, there’s a few odds and ends to finish up underneath, then that’s ready for painting too.
