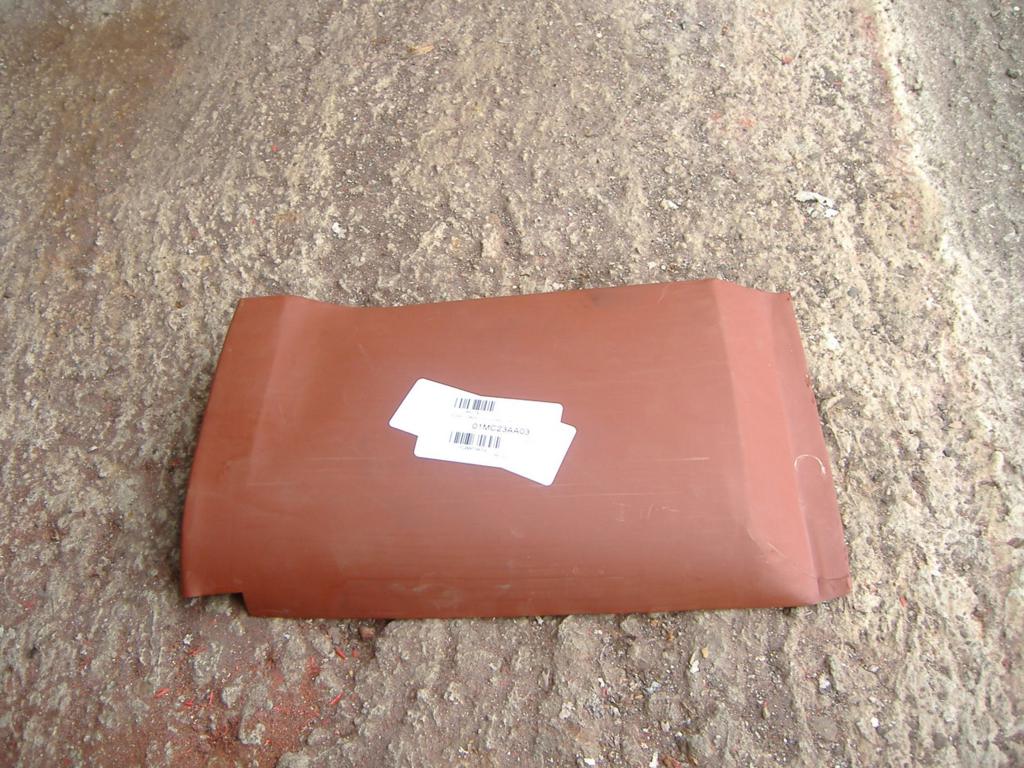
After a bit of a longer wait than I’d hoped, the sill panel finally arrived last week. 🙂
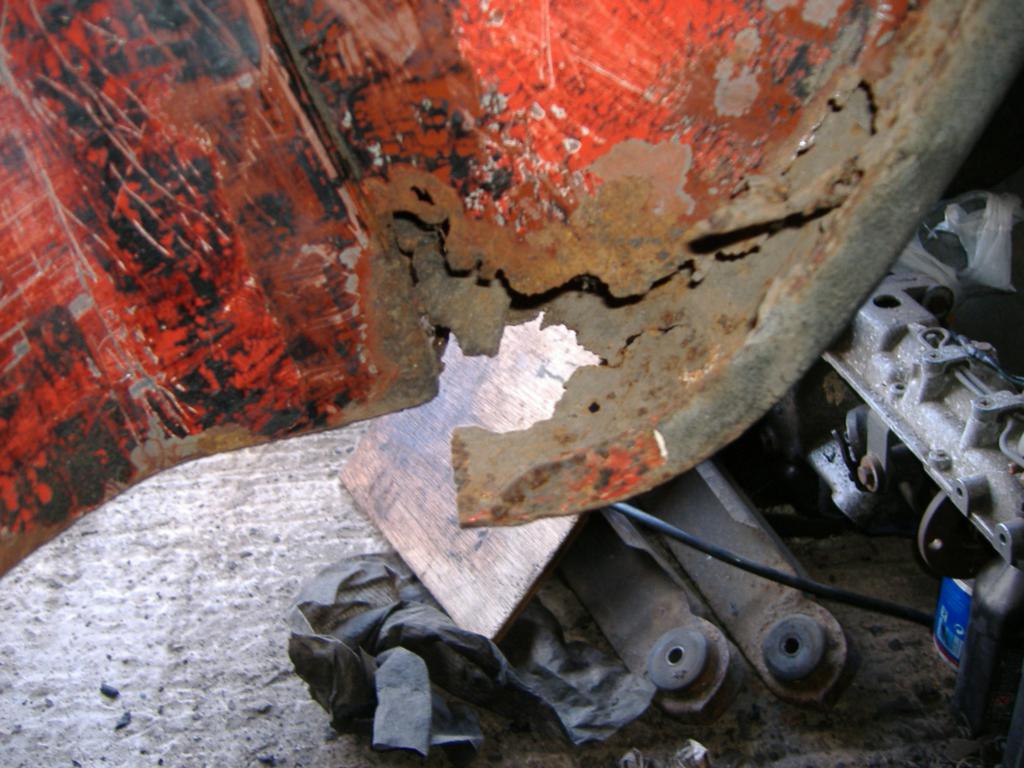
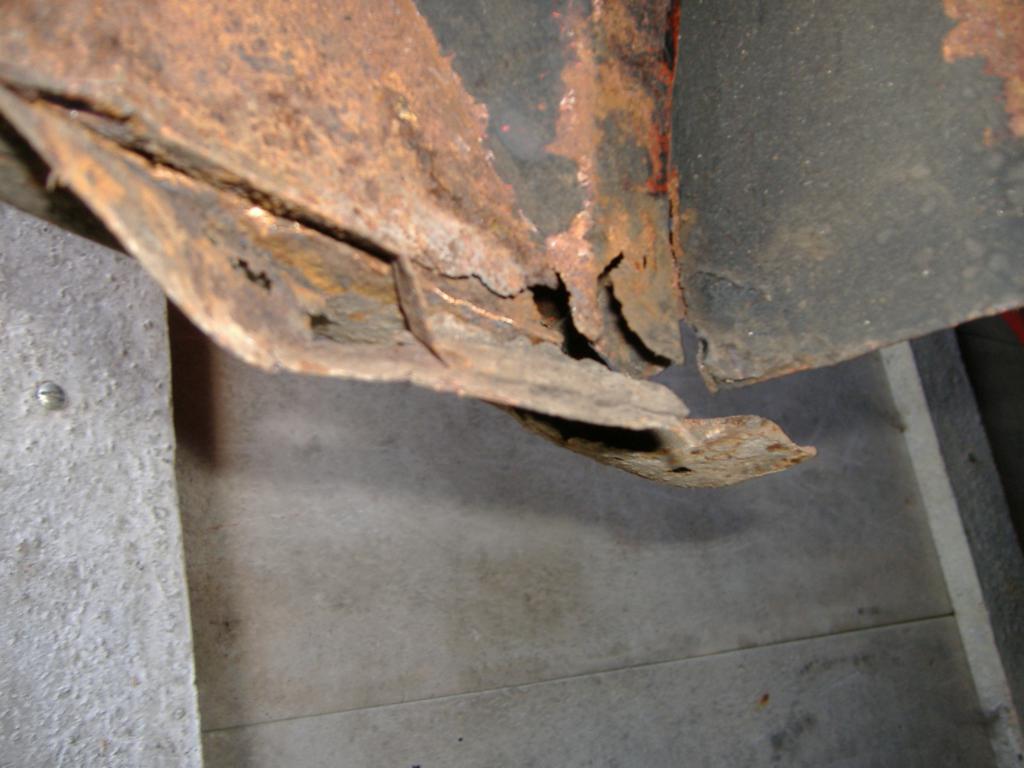
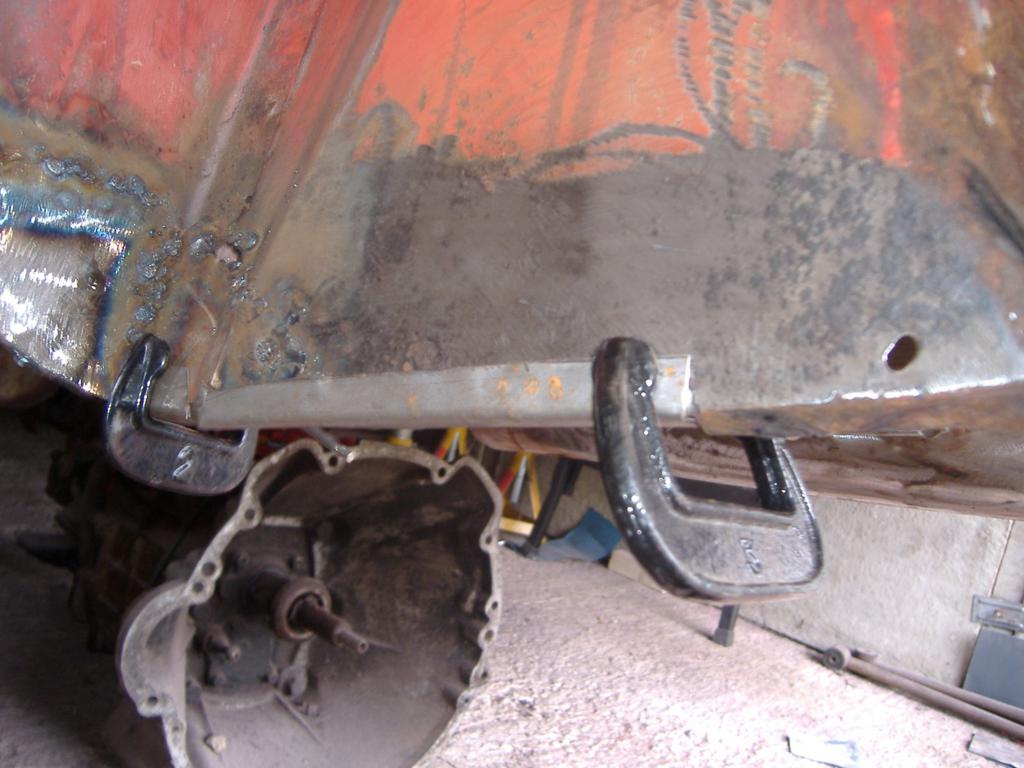
So, with some good weather to play with, I headed down to get started on rebuilding the sill. I’d forgotten what a mess it was, I’d been waiting for the sill so I had a template before I started the job. Here’s what it looked like to start with:
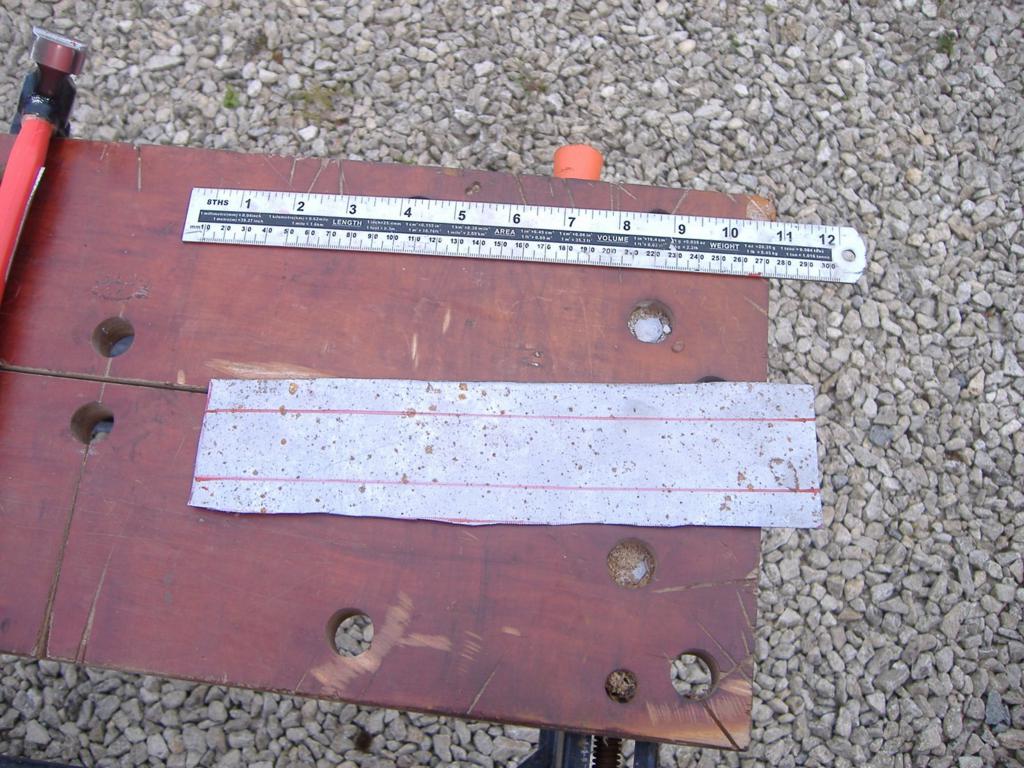
And the new panel, ready for fitting:
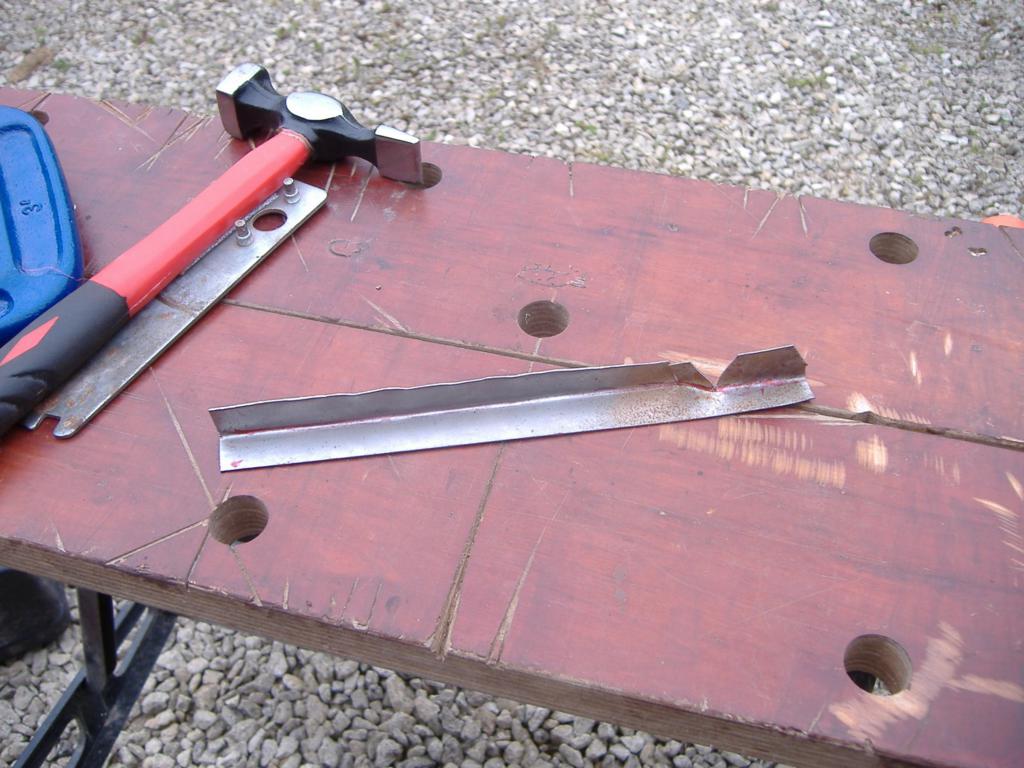
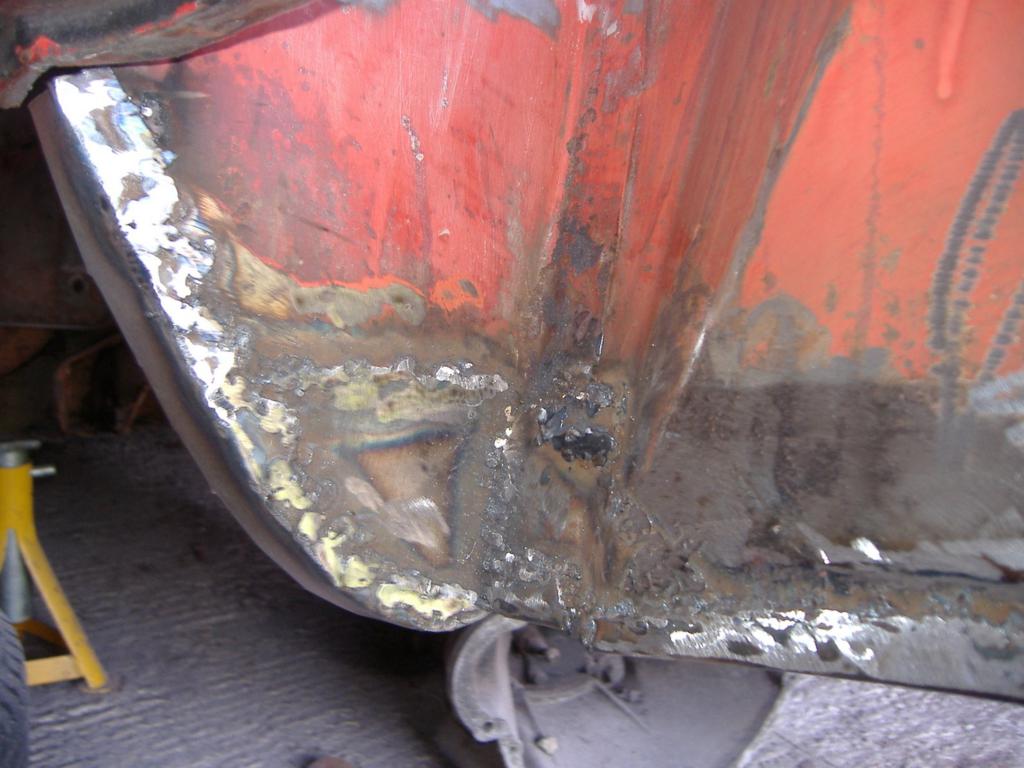
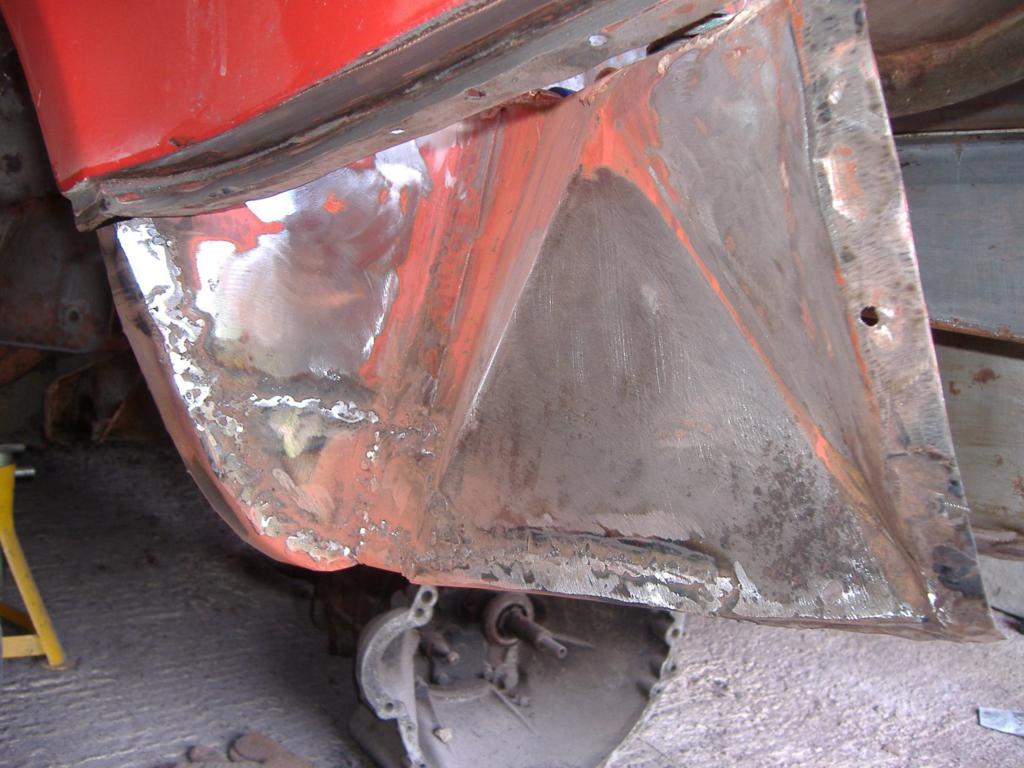
So after a bit of deliberation as to how to start, I skipped the planning and just got busy with the angle grinder. 🙂 Several minutes later, all the rusty metal was gone and I got started with the new patches to measure, cut and weld. Unfortunately in the excitement I forgot to take any pics until I’d done a fair bit. Still, I got as far as this:

A few panels cut and shaped later:

And the finished result:
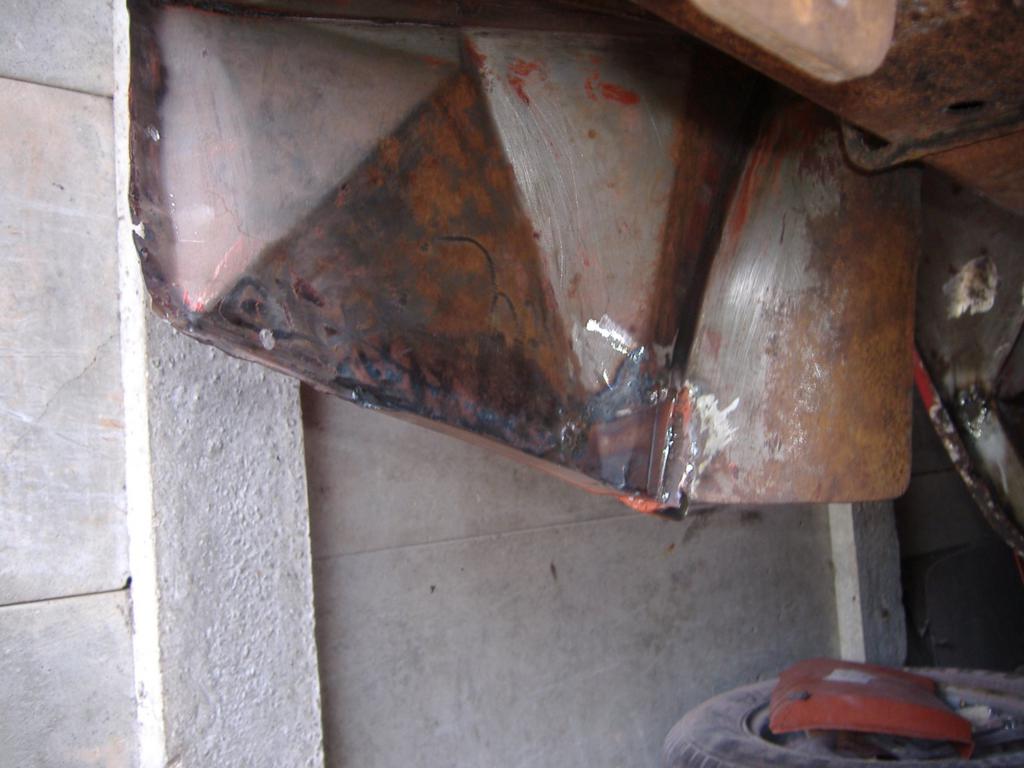
And after a bit of filling and priming:
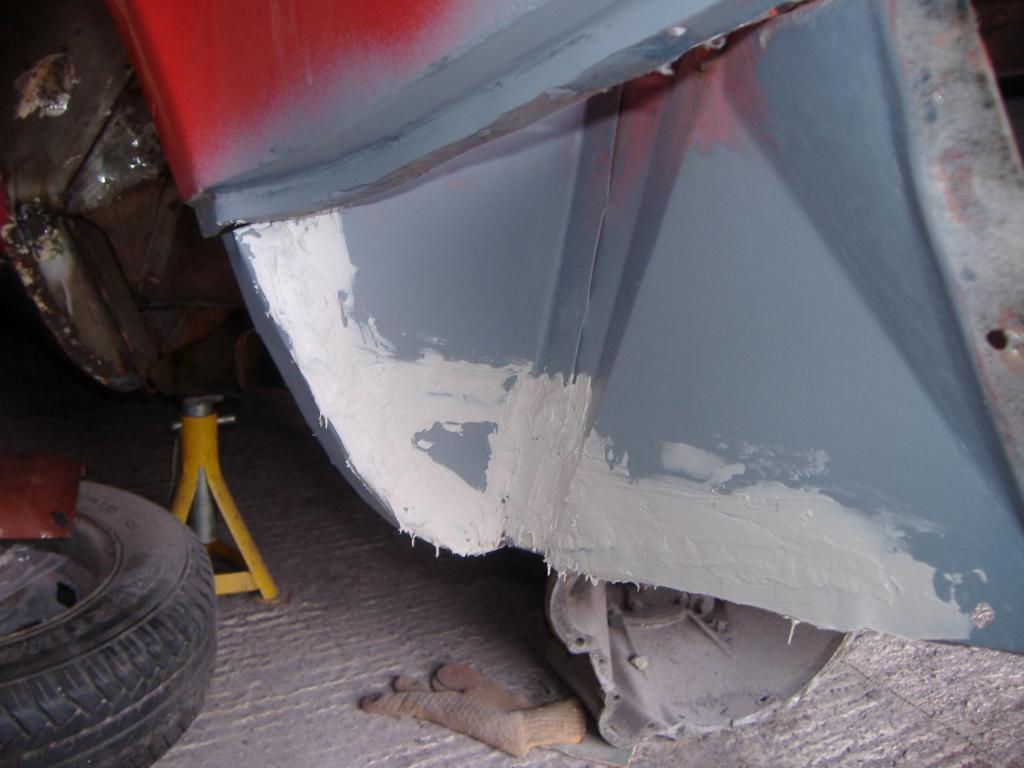
That was where I left it on Saturday.