And so begins my first restoration project – a brass bell!
I’ll be honest here – this isn’t really much of a restoration. More of a polish and clean up, really. It’s a brass bell, there’s only so much you can do to restore one.
No, the idea of this was just to get the hang of the videography side of things as well as something to get my YouTube channel started with. It’s not the most interesting project, and I’ll admit the video work needs some, er, work. But we all have to start somewhere, right?
The Bell
So, on to the bell.
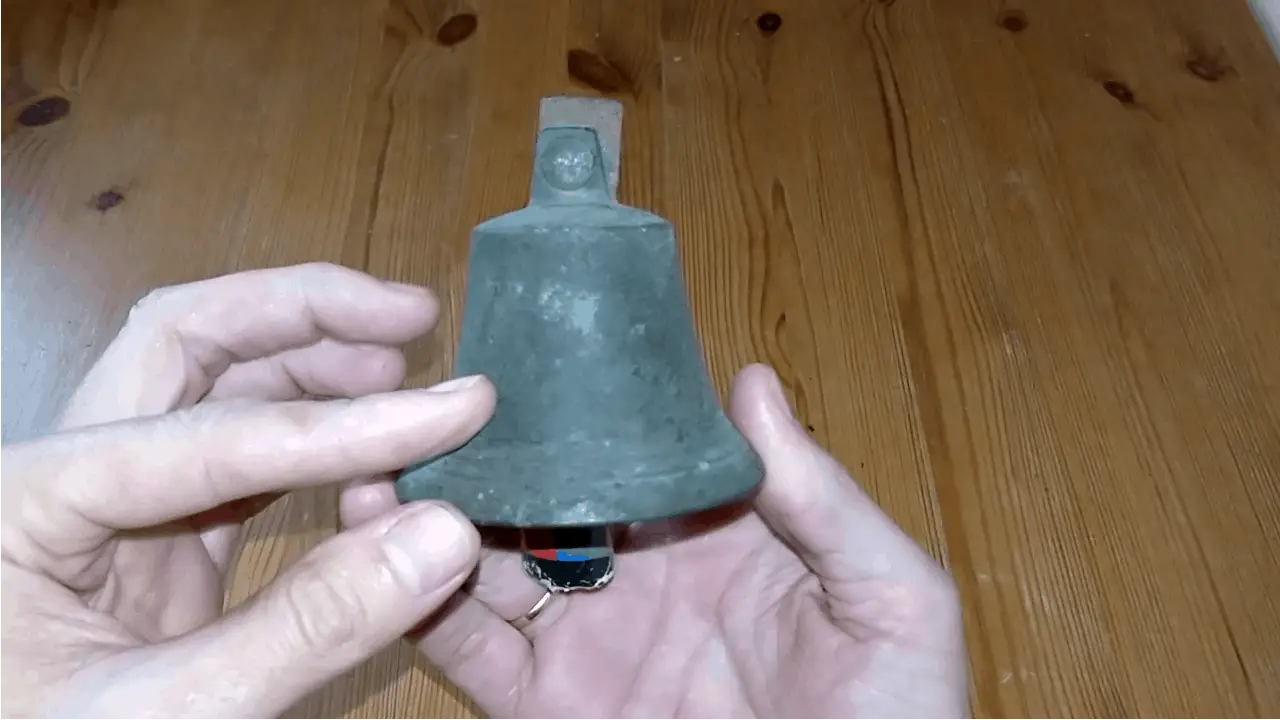
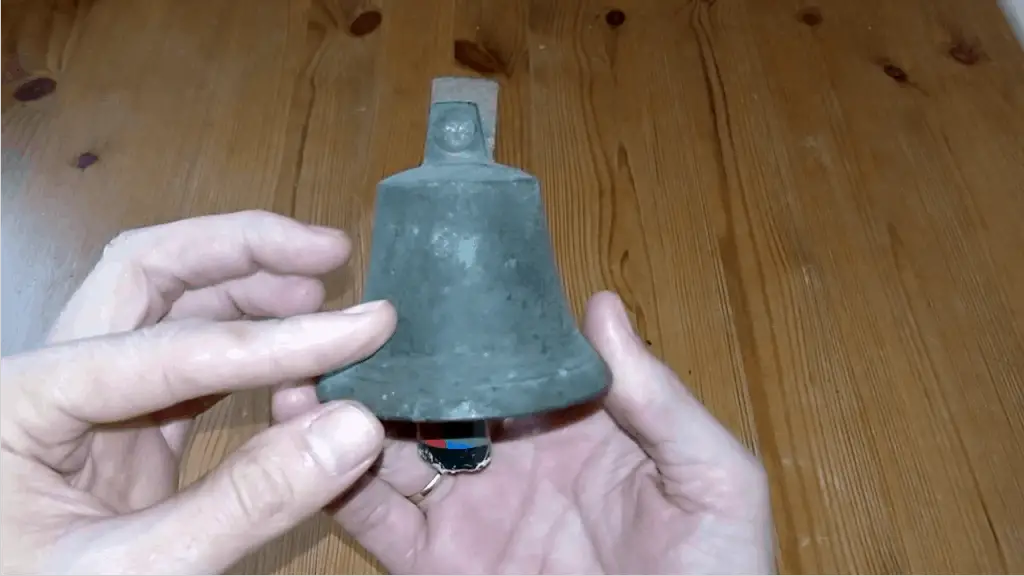
It caught my eye when I was browsing through eBay looking for an ideal project. The bell looked perfect: old and dirty, clearly in need of some TLC, but not so battered as to be beyond my skills and equipment.
It was advertised as a Victorian brass bell. The ad had a bit of spiel about Victorians using such bells for graves – the idea being if someone was accidentally buried alive (a distressingly common occurrence back then), they could ring the bell up top via a rope inside the coffin.
I don’t know how common a practice this was. Probably not that common, and it’s extremely doubtful that this bell was one of those. Nice story, though!
I have no idea if this bell is Victorian or not, but I suspect it’s from around that era. I also have no idea what such a bell was used for, either. As you can see, the bell was attached via a brass rivet to a piece of steel, which limits its uses a little. I think it was either part of a servant’s bell system (quite common in the era, if you were posh enough to have servants) or a doorbell for a shop – the type that hangs above the door and rings when you open it.
Anyway, on with the restoration!
Disassembly
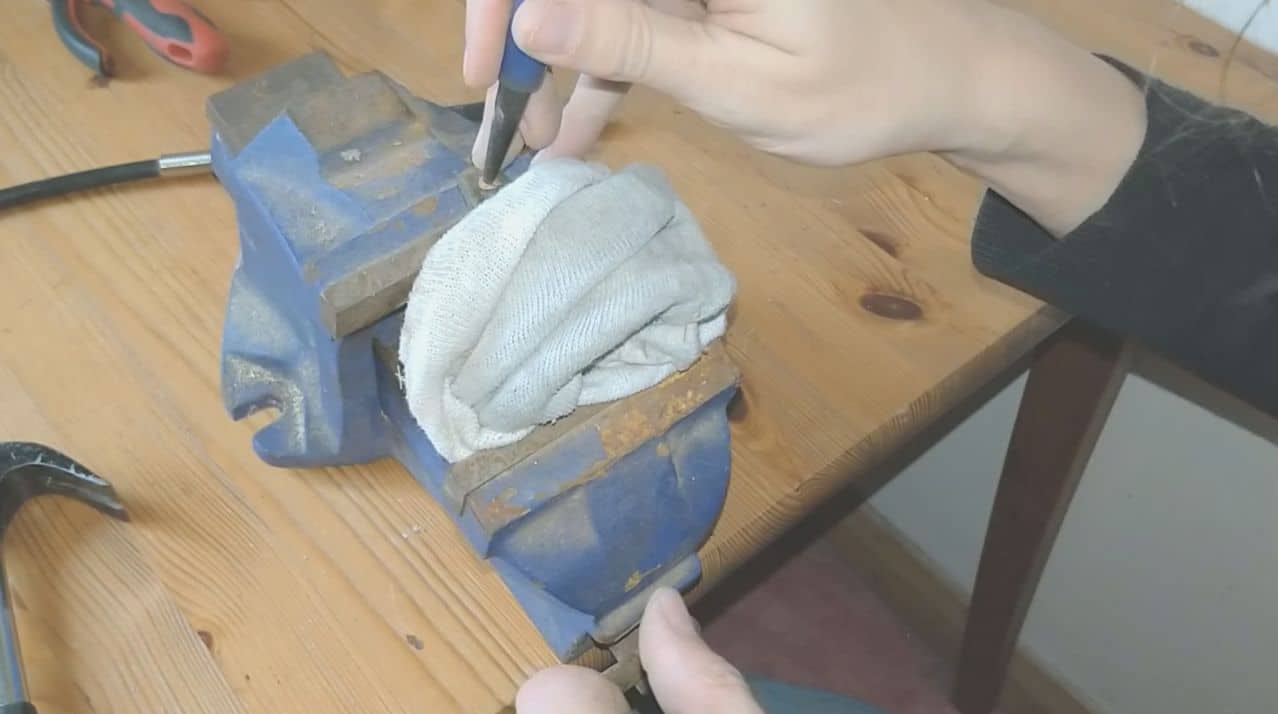
The first step was to remove the clapper and grind off the brass rivet. That was done using my trusty old Dremel knock-off tool:

With one side ground off, it was a simple job to punch the rest of the rivet out. Well, it would have been easy if I had a vice actually mounted anywhere! I spent half the time on this just trying to hold the vice steady.
With that out, I got some plain old soapy water and got to work cleaning it. At this point I felt like I was on the home run – just a good scrubbing and then a good polish!
Cleaning
Unfortunately that wasn’t to be. I don’t know what the bell was covered with or where it had been all these years, but that wasn’t just ordinary dirt on the bell. Nothing would shift it. Not water, not scrubbing, not even the small nylon brush wheel I had on my not-Dremel. The only thing that touched it was a wire wheel, but even that didn’t do much – cleaning it with that would have taken hours.
Luckily, I have a better option! Out in the workshop I have a bench grinder with a brass wheel and a selection of polishing mops. Perfect!
Polishing
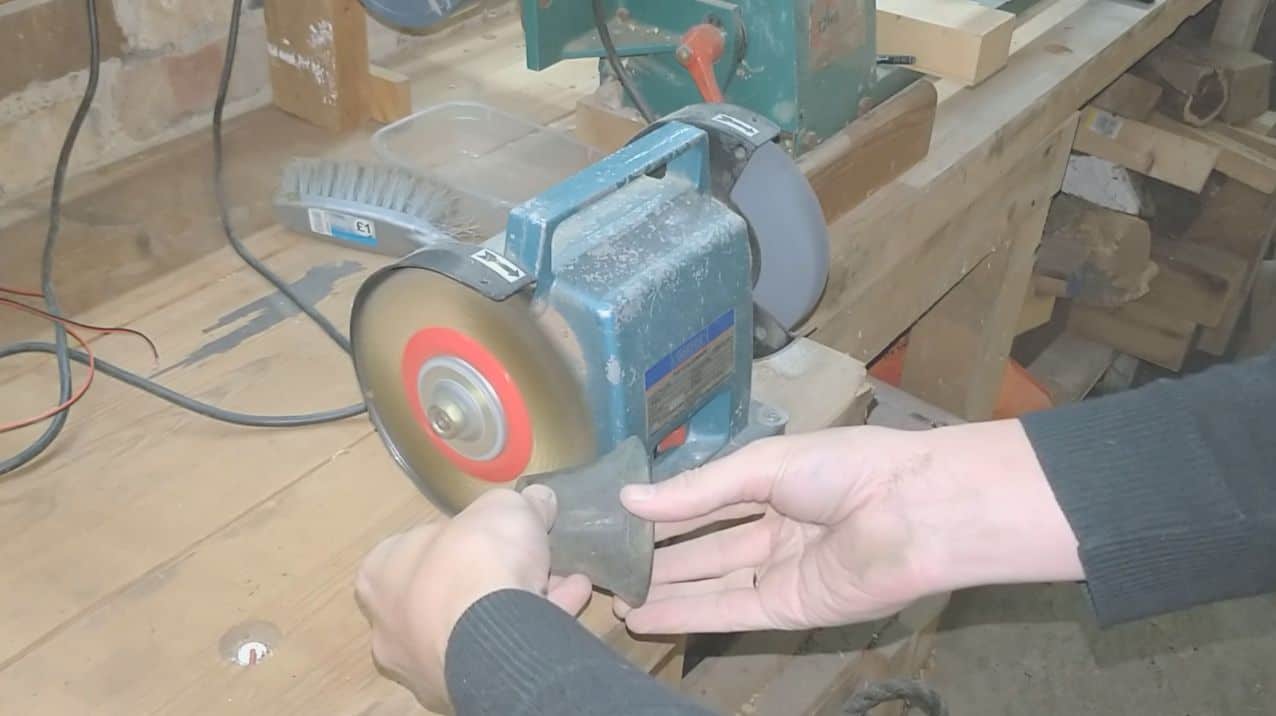
I was a bit nervous about using a brass wheel on brass for fear of scratching it, but I took it slow and gentle and in the
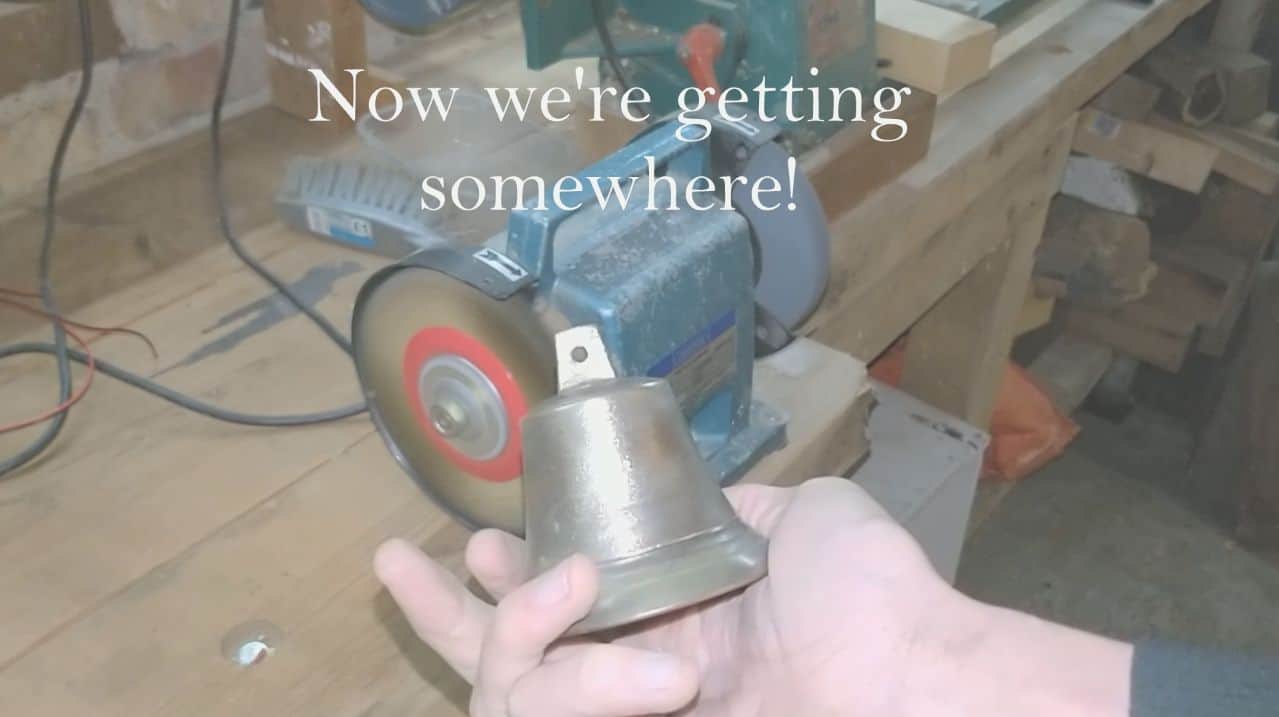
With that done, I got to work with the polishing mops. By the time I was finished, I finally had a shiny bell!

That took care of the outside of the bell, but the inside was another story. It was still covered with whatever was all over the outside, and of course, I couldn’t get the brass wheel or the polishing mops inside. Whatever I did would need to be done by hand.
Polishing The Inside
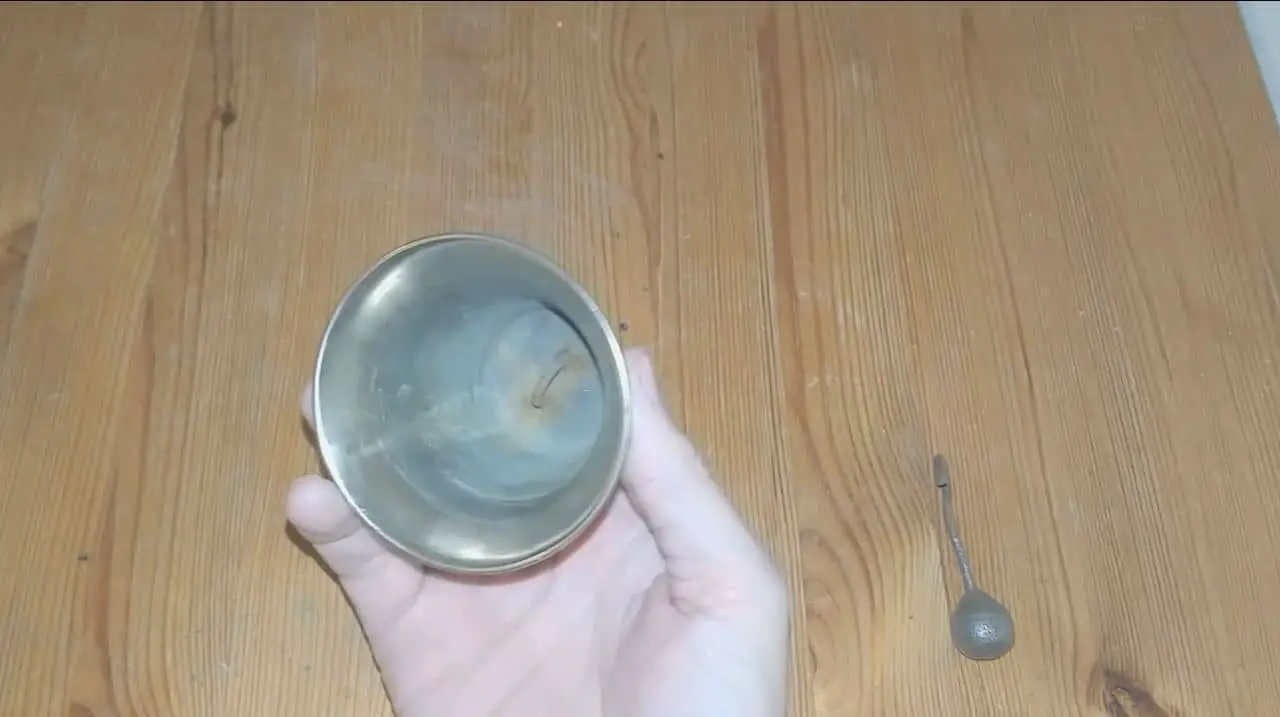
So after a bit of thought, I got to work with some sandpaper. 60 grit paper got most of the dirt off, but left the surface badly scratched. I carried on like this, using finer grits each time until I was up to 2000 grit paper (the highest I had) and ended up with a nicely polished finish.

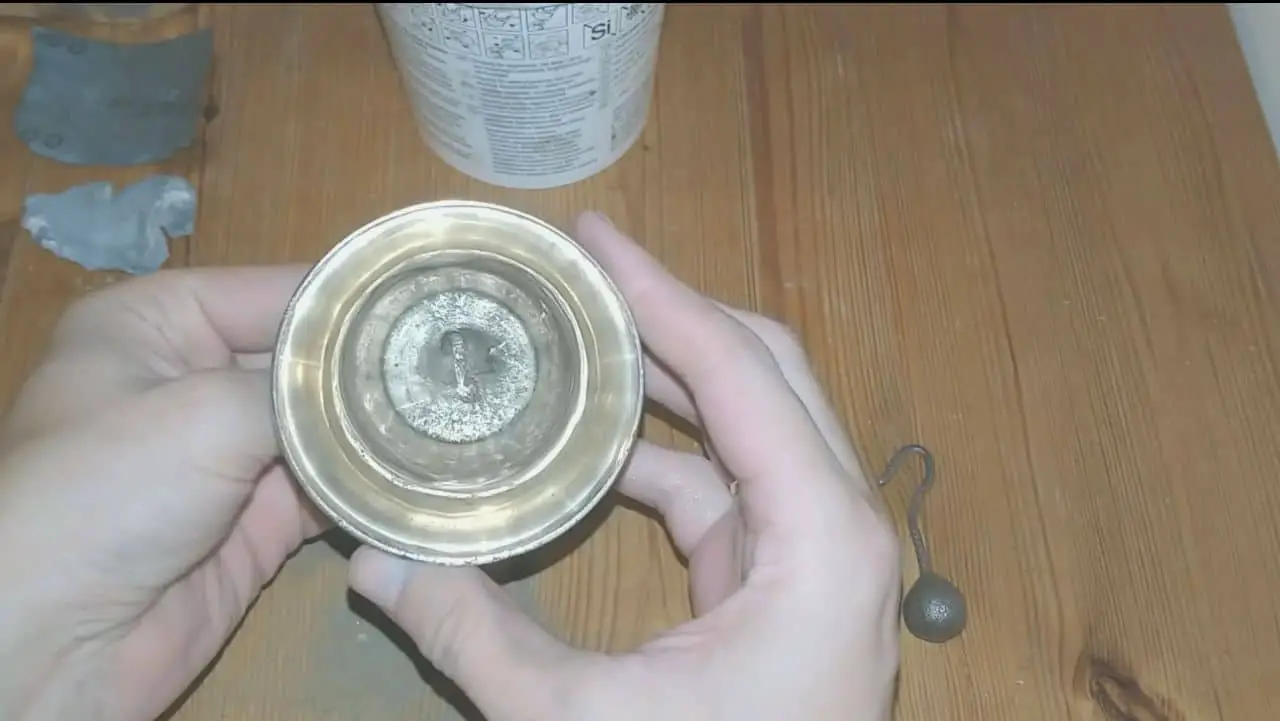
It’s not perfect, you can still see many scratches, but it’s the inside of the bell so I wasn’t too worried. Still, I thought I’d try one more thing: I have some polishing compound in the garage. It’s meant for paintwork, but it’s quite coarse so I thought it might make a difference here on the relatively soft brass.
It did indeed make a surprising difference!
Once that was done, I refitted the clapper and got to work with the final polishing. I’ve used Brasso for various things over the years, but I think this is the first time I’ve actually used it on brass!
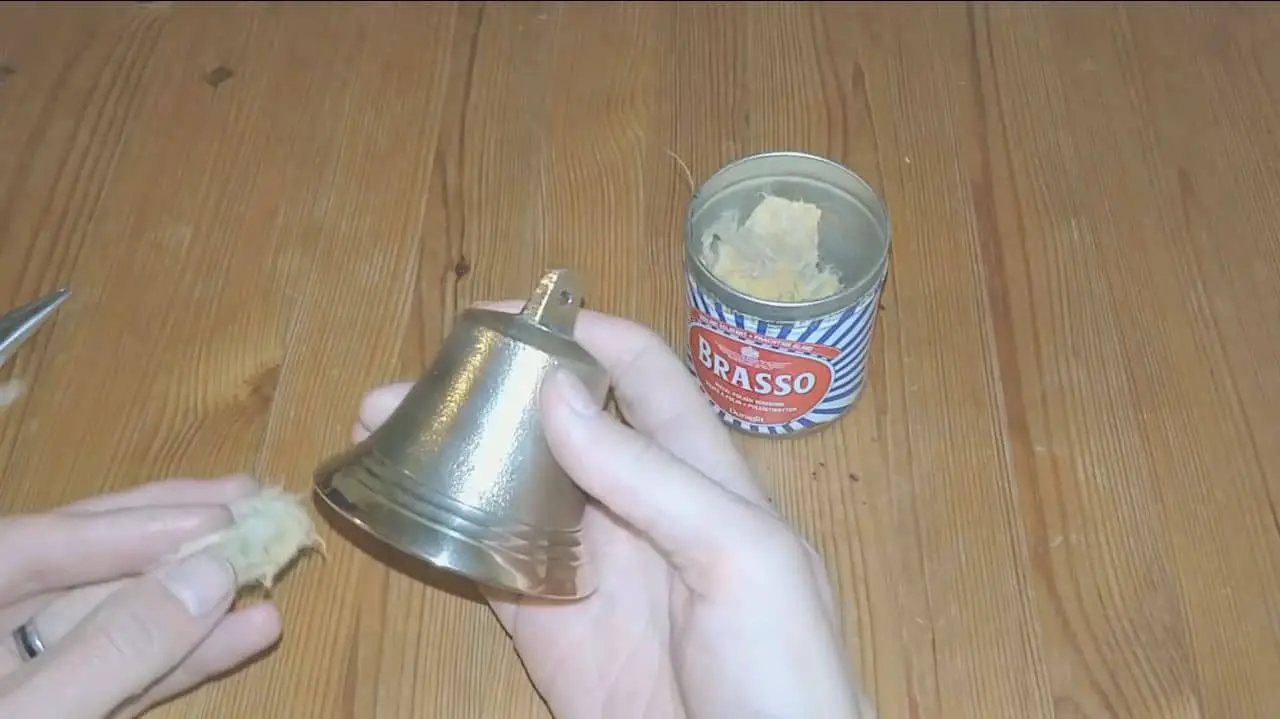
In the end, it all came out quite well. The bell has a few scratches and gouges here and there, but I’m fine with that. It’s all part of the history of the piece.

And now for the video!
Here’s the video on my YouTube channel – if you liked this, please visit to see more!
Equipment Used
Tools and Consumables
For what was a fairly simple ‘restoration’, I ended up needing a few tools and consumables:
- Dremel rotary tool (actually not a Dremel, I have a Clarke one. Same thing, a bit cheaper)
- Variety of grinding bits and wire/nylon wheels for the above
- Bench grinder
- Brass wheel
- grinder mounted polishing mop kit
- Sandpaper in a variety of grits (60, 120, 240, 800, 1200, 1500, 2000)
- Farecla G3 polishing compound
- Brasso
Video/Photo Equipment
It’s true that you don’t need a lot of expensive equipment to do YouTube videos. I certainly don’t have any. The whole video was shot on my phone!
- Mobile phone (OnePlus 5)
- Floor tripod
- Mobile phone tripod adaptor
Conclusion
Overall, I’m reasonably happy with how this came out. I wasn’t expecting anything amazing. Like I said at the start, the goal here was to get the hang of doing these things on video. I feel like I learned a lot and hopefully I’ll be able to improve my next videos.
What I Wish I’d Done Differently
In terms of the restoration, I’m fairly happy with how that went. I really do need to get that vice mounted, though! I’m working on a plan to get a decent workbench in the workshop where that vice will be mounted, but I’d like to have a smaller one set up in my office (where that was shot) as well.
As for the video, eh. It’s OK. Trying to get the right camera angles is an art in itself, as is trying not to get in the way or drag the piece out of shot. It’s just something I need to get the hang of. Better equipment and lighting will help, too. Something I need to start saving my pennies for.
My biggest fail, though, was not getting any actual still shots – everything you see above was a screenshot from the video, and it shows!
All in all, though, I’m reasonably happy with my first attempt. Any comments, I’d love to hear from you!