Something a little different this time! Working on the TR7 has been taking up a bit too much of my time recently, and I don’t want to get too far astray from the original purpose of the website (and youtube channel!). I got into this with the ideal of restoring old, vintage and antique machinery, I don’t want to just be a car channel! So, on with this little restoration!
I bought this a few months ago at a local auction. The sort of auction house that deals with a lot of house clearances, garage clearouts, that kind of thing. I got this as part of a lot that aparently nobody else wanted. To be fair, I didn’t want this rusty old thing either – I didn’t even know what it was at the time. I got it becuase I wanted some other things that were part of the auction lot.
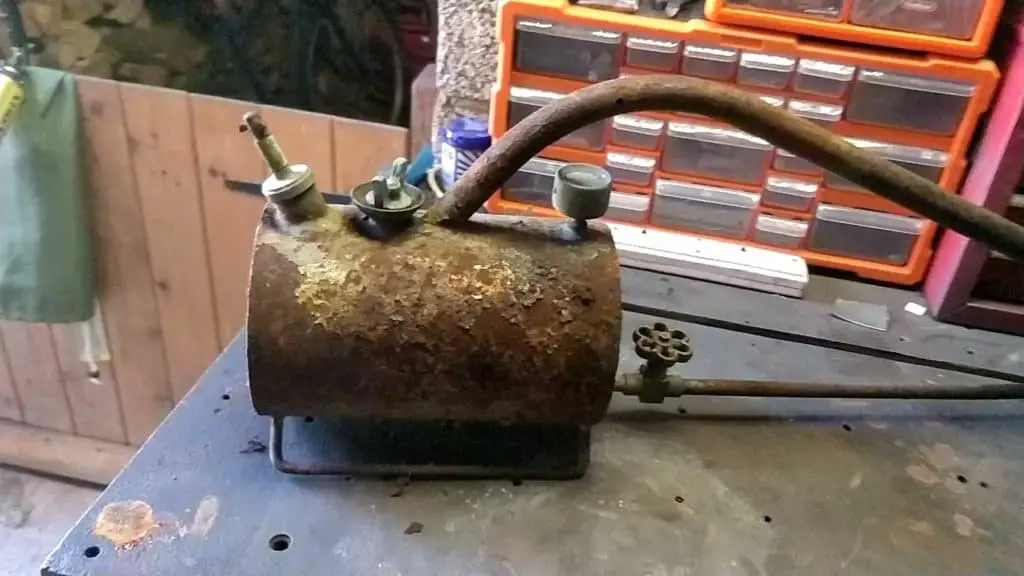
When I got it home, though, I had a closer look at it to try and figure out what it was. A big metal tank with a pressure gauge, a pump handle, and a long spout with a nozzle at the end. It looked like some bizarre sort of flame thrower! It took a bit of googling before I figured out what it really was – it’s a paraffin fuelled weed burner. So flame thrower wasn’t far off!
I also discovered that they actually still make these – aside from a few changes here and there, you can still buy a brand new version of this exact same weed burner. I thought that was kind of cool. The company is Sheen, and you can buy one of these on their website. (Not a sponsored link, btw!)
I figured that was enough to be worth giving this little flame thrower a second chance at life – besides, my better half wanted a decent way to kill off the weeds on our property. So, time for a restoration!
First Inspection
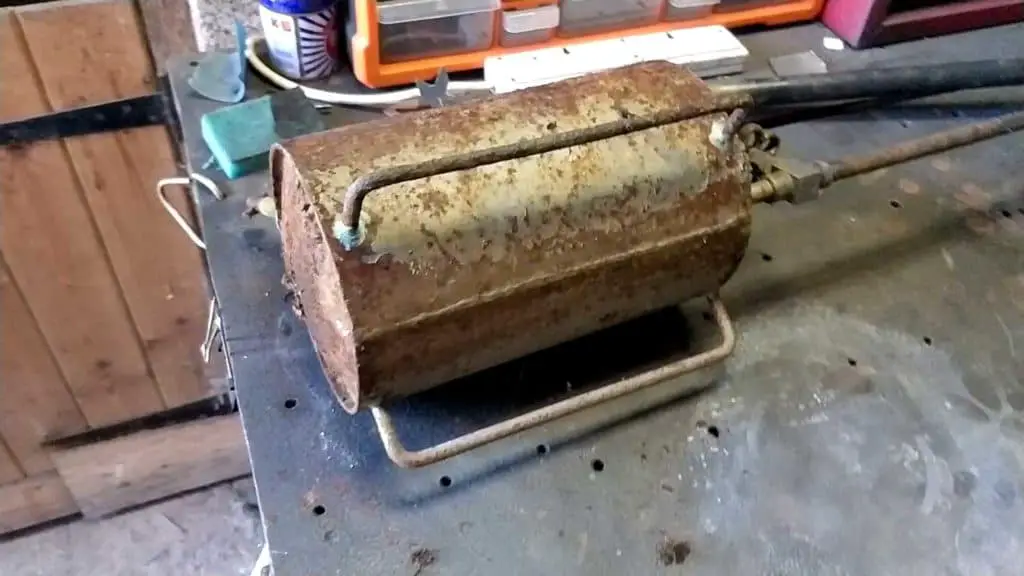
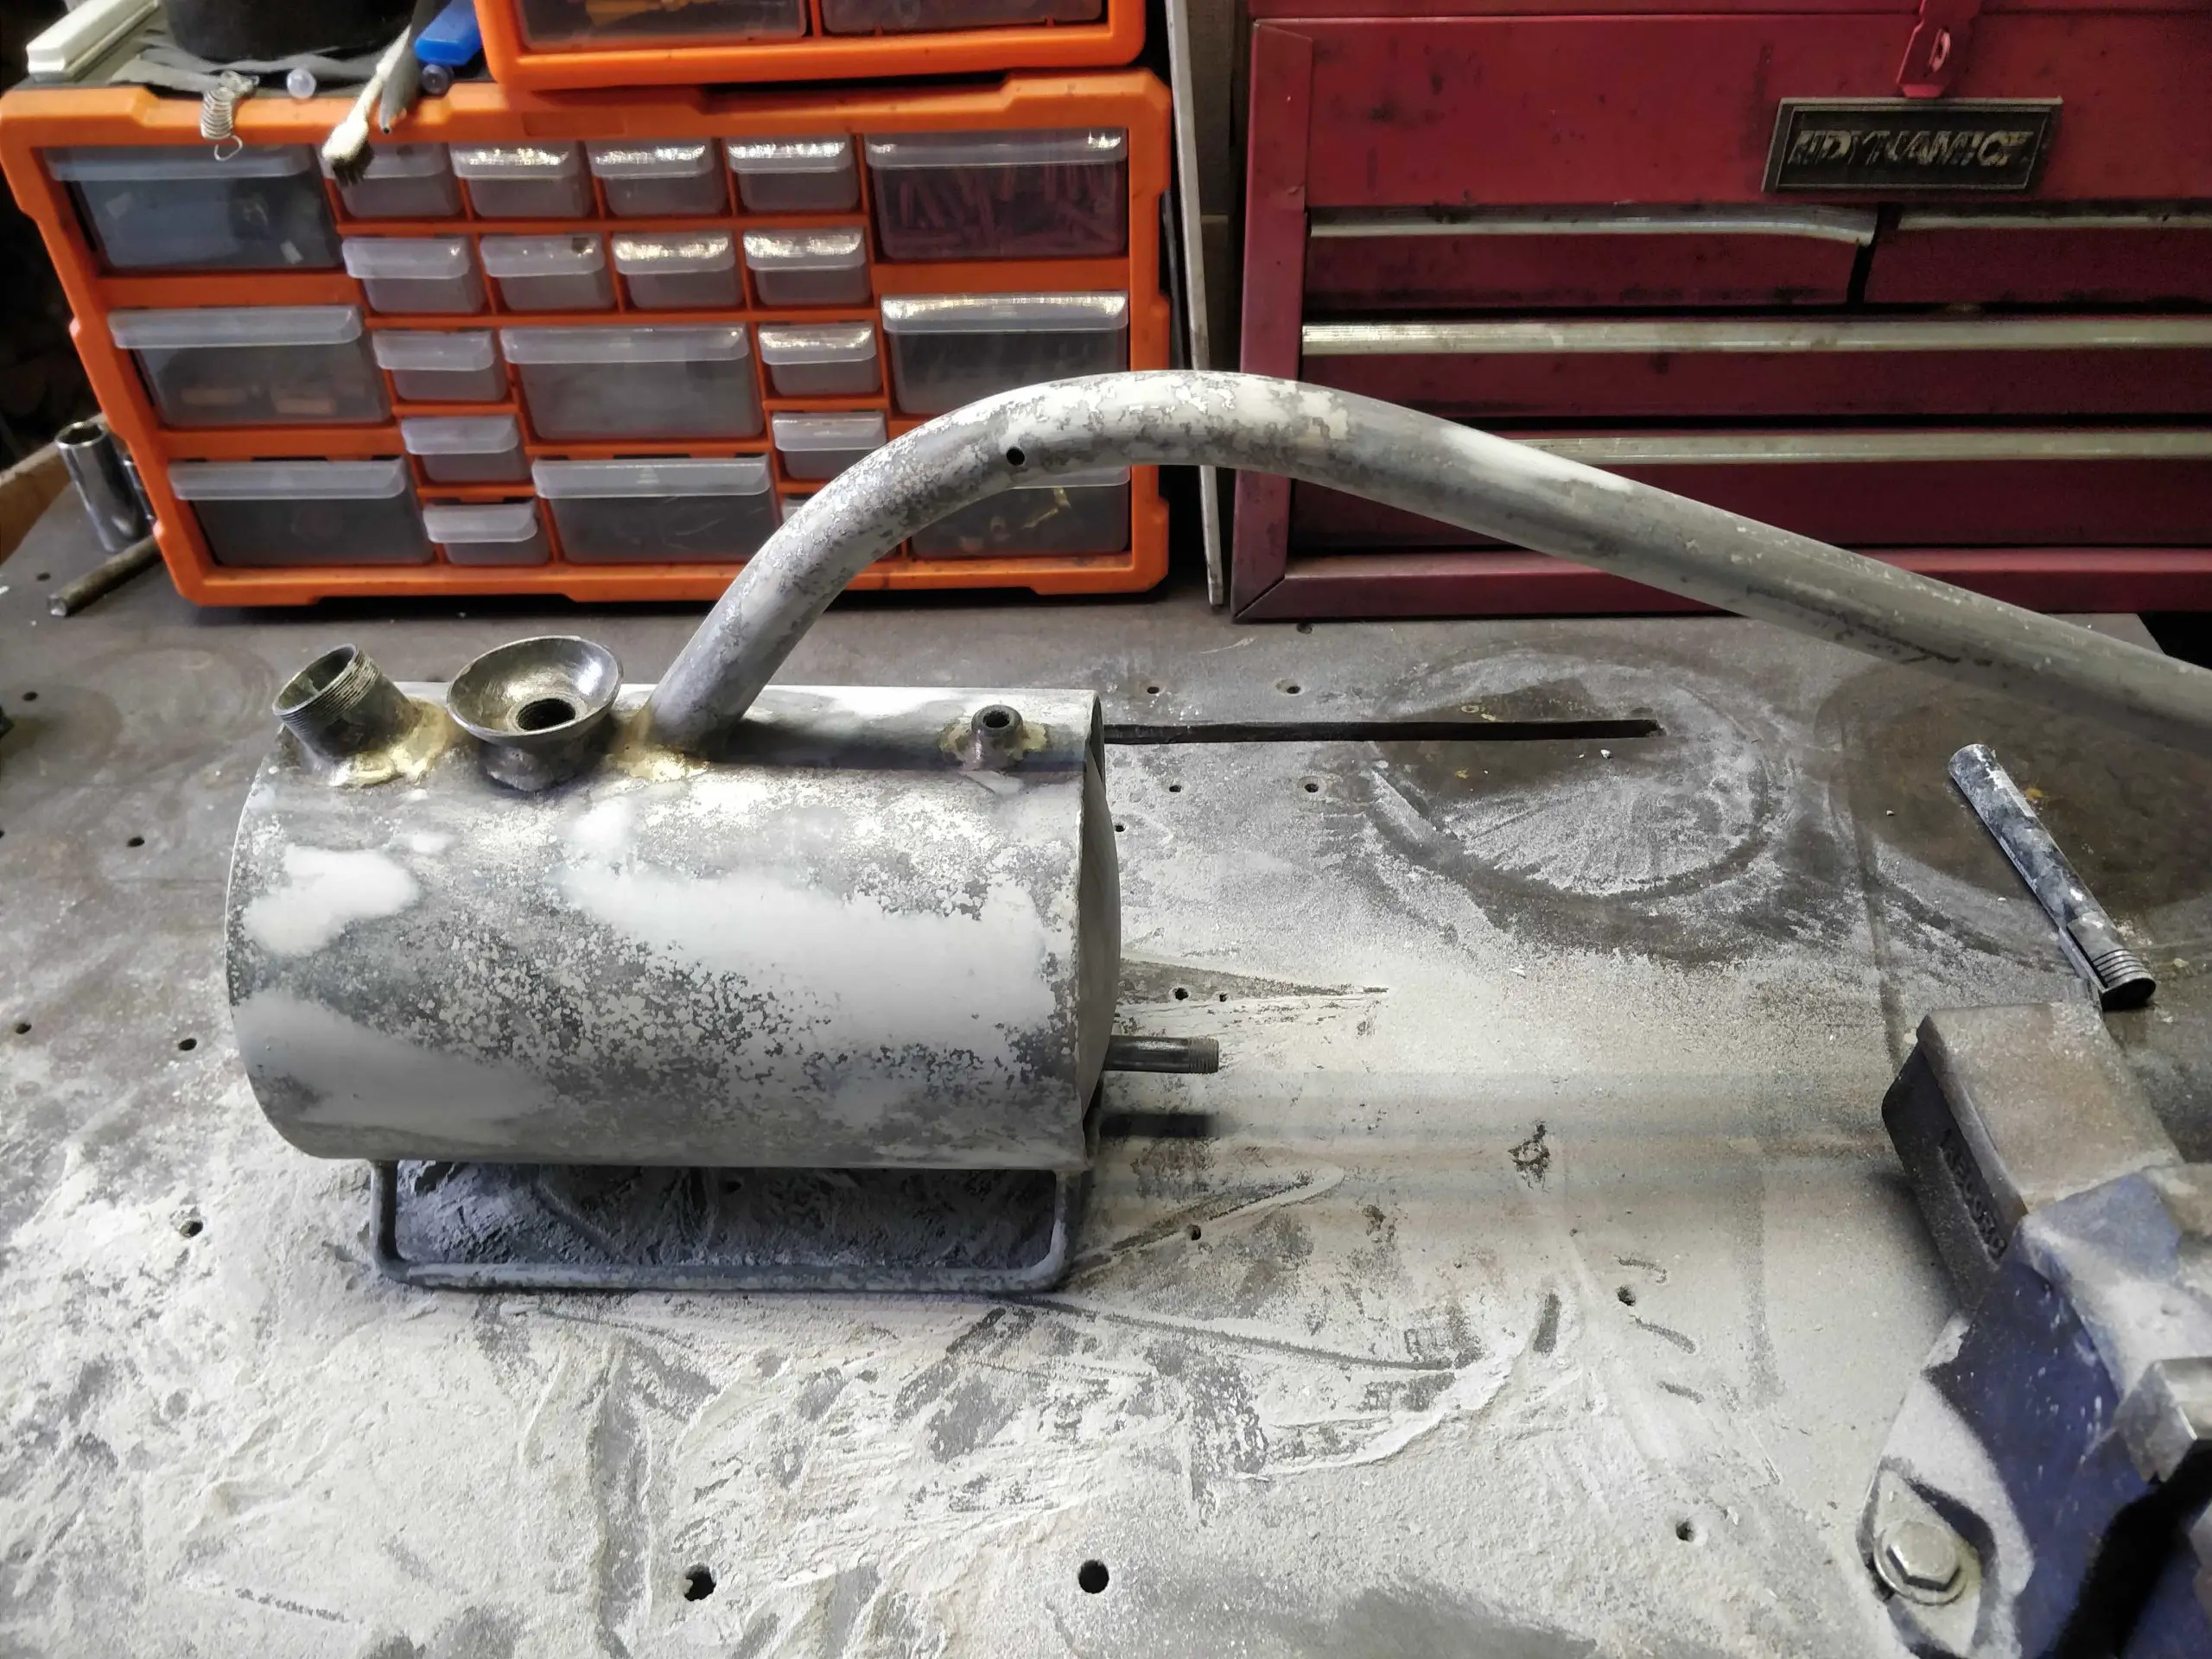
Initial impressions honestly weren’t too good. The tank itself was very rusty and quite badly pitted – not something you want in something that’s going to be holding pressurised, flammable liquid. But I could hear some liquid inside, suggesting it was at least still watertight. I decided to press on, if it proved to be rusted through I’d have to make a decision to try and repair it or abandon the project.
The other bits that needed attention were the pump handle (clearly there used to be a wooden one there, now rotted away) and the pressure gauge, which looked in a sorry state. They’re a fairly standard item and easy to replace, but I thought it would be fun to try and restore this one.
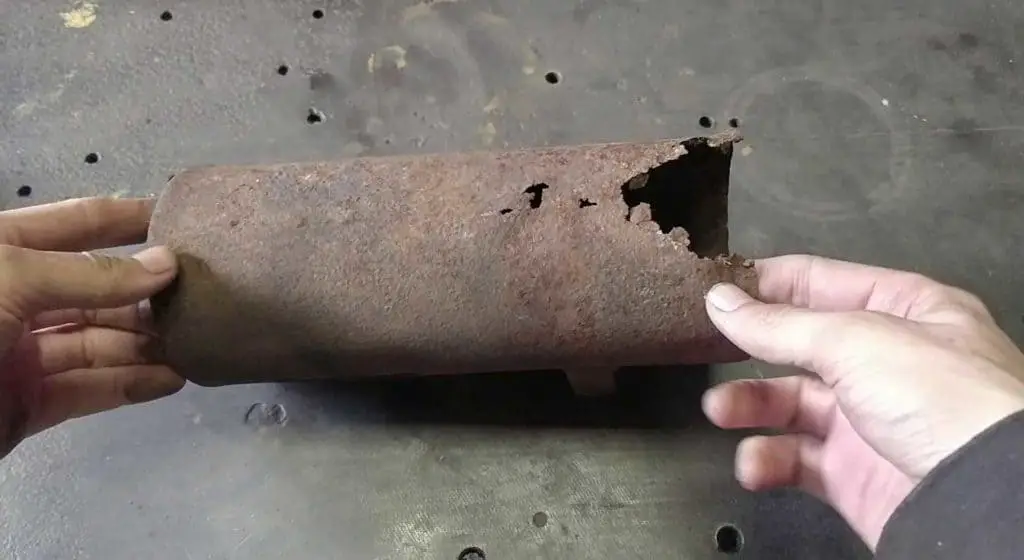
The rest of the burner wasn’t too bad – the shroud around the burner nozzle was rusted through at the bottom but that’s just sheet metal – I can easily weld a patch on that, or fabricate a whole new one if needed. Or, honestly, I could just buy one! Everything else looked to be just dirty and rusty, something I should be able to bring back with some good cleaning and derusting.
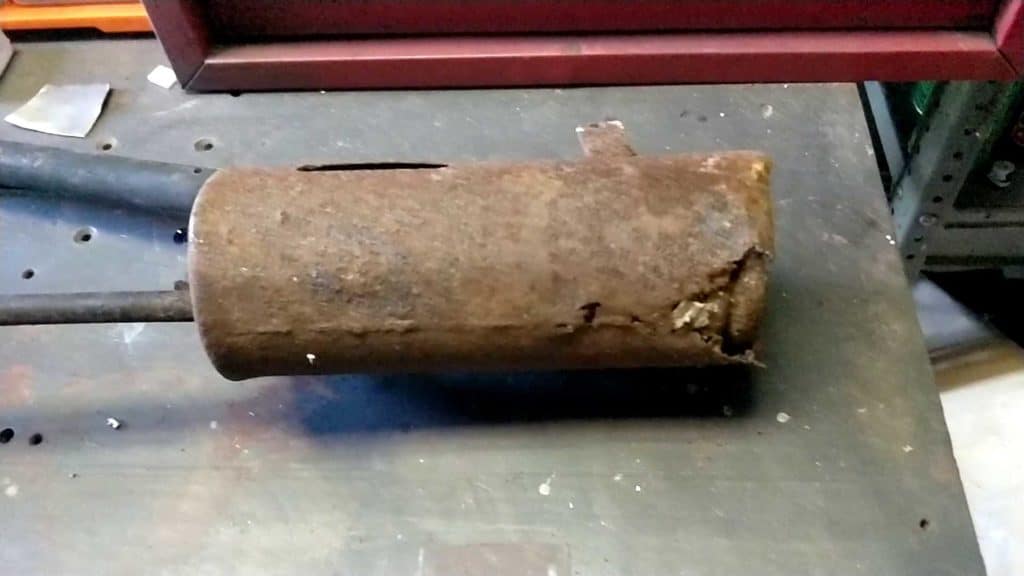
This bit has rusted through. I’ll need to do a welded repair on this.
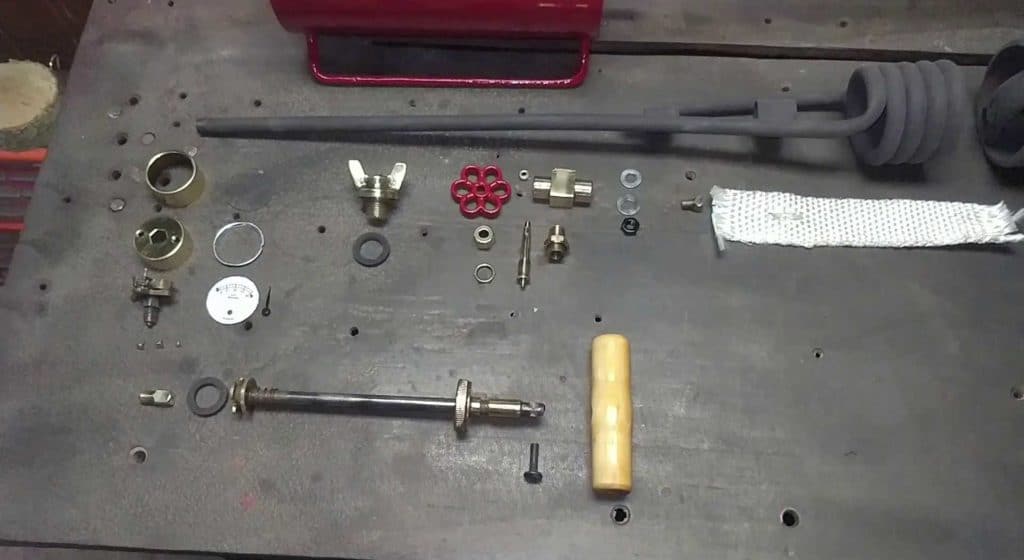
Taking it apart
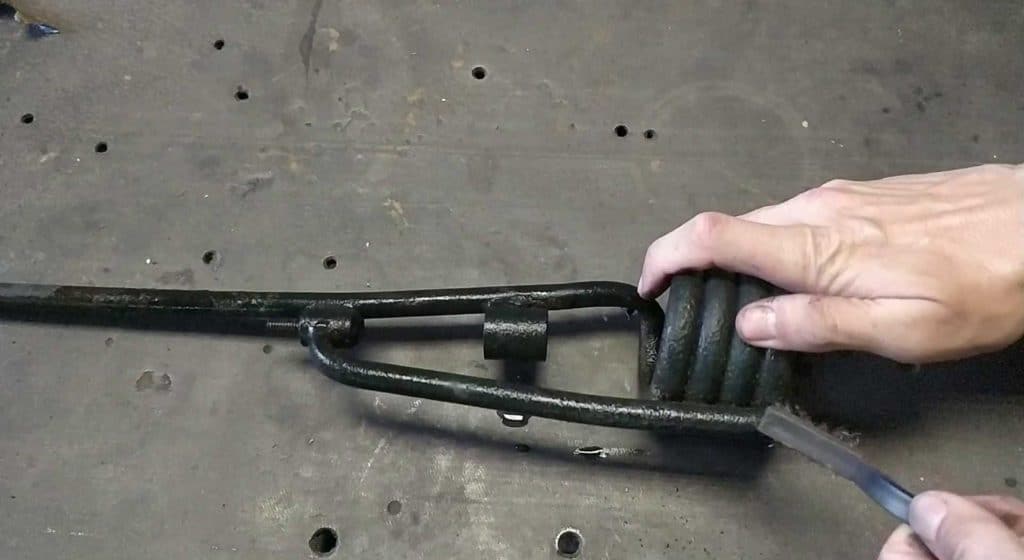
The first step, as always with a restoration project like this, was to disassemble it. After a bit of penetrating oil, it all came apart surprisingly easily. The pump handle didn’t want to give up – it clearly hadn’t been opened in years, if not decades. But it wasn’t anything a pair of mole grips (vice grips to you guys over the pond!), a rubber mallet and some patience couldn’t solve.
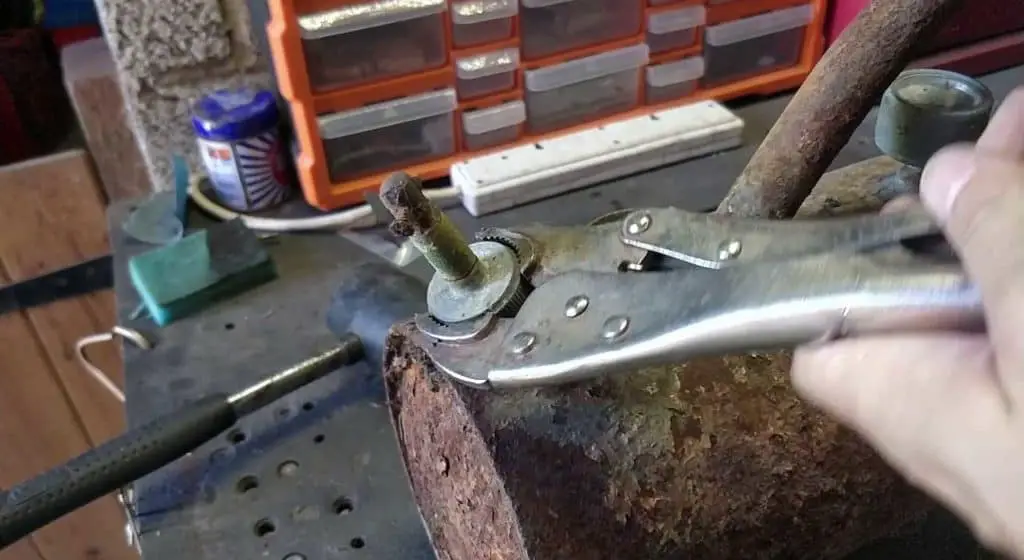
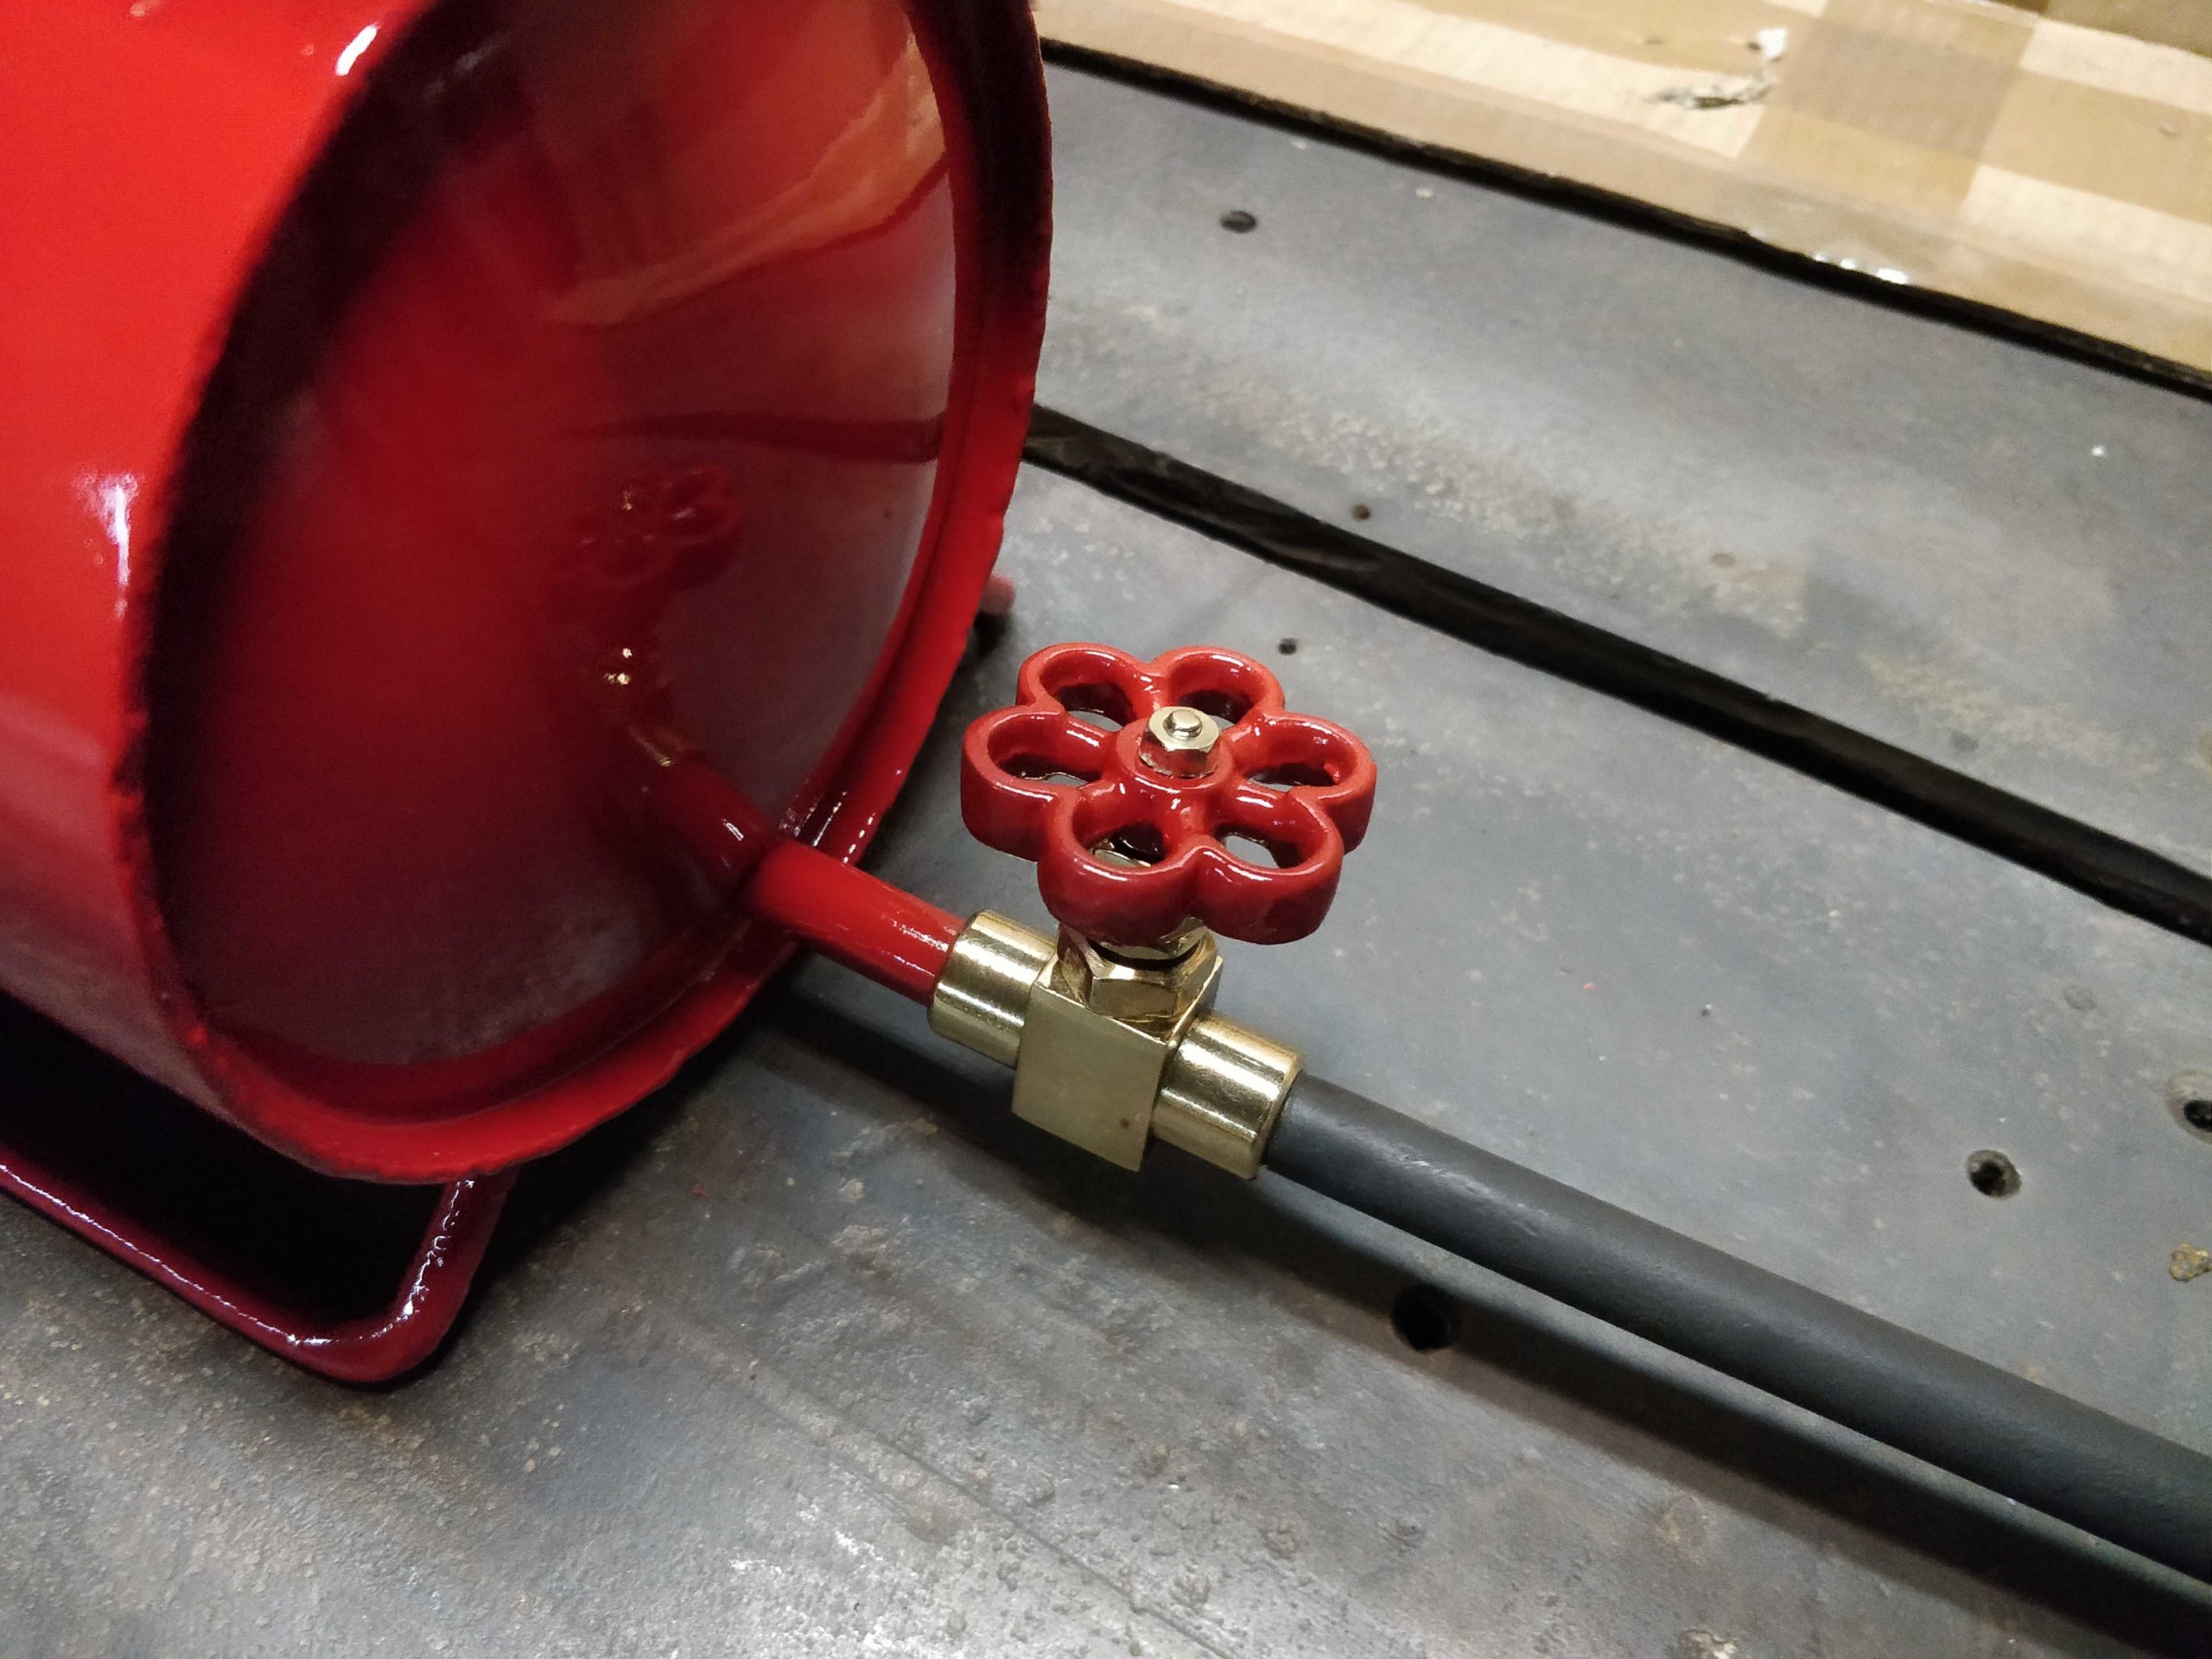
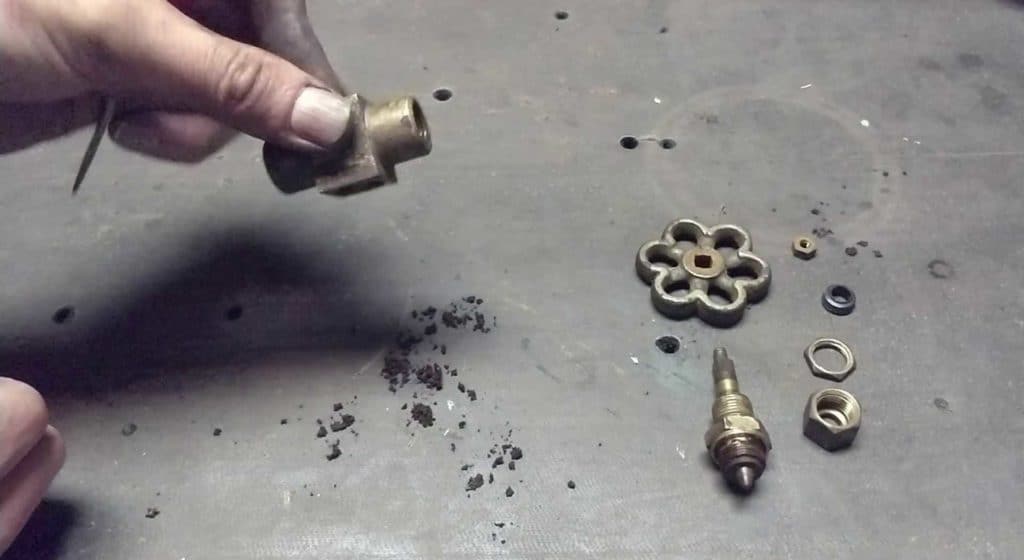
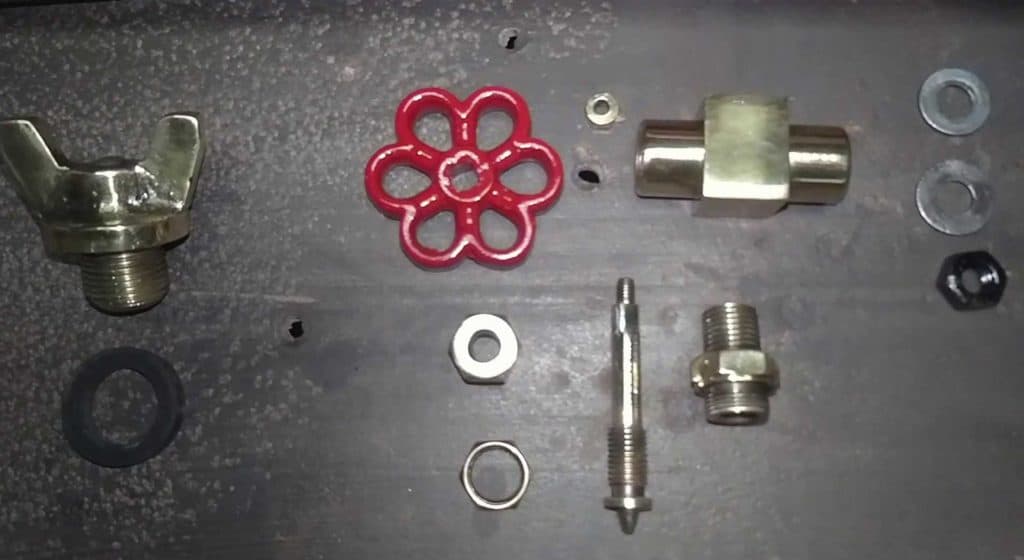
Disassembly didn’t throw up any surprises, except for the tap turned out to be painted brass rather than the steel or aluminium that I’d been expecting. That was a bonus; I like a bit of polished brass! The pressure gauge turned out to be brass, too, under all the grime.
Cleaning and Polishing the Brass Parts
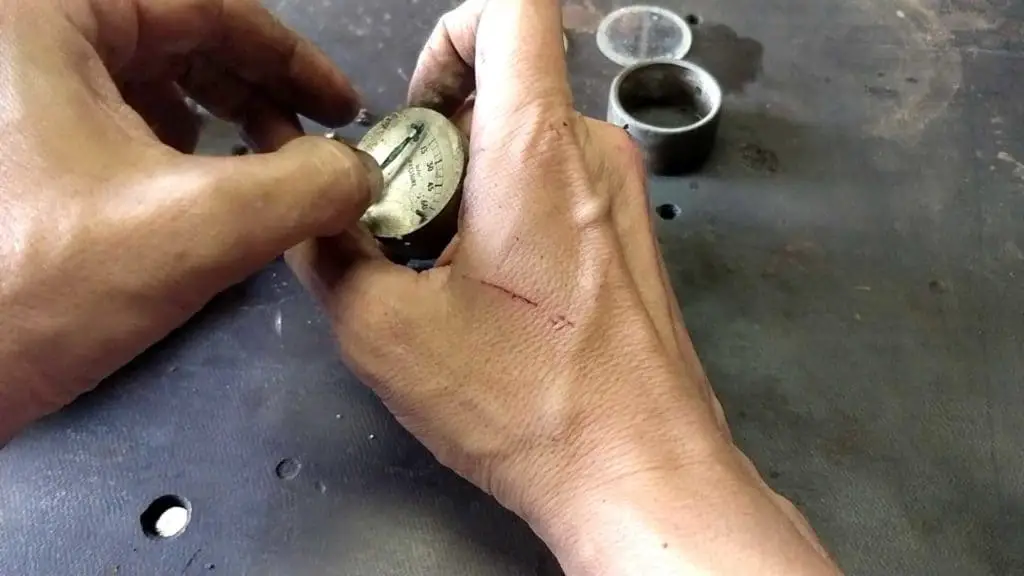
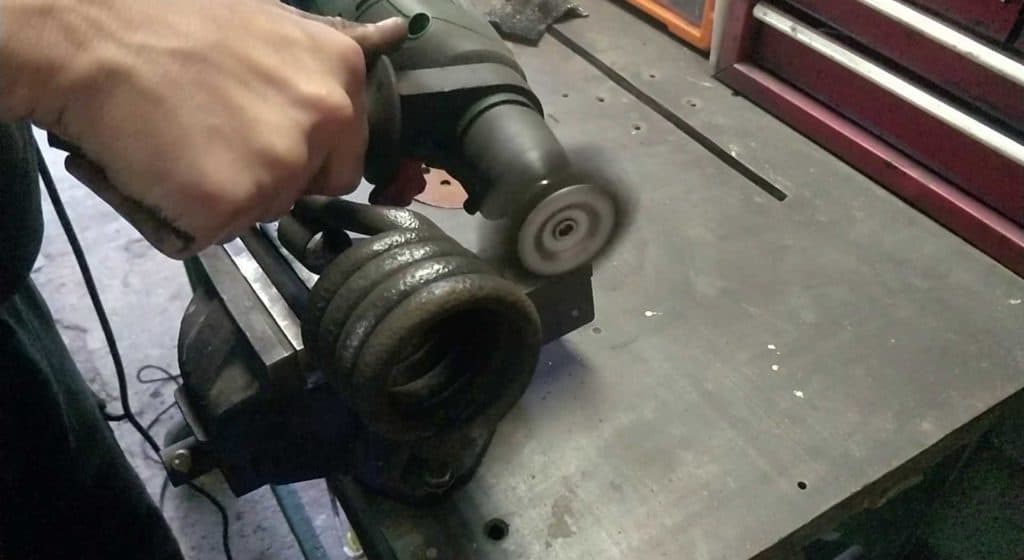
The pressure gauge parts got a decent clean up on the polishing wheel, and looked much better for it! The tap got the same treatment after disassembly and cleaning.

All the brass parts got a good clean and polish And came up looking great.
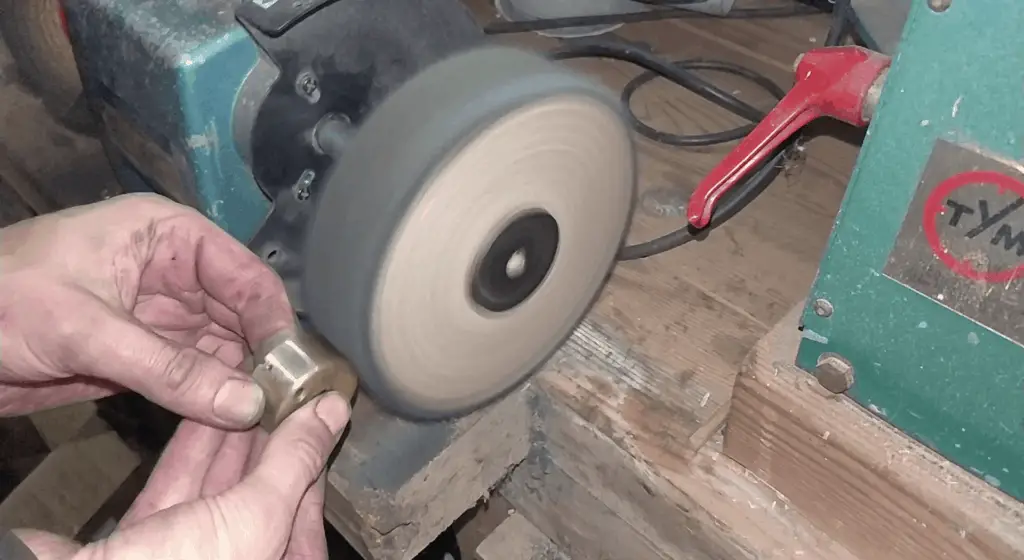
The tank cap got a similar treatment – I was quite thrilled with the amount of brass on this thing, hiding under the dirt! The cap turned out to be quite a rough casting, so I took a file to it and polished everything out, making it nice and shiny to match the rest of the brass parts.
A little bit of filing and polishing… And the tank cap looks great!
Remaking the Pump Handle
The pump handle was the biggest problem. Not only had it rotted, it had rotted away – there was just a single sliver of wood left to show for it. Fortunately, I have a wood lathe and turning a new pump handle didn’t prove to be much of a problem:
The remains of the old handle were drilled out A new handle was made on the lathe And fitted to the shaft.
Fixing the Nozzle & Shroud
The shroud was fairly rusty, and the metal had rusted right through on the underside. I debated remaking the whole thing, but on inspection I figured most of it was salvageable and I could weld a repair into the part that had rusted through.
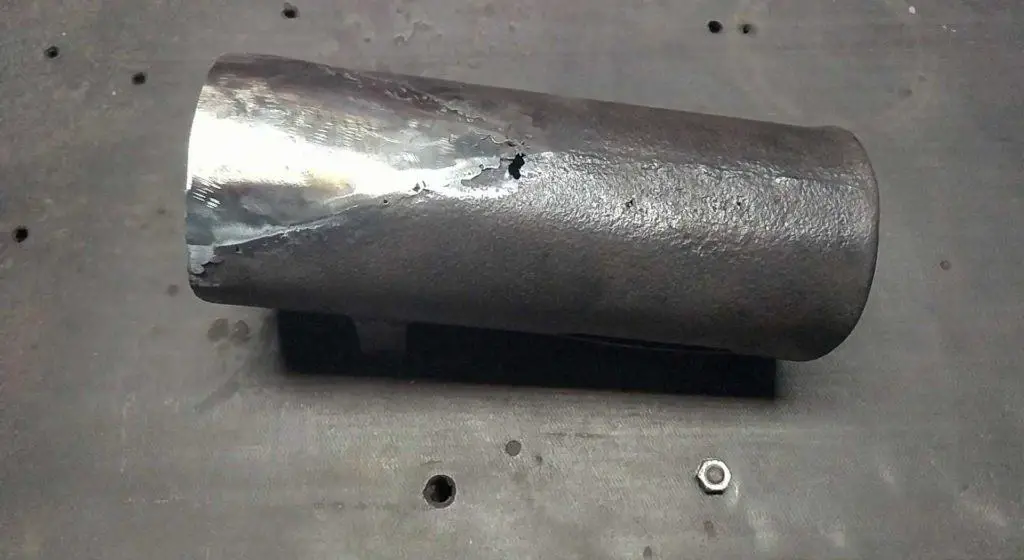
So I cleaned up the shroud and gave it an electrolysis bath to get rid of all the rust. It came out fairly decent:
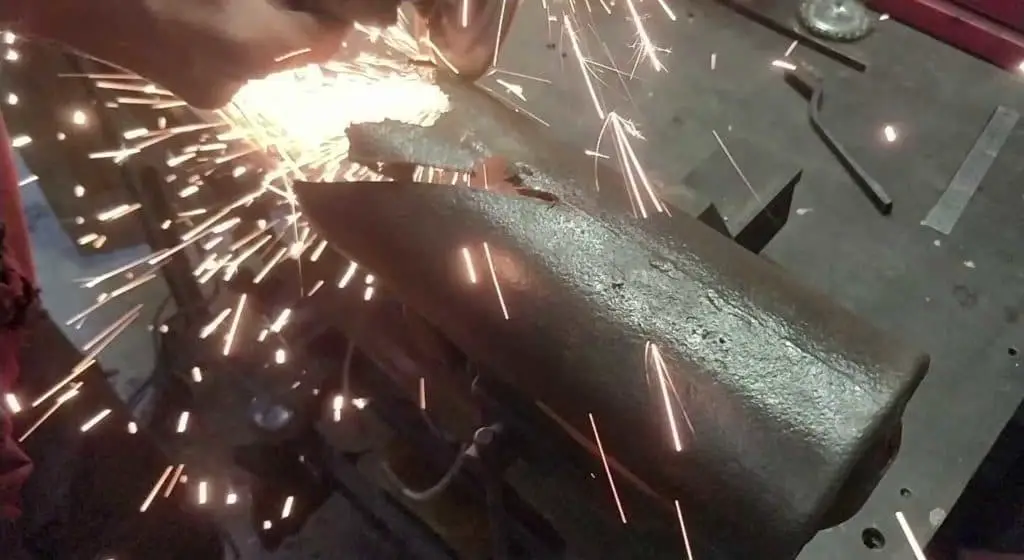
So all I needed to do was to cut out the rusty bit and weld some new metal in. It’s not exactly a seamless repair, but it should stay solid for a while now!
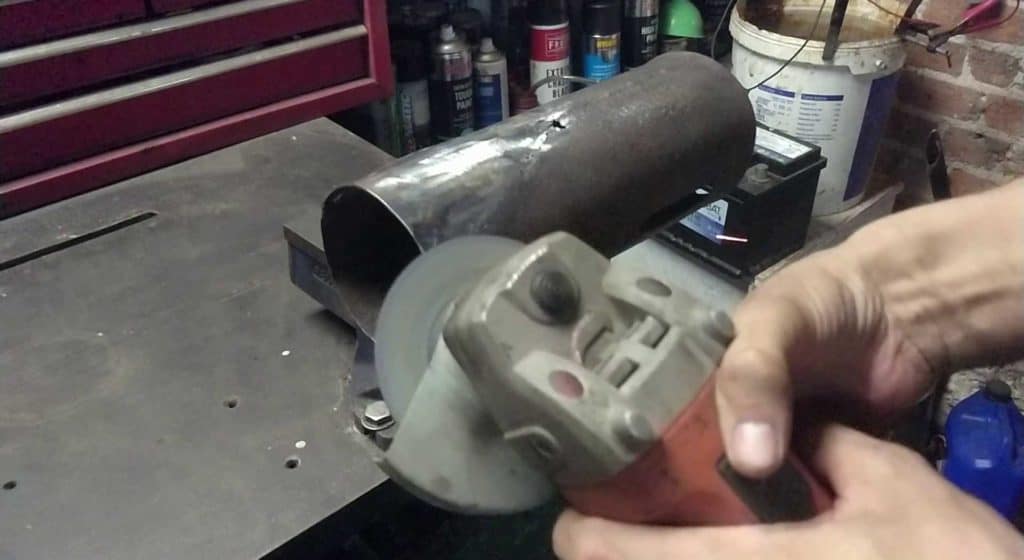
Cutting out the old rusty metal. Welded repair finished, just grinding it smooth… And the finished result.
The tube and nozzle got the same rust treatment as the shroud. I fully inspected it for any holes or weak metal, but despite some pitting it was pretty solid and good to go! All it needed after the rust treatment was a good clean up with a wire wheel and brush.
Cleaning up with whire wheel… And a wire brush.
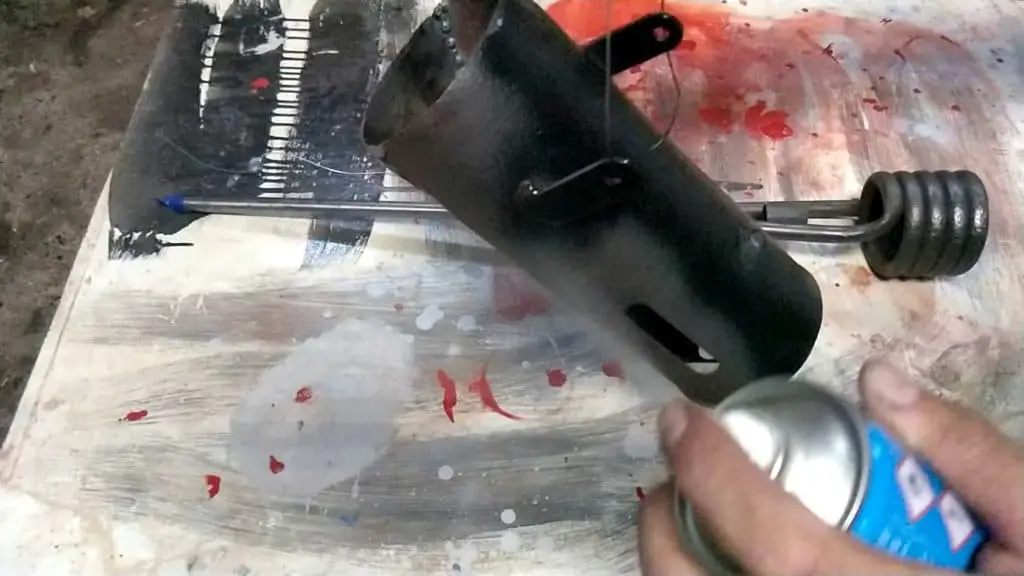
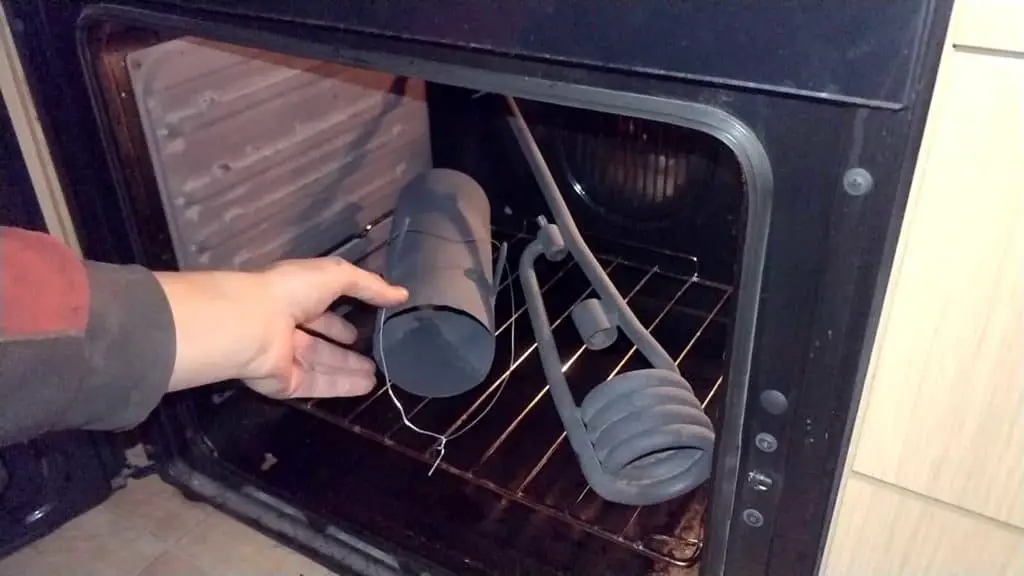
To stop the parts rusting again, I chose to paint them. These parts are going to get very hot in use, so I needed to use a high temperature (VHT) paint. That involved baking it in the oven to cure it. Luckily it didn’t stink up the kitchen too badly!

Applying the VHT paint And curing it in the oven.
Cleaning and Painting the Tank
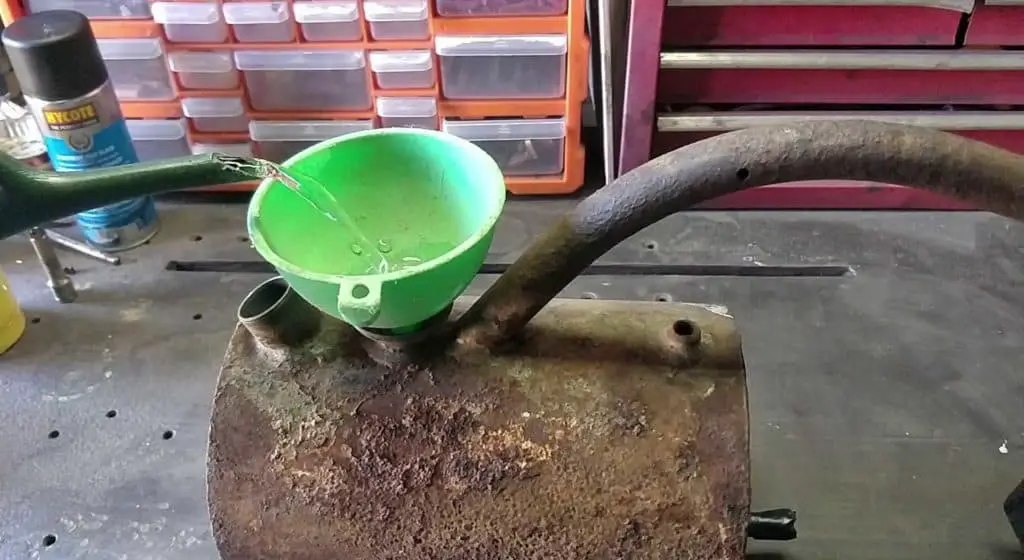
With the nozzle and shroud as well as all the brass parts done, all that really remained was the tank itself. I started by emptying all the old paraffin out of it. As you can imagine, it stank pretty bad. I flushed it through a few times with white spirits, then gave it a test run with a full tank of water to see if it was still watertight. Fortunately, it was – after leaving it full of water for a few hours, the outside was bone dry. So no repairs would be needed!
The ancient paraffin was emptied out. I actually tried setting this on fire, but it was too old and wouldn’t catch. Testing for leaks. Despite the rusty exterior, it was all good.
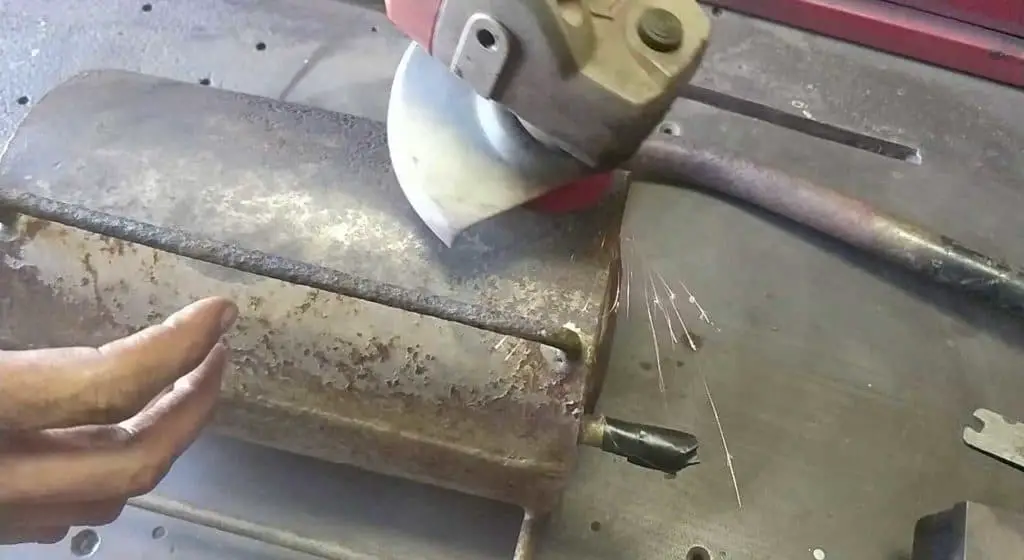
I cleaned up the tank with my trusty grinder and a wire wheel attachment. It came out pretty decent, although the pitting was a bit worse than I’d anticipated:

Tank before cleaning. Cleaning up with a wire wheel… And the shiny finished result.

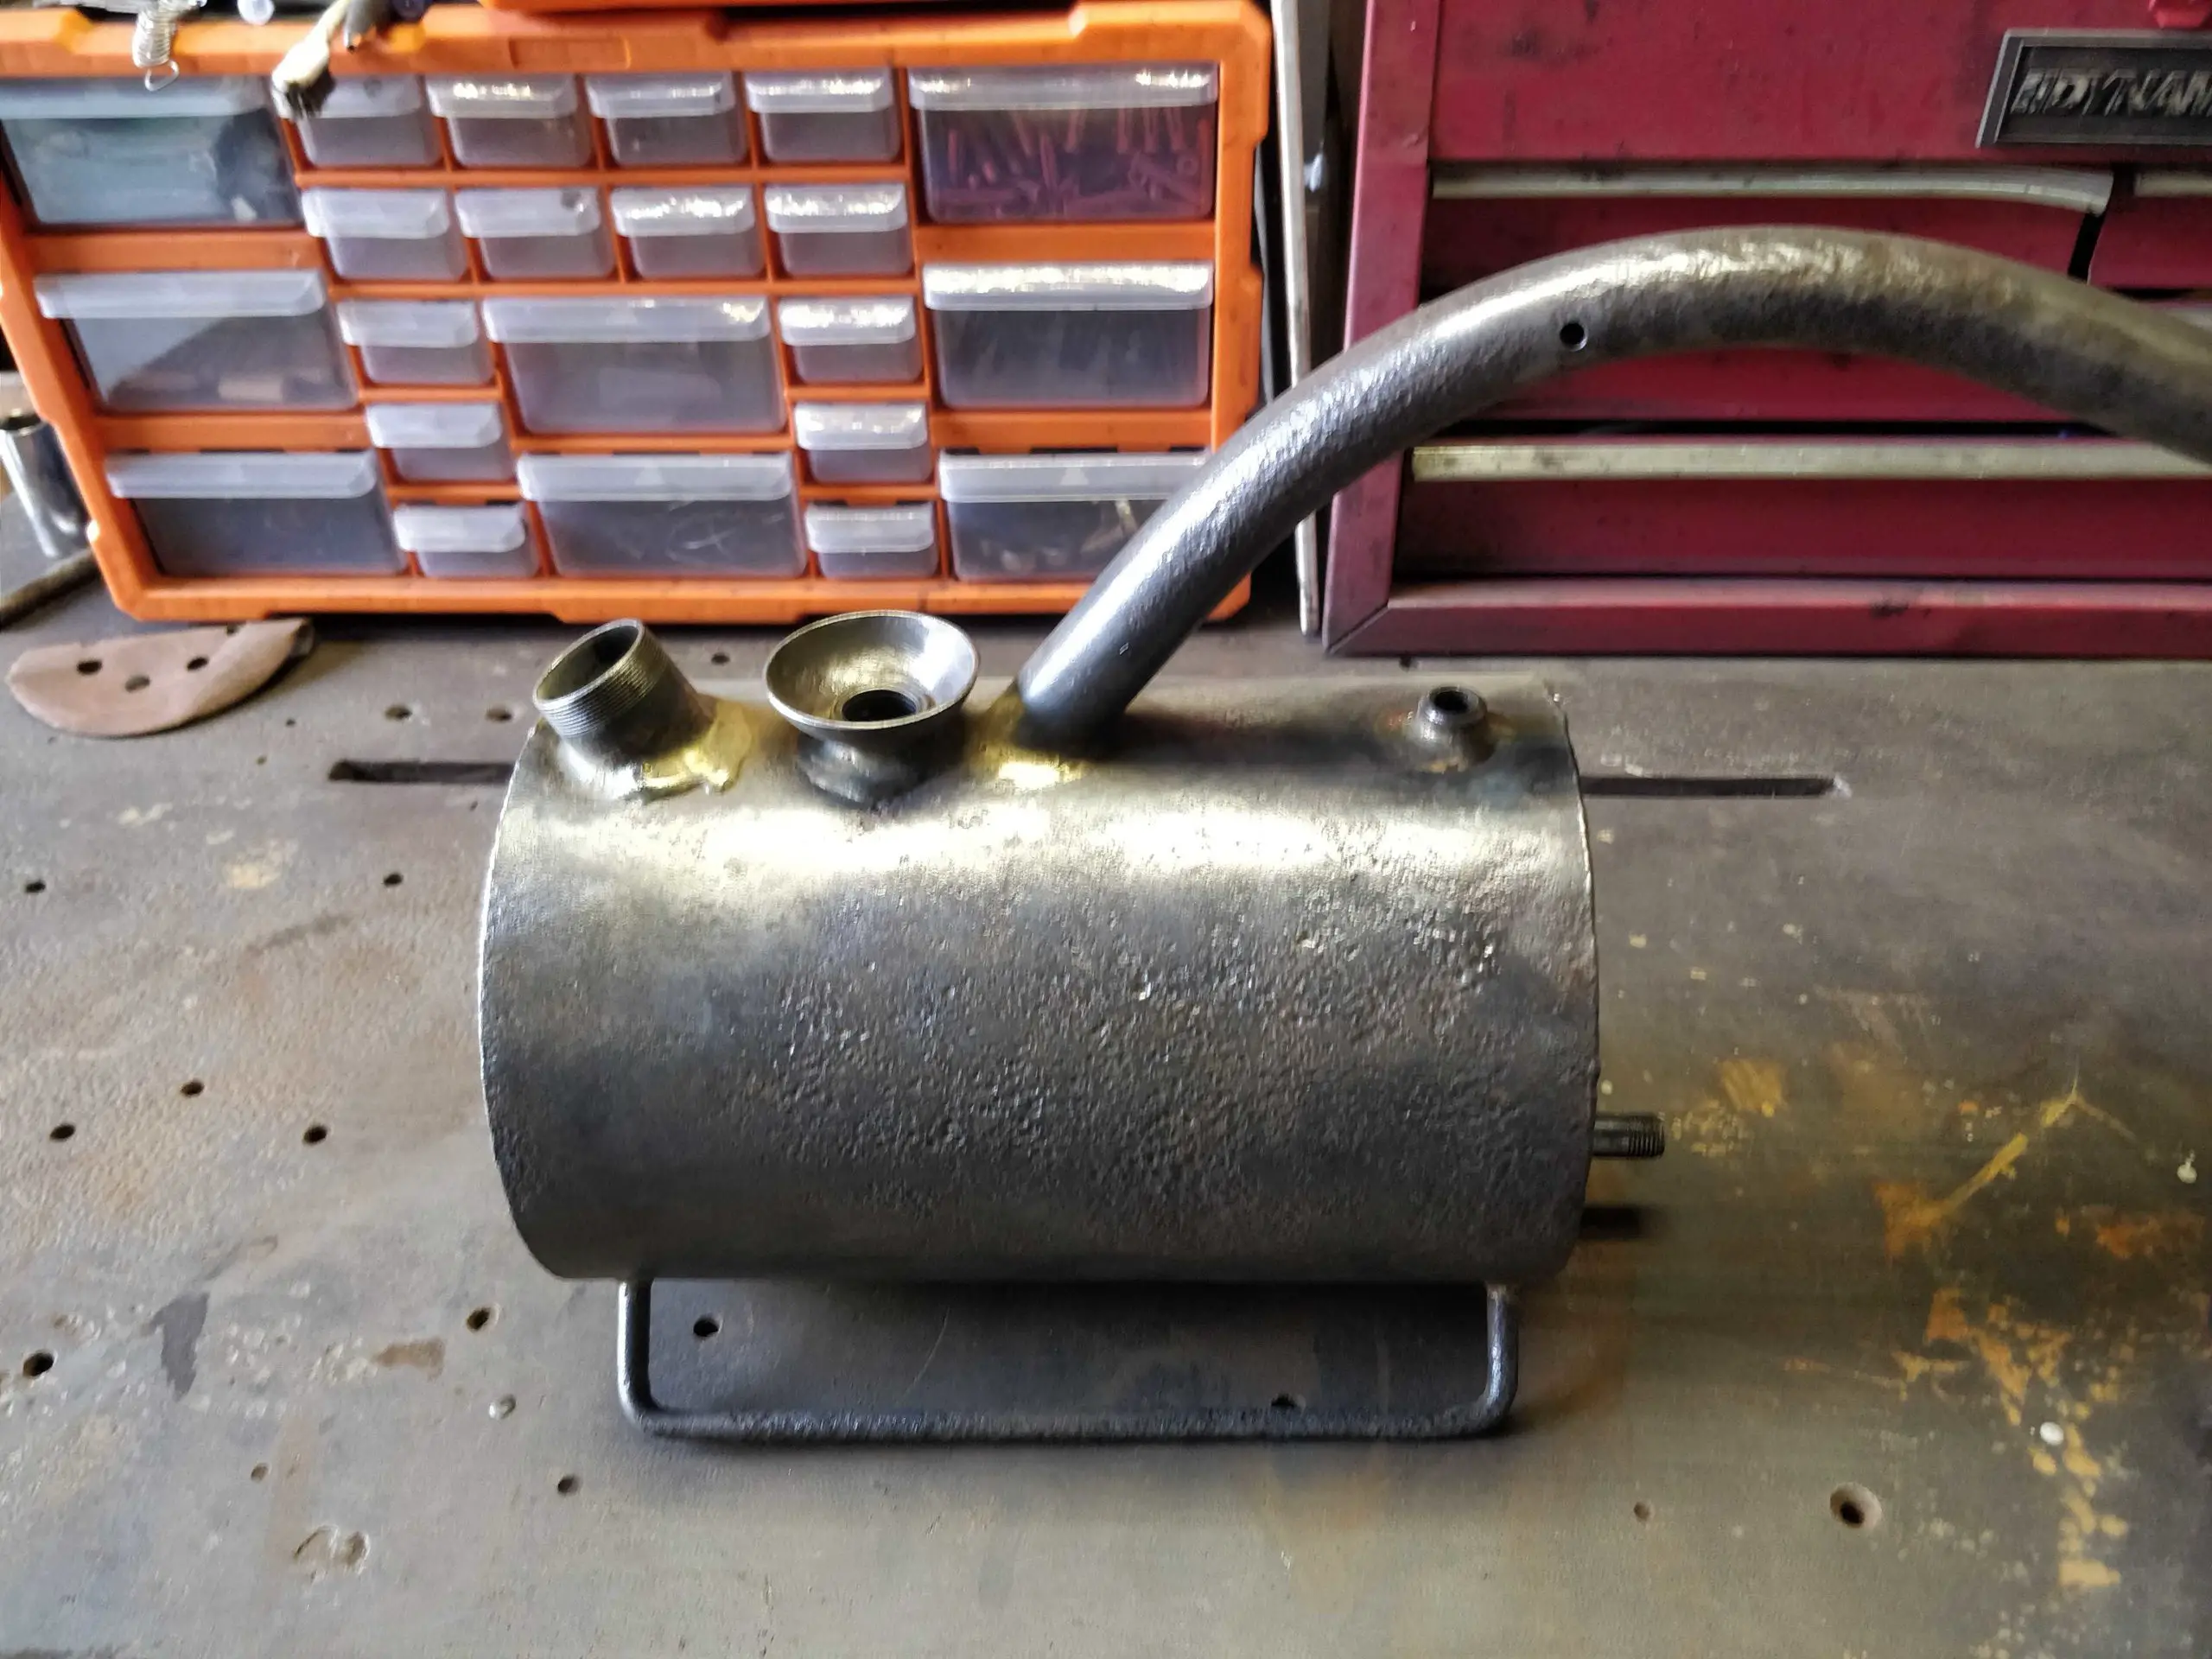
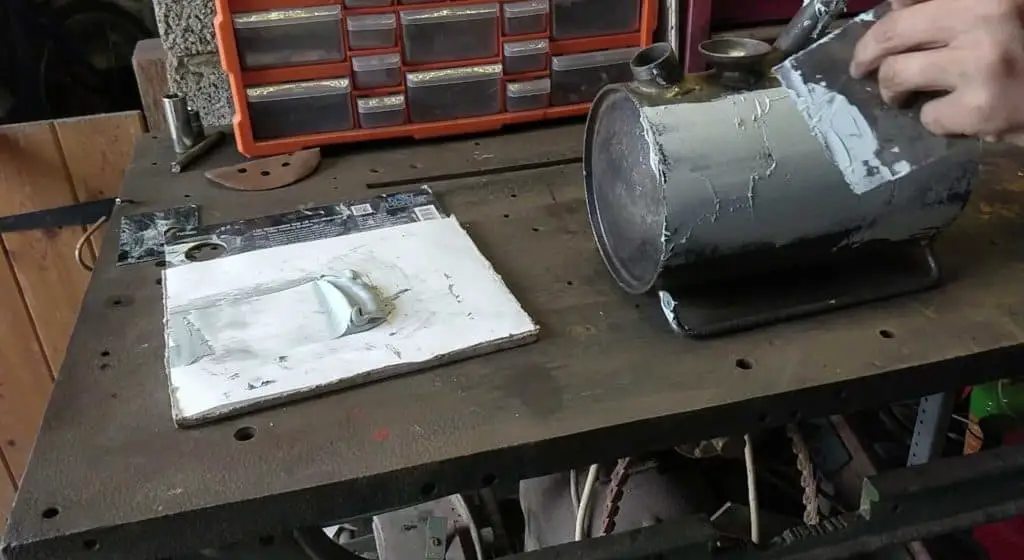
I checked all the pitting with a pick just to make sure nothing was about to rust through, but it was all solid. The tank is actually made from some very thick metal.So knowing the damage was only cosmetic, I got busy with some body filler (borrowed from my TR7 project! ?) and primer. After a lot of filling, sanding and priming, the tank was looking good again:
Adding the body filler. After a *lot* of sanding! Finished and spraying with primer.
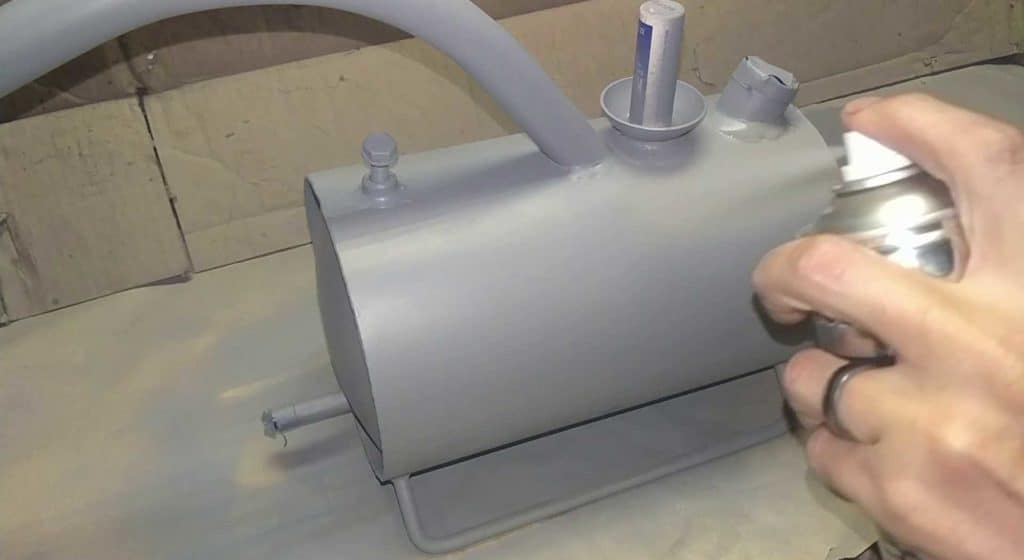
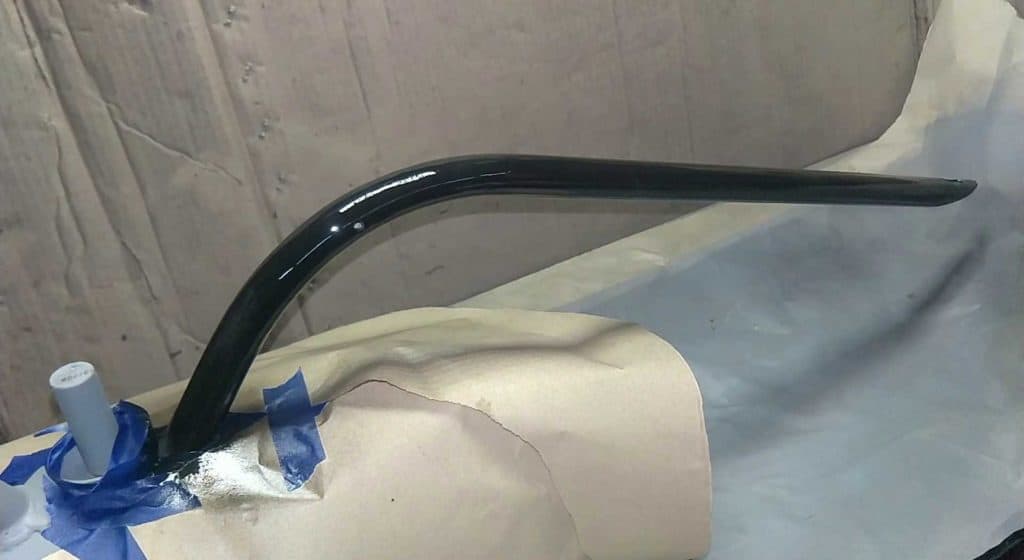
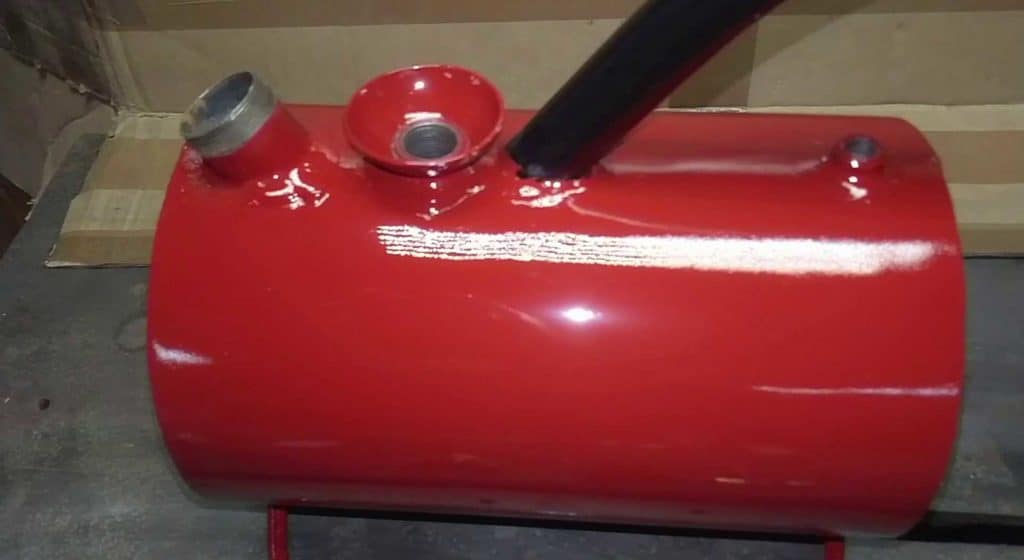
With that done, it was time for paint. The tank was originally painted gold, but I wanted something a little different. So I picked a nice cherry red – actually a similar colour to what the manufacturer are now painting their new weed burners with. The handle was sprayed black.
The tank was sprayed red… And the handle in black.

The Gauge Face
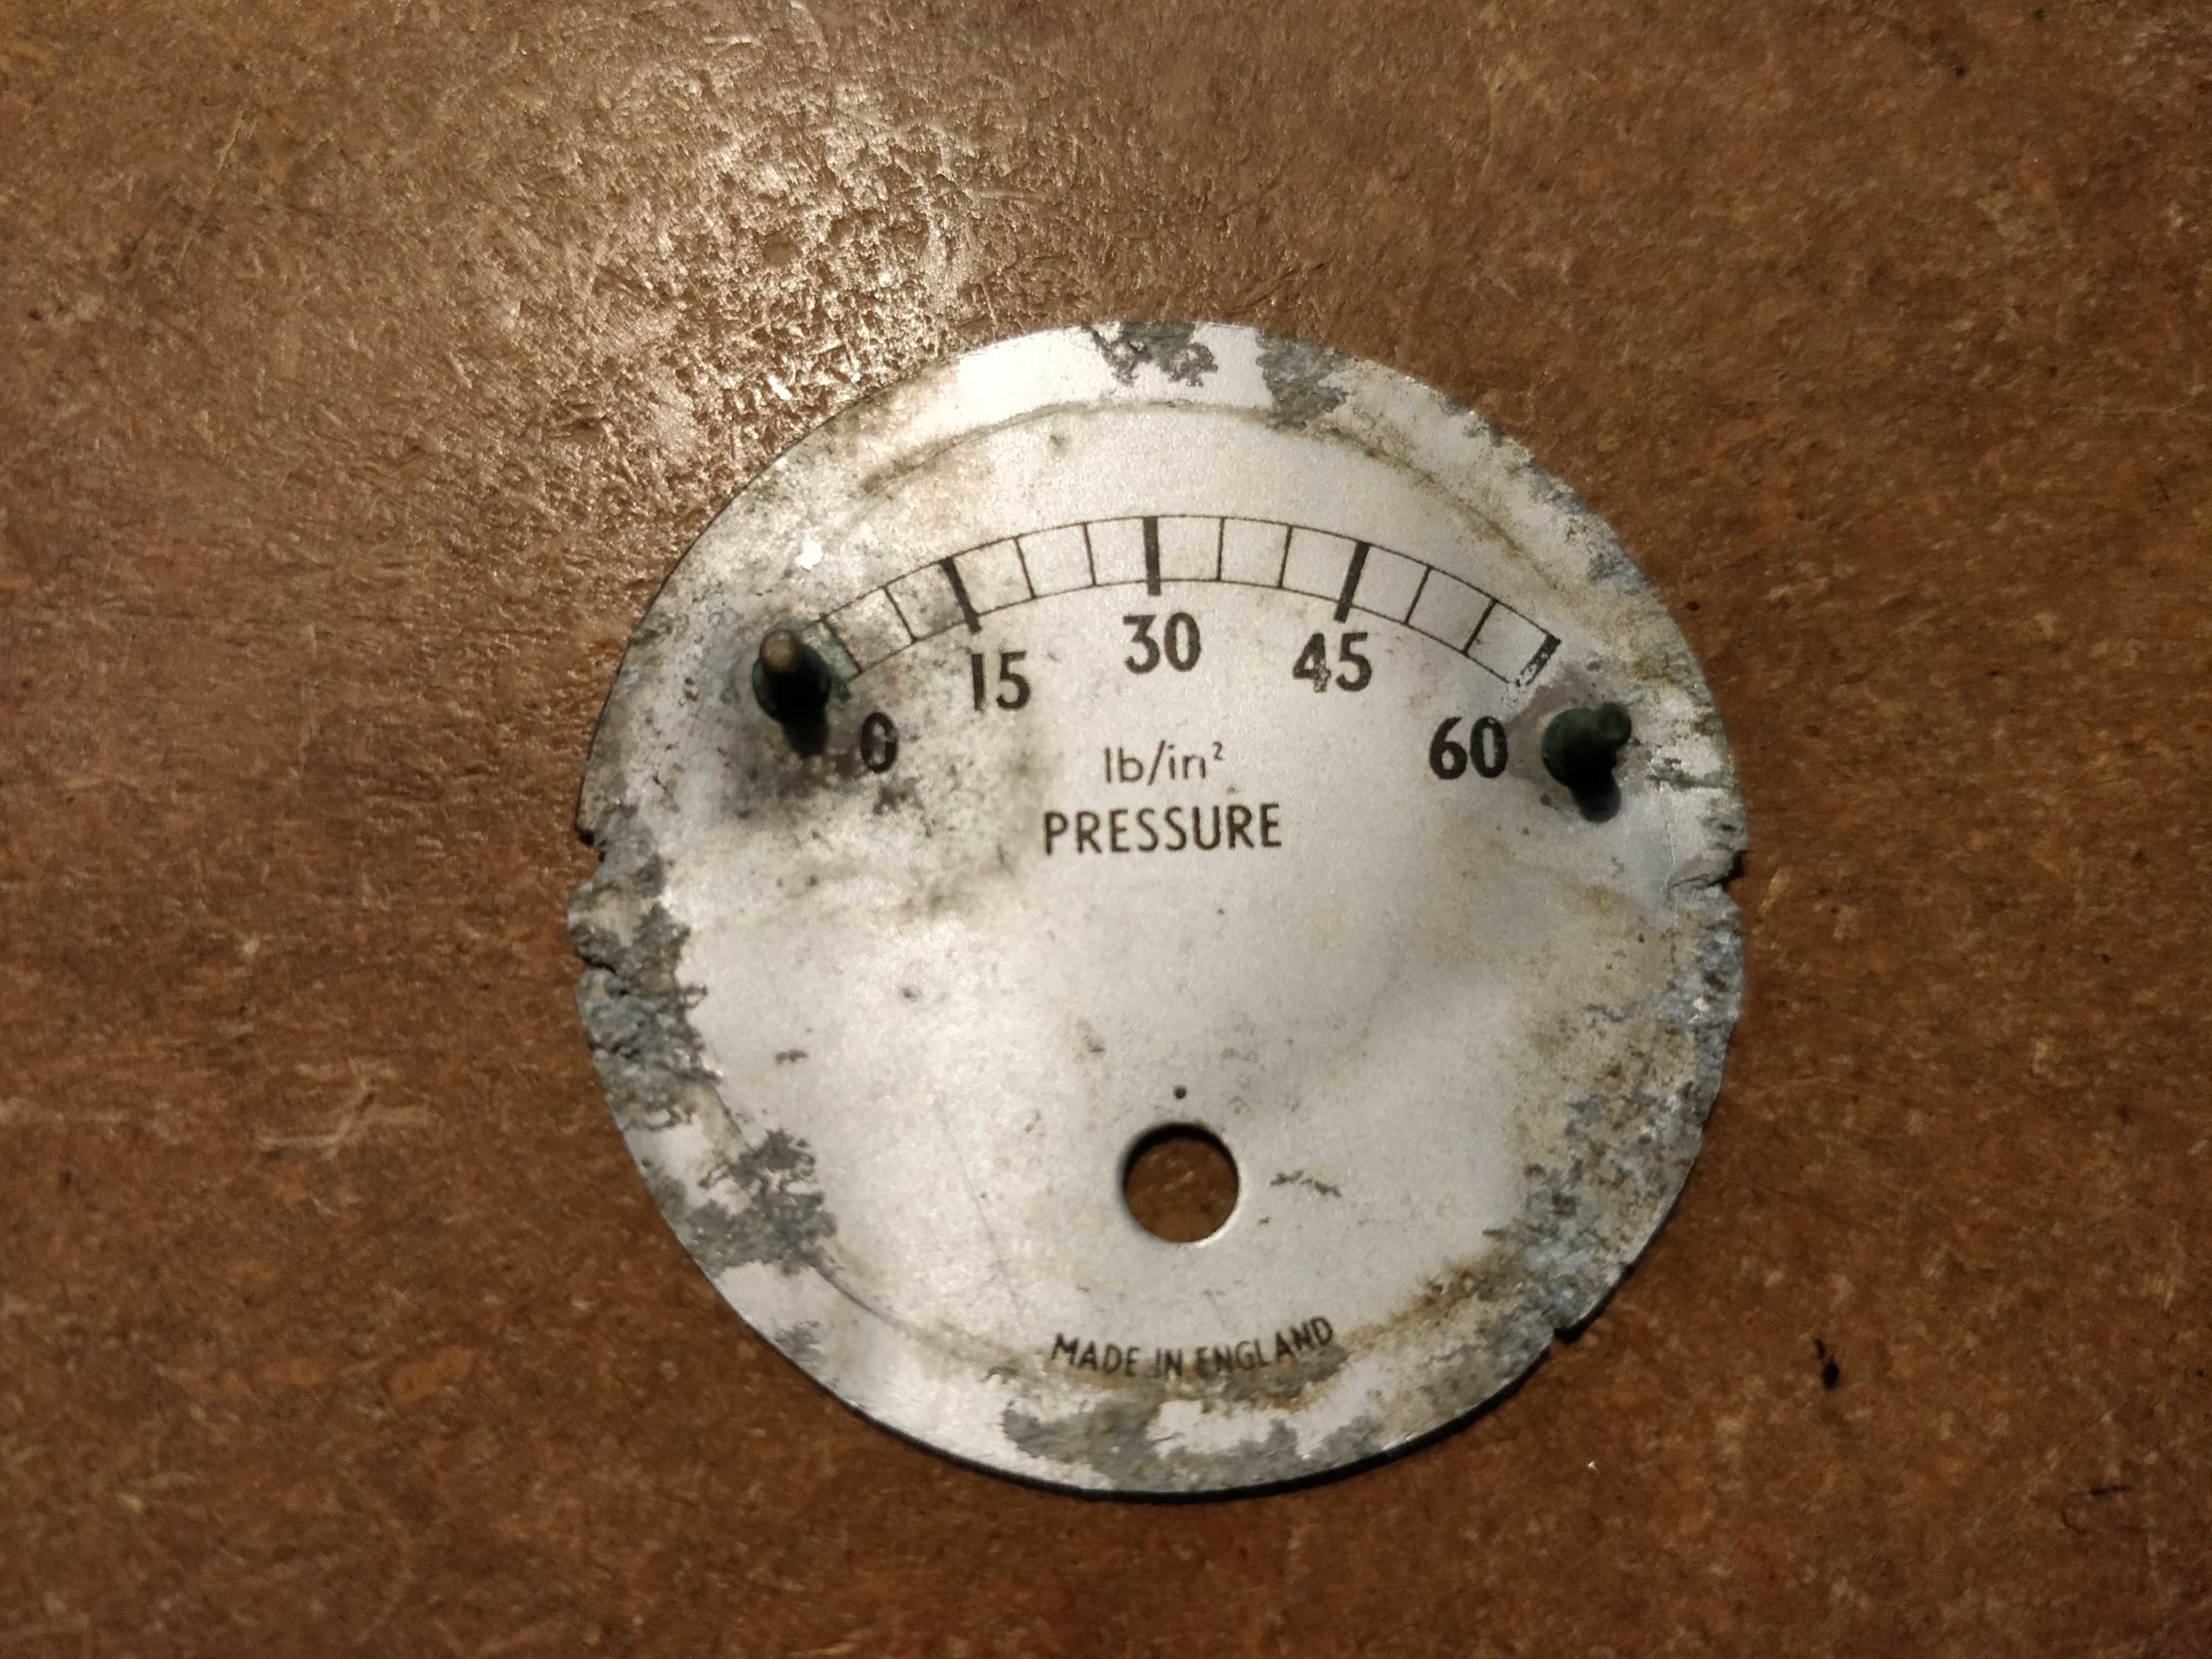
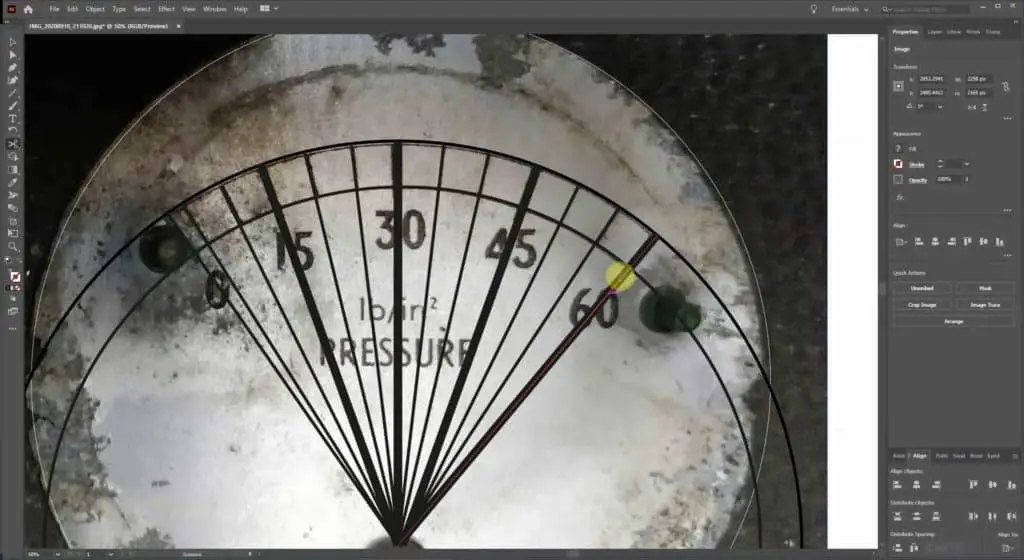
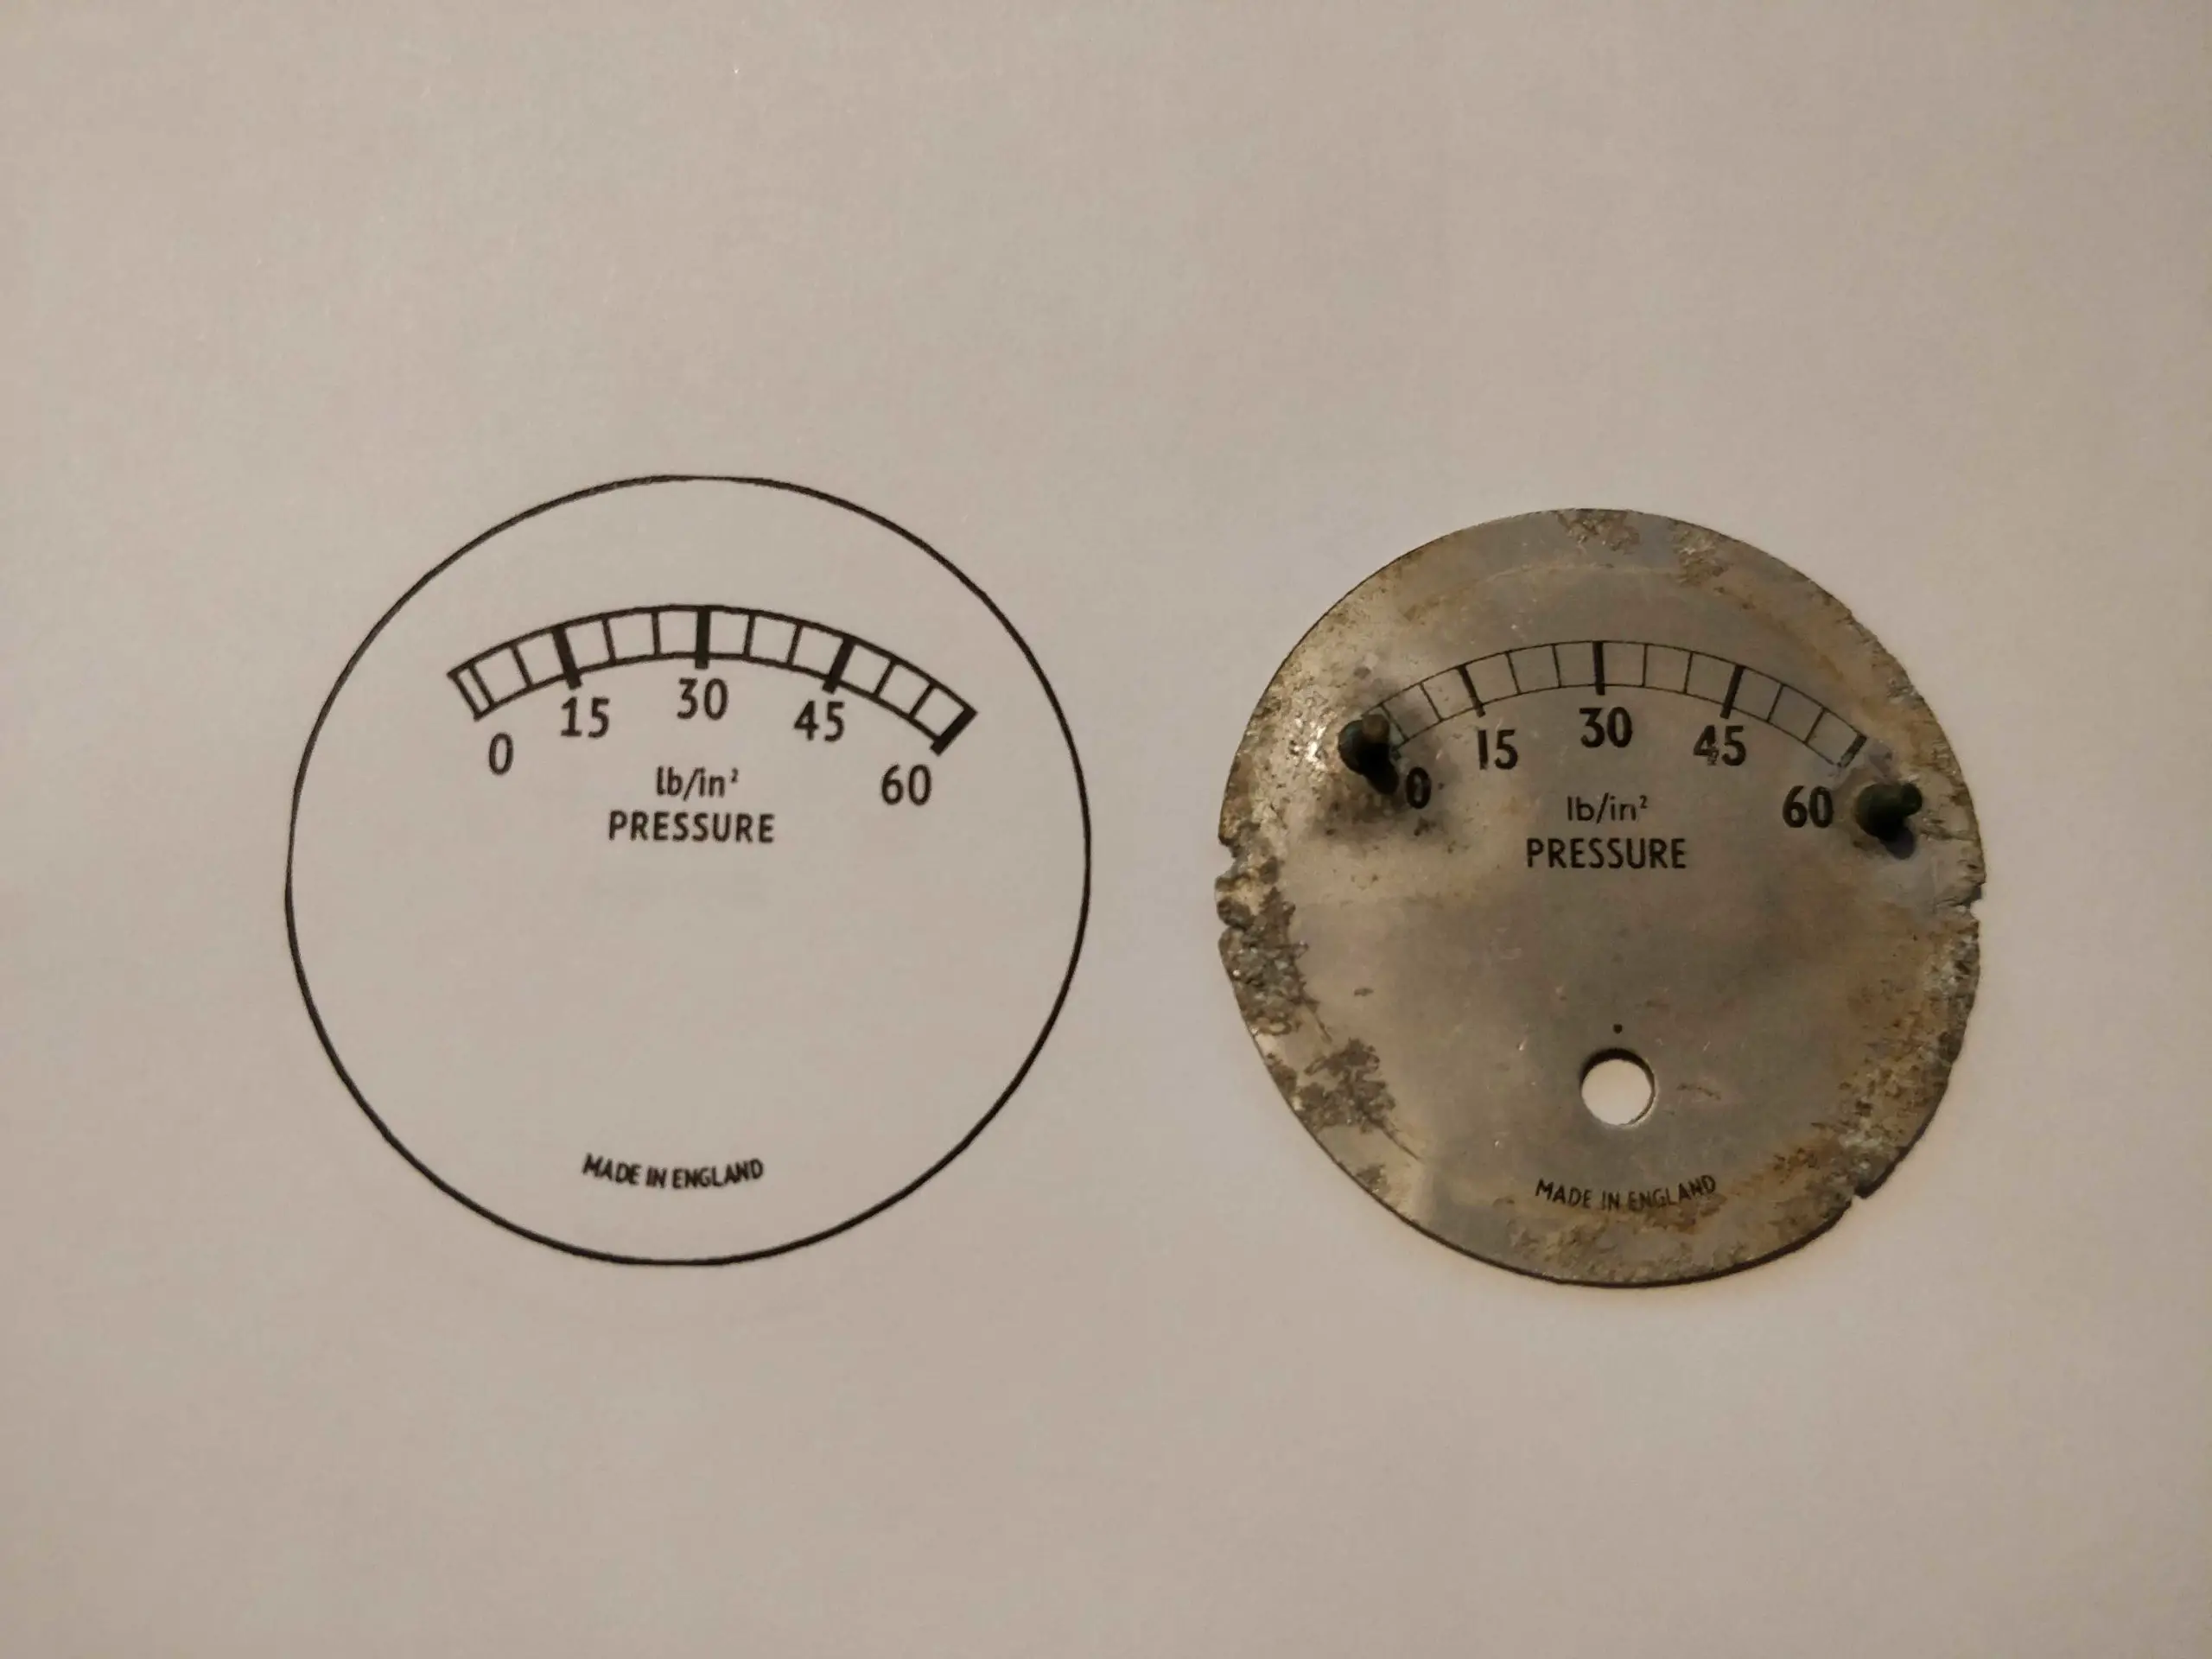
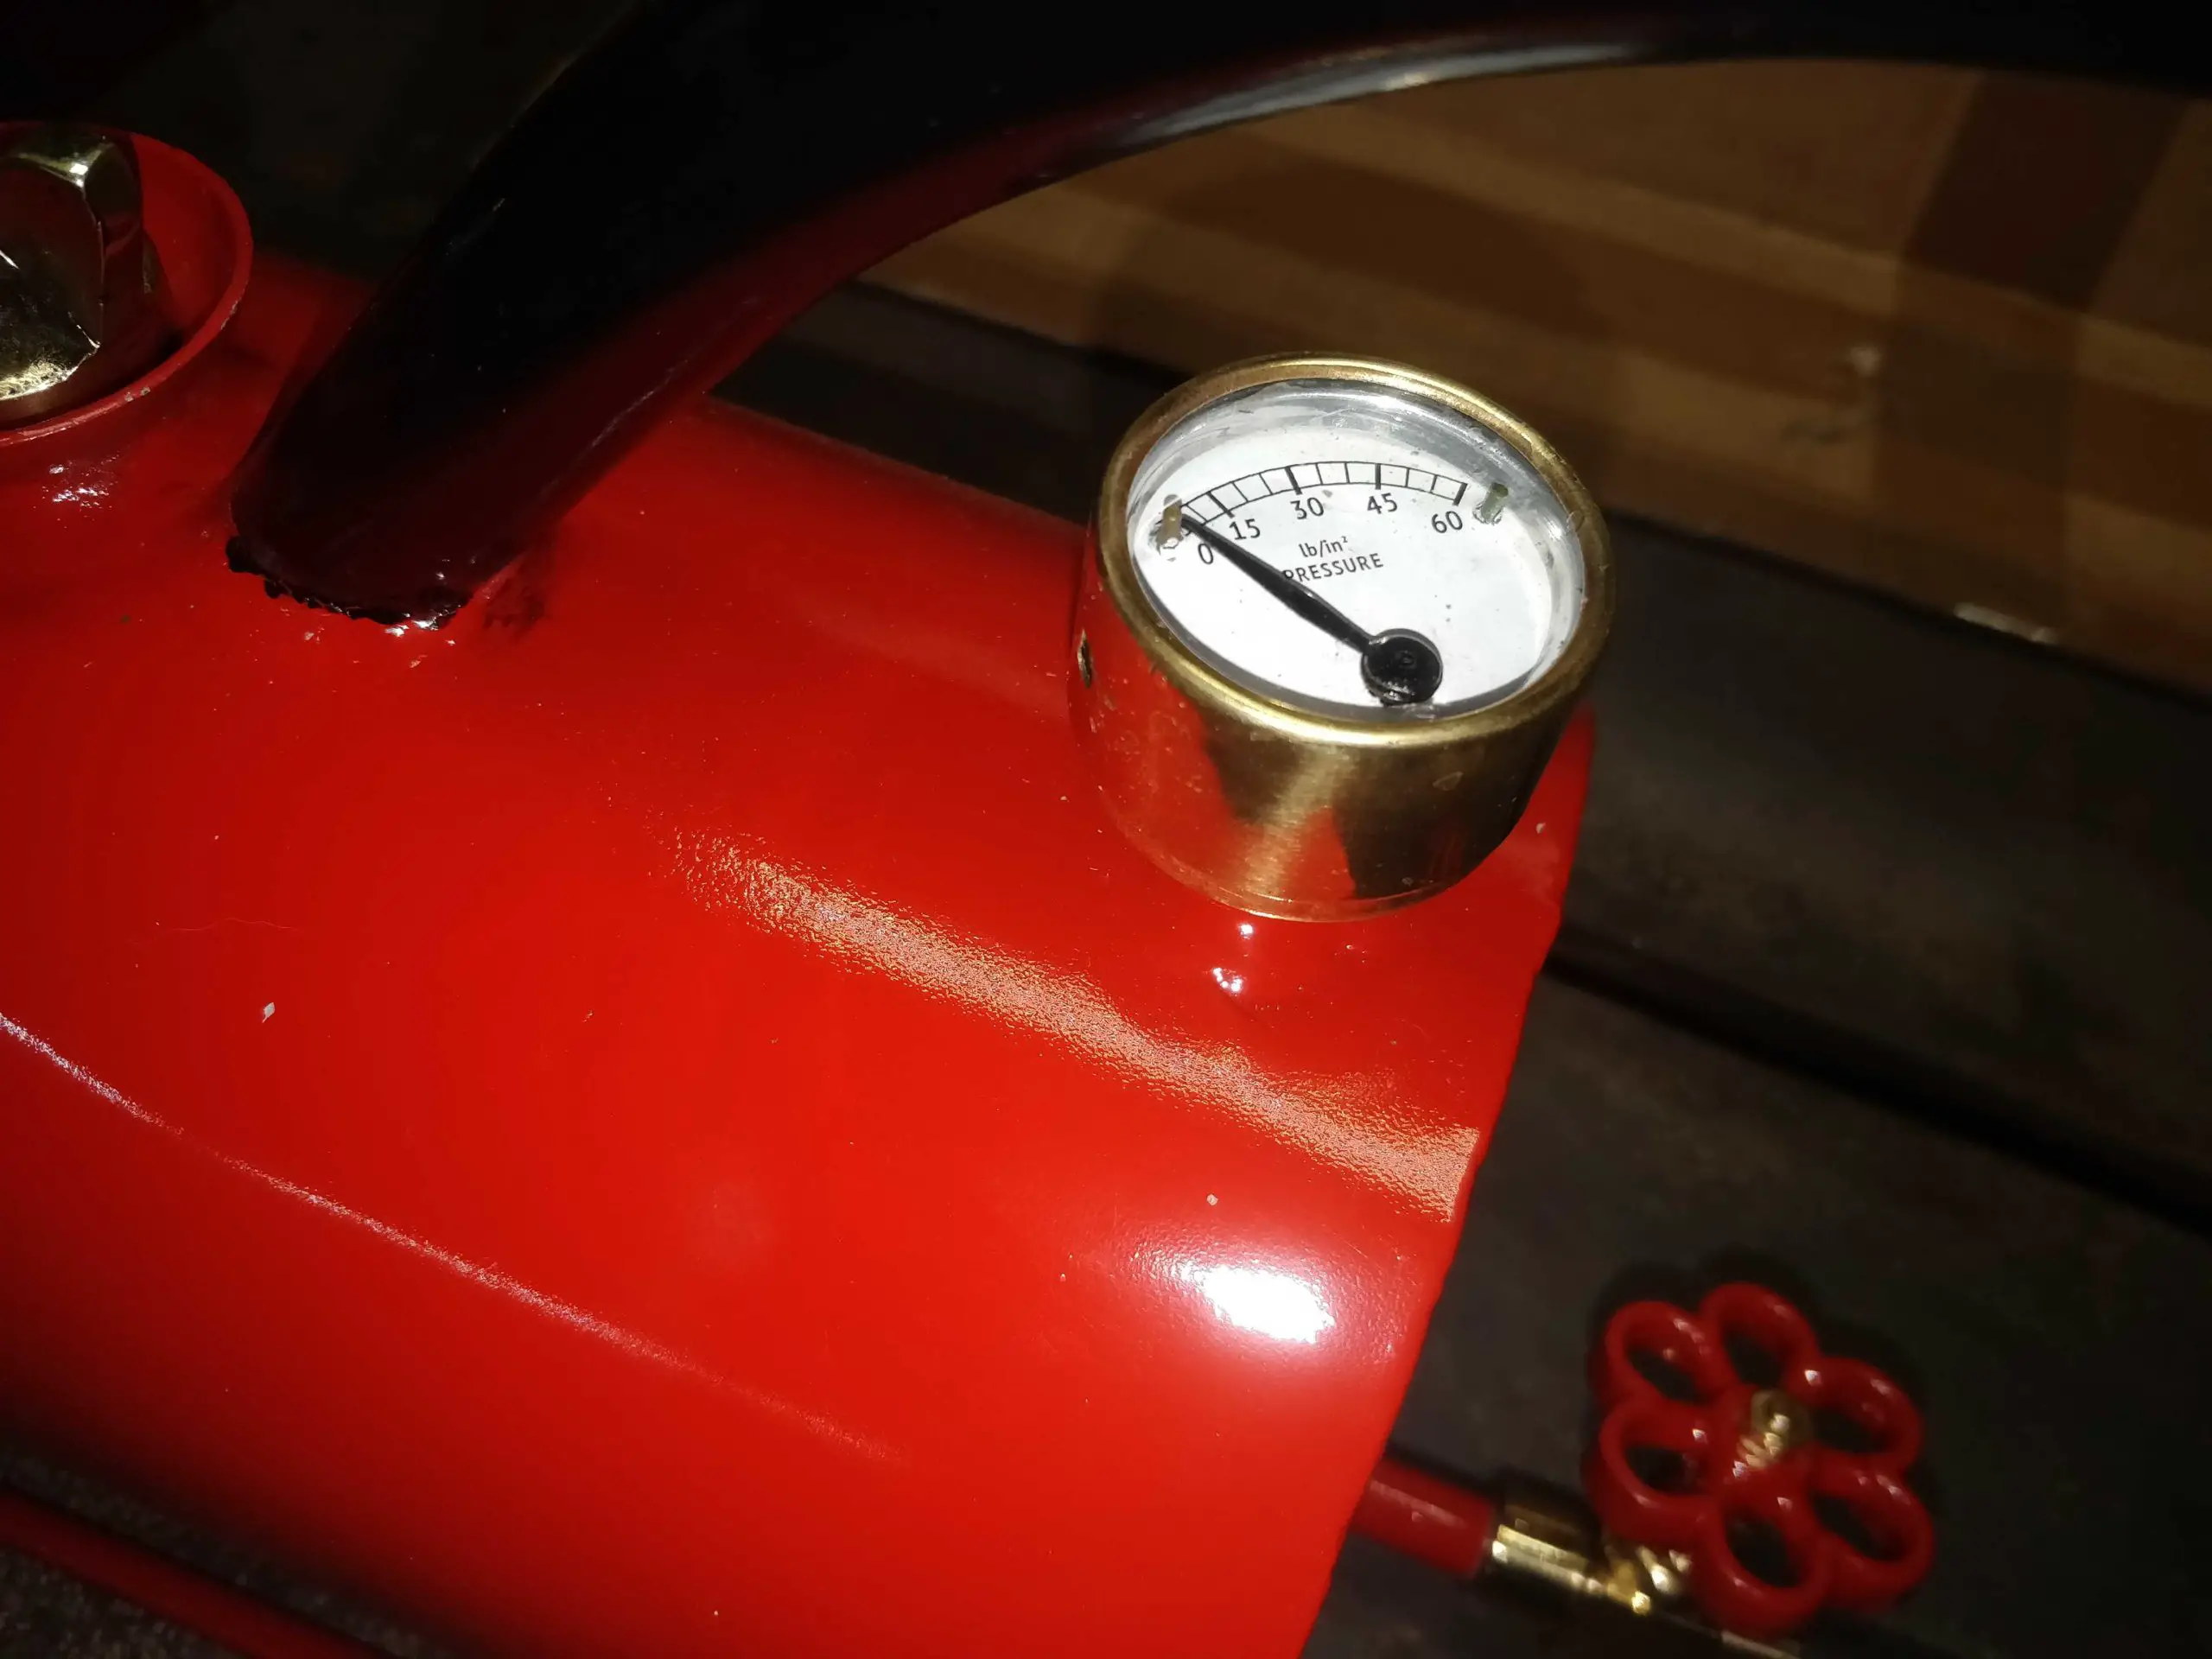
With everything cleaned, derusted and painted, the only thing left before disassembly was to sort out the pressure gauge face. It was worn out and beyond mere cleaning. I didn’t want to have to replace the entire gauge for the sake of the face, so I chose to recreate it as a sticker that I could stick over the existing metal face.
I used Adobe Illustrator for this – I’m far from an expert in this software, but after a bit of work, it came out great!
The old face, beyond saving. Recreating the face in Illustrator Old vs new. Not a bad recreation I think.
Reassembly
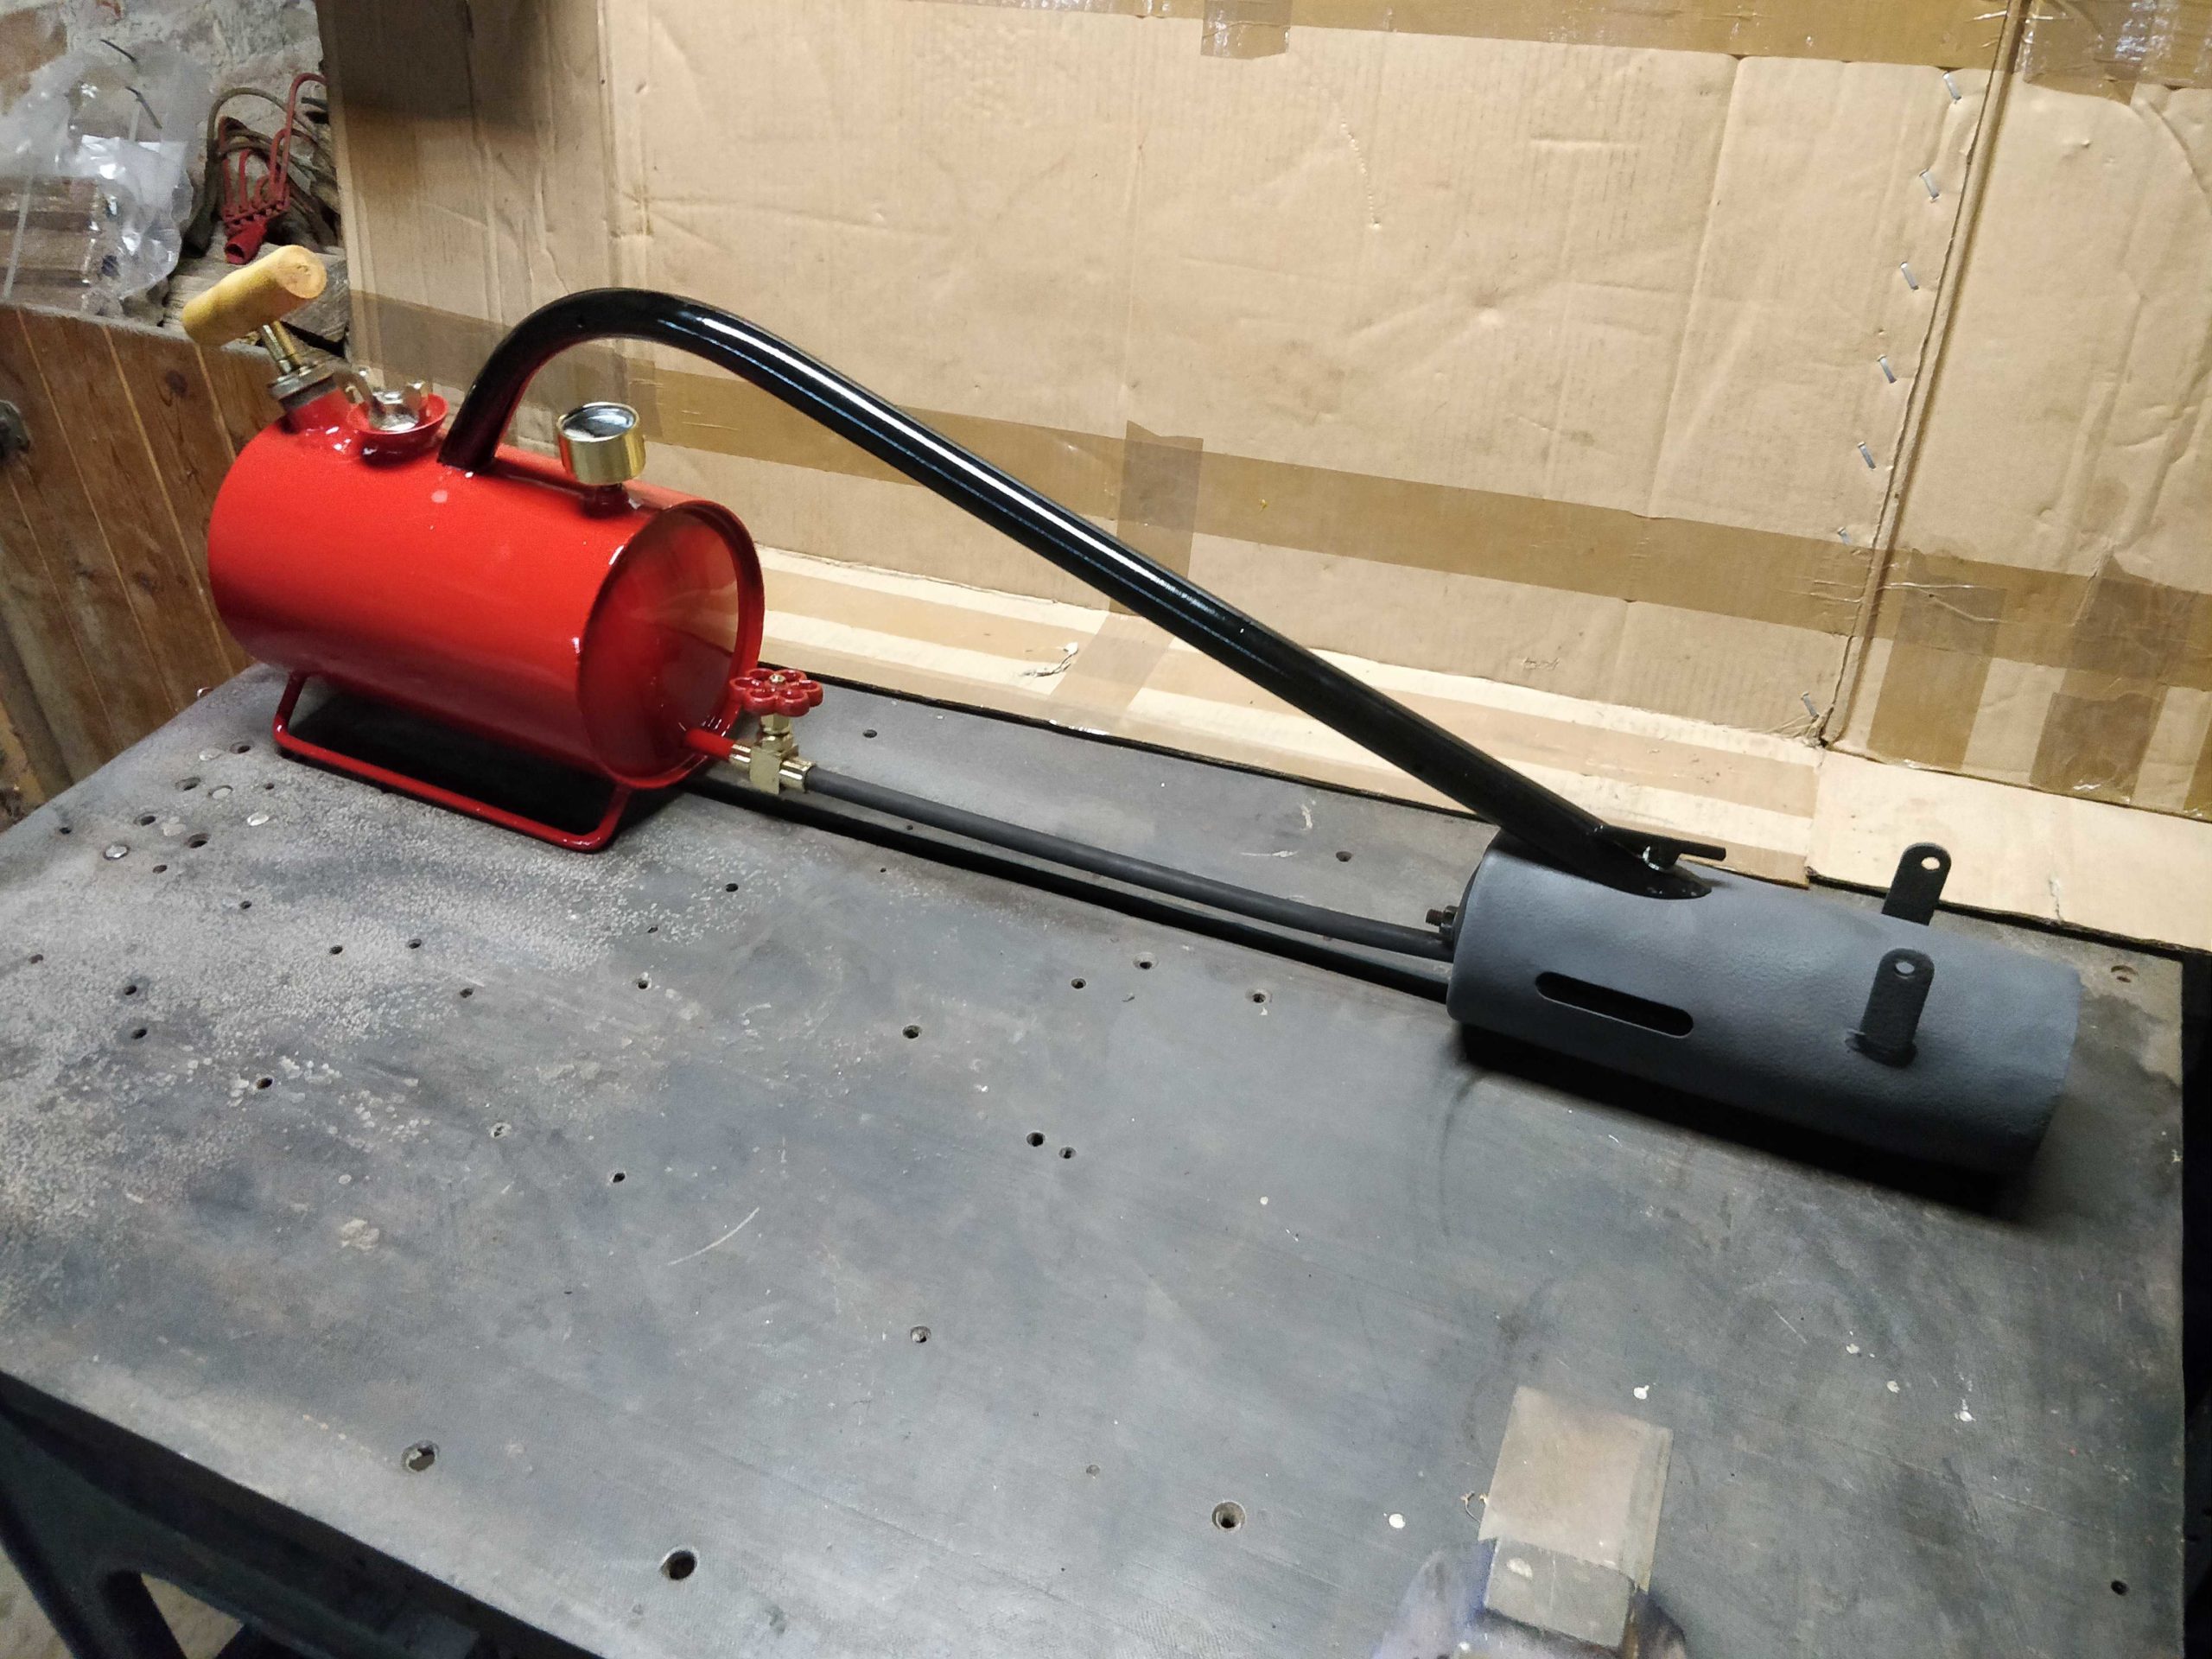
With that last part done, it was time to reassemble the burner. It all went smoothly and was a straightforward affair. I ordered a couple of new seals and a new wick from Sheen to replace the rotten old ones. Apart from that and the handle I made earlier, all the existing parts were cleaned and reused.
The finished flame gun, ready for use once more! Nice shiny tap… Pressure gauge came out great.
Testing and Using the Flame Gun
After all the hard work restoring the flame gun, I was looking forward to giving it a test run!
I filled the tank with paraffin and took it outside. There’s a bit of a procedure you have to follow with these; you have to pressurise the tank, open the tap, let the paraffin spray out for a few seconds and then close it. You then light the wick and let it heat up for a couple of minutes. As the paraffin heats up in the tubes and starts to vapourise, you get a nice roaring sound that lets you know when it’s ready. I’m happy to report that it all went well and the weed burner was ready for use!
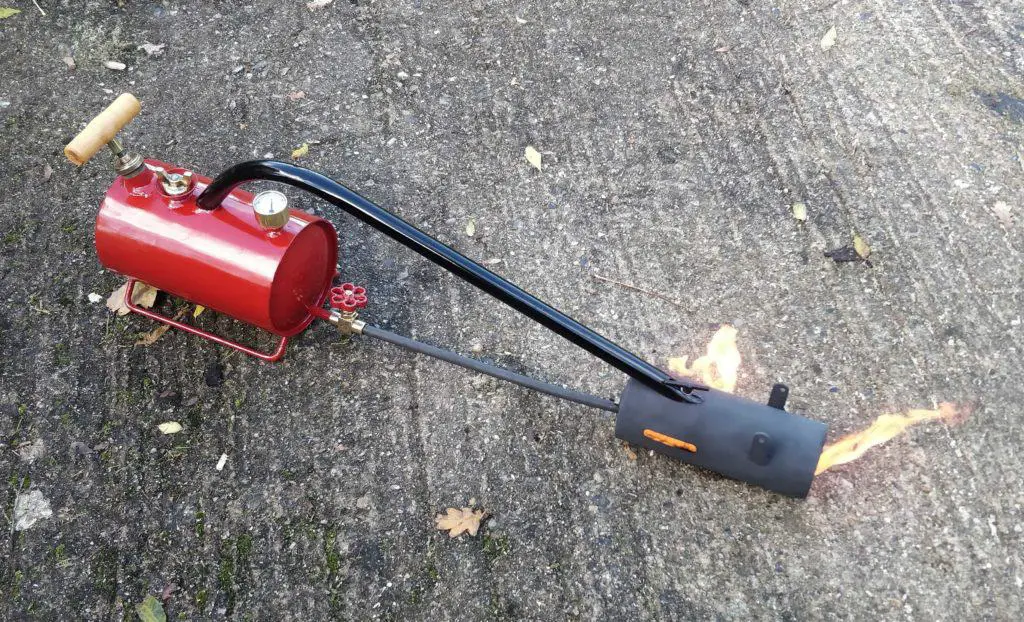
Once it was burning nicely, I got out to our terrace and started torching the weeds. It’s a great little machine, way better than the little butane thing we’d been using before. I think this will be with us for a few years to come!
The Video
I did, of course, make a video for this and uploaded it to Youtube. And here it is!
And that’s enough for this time. Let me know in the comments what you thought!