Getting the cabin and windscreen frame finished previously meant that at last, it was time to move on to the rear end of the car.
One problem there: All the work I’d done at the front of the car had meant taking the front subframe and suspension off, and she was sitting on a pair of ramps under the chassis rails. So before I could start work on the rear end, I needed to figure out a way to get the car moveable.
The simplest option would have been to fit all the suspension back on the car and move her that way; I had it all to hand and it wouldn’t have taken long to refit and put the TR7 back on her wheels.
While that would have been the simplest option, it wasn’t the best. Firstly, the suspension and subframe would have needed to be removed again when I came back to paint the front end, and secondly, I wanted something I could use to move the car about within the garage. Fitting the suspension would have only allowed for forward and backwards movement. Being able to move the car from one side to the other would make life a lot easier!
Tidying up the Garage
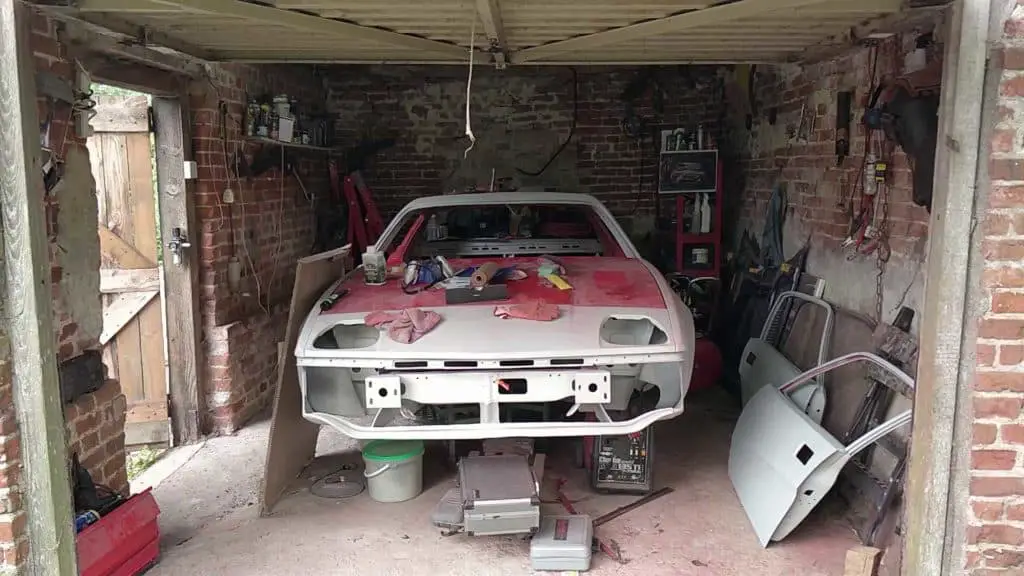
The first job, of course, was to get the garage tidied up and emptied out. I don’t have a lot of storage space, so the garage often has to double as storage as well as a work area. As I’d been working on the front end of the car, everything had piled up at the back of the garage. I spent a good hour or two just moving stuff out where it could get in the way somewhere else.
Designing the Dolly
I wanted the dolly to be two things: Be strong and sturdy enough I didn’t have to worry about it, and take up as little surface area of the car as possible. The less
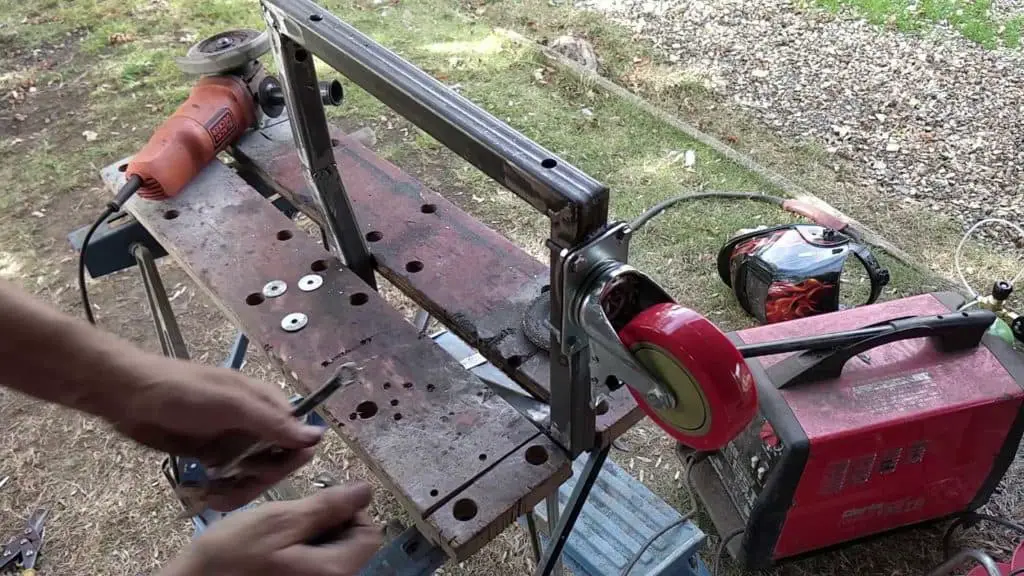
After a bit of thought, I figured the best way about it would be to bolt the dolly to the existing subframe mounting holes on the chassis rails. They were in about the right place and obviously strong enough to take the weight!
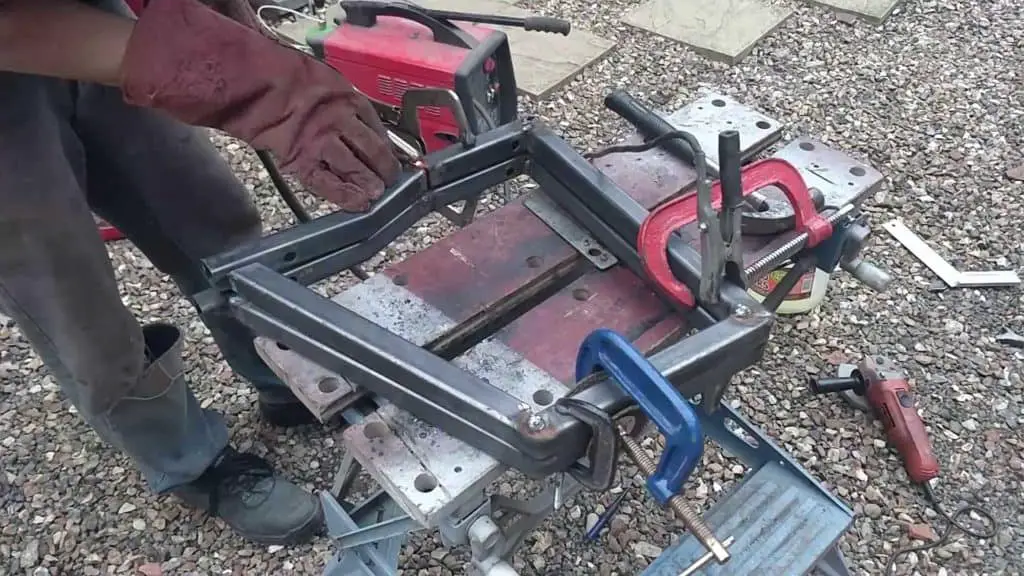
It wasn’t a perfect solution; the chassis rails have a weird kink to them that meant I couldn’t just bolt a straight bit of metal to them. I had to work something out to match the contour.
So I got to work with the grinder, measuring tape and the welder and soon came up with a workable frame using the box section steel I’d bought. I thought I’d bought more than enough for the whole car, but in the end I used one whole length just for the two legs!

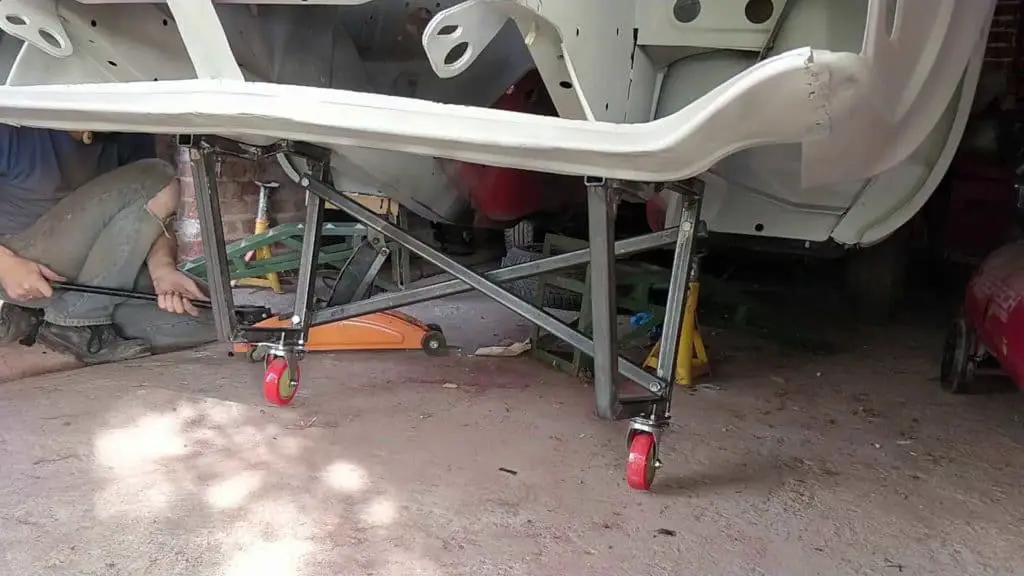
With those cut to shape, I bolted some heavy duty castors into place and tested for fitment.

200kg castors. Should take the weight no problem. First test fit!
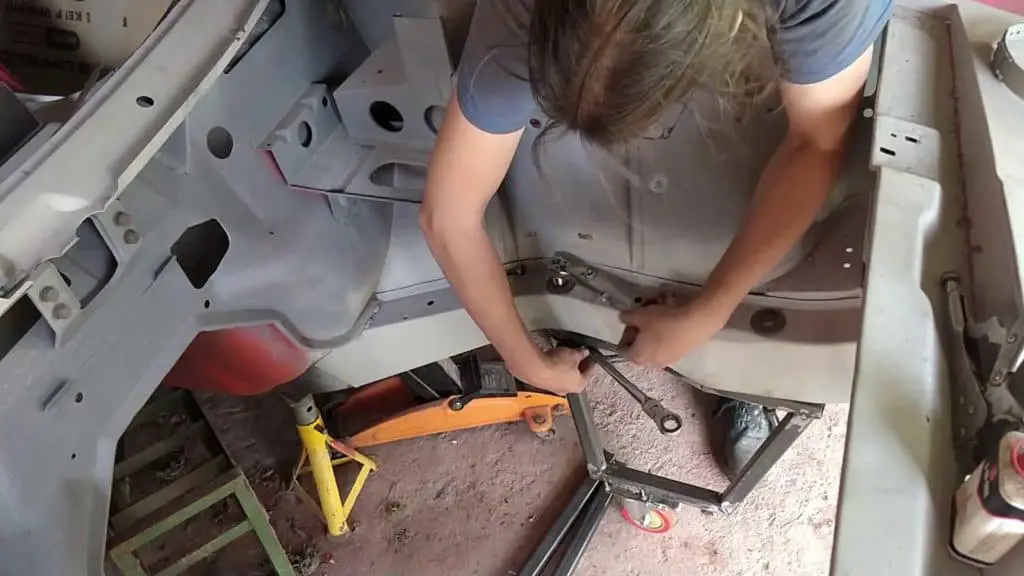
It worked out great! Everything fitted with no problem and I was able to move the car at last – the first time in probably a couple of years.
The dolly is completed. Time to put the car down on it. It works!

The only issue I had with the dolly was that the castors wanted to roll backwards all the time due to the angle – I’ll be building a rear dolly at a later stage which should level the front end up and solve that problem.
But for now, it’s time to move the TR7 forwards and get started on the rear end!
Cleaning Up the Rear
Having been working on the front end for so long, the back of the garage as well as the boot had ended up being a bit of a dumping ground. I had no idea about half of what I had back there. So, it was time for a good clean up.
I wonder what’s in here? Mostly parts I need to clean up and use. Some of it’s clearly junk though. A pile of TR7 parts sat at the back.
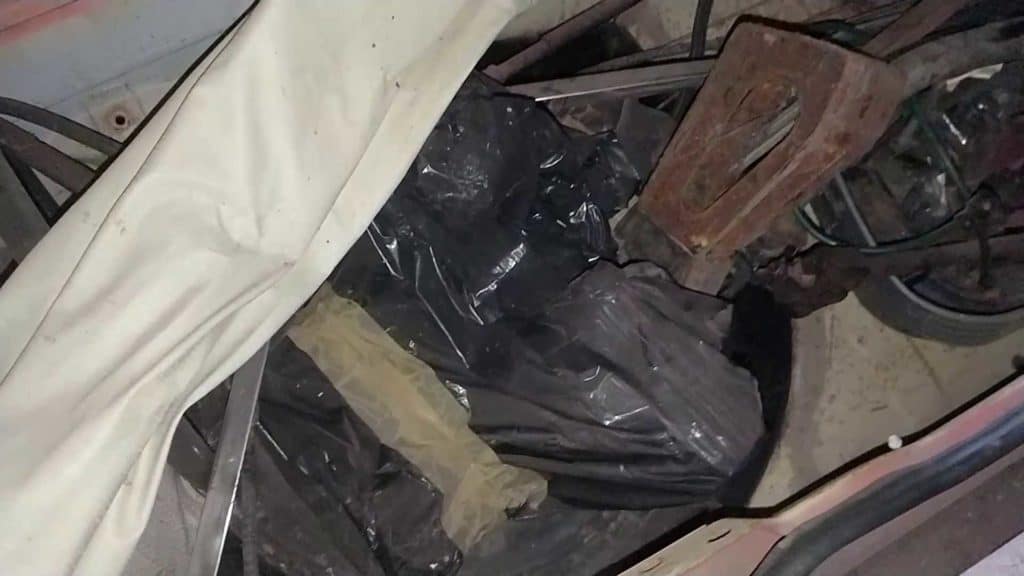
Most of it was parts of the car that I needed to keep around, ready to be refitted after I’d got the painting done. I took it all out and cleared the area so I could start work.
Inspecting the Rear End
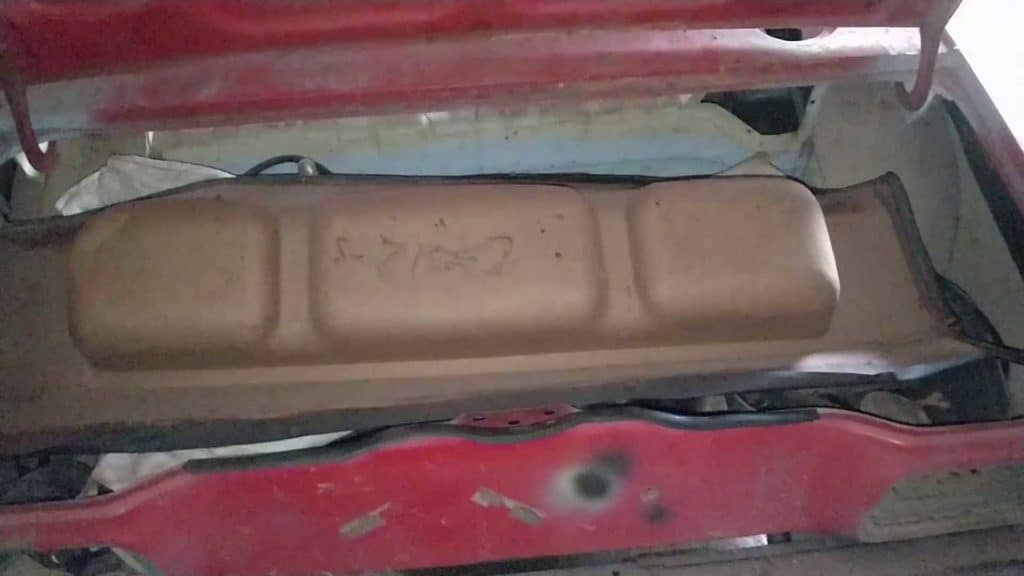
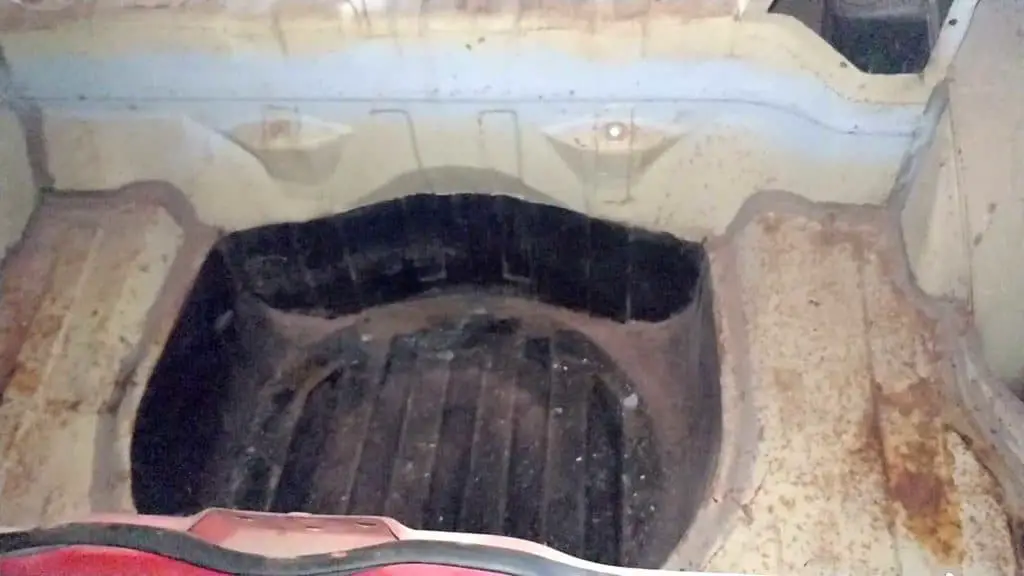
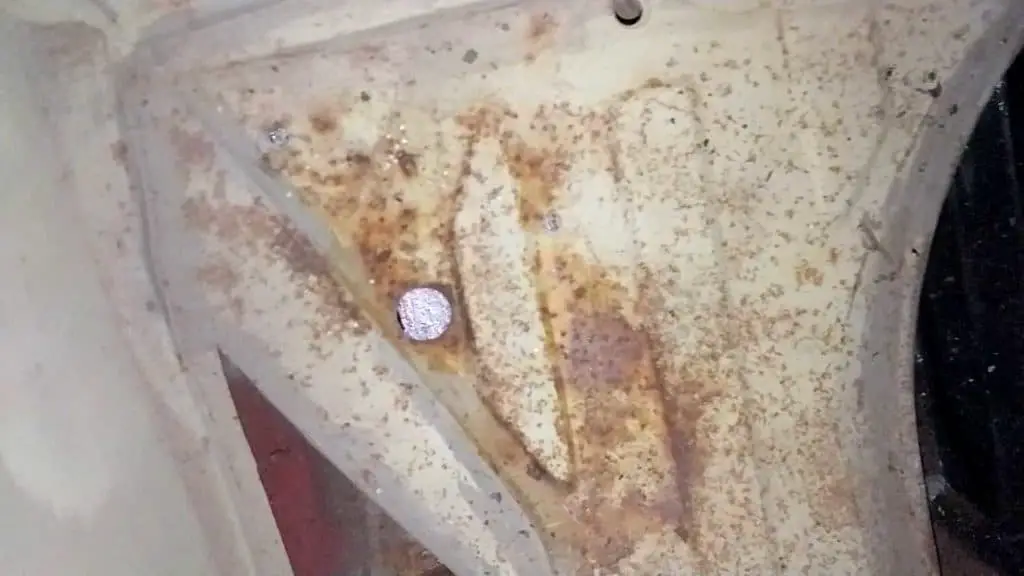
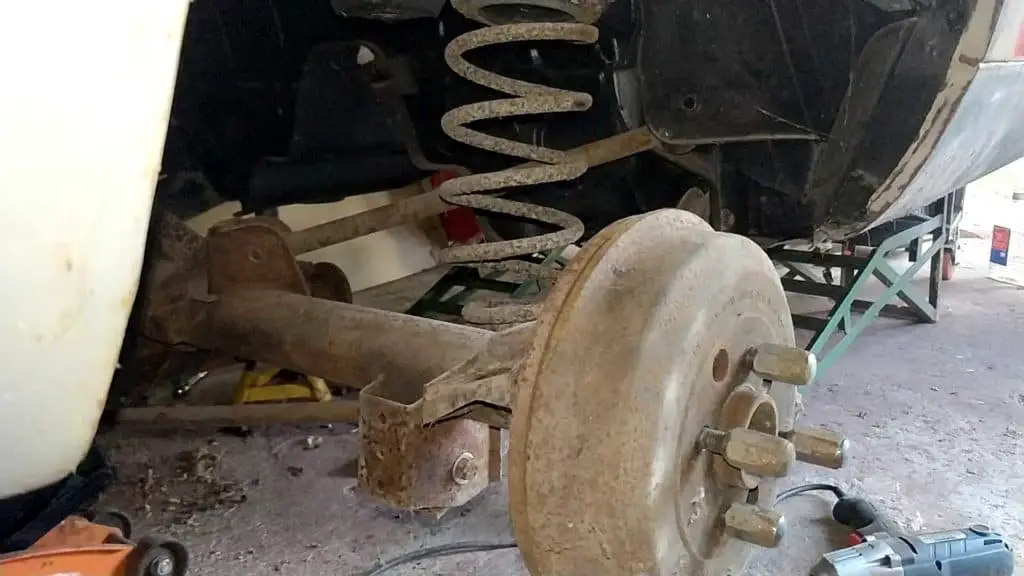
With all the parts and junk cleared out, I took a look at the back end. I was disappointed, but not entirely surprised, to see the boot area had gone rusty again. I’d spent a lot of time before stripping all the paint out of there and cleaning up the rust, and now it looked like I was going to have to do it again. That’s what I get for leaving it all in primer in a damp garage for so long. Lesson learned, I guess!
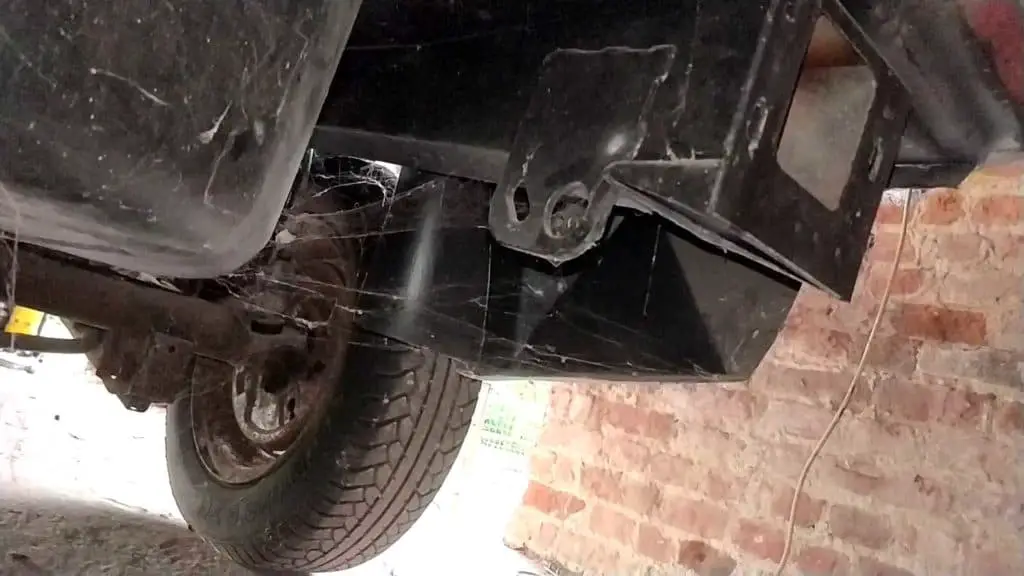
The underside, on the other hand, had survived great. The POR 15 I’d painted the underside with had done its job and aside from a lot of dust and cobwebs, was looking as good as when I first painted it.
Removing the Axle
The next step before I could start on the bodywork was to get the axle off. I could have just taken the wheels off – I just needed to work around the wheelarches – but the axle needed to come off for restoration anyway, and I wanted it out so I could fit the rear dolly when that time came to it.
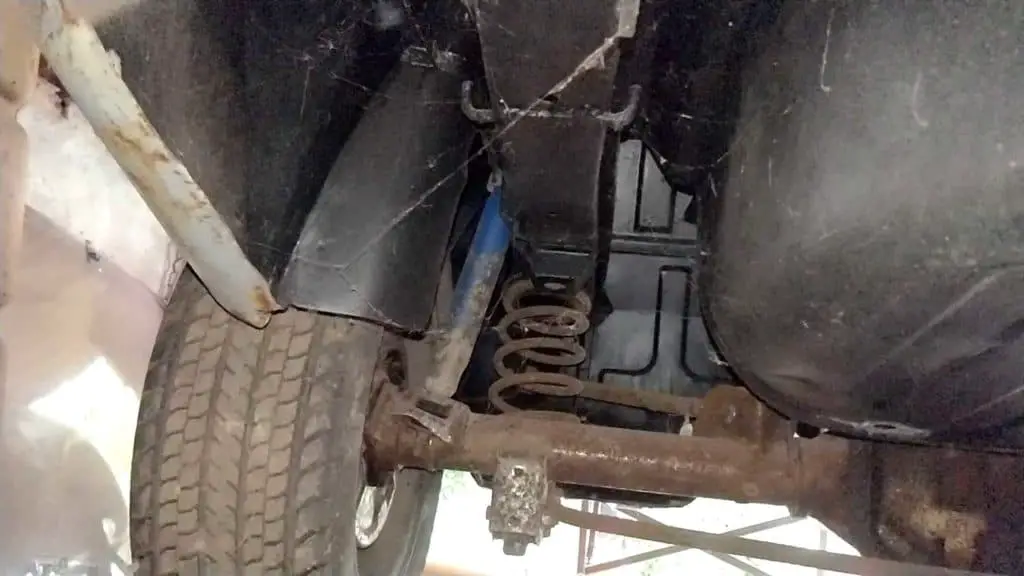
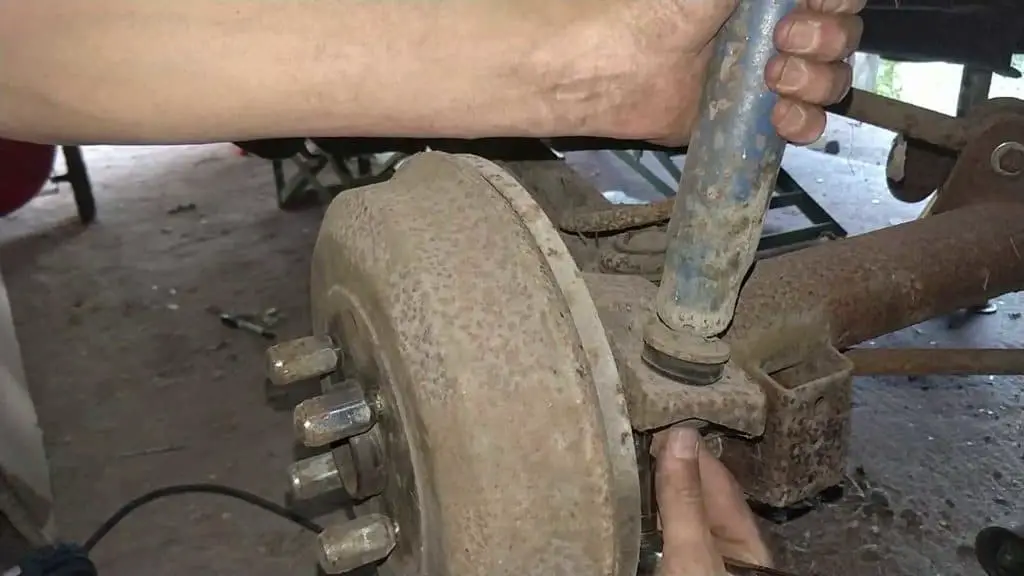
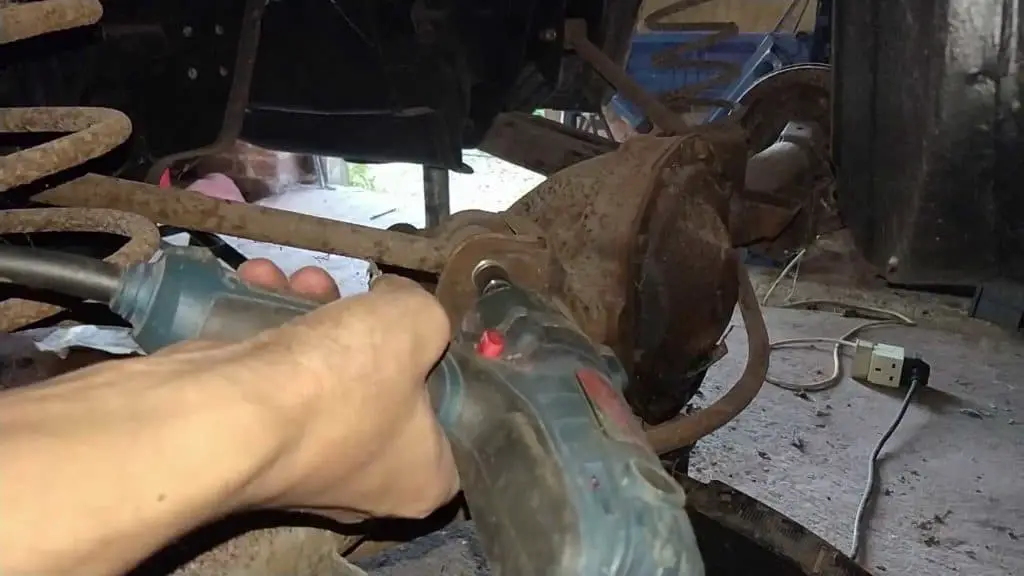
Taking the axle out wasn’t too tricky – I’d been here before and nothing was really seized. It was simply a case of taking out the dampers and the tie bars, then unbolting the trailing arms.
Dampers came first… then the tie bars… And finally the trailing arms are unbolted.
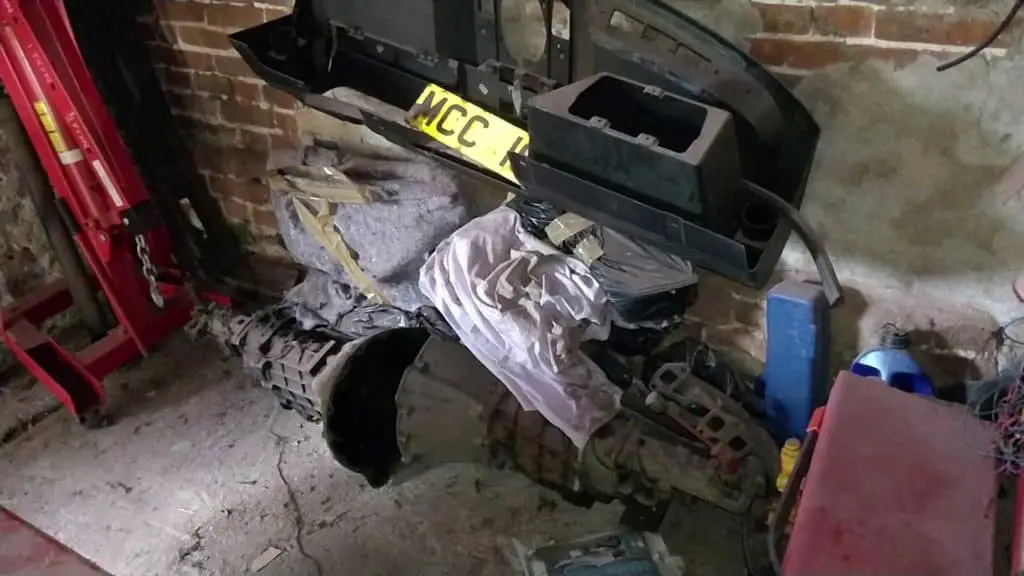
While not tricky, it is difficult to take the axle out. At least is was in my garage anyway. There’s not a lot of room to move back there, and the TR7 axle is a heavy old beast. I had to do a lot of manouevring to get it lifted over the roll bar it sat on and slowly wiggle it out of the way.
With the axle out of the way, the car was now just a bare shell (and unable to move again, at least until I can get the rear dolly built!) and ready for me to start work stripping paint and preparing the rest of the body.
The Video!
And here’s the video! Unfortunately it’s pretty dark and dirty in the back of the garage, so this isn’t the cleanest, freshest video out there. But things are moving at last (literally!), and we’ll be getting paint on the car in no time.
Enjoy!