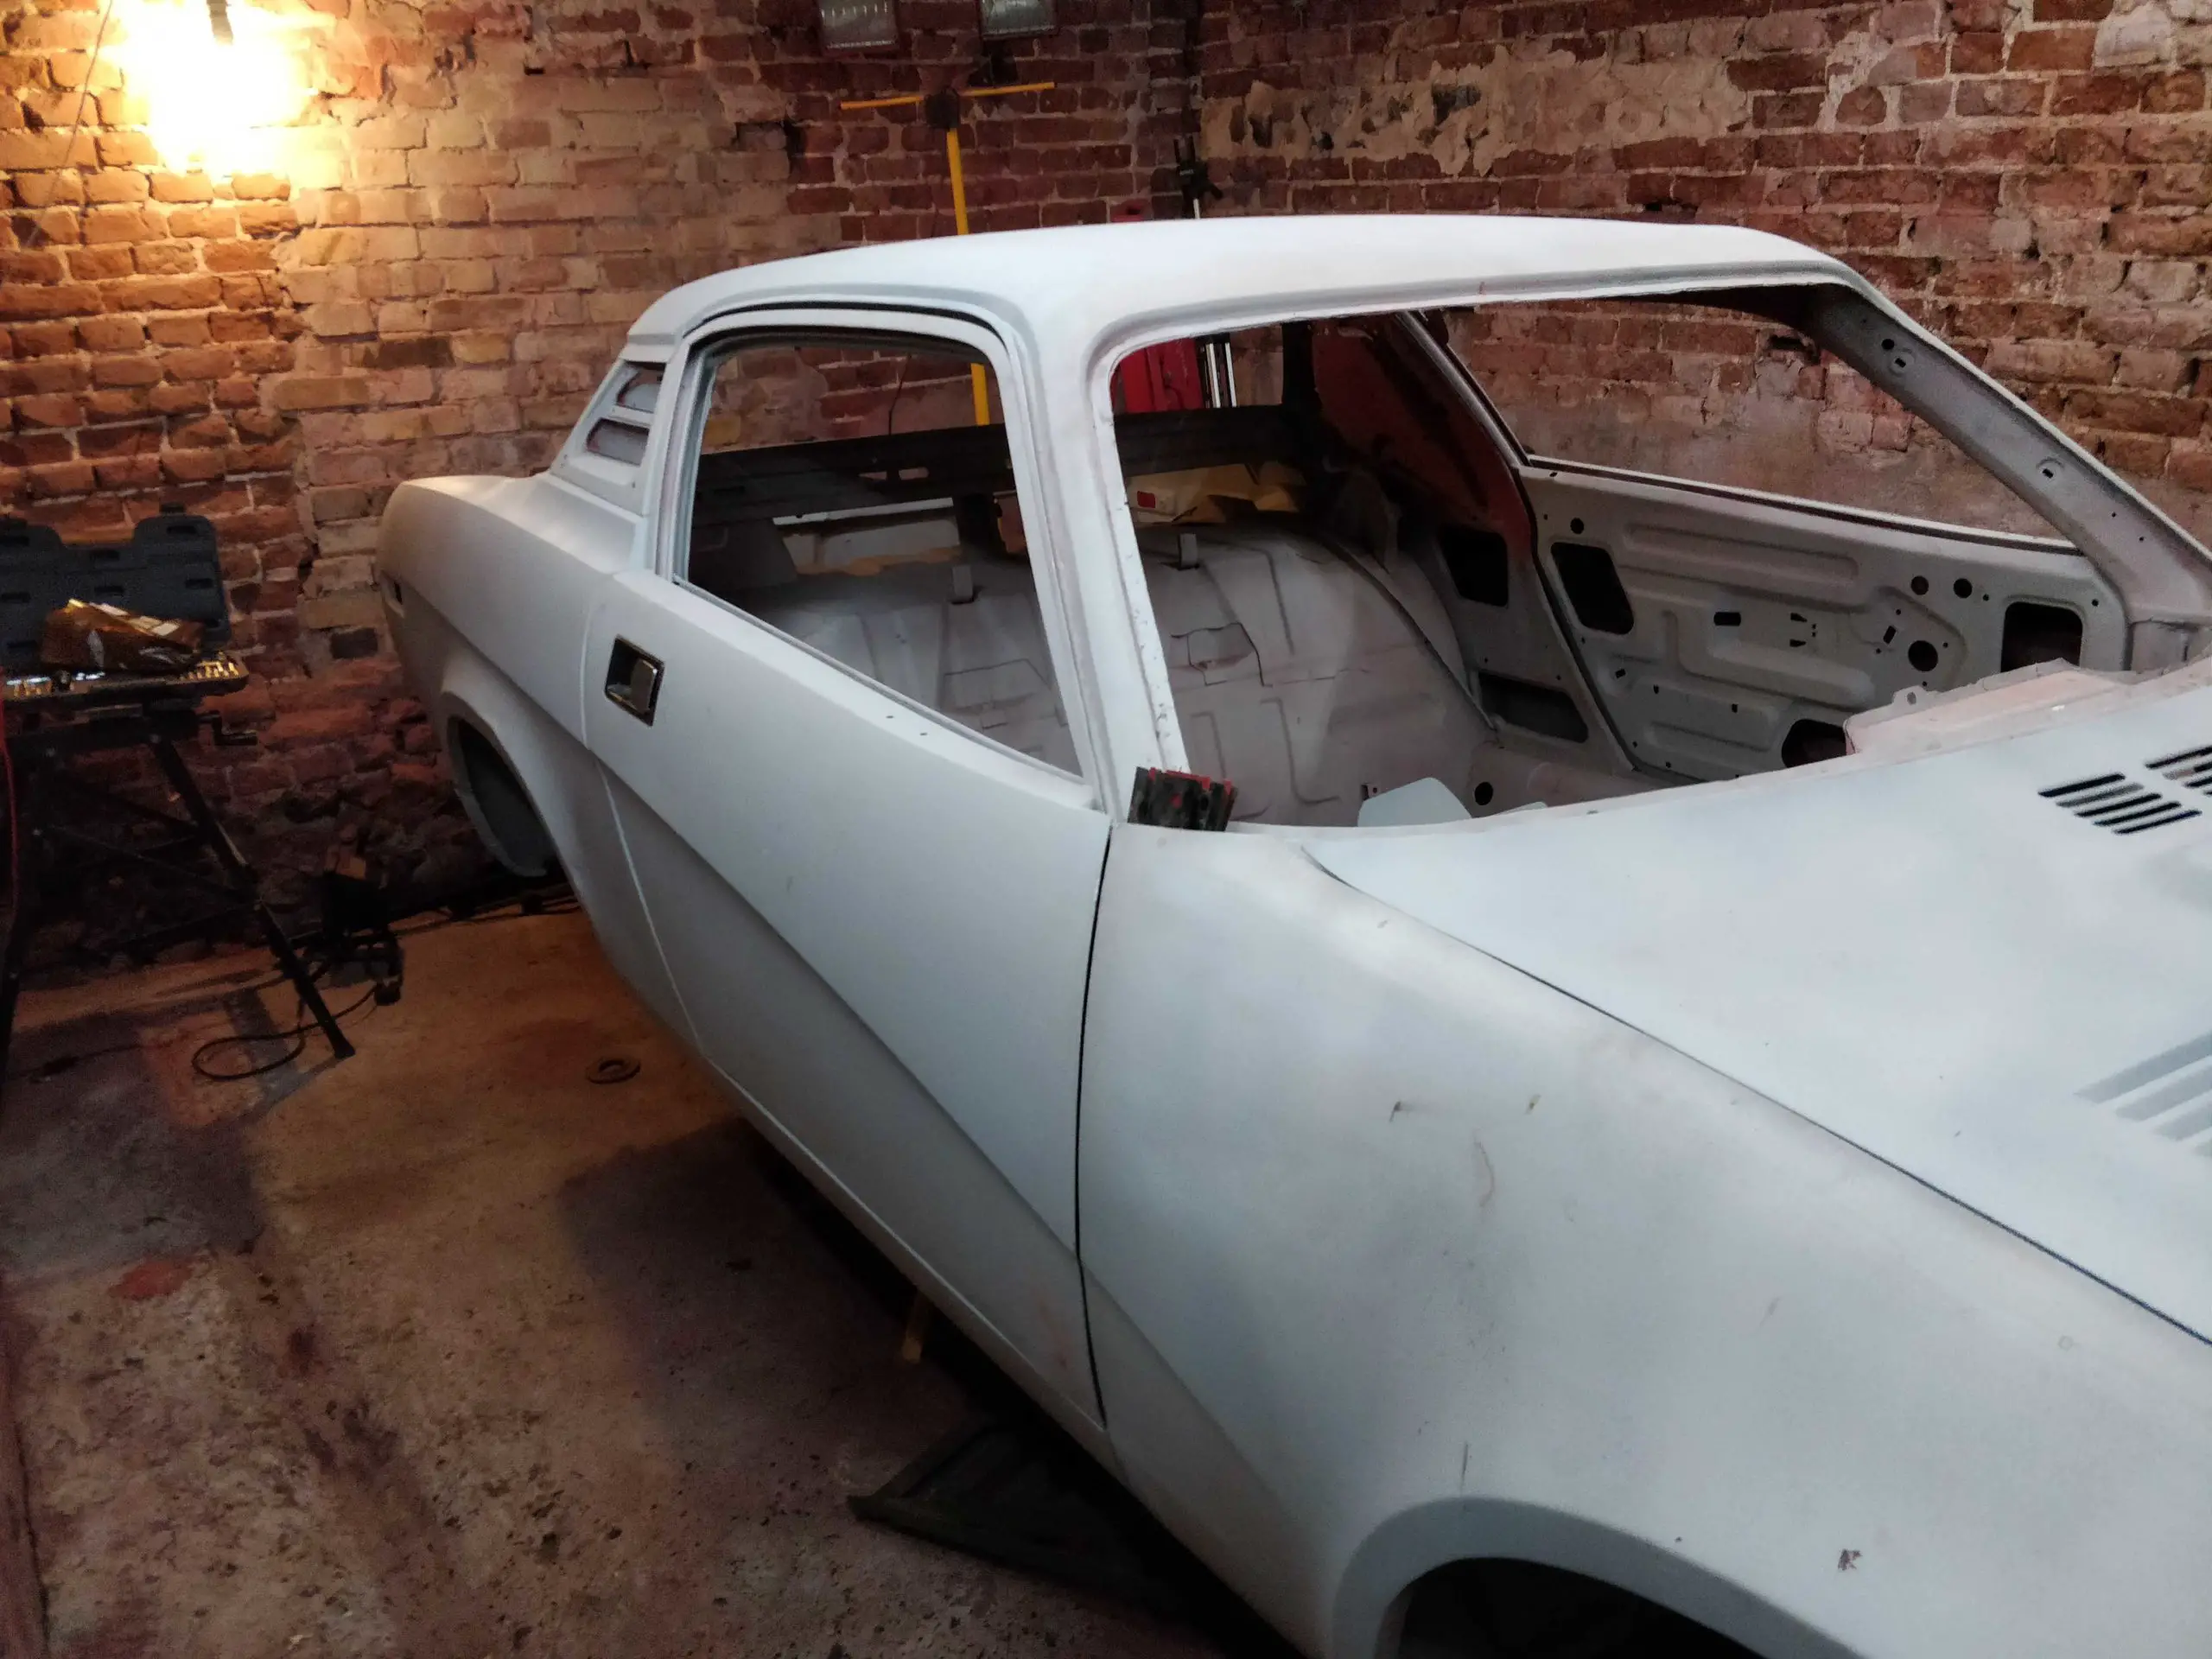
Now I had the car moved forward, I was able to make a start on the bodywork.
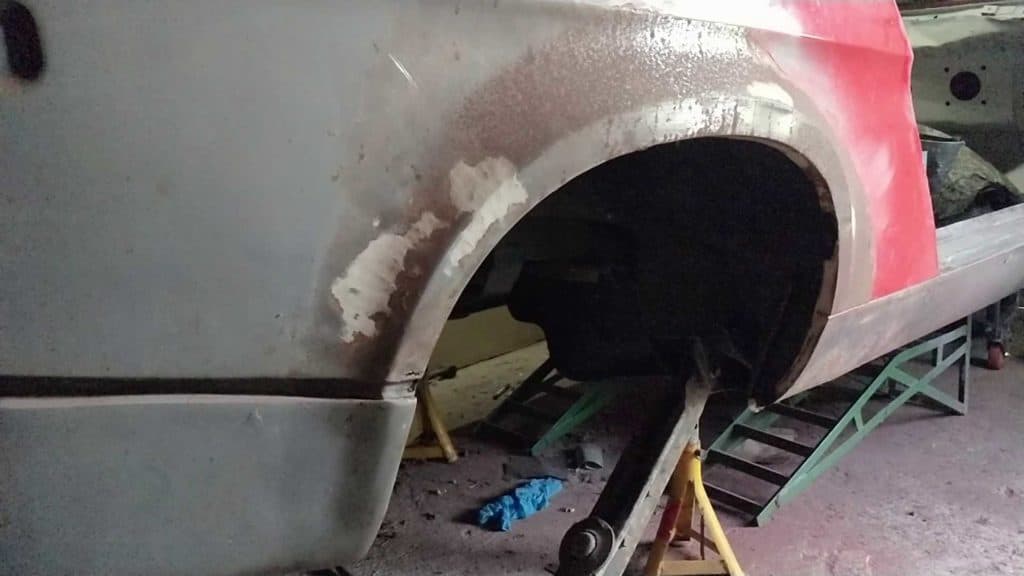
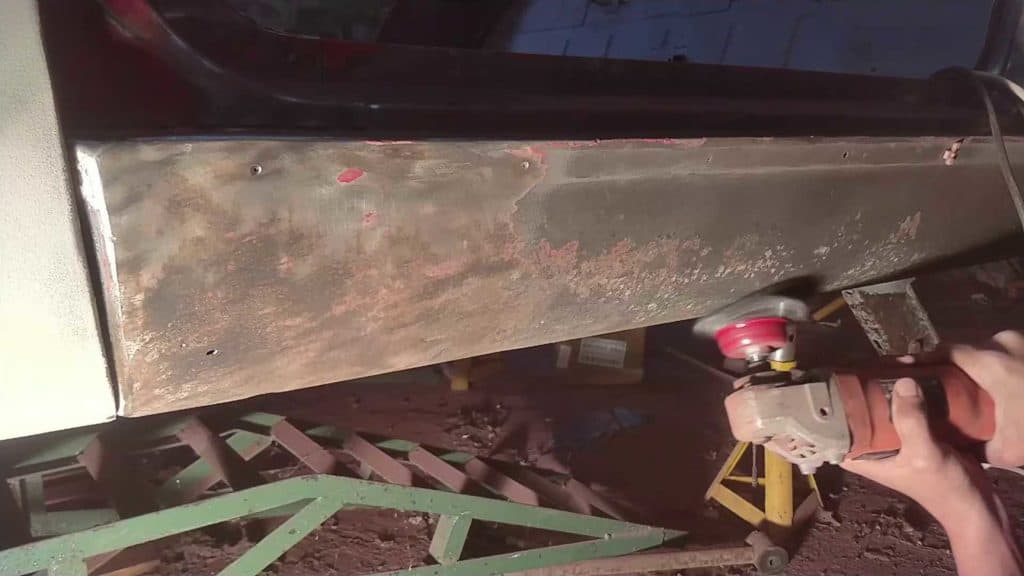
The first job was getting the rust off the rear arches; like the front arches I’d stripped these down to bare metal and then time had got away from me so they’d rusted a bit. It wasn’t a big deal, it just needed cleaning up with a wire wheel. There was some accident damage on the drivers side as well; I ground all the filler out from that to deal with later. For the time being, I just wanted everything painted with epoxy primer so I could get on with the bodyworking properly without having to worry about things going rusty.

A bit of surface rust, no big deal. After cleaning up with the wire wheel. I ground out the old body filler too.
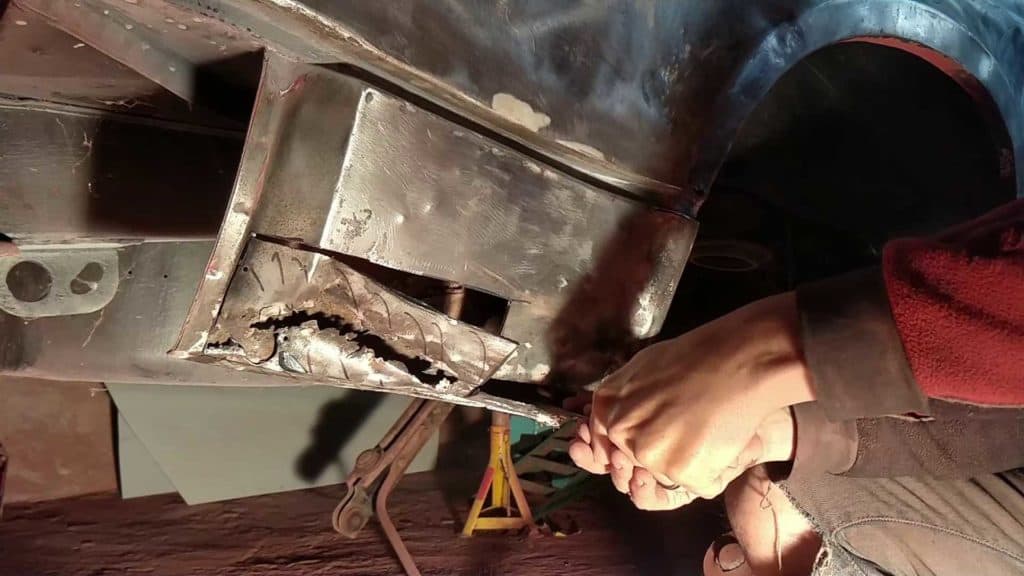
The plan here is to get all the old paint off the TR7 and start from scratch; apart from the fact the car’s been resprayed before and has two layers of paint already, there have been too many nasties hiding under the paint for me to be happy. I wanted to get everything off and exposed. Just to prove my point, I almost immediately found this hiding under some filler:
I’d been in this area before – you can see some of my early (and frankly not too good) welding on the leading edge of the sill. And yet somehow I’d missed both the gaping rust hole and the dent at the top; all covered over with tons of filler!
Grinding Down the Paint
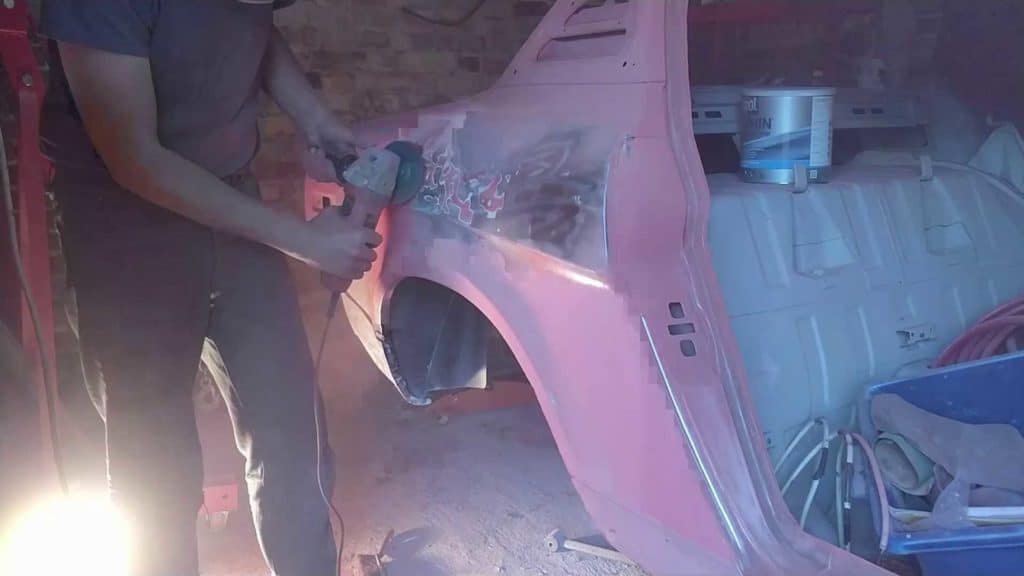
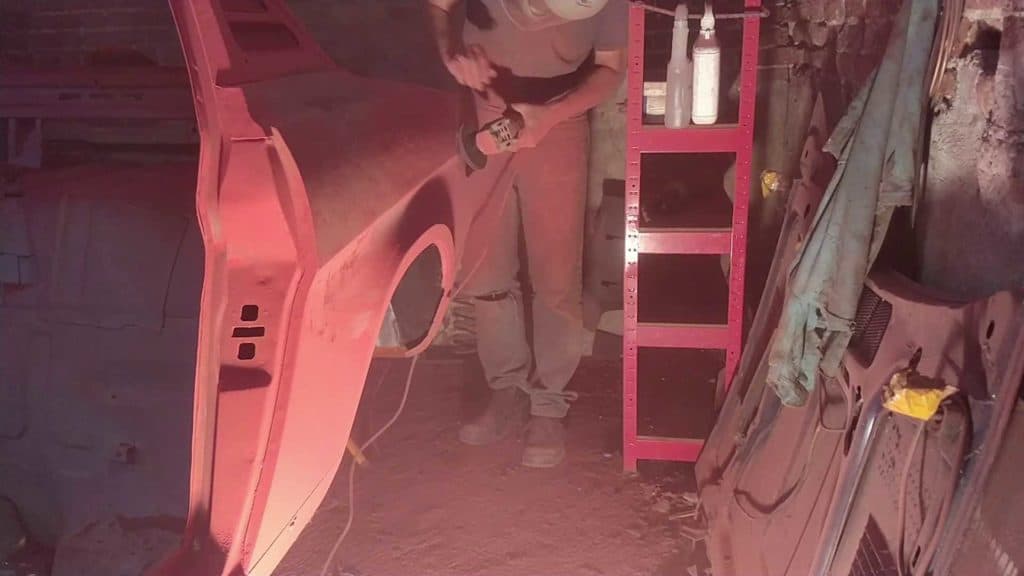
I started stripping the paint off on that same quarter panel. I used the same stripping discs I used at the front end and the doors; they do a decent job even with this thick paint. It was still slow and dusty work though, and the garage soon started to fill with dust.
It’s slow work stripping this paint off… Really dusty too.
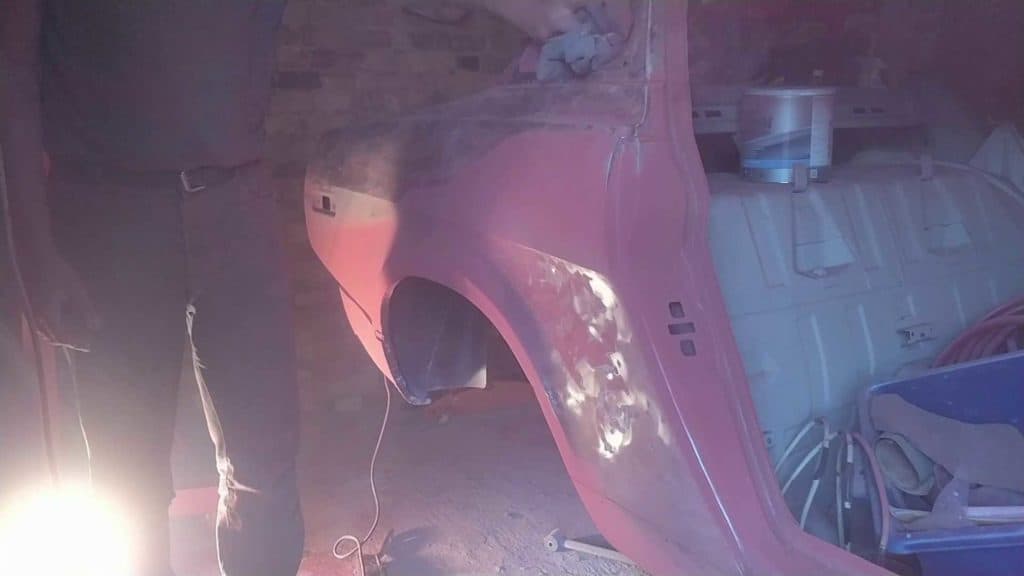
The whole stripping job took the best part of the day. It was slow, dusty, noisy and unpleasant work. But I got there in the end, and I was rewarded with a car down to bare metal with all the old paint just a pile of dust on the floor.
Well, I say on the floor; most of it ended up right back on the car again. On the body, in the cabin; from certain angles it was hard to tell it had been stripped at all as everything was covered in a thick layer of red dust!
But after a few hours cleaning, everything was finally (mostly) dust free.
Fixing the Rusty Sill Panel
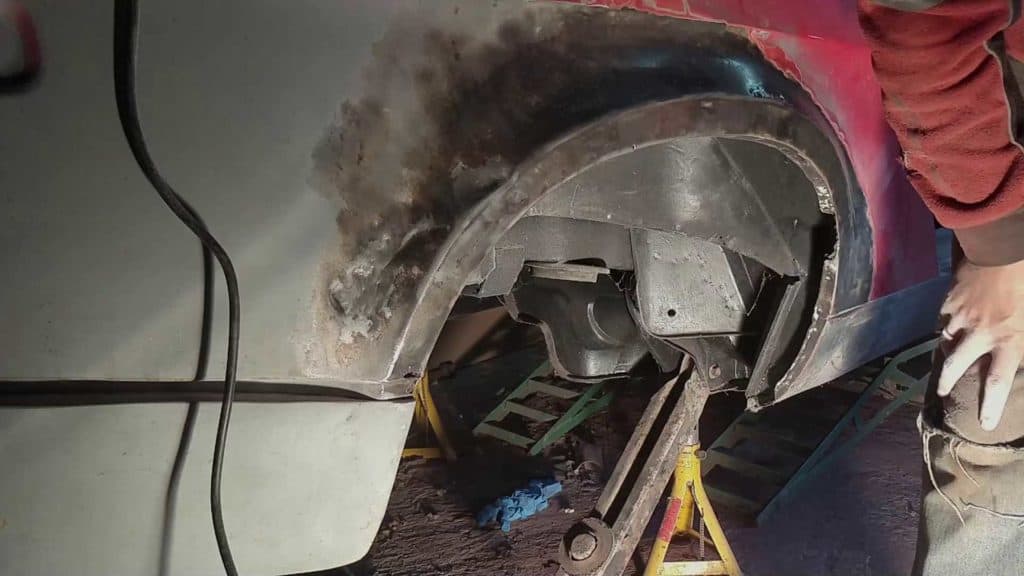
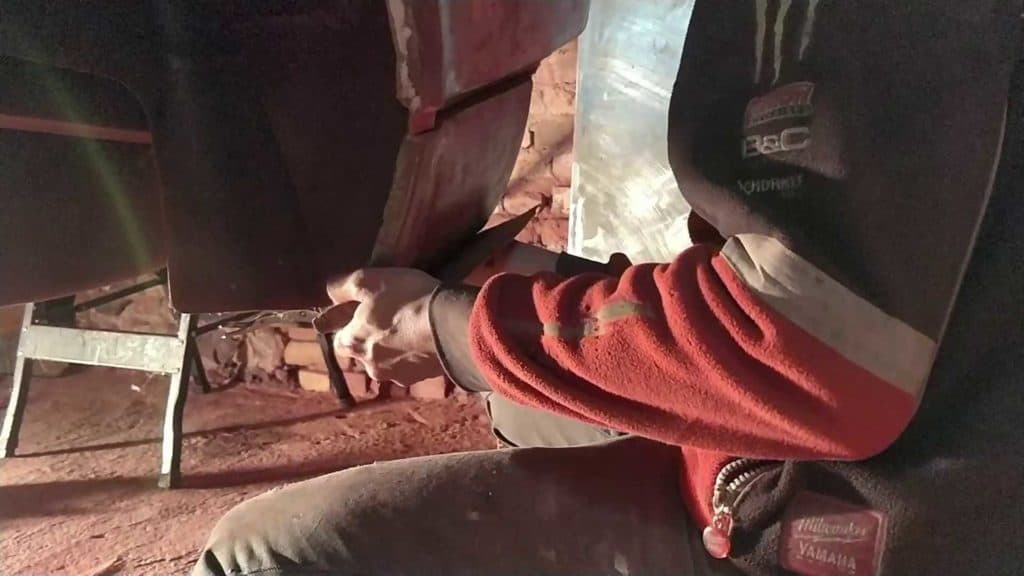
Fortunately, the grinding and stripping hadn’t revealed any other major rust or accident damage that had been hiding under the paint. A few dings and ripples, sure, but nothing I wasn’t expecting. So, now confident I was dealing with the last major bit of rust on the car, I started work on cutting the rusty old metal out of the sill.
Cutting the old metal out… And it’s gone. Note the old patch repairs – my earlier work. Not great, but good enough to not need redoing.

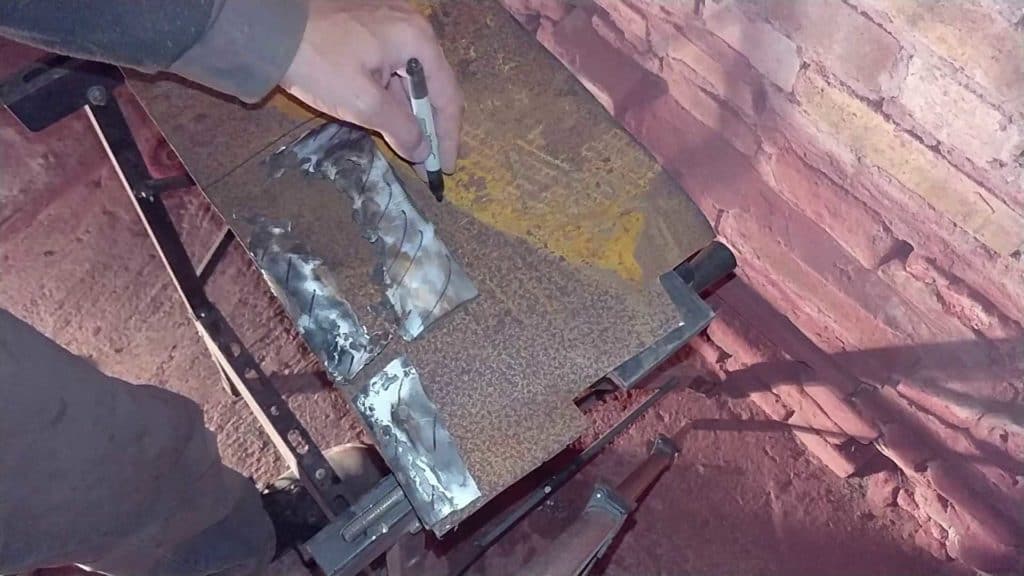
With the old metal cut out, I made up a new patch panel. The panel was in bad enough shape for it to be worth just buying a replacement one, but none of the usual suppliers had any stock at the time, so I just opted to repair what I had.
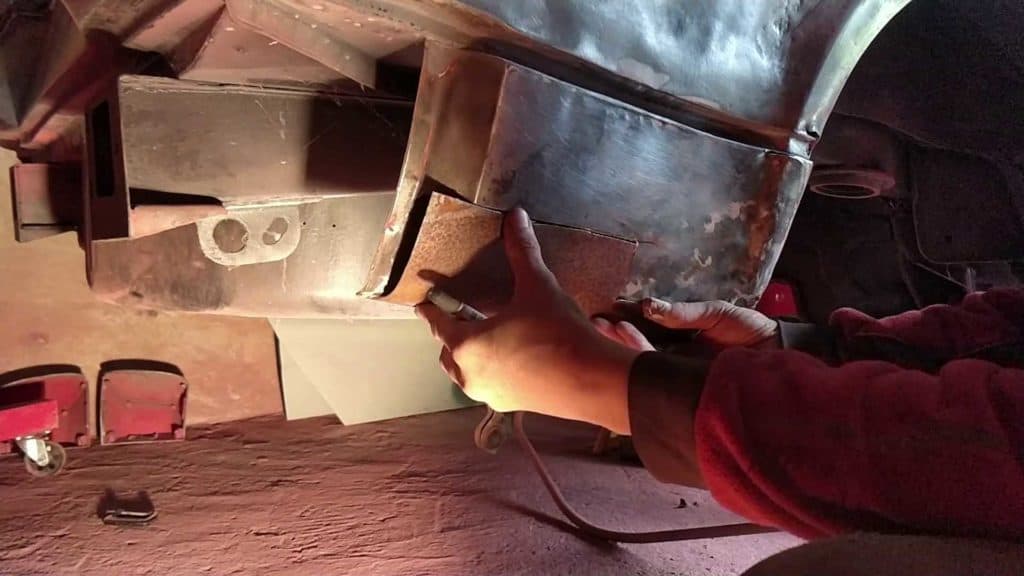
I made up a repair panel and used the nearside sill as a forming tool to get the curve right, before cutting it all to shape properly.
Getting a rough shape cut… I used the other side to get the curve right. Cut to final shape and ready to start fitting.
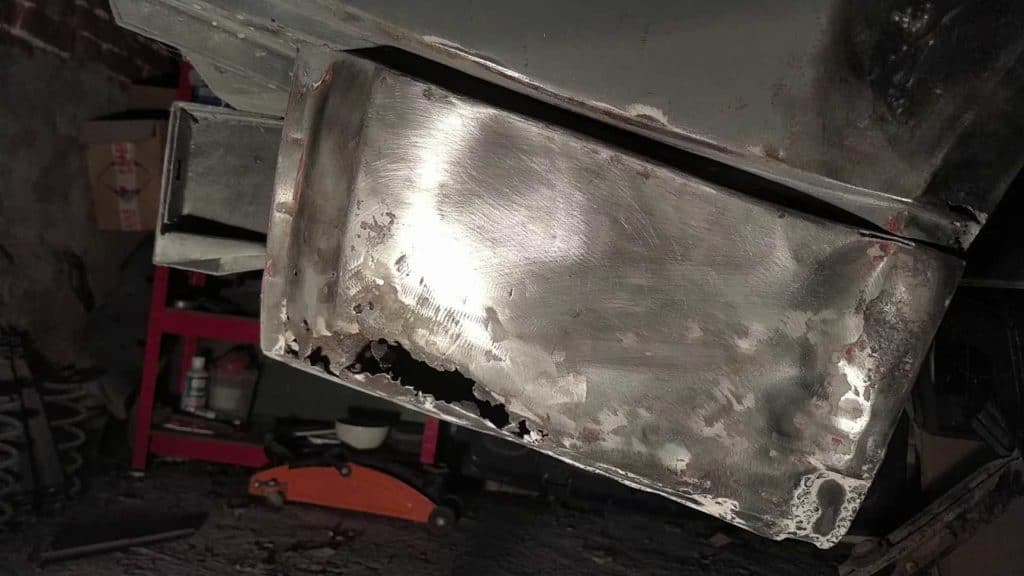
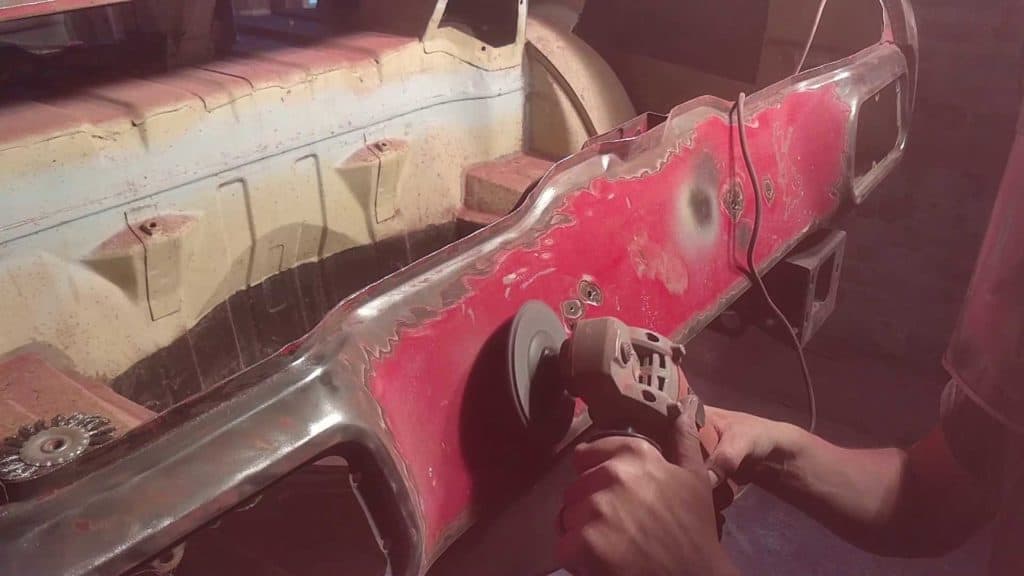
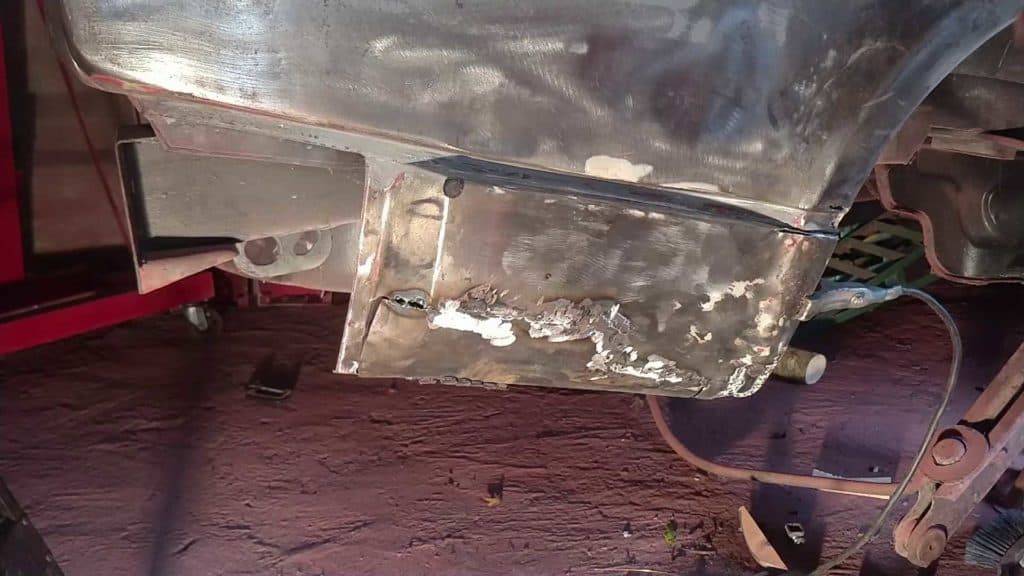
I then got it welded in place. I bought the wrong type of gas (I bought pure argon), but thought I could get away with it. That turned out to be a mistake, and I had a hard time with the welding. But I persevered and after a lot of grinding, I ended up with a passable patch.
The welding wasn’t great… But came out okay after some grinding and finishing.
Prepping the Car for Epoxy Primer
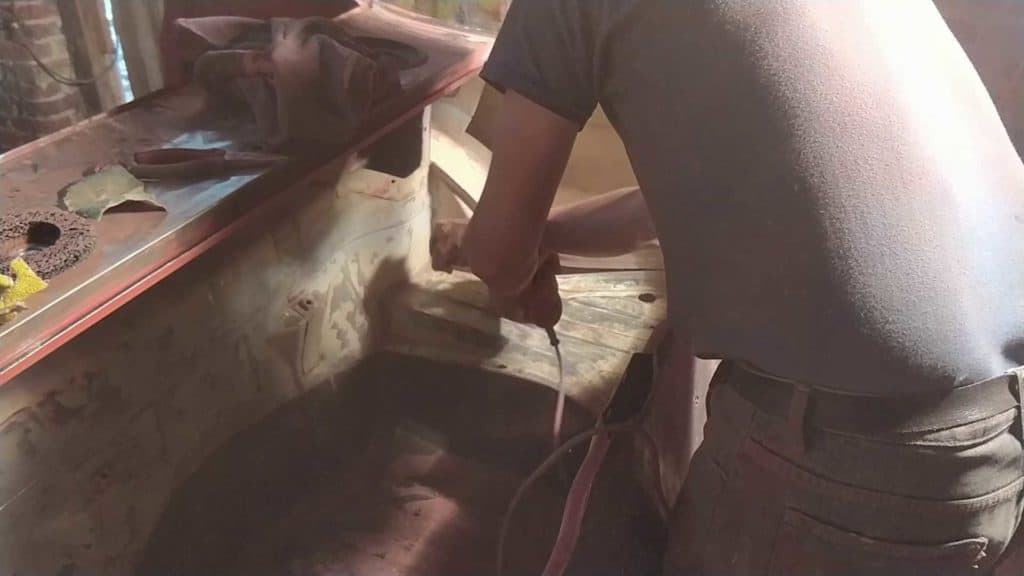
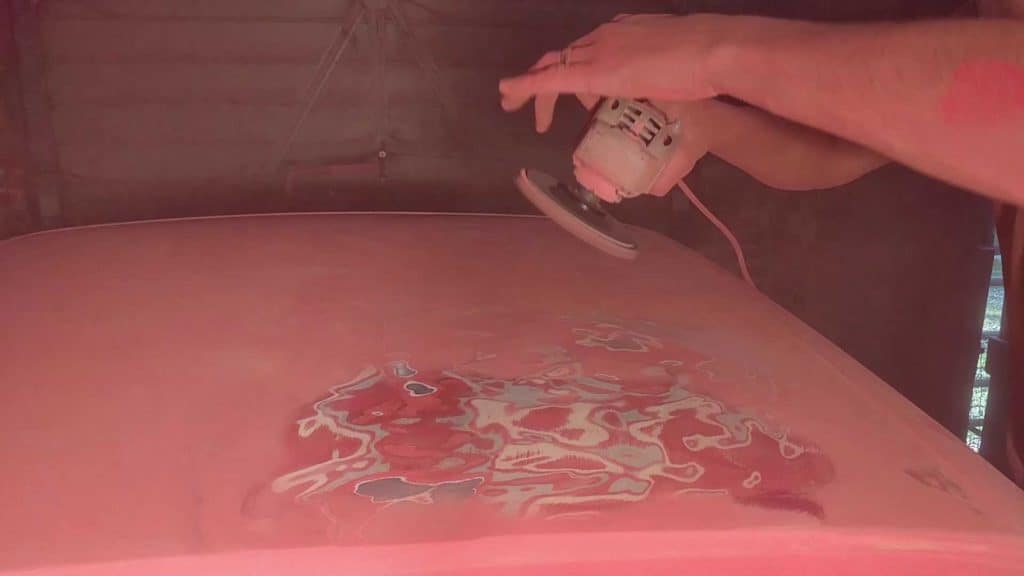
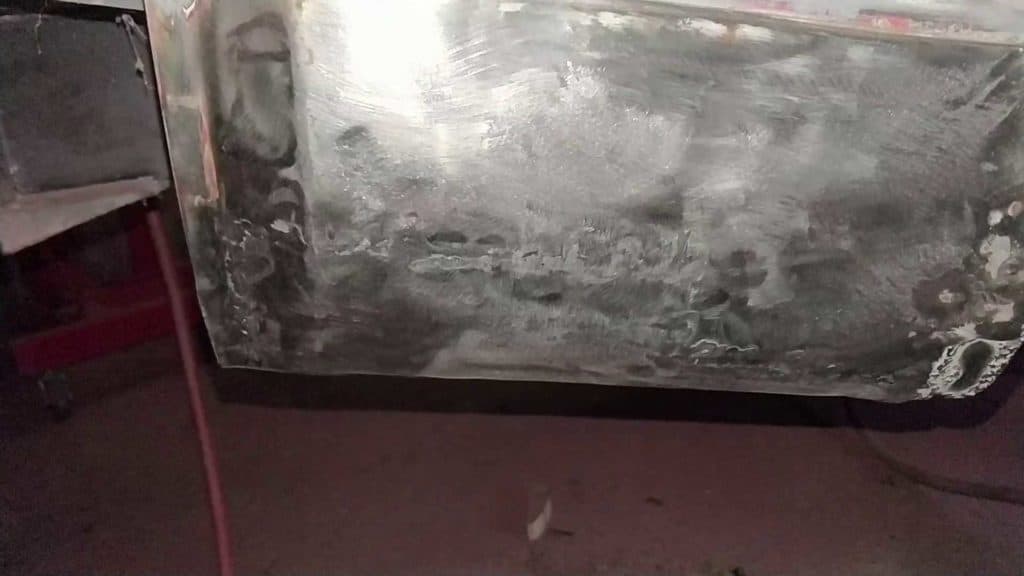
With the final repairs done – the major ones, at least – it was time to get the TR7 prepared for the epoxy primer. The first job was to get some of the areas that I’d painted with POR 15 ready. That apparently needs a special tie coat primer, so I sprayed those areas first, before going over the whole car with a DA sander to finish up and get rid of all the little bits of paint I’d missed the first time around.
I went over the whole car with a DA sander… 
To leave everything clean, shiny and ready to paint.


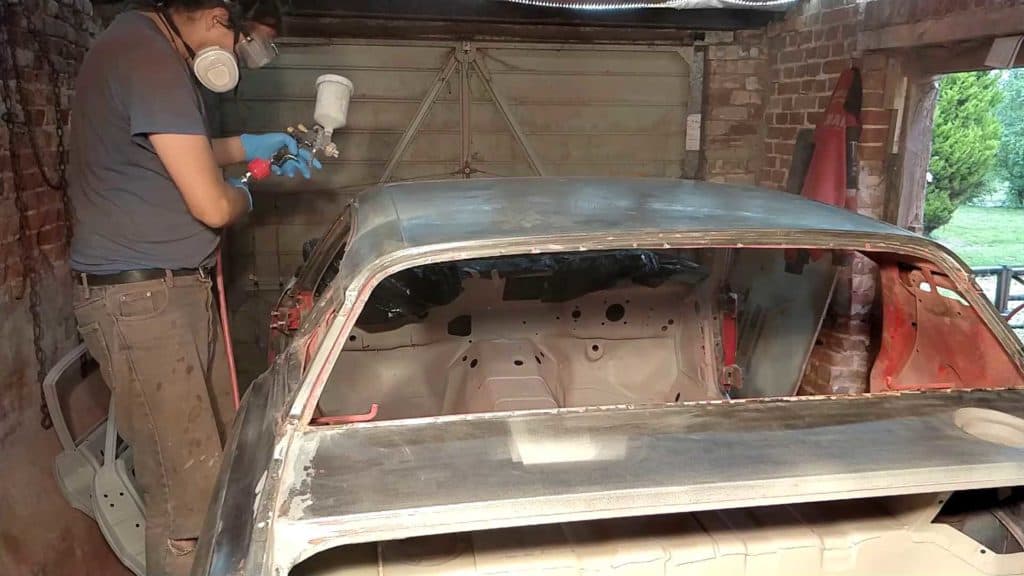
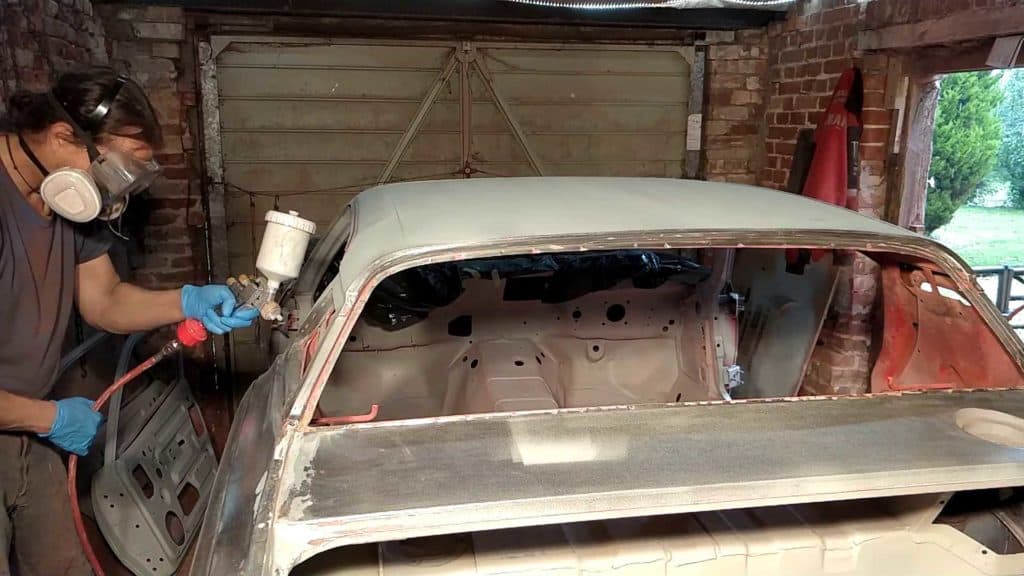
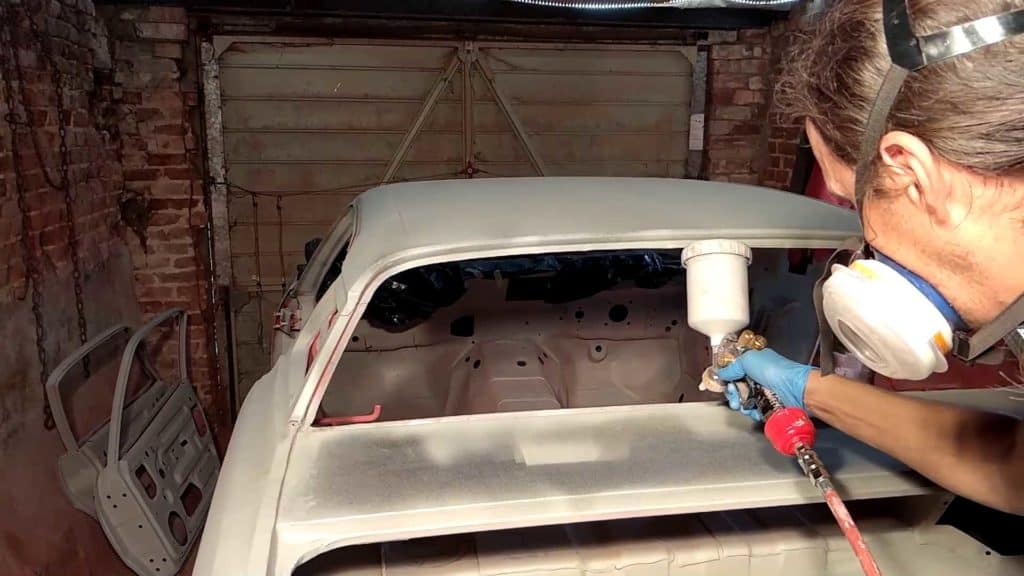
Spraying the TR7 with Epoxy Primer
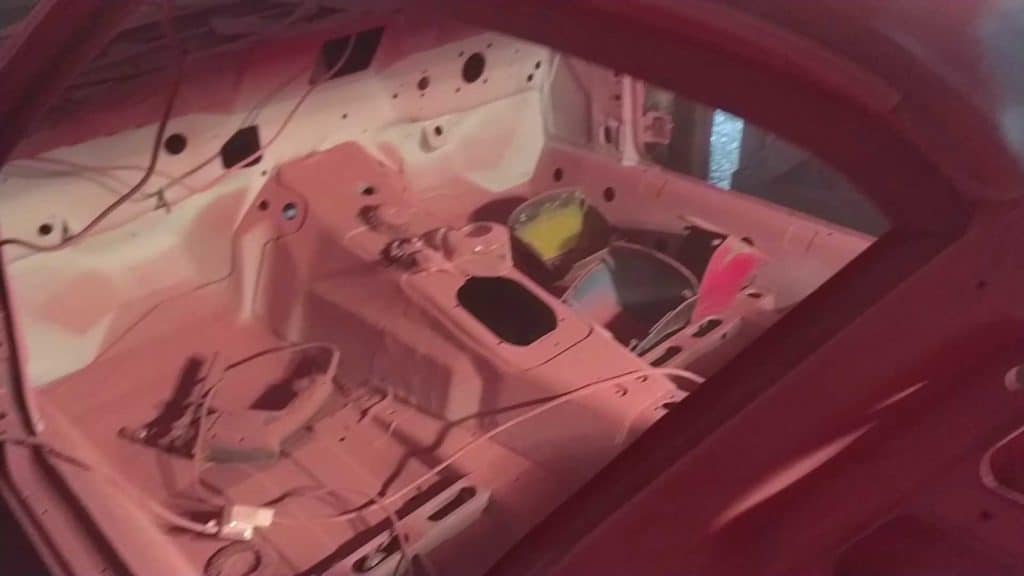
With everything sanded down, cleaned and thoroughly degreased, it was finally time to lay down the epoxy primer. There’s not a lot of room in the garage, but there’s just enough to get around the car without brushing up against it, as long as I was careful.
The End Result
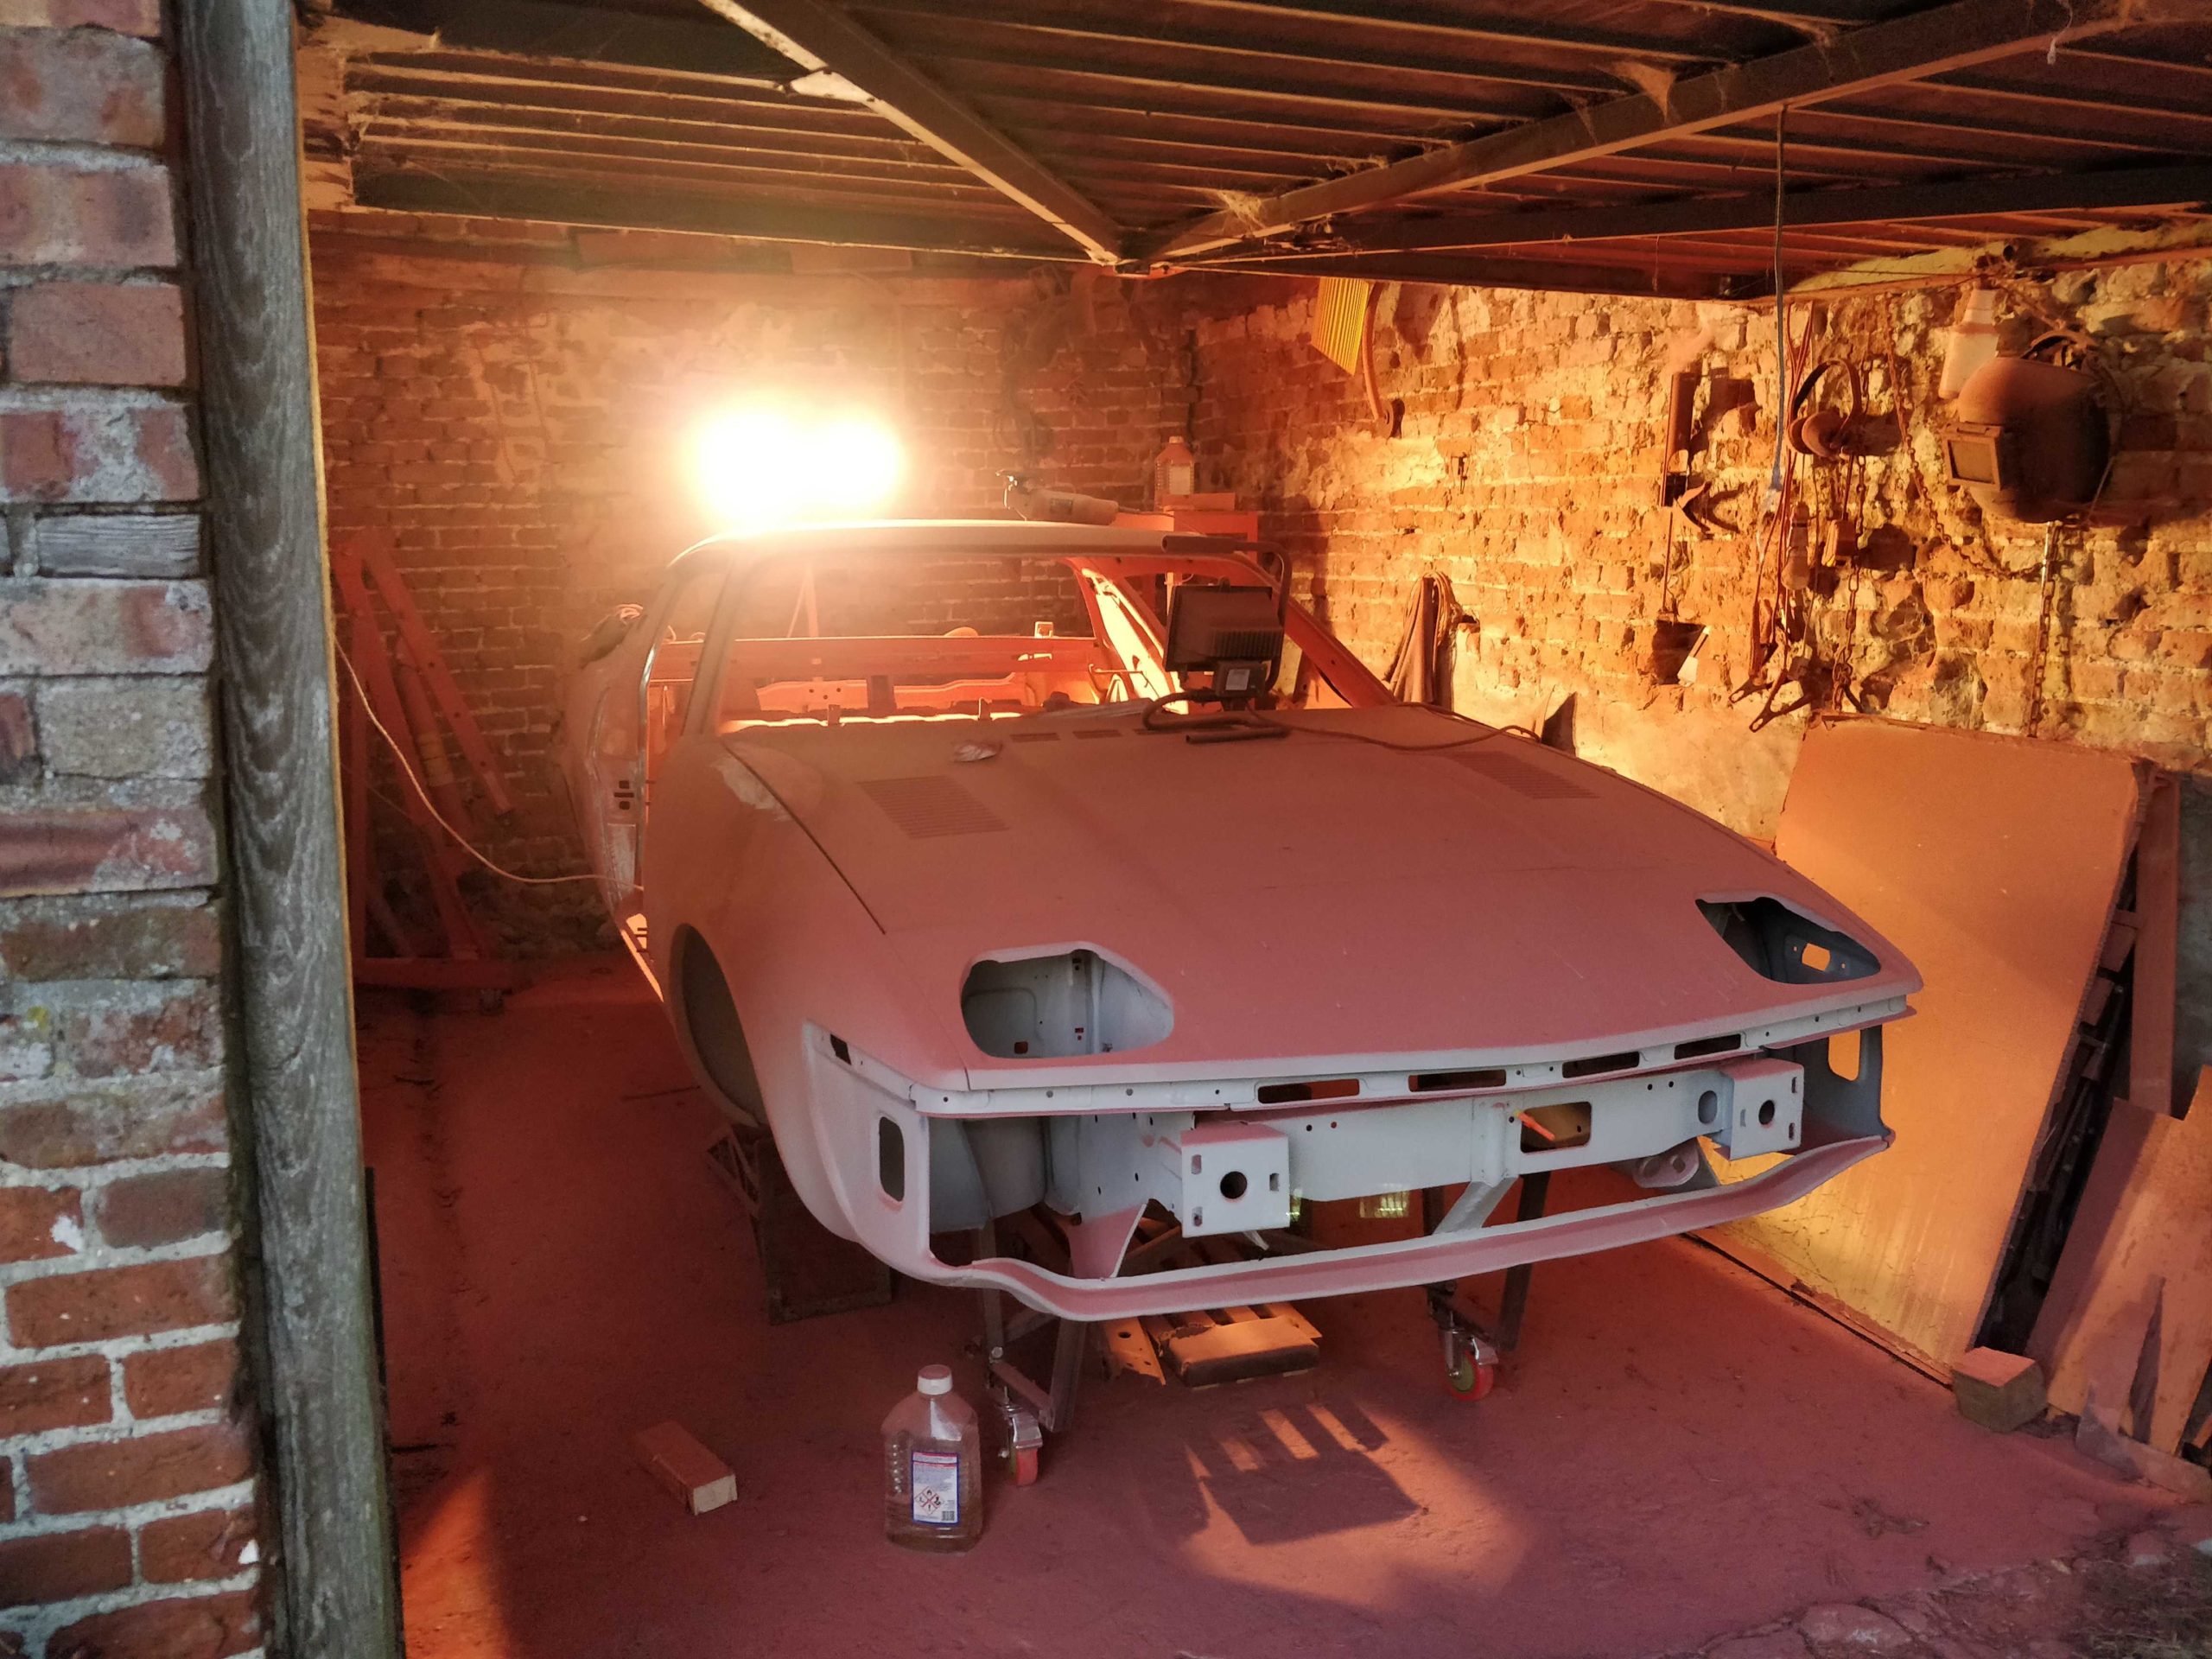
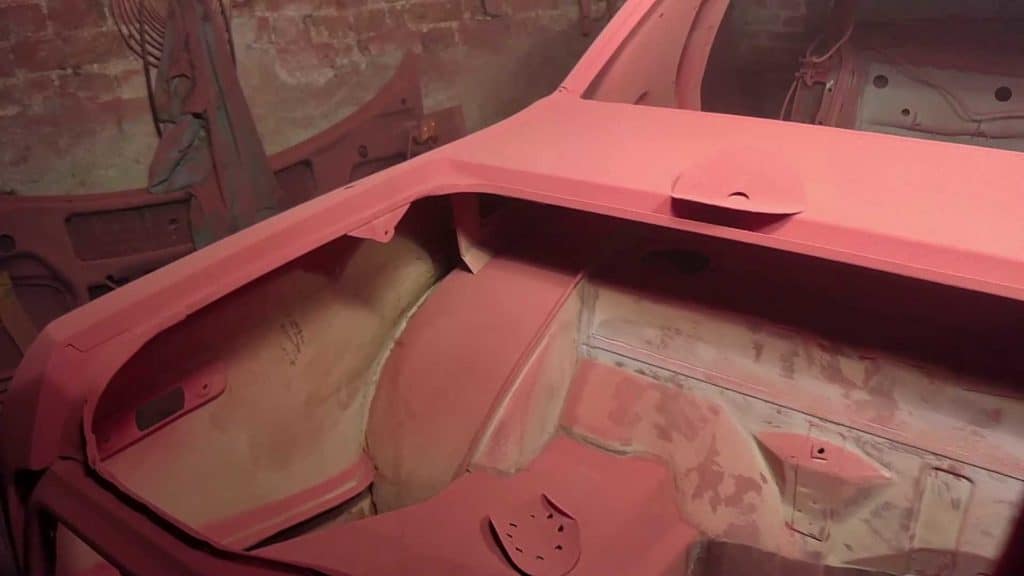
After letting everything dry for a day or two, I put the body panels back on the car and gave her an inspection. It’s mostly just a lot of minor dings and bits that need taking care of; but now the car is primed I don’t have to worry about her going rusty again at least!
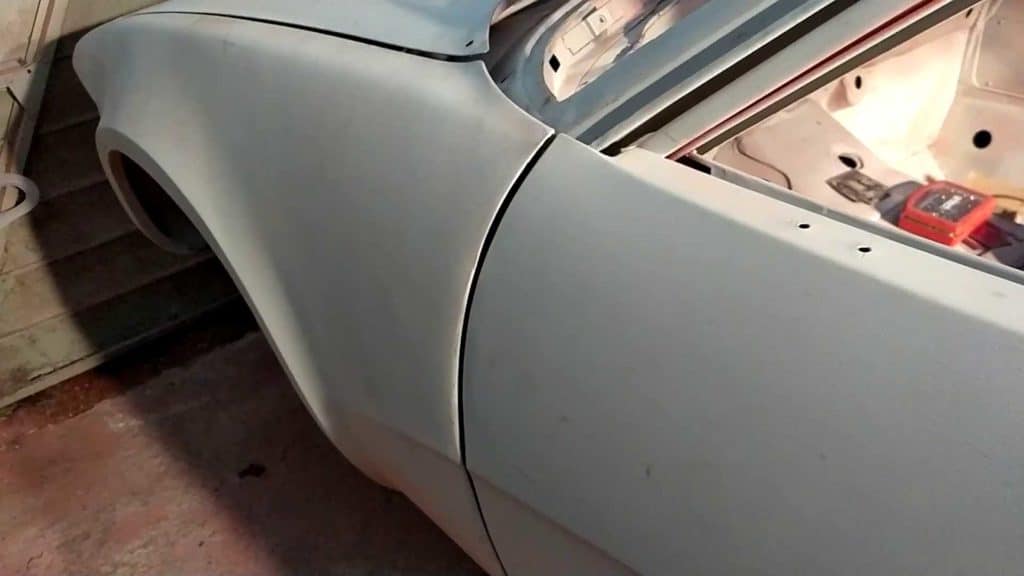
The biggest issue I spotted was the nearside wing; I clearly didn’t do a great job welding it on before and it stuck out at the back a couple of mm too much. So I’m going to need to rework that and fit it properly. Other than that, it’s all fairly small stuff!
This wing needs refitting. But it’s good to see her in one colour again. Even if that colour is grey!
The Video!
This video’s another dirty and grotty one, but the end result is a clean car in a (reasonably) clean garage. Now I can concentrate on the bodywork in the next episode, and then it’ll be time for paint!
Enjoy!