So with the inner sill all fixed and shaped the previous day, the Sunday was all about fitting the panel.
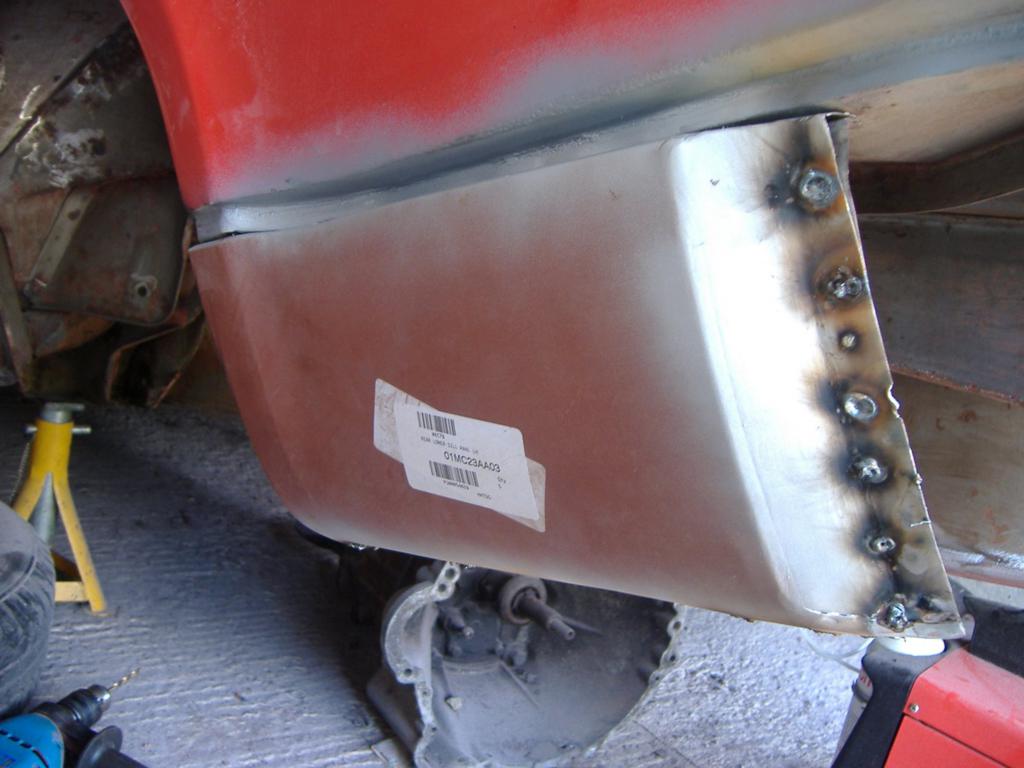
First test fit:

And after welding in place:
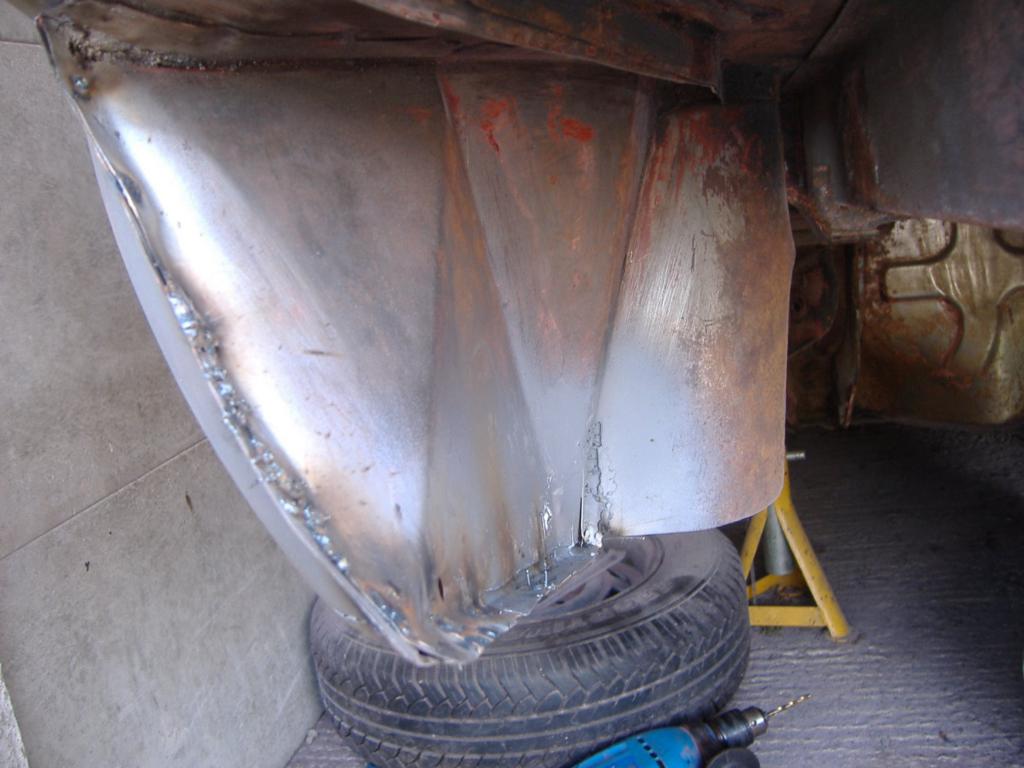
Note the neat, professional quality spot welds. 🙂
In spite of the mess, they’re strong as anything, that panel isn’t going anywhere.
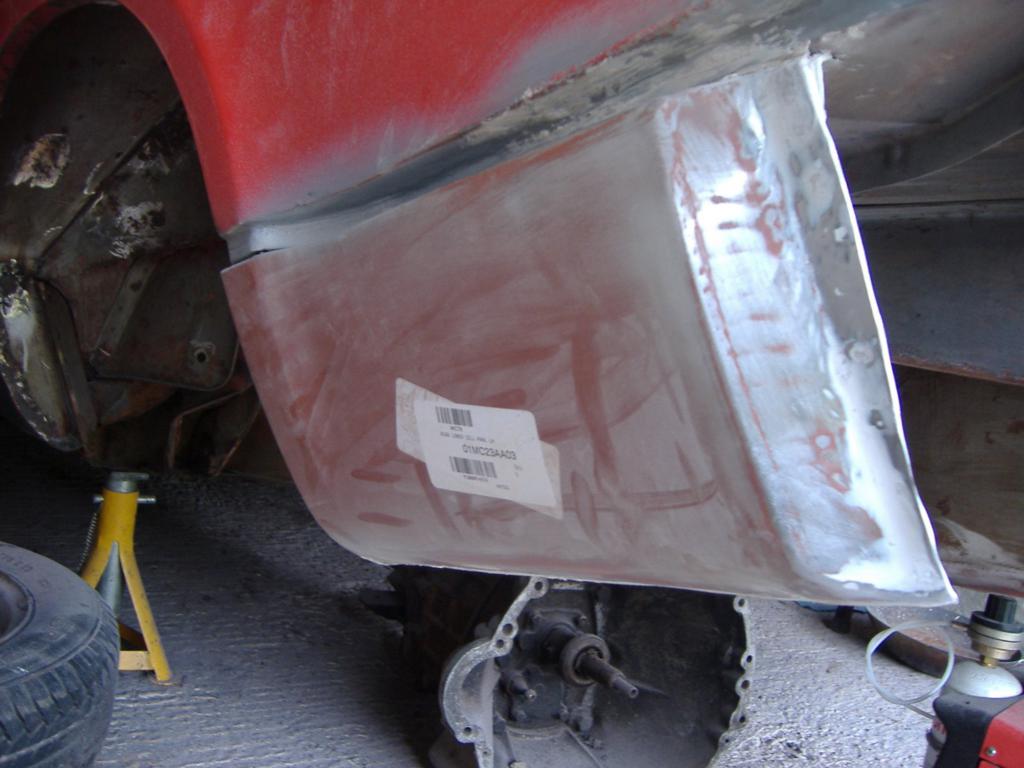
A bit of grinding and filling later:
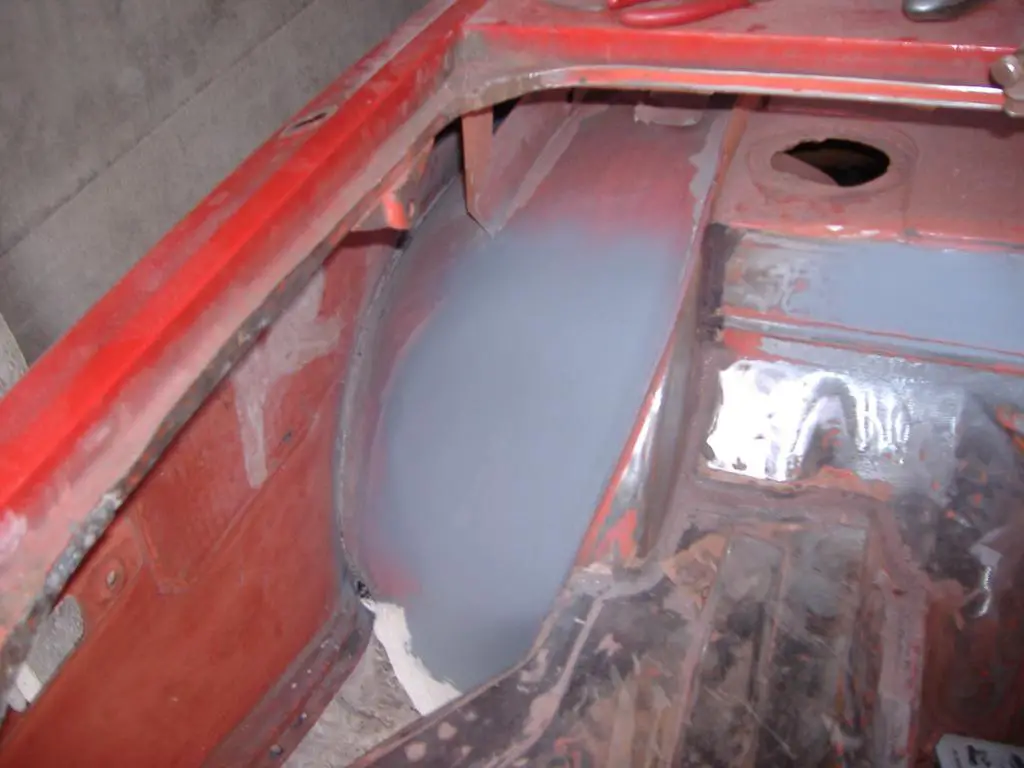
A spot of primer:
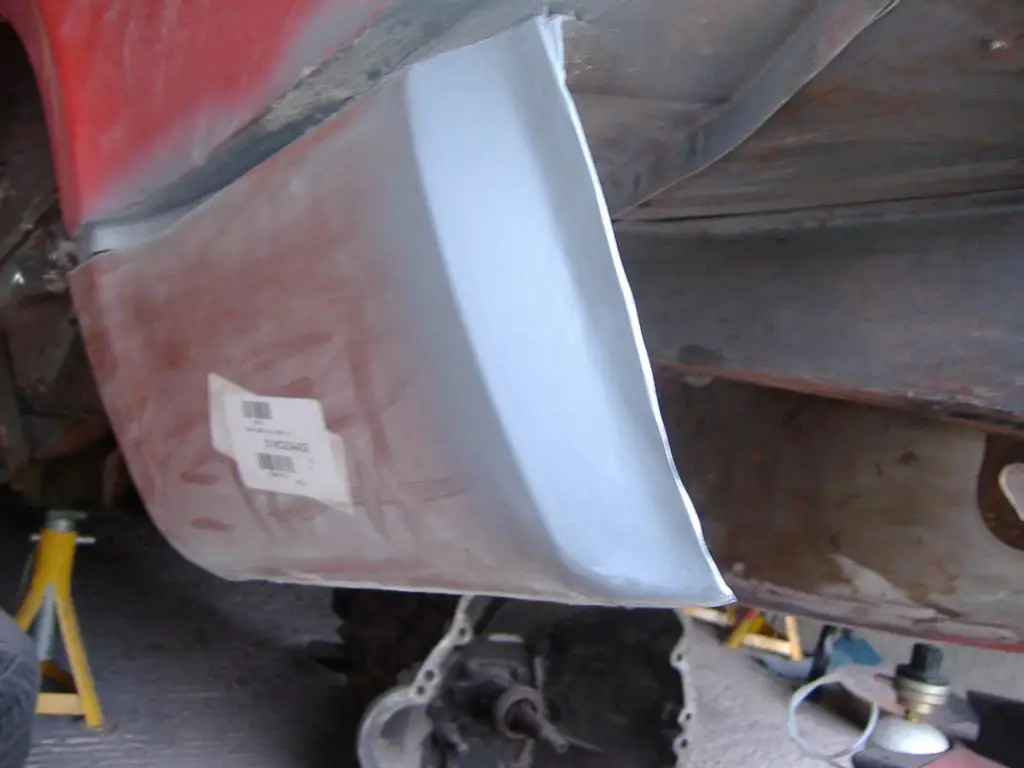
And I’m happy with that. It’s not perfect yet, but it’s close. Just needs a couple of spots filled, then the inner side and the wheelarch bit to do (which, bizarrely, I don’t have any photos of).
In the time between waiting for filler and primer to dry, I kept busy with a couple of other bits:-
The wheelarch (now finished, yay!):
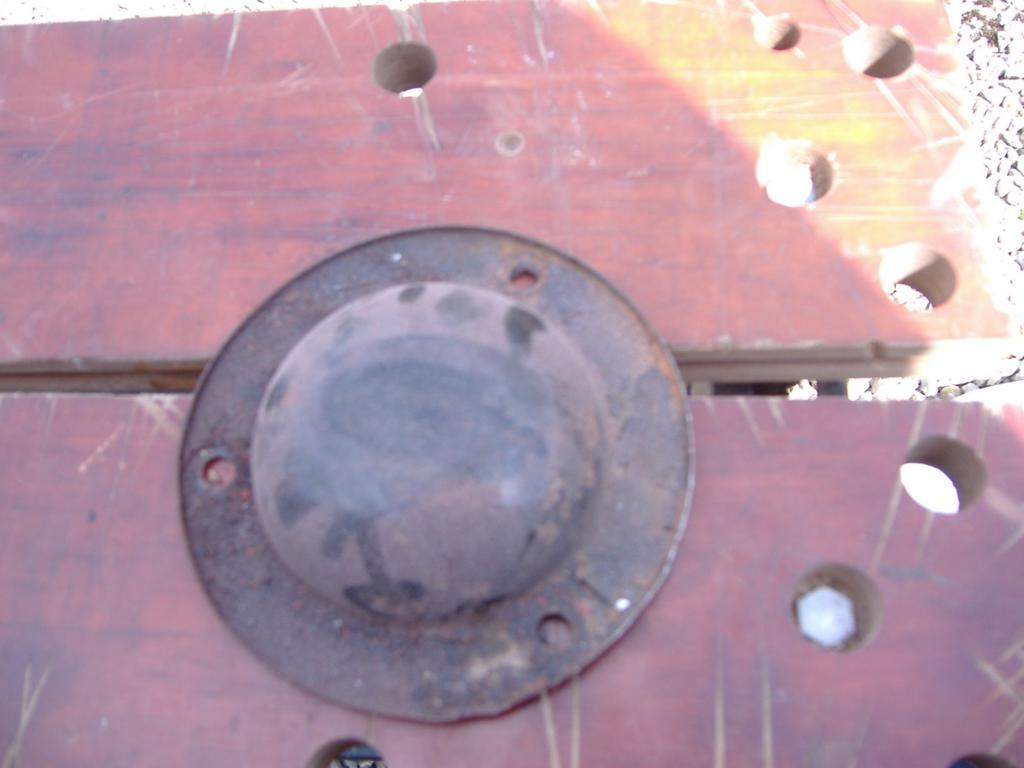
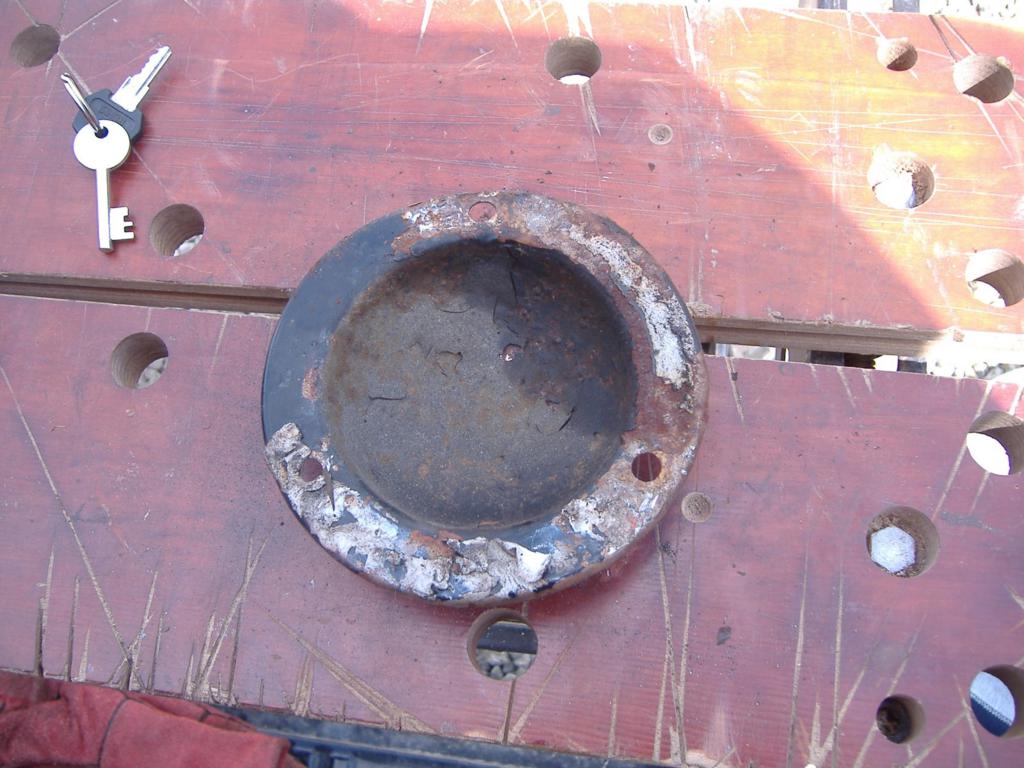
The cap for the top of the N/S damper mount:
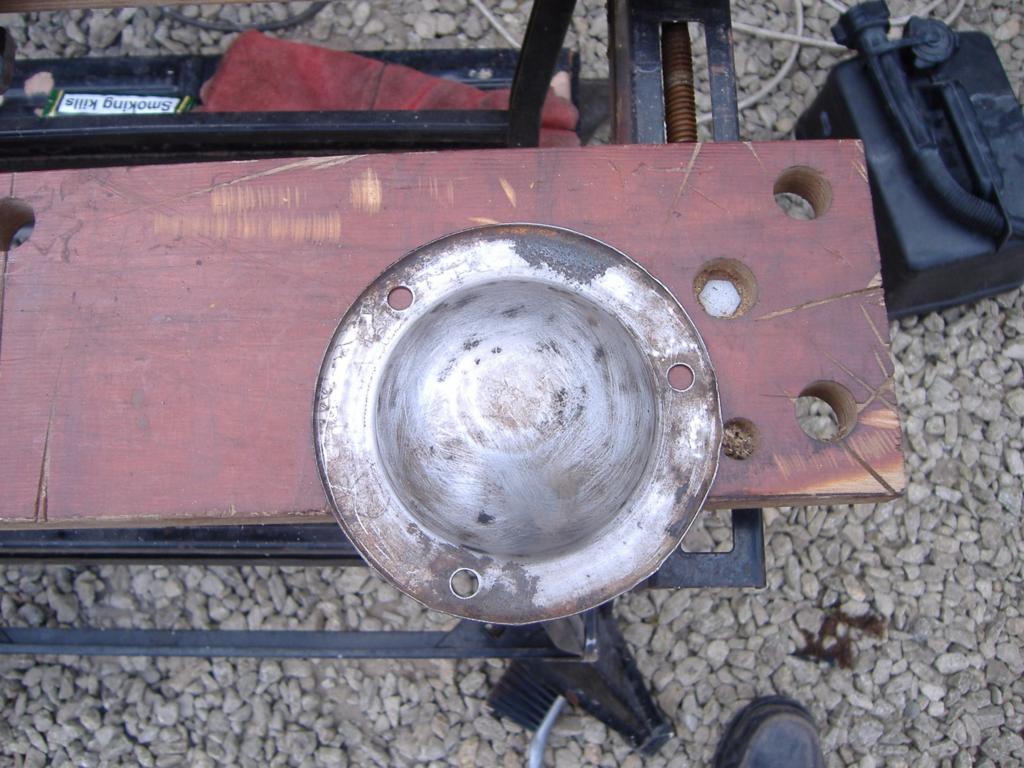
I like these little side jobs, they’re good for when the filling and grinding gets too much, but you don’t feel like you’re just sitting around doing nothing.
