So a while ago, I bought a new engine for the TR7 off of eBay. At just £40, it seemed like a massive bargain. Unfortunately, it didn’t run. While it seemed in great condition and it turned over freely, it had little to no compression. At the end of the last video/blog I’d given up trying to get it running and had decided to take off the head and see what was going on.
So Why Not Do Some More Diagnostics?
A good question. While I checked all the settings – cam timing, ignition timing, valve clearances etc – there was more I could have done I was tempted to buy a leakdown tester and track down exactly where I was losing compression. I could also have tried adding oil to the cylinders and leaving it for a while, on the off chance that it was just stuck piston rings.
But ultimately, I figured unless all the rings were stuck (unlikely for them *all* to be stuck in such a way to affect compression so badly), whatever was wrong would involve taking the cylinder head off anyway. A head gasket failure was my best bet, and that would certainly need the head removed. Stuck valves really need to be dealt with with the head removed. If the engine had overheated (not an uncommon thing with these engines) and the head warped, well, I’d need to take the head off to deal with that anyway.
So why mess about? Stripping the ancillaries off at this point was about thirty minutes work, and after that it was just ten head bolts. Or more precisely, five bolts and five studs. Not a big deal, right?
Unfortunately, it *was* a big deal. A really big deal. Read on to find out why!
Step 1: Getting Started!
Now, I’d heard some horror stories before about the studs getting seized in the block. It’s an aluminium head and steel bolts, which is a bad mix; the different metals causes galvanic corrosion, which means the studs get rusty and seize up in the head. They’re a close fit to begin with, so it doesn’t take a lot of rust for them to get stuck in there.
But I wasn’t too worried.
Most people having problems with this were trying to deal with the engine still in the car, perhaps trying to do the job over a weekend out on the driveway. I had the luxury of time as well as the engine on a stand with all the access I needed. So I could afford to take things slow and easy. If it took a couple of weeks, so be it.

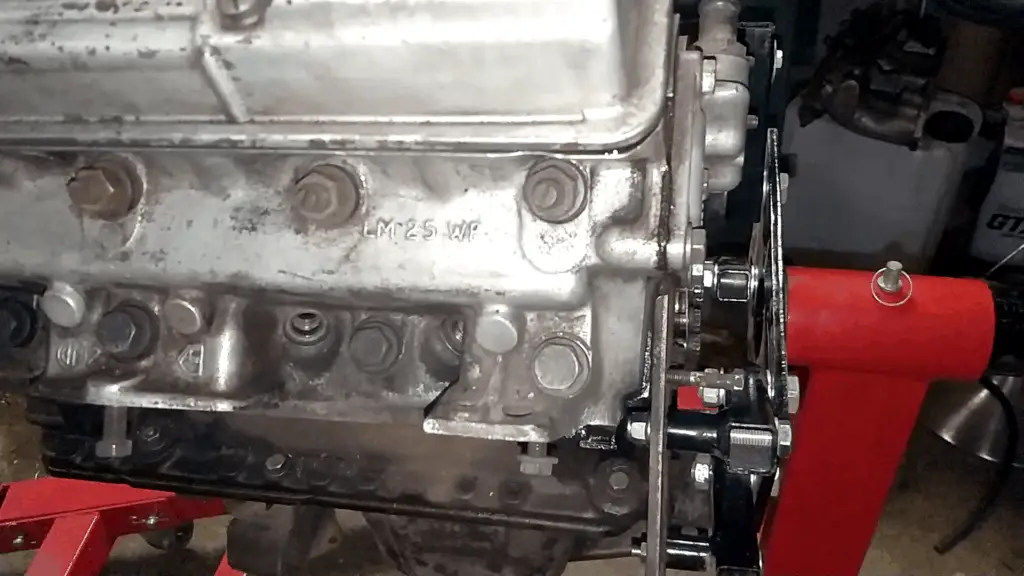
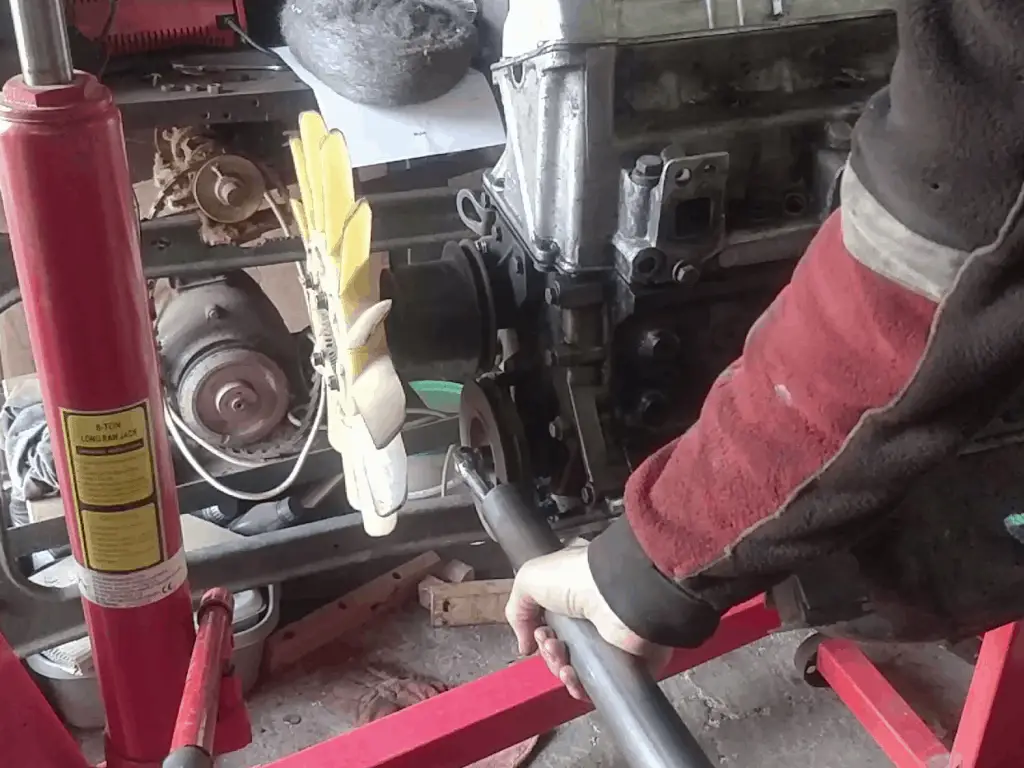
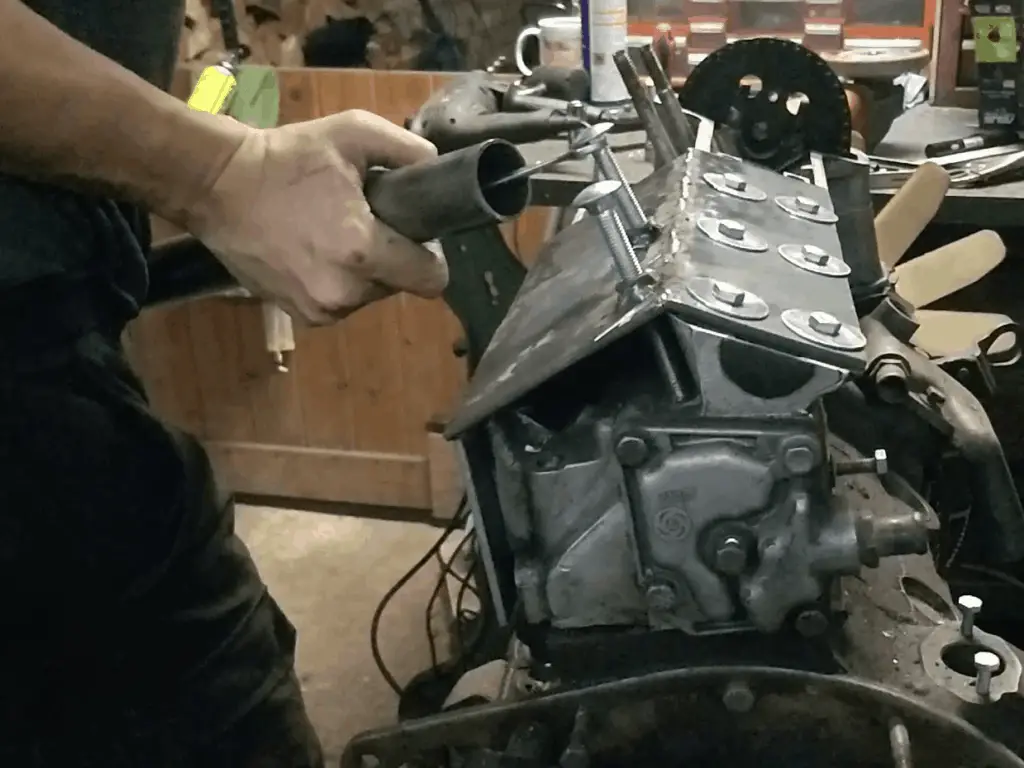
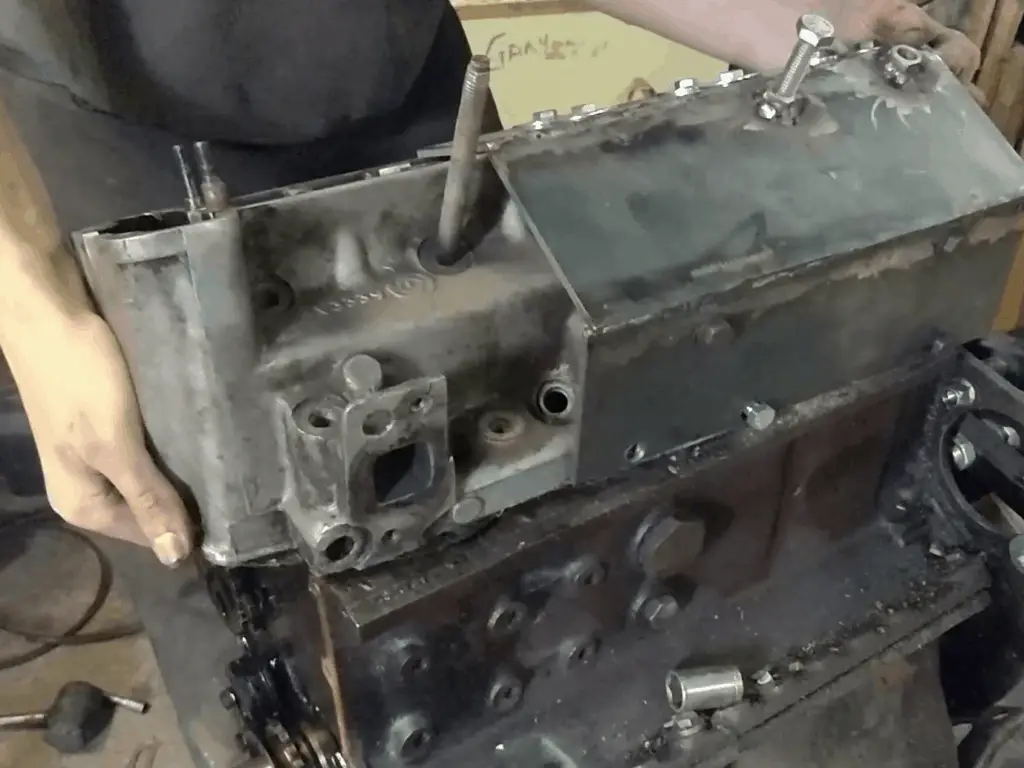
The battle begins: Engine back on the stand, ready to start taking the head off. One bolt out already. So far, so good.
I started with the bolts; these actually came out really easy. Almost too easy. Like someone had been here before?
No matter though. On to the studs.
Predictably, the studs didn’t want to move at all. I got the nuts off easily enough, but the studs didn’t want to unscrew, and neither did the head want to lift off the studs. Not ideal, but I’d been expecting a bit of a struggle here!
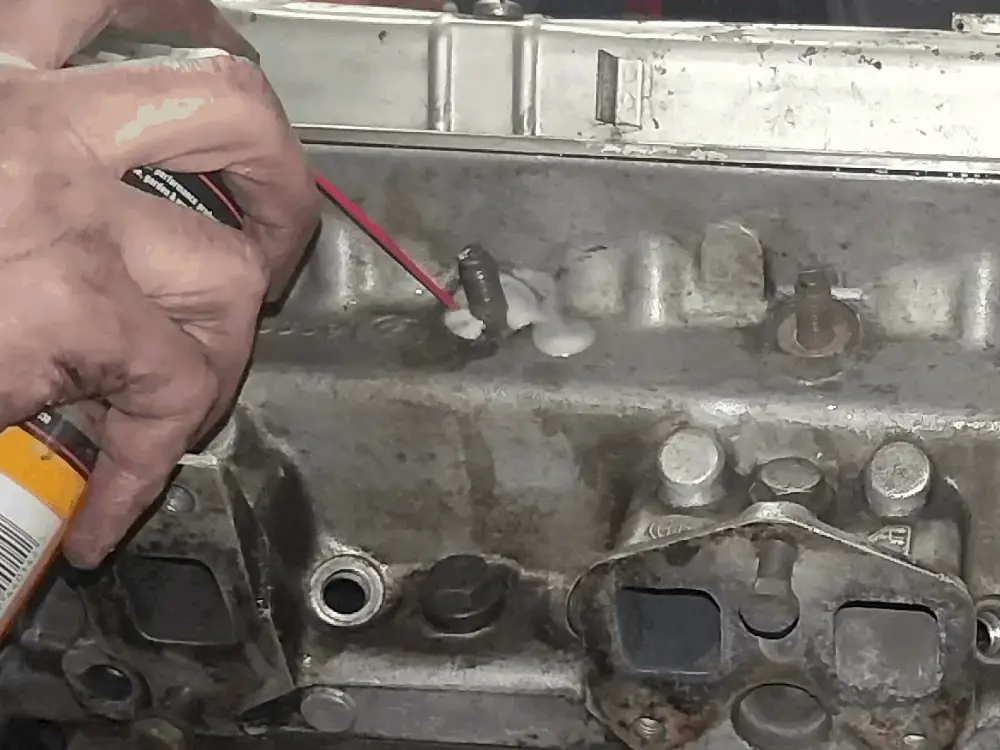
As I wasn’t in a hurry to get this done, rather than fighting the studs, I soaked them with penetrating oil and gave them some time. Over the next few days, I’d go out to the workshop a couple of times a day and try to unscrew the studs. If that didn’t work, then I’d spray more oil. Rinse and repeat.

Attempting to undo the studs using the ‘double nut’ method. 
When that didn’t work, I sprayed the studs with penetrating oil.
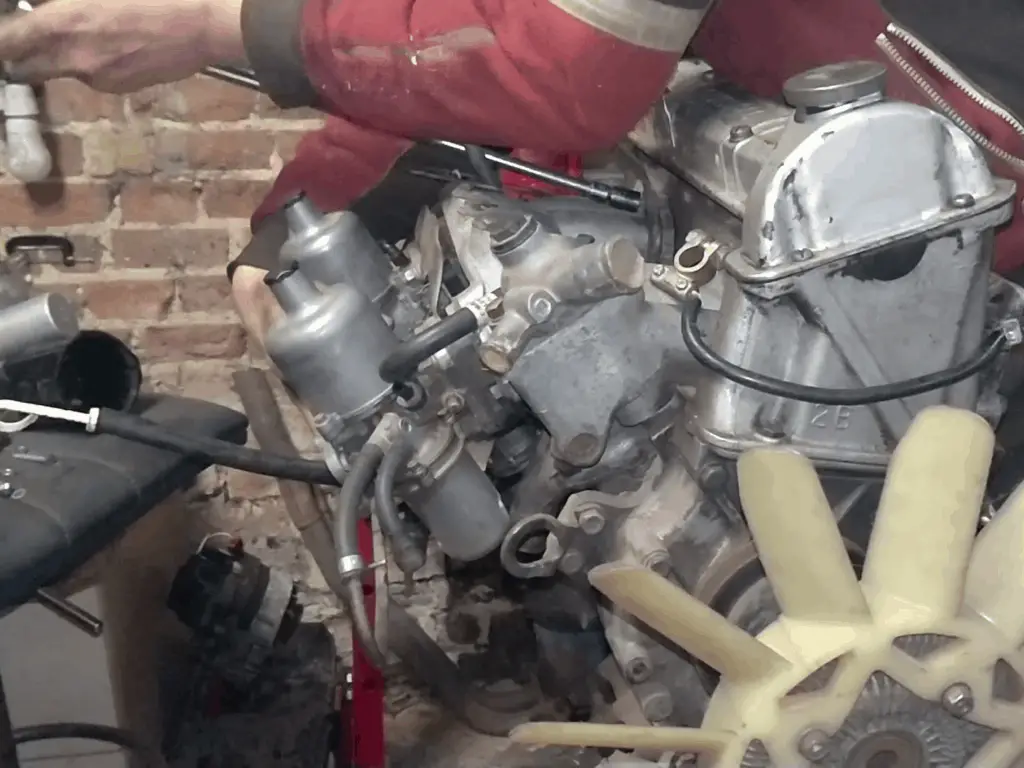
While that was soaking in, I stripped all the ancillaries off the engine. It all needed to come off anyway.
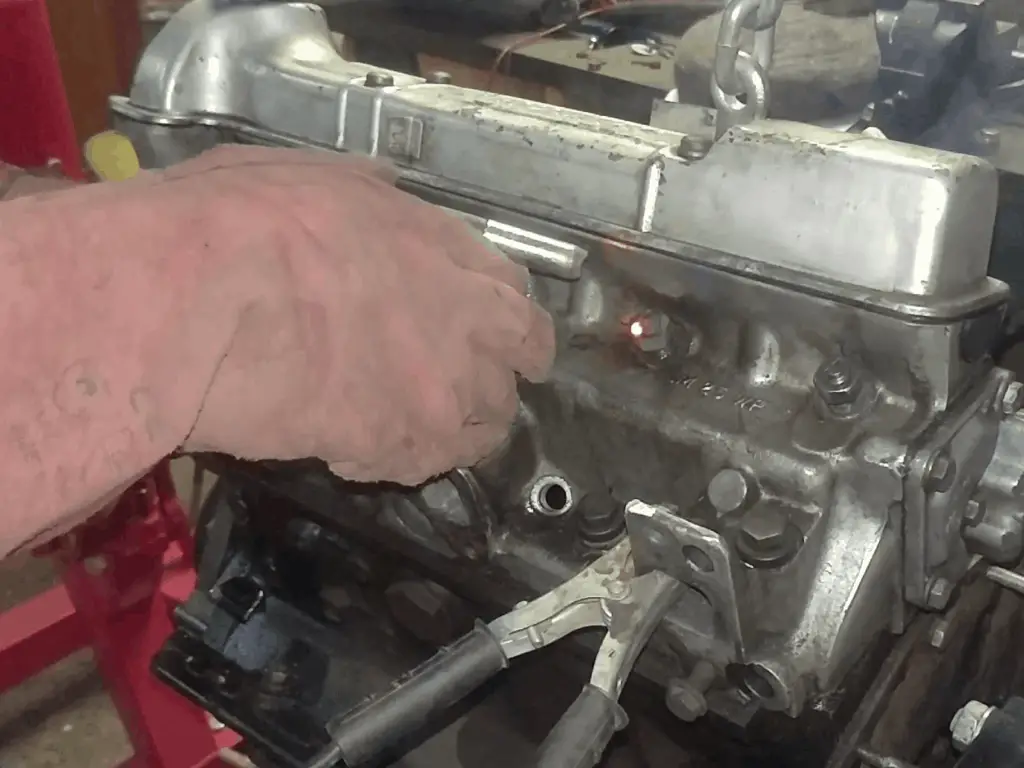
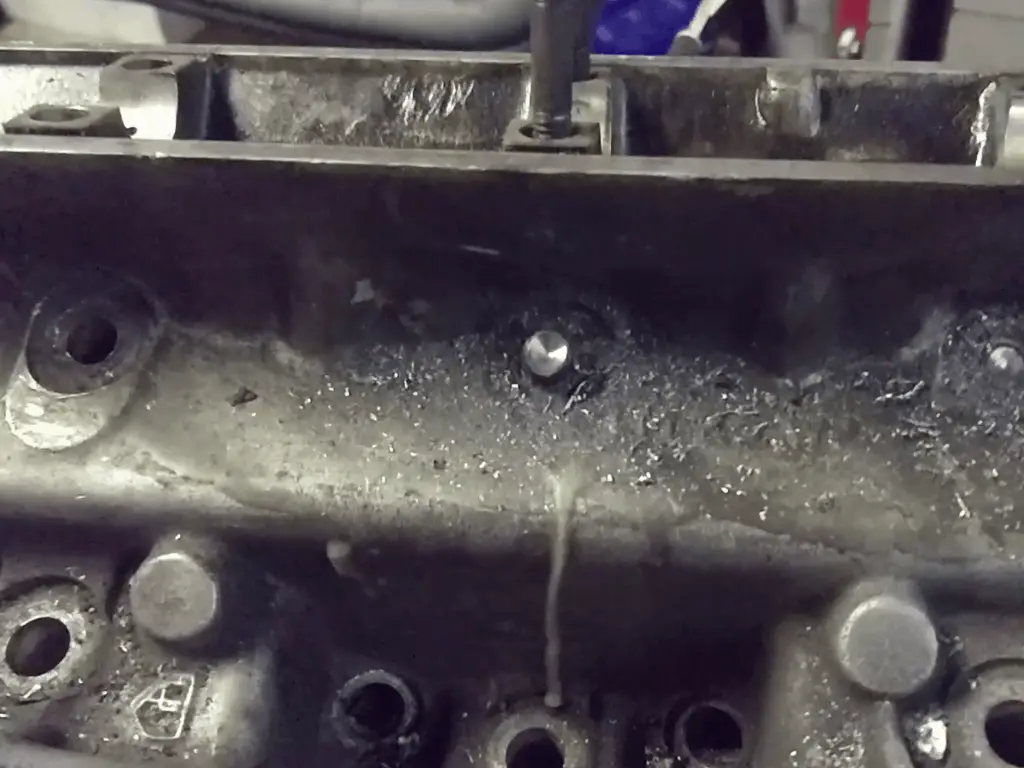
That’s when I got another hint that all was not as it appeared: The water pump was missing! I thought I’d just pull the pump cover off to see what sort of a state the pump was in, only to find myself staring at an empty hole where the water pump should be. That was a blow; those things cost about £270 to replace!
Taking the inlet manifold and carbs off. Again. There’s supposed to be a water pump in this hole. There isn’t.
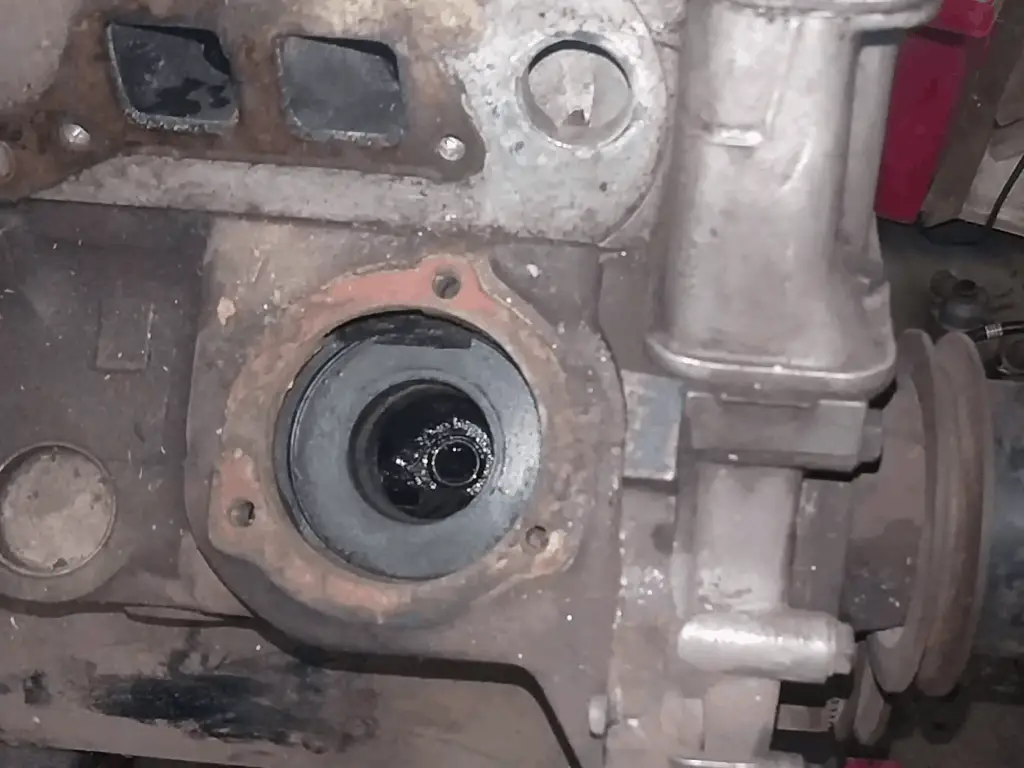
Still, the hole where it was supposed to be looked in good shape. So there’s that, I guess.
Progress at Last!
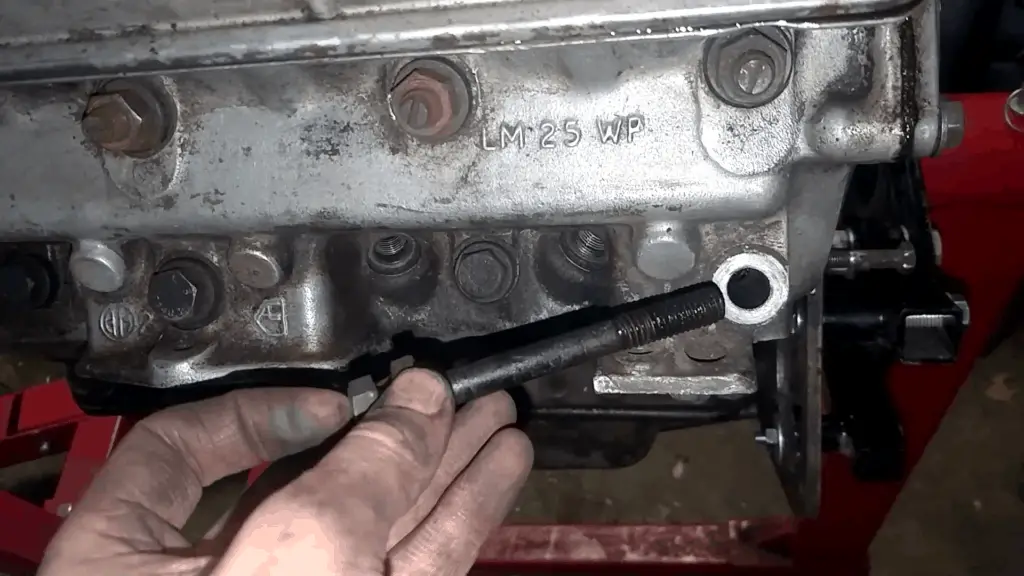
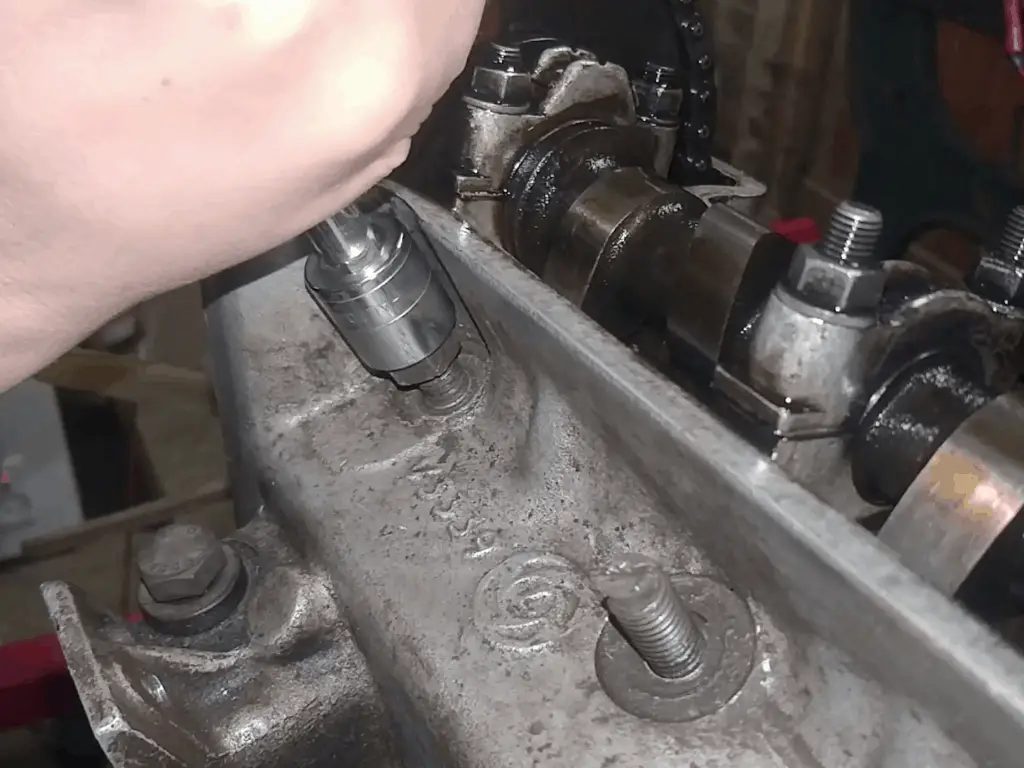
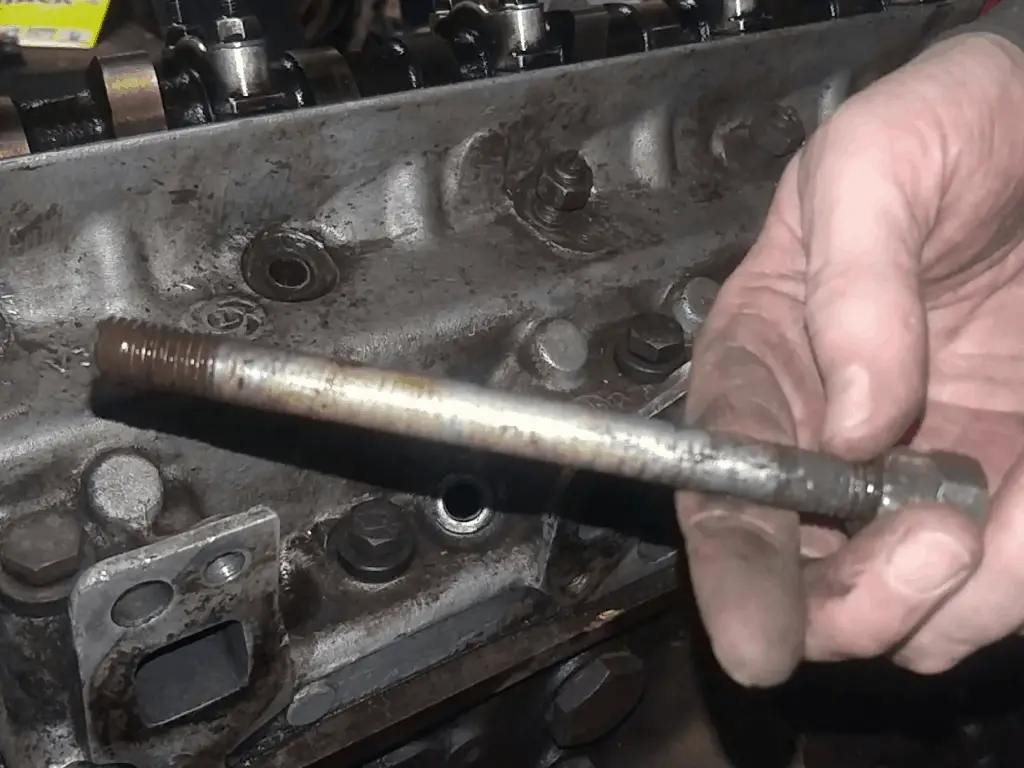
The first stud finally broke free after a month or so – way longer than I’d hoped, but better late than never. With a lot of tortured squealing, I slowly managed to back the stud out of the head. Finally I was getting somewhere!
The number two stud came a week or so after, then the number three stud.
Not pictured: The awful squealing noise this made as I was unscrewing it. Pictured: Victory. After all the fighting, I was expecting the stud to be rustier than this though.
Step 2: Breaking Out the Welder
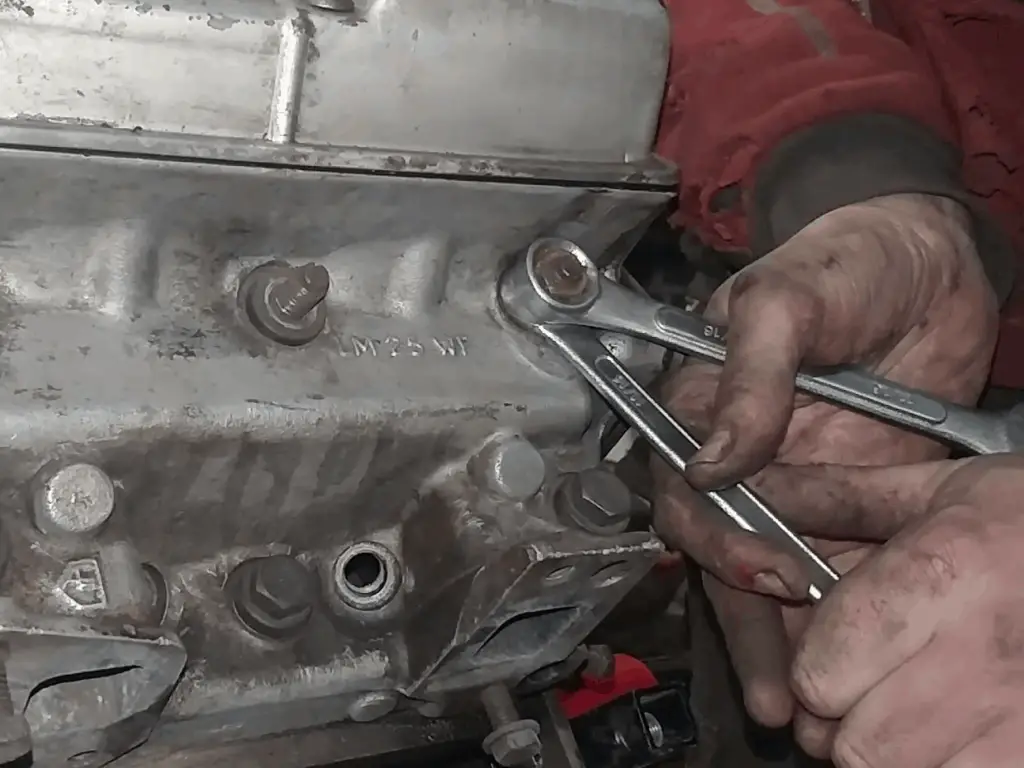
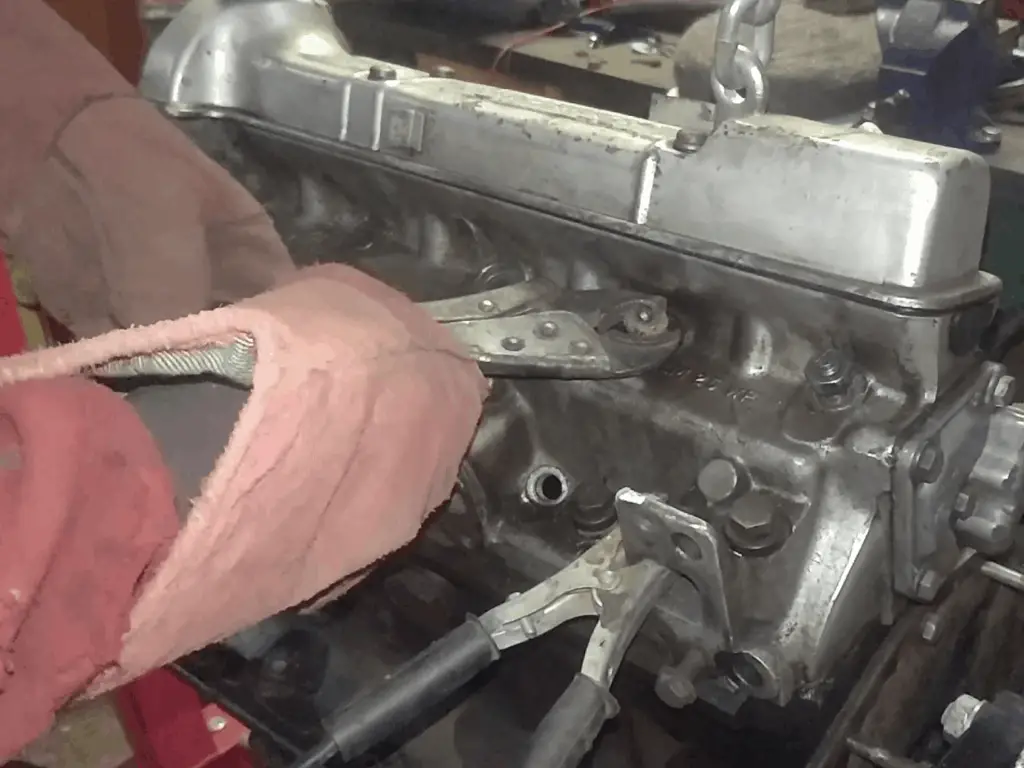
I’d like to say studs four and five came out shortly after that; indeed that’s what i was expecting. But it wasn’t to be. No matter what i tried, I couldn’t shift them. After the double nut method failed me (breaking a spanner in the process; never let it be said I didn’t put enough force on to the studs!), it was time to resort to more extreme measures.
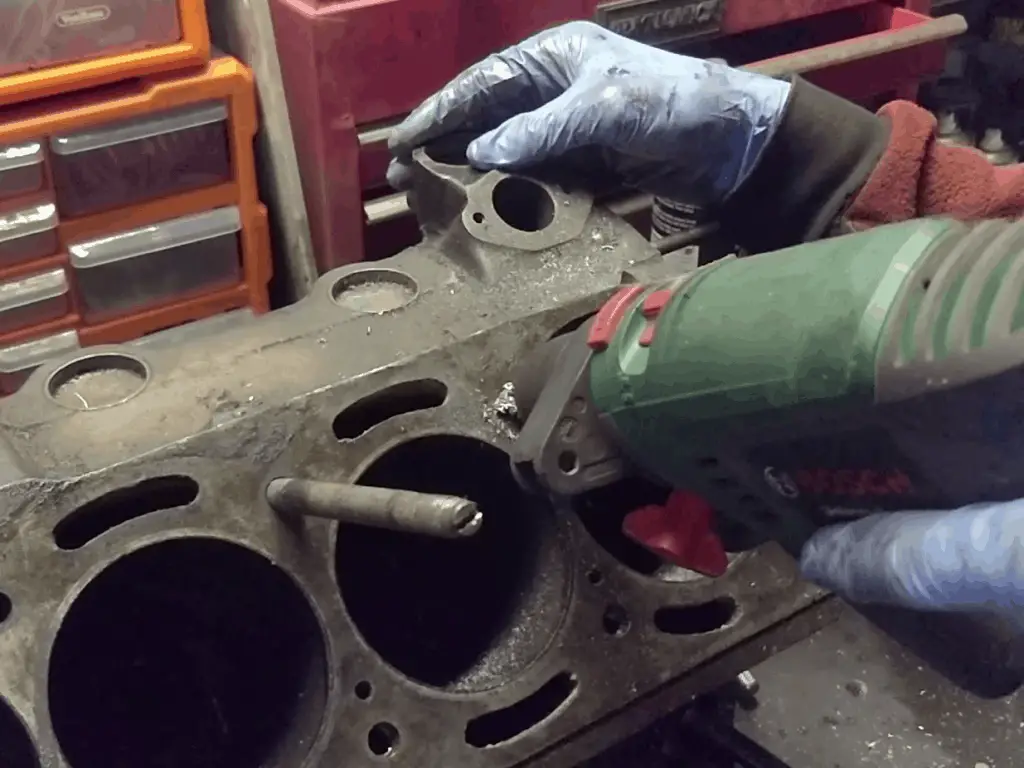
The first attempt was welding the nut to the stud. This should have two effects: Firstly, it should give a better grip on the stud and allow more leverage, and (perhaps more importantly) the heat from the welding should break the rust and free the stud. That’s the theory, at least.
Unfortunately, it didn’t work. I tried multiple times, and all I managed to do was to shear the top of number four stud right off, flush to the head! ?
Welding a nut on to the stud… … and trying to unscrew it. Unsuccessfully.
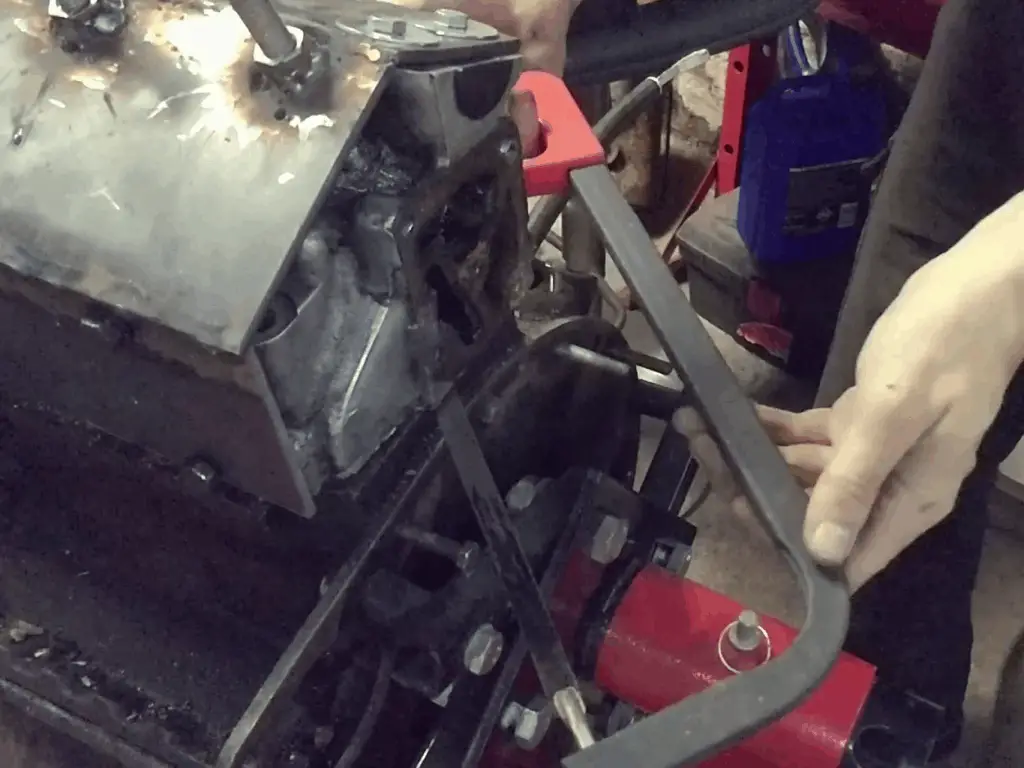
Step 3: The Rope Trick
I’ve seen this done before, and always wanted to give it a go. Well, this was my chance.
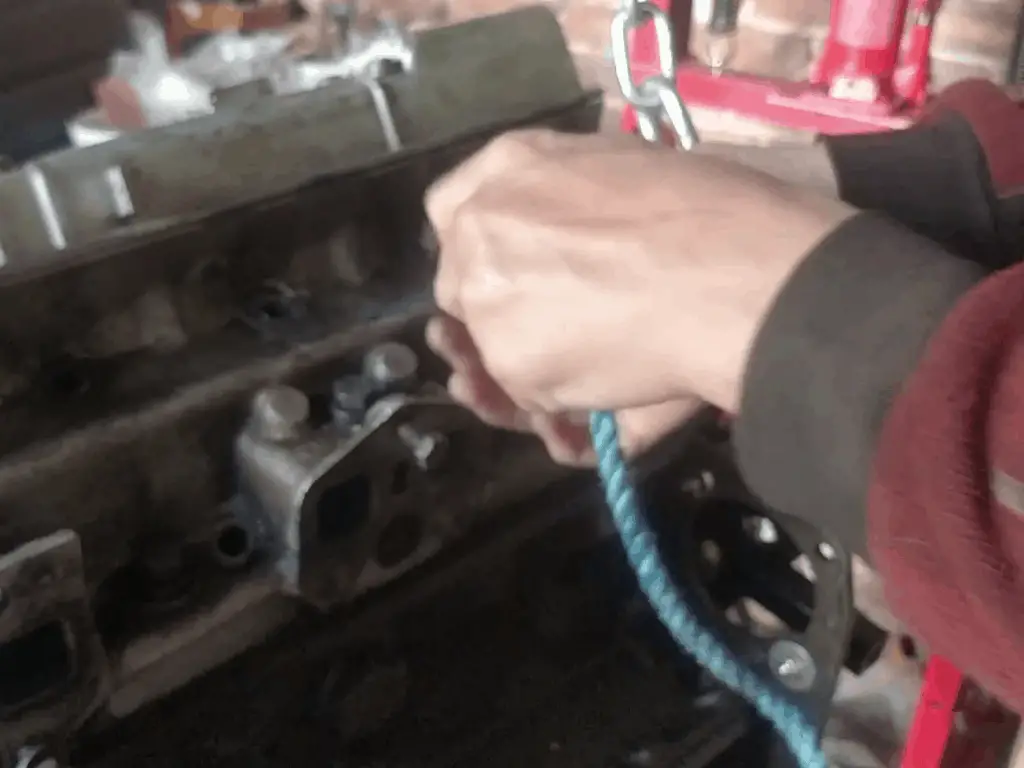
The idea behind this is that you move a piston to BDC (bottom dead centre), feed in a length of rope and then turn the engine over. The force of the piston pushing the rope against the head should, in theory, force the head off the studs.
It didn’t work.
Sensing a theme here? Yeah, I was getting pretty frustrated by this point.
I fed the rope in and turned the engine over by hand, with a breaker bar on the crank pulley. It didn’t shift the head at all. I tried a scaffold pole cheater bar on the end of the breaker bar and gave it all I could, but it still shifted nothing. In the end I had to stop for fear of just breaking something.
Feeding the rope into the cylinder… And trying to turn the engine over to force the head off the studs. It didn’t work.
Step 4: Head Honcho
After the rope trick failed, it was time to get serious.
The TWOA has a tool they developed called the Head Honcho. It’s an impressive bit of kit that clamps on to the head and forces it off the studs by screwing down directly from them. They hire it out and I’d have jumped at the chance to hire it – but unfortunately they only ship it to the mainland US. Over here on the other side of the pond, there’s no such option. So I decided to make my own!
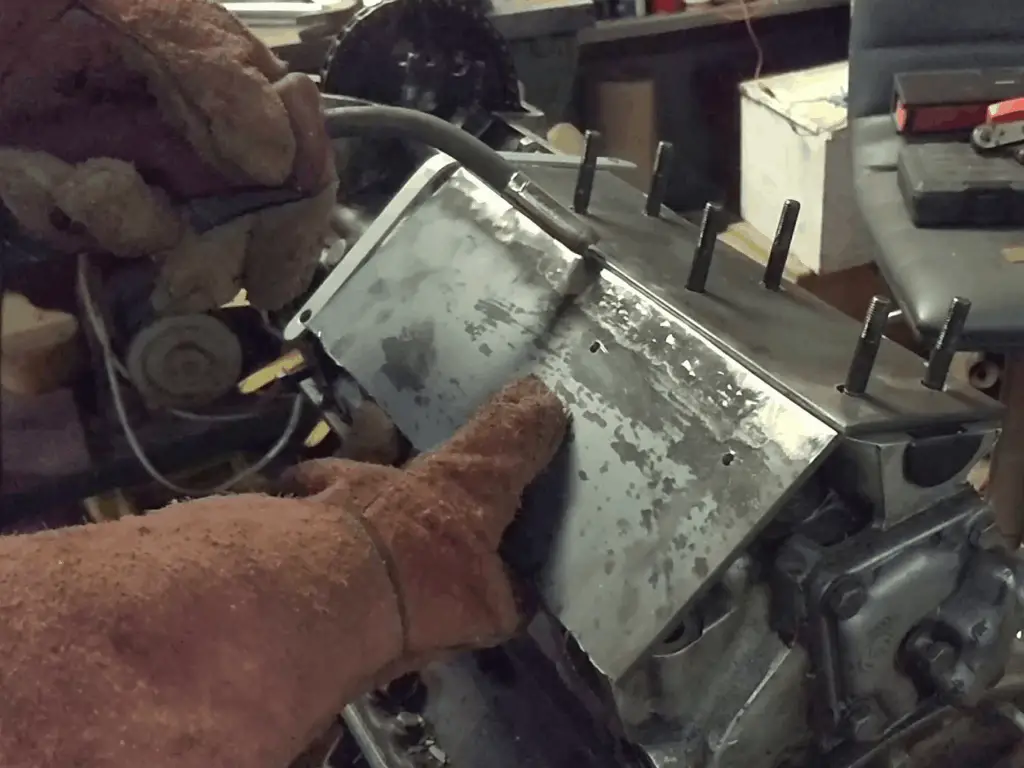
The version I made wasn’t as fancy as theirs or as fully featured – but that was fine, it was only meant to be used for this one job! After a lot of careful measuring and calculation, I made up a cardboard template that seemed to do the trick. Then I made it up with 3mm thick steel plate. The end result was certainly rough looking, but immensely strong and (hopefully) capable of doing the job.
Making a cardboard template… And transferring it to steel. Welding it all together The bolt at the top screws in, forcing the stud down and the head up. Bolting it in place on the head.
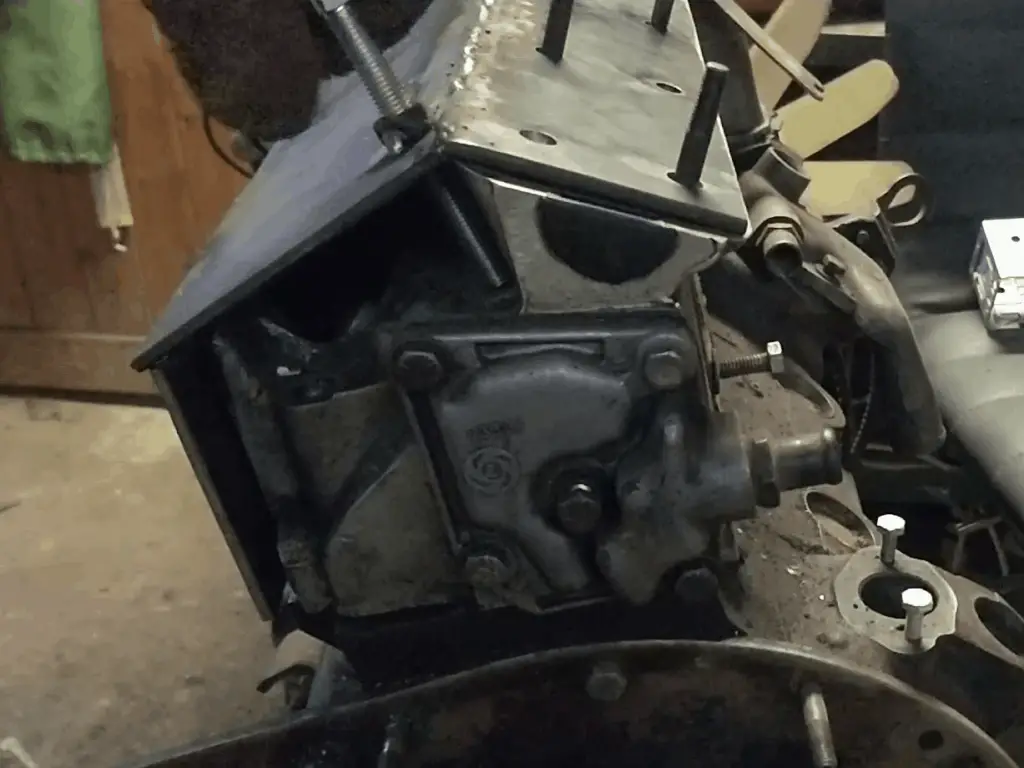

The idea behind this is the screws on the top plate screw in and push down on the studs, forcing the head to lift off as the screws are tightened down. It’s a neat concept and apparently works well.
In my case, however…
I started with some M8 bolts screwing down on to the studs. The only M8 bolts I could find that were long enough were coach bolts, so I had to tighten them down with a flimsy 10mm spanner. Still, it shouldn’t have mattered too much. I planned to buy some new bolts the next day if it turned out to be a problem.
What actually happened, though, was the bolt threads stripped! They also wanted to ‘walk’ off the studs, which was another issue.
I solved both problems by welding new M10 nuts on in place of the M8 ones, with bigger bolts to match. I also ground the ends to a point, and drilled the tops of the studs concave to stop the bolts walking off the studs.
That worked great – except it didn’t. The new bolts didn’t strip out, they didn’t walk off the studs. But the head still refused to budge. These studs were truly stuck there fast. I was putting a scary amount of tension on the bolts, and – like with the rope trick – I had to back off and give up for fear of breaking something and making things worse.
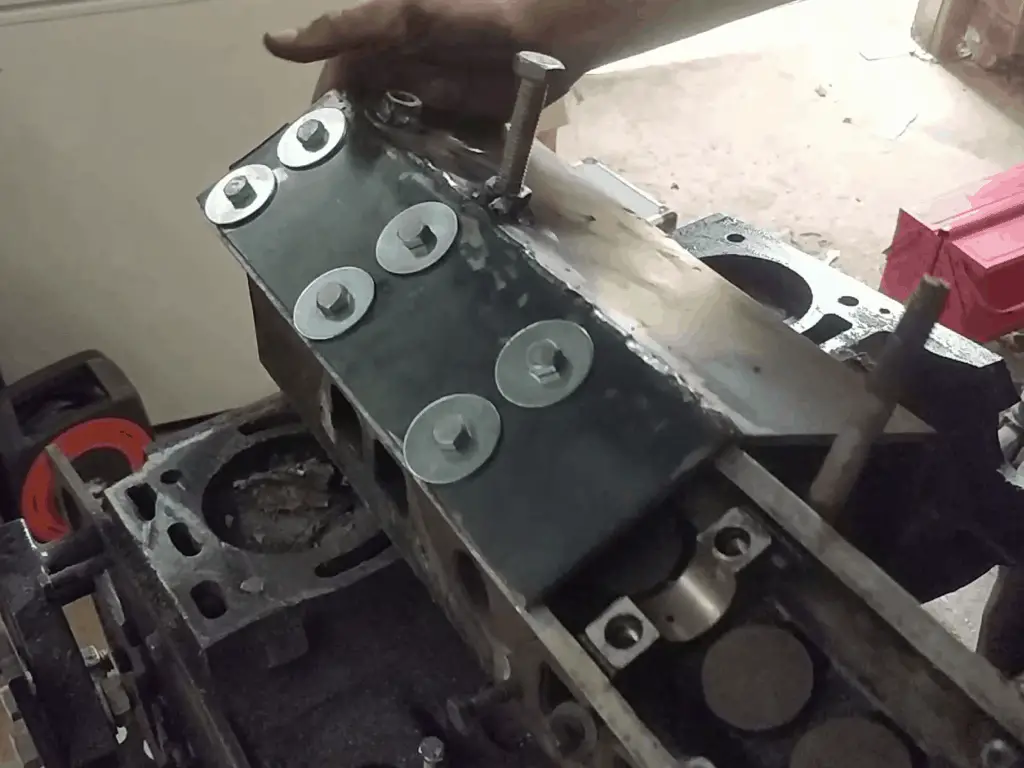
Tightening down the bolts to the studs. Bolts tightened down on studs. Notice the furthest one has ‘walked’ off the stud. Head stud drilled to stop the bolts walking off. Bolt tightened down on stud. A lot of tension here, but it still didn’t shift the head at all.


Step 5: Just Hacksaw the Thing Off
Yes, you read that right. A hacksaw.
By this point, I’d pretty much exhausted all reasonable options. I was applying enough force to the studs to risk breaking something (including myself), but the thing still refused to shift. So I got desperate.
By this time I was working on the theory that the engine had overheated; this would explain the missing water pump, the seized studs and the lack of compression. A warped head would certainly explain the last two things.
I figured if the head was warped that badly it was probably not much use anyway, but if I could get it off I could at least save the block and everything else. So I got my hacksaw out and carefully slid it between the block and head. There wasn’t a lot of room to work with – just the thickness of the gasket – but it was enough. I did try to slip some metal sheets in there to stop the saw marring the block and head faces, but it kept binding up so I gave up on that idea.
Once I got one stud sawed through, I hoped I’d be able to wiggle the head off the one remaining stud, but no such luck (of course!). So I sawed through most of that as well, until I’d got through enough to be able to force the head around enough to snap the rest of it off. Success at last!
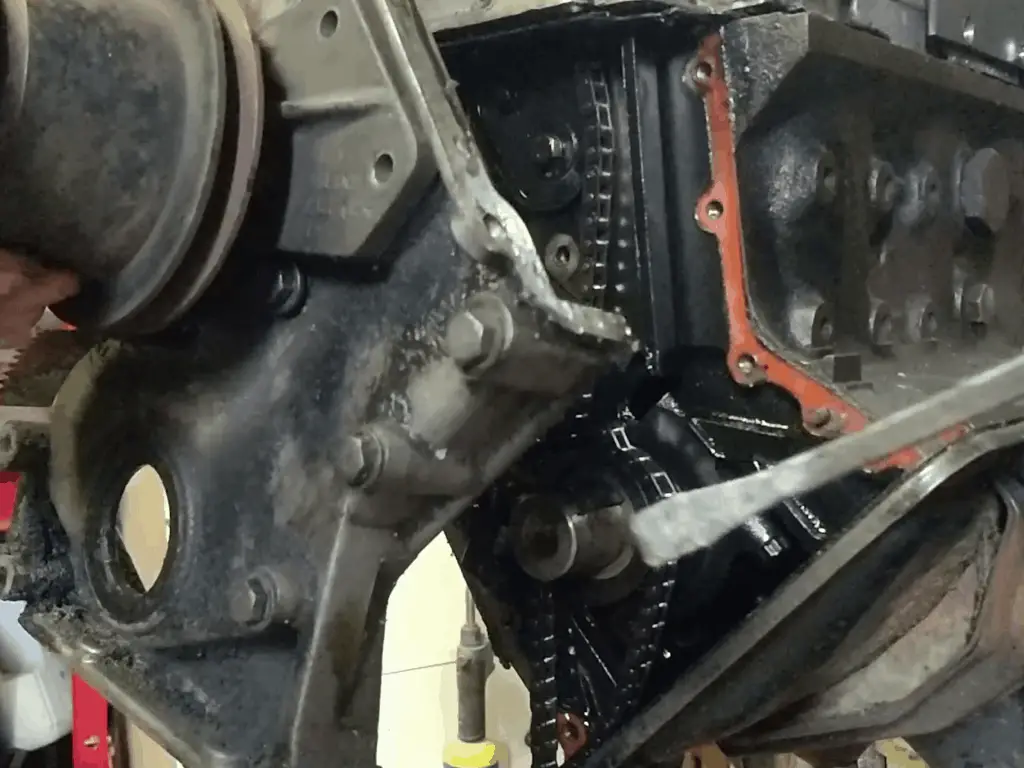
Never thought I’d find myself doing this. I took the front cover and chain off at this point. Getting close – one stud gone, almost ready to twist off now. Trying to snap the last bit of stud off. Almost… And it’s off. Finally.

The Head’s Off – Now What?
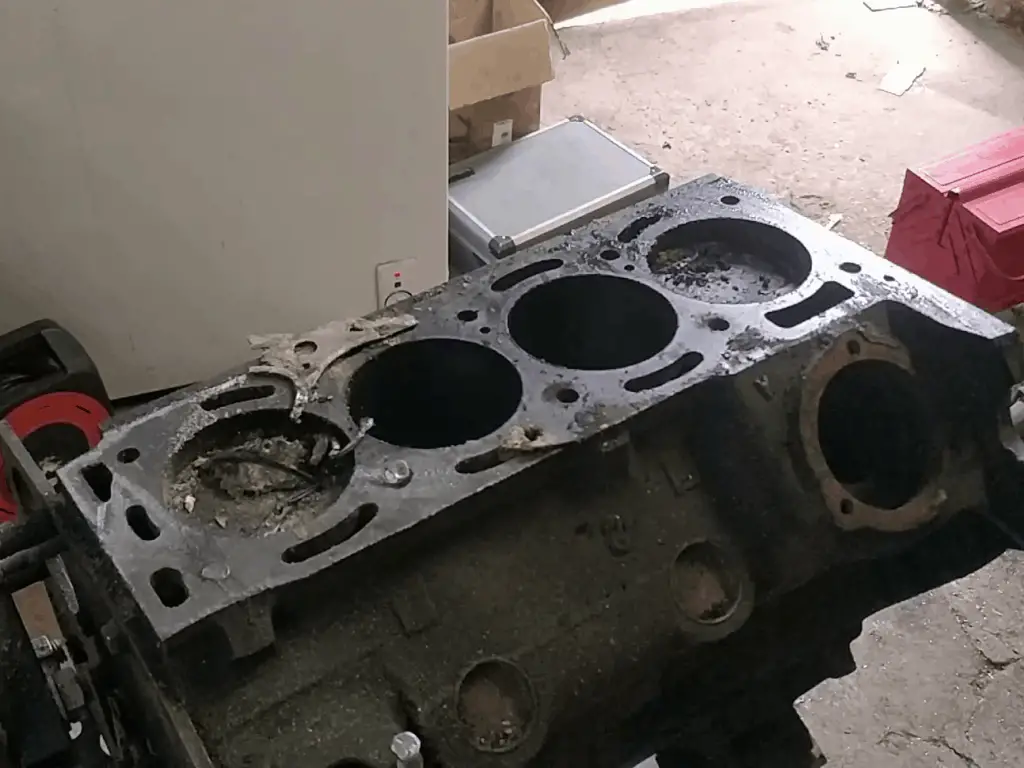
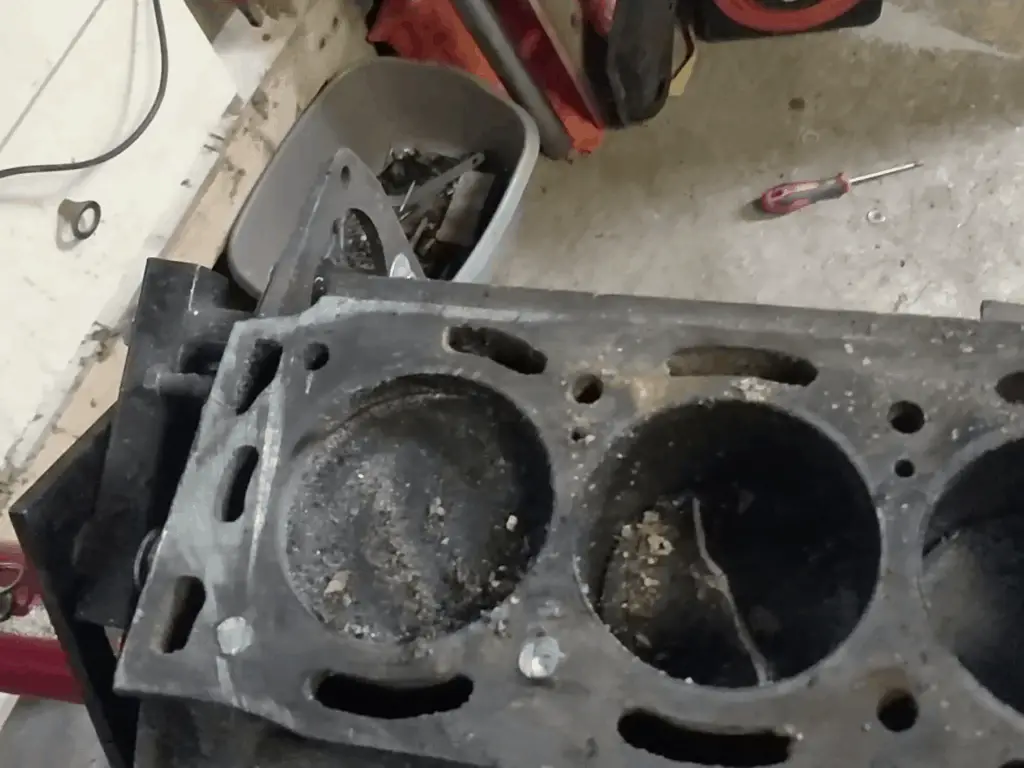
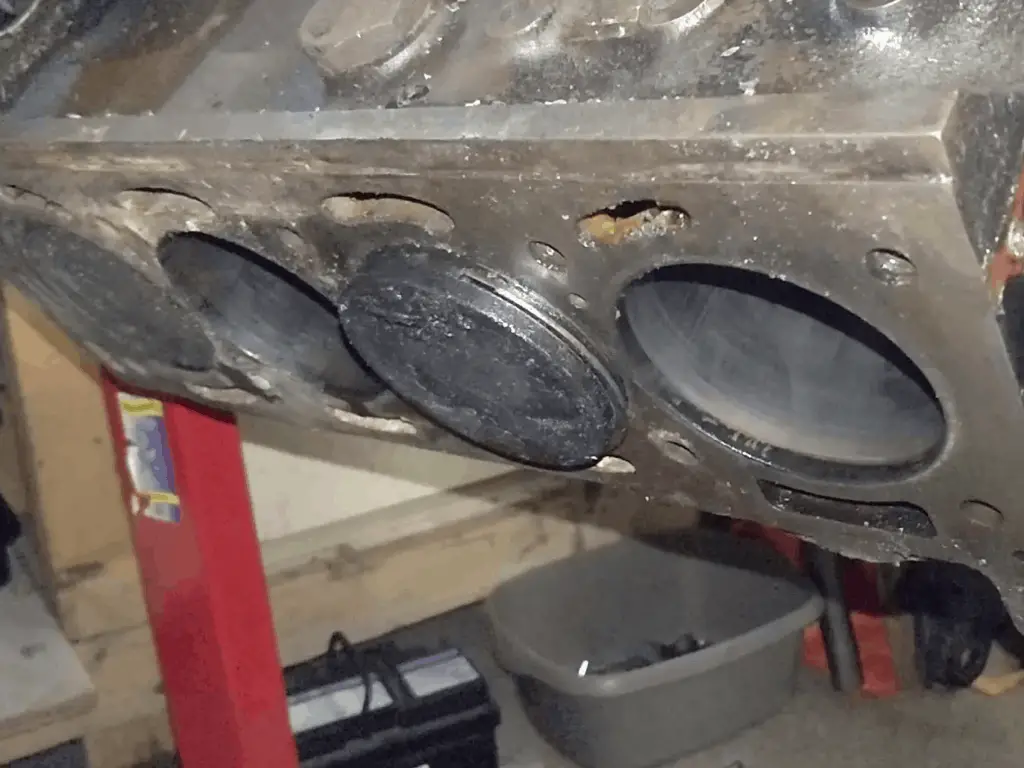
After a very well deserved cup of tea, I gave the head and block a brief clean and inspection. The block looked in good condition, the bores showing no real wear at all. No matter what was going on with the head, I was confident the block would be usable at least.
The head itself didn’t look too bad either; a few scratches from the sawing, but if it’s not too badly warped it should still be usable after a skim.
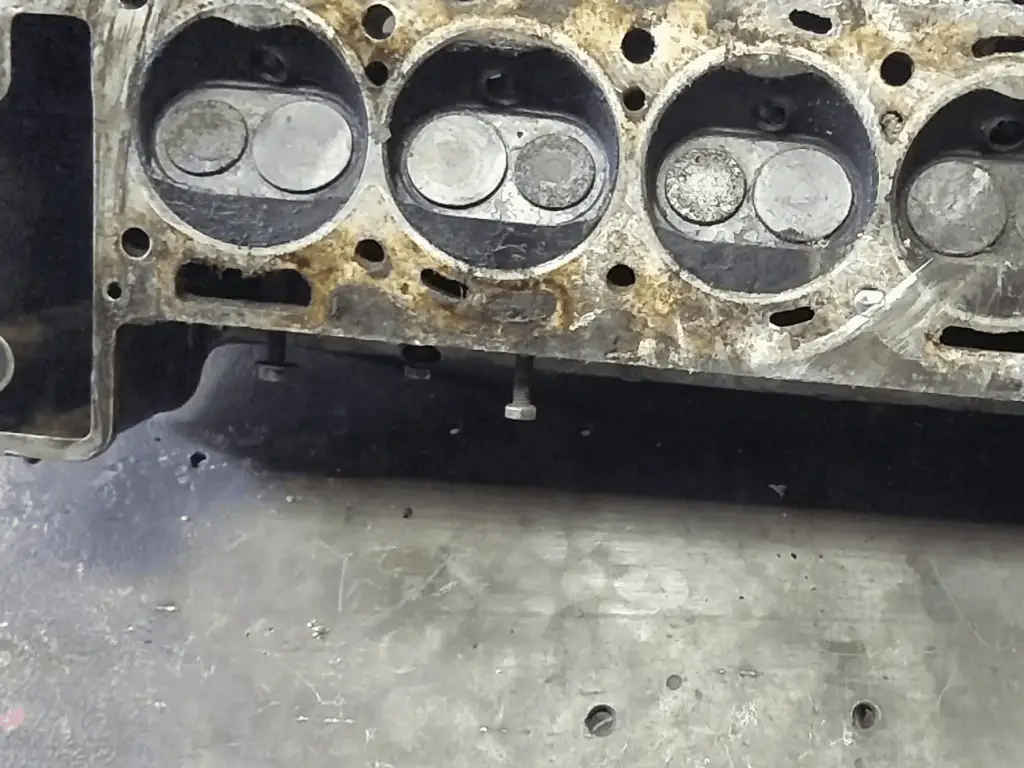
I was hoping to get a clue to what was wrong from looking at the head gasket, but that wasn’t really an option – I’d sawn through half of it and the other half was too scuffed and mangled to really get any clues. The head face, though, did show some brown markings perhaps indicative of a blown gasket. For the time being, though, I’ve set the head aside to look at properly another day.
Dirty, but in good condtion. The scratches aren’t as bad as they seem. The head. Some brown markings suggesting something blew?
Stripping the Block
I decided that if I’d gone this far, then I might as well tear down the rest of the engine. It would be silly to get this far and not carry on and inspect and replace the bearings, piston rings etc.
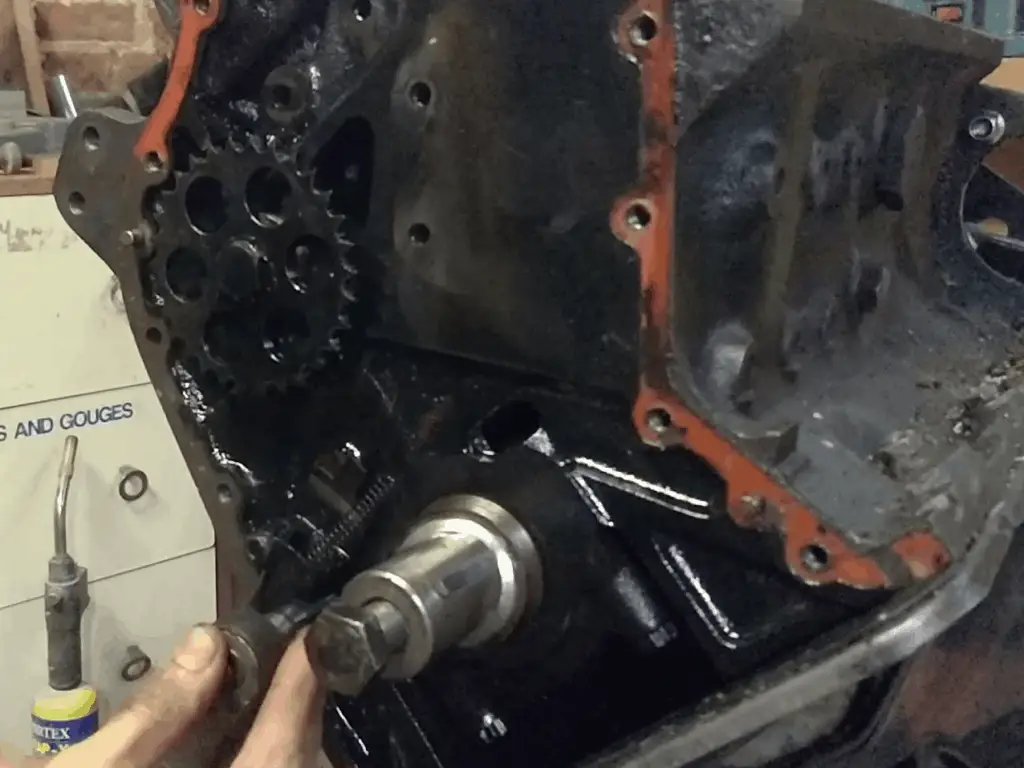
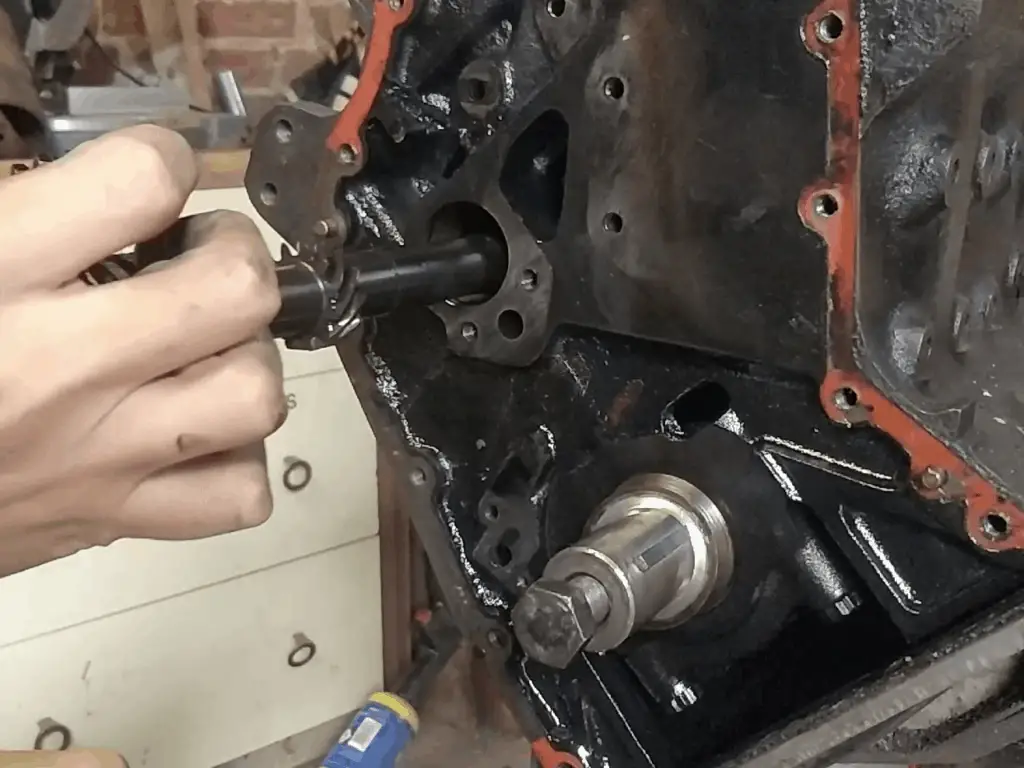
So I pulled the rest of the timing gear off and removed the jackshaft…
Taking the rest of the timing chain sprockets and tensioners off… …and the jackshaft.
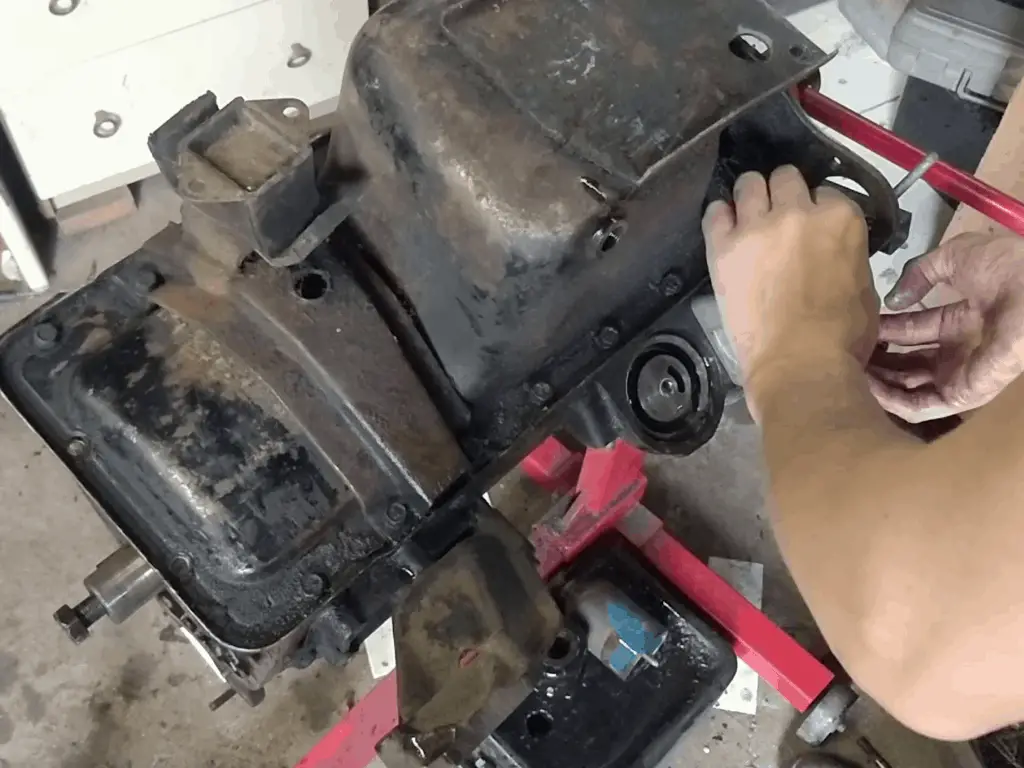
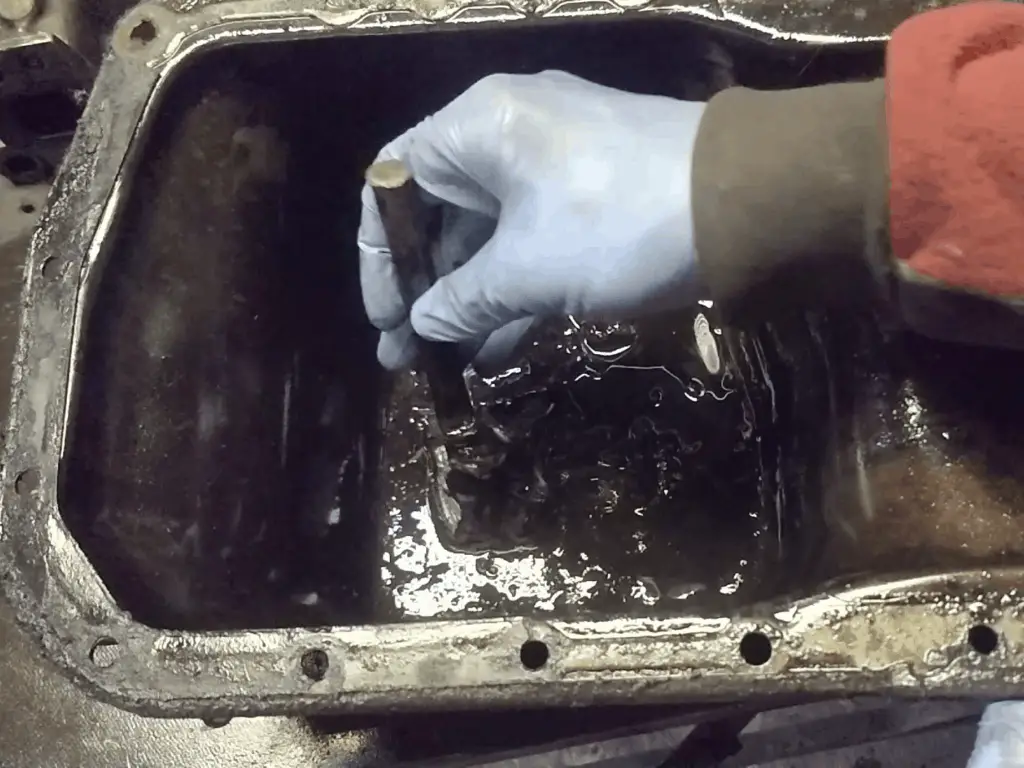
Then flipped the engine over and pulled the sump off. I got a nice little surprise when I got the sump off – the mangled remains of an old dipstick! I guess someone pushed a bit hard one day. Fortunately, it doesn’t seem to have done any damage to the engine.
Pulling the sump off… This isn’t supposed to be there.
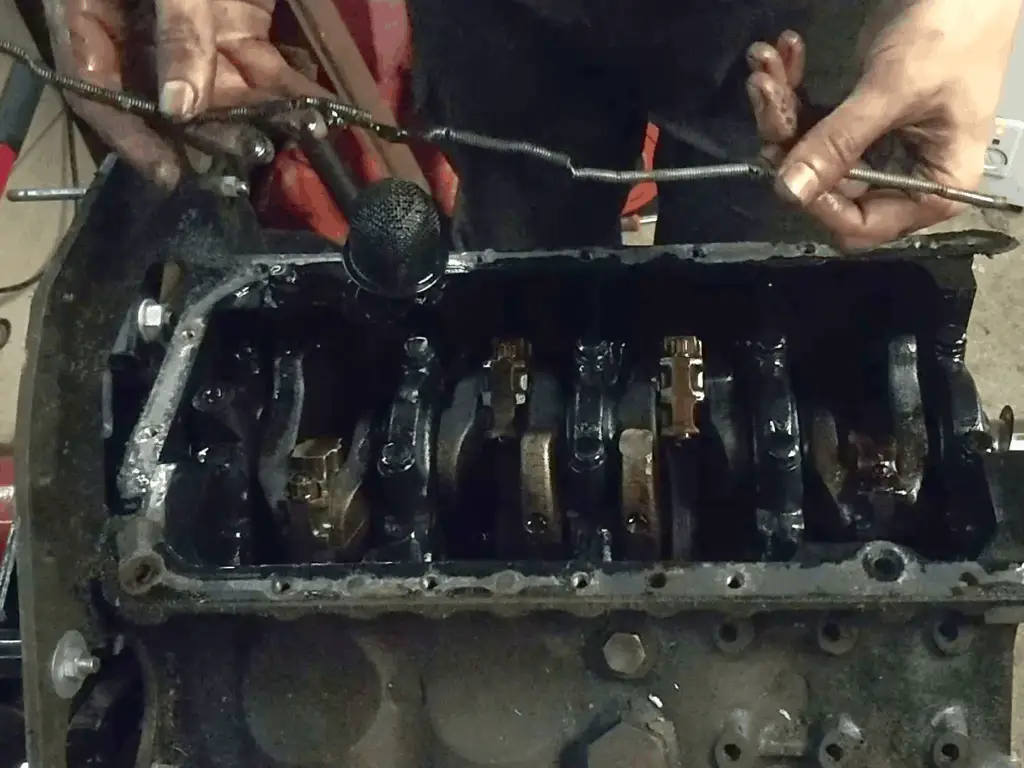
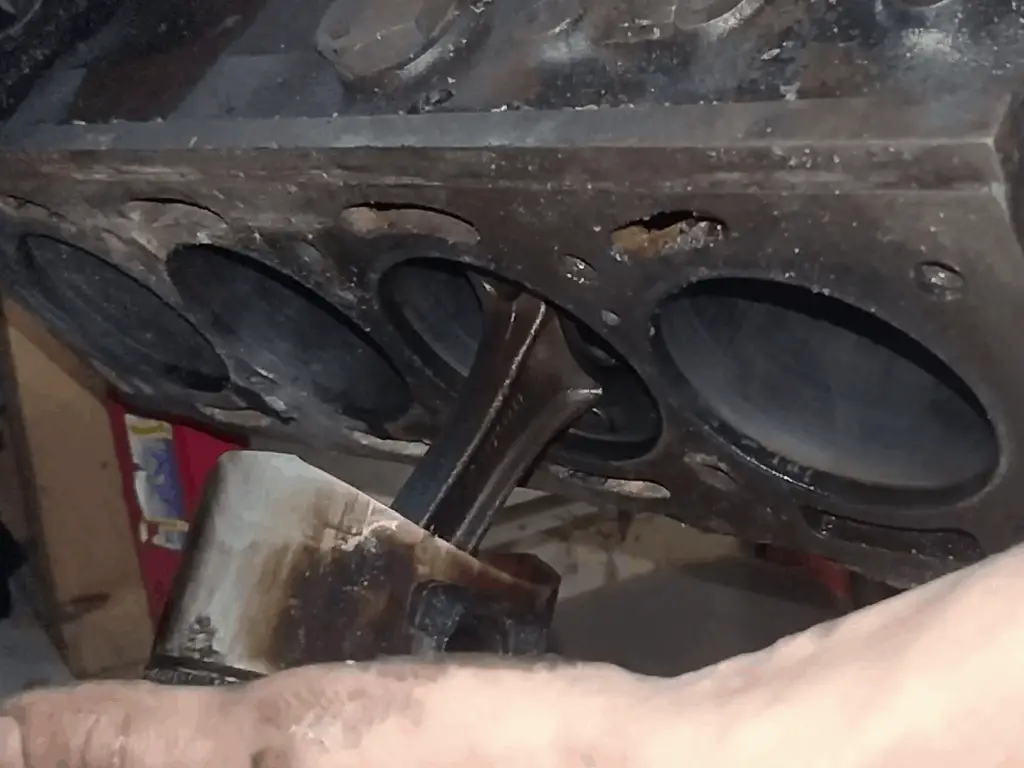
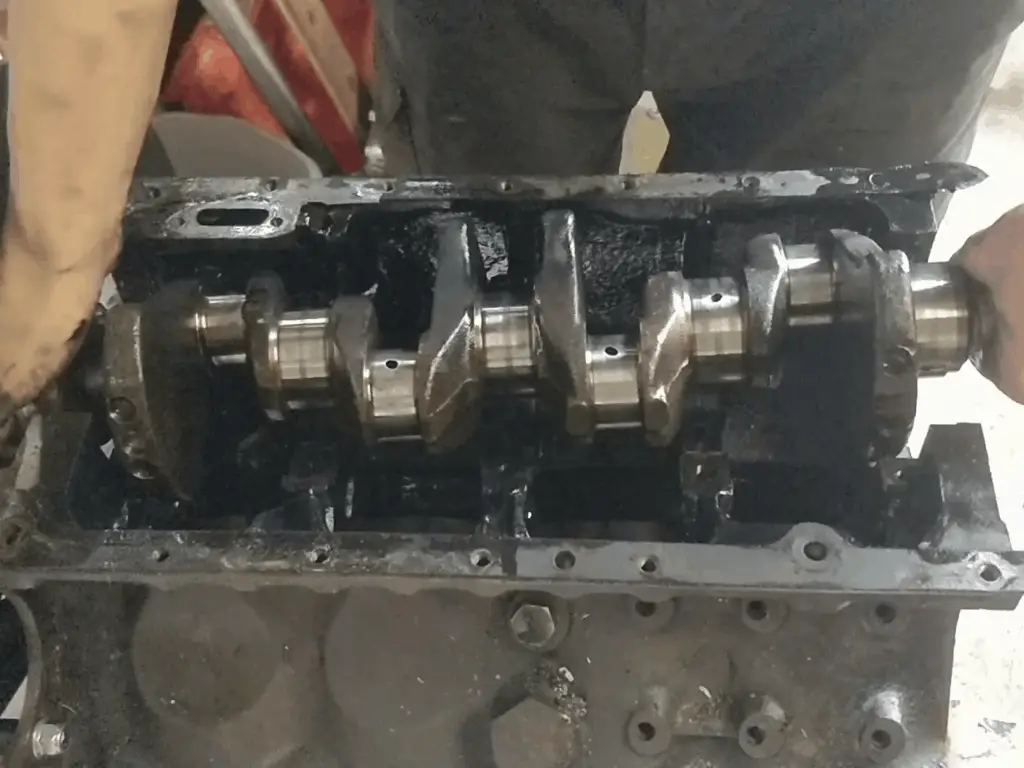
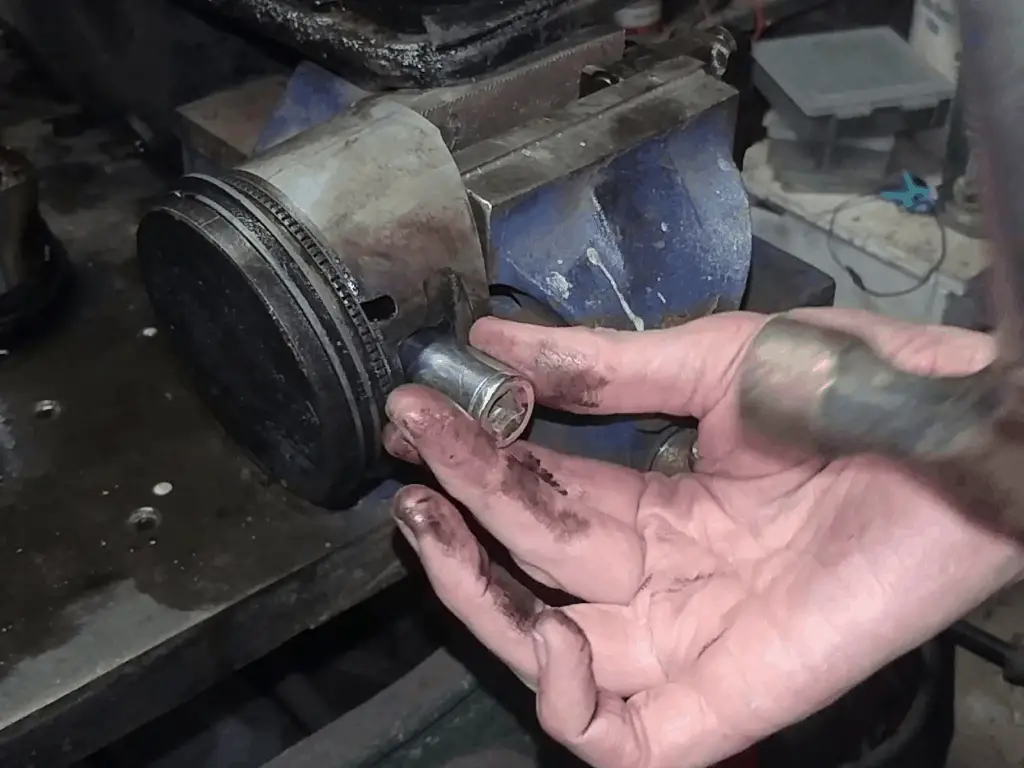
Then I removed the pistons, then finally the crankshaft.
Piston coming out… And out completely. Then the crankshaft was removed.
With that done, all that really remained was to clean everything up. To save having too many loose parts, I decided to save stripping the head for another day.
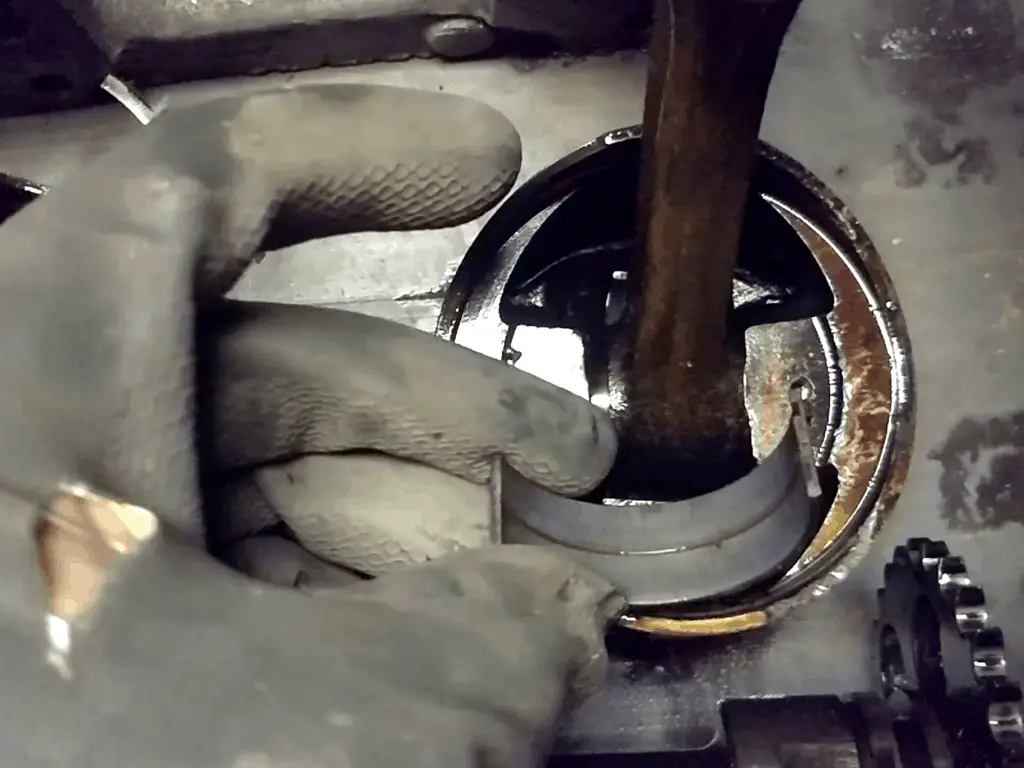
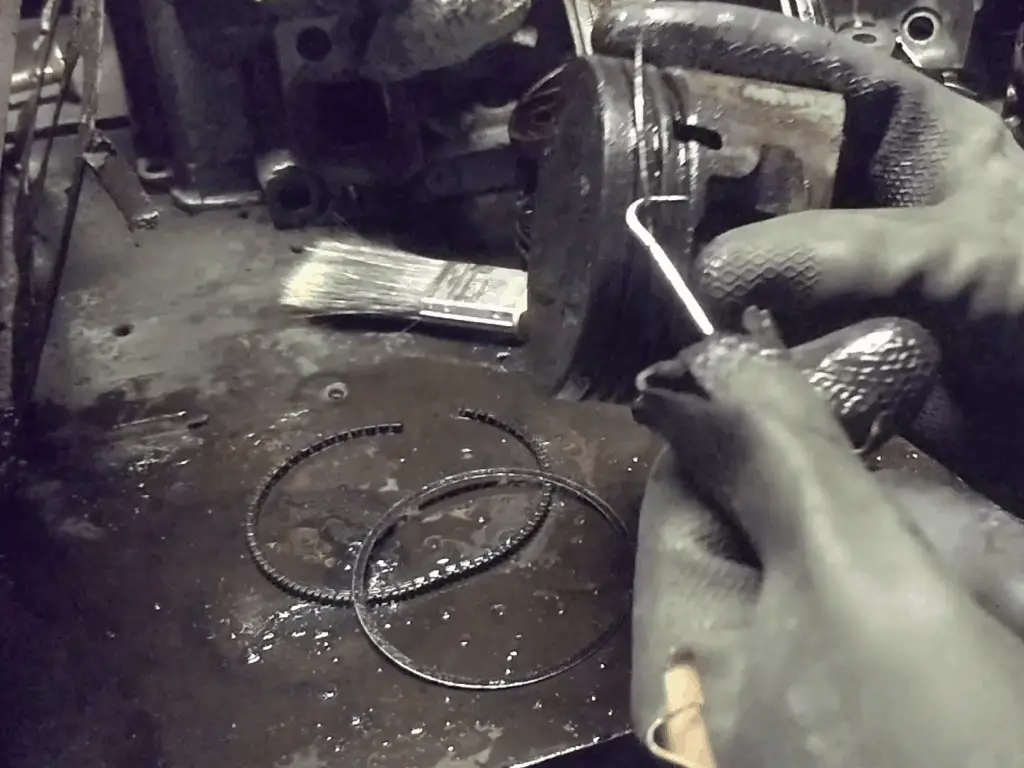
Inspecting the rod bearings. All seems good. Removing the pistons from the rods. A lot of grey sludge in the sump! Taking off the piston rings.
Those Studs Again!
The last thing on the list was getting the remains of the last two studs out of the head and block. Incredibly, even with the threaded end cut off, I could still only get one stud out of the head!
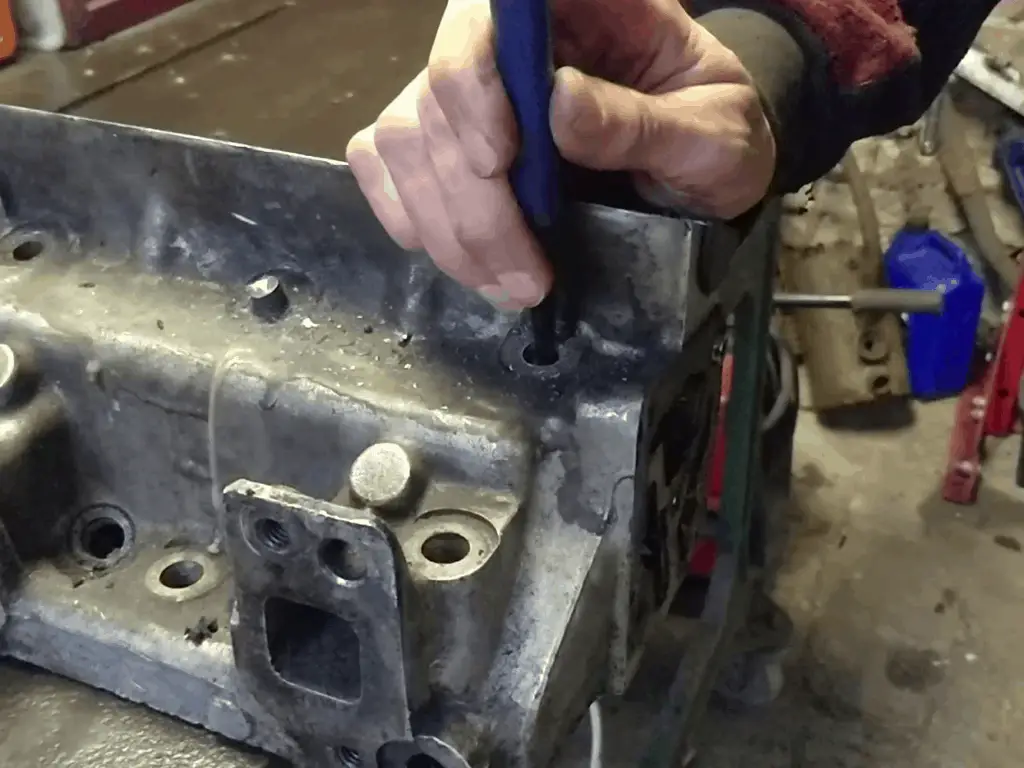
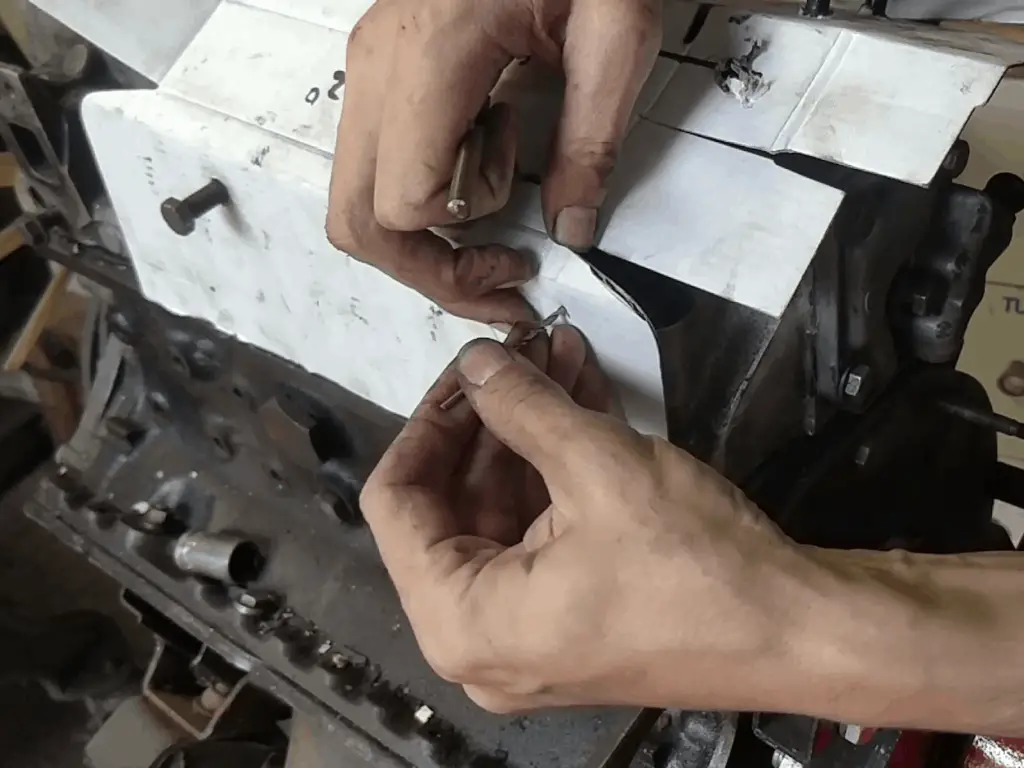
I knew the remains of the studs still in the block would be tricky, as they were cut more or less flush. But I wasn’t anticipating too much of a fight (incredibly, after all this, I was still hopeful!) I drilled out the centre of the studs and attempted to weld a small bolt into the hole, giving me some leverage. But I was trying to be careful to not put too much heat into the block, and the welds didn’t hold too well.
Drilling a hole through the centre of the stud. Welding a bolt to the stud (metal tray is there to stop welding splatter marring the block face)

When that didn’t work, I went to the tool of last resort – an easy out. I honestly thought this would do the trick, though. Unfortunately, no such luck! I tightened the easy out down into the hole I’d drilled, but still the stud didn’t move. All I got was an ominous creaking noise. I stopped there and gave up – if I pushed too hard I’d just end up breaking the tool and having to deal with extracting that as well!
So What Now?
After the easy out failed, I gave up. I’d given everything my best effort, and it had failed. It was time to get the engine out of the way and move on to some other projects. I’ve put the bits of the engine away in the garage for now, I’ll deal with them another day. I will certainly need to get to an engine shop at some point – they’ll need to skim the head and possibly the block, and I might have to get them to remove the remains of the studs too.
This battle isn’t over though! As long as nothing’s too badly damaged, I’ll do whatever needs doing to get this engine fixed up, back together and installed in the car at last.