In the last post, I detailed how I restored and refitted the rear axle. If you have a sharp eye (or if you don’t, really – it wasn’t hard to spot), you’ll have noticed I also worked on the rear brakes.
I didn’t go into any detail there as I thought it would make more sense as a separate post, even though I did it at the same time. You’ll find a fair bit of this as I move forward – I’m working on several systems simultaneously, but I’m trying to categorise things in a way that makes sense rather than doing everything in chronological order.
Anyway, rear brakes.
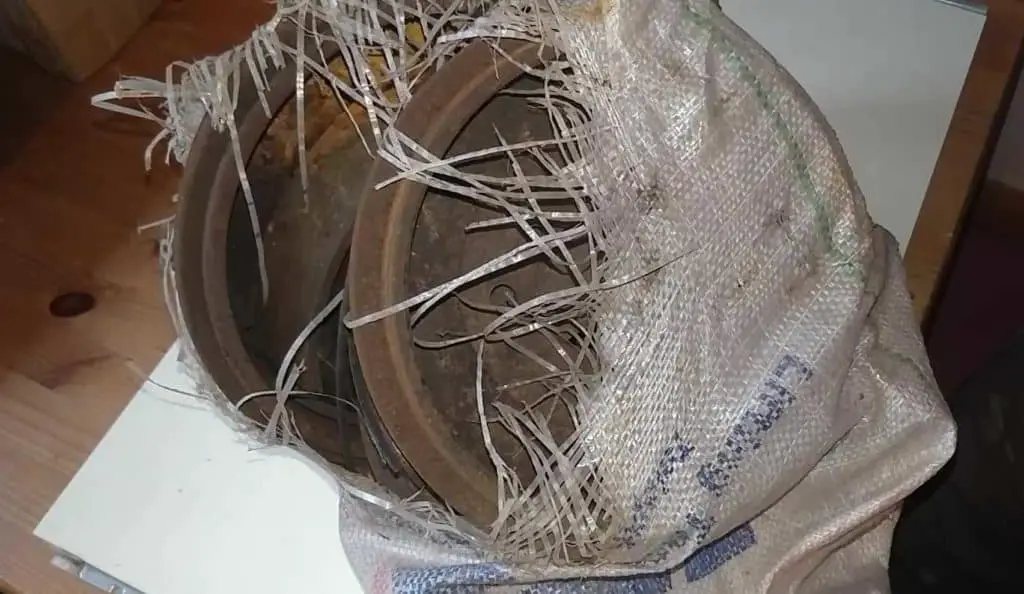
When I bought the axle it came with a full set of brakes; drums, shoes, all the springs and so on. That would prove handy, as I was upgrading from the old 4 speed axle which has a different brake setup. Just after I got the axle, I pulled all the brake parts off and shoved them in a bag and left them to one side.
They were pretty rusty to begin with, and a few years sitting in a damp garage hadn’t done them much good either. So when I pulled the parts out of the bag, they were pretty scabby and rusty. Still, nothing I’m not used to!
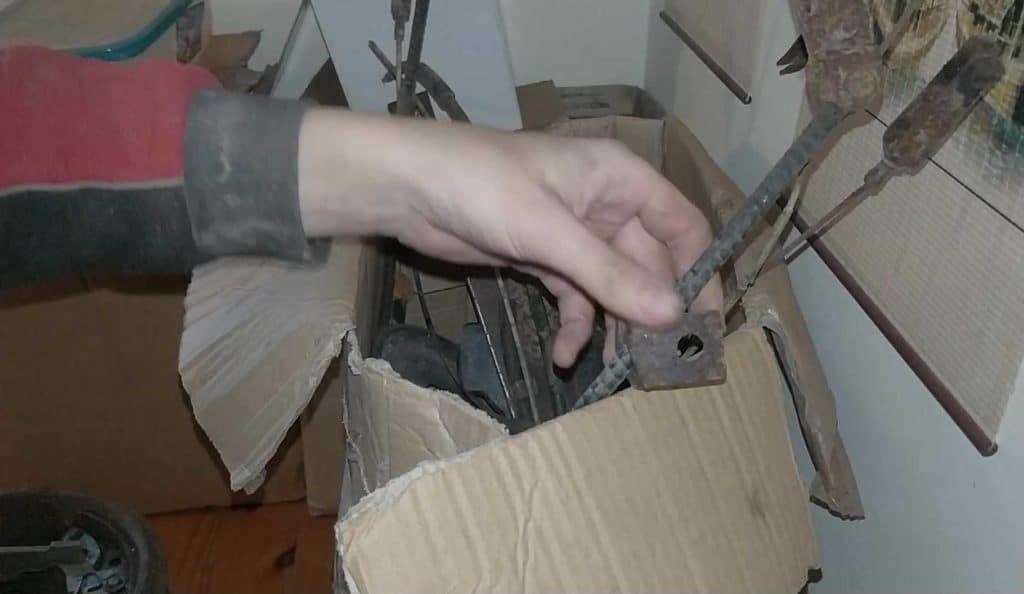
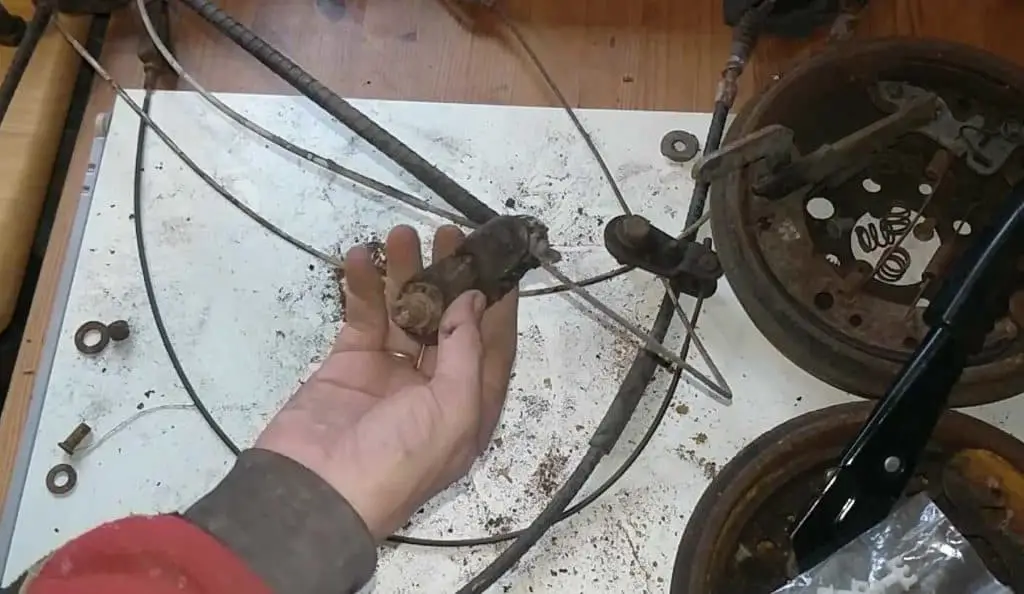
I also went through my stash and pulled out the other brake parts I had; mainly the handbrake assembly, plus the brake flexi hoses. While the handbrake cable is different between the 4 and 5 speed axles, the fittings are all the same. Still, I kept it all, even the cable – I’m in the habit of not throwing anything out until I know for sure I won’t need it.

A tatty looking bag of brake parts… …plus a few bits from my stash. Some rusty old parts. Some of this got thrown straight in the bin.
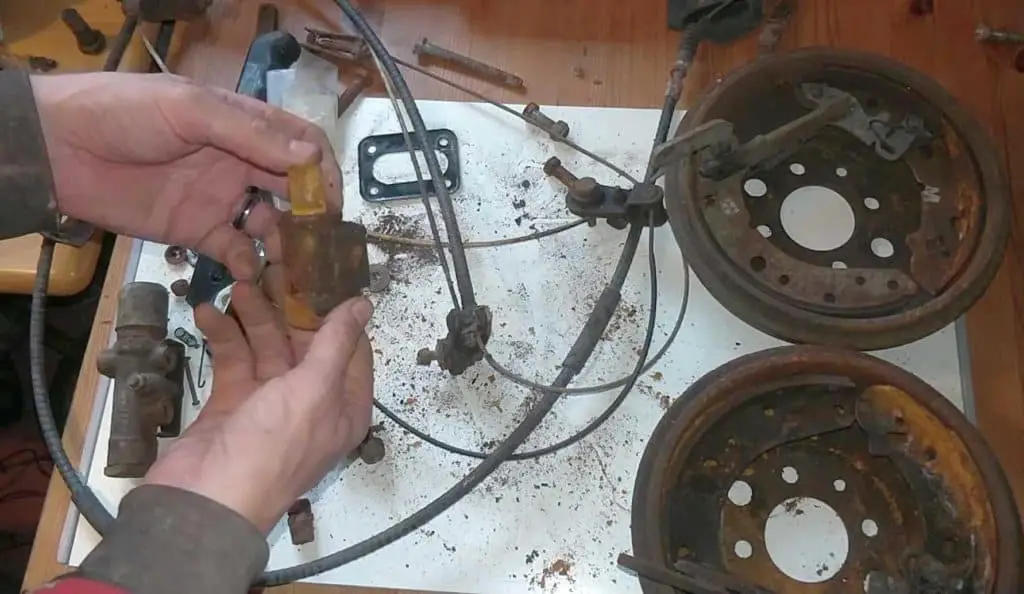
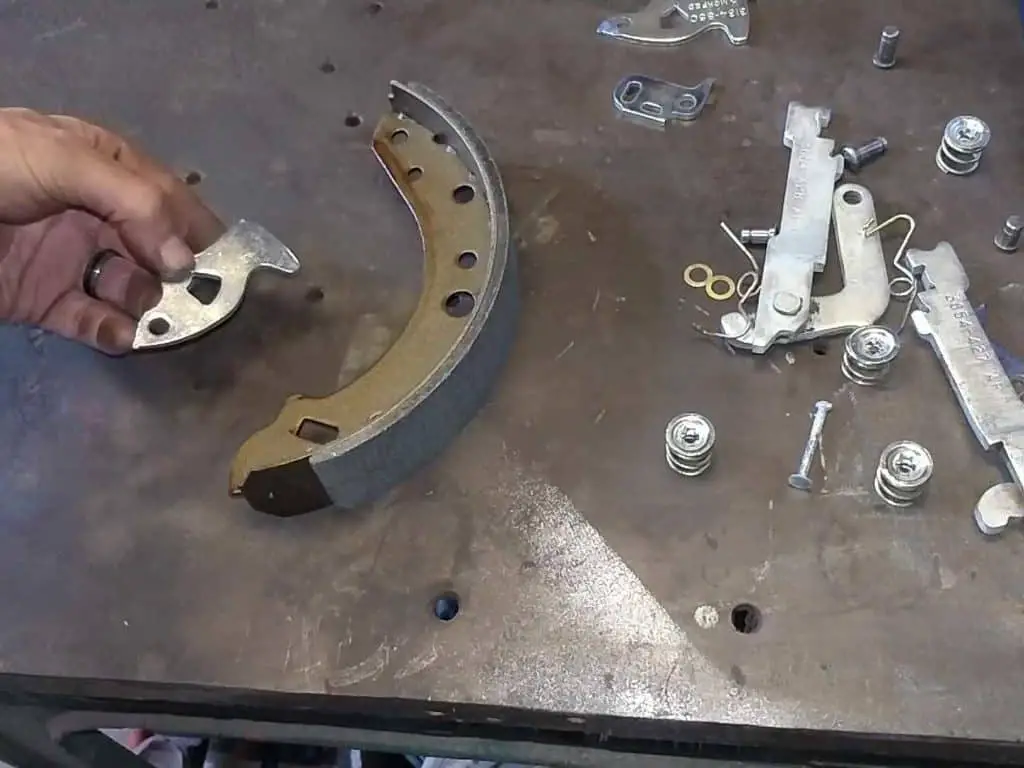
I spent a while sorting the parts out and figuring out what I was keeping and what I was going to just replace. In the end, I kept most of it; aside from the rust (which was only really surface rust) and dirt, it was all in fairly good shape. Good thing too; some of these parts are quite expensive to replace!
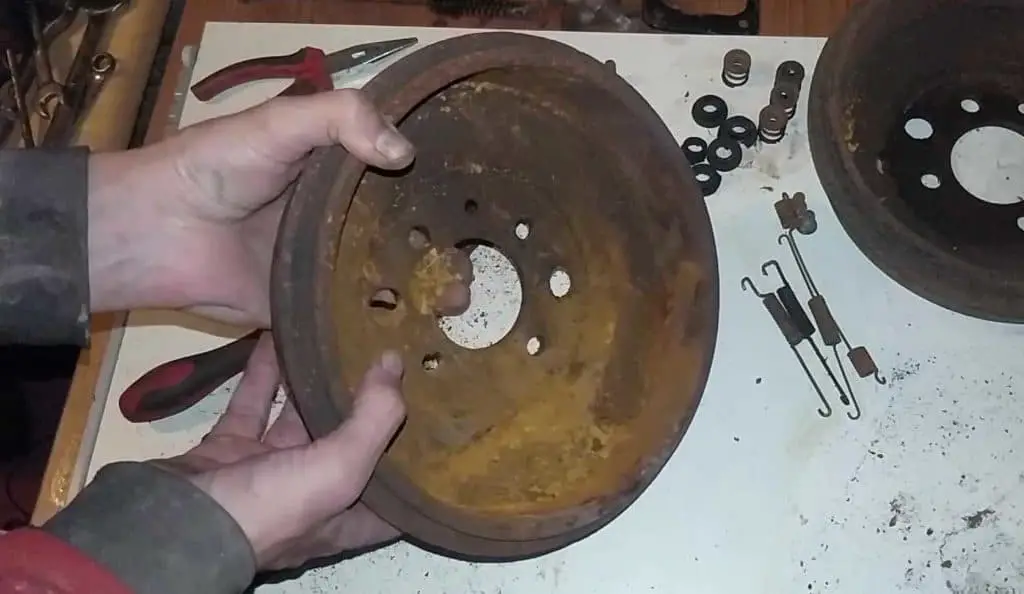
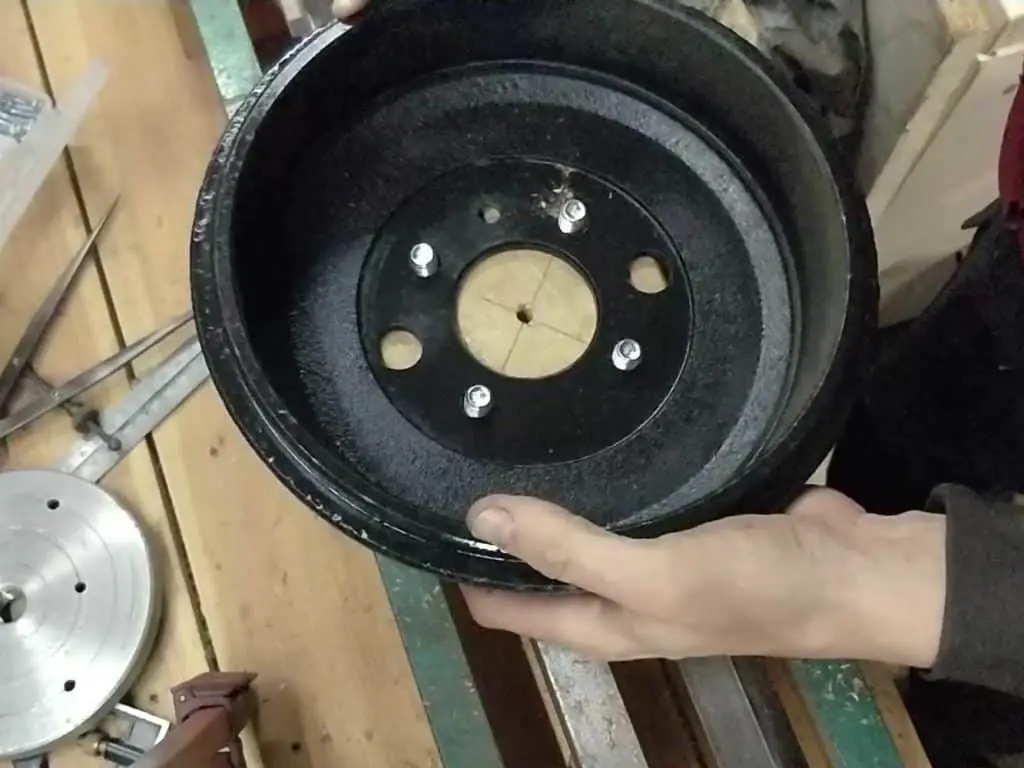
I did throw away the brake shoes and wheel cylinders, though; they’re readily available and cheap to replace. I did consider buying new drums as well, but at £90 each I decided to clean up the ones I had. Rust aside, they were in fantastic condition with hardly any wear.
Cleaning Up the Parts
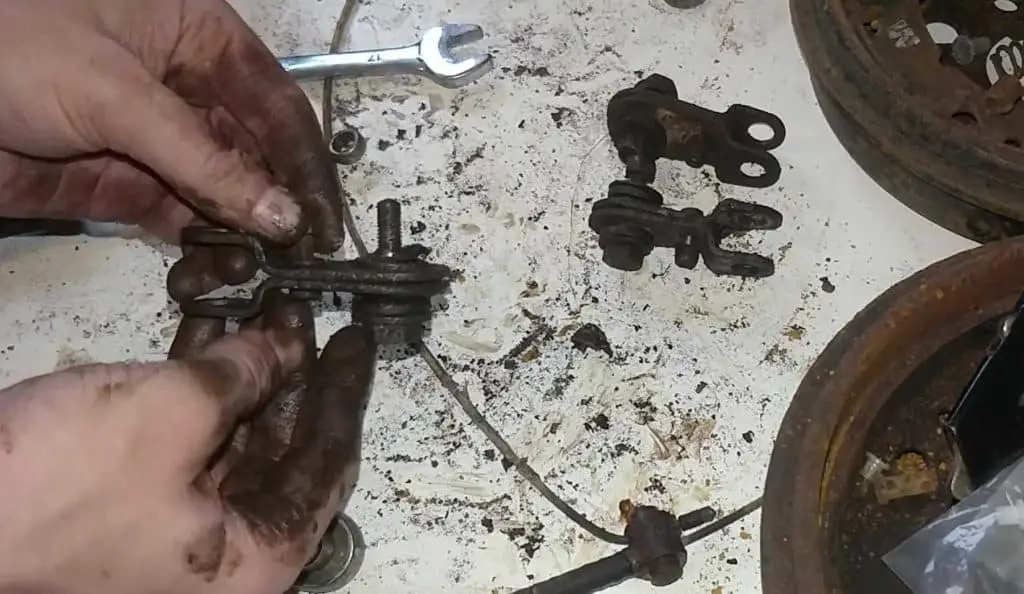
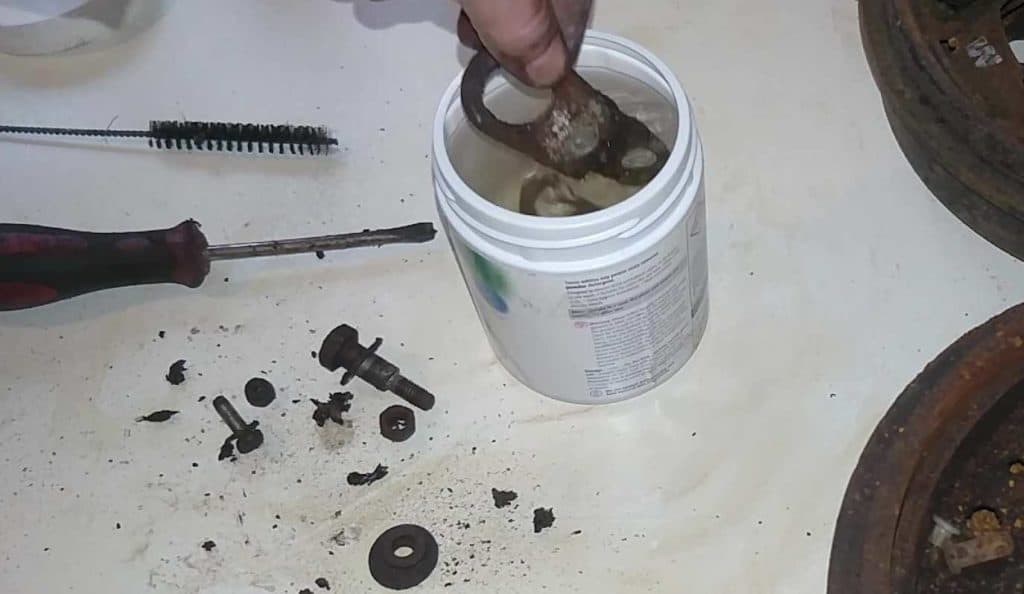
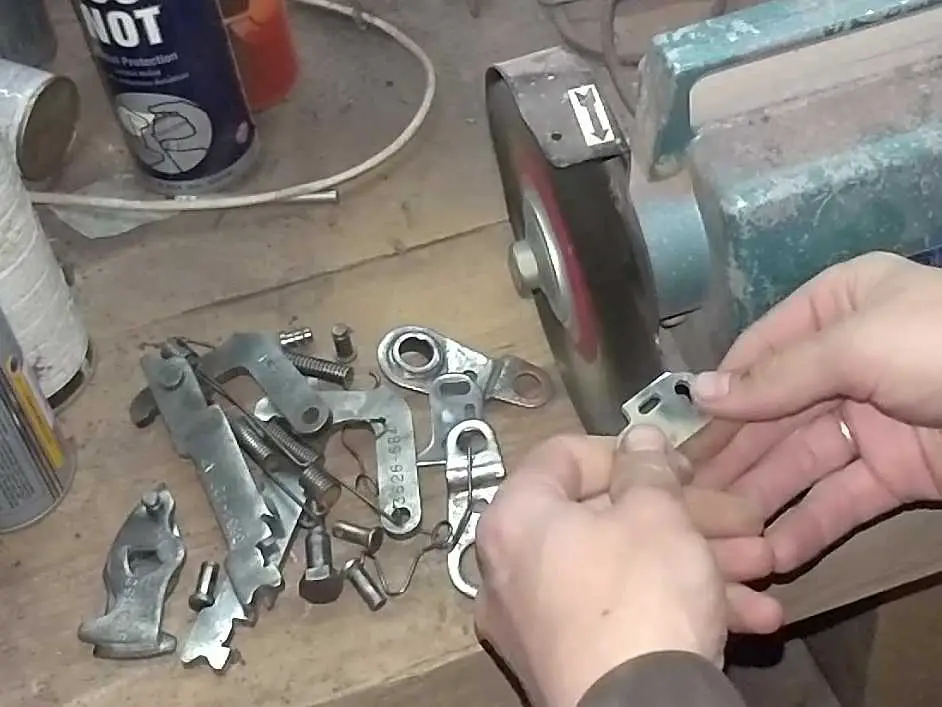
The first job, of course, was to clean all the brake parts up. I somehow had three different sets of handbrake fittings, and they were all in rough shape. So I pulled them all apart and dropped them in the cleaning solution, along with the handbrake adjustment mechanism and all the springs and other parts.
Somehow, I ended up with three of these… …still, they all got cleaned up. In for cleaning they go. Taking apart the handbrake adjusters The brake drums looked awful, but were in decent shape under the surface rust.

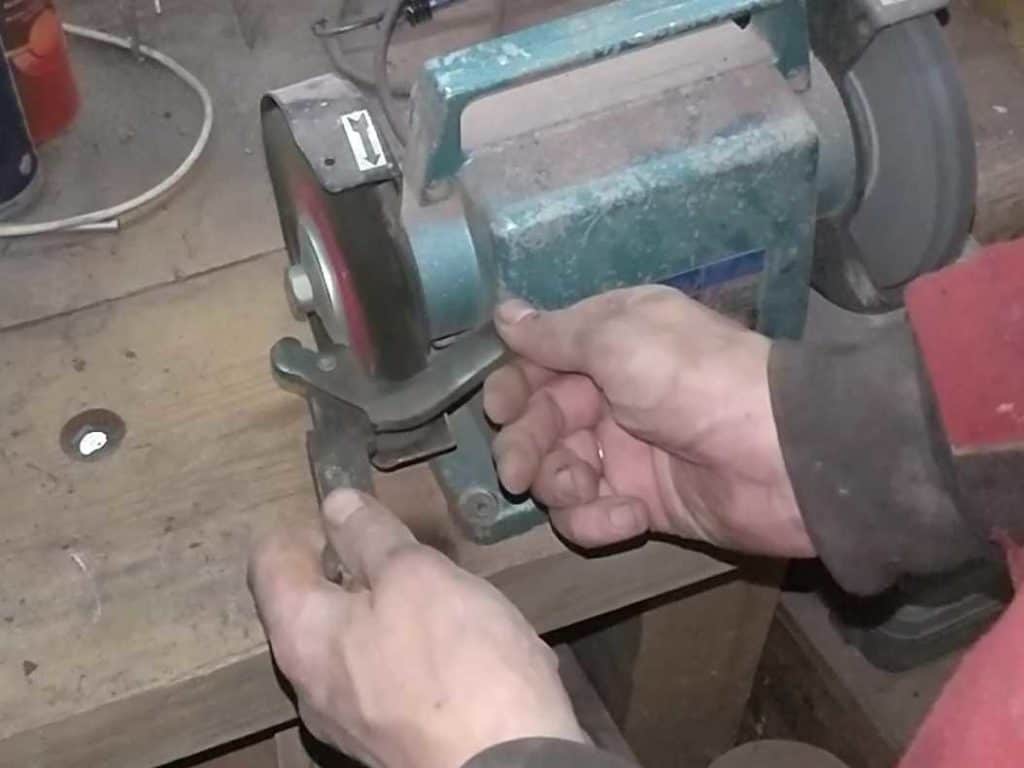
With everything cleaned and grease-free, I then took everything out to the workshop and gave all the small parts a proper clean up on my bench grinder. It took a while, but they all came out actually pretty decent. But still, they could be improved further, so I took the time to get them spotlessly clean and then replated them with my zinc plating kit.
All this took a lot of time and effort, but I was really pleased with the results!

Cleaning the parts on the wire wheel. 
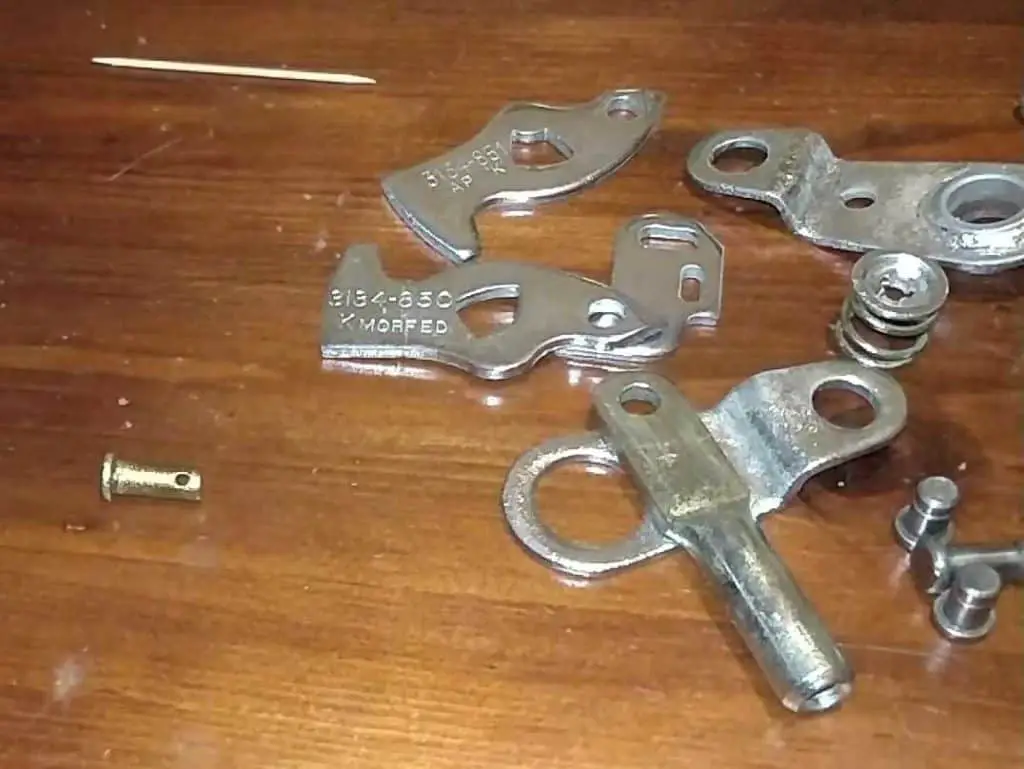
A nice pile of clean parts. Then they were all zinc plated… 
Looking great, and they’ll be protected for a good few years now.
Cleaning and Derusting the Brake Drums (Electrolysis Method)
With all the small parts cleaned up and ready to refit, I turned my attention to the brake drums.
As I mentioned before, the drums were fairly rough looking but actually in good shape with hardly any wear on them. In spite of how they looked, I figured they were good enough to reuse.
The first thing I needed to do was get all the rust off; for large pieces like this, electrolysis is my go-to method for rust removal.
It’s a fairly simple process:
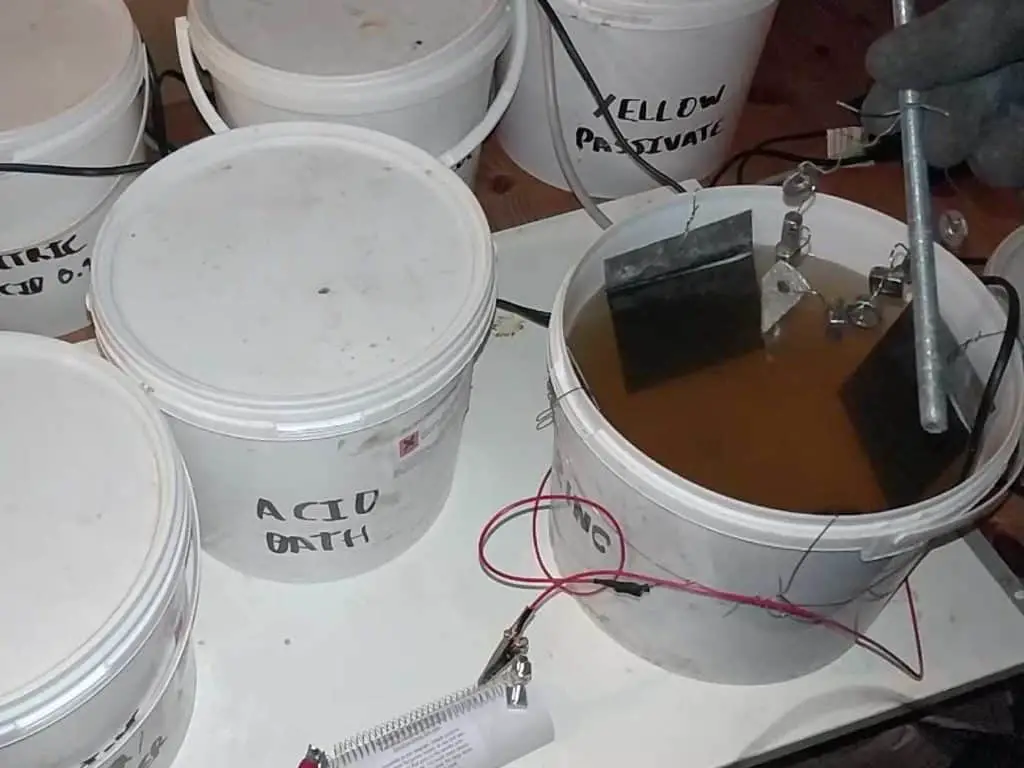
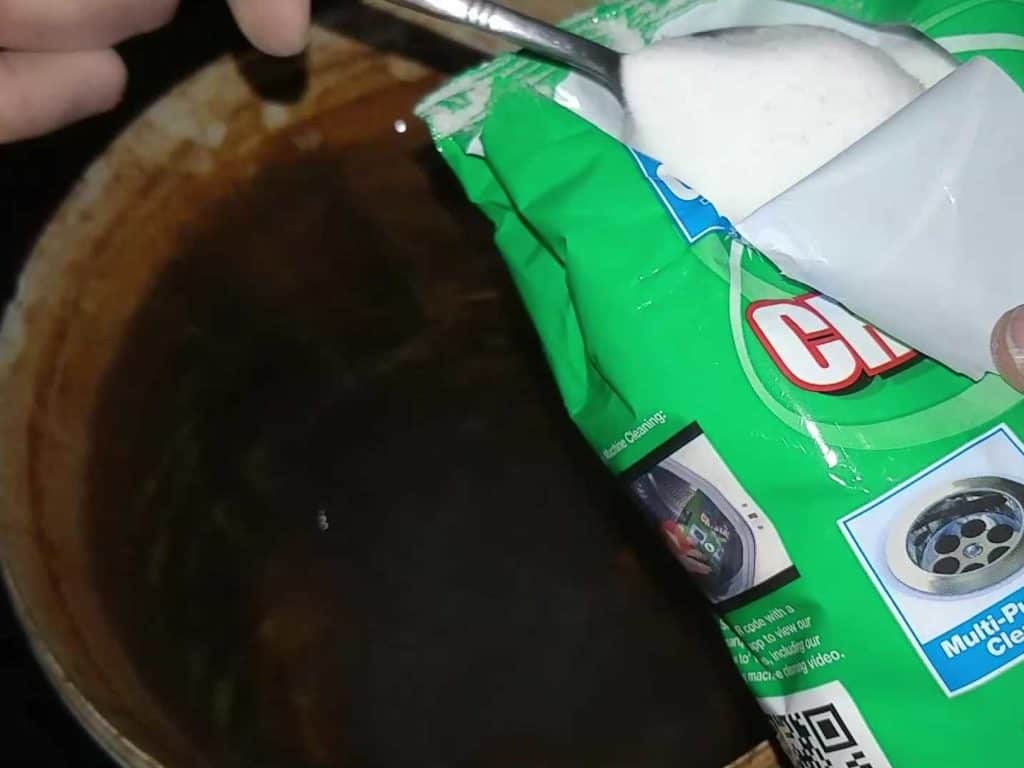
- Prepare a container for the part, fill with water and add in some soda crystals (you can also use salt, baking soda – anything that will make the water more conductive)
- Connect some wire to the part you want derusted
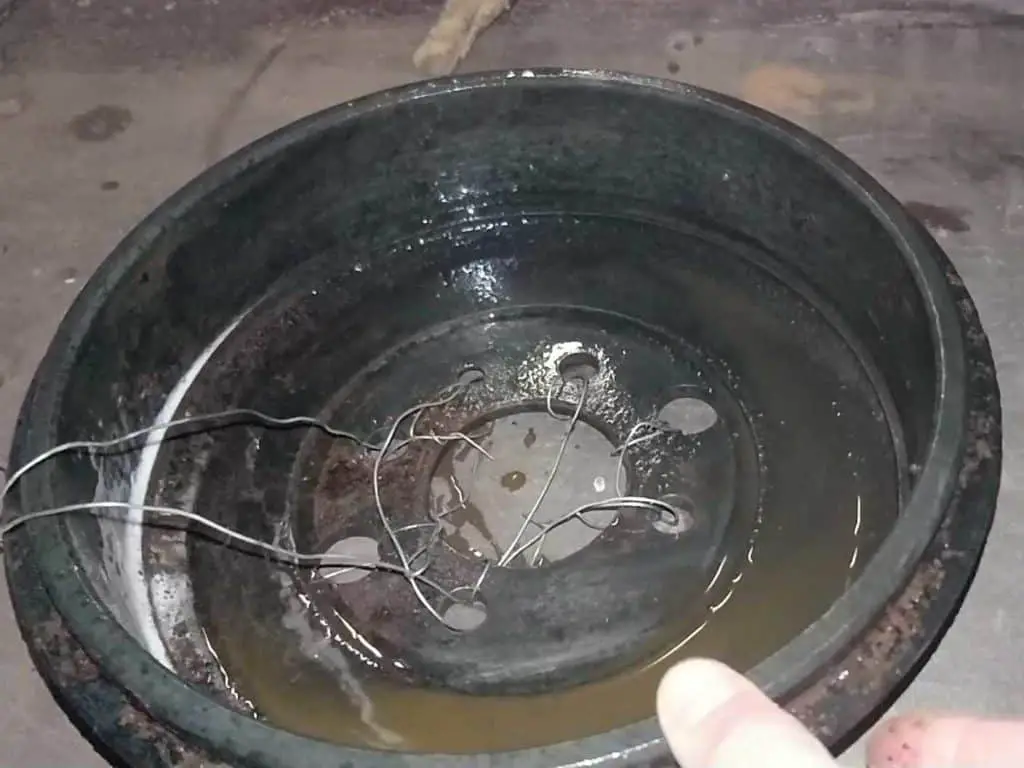
- Put the part in the water, suspended by the wire
- Add in some sacrificial anodes (sounds fancy, but really you just need some scrap steel. I used offcuts of sheet steel from my welding pile)
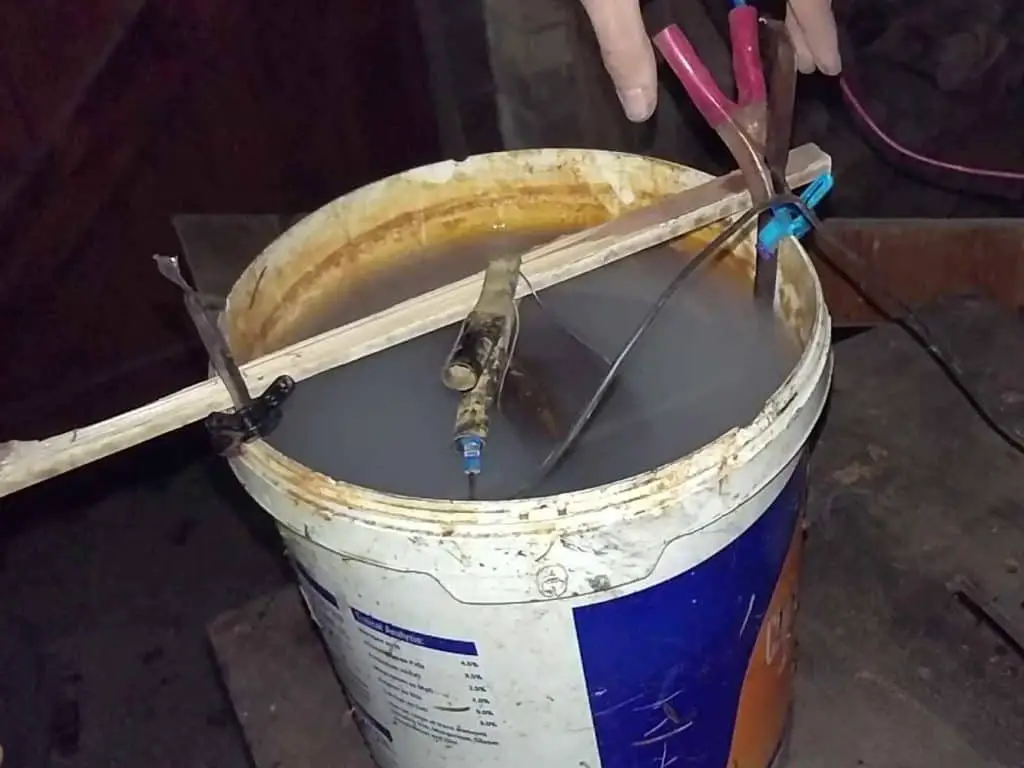
- Connect your power source (I used a battery charger, but anything that will provide low voltage DC power will do the job; an old power adaptor or even a car battery). The negative terminal connects to the part, the positive terminal goes on the anode.
- Leave this going for a while. It’ll need a few hours, or ideally a day or so if it’s really bad. You’ll know it’s working when a gross-looking brown foam appears on the top of the water.
- Once the rust is gone, clean the part thoroughly. Then you need to immediately paint or apply some rust protection – otherwise the part will start to flash rust almost straight away.
Adding in some soda crystals. Wiring up the part. The part goes in the electrolysis bath… …and the power source is connected. It should start looking like this if things are working properly.


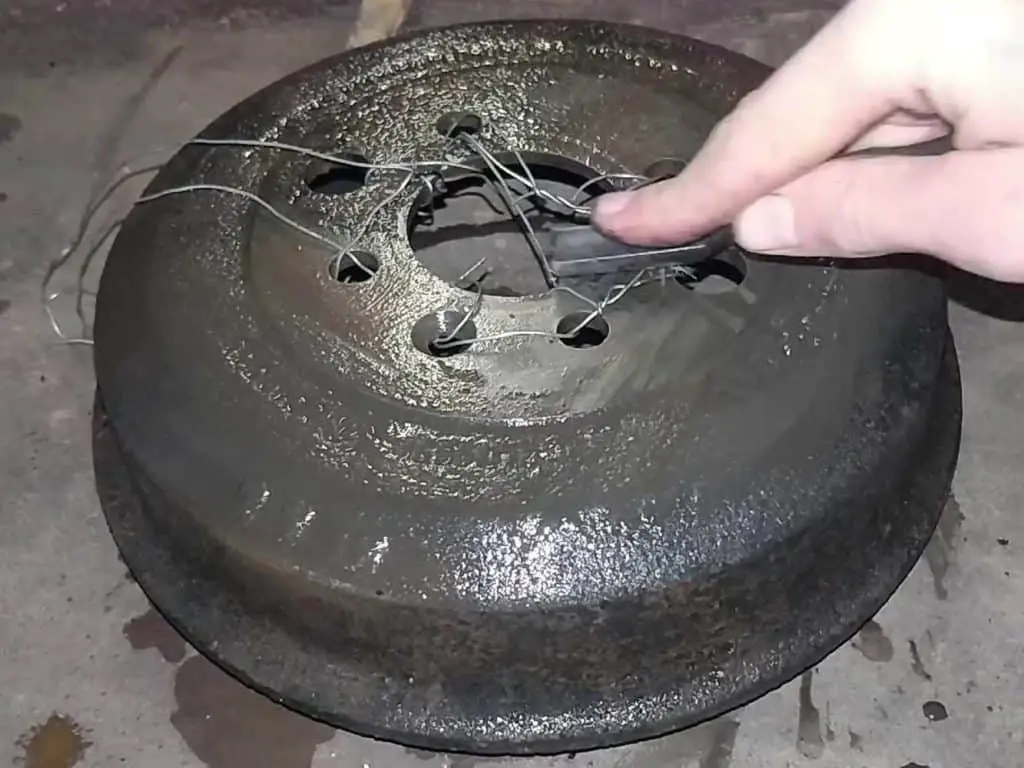
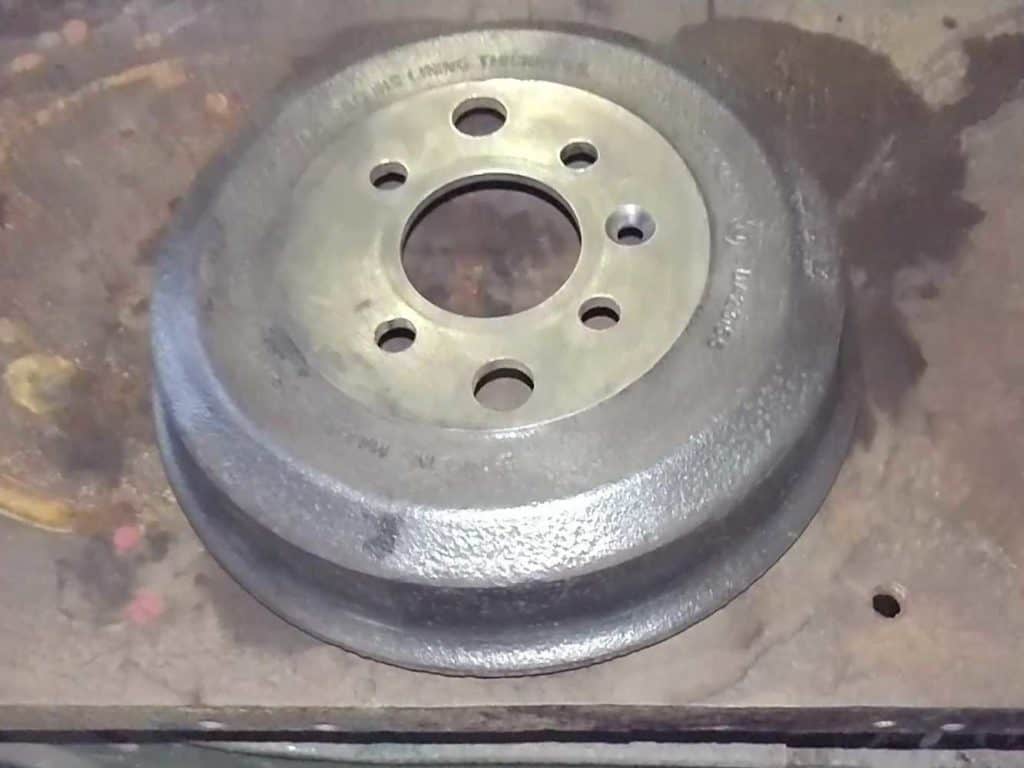
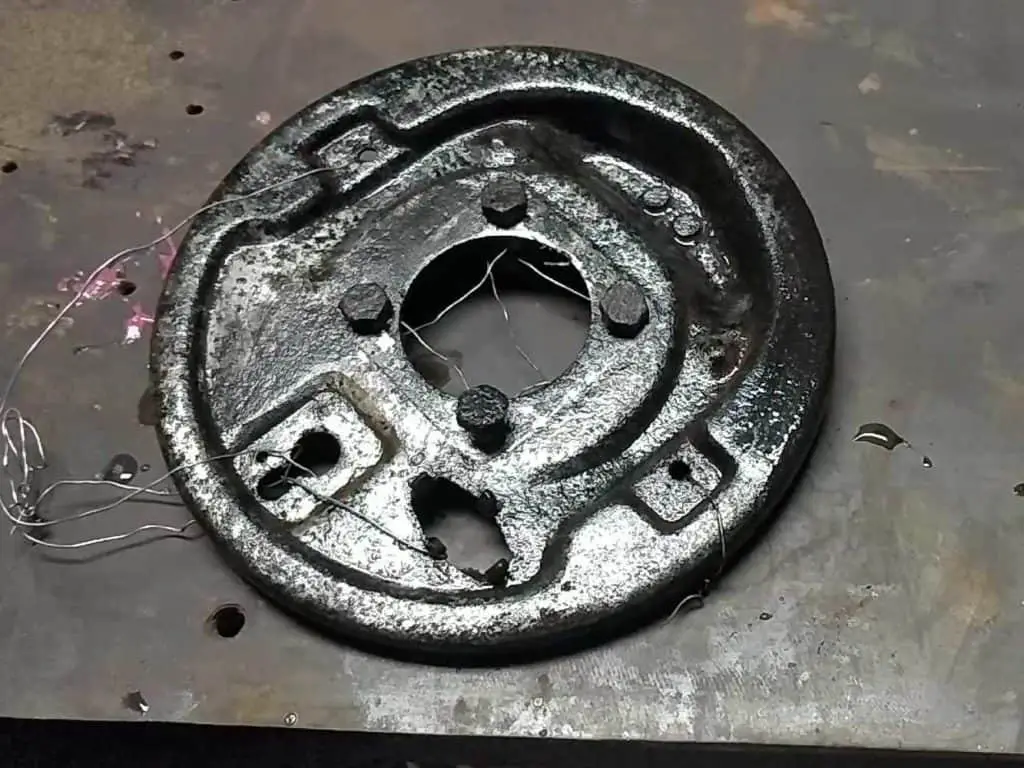
After the drums had been through the electrolysis process, they looked great!
One of the drums, straight out of the electrolysis bath. Rust free, but… …needs a good clean to remove the residue. Brake drum after cleaning and electrolysis. Almost as good as new.
Painting the Drums
With the drums nicely clean and derusted, I wanted to get some paint on them quickly, before they started to rust again.
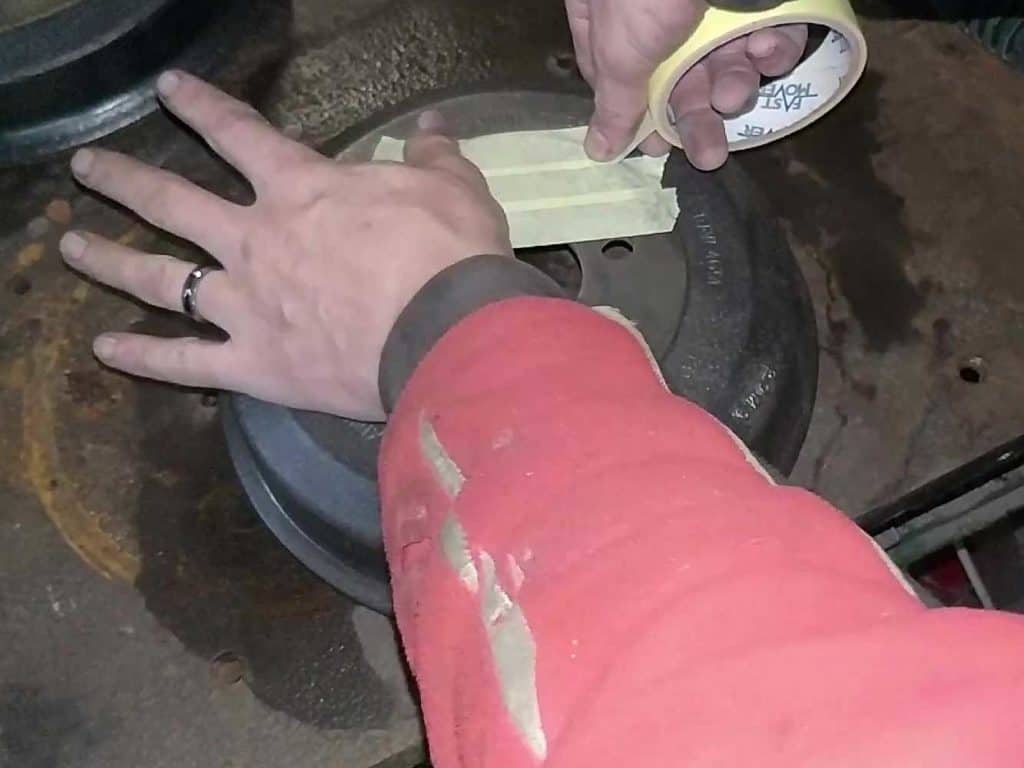
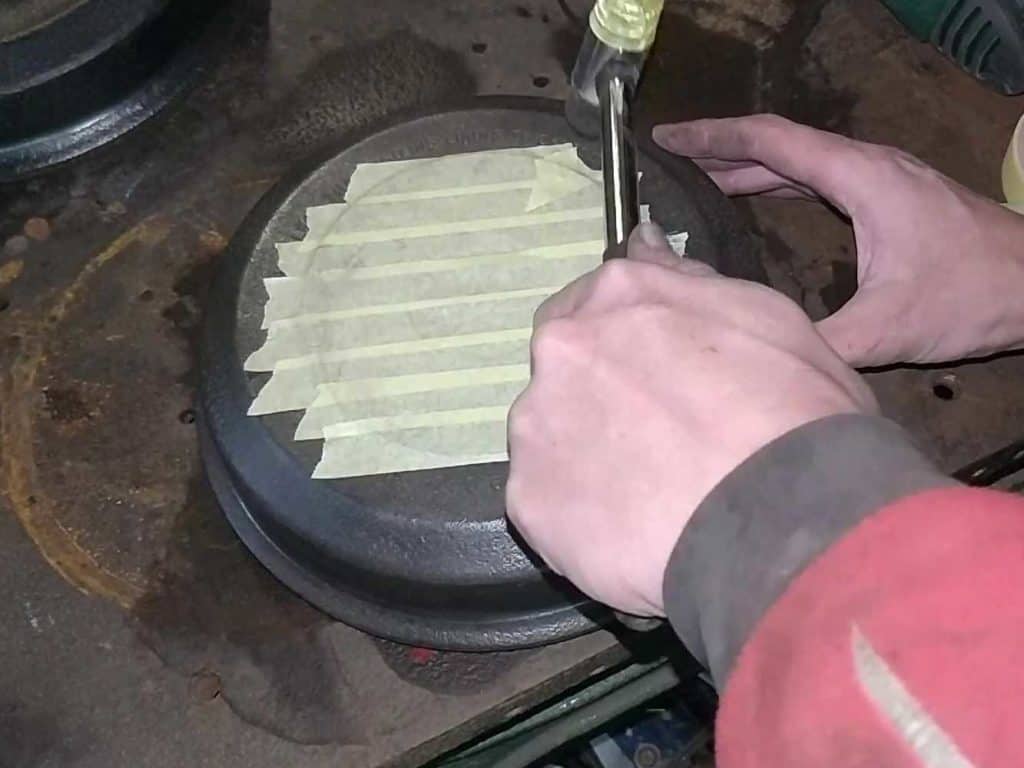
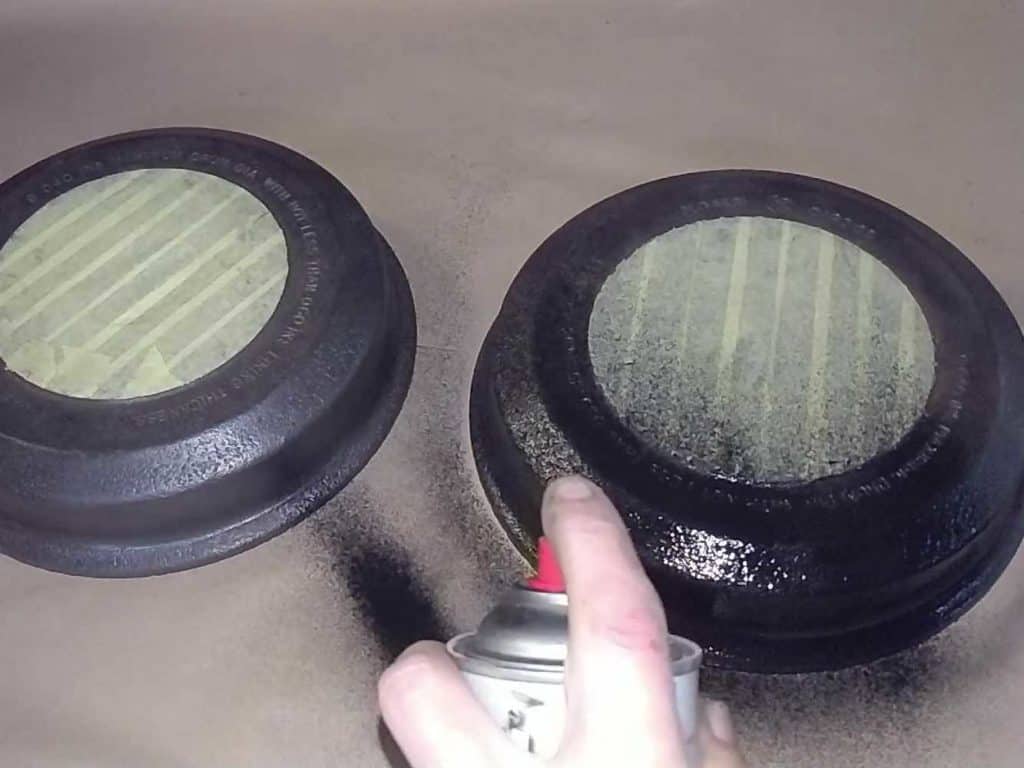
I wanted to keep the mating faces unpainted (they’d just end up scratched up anyway), so I masked those parts off and sprayed the drums with some gloss black brake caliper paint.
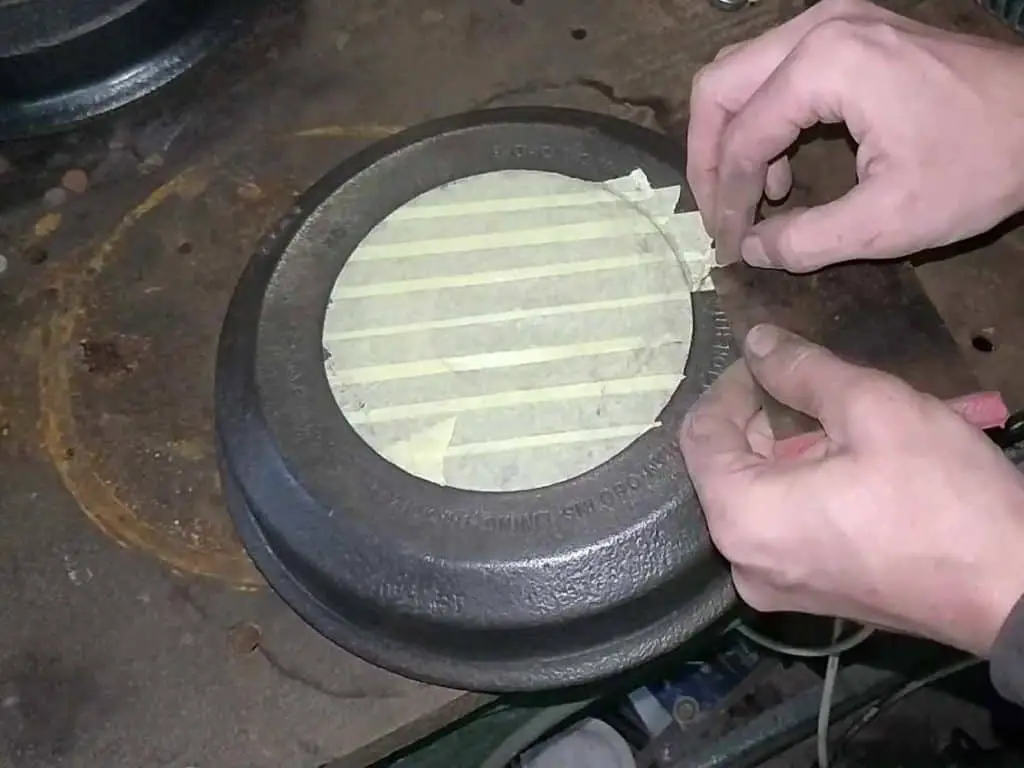
Masking off the faces I don’t want painted. If you tap the edge of the masking areas like this… …you can peel it off for a nice clean accurate masking line. Both drums were painted with gloss black caliper paint.
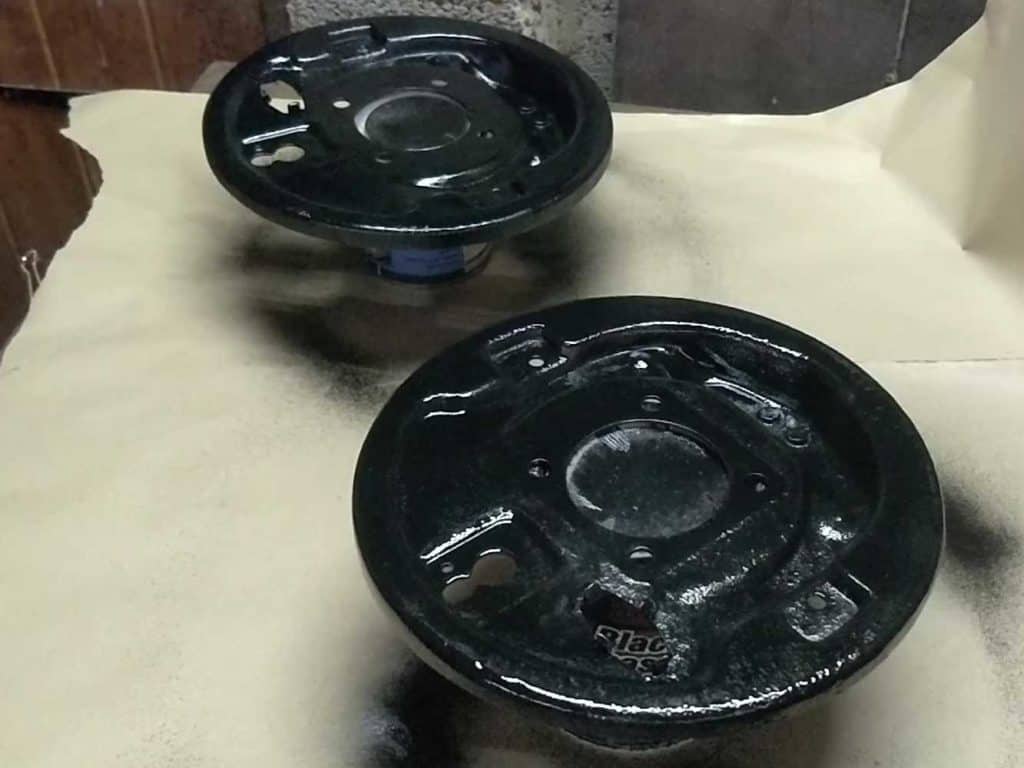
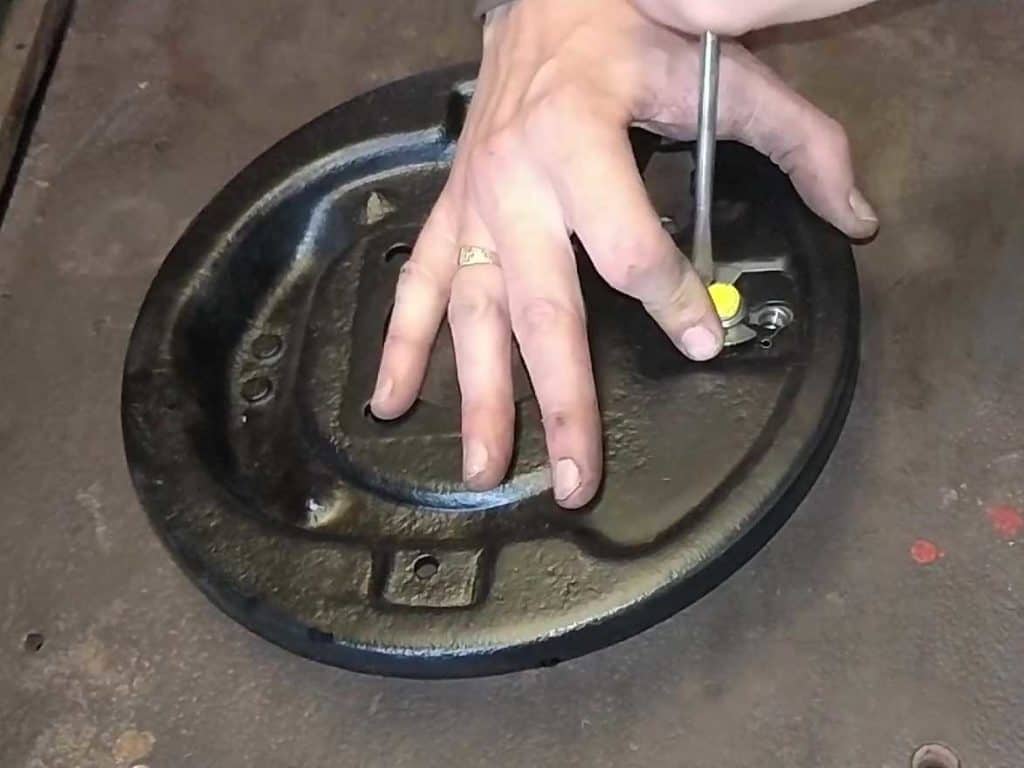
Just like the drums, the backplates were derusted and cleaned up… …and then painted.
Resurfacing the Drums
While the drums were in good shape overall, the rusting had taken its toll; the braking surfaces were a bit rough and pitted. A few hundred miles of driving would likely have cleared this up anyway, but I wanted then smooth to begin with so my new brake shoes didn’t get torn up.
The obvious solution there would have been to get the drums turned at a machine shop. But as much as I looked, I couldn’t find anywhere even vaguely local to me that still did this. I guess brake drums are cheap enough to replace these days that resurfacing old ones isn’t worth the bother for most people.
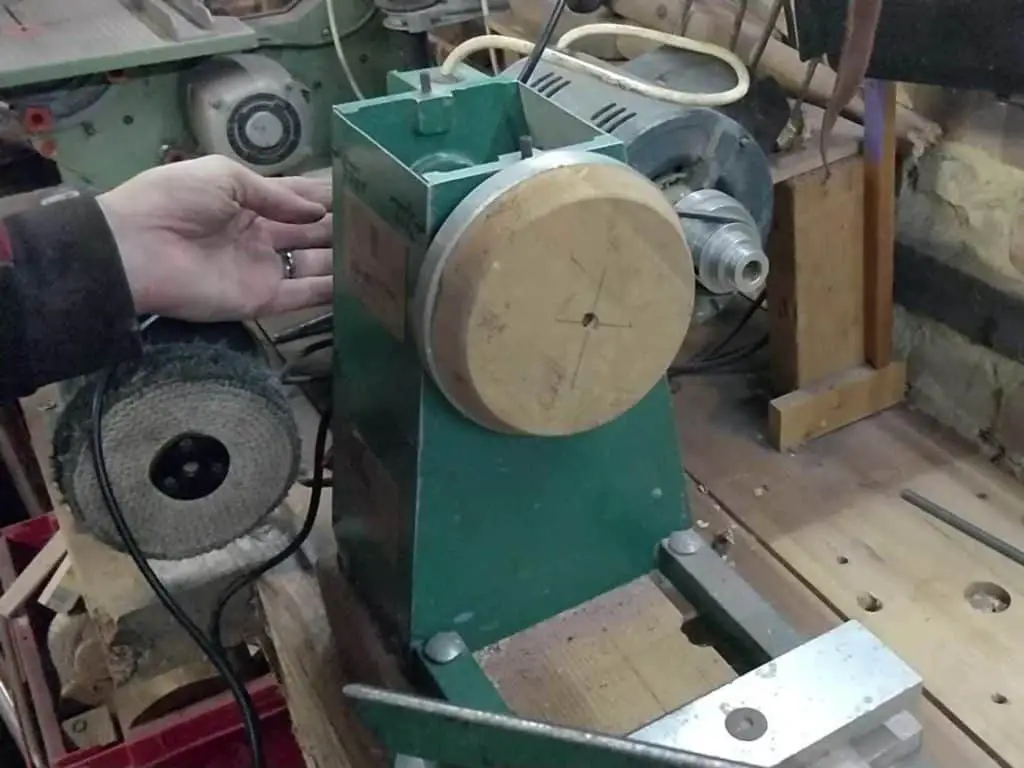
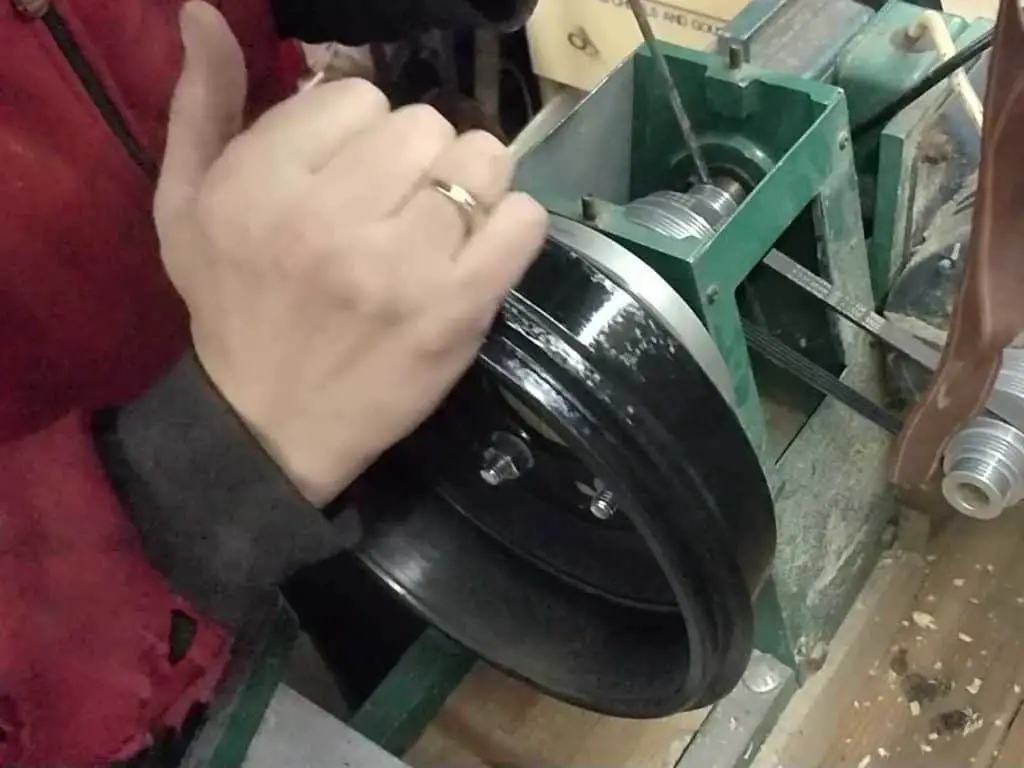
So I decided to do what I could myself; I do have a lathe. While it’s not a proper engineering lathe of the type needed to do this properly – it’s just a wood lathe – it’s still something I can work with.
I put together a mounting plate for the drums using a backing plate and some scrap wood. This sort of setup is more usually used for mounting bowl turning blanks and the like, but it was just perfect for what I needed.
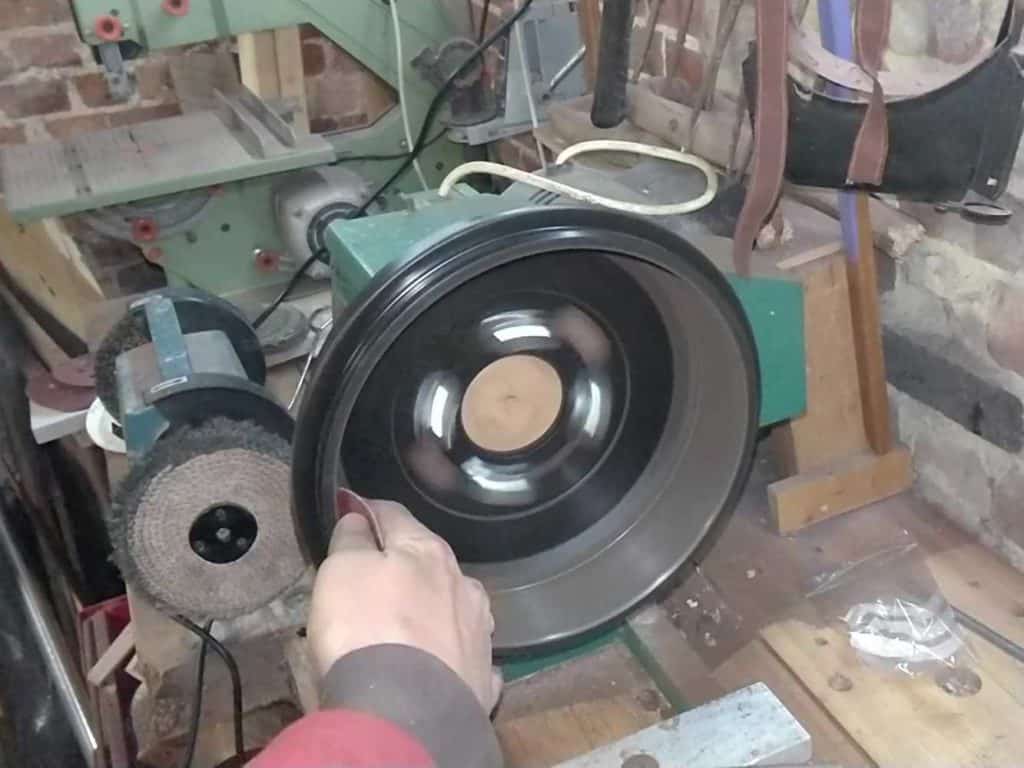
With the drum mounted on the plate, I got it spinning in the lathe and got to work with the sandpaper. I started with 40 grit and worked my way up to 120 grit, which gave me a nice smooth surface. There’s still a few pits here and there, but nothing I’m going to worry about.
Making up a mounting plate for the lathe… …and fitting the drum to it. The whole assembly is then fitted to the lathe. Brake drum at the start of work… …and finishing. Not a highly polished surface, but plenty smooth enough.

Assembling the Brakes
Now that everything was cleaned, fixed and/or replaced, it was time to put it all together.
I started with the wheel cylinders; these are attached to the backplate with annoying little sprung circlips that take ages and a lot of patience to clip into place. I used two screwdrivers and a lot of fiddling to get them fitted.
The wheel cylinder is fitted with a really fiddly circlip. 
Wheel cylinder fitted to the backplate.

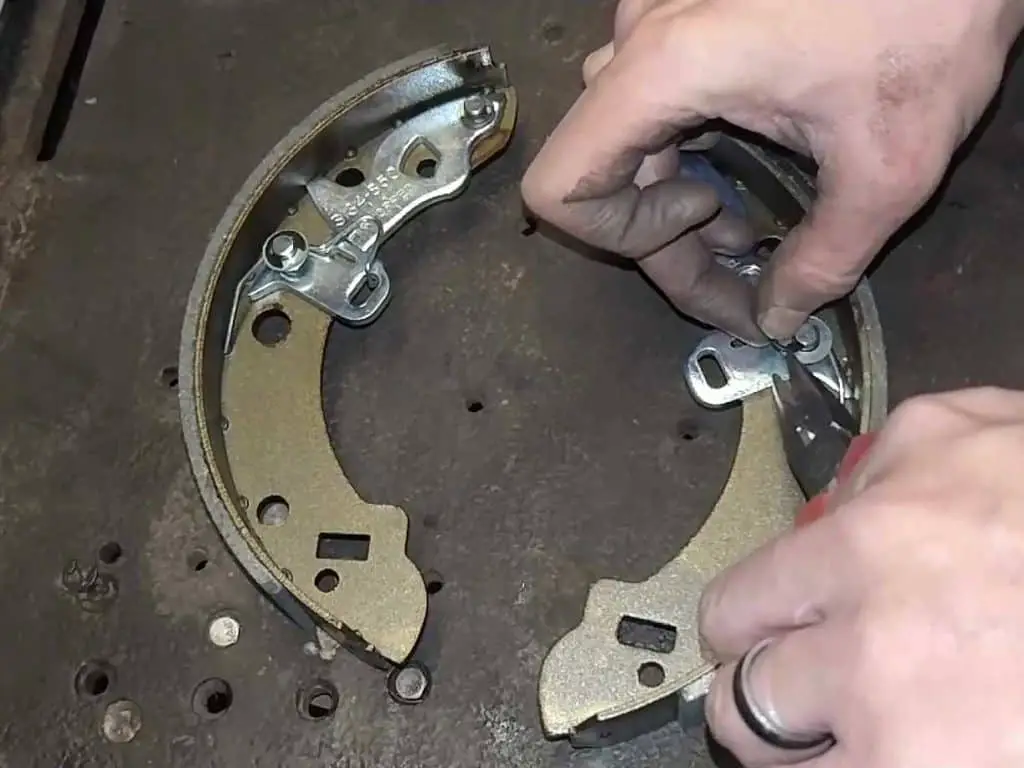
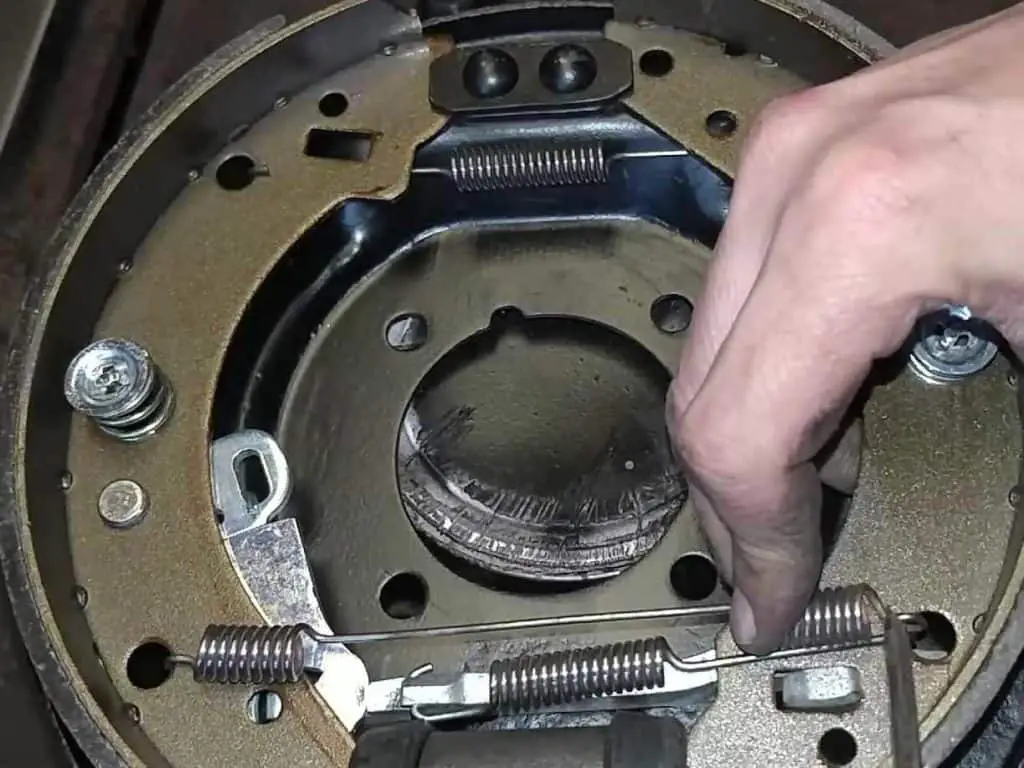
The shoes and handbrake mechanism was next. These are fairly straightforward to do, if a little fiddly. Not having the axle in the way was a big help, but having the assembly sliding about not fixed to anything made things a bit trickier when it came to fitting the springs. But all in all, not too bad a job.
I did find some great step-by-step instructions on how to assemble the brakes, which you can find here: https://drive.google.com/file/d/1g66G5QBX9e2usydH5qclzLJ5GJ-V7JSH/view
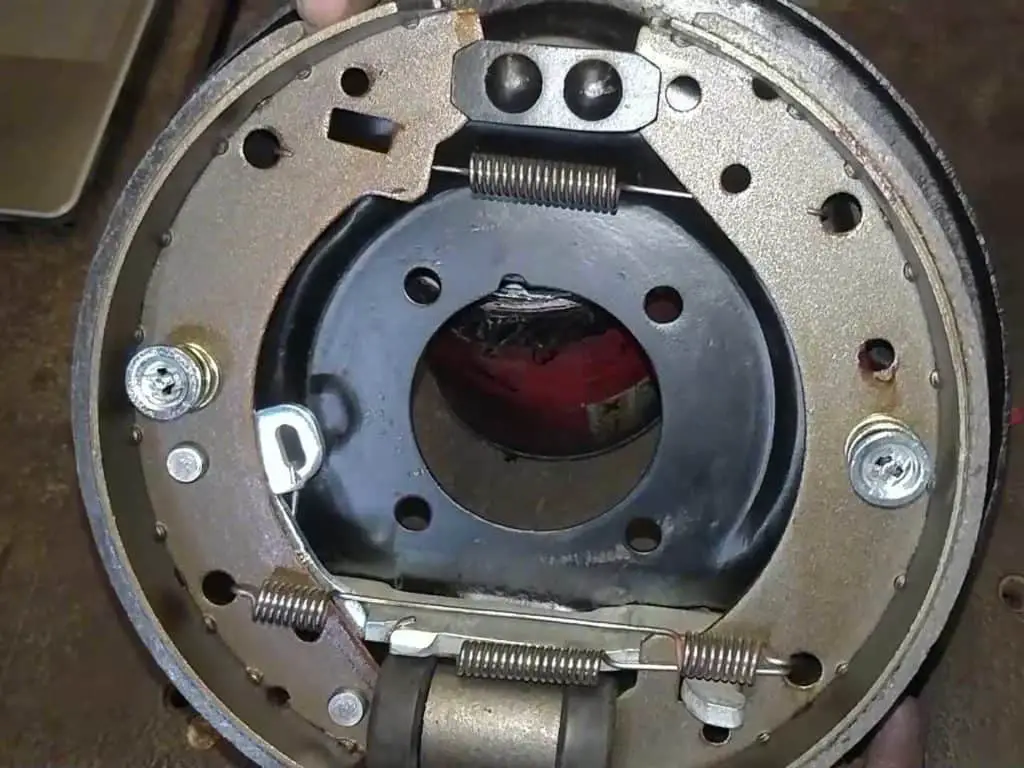
Starting to assemble the brake parts… Fiddly but not too bad. The springs took a bit of patience… The finished result, ready to fit to the car.
The completed assemblies were then fitted to the axle, just before the shafts were fitted.
The assembly was then fitted to the axle before the shafts were fitted.

Making Up the Brake Lines
Now that I had something to aim them at, the next job was fitting the brake lines.
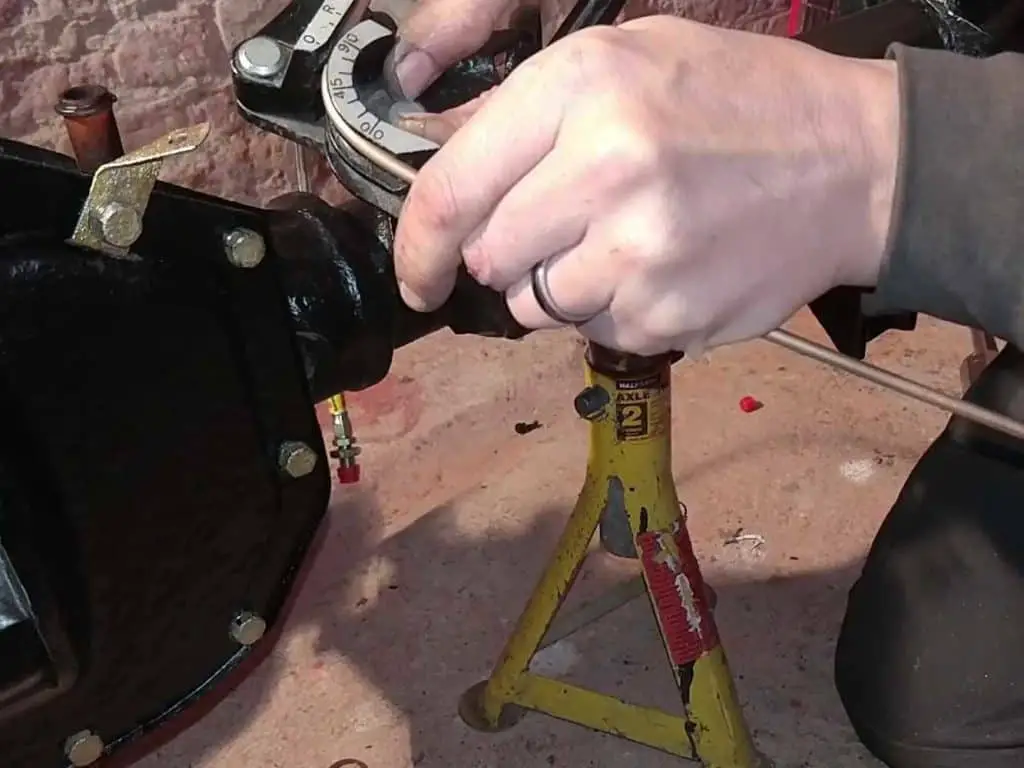
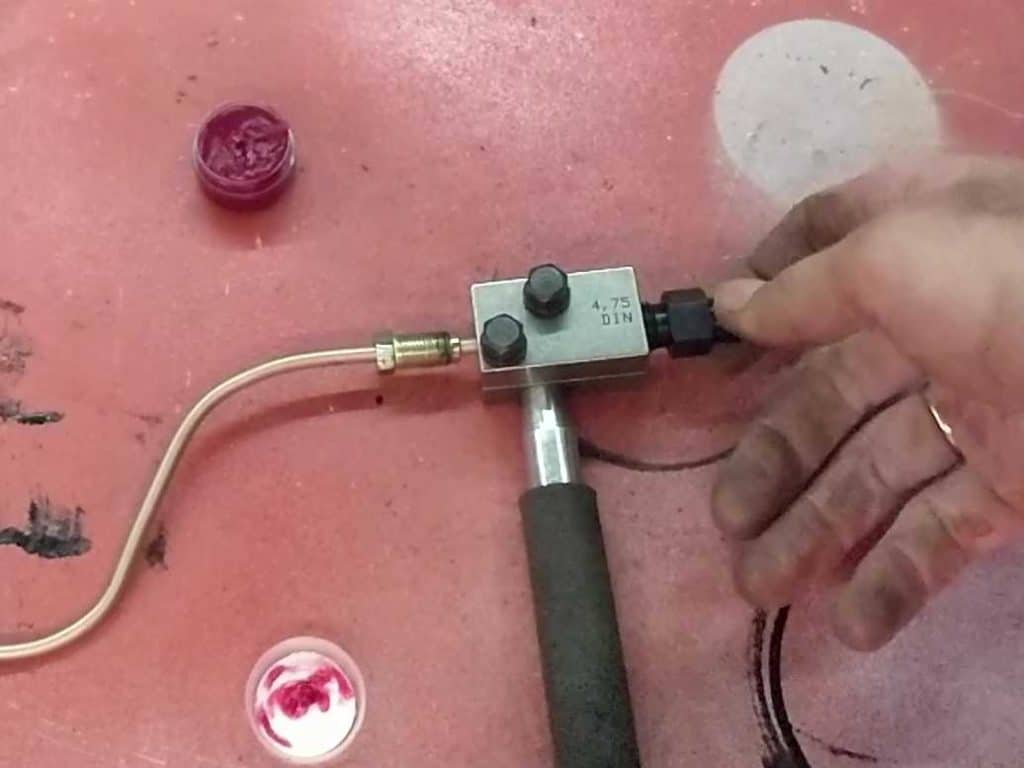
As the existing brake lines were old and rusty (probably the original steel ones) I decided to replace the lot with new cunifer (copper and nickel alloy) lines. You can buy these ready made, but I already had the flaring tools I needed to make up my own lines so that was a no-brainer for me. The pre-made ones still need bending to shape, and that’s the tricky part IMO.
If you’re looking to do this yourself and you’re not sure about making your own pipes, then by all means buy the pre-made ones rather than messing up the flares. Better safe than sorry, after all.
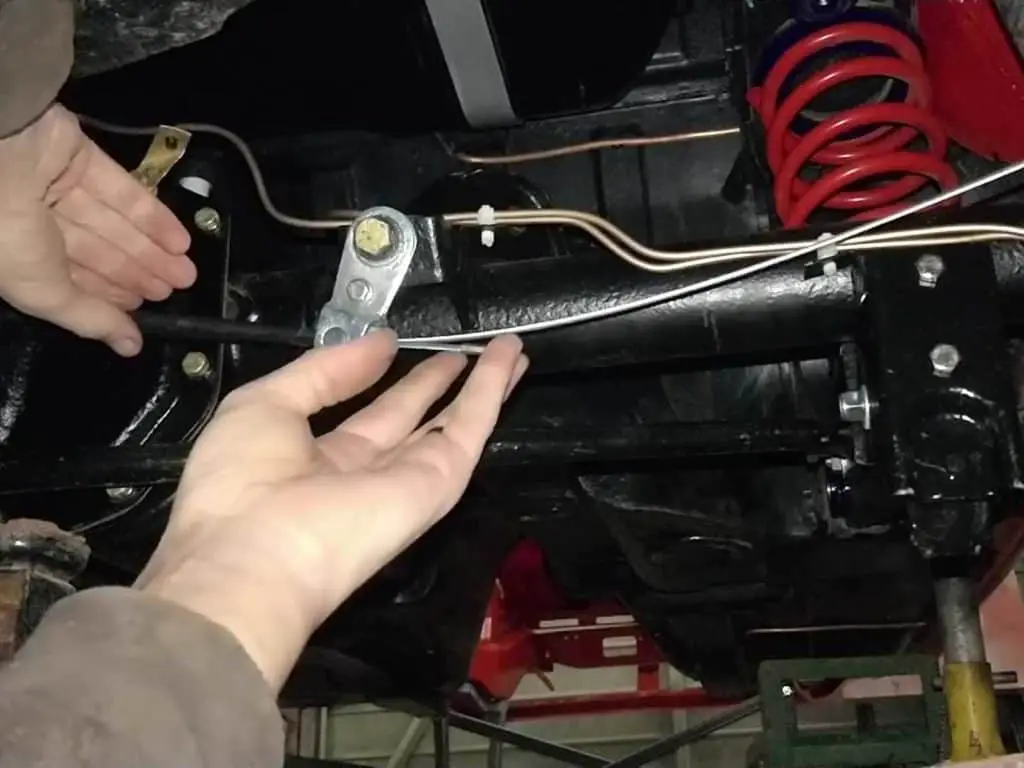
Bending the new pipe to shape… …before adding the ends using my flaring tool. Completed pipes being fitted to the axle.
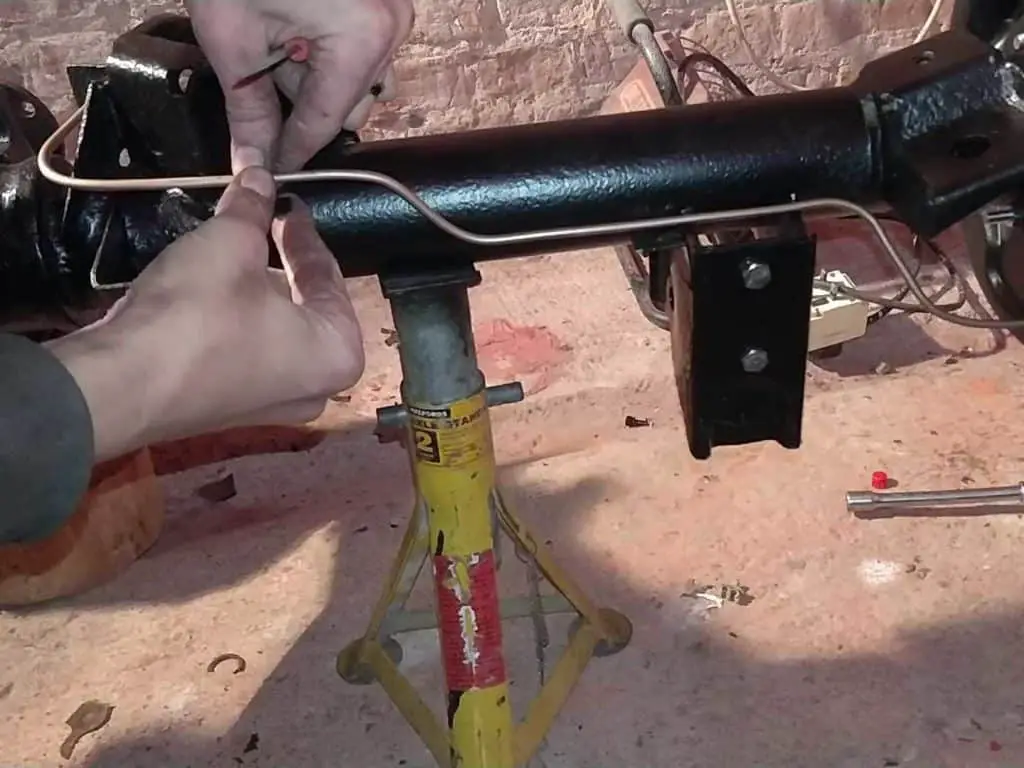
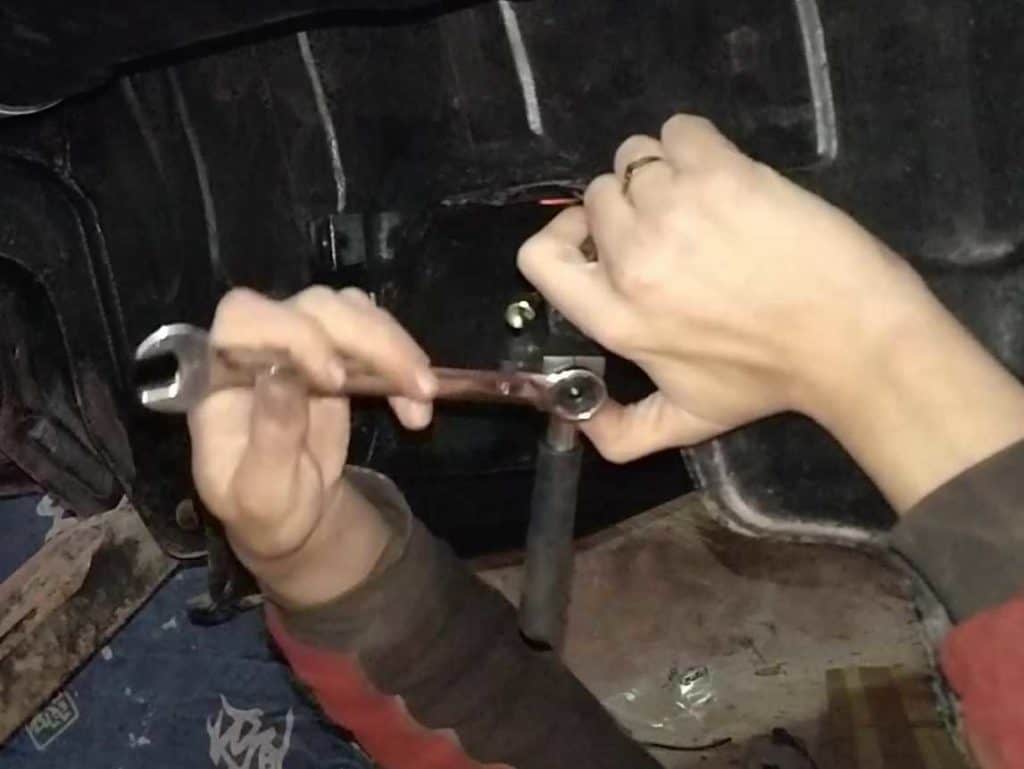
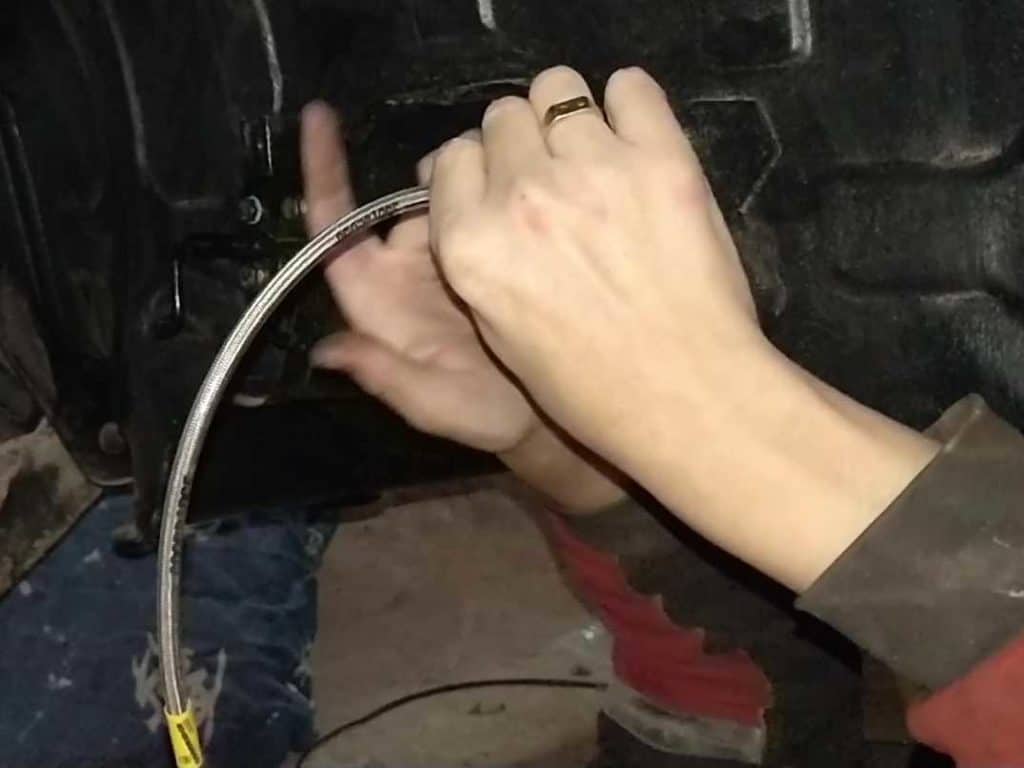
The last job before fitting the axle was to make up the brake line to the front of the car. With that done, I fitted the flexi line and then the axle was ready for fitting.
Adding the flared end to the brake pipe going to the front of the car… …and fitting the flexi hose.
Fitting the Handbrake
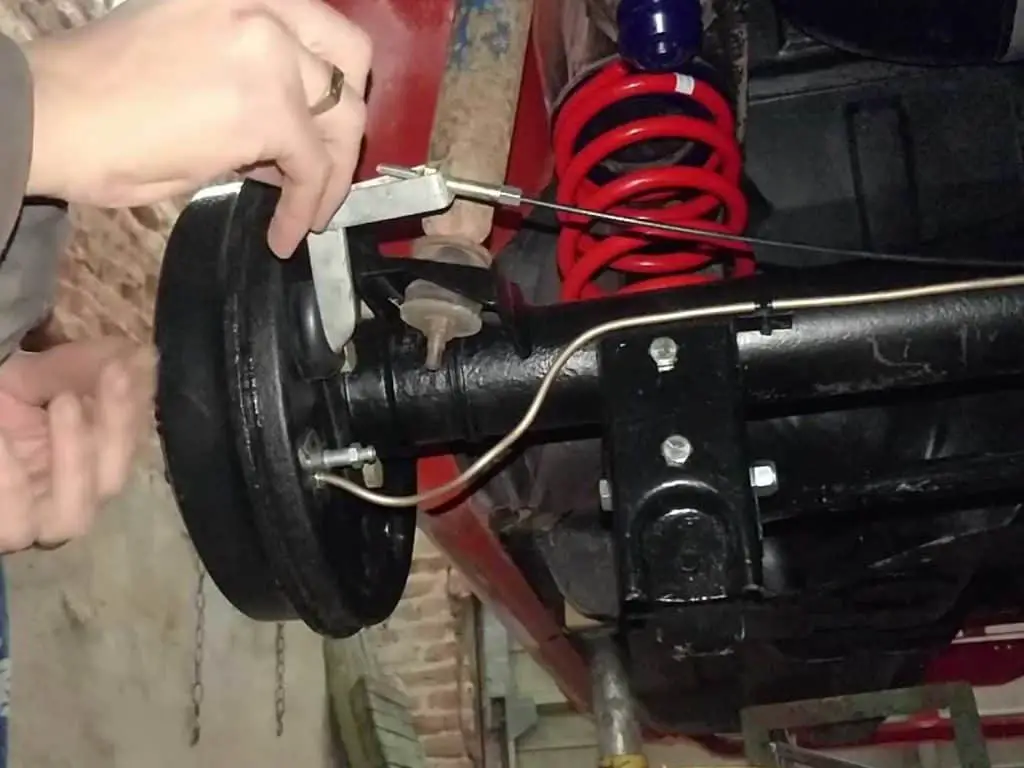
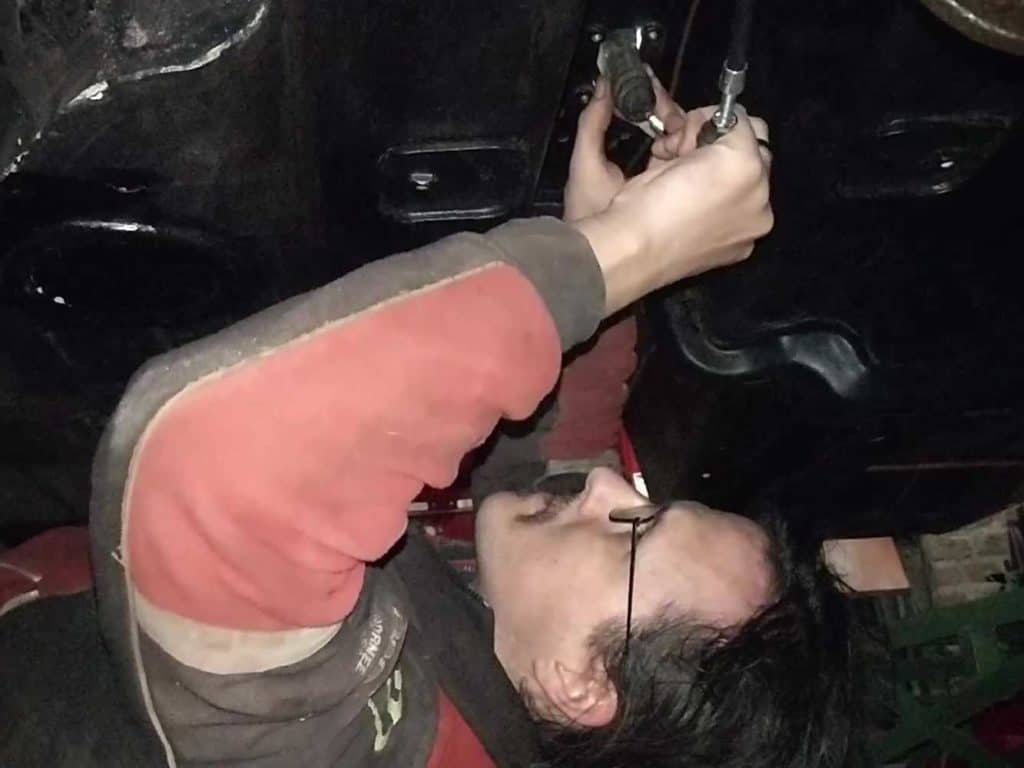
Once I fitted the axle, my next brake job was fitting the handbrake. I had a new cable, and with that and all the new shiny parts, everything was nice and simple to fit. I still need to do some final adjustments, but I’ll do that once I’ve got the car running and have used the brakes a bit. For now, though, they hold on fairly well.
Fitting the handbrake… …and adjusting it at the wheels. Fitting the handbrake cable inside the car… …and bolting the handbrake down. Job done.


The Video
And as usual, here’s the video! Enjoy!
Nice work, and you have the brake springs on the correct way! Most folks manage to get them wrong.
Haha, yes, I took a fair bit of time to make sure they were right!