With the front end all stripped and painted, it was time to get cracking on with the doors. This was one area I knew was going to need some rust repair – hopefully one of the final parts that did.
Getting the Doors Off
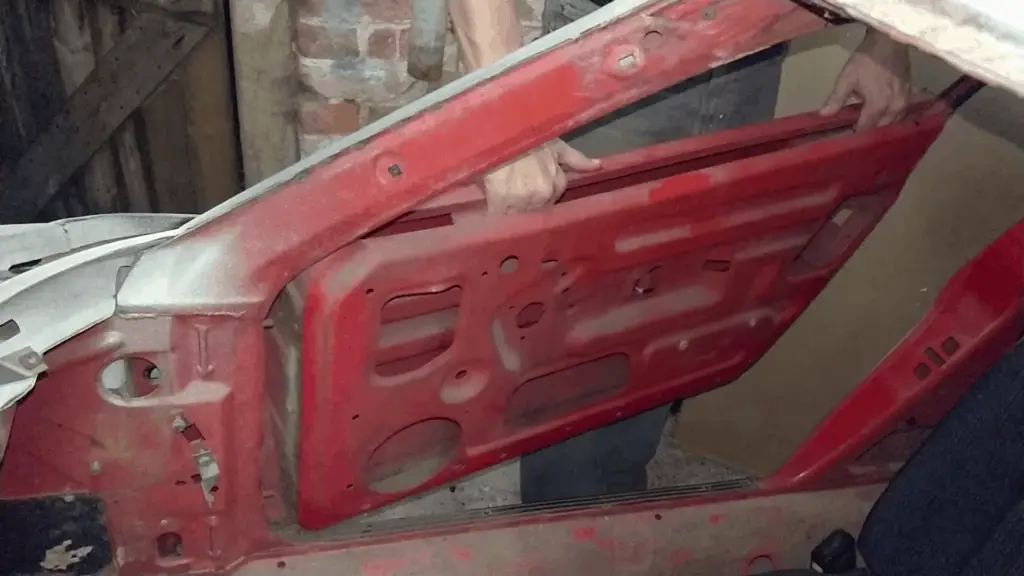
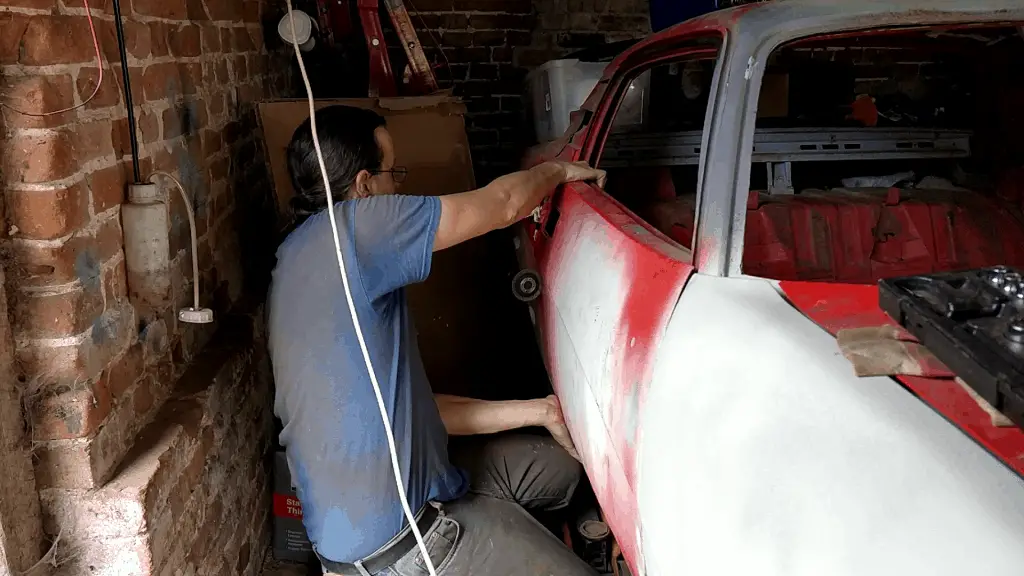
Thanks to the stripped down state of the car while the restoration is ongoing, getting the doors off was a fairly simple task. The door cards had long been removed of course, and even the door latches had been taken off. So all that remained was to undo the six bolts holding the door to the hinges and then the whole door simply lifted off.

It’s easy getting the door off when the car is already stripped.
Inspecting the Damage – Door Bottom Rust
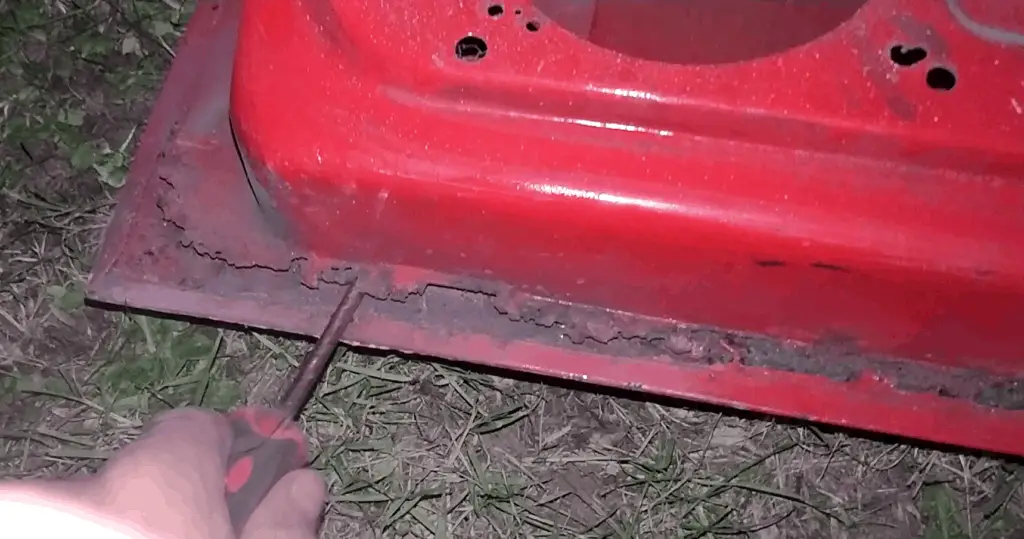
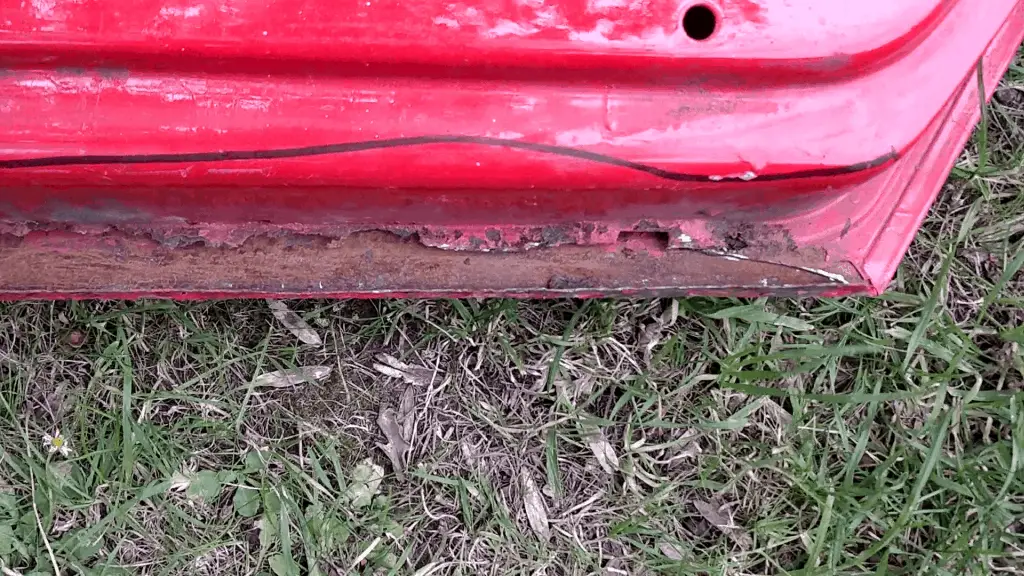
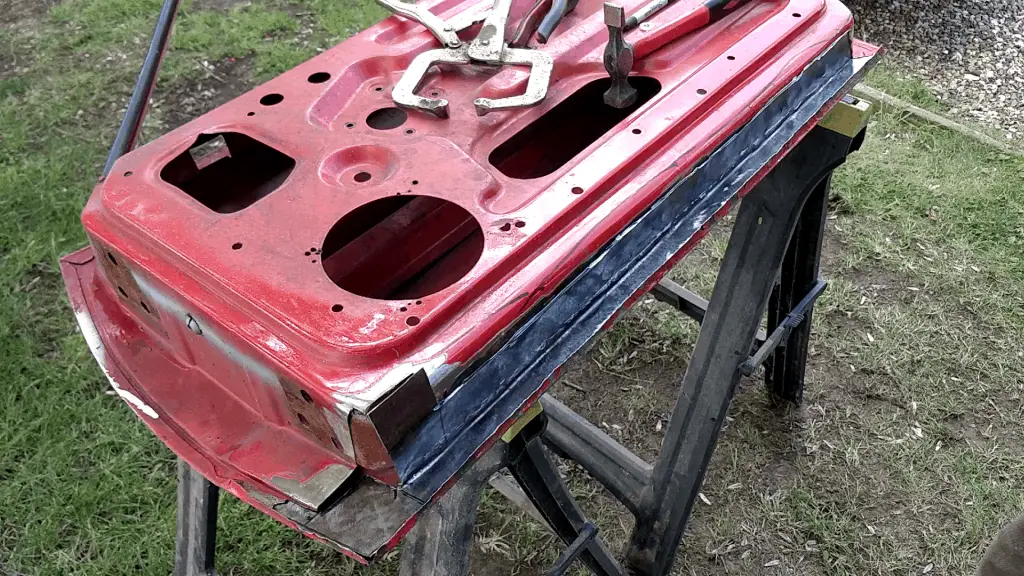
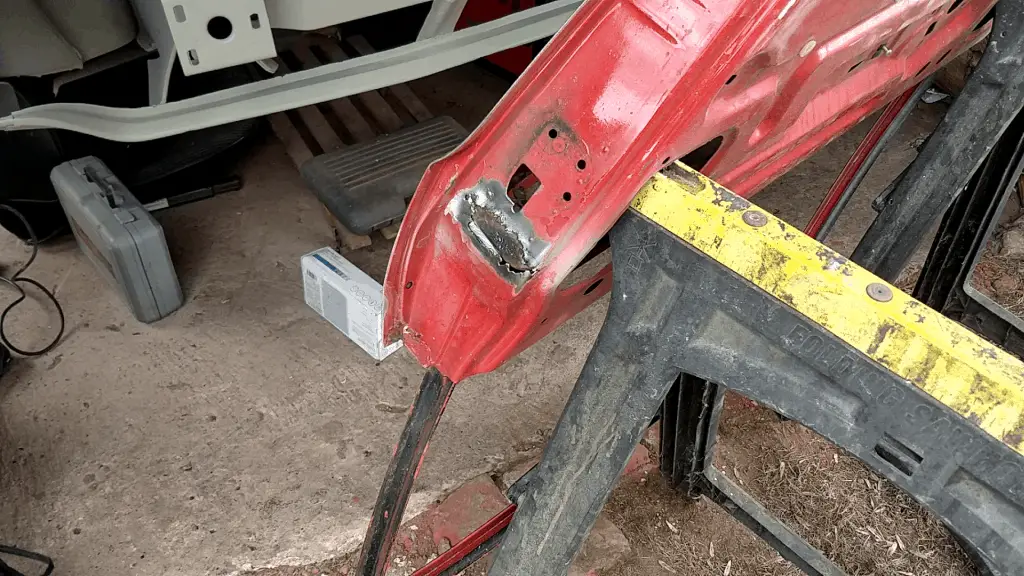
With the doors off, it was time to inspect them. I knew the drivers door was going to need some heavy repair work on the bottom; the whole bottom of the door could be pushed in by hand. It’s a common problem for cars, particularly classic cars; the drain holes get blocked at the bottom of the door which then leads to water sitting inside the door which rusts it out. Unfortunately the driver door was rusted away beyond a simple patch panel; something serious was going to be needed.

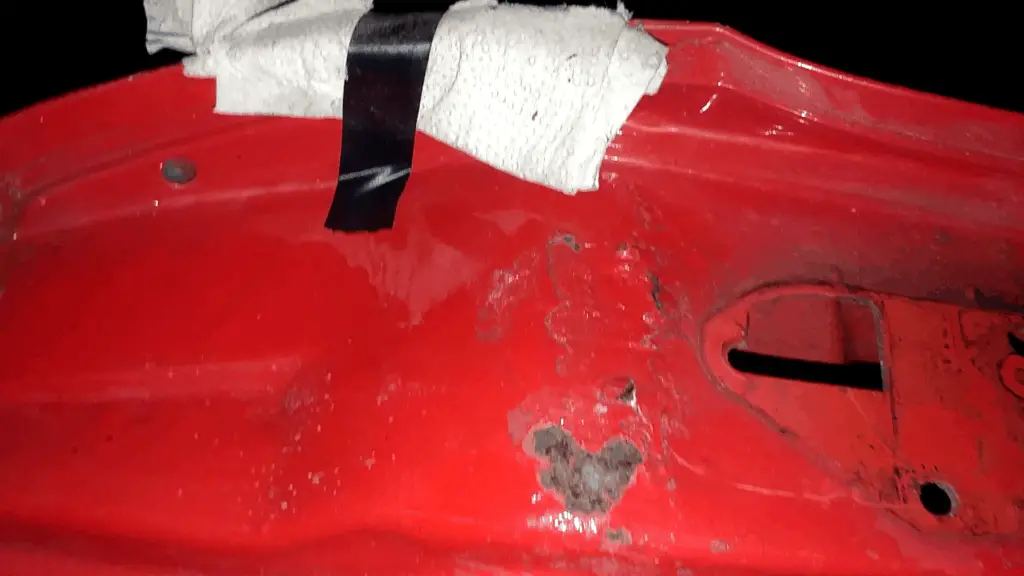
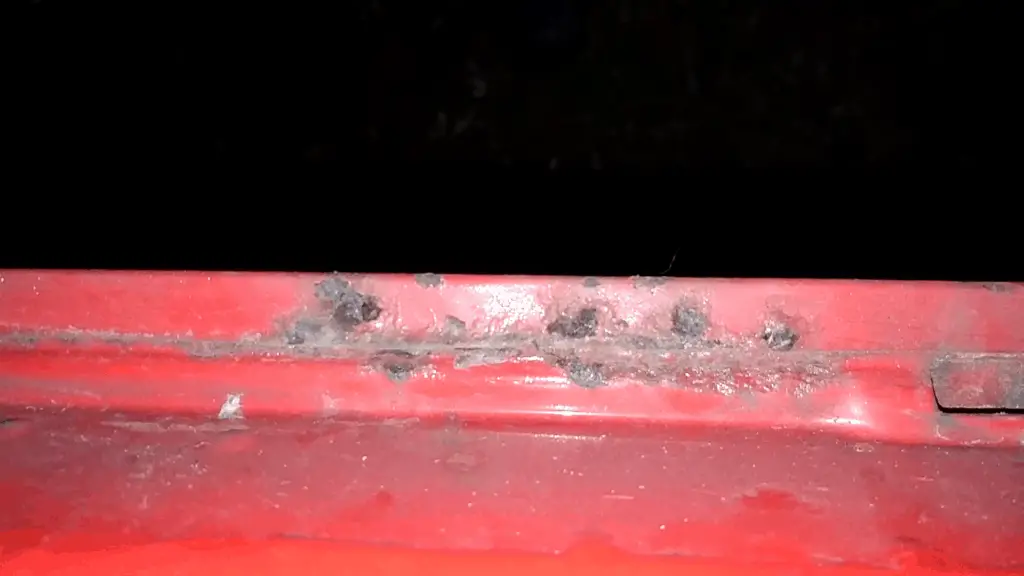
The worst part was at the front, but the whole door bottom was rusted away. Also a strange rough patch just below the door catch. A bad rust repair?
The passenger door, on the other hand, wasn’t bad at all. Just a few scabby areas.
This was the extent of the rust on the passenger door. Much better!
Preparing the Door for Welding
While the passenger door wasn’t going to need much work, if any, the driver door was going to need most of the bottom cutting out and replacing.
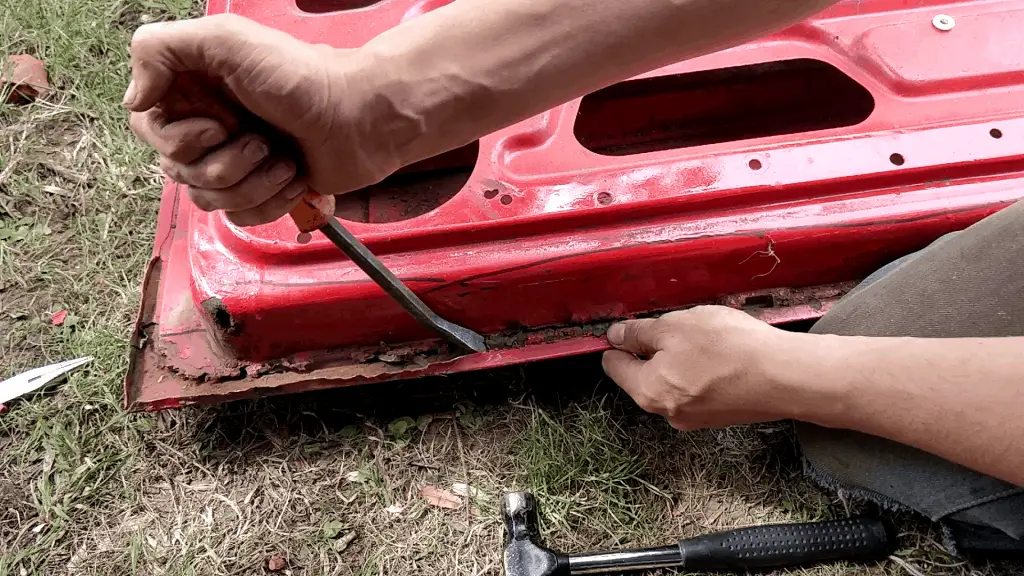
So I started by pulling the old metal out. The tricky bit was levering the door skin off; there was nothing much wrong with the external skin and I didn’t want to damage it, so I had to carefully lever the folded parts up to release the metal underneath. There aren’t any specialised tools I could find that do this – it seems like most door skin removal tools are just meant to cut or grind the skin off with a mind to replacing them. So I did the best I could with a mixture of pliers, chisels and a screwdriver or two – whatever could get under the metal and lever it up the best. It was long and tough work, but I got there in the end.
Slow and painstaking work. But I managed to get the old metal out without damaging the skin.
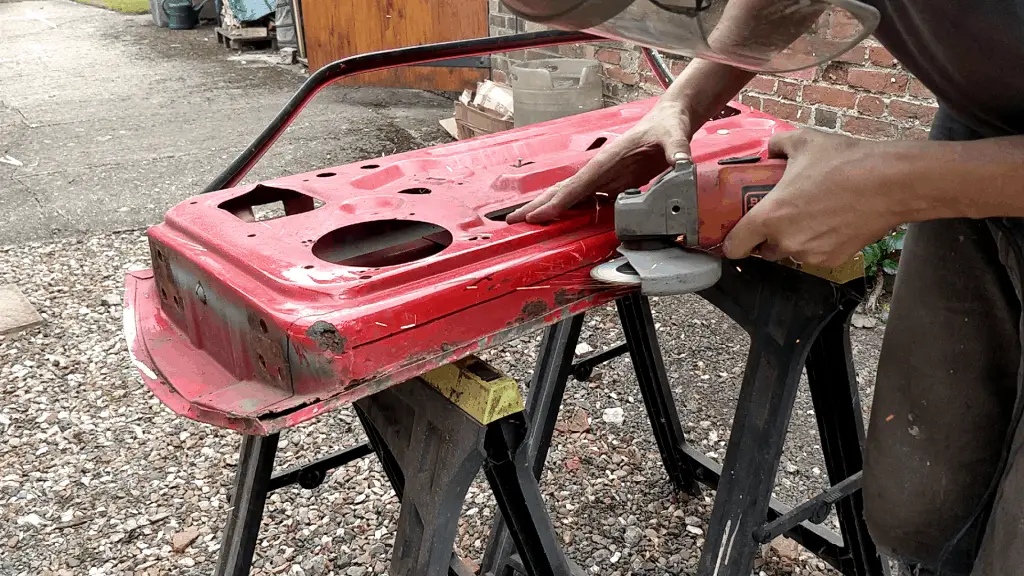
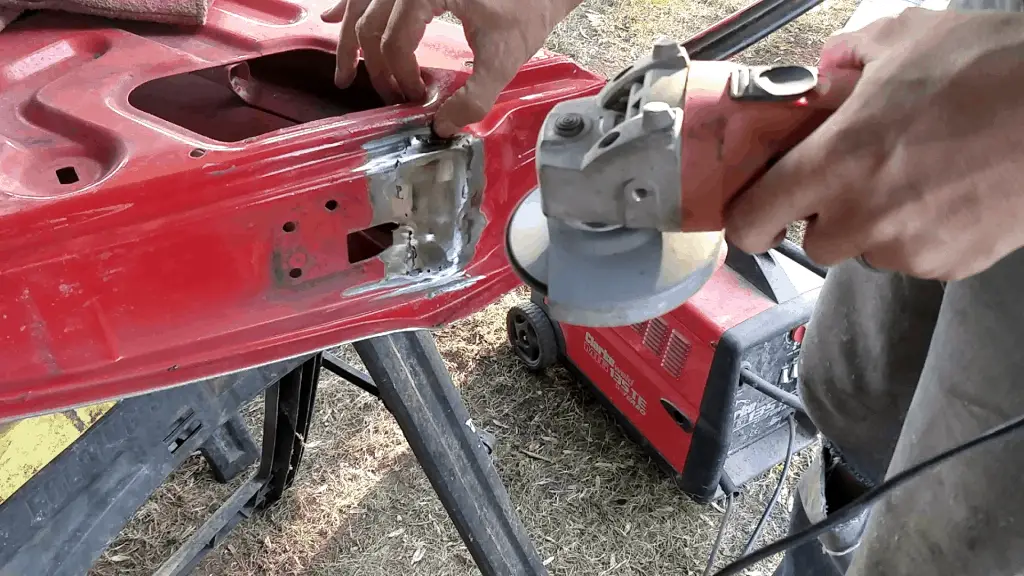
With that done, I pulled out the grinder and cut the rest of the metal out. That part was much easier! The only tricky part was at the front which needed a dremel cutting wheel to get the tight corners.
The angle grinder made short work of this… With a dremel for the fiddly bits.
Making a New Repair Panel
While there are repair panels available, they don’t cover the tricky curved parts around the front, so I figured if I was going to need to fabricate that myself I might as well save some money and do the whole thing from scratch.
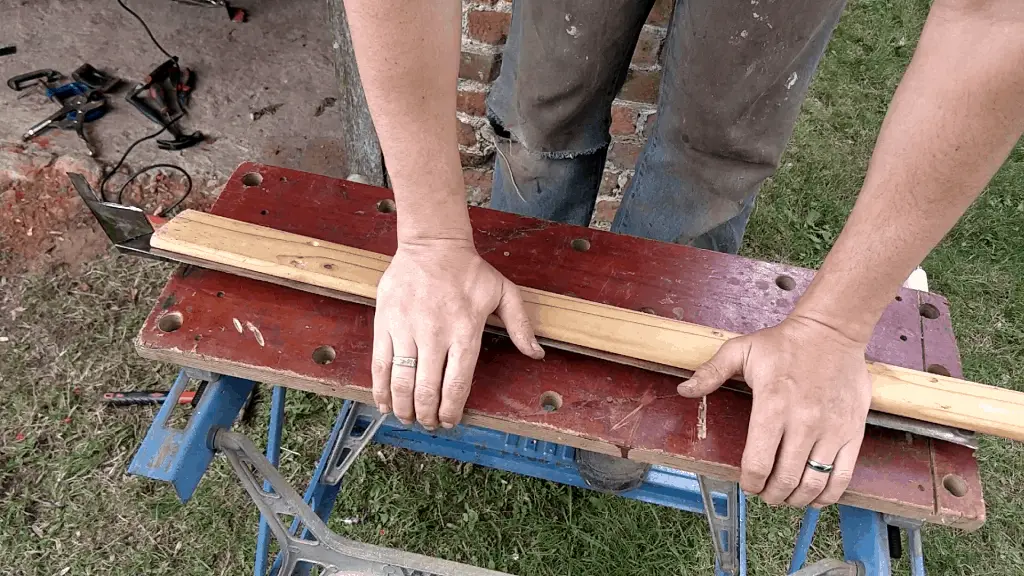
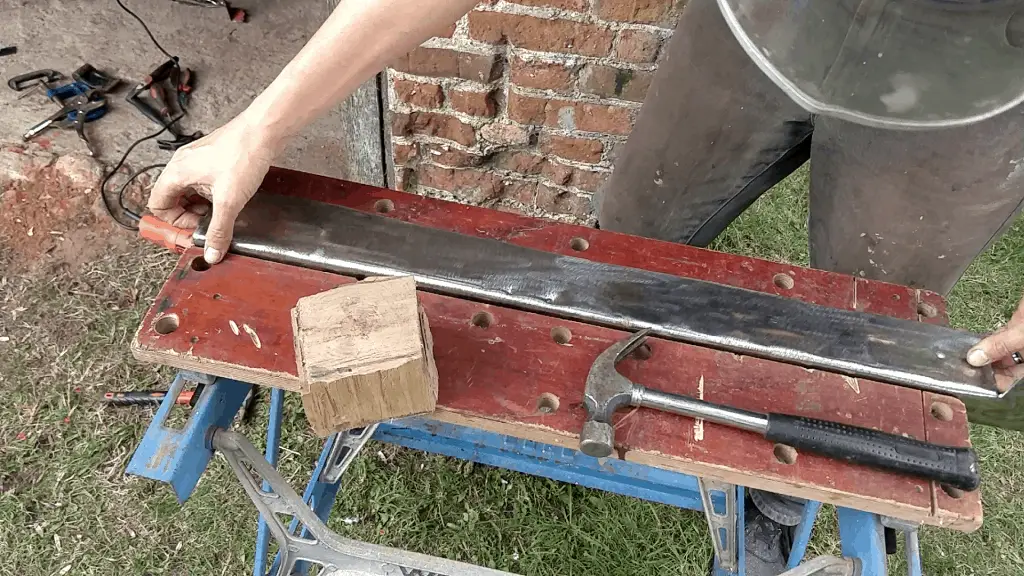
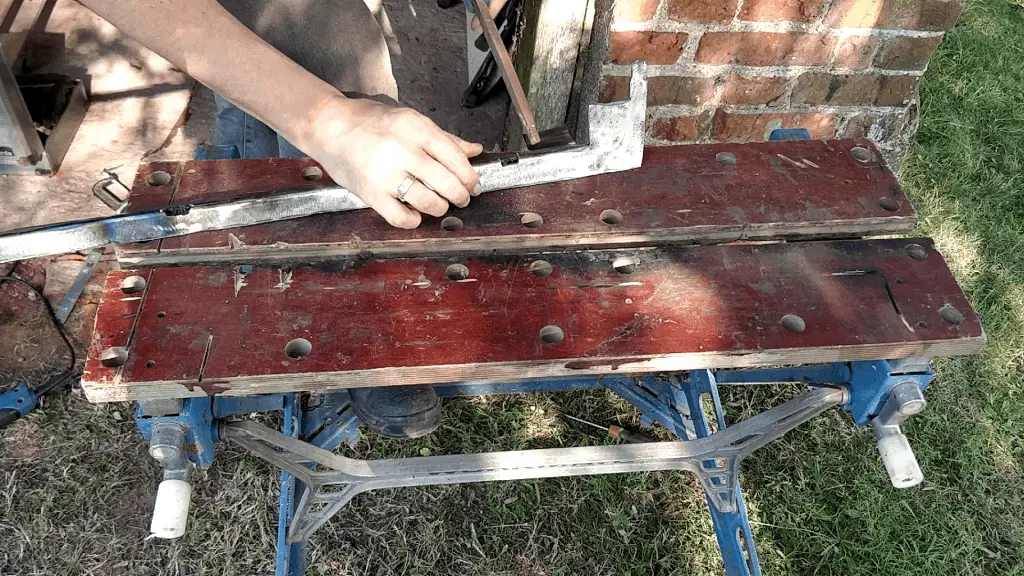
So I started with a flat sheet of steel that I then cut roughly to shape. A brake press would have been ideal here, but I don’t have one. I considered buying one for the job, but it would have just been something else taking up space. So I improvised with a workmate, a bit of wood and a hammer!
Starting with a flat sheet… A bit of bending… And it’s good to go!
Then I spent a fair amount of time cutting and shaping the panel to fit the gap, as well as cutting out some new drain holes (considering what happened before, that was an important step).
Just one of many test fits. Cutting out new drain holes.
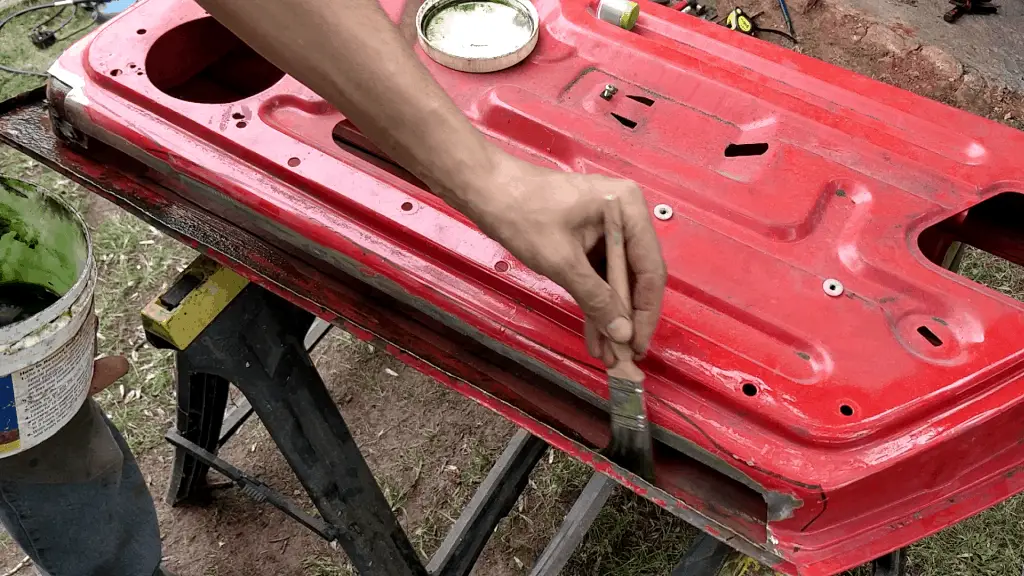
I also cleaned up the door panel and used a rust converter gel to neutralise any rust left over. Once the new panel was in I wouldn’t be able to get to this area again, so I wanted to make sure any rust was gone. I then painted the area with black chassis paint to make sure it stayed rust free.
Some rust converter gel… And chassis paint should protect this area.
Welding the Repair Panel in Place
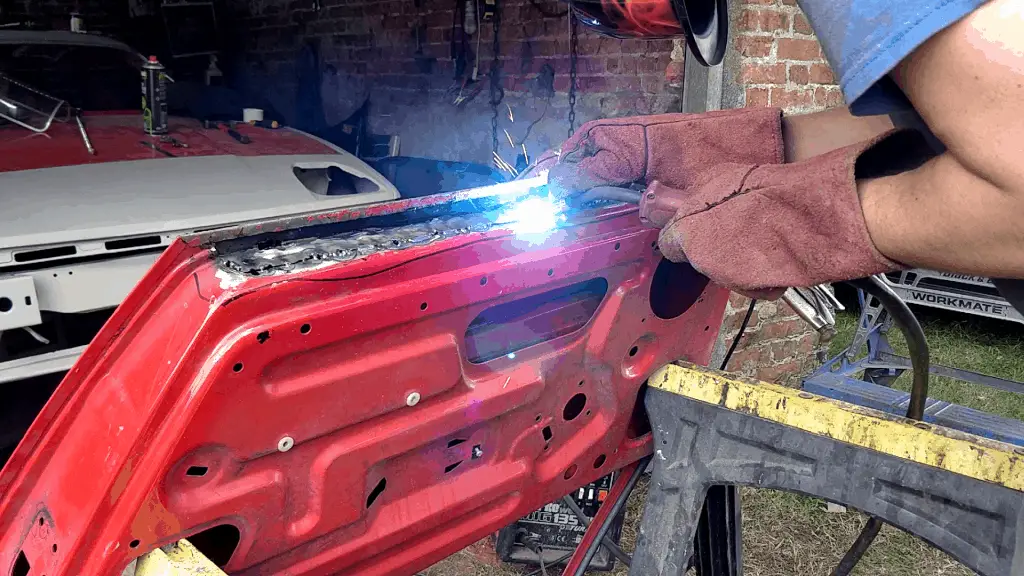
After a lot of cutting and fettling and countless test fits, it was finally time to weld the panel in.
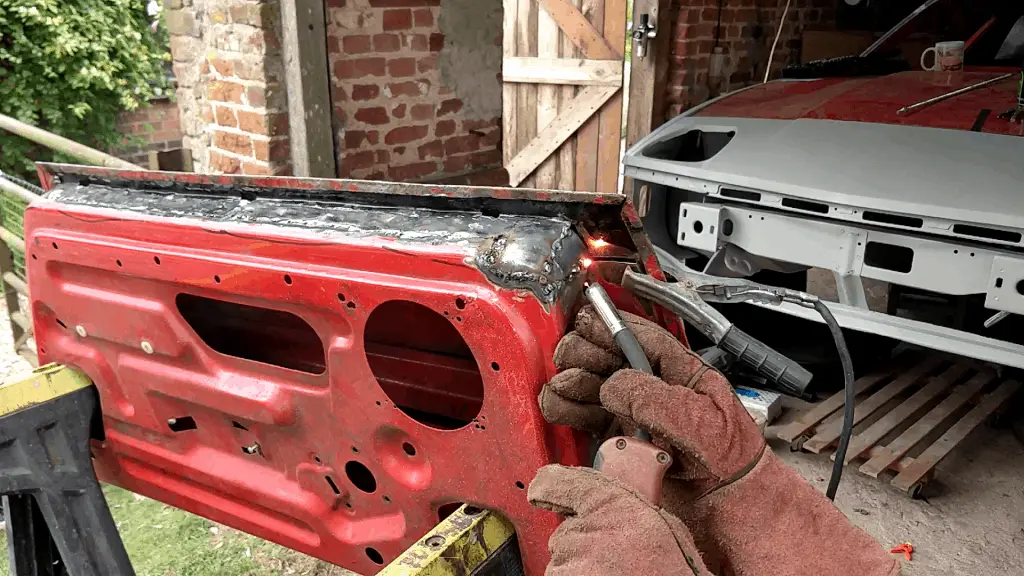
I started with a couple of tack welds and then fitted the door to the car, just to make sure it was fitting okay and nothing was fouling. Once I was happy with that, I got to work welding it in properly. It was a big long weld and I took my time so as not to warp the panel, but it all worked out well. The tricky part was the corner part on the front of the door, which I got around by welding in a seperate corner piece after hammering in to shape.
Test Fitting The Door Welding in Place Welding the fiddly rounded section
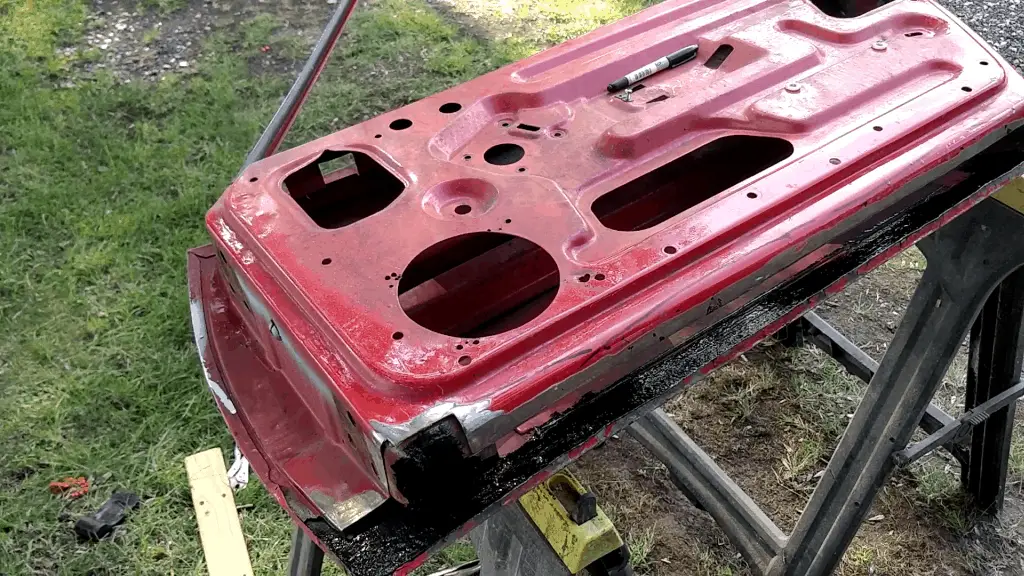
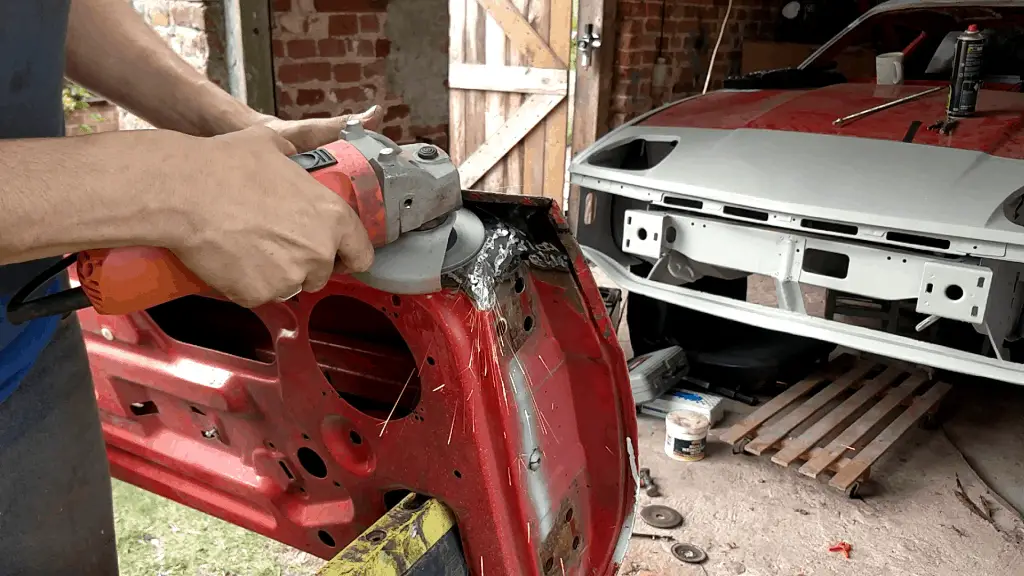
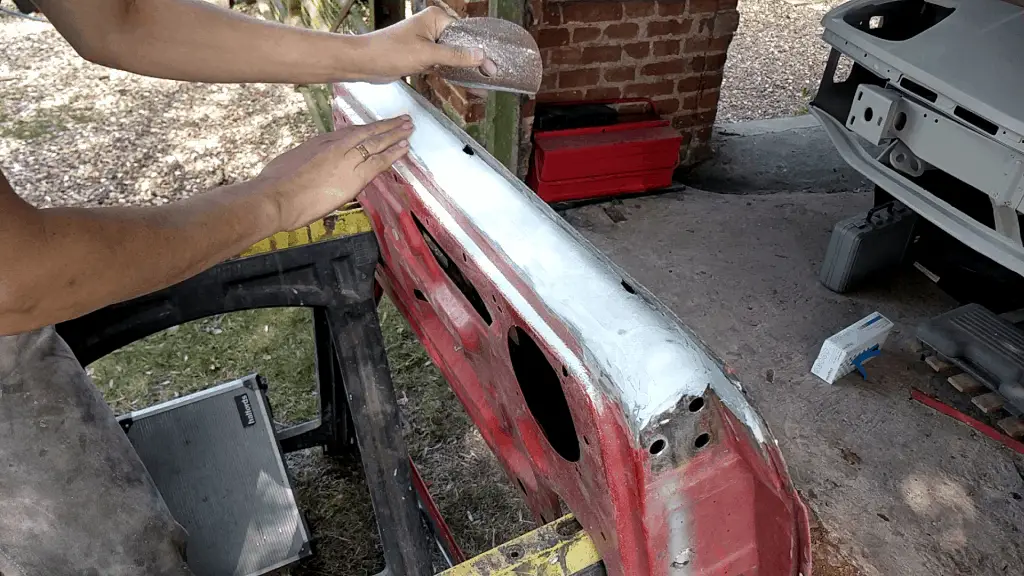
With that done, a bit of work with the grinder to smooth out the welds and a bit of body filler and the work was done.
A bit of smoothing with the grinder… And finishing up with some body filler.
The Smaller Repair
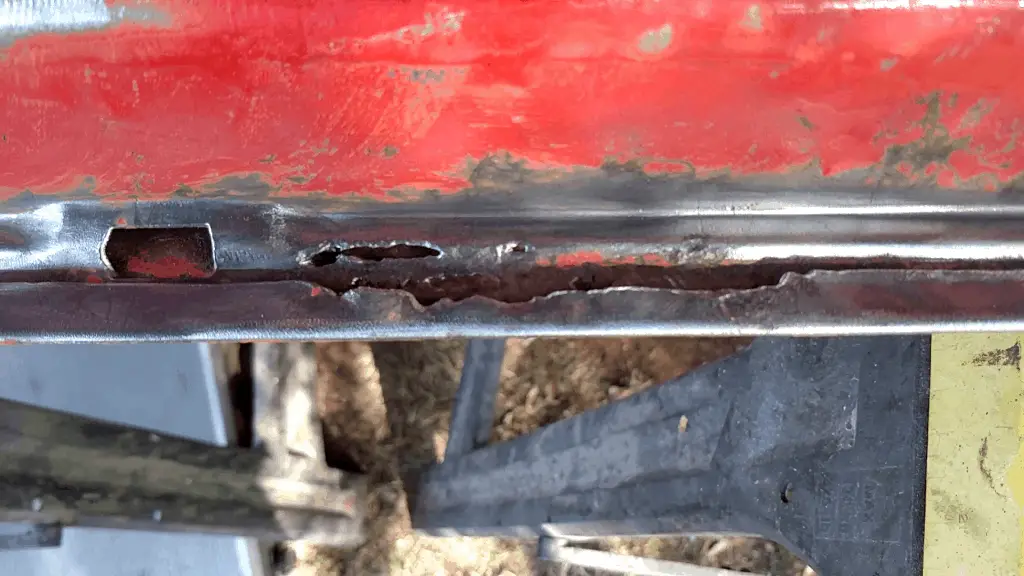
The driver door also had a small rough patch to deal with on the back, just below the latch. As I suspected, it was a rusted out area that had been badly repaired with body filler. It didn’t take long to cut the old metal out and weld a new panel in place:
And old rusty patch… Cut out and replaced… With shiny new metal.

The Passenger Door
The passenger door fared a lot better, and just needed cleaning up. I ground the old scabby paint off, cleaned everything up and applied some rust converter to the whole thing. Ideally the old metal needs cutting out and replacing, but I figured that would do more harm than good trying to get it out, so I elected to leave it.
Just a bit of cleaning up! Not great, but I decided to leave this be. Just a bit of rust neutraliser.
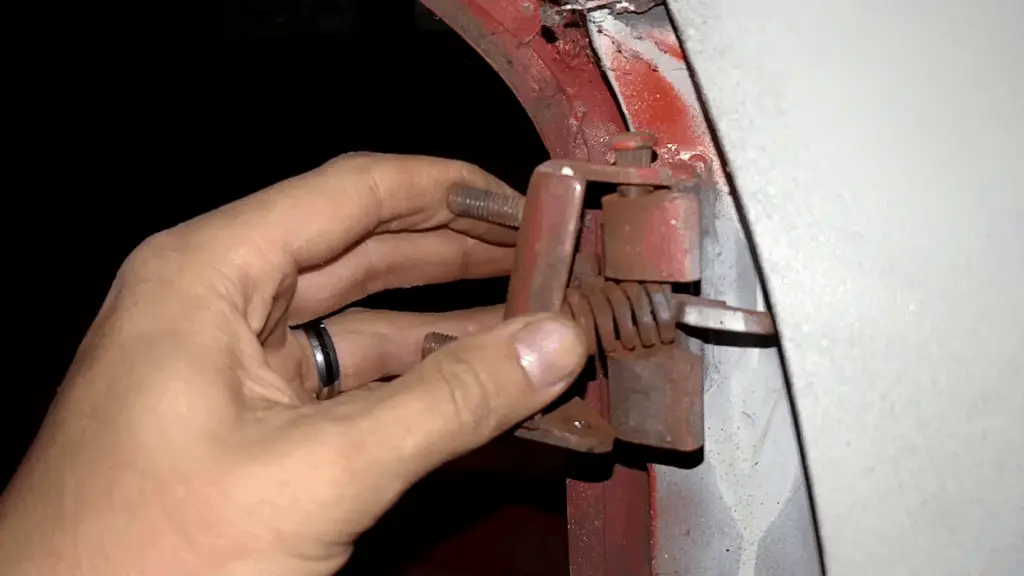
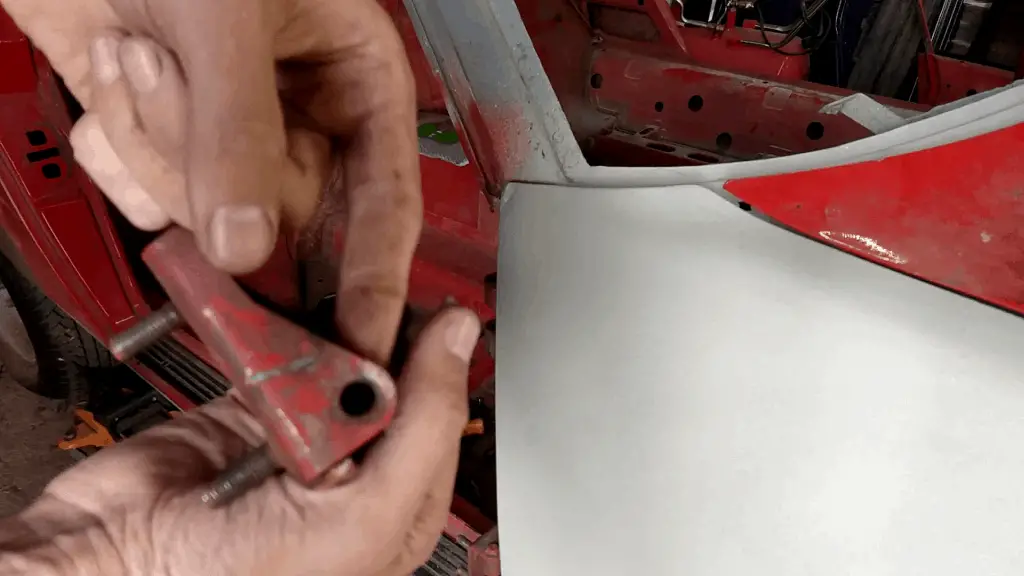
The Door Hinges
The hinges themselves had problems of their own; the passenger door made alarming banging noises when opened and closed, and the top hinge on the driver side was all but coming apart.
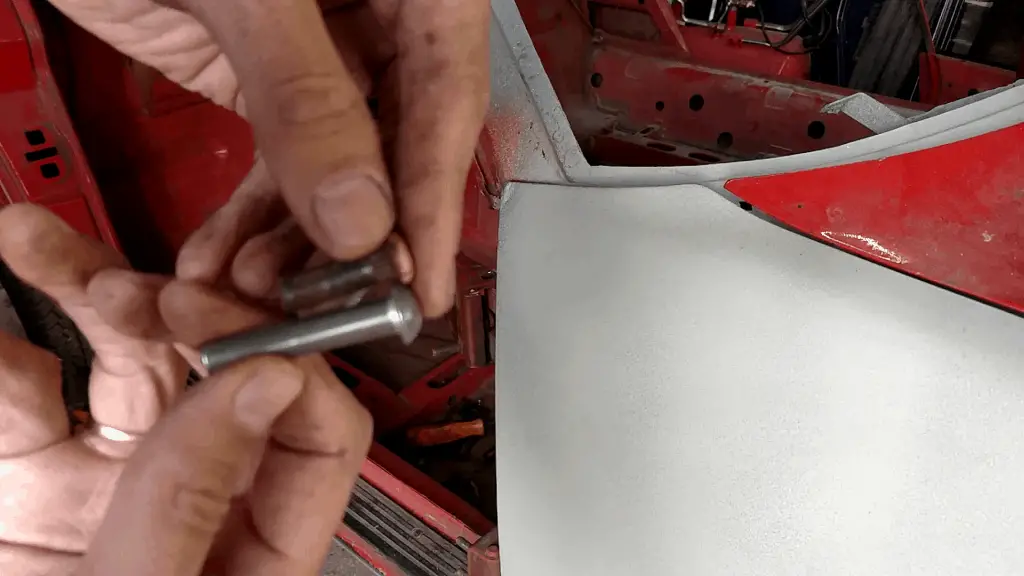
The driver side was down to a missing hinge pin. New ones aren’t readily available and wouldn’t have worked anyway; the hole where the pin fits had worn over time to the point where a new pin wouldn’t fit tightly. So I found a rivet that with a little modification fitted quite nicely. After that, it was just a case of bending the hinge back into shape and then refitting it.
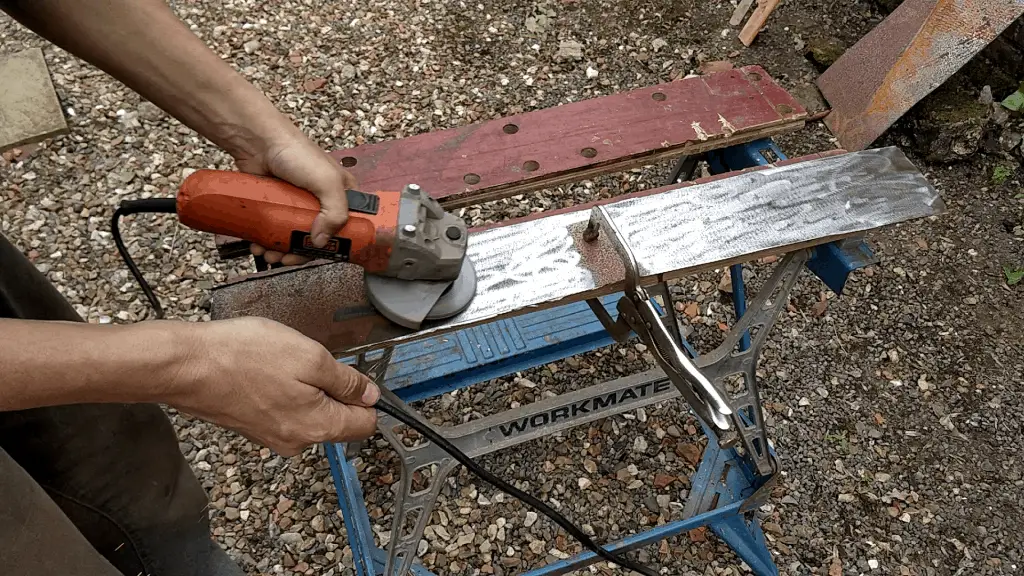
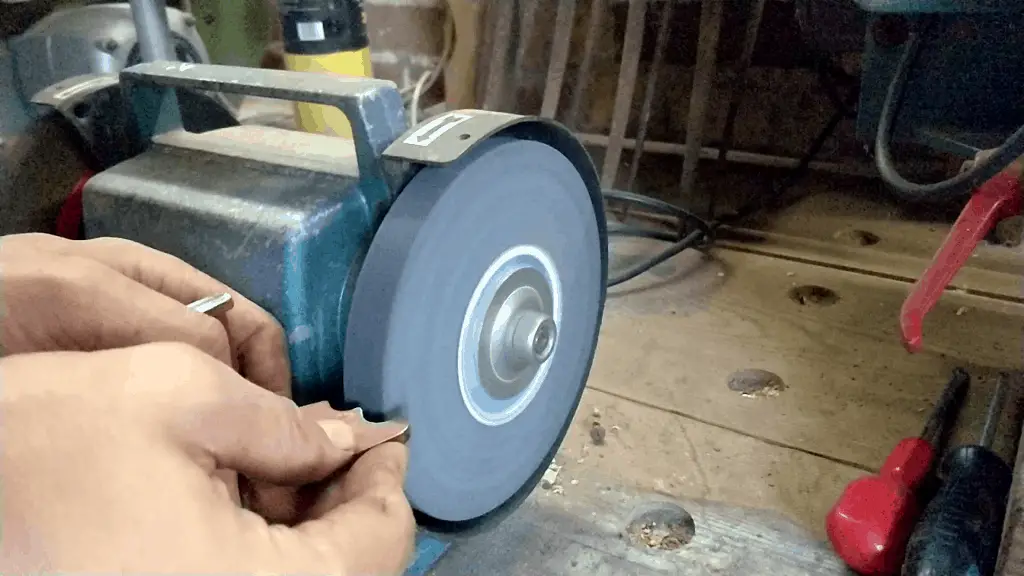
The banging noise became a problem on the driver door too, once it was fitted with both pins. The problem is with the check strap. On the TR7, the check strap is integral to the hinge and consists of a shaped metal bar spring loaded against a roller bearing. Over time this bar had worn to the point where the profile was quite sharp – smoothing the bar down on a grinding wheel took care of that problem.
The pin was missing here… Which wore out the hinge. I fashioned a new pin from a rivet. Smoothing down the check strap profile.
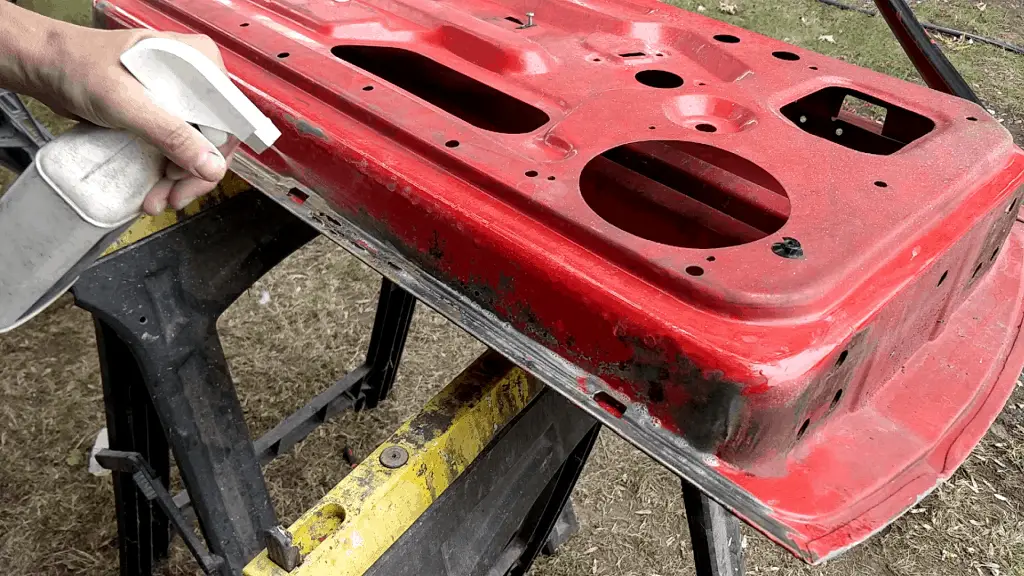
Stripping the Paint
With the rust repairs taken care of and the door hinges repaired, it was time to strip the old paint off the doors.
Due to various filler bodges I’ve found on the car while I’ve been doing this restoration, I wanted to take everything back to bare metal so there were no other bits of rust hiding under old paint. On top of that, the paint is three or four layers thick in places and I didn’t want to add yet another layer of paint.
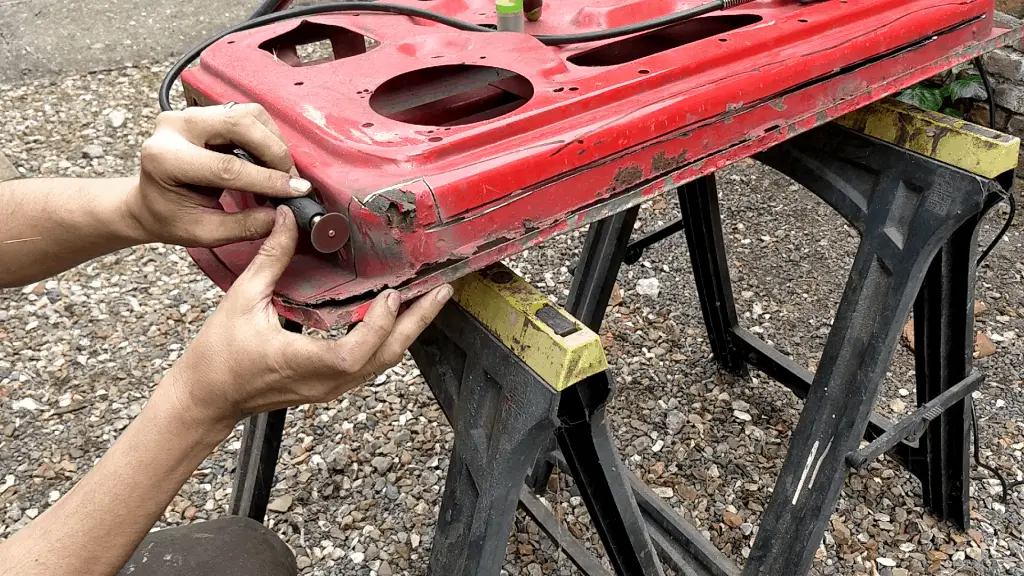
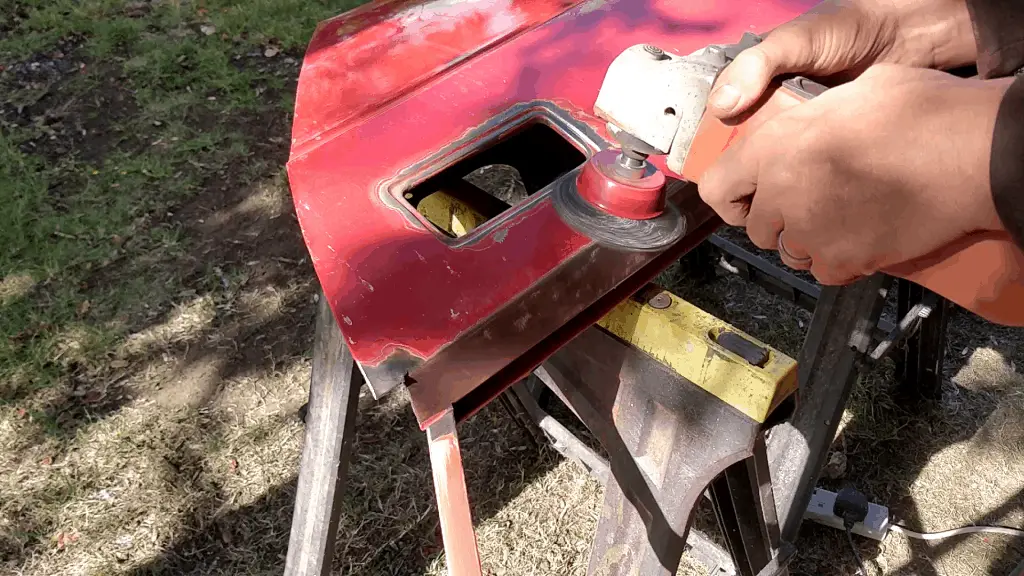
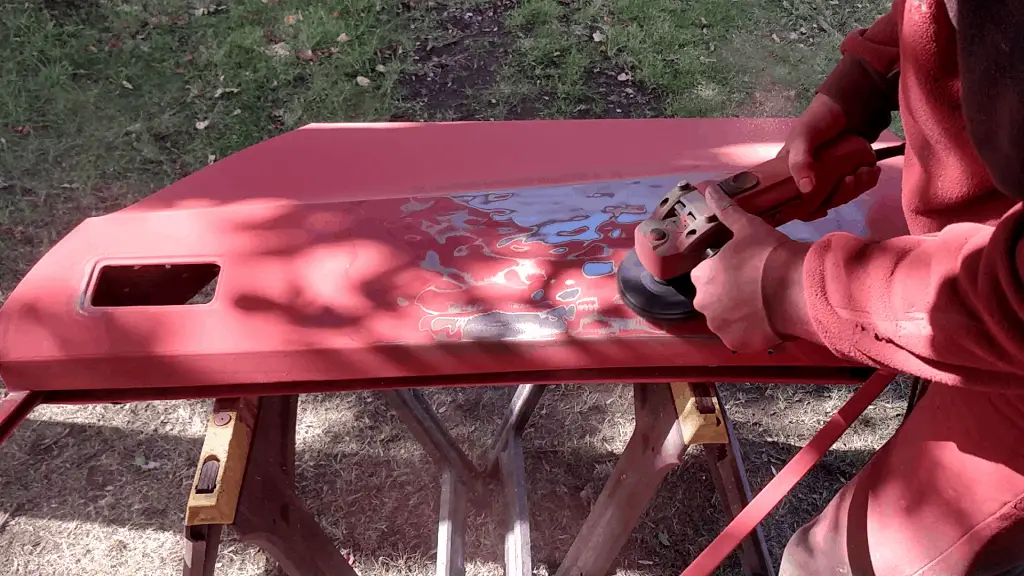
So to strip the paint off, I elected to use poly strip discs. I’d already tried these when I stripped down the wings and was quite impressed with them – but that was just a thin e-coat. I was interested to see how they’d handle several layers of old paint.
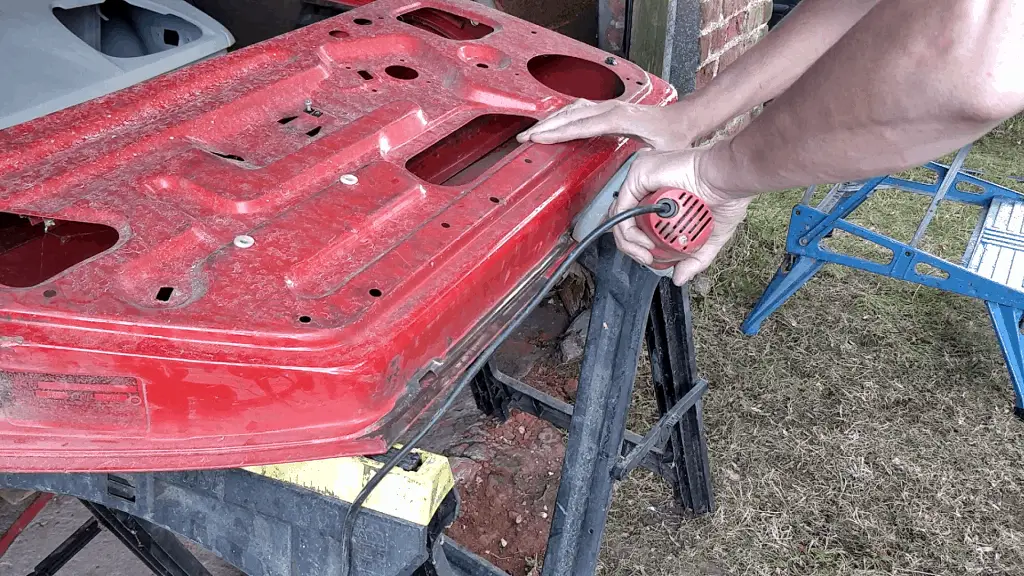
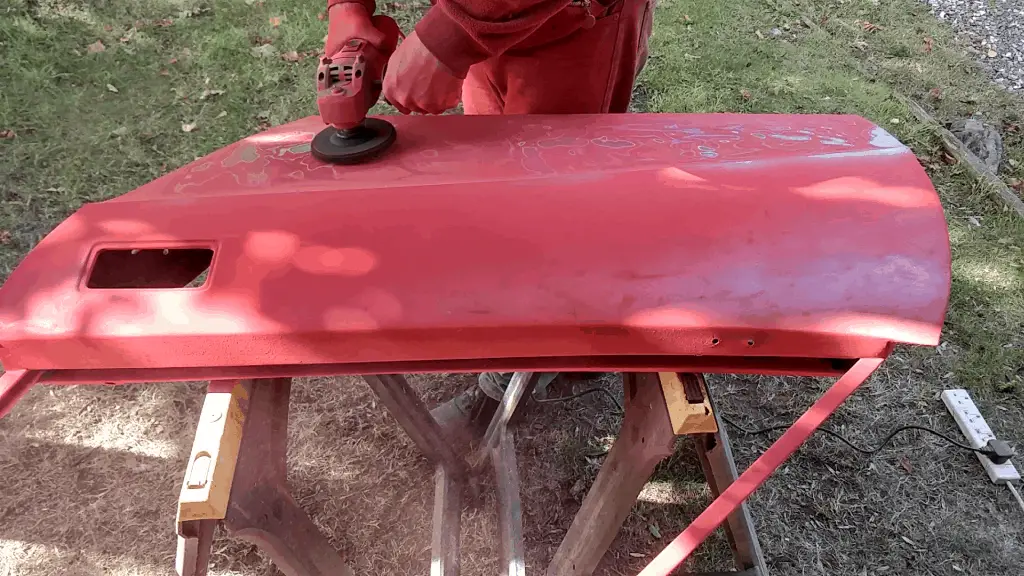
I needn’t have worried; they did an excellent job. The only problem I have with them is that it’s easy to tear them apart if you use them on sharp edges. So I used a wire wheel on my angle grinder to take care of the fiddly bits and used the strip discs on the larger areas. It’s a messy job and creates a lot of dust, but they stripped the paint off just fine without damaging the metal underneath. I’d definitely recommend them!
Stripping the smaller areas with a wire wheel And the larger areas with a strip disc Very dusty, but effective.
Priming the Doors
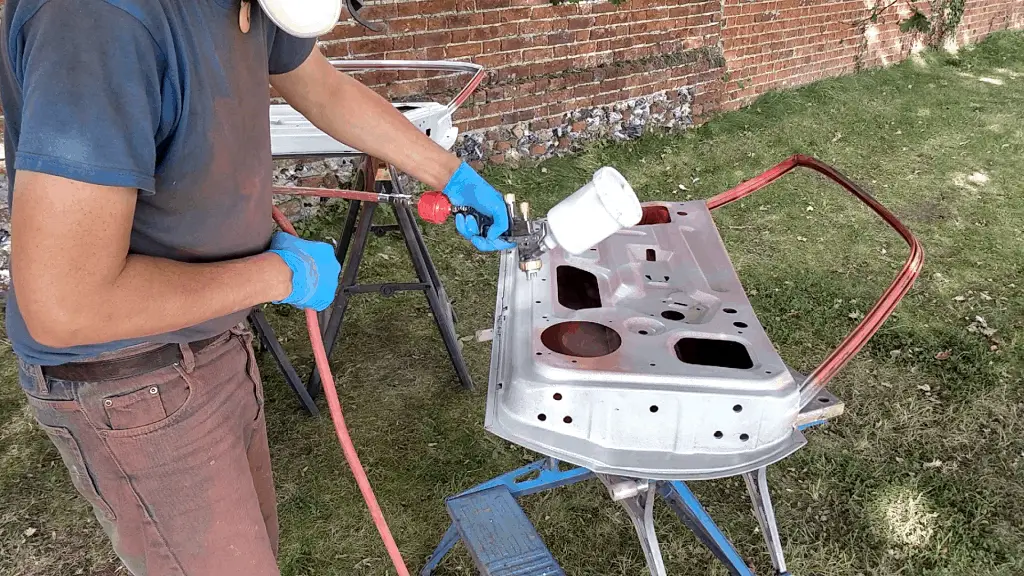
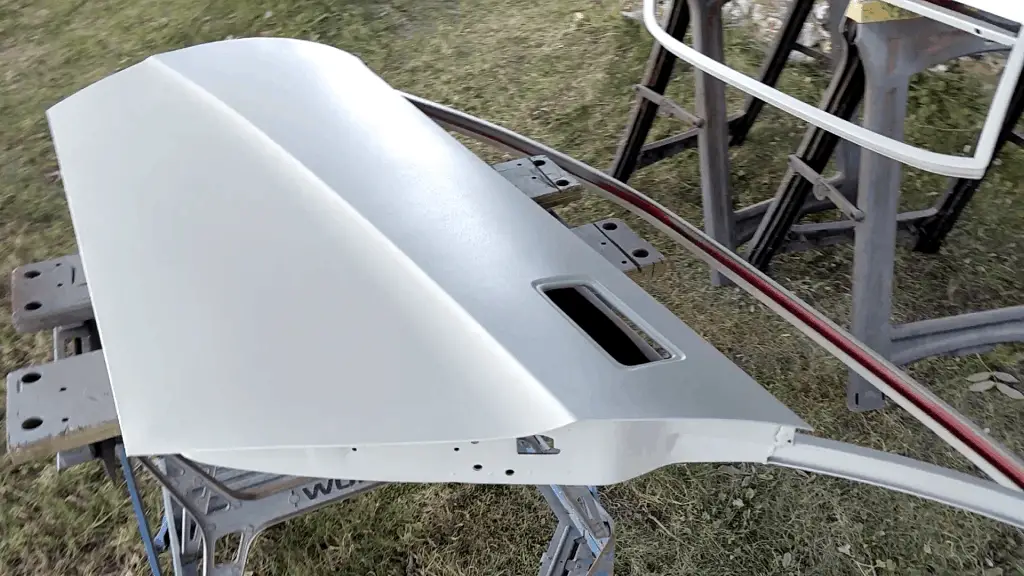
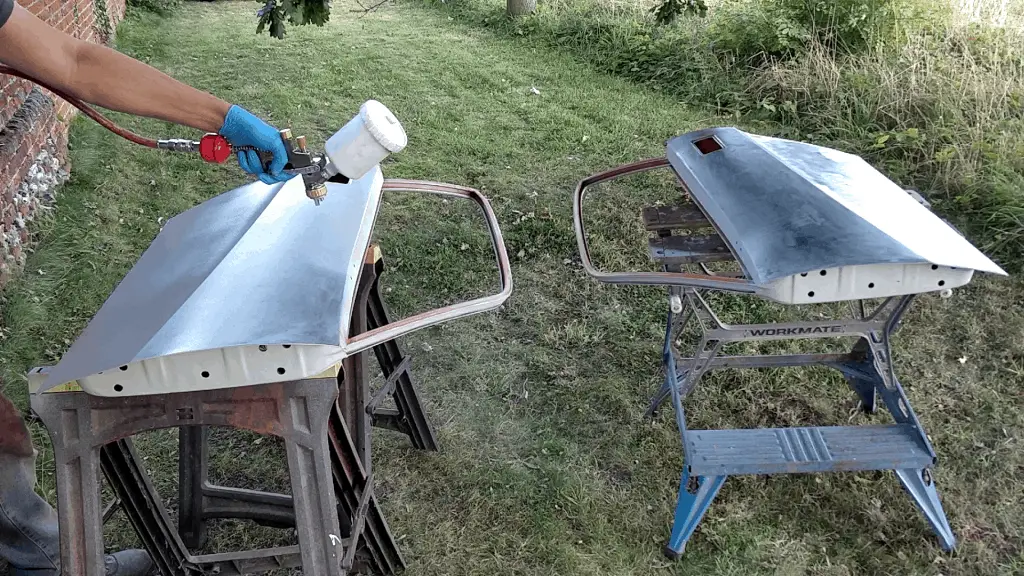
With the paint stripped and everything cleaned up, it was finally time to put on some primer.
As with the front end, I elected to spray the doors with epoxy primer. Not only does it make a decent surface primer, but it also seals the metalwork as epoxy primer, unlike most regular primers, isn’t porous. So I can leave the doors until they’re ready for further work and not have to worry about the primer absorbing moisture and rusting the metal again.
And the video!
As before, I put together a video – if a picture is worth a thousand words, a video is worth a thousand pictures, right?
It was difficult editing what turned out to be a lot of work to something watchable – I think I shrunk about seven hours of footage into a twenty minute video. I’m trying to strike a balance between showing all the things I want without it getting too long and boring. I think it’s okay for what it is – but please do comment and let me know what you think!
While you’re at it, why not subscribe to my channel so you can get notified when I drop new videos? I’m planning to do a new TR7 Restoration video every week until I run out of footage – or until I finish the project!