While I was working on the doors, I took the time to get to work cleaning up the passenger cabin.
I’d already done a whole lot of work on the interior; mainly removing the old sound deadening on the floors and a few small rust repair patches. So I didn’t expect much work to be needed.
Nevertheless, doing the cabin still took a whole lot of time; mainly because it was a lot of tedious and fiddly scraping and cleaning. I’d not been looking forward to this bit for that exact reason!
At the same time, I turned my attention to the windscreen frame. I’d welded a new frame in several years ago and filled it, but over time it had started to rust from being in a damp garage with little more than primer protecting it. Rather than risk rust blooming up under the filler after I’d painted everything, I decided to strip all the filler back and redo it.
Cleaning and Inspecting
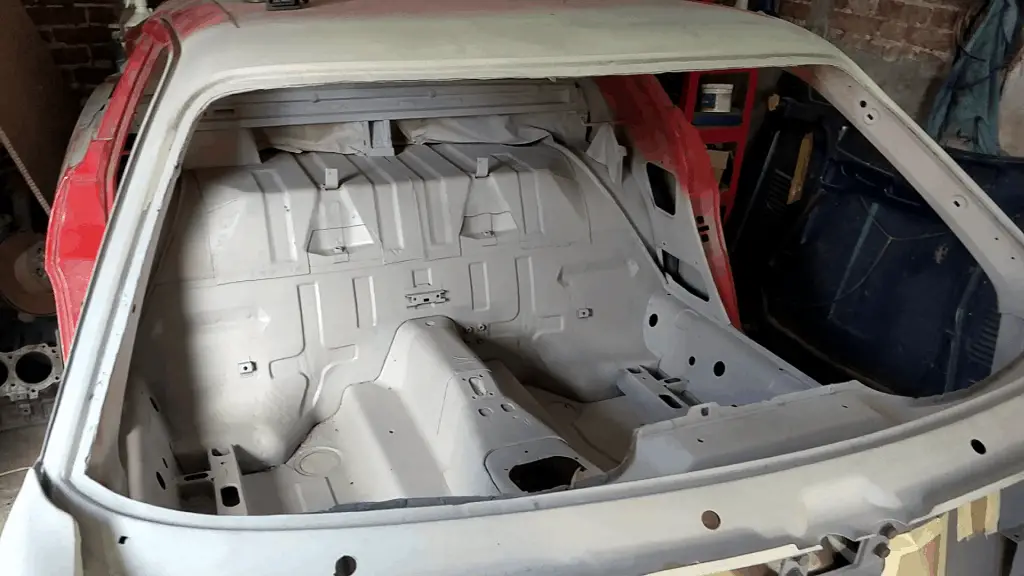
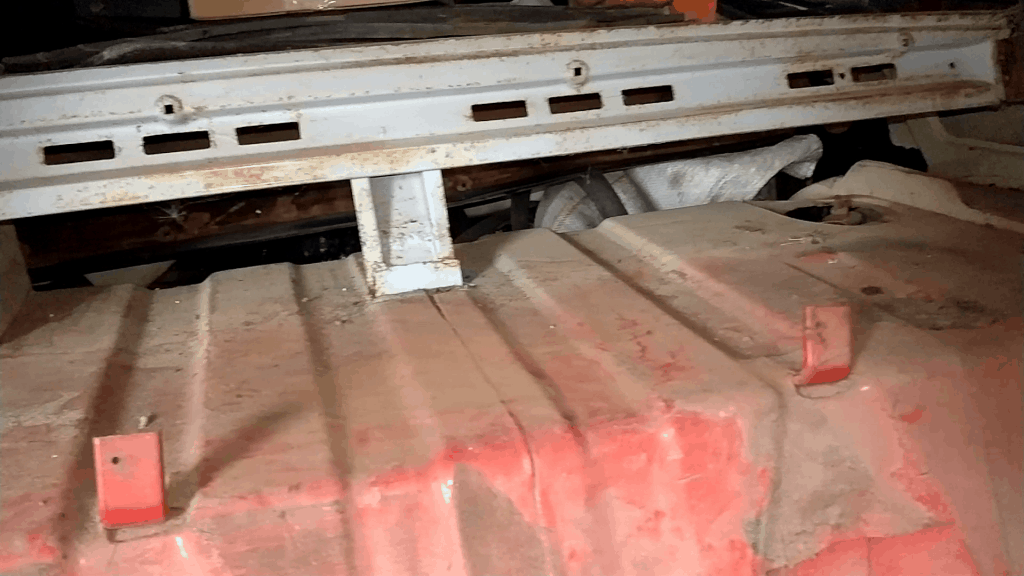
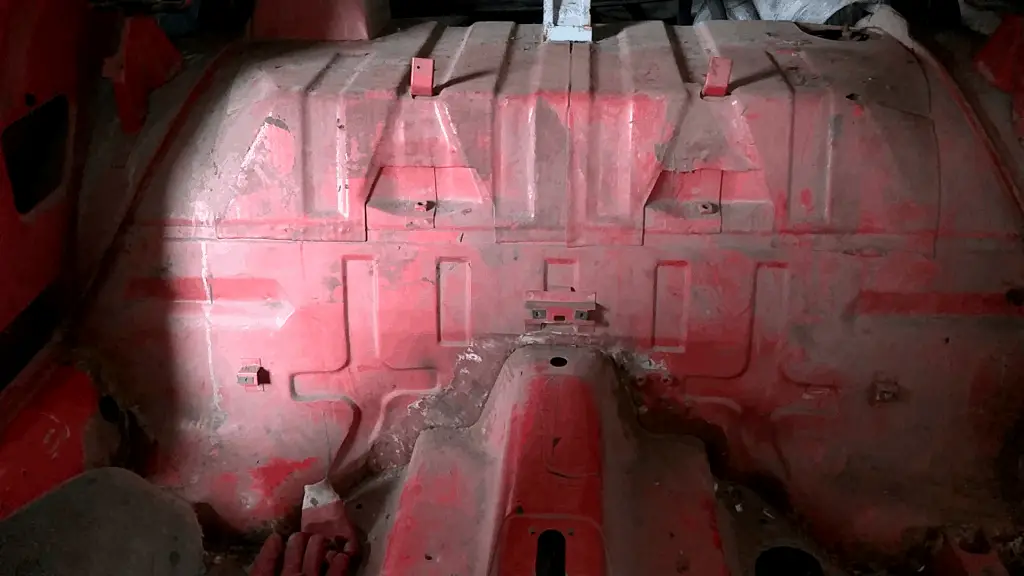
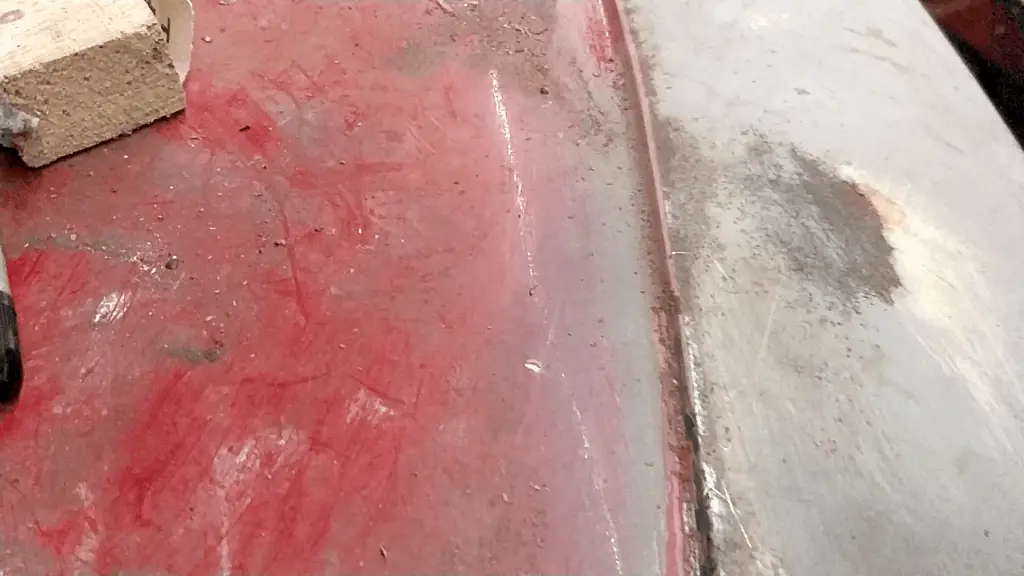
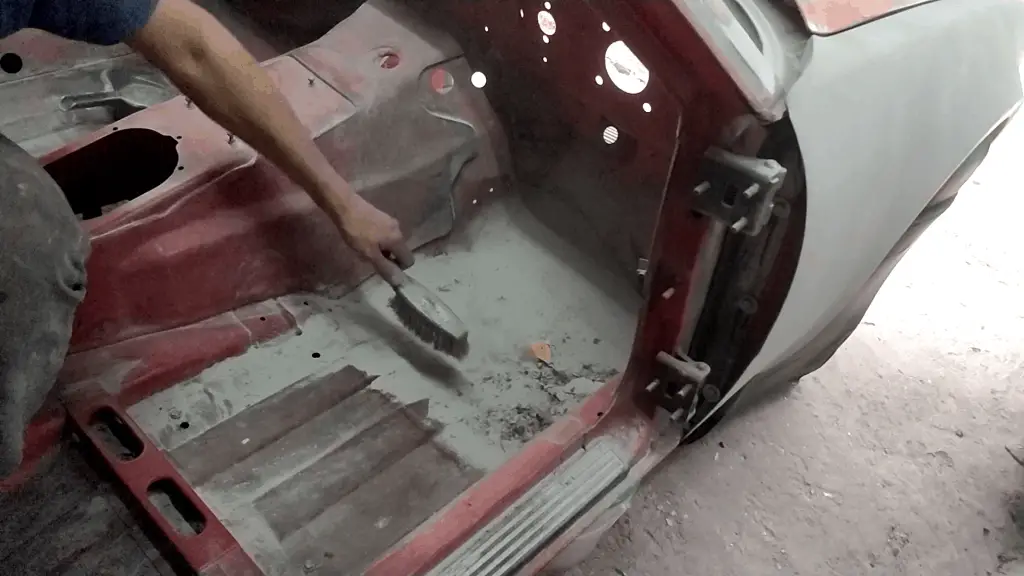
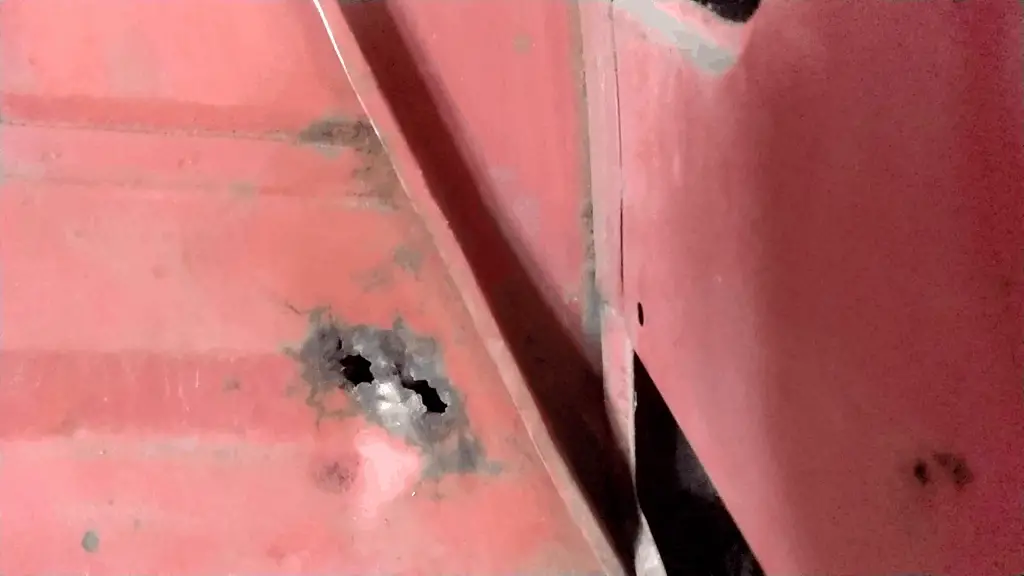
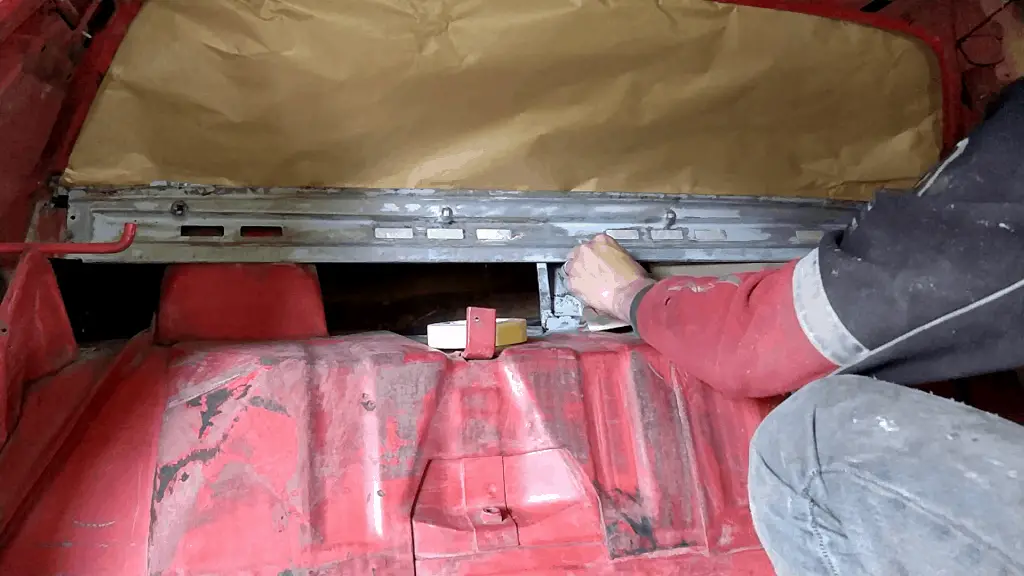
The first job was to have a decent look at the floor and inner sills, making sure nothing serious was needed. I’d already stripped out all the seam sealer and sound deadening before, so I wasn’t expecting any real surprises. Apart from a couple of small rust holes at the very back of the floor, everything looked good. So all that remained was to scrape the remnants of carpet glue off the sills and give everything a real decent clean up.

Scraping off the old carpet glue remnants. A little rusty… But not bad overall.
It’s one of those jobs that’s not very exciting, just a lot of grovelling about with a brush and a scraper. But it needed doing!
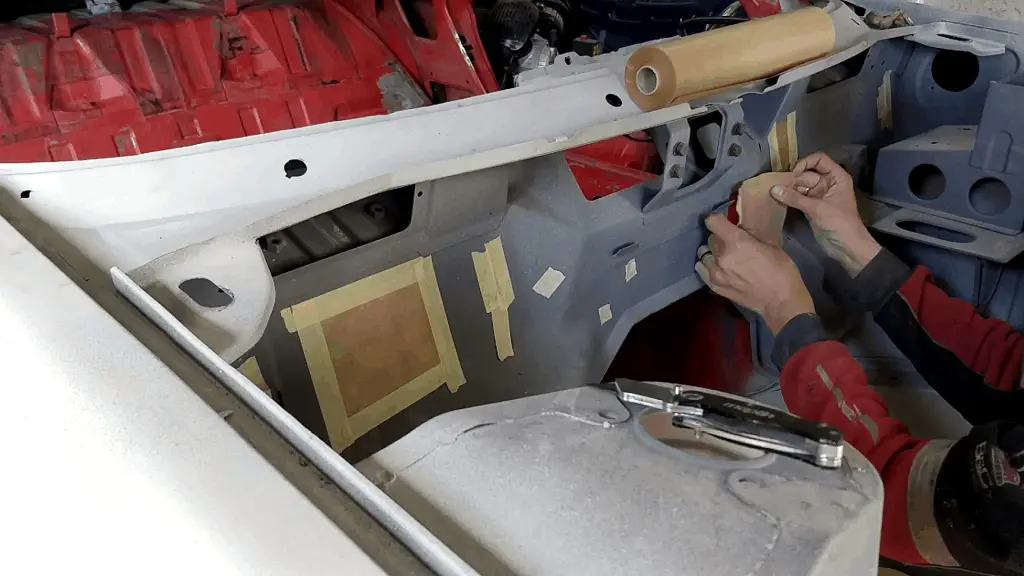
Stripping the Filler From the Windscreen Frame
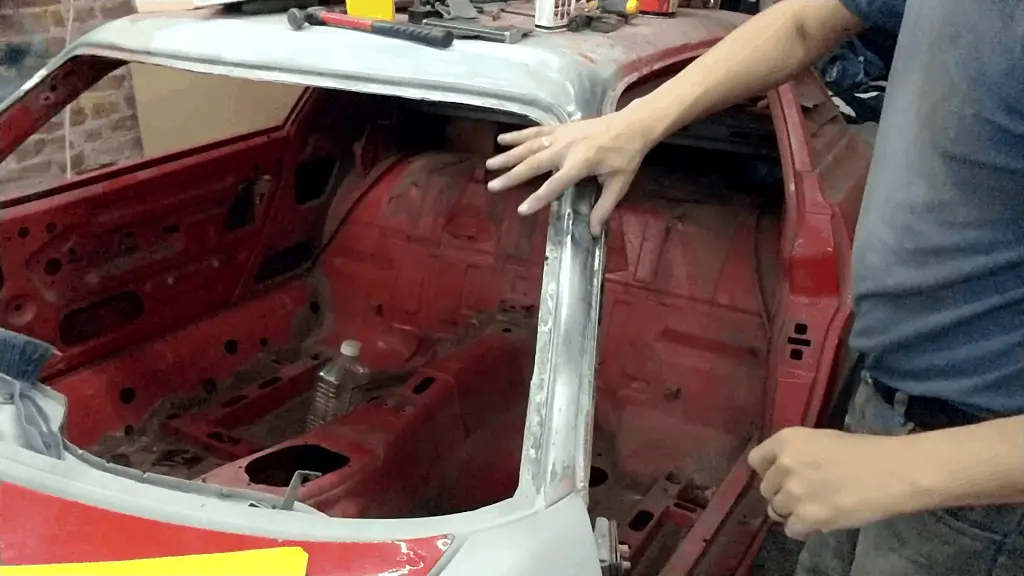
I’d spent many hours on this a few years back, and was hoping I could get away with just rubbing down the surface and painting over it. But after thinking about it, I didn’t want to take the risk. Besides, I wasn’t totally happy with the contours on the A pillars so they needed to be stripped back anyway.
Some rust showing. Is it under the filler too? This A pillar was looking a bit wobbly. Time to clean this up and redo it all.

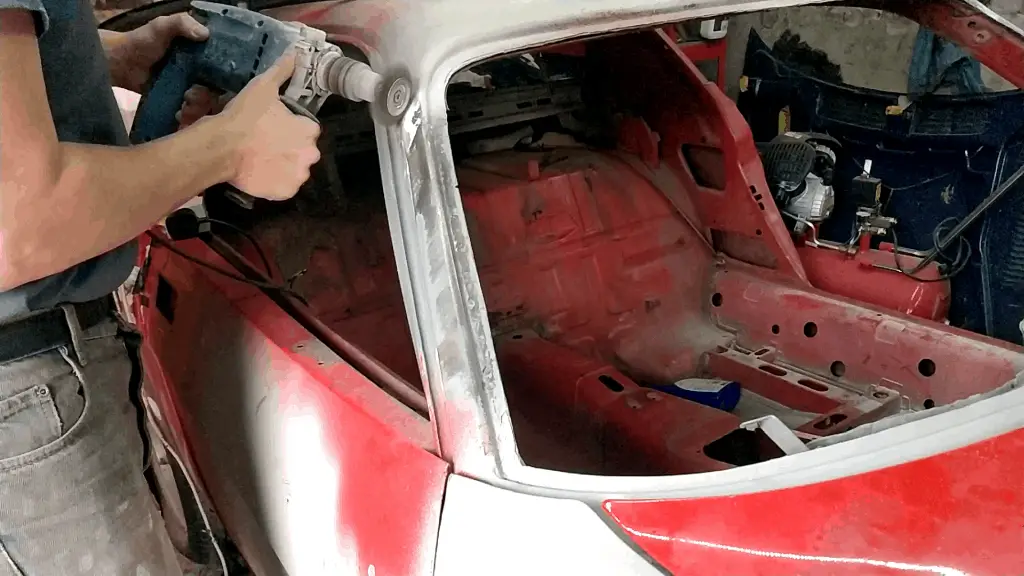
So I grabbed the drill and the angle grinder and set to work. After a noisy and messy half hour, all my hard work was in a dusty pile on the floor. But I was happy to see the metal underneath was still good and shiny – ready to fill and sand once again.
The A pillars first… Then the top frame. This created a huge amount of dust. But soon it was stripped and ready for fresh filler.


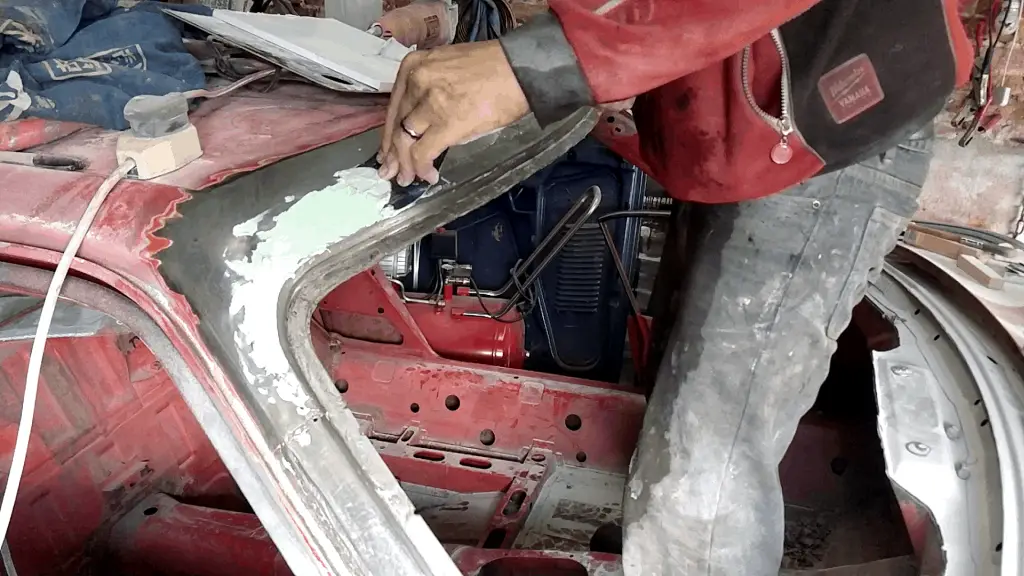
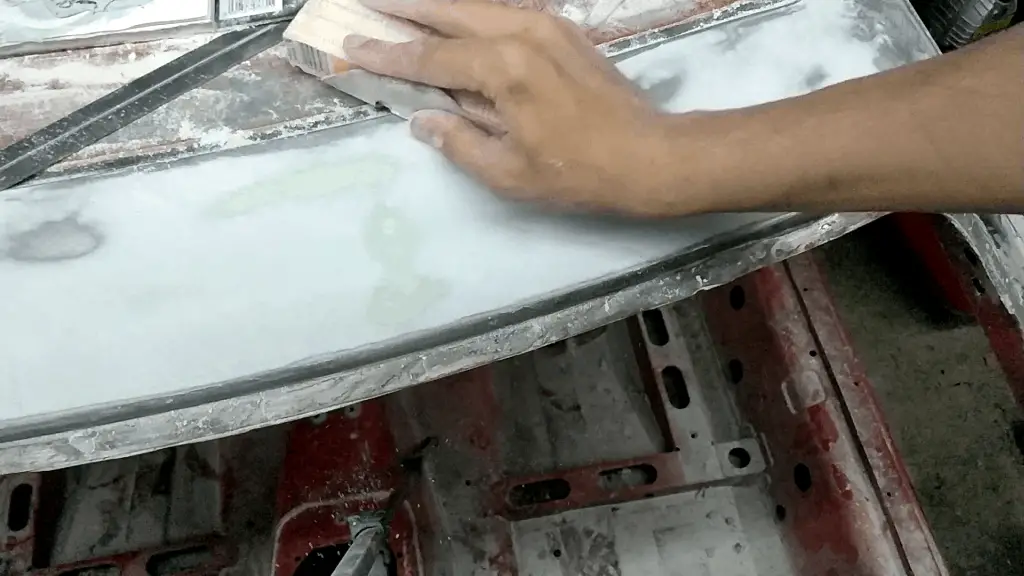
Filling the Windscreen Frame (Again!)
I grabbed my body filler and set to work. I was a bit concerned that there was too much filler going in, but when I measured it it was only really 1 or 2 mm at the deepest points. Still not ideal, but nowhere near deep enough to really be a problem.
Redoing all my hard work!
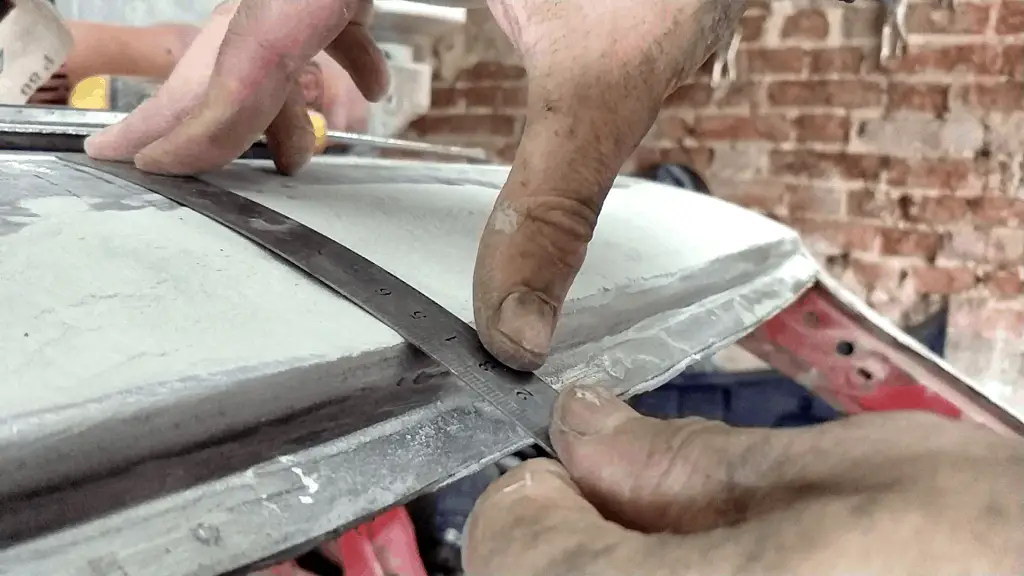
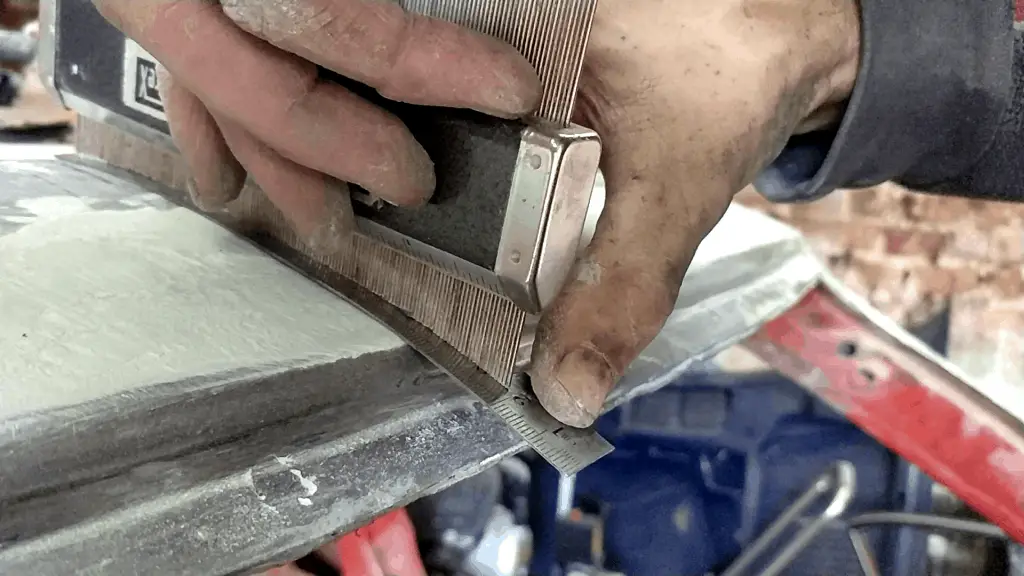
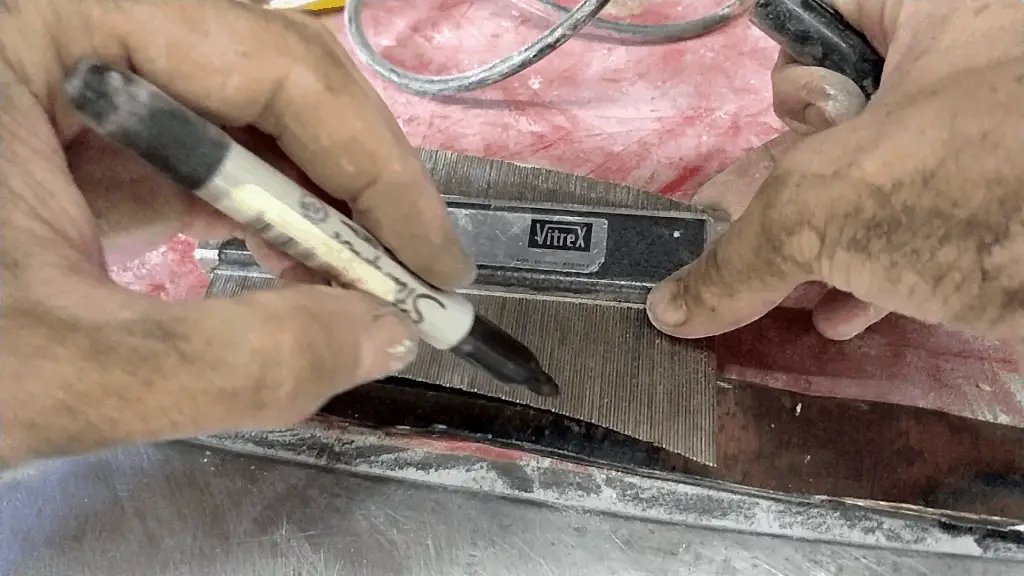
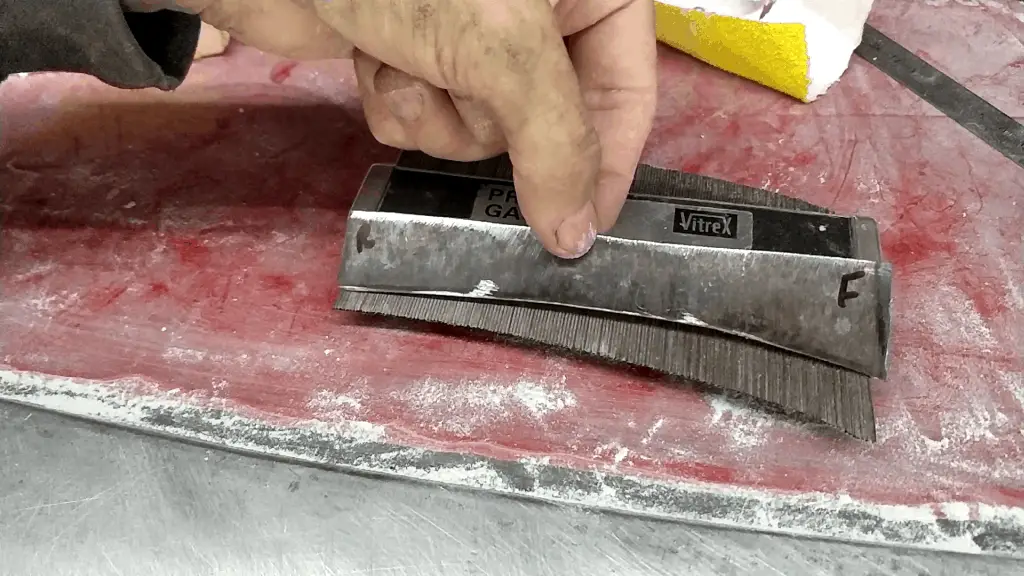
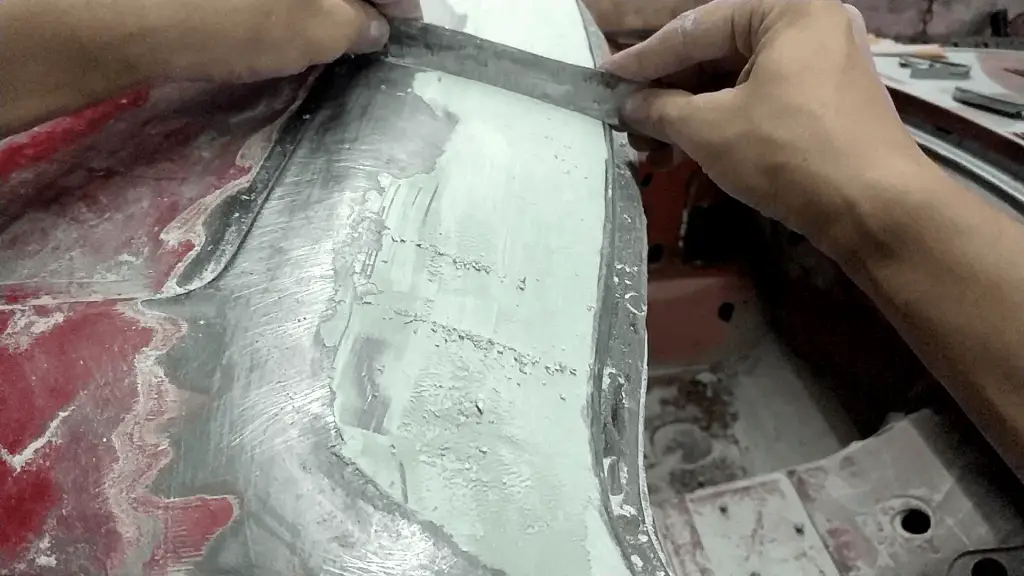
One issue I had before was getting the curve right – when I did the welding before I hammered the seam down so nothing was bulging out. But I think I went slightly too far, and the natural contour was a bit flat. So I needed to build up the curve slightly with filler. To make this a uniform curve across the width of the frame, I made up a template with my best estimate of the correct curve. It worked out well, and I was able to use it as a scraper as well to scrape off the ridges and high spots quite easily.
Working out the curve… Marking with a profile gauge Using the gauge to make a template The finished template. Now I can use the template to make sure my profile is correct Also made a handy scraper for the filler! It worked well to roughly shape the hardened filler too.


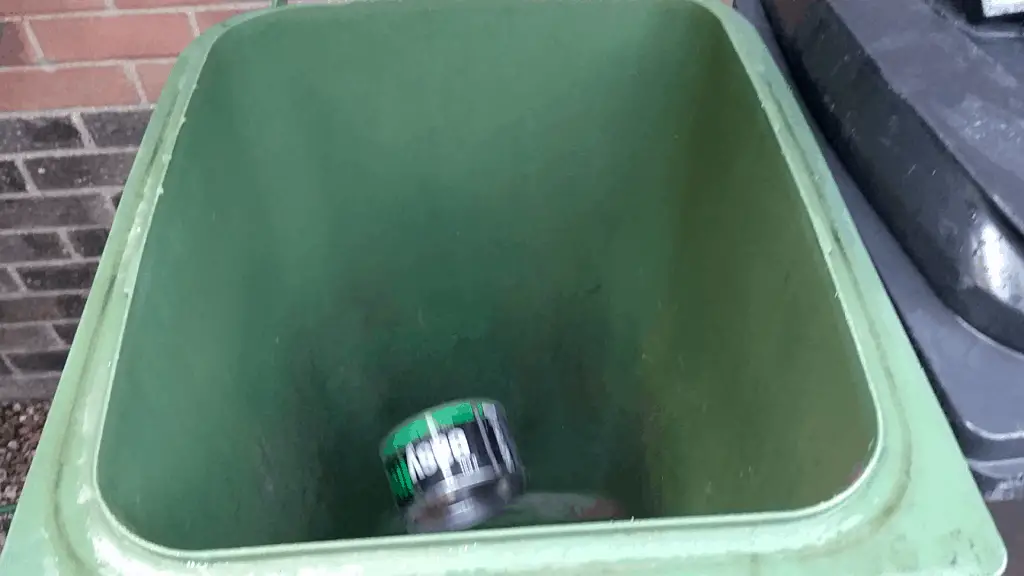
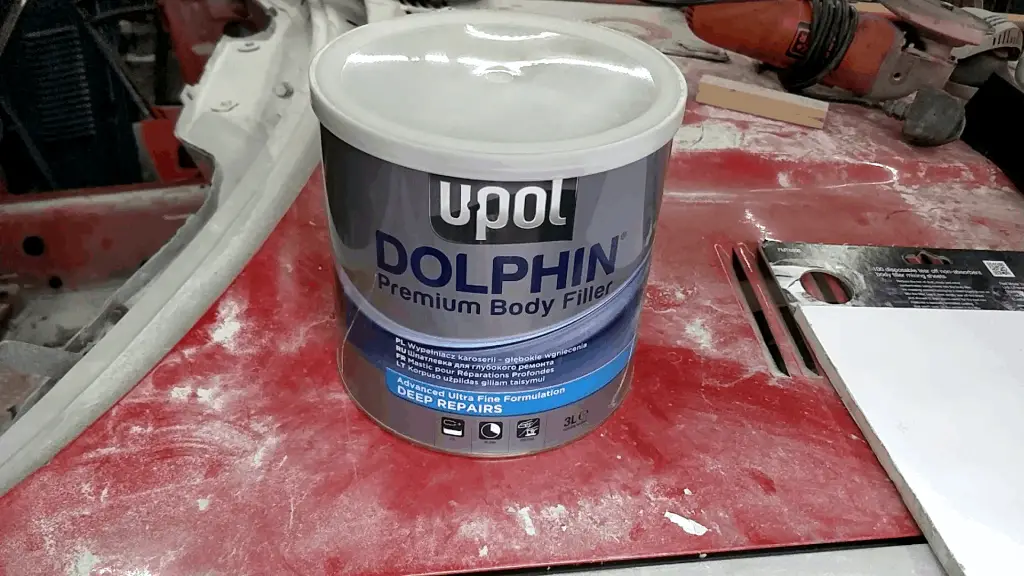
While I was doing this, I started having issues with the body filler. I knew it was old, but over time it had obviously dried out and was having problems laying smoothly. So I chucked it out and treated myself to a new can of filler – this time around I bought a big can of U-Pol Dolphin. It was a slightly more premium product than what I’d been using before and not too cheap, but considering the amount of work I had ahead, well worth the money! The difference was like night and day.
Out with the old… In with the new.
After a few hours of sanding and shaping, I was finally happy with the frame and ready to call it good.
Many hours of this. Looks patchy, but was actually smooth and ready for primer.

Cleaning Up and Welding the Cabin
The problem of working with body filler, of course, is the mess. It’s an old joke that ninety percent of the body filler you use ends up in dust on the floor, and that’s certainly the case for this project. It’s bad enough in itself, but when you’ve got filler dust all over the area you want to paint, that’s a problem.
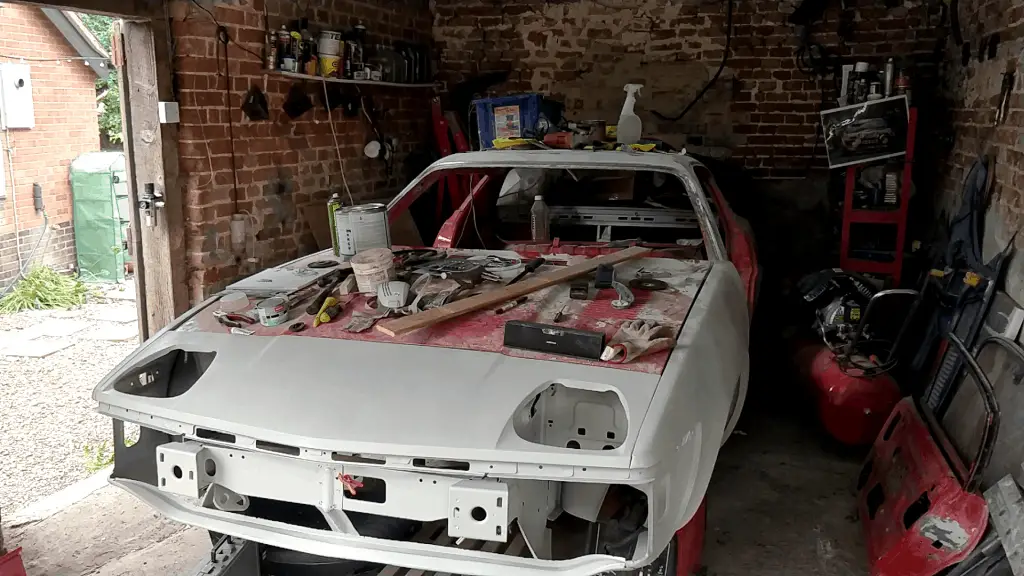
The whole garage was getting messy anyway, so I spent an hour or two just cleaning up the place, putting tools away and sweeping up the dust and dirt. It’s something I really don’t do enough of!
Time for a good tidy up. Sweeping the dust. Outside… … and inside.

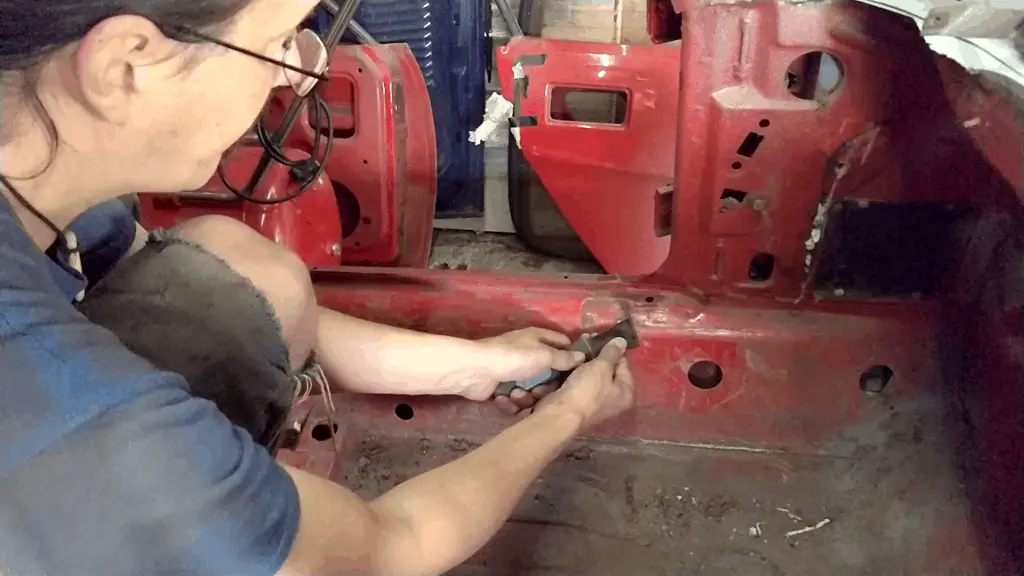
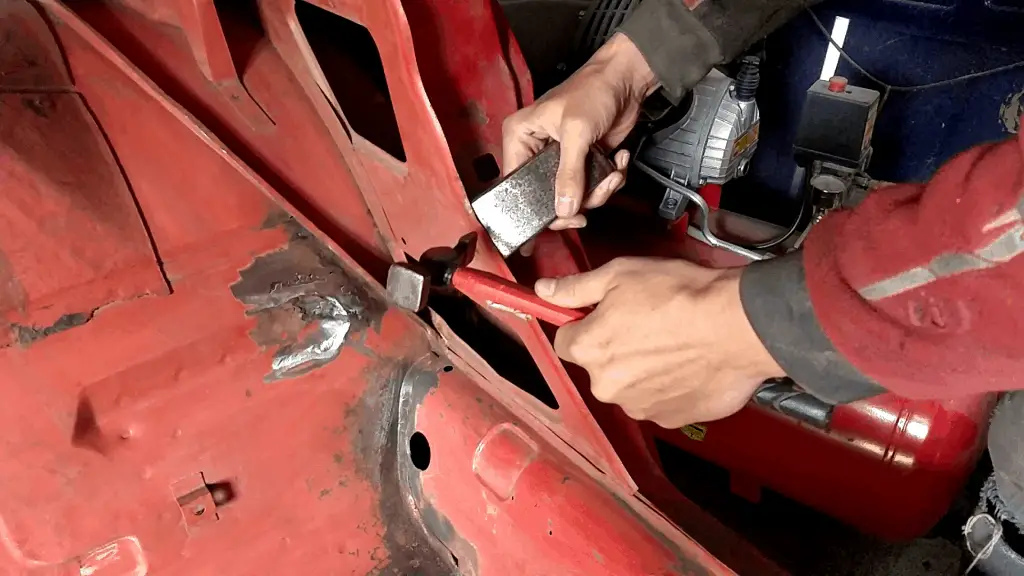
With the cabin clean, I got to work with the grinder and the wire wheel and cleaned up all the bare metal around the seams, ready for painting. While I was doing that, I came across a couple of areas that needed welding, so I took a few minutes to take care of those. I also took care of a few dents and wobbly edges with a hammer and dolly while I was there.
Cleaning all the seams. Making sure they’re rust free. A few small patches needed welding. And a few bent edges needed to be straightened out.

With that done (and cleaned up again!), it was time to get everything ready for primer.
Preparation and Epoxy Primer
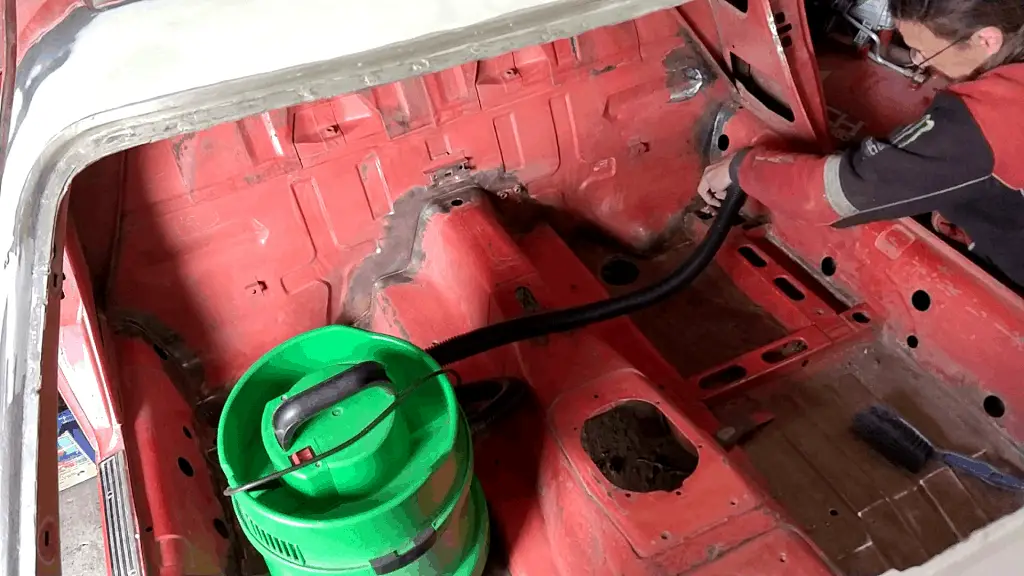
With everything as clean as I could get it, I got busy preparing the interior for the epoxy primer. The first job was to vacuum everything I could; the filler work on the windscreen frame left a lot of dust around.
Then I sprayed all the seams and bare metal with POR 15 Metal Prep, a favourite of mine for treating bare steel – it neutralises any rust and leaves a zinc phosphate coating. Probably not that necessary here, but I had some around so it was no big deal.
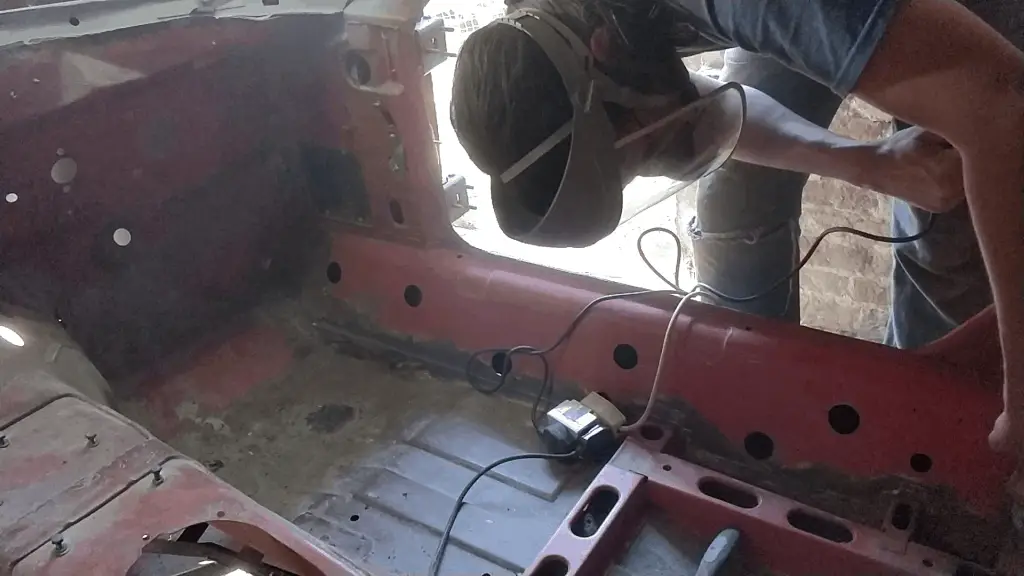
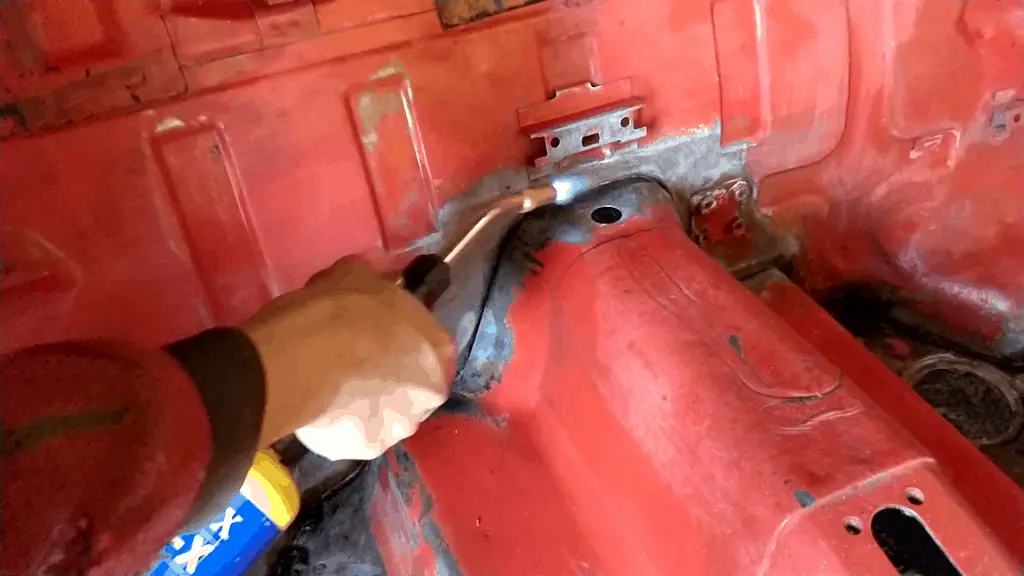
With that done, I washed everything down with just good old soapy water and let it dry out thoroughly – I even used a blowtorch on the seams to dry out any water trapped in there before it started to rust.
Vacuuming the interior And a final wash. Torching the seams to get them properly dry.

With everything as clean as I could get it, I wiped everything down with panel wipe/degreaser and got to work spraying the epoxy primer. I’d considered just brush painting the interior with something like hammerite – after all, the whole cabin would be covered with carpet or interior trim and wouldn’t be seen. But I figured it was a good place to practice my paint spraying skills – a nice fiddly area with lots of corners and hard to reach bits and it wouldn’t matter at all if I messed it up. And now I had all the equipment, spraying it was actually quicker and easier (possibly even a little cheaper) than brush painting it.
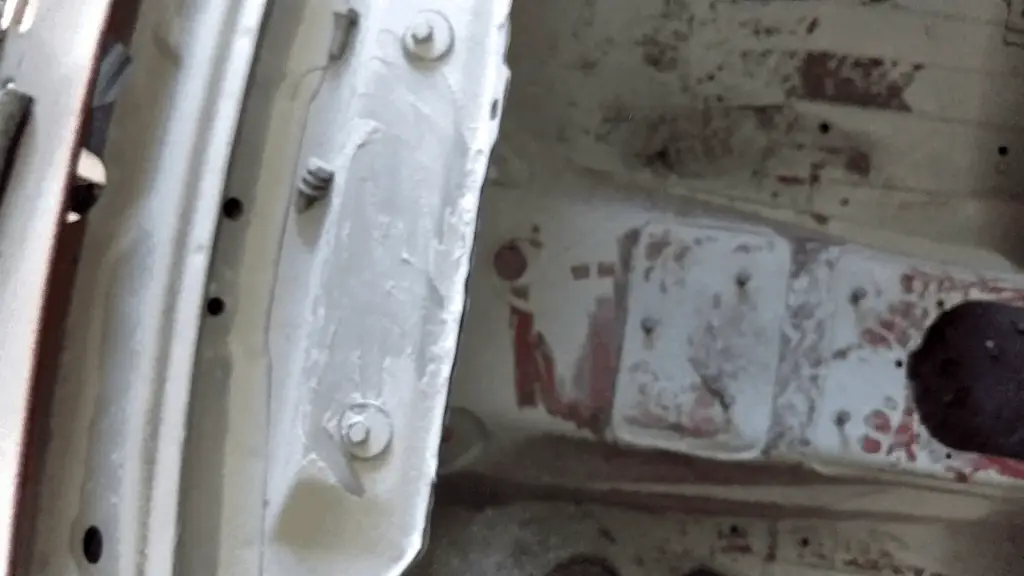
The spraying went well, although I did learn a lesson or two! Firstly, I hadn’t cleaned the box sections where the seats bolt to well enough, and as soon as I pointed the spray gun in there a bunch of dust blew out and scattered all over the wet primer. No big deal though, the worst of it could just be sanded out again and the small imperfections were never going to be seen anyway!
Masking up all the holes.. And the rear windscreen Starting to spray the primer And now on the last part! The finished result.


I also grabbed the A pillar to get out of the cabin, just five minutes after I’d sprayed it, so I had a nice handprint on the pillar. Again, no big deal, I could smooth that out before doing the next stage of priming.
Other than that, though, I was quite happy with the end result and that’s one more area done.
And Now the Video!
It’s another video with not much to see – the problem with bodywork like this is there’s an awful lot of work that’s not that interesting. With painting, all the prep work is pretty tedious and all the fun stuff happens right at the end. Still, I reckon I’ve got about three more videos on the bodywork before it’s done.
But anyway, here you go!
While you’re at it, why not subscribe to my channel so you can get notified when I drop new videos? I’m planning to do a new TR7 Restoration video every week until I run out of footage – or until I finish the project! I’m also doing videos on all sorts of other restorations – antique and vintage tools and equipment mainly.
