With the bodyshell finally painted, it was time to turn my attention to the mechanical parts of the car.
I’d been looking forward to getting to this stage for a long time now; bodywork isn’t my favourite thing and I was happy to have a change of pace.
I figured the best place to start would be the engine; if nothing else, it was in my way and if I could get it running and cleaned up, I could get it fitted to the car and free up some much needed space in the workshop!
The engine I have isn’t the original one for the car. That one went missing a few years ago after I stored it at an old workplace. Annoying, but not the end of the world – that wasn’t the original engine for the car either! In fact, as far as the drivetrain is concerned, any claims to originality are long gone. For a start, this is supposed to have an automatic gearbox…
But that did mean I needed to source a new engine. My original plan had been to convert the TR7 to a Rover V8, a tried and tested upgrade. In fact, I have V8 engine in bits in the back of the workshop. However, I decided not to go this route in the end, so I needed to get a new 2 litre engine as originally fitted. After a few weeks searching on eBay, I found just what I wanted; a complete engine in ‘running when removed’ condition, and not far away from me. Even better, I managed to snag it for just £40!
According to the seller, it had been running when removed from the car, but this was ‘some time in the nineties’. Beyond that, he couldn’t tell me much. For the money, though, I wasn’t too worried. Even if it turned out to be scrap, it was a £40 gamble. Most engines I’d seen before that had been anywhere between £100 and £500(!), and much further away. So it was a bit of a no-brainer. I bought the engine, hauled it home and didn’t do anything other than take the flywheel off and mount it to my engine stand, where I wheeled it to a corner of my workshop and left it for a few months until I got round to looking at it.

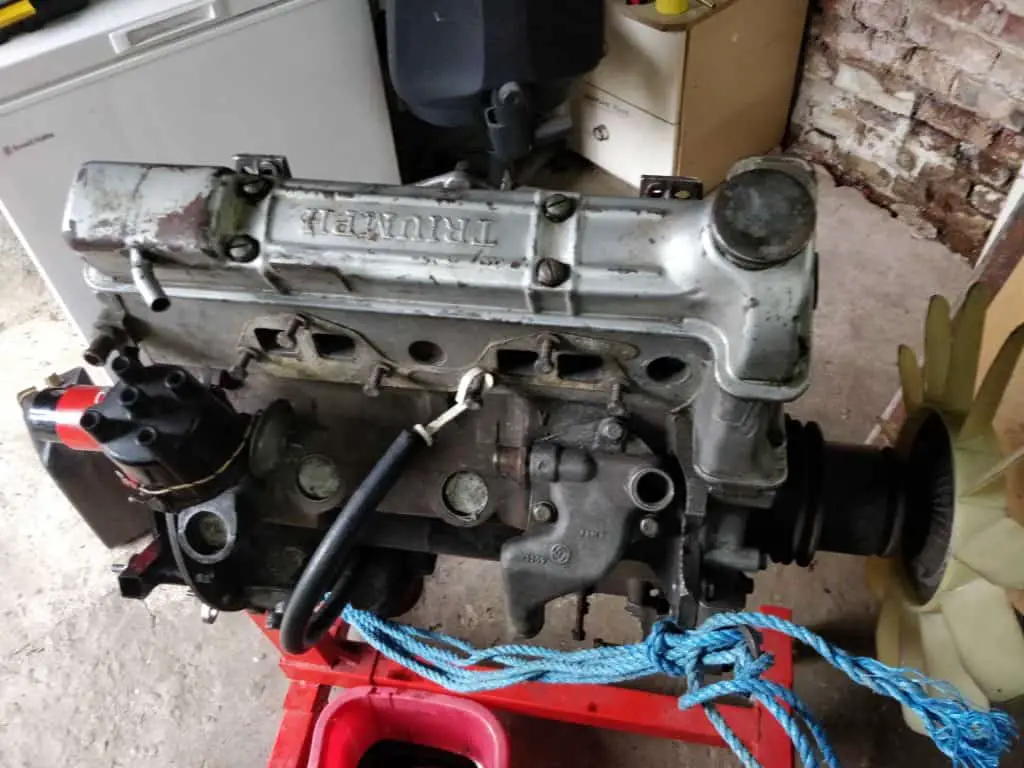
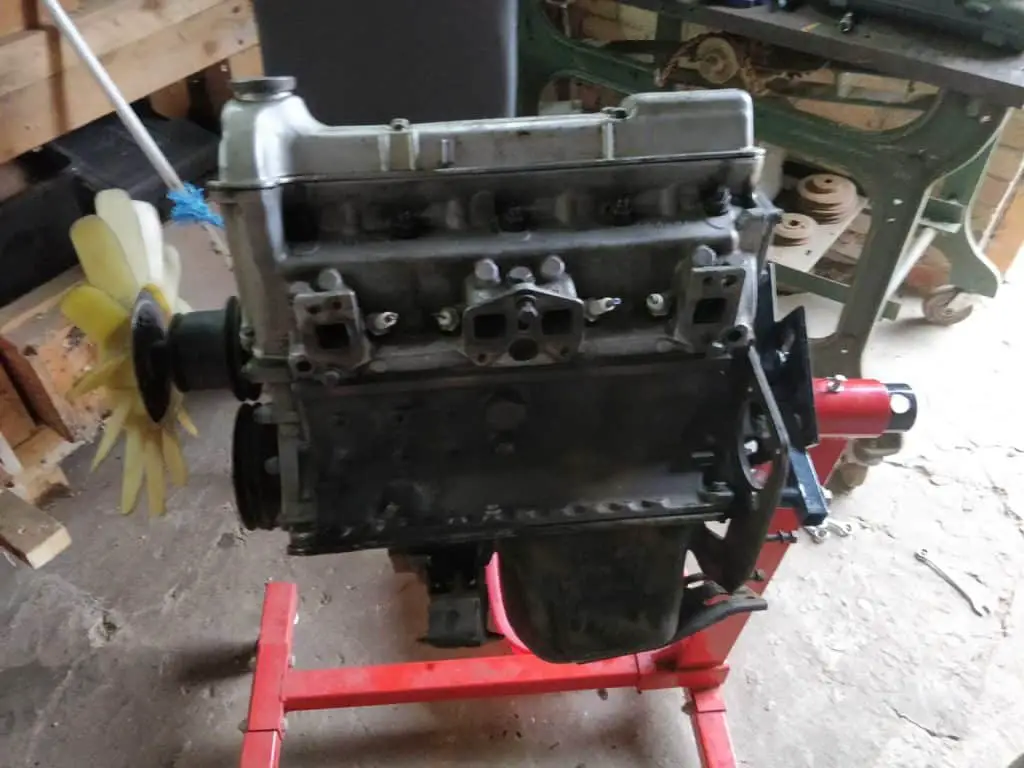
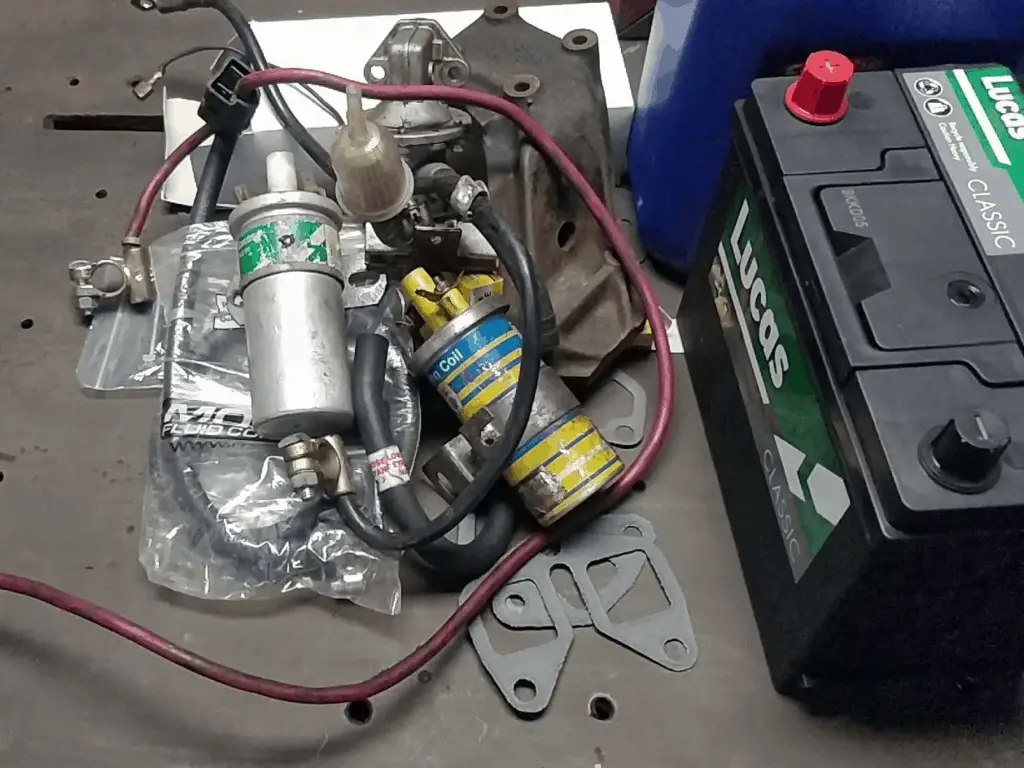
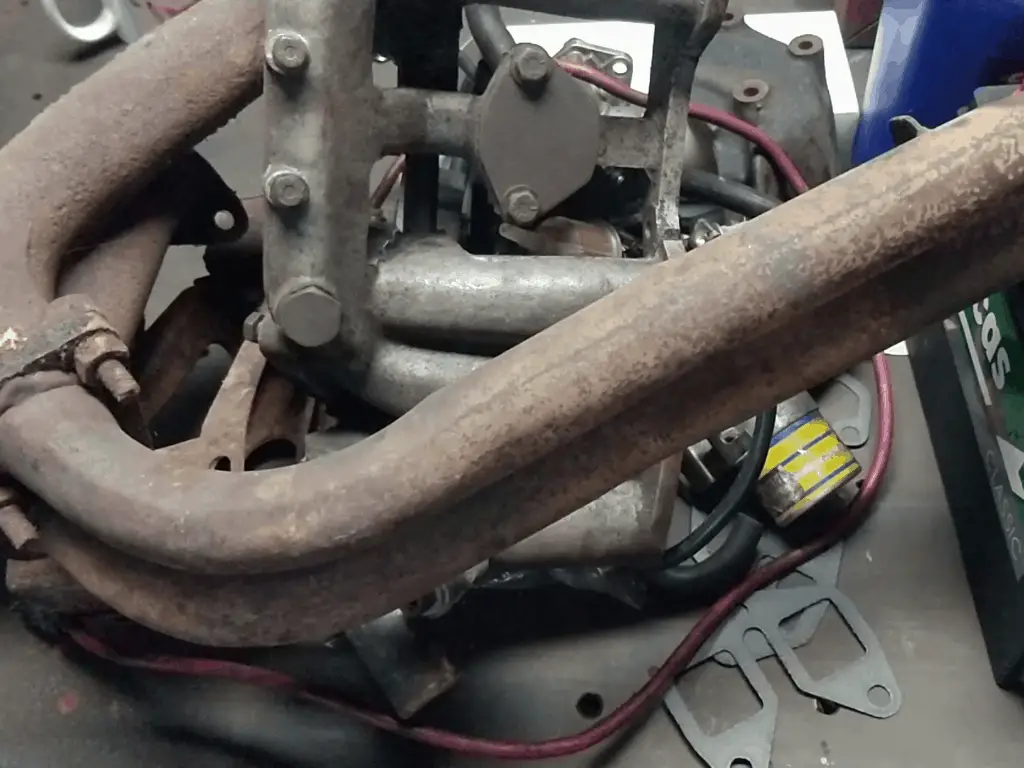
The engine on the day I got it. I bought the carbs and inlet manifold seperately. I have the old exhaust manifold from the original engine.
Initial Inspection
First impressions were pretty good.
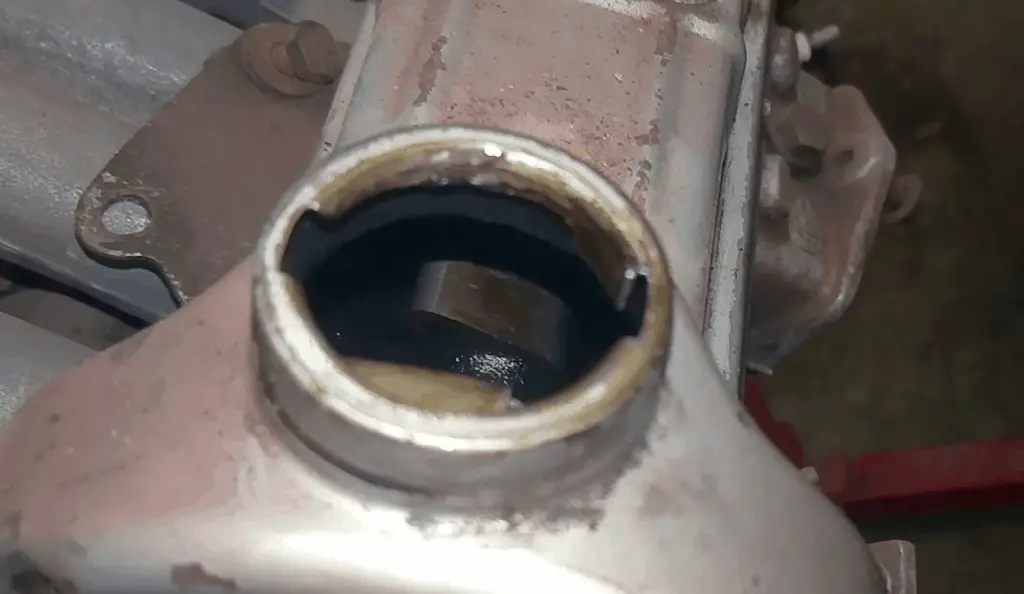
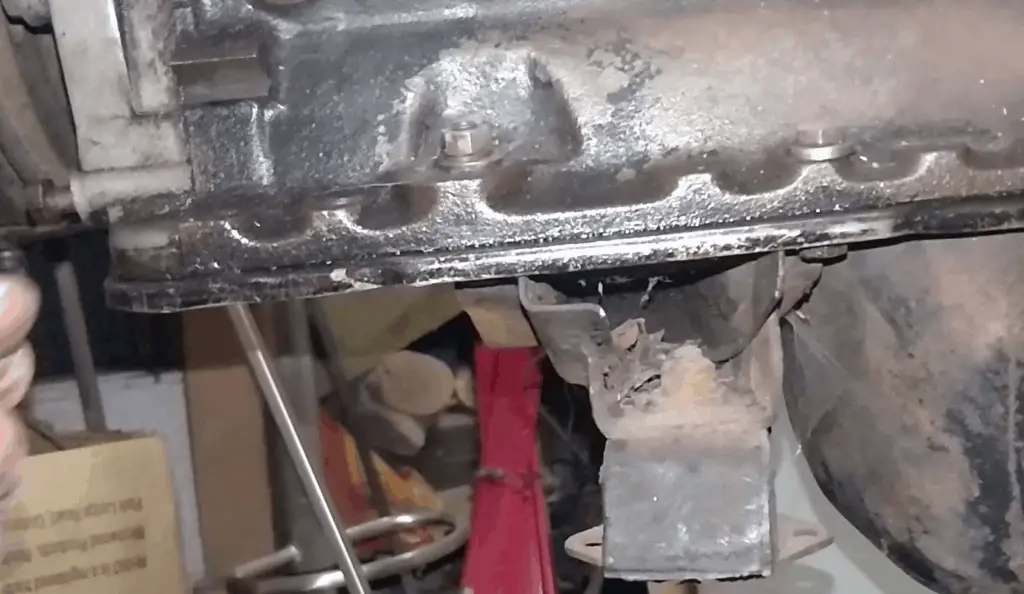
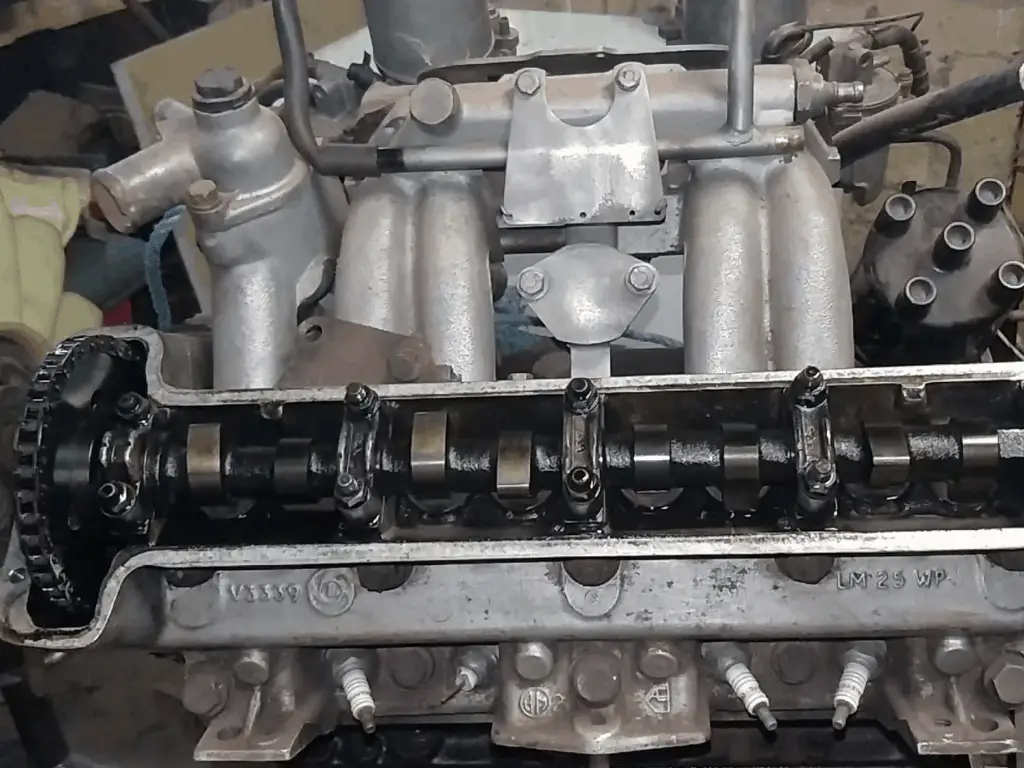
Looking at the outside didn’t reveal anything bad; a slight oil leak from the sump, but that was about it. From what I could see through the filler opening, the cam looked to be in good shape, and when I tried, the engine turned quite freely. A little stiff to begin with, but that was to be expected considering how long it had been sitting.

Camshaft looks in good shape… Signs of a small oil leak around the sump, but that was about the worst of it.
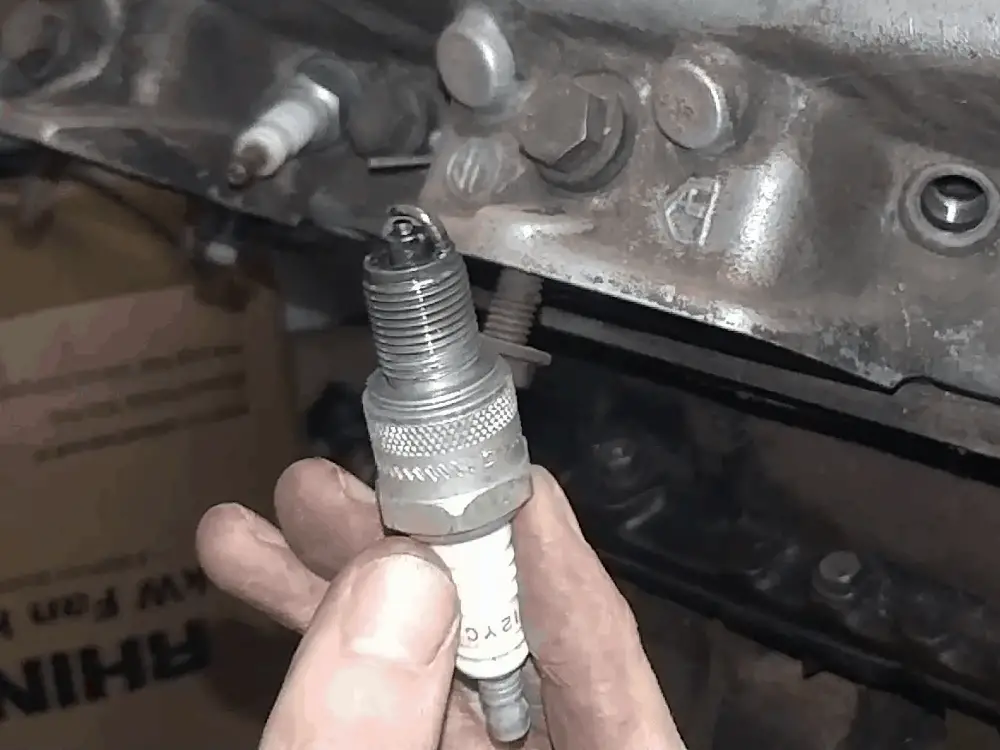
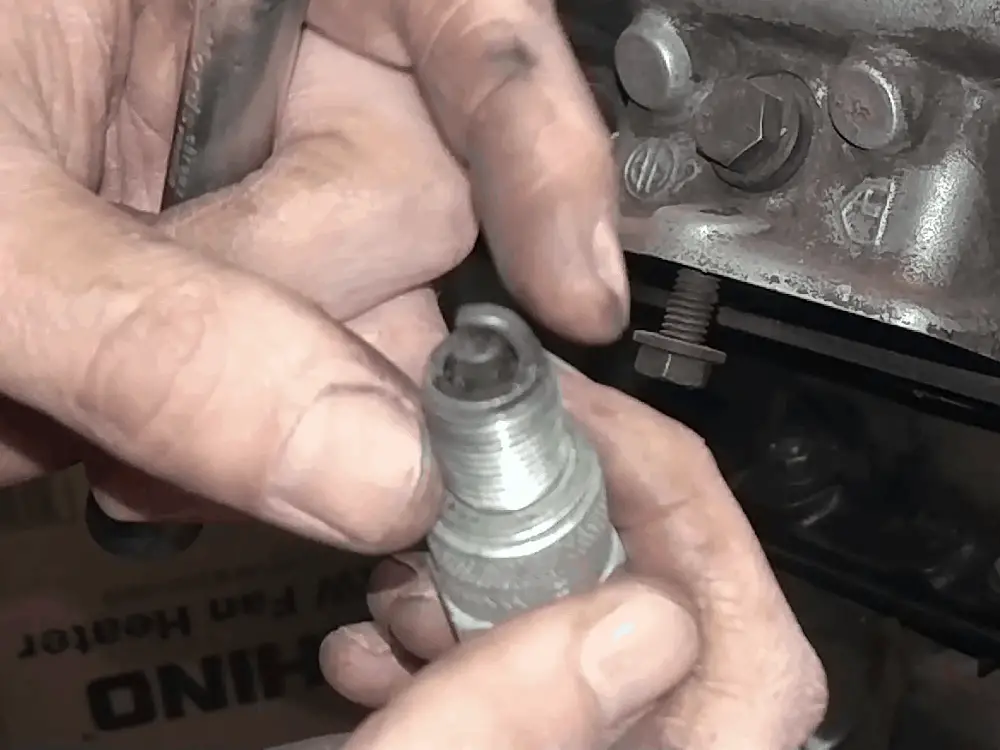
Pulling the spark plugs didn’t reveal too much – the number 2 plug was a little oily, but the other three showed signs of an engine in good condition. Great.

Spark plug number 2 had some oil deposits… But the others looked good.
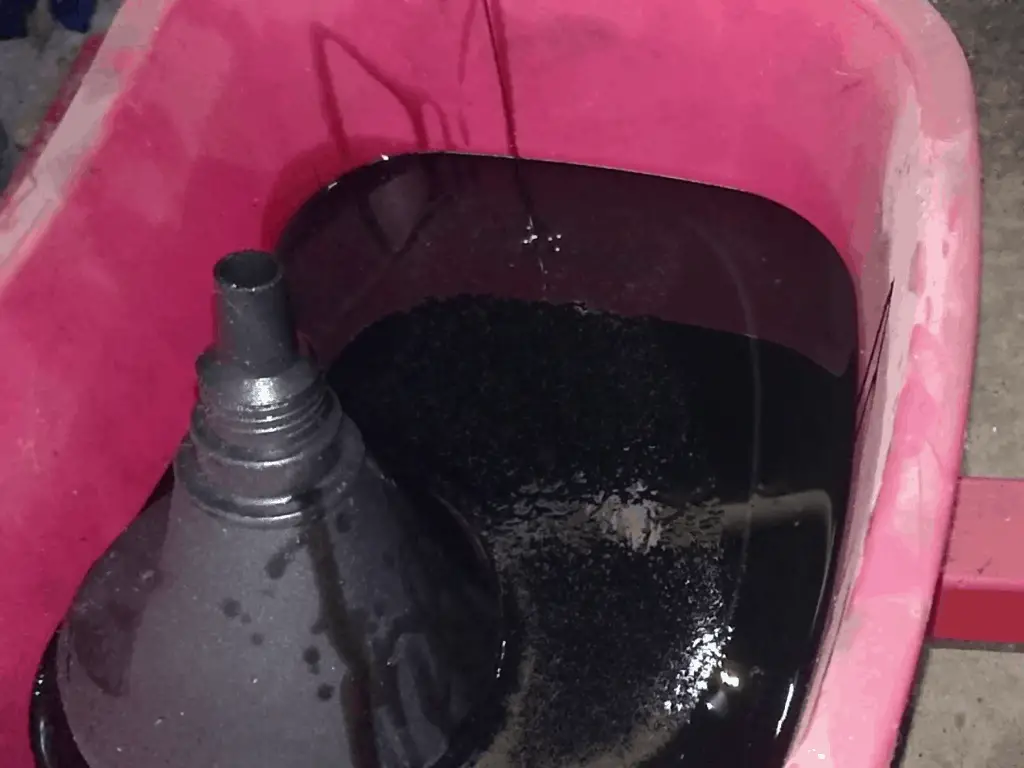
Surprisingly, the engine was still full of oil! It had clearly been in there a long time, so I drained it out. The oil showed a strange colour which I *hope* was just air getting mixed in as it was draining, but otherwise everything looked good with no signs of metal particles or anything I needed to worry about.
With the cam cover off, everything looked good. But I needed to get that oil drained. I hope that’s just aeration and not something more serious…
Making a Plan
Now that I was happy the engine was in decent condition – at least as far as I could tell – it was time to make a plan. My hope was that I could get away with just cleaning up the engine and replacing some of the seals and gaskets rather than having to get into a full teardown. There’s a lot of work involved in this restoration, so anything I could do to keep the amount of work (and associated costs, of course) down was worth trying. A full rebuild could wait for another day, if needed.
Gathering Parts
The engine itself was complete, but missing most of the ancillaries – that’s pretty normal when you buy an engine. I’d bought a new set of carbs and an inlet manifold already, so it was time to gather up the rest of the parts.
The bits I was missing were:
- Oil pump
- Fuel pump
- Starter motor
- Ignition components (apart from the distributor, which oddly came with the engine)
- Engine Mounts
- Various gaskets, seals, etc.
I’ve been slowly gathering parts over the years, grabbing bits when I see them on eBay and the like. So with that and the bits I had left over from when I pulled the old engine, I already had most of what I needed, so I just had to dig through my stash to find it all. A little bit of online shopping took care of the rest of it.
A small pile of parts… Suddenly becomes a big pile!
There were a few other things I was going to need, such as alternator, coolant hoses, etc. But all I wanted to do at this stage was to get the engine fired up to make sure it worked properly.
Cleaning the Oil Pump
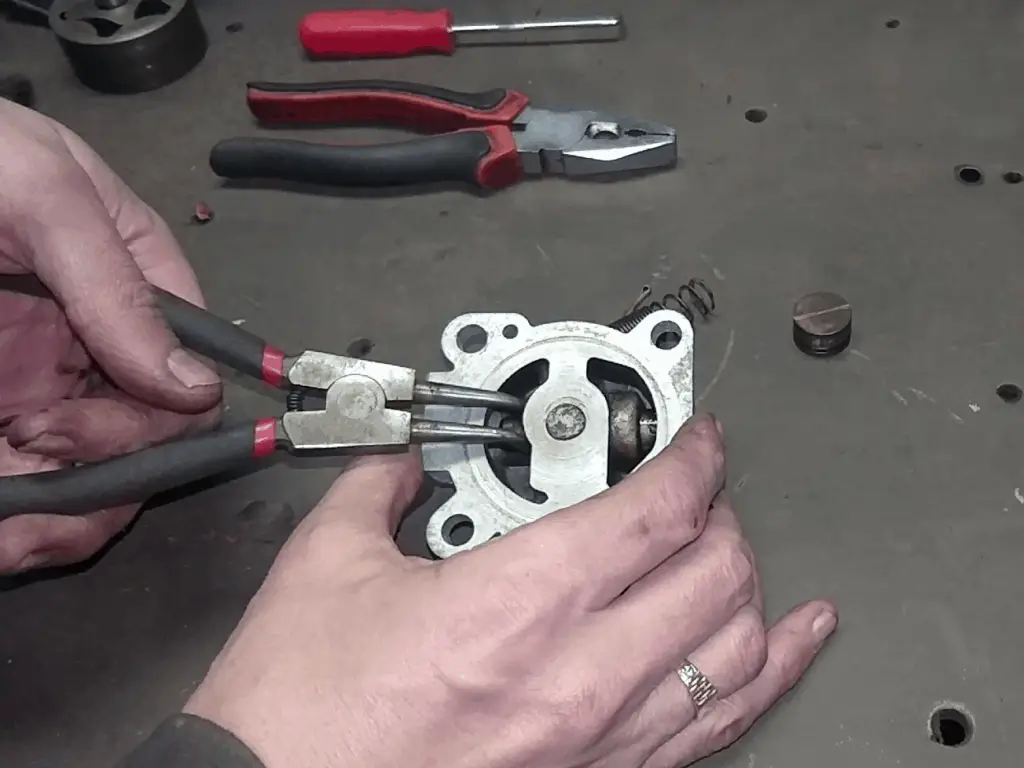
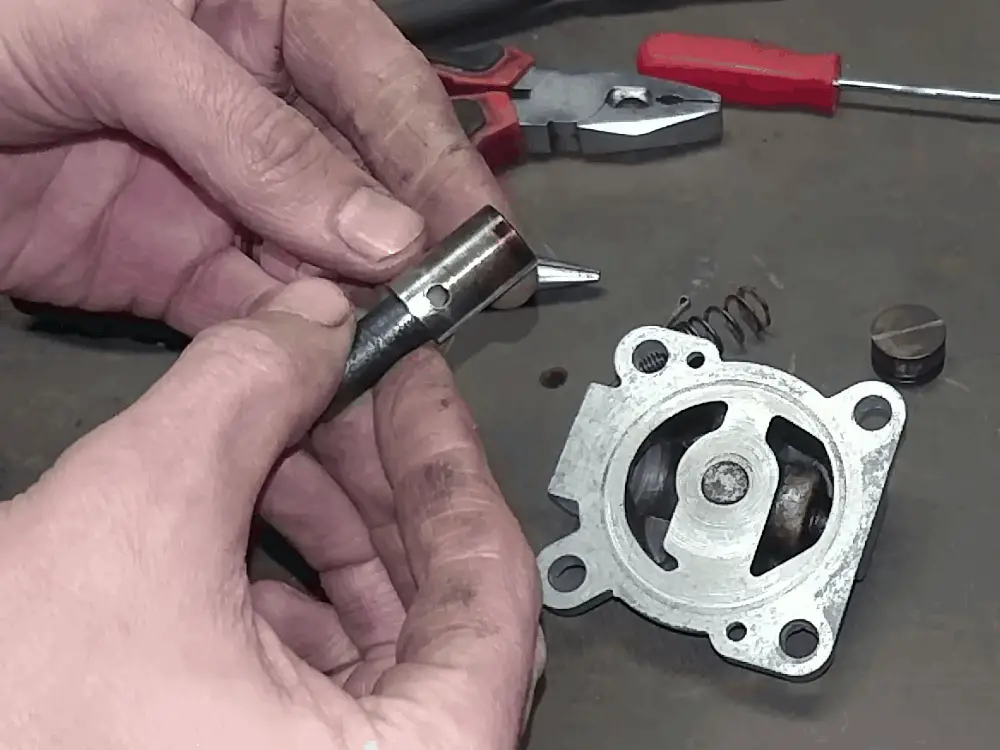
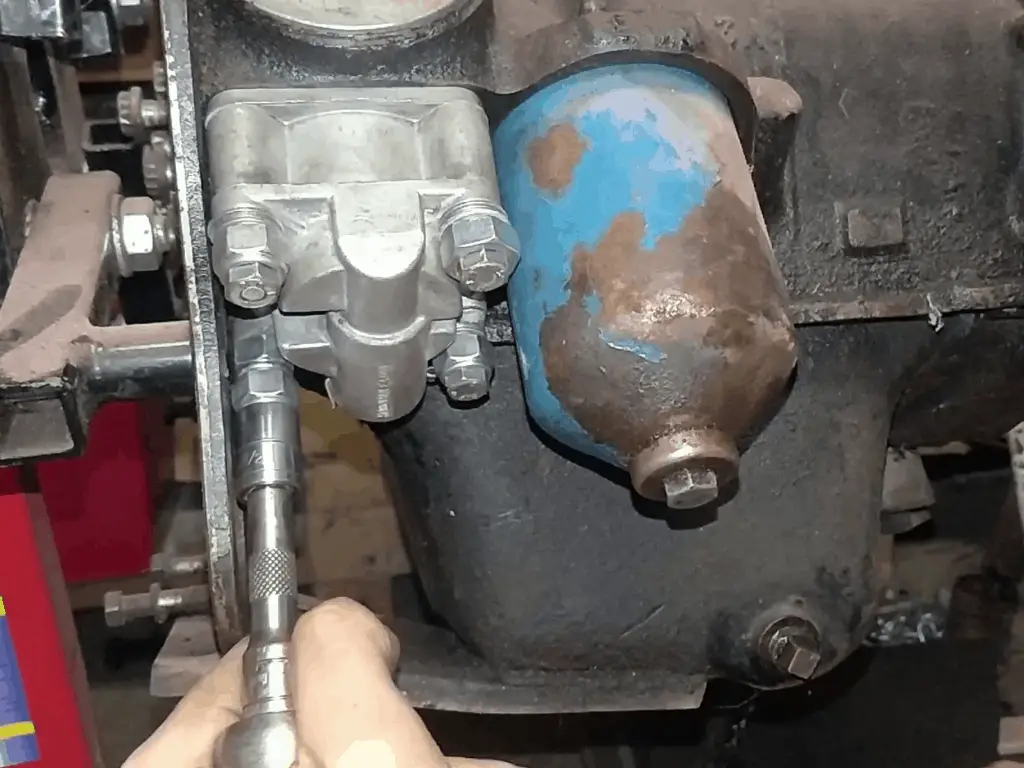
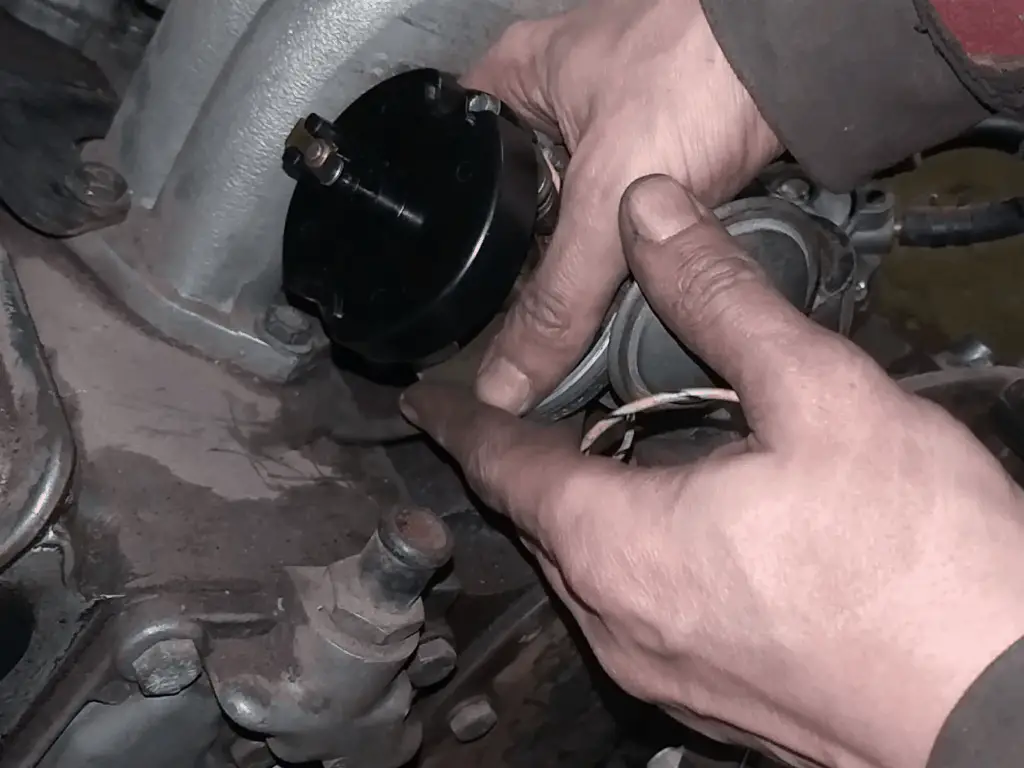
The oil pump I had was of unknown origin, although it appeared to be in good shape. The pressure relief valve looked a bit dry and sticky, so I thought I’d pull it apart and clean it all up. It turned out to be a good job I did, as the valve was stuck solid and needed to be persuaded out with pliers and plenty of oil!
Taking the valve apart (I used circlip pliers here to avoid marring the valve body) The valve was in good shape, just in need of cleaning. Valve and pump reassembled and ready to fit.
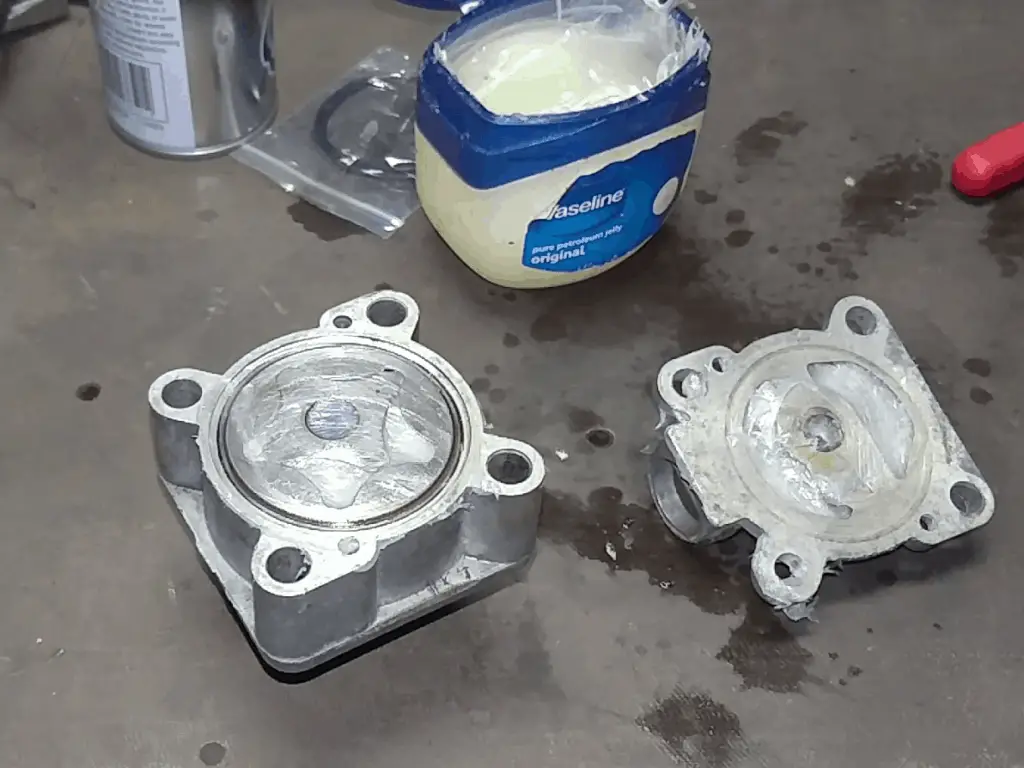
With the valve cleaned up and moving freely, I reassembled it and the pump itself. The pump was then packed with vaseline to help prime it.
Cleaning and Adjusting the Distributor
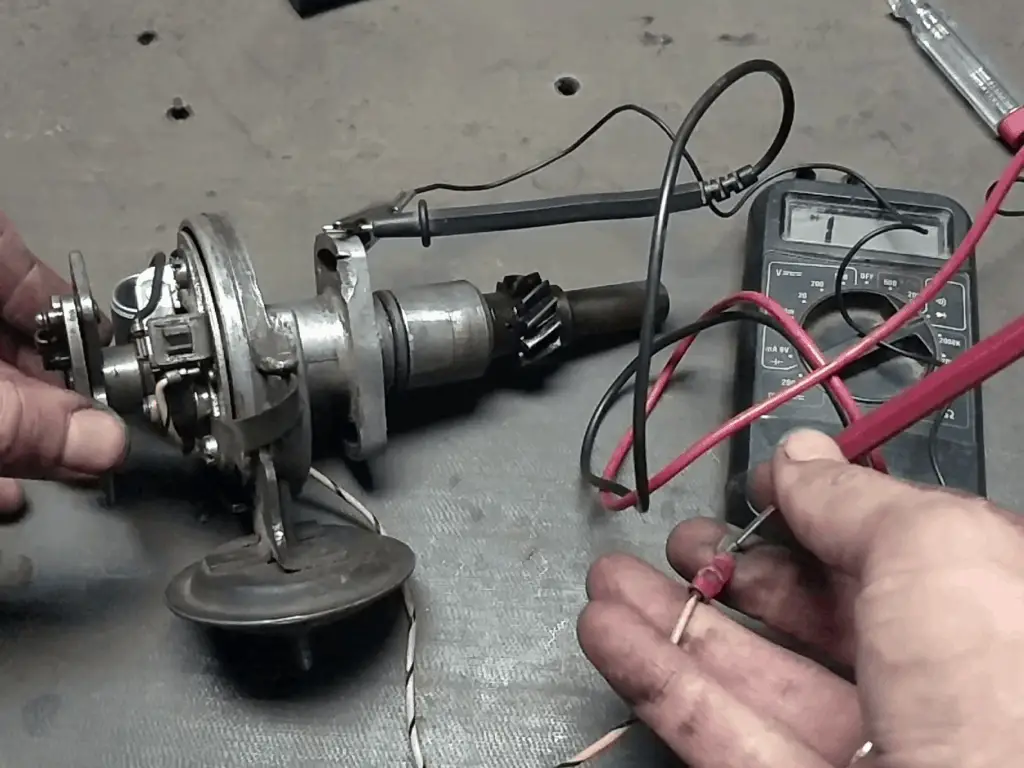
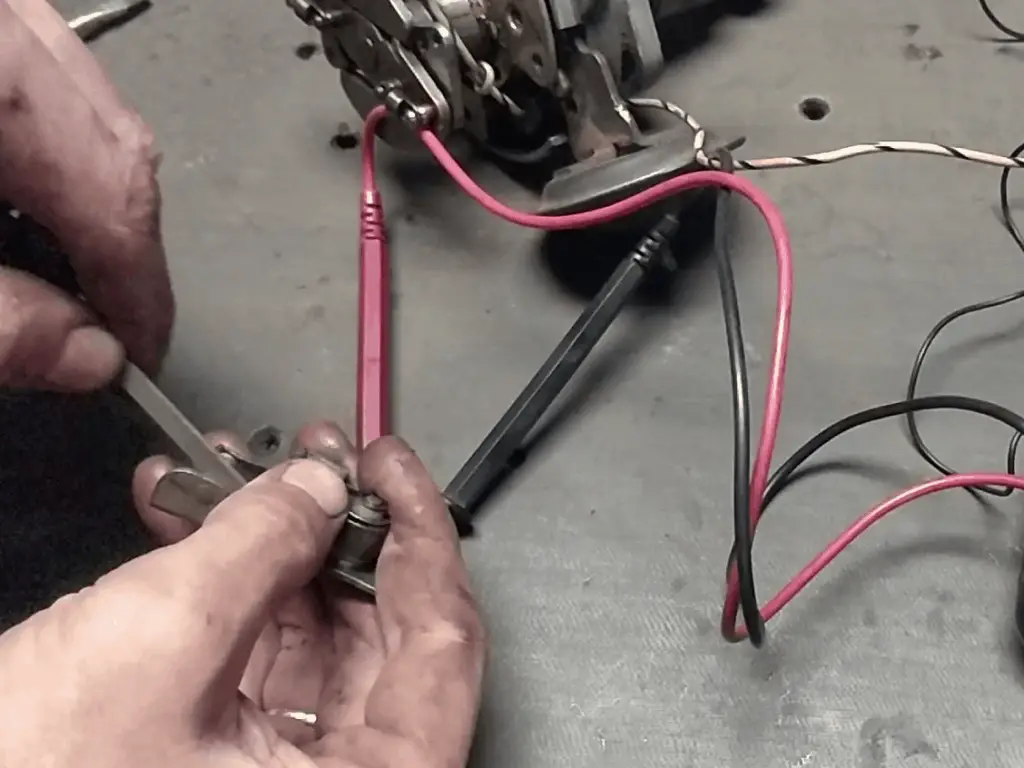
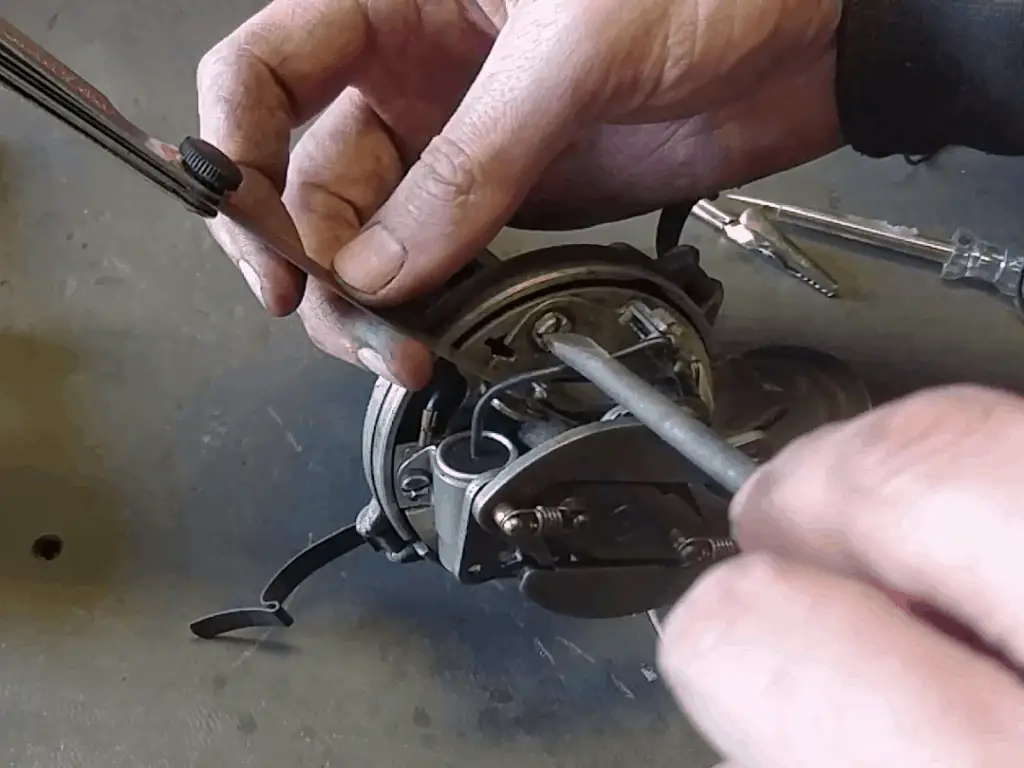
The distributor was the next thing that needed checking. As I suspected, it wasn’t making a good connection, so I cleaned up the points (for now – I’ll probably fit new ones later on, but I just want to test everything for now) and adjusted the points gap as per the factory spec.
The points were dirty, so no connection was being made… Points were cleaned with a file. And then the gap adjusted.
Putting It All Together
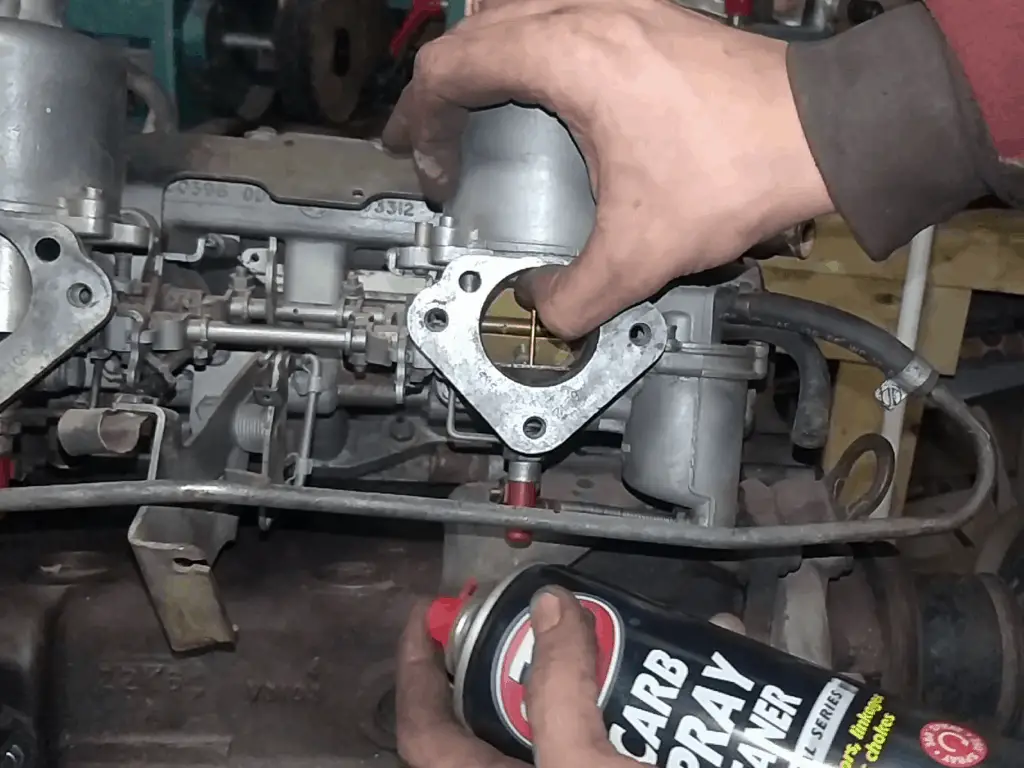
With all the major components cleaned up (except the manifold and carbs – an inspection showed everything should be working well enough for testing, other than a sticky piston in one of the carbs), it was time to assemble it all.
It all went together easily enough, although the bolts I’d been supplied for the oil pump turned out to be too long! For the time being, I fixed it by adding in some nuts as spacers. On final assembly I’ll either cut these ones down or buy some shorter ones.
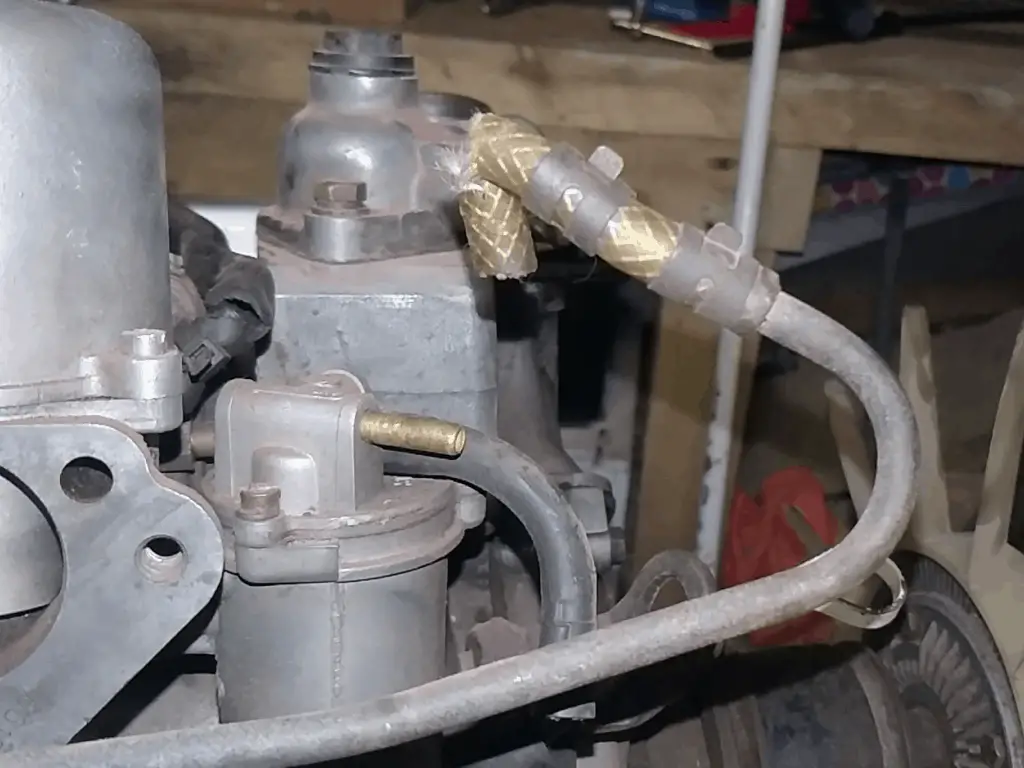
The old fuel hoses and breathers were all rotten and brittle, so those got replaced too.
Oil pump being installed. Note the nuts being used as spacers. Rotten old fuel lines and breathers were replaced… And the sticky carb piston got some attention. Fitting the distributor. Not the easiest thing to line up.
Getting the Engine Off the Stand
While the engine stand is great for working on the engine, it does have a lot of limitations. For one, I couldn’t have the flywheel fitted, so I couldn’t try and start the engine on the stand. That’s not a good idea anyway; it’s not the most stable thing! So I wanted to get the engine off the stand and down on the ground before I could try starting it.
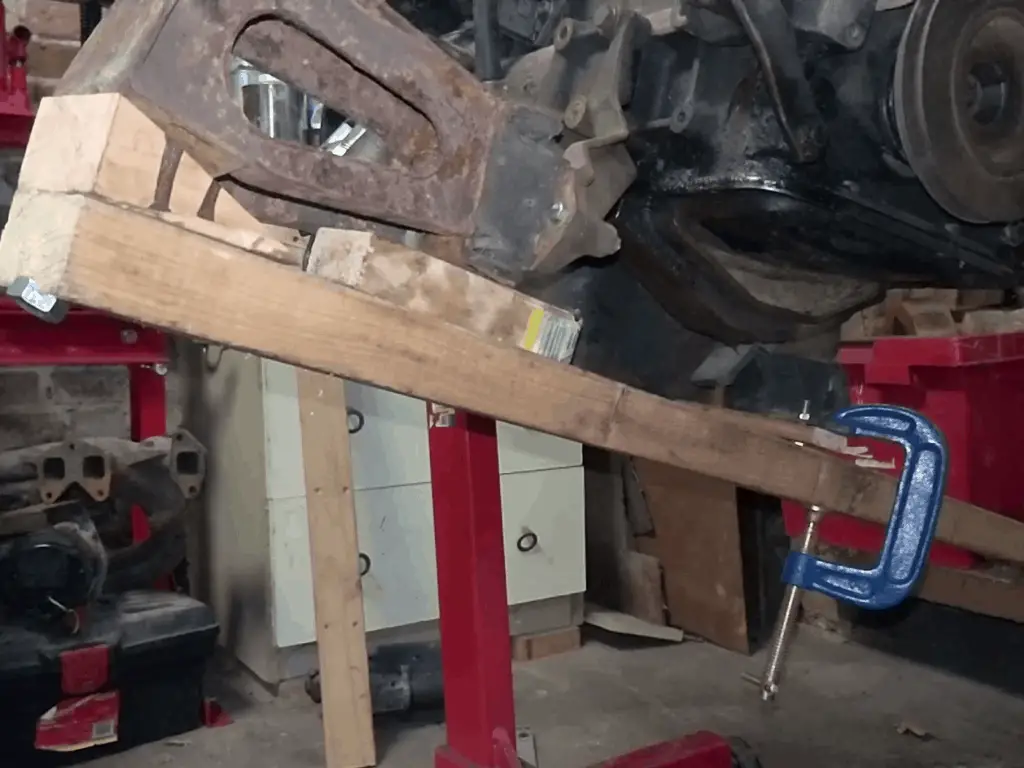
I wanted something set up so I could wheel it around; I’ve only got a small space to work in so being able to move the engine about would be handy. So I put together a rough-looking but sturdy (or so I thought) dolly, bolted to the engine…
Put together with bits of scrap, but should be sturdy enough… And now with wheels.
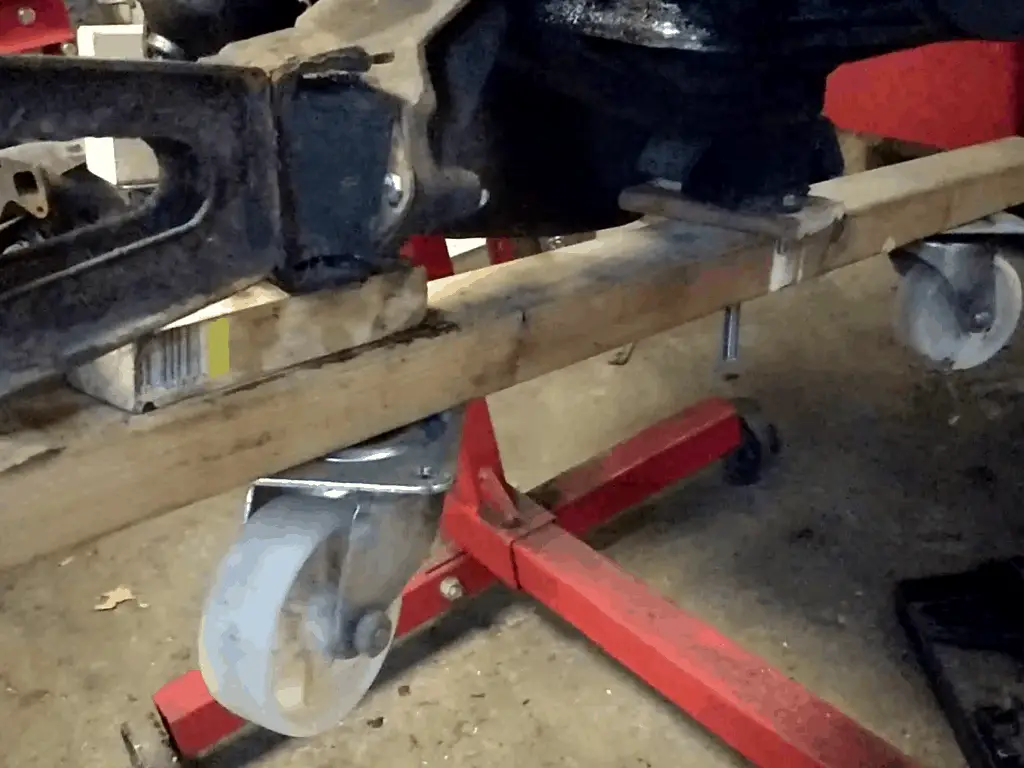
…which almost immediately collapsed as soon as I set it on the ground. ?♂️
I could immediately see where the problem was – there was nothing to stop the beam twisting sideways, and the rubber engine mounts did exactly that. It would have been an easy enough fix, but I decided to abandon the idea for the time being and just propped the engine up on some wooden blocks. A bit shady, but sturdy enough.
But Will It Run?
So, it was time to see if the engine was actually going to run. Whether I’d bought a decent engine or just a fancy boat anchor.
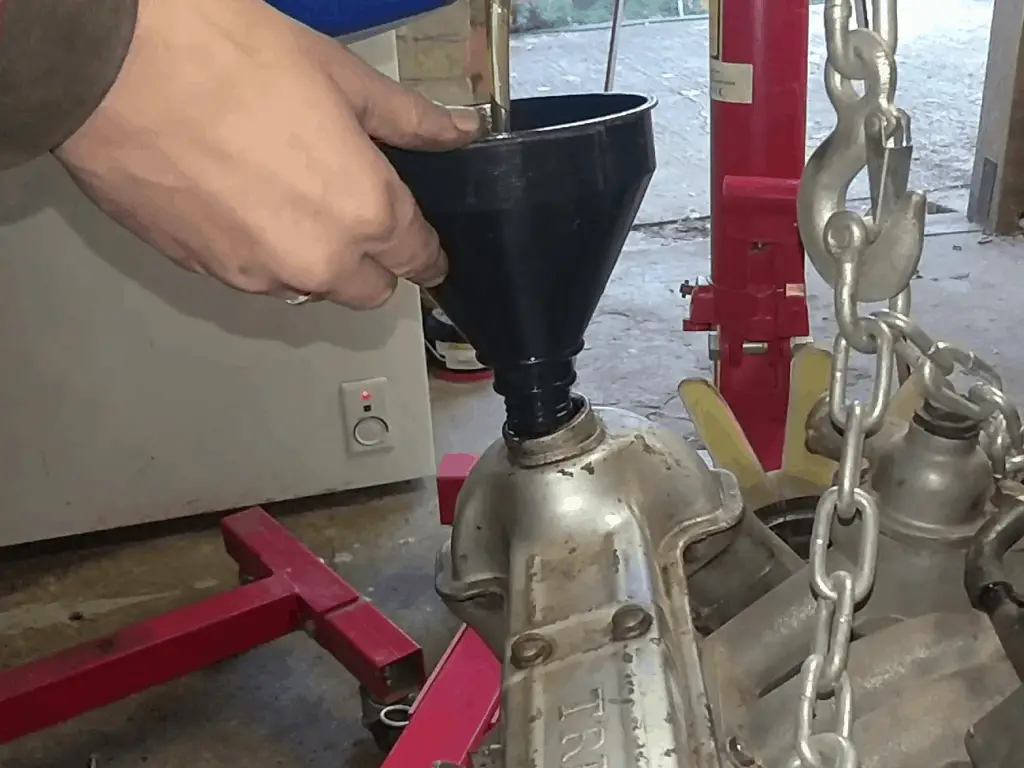
So I filled the engine with oil, hooked all the fuel and ignition up along with the battery leads to the starter. I didn’t worry about the cooling system for this first run; I was only planning to run the engine for a few seconds to make sure it worked. It wouldn’t be running long enough to overheat.
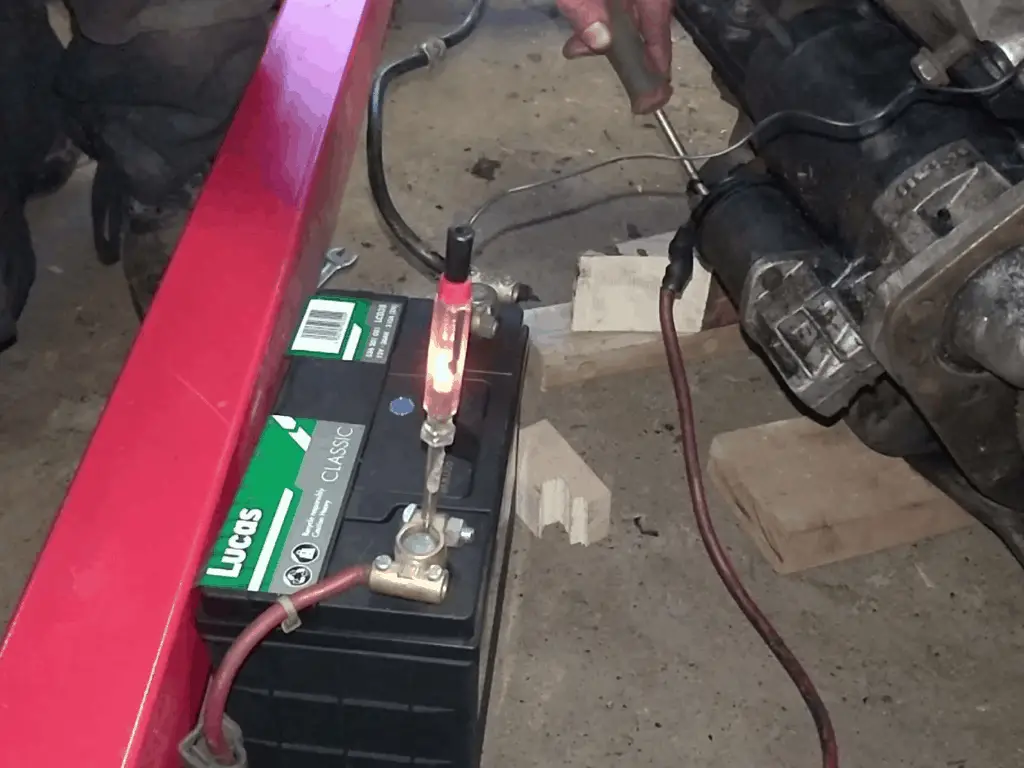
I then cranked the engine over, initially without the ignition connected. I wanted to get the oil moving around the engine first. I used a test lamp as an oil pressure light, and happily enough the light turned off after a few seconds of cranking, meaning I had decent oil pressure.
Adding some fresh oil… The first crank. Note the test lamp used as an oil pressure light. I used a screwdriver to connect the starter contacts!
Happy that the engine was turning over well enough and had decent oil pressure, I hooked up the ignition and cranked it again.
And… nothing. No matter what I tried, I couldn’t get the engine to fire, or even try to fire. I went through and double checked all the ignition settings, all the timing, everything. It was all set up as it should be, but still nothing was happening. I knew I had a spark, and I knew I had fuel getting to the carbs, but there was no life in the engine. So I looked at the last thing on the list; compression.
I was fully expecting the engine to be a little down on compression after sitting for so long. Surface rust forms, things don’t seal as well as they should, compression gets low. It’s not normally a problem, a few minutes running the engine usually takes care of that.
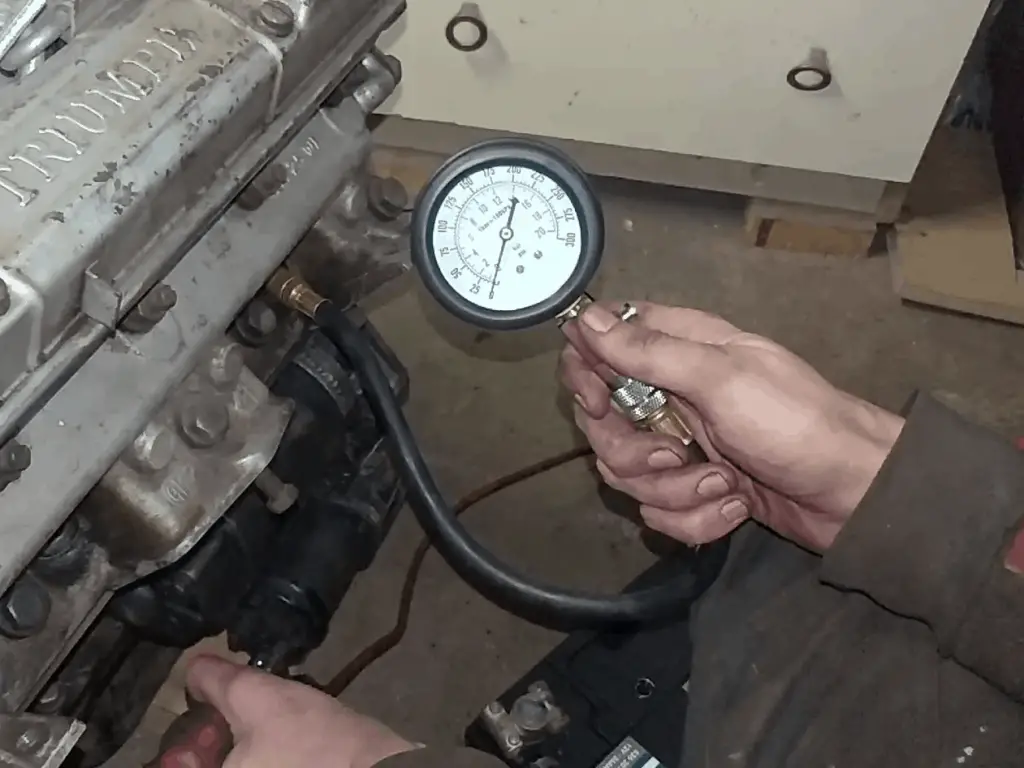
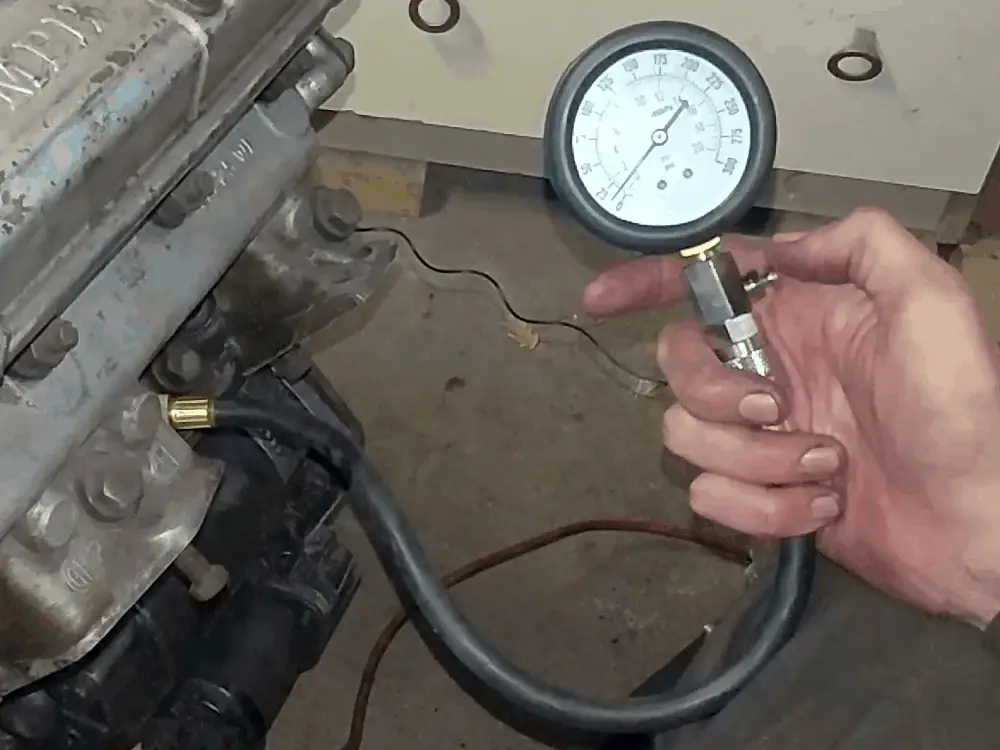
But what I wasn’t expecting, however, was for there to be no compression. At all. On any cylinders. I got perhaps 10psi on one of the cylinders, none of the others even had enough compression to register on the gauge. Not good.
Not the readings I was hoping for! I was hoping for around 100psi at least, the best I got was 10.
I double checked the cam timing (again) but that was all as it should be. Everything on this engine was set up exactly as it should be, but for whatever reason it had no compression anywhere.
I considered doing a leakdown test, but that would have involved buying things I didn’t have. I also thought about adding some oil in to the pistons to see if the rings were simply stuck, but in the end I decided to just pull the head off. Fixing whatever was wrong would likely involve removing the head anyway, so why not?
The Video!
As before, I videoed all of this and here’s the video on YouTube: