So, it’s finally time. After all the hours, weeks, months and years of cutting, grinding, filling and sanding, the TR7 is finally ready for paint.
After 12 years, it’s been a long time coming.
After the long and arduous slog getting the car (and garage) prepared for paint, I was both looking forward to and fearing this part. Looking forward to it because this was the part where all my prior hard work would (hopefully) pay off, and fearing it because, well, it’s a big step. What if I mess it up? What if I get the paint on and it looks awful and shows up all the bodywork repairs I thought I’d dealt with?
Well, in any case it was time to get started.
Turning the Garage Into a Spray Booth
A dusty old garage really isn’t the best place to paint a car; it’s too small, for a start, and any place you’re going to be spraying a car needs to be scrupulously clean and dust-free. For various reasons it’s not easy to get the TR7 out of the garage – if I could, I would have probably bought one of those marquees you can buy that seem just perfect for a temporary paint booth. But, the garage would have to do.
I couldn’t do a lot about the size, of course – although I did consider opening the garage door and building a screen around the doorway to get some more length. I abandoned that idea as impractical and more effort than it was worth.
But I did what I could about the dust. Previously I’d spent a good few hours cleaning up the garage as best I could and getting rid of all the dust. But it wasn’t enough. Professional painters spend huge amounts of money on their spray booths specifically to get rid of dust; me going around with a broom wasn’t going to cut it. Every bit of dust there had a chance of ending up in the paint. I hadn’t been too worried before with the primer stages as they would end up being sanded down anyway – but if possible I wanted to avoid that with the colour coat. Or minimise it, at least.
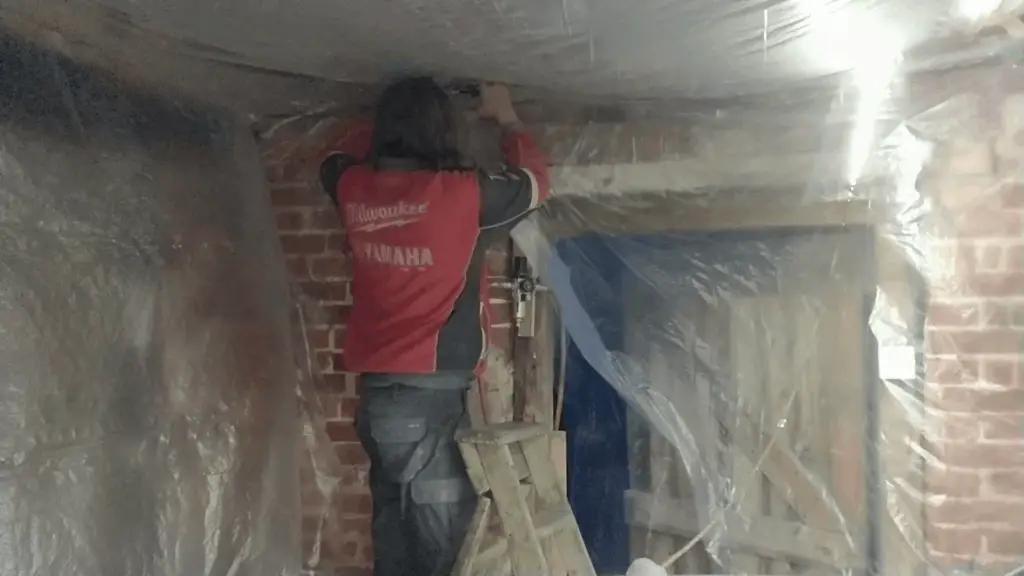
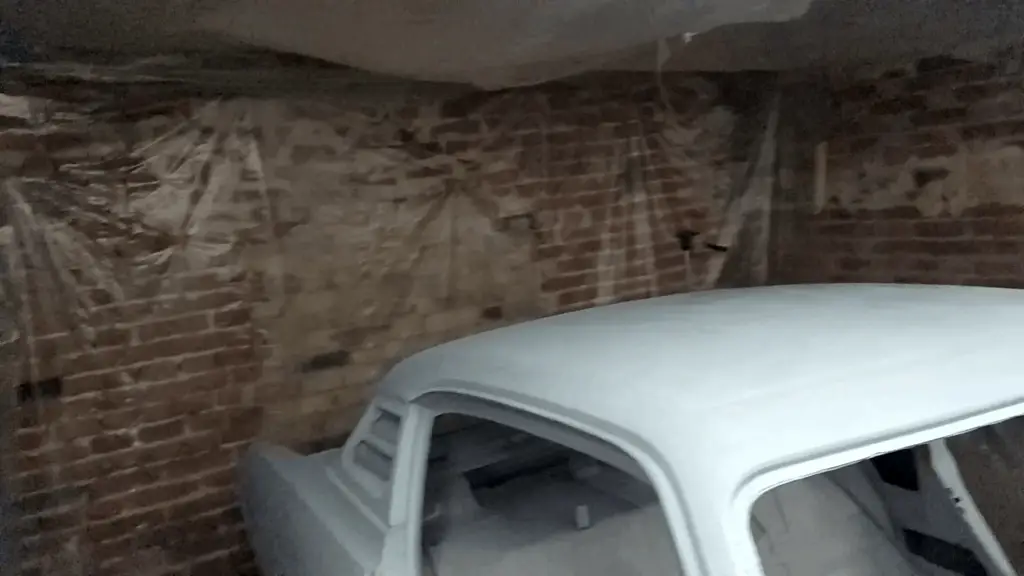
So in the end, I decided to cover the whole garage with plastic sheeting.
This would have the bonus of keeping any paint overspray off the walls – I like the nice rustic look of the garage and didn’t want to get it all covered in red paint.
So I bought a couple of rolls of plastic sheeting and spent a couple of hours putting it all up around the walls. For good measure, I also pinned some up on the roof beams to make a false ceiling – I figured most of the dust would come down from the roof area.

Walls and roof all got covered. Even the doorway got a sheet over it. Temporary paint booth now ready for use!

The next thing on the list was heating and ventilation. I’d somehow managed to end up painting the car in the middle of winter, and the temperatures were around 9-10 degrees celcius. Hardly ideal temperatures for painting. But I didn’t want to wait several months, so I bought a couple of fan heaters. As well as heating up the garage, they did a good (but not great) job of circulating air around the place. If I were to do this again, though, I’d spend a little more money and plan on a better ventilation setup in the garage.
Preparing the Car for Paint
With the garage turned into a temporary paint booth, it was finally time to concentrate on the car itself.
I’d decided to tackle the spray job in four different stages:
- The Cabin and Boot Areas plus the Wheel Wells. I figured this was the best place to start as these areas would be rarely, if ever, properly seen once the car was finished. If I messed up here, it’s not like anyone would know. So I considered this first stage to be practice and a chance to get a feel for the new gun and the paint itself. The downside, of course, is that I’d be starting off with all the tricky and fiddly areas.
- The Engine Bay. While a little more on display than the interior, the engine bay would be covered up most of the time, so if it wasn’t perfect then it wouldn’t matter too much. Again, though, this was where all the fiddly bits were.
- The Bonnet, Boot Lid and Doors (Or hood, trunk and doors if you’re reading from the US!). These were very much on display and so had to be good, but I could lay them flat and not have to worry about runs and I could get to all the areas easily.
- The Car Body. I saved the best for last! Although this had to be good, it did at least have the advantage of all being large panels with not too many fiddly areas.
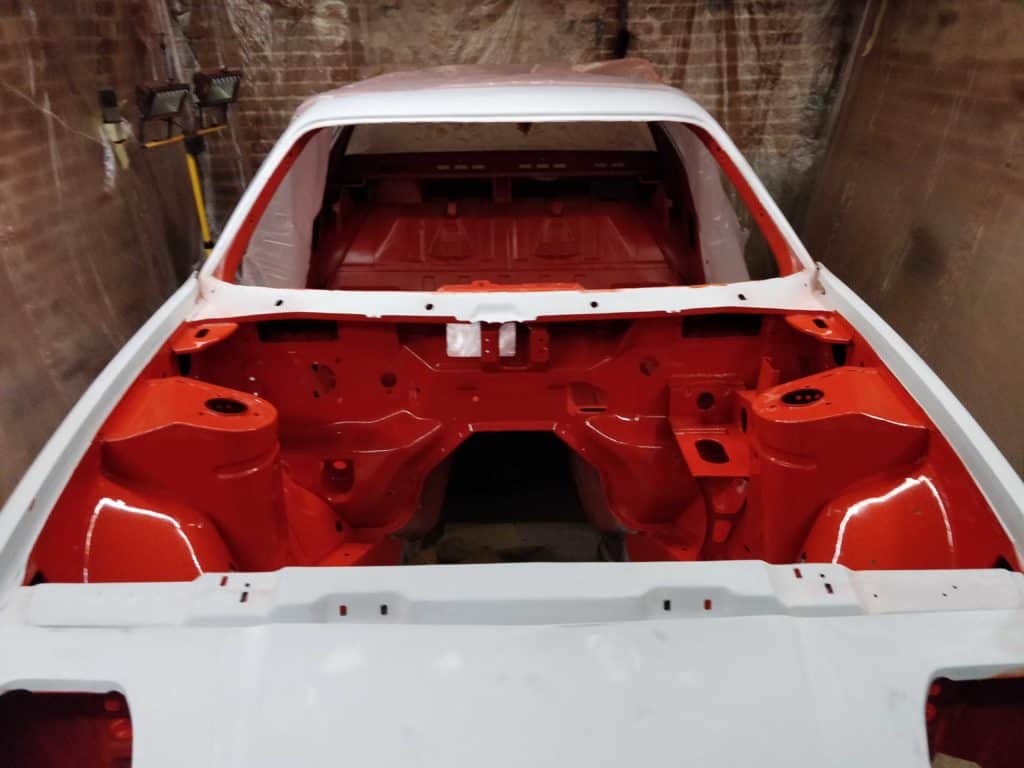
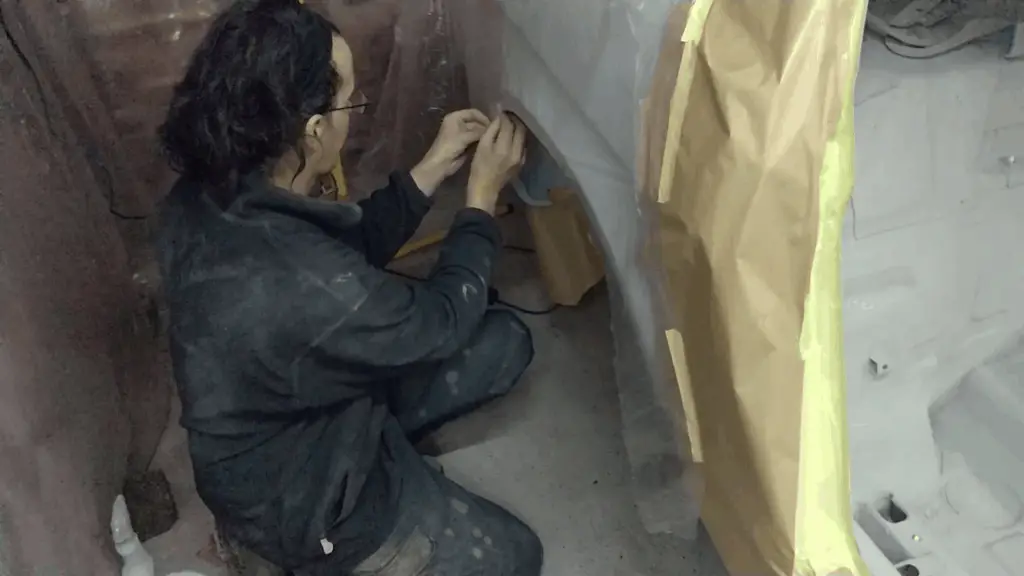
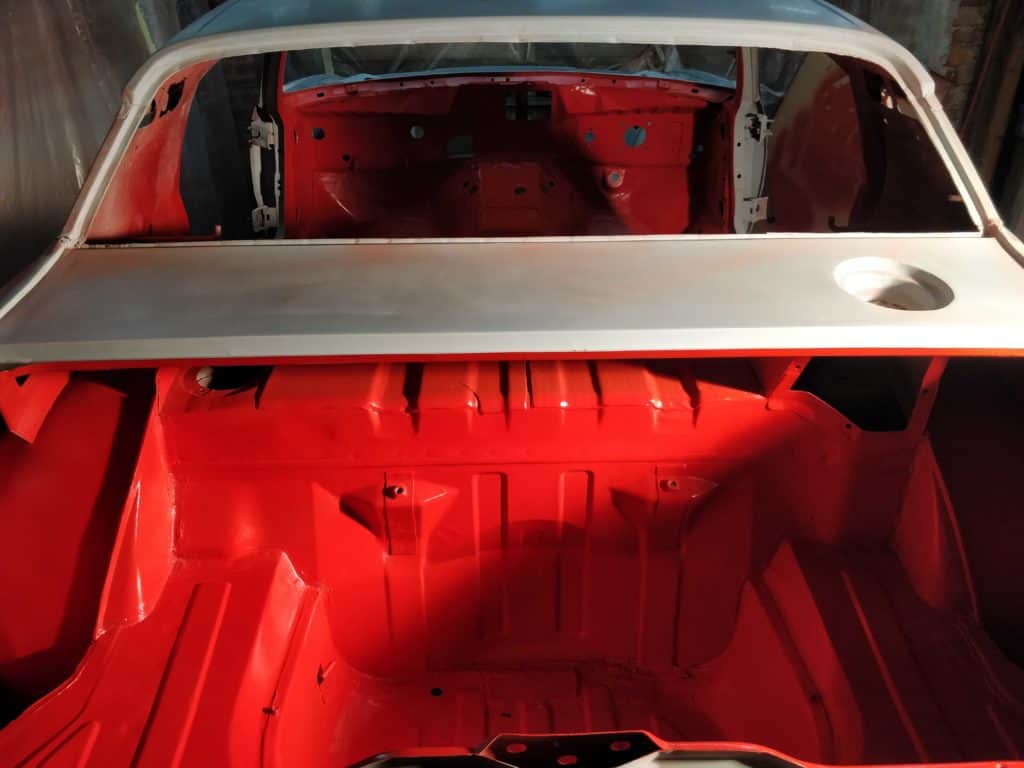
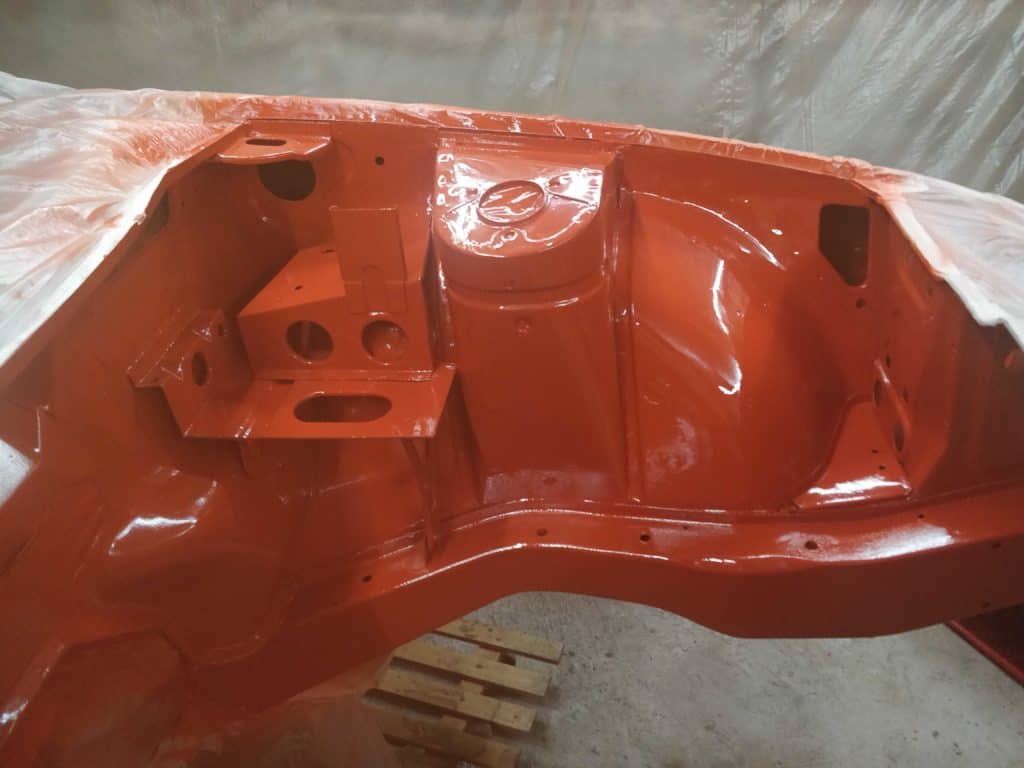
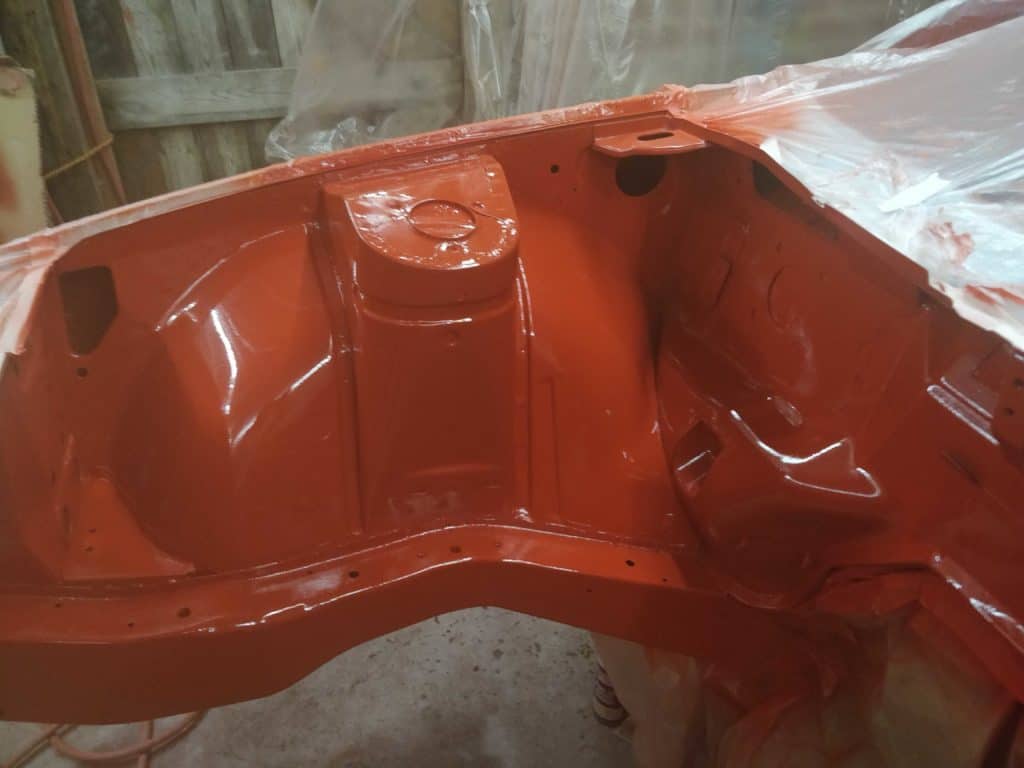
Painting the Interior and Wheel Wells
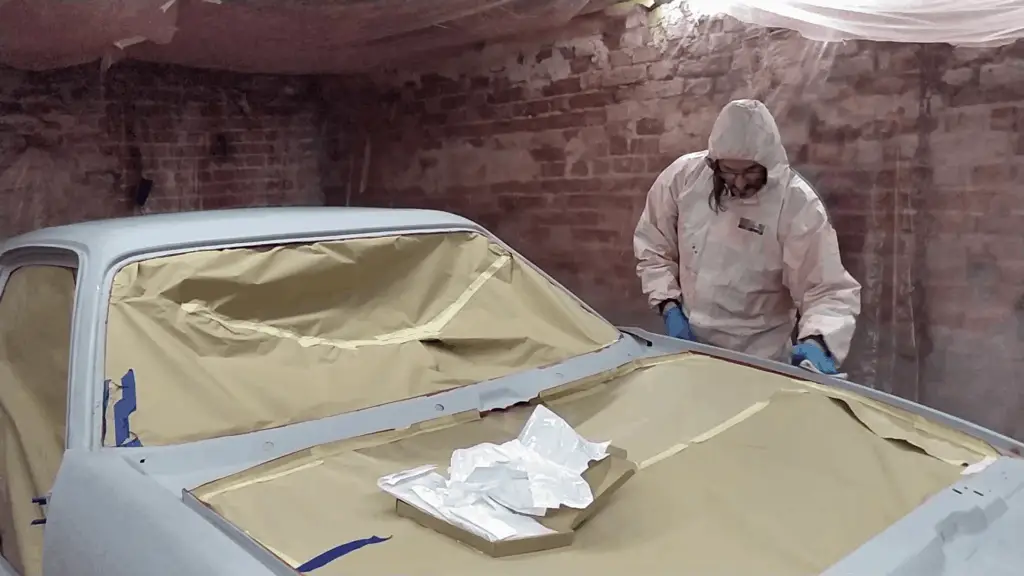
So the cabin and wheel wells were up first: After spending ages getting everything masked up with a combination of masking paper and plastic, it was time to lay on the first bit of paint.
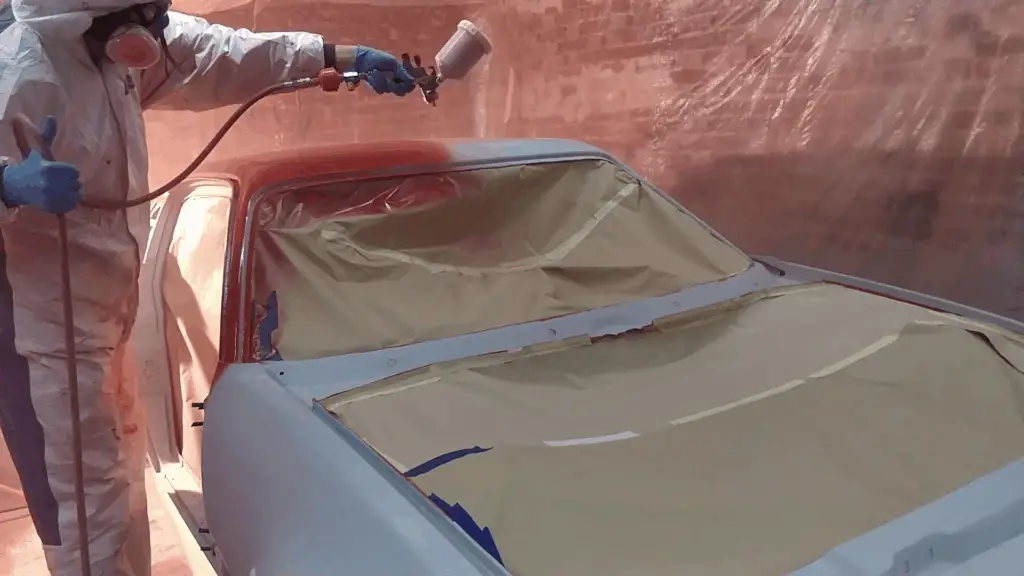
Putting on the masking paper. I used plastic for the bulk of the coverage. Mixing the paint. Pimento red, if you were wondering. Finally! Laying on the first bit of colour.

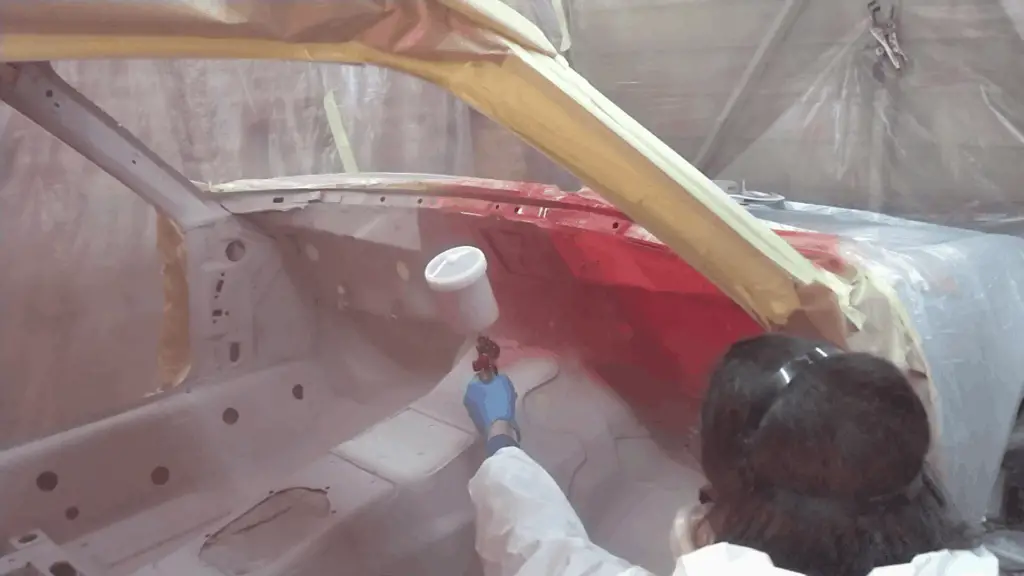
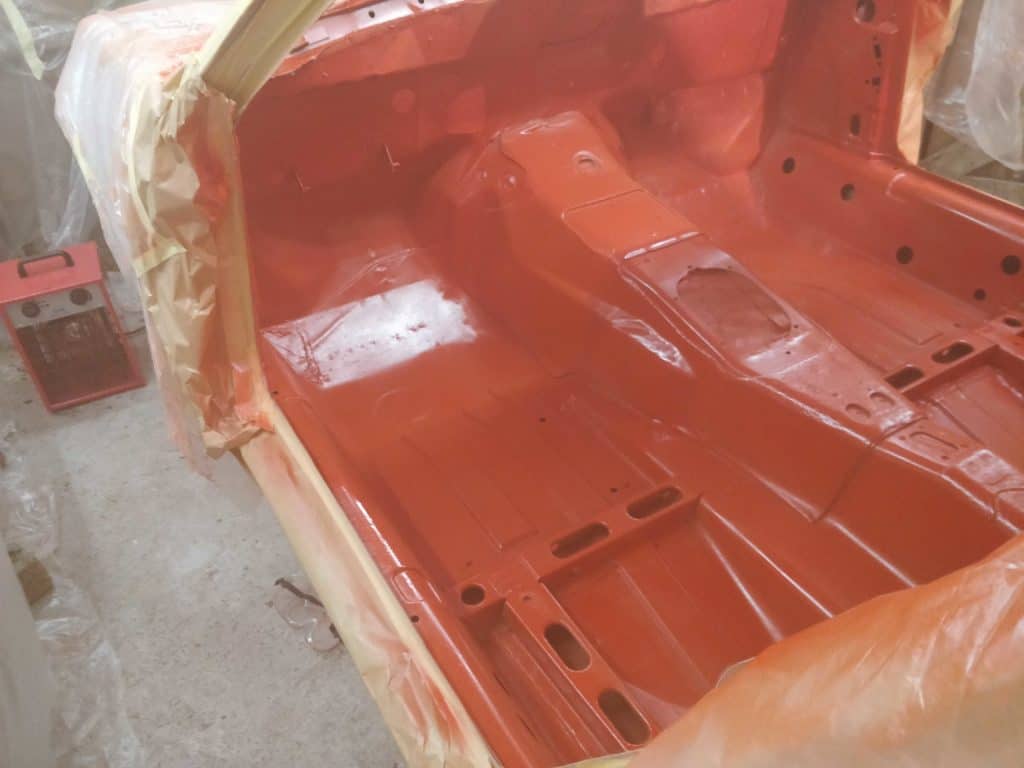
It went really well! None of the areas were all that shiny or smooth, but that was never the idea. I just hadn’t spent any time doing the prep work for that. And why would I? Most of this is going to be covered up anyway. This literally just has to be red, it didn’t matter much more than that. What was more important was that everything laid down well and I didn’t get too many runs. In the end I didn’t really get any, and I was confident enough that I could carry on with the rest of the car.

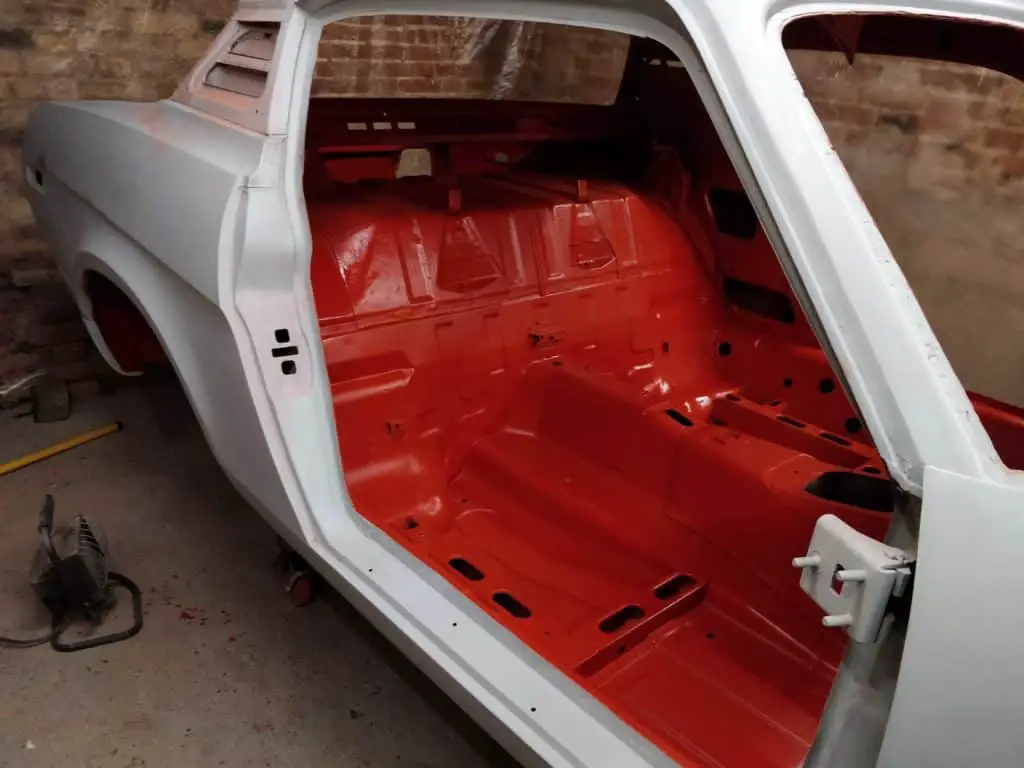
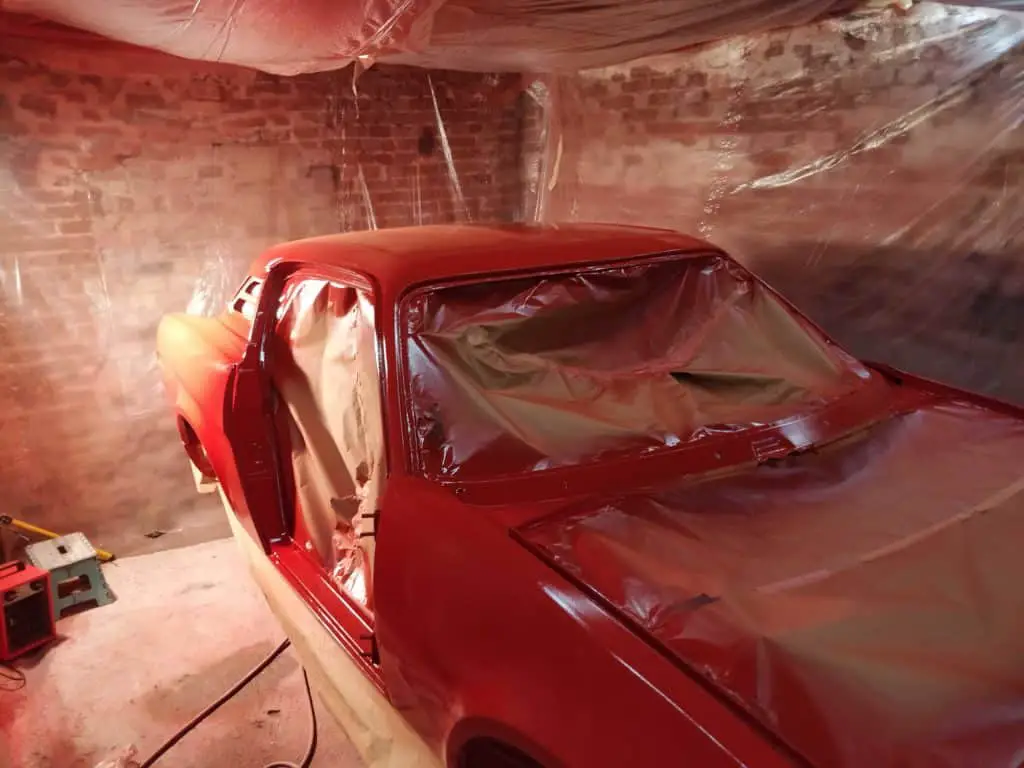
Freshly painted; looking good. With the masking removed. I was really happy with this. It’s good to see the car getting some colour again.
Spraying the Engine Bay
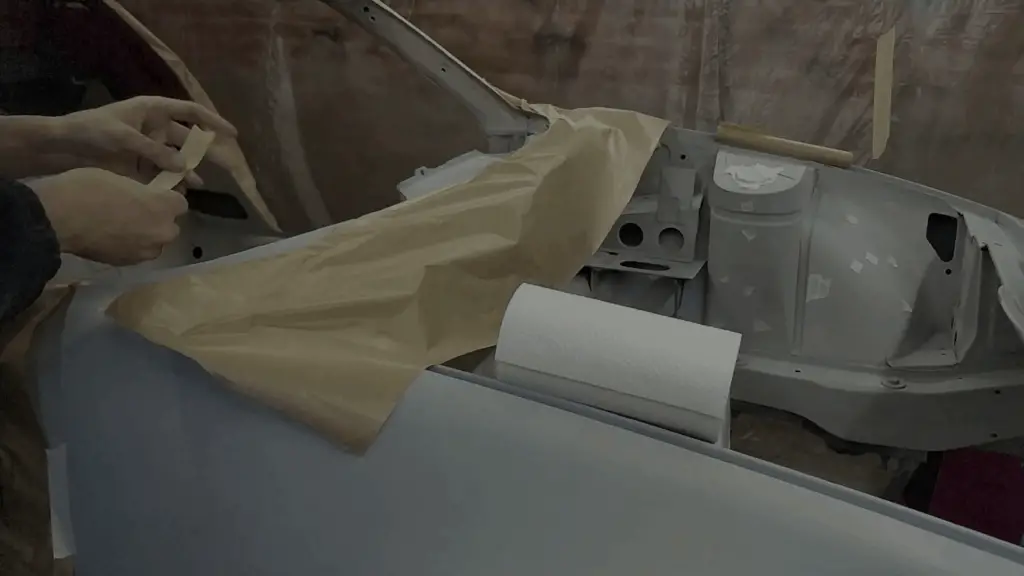
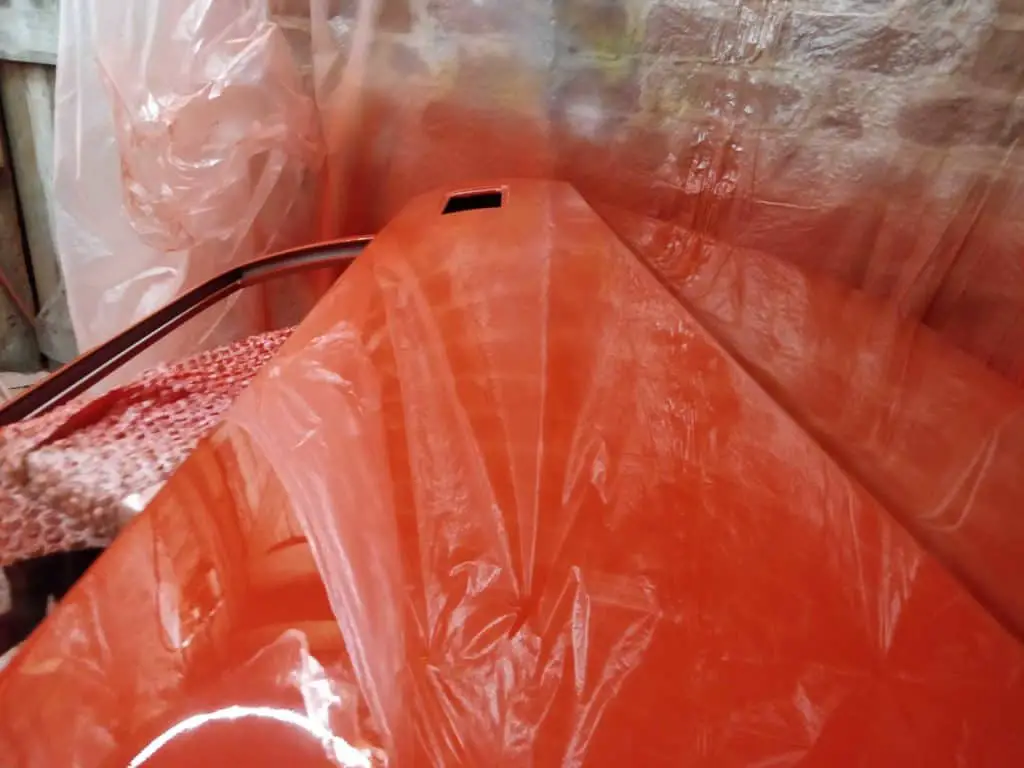
Happy that I’d got the hang of this paint and my new gun, I got to work on the engine bay. After taking off the dolly (it was covering up parts of the chassis rail I needed to paint), I just covered the entire car with plastic this time and cut out holes around the areas I needed. This was all fairly straightforward and didn’t take too long.
Taking off the dolly… Masking up the numerous holes around the engine bay… And masking off the rest of the car with plastic sheet.
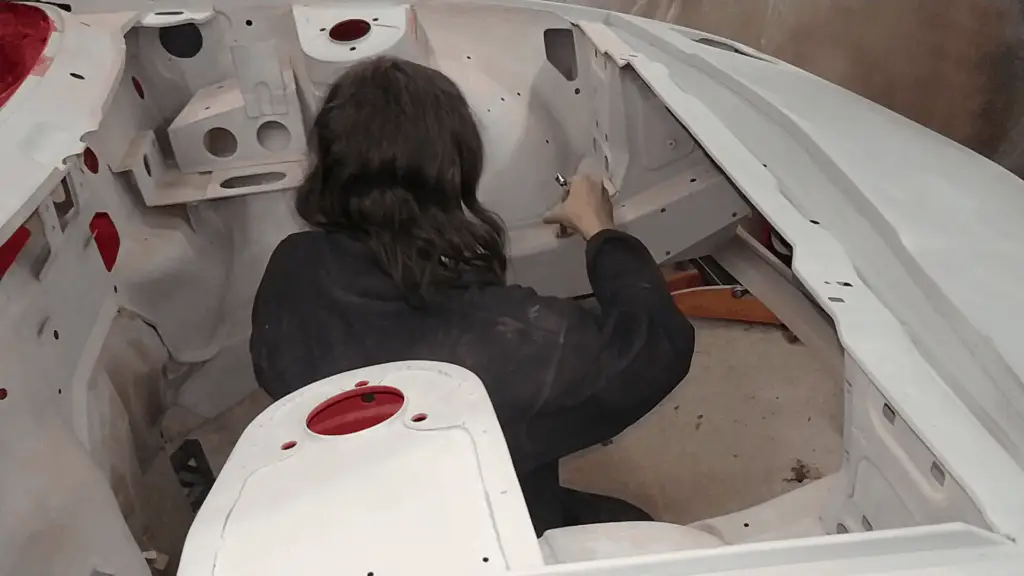
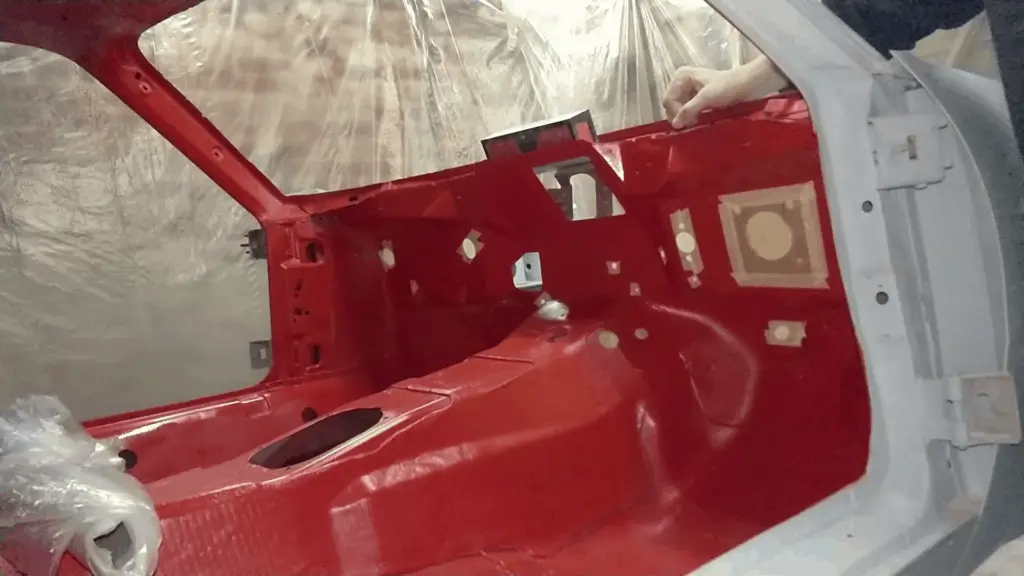
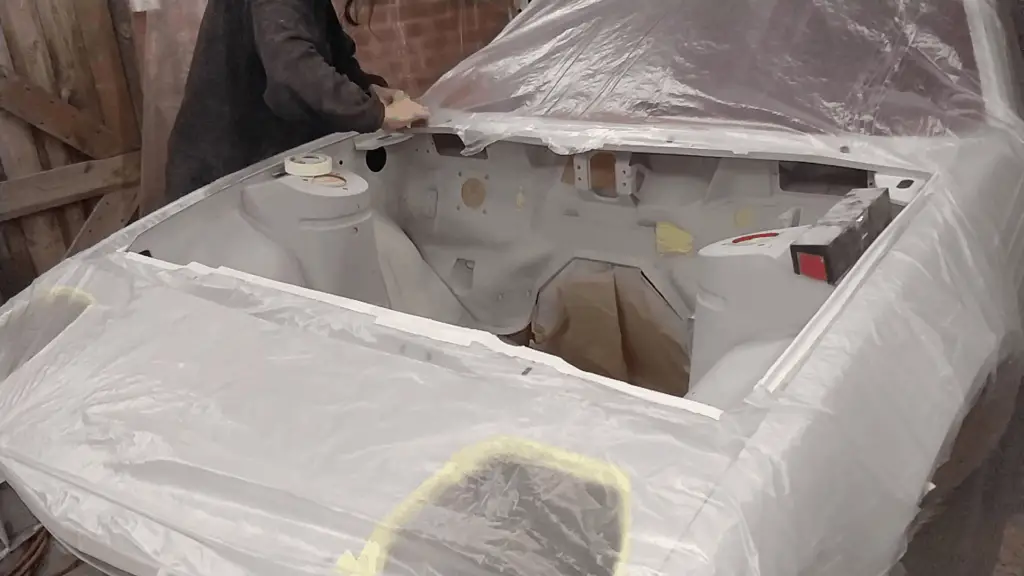
This stage of painting was probably the fiddliest of them all; the engine bay itself wasn’t too bad, although I needed to be careful to not catch myself in the wet paint while crouching down in the bay. The tricky bit was around the front of the car where the radiator and the headlights sit. There was barely enough room to fit the gun in there. But I managed – and the engine bay came out looking fantastic!
This bit was super fiddly. Worth the effort though. I was really happy with how this came out. Starting to look great now!

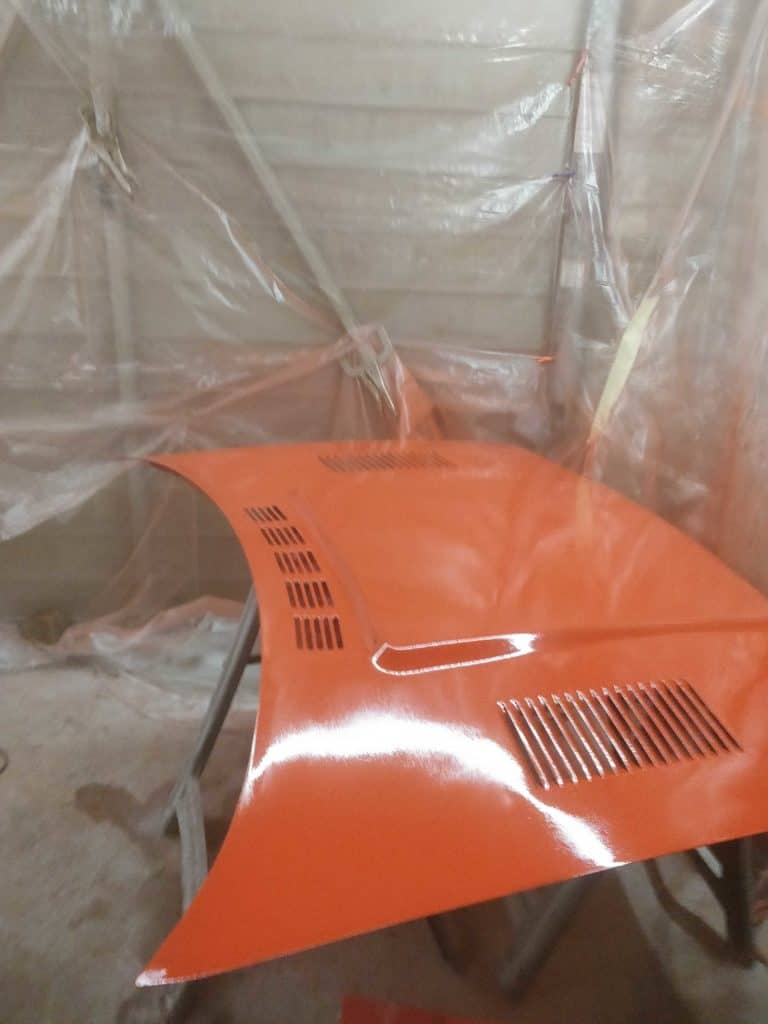
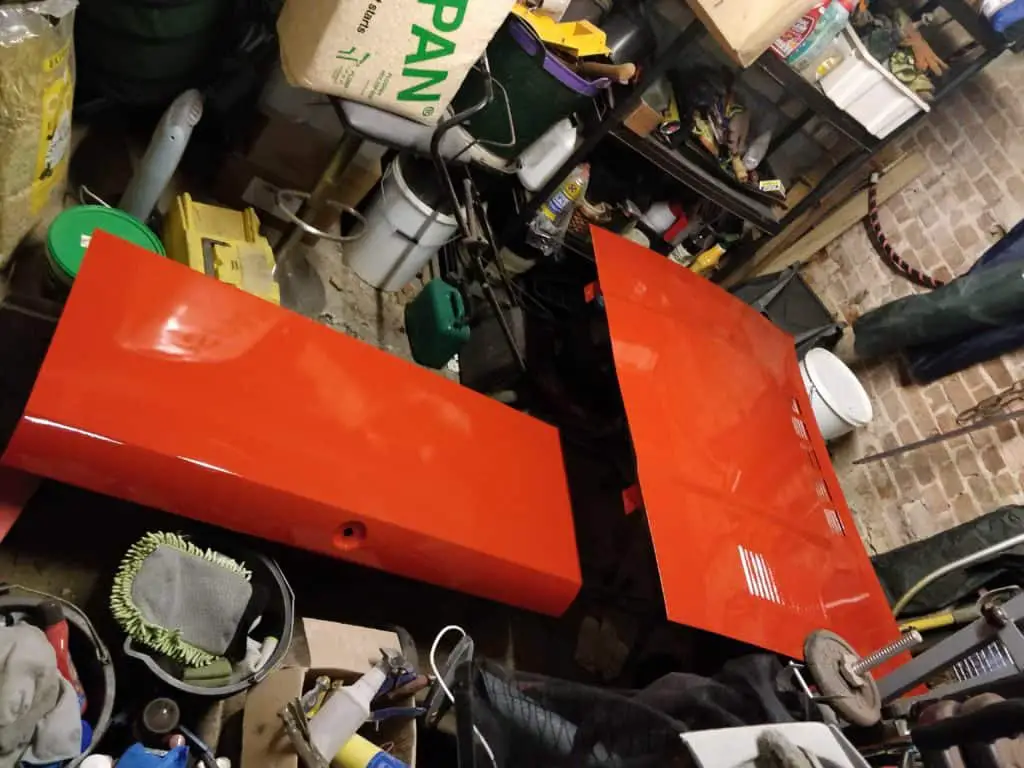
Painting the Rest of the Panels
The bonnet, boot lid and doors were next – so I pushed the car to one side and got to work. They’d been sitting in the shed for a couple of weeks while I was busy with the rest of the painting so they’d picked up some dust and cat footprints… so they needed a good clean and a wipe down with tack cloths before I could start painting. On the other hand, aside from covering up the car with some plastic sheeting, I didn’t need to do any masking on these panels – just straight on to paint.
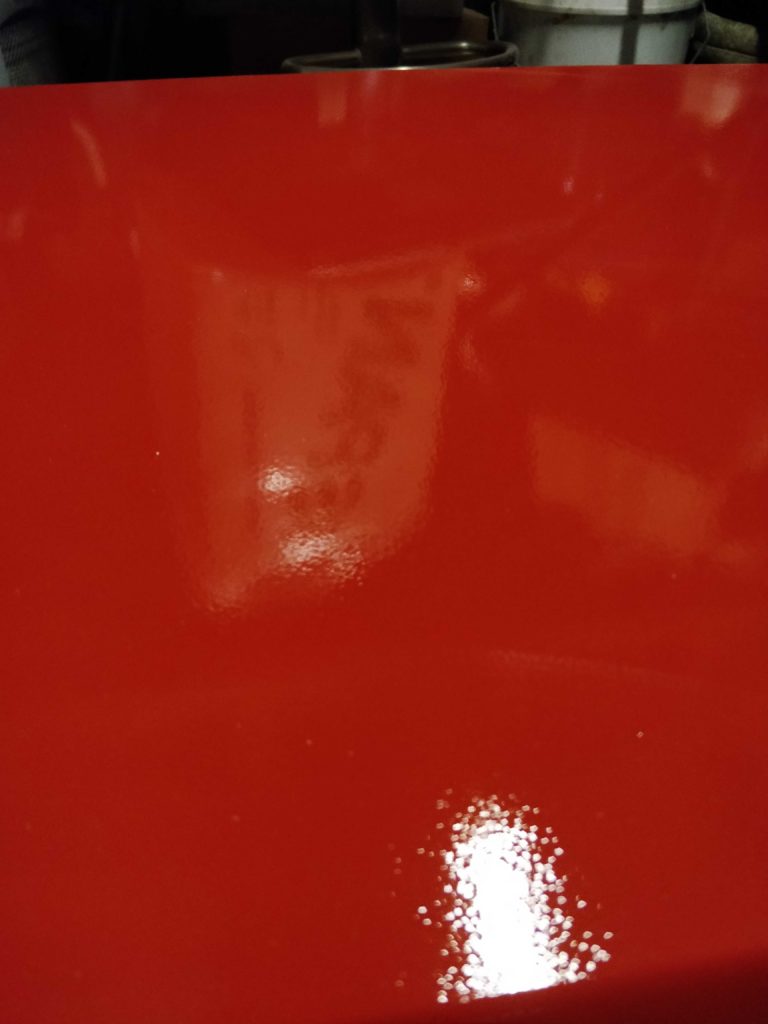
The painting mostly went okay, although I did have a big problem with orange peel – so these would have to be flatted back and polished. The doors came out great though!

Bonnet (or hood!) And boot lid (trunk lid!) These had nowhere else to go, so I had to stack them up in the shed. I had a lot of orange peel on the bonnet and boot lid… Bu the door panels came out looking great!
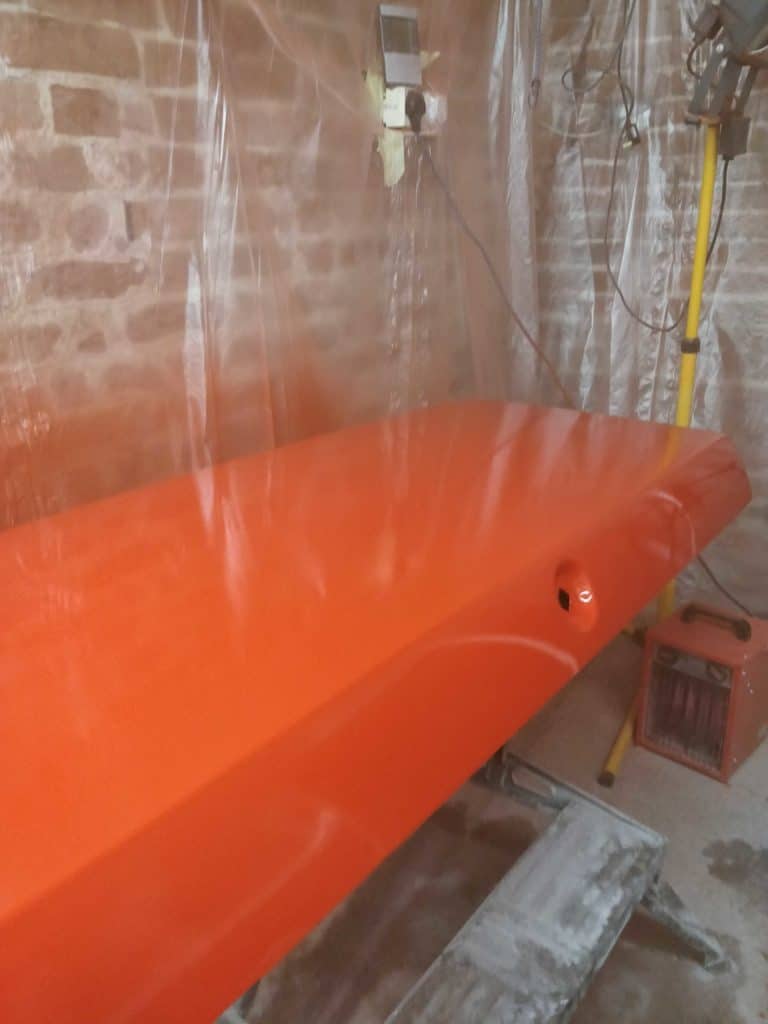
Painting the Car Body
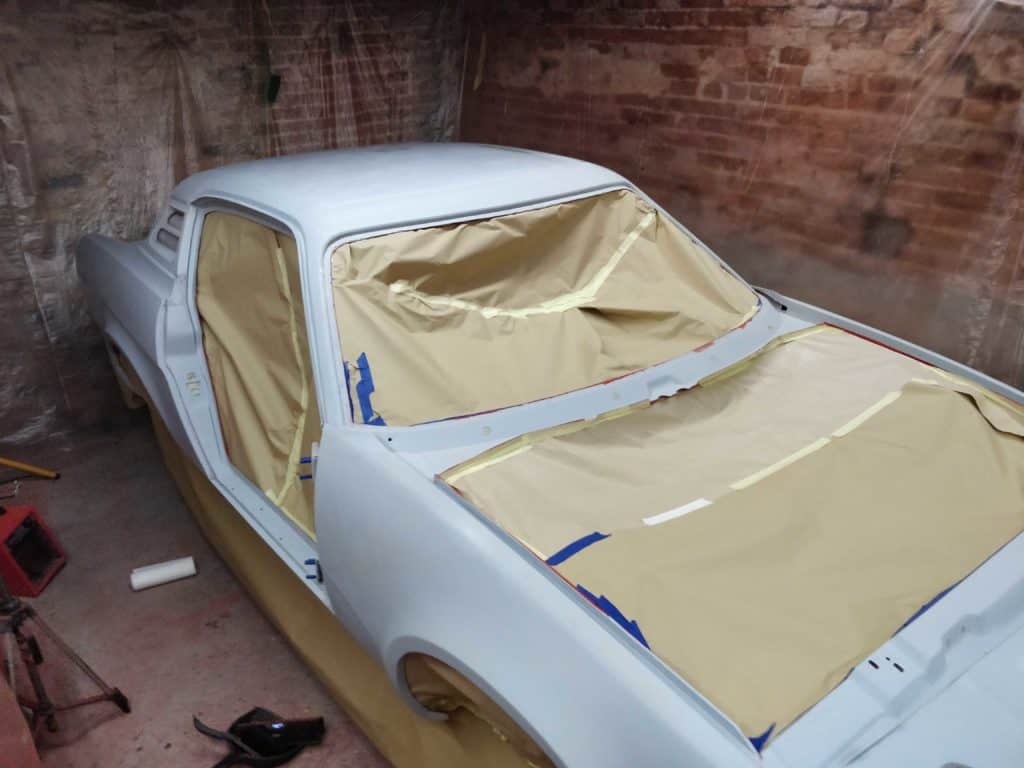
With all the panels painted and neatly out of the way, I dragged the car back out to the middle of the garage and started preparing it for paint.
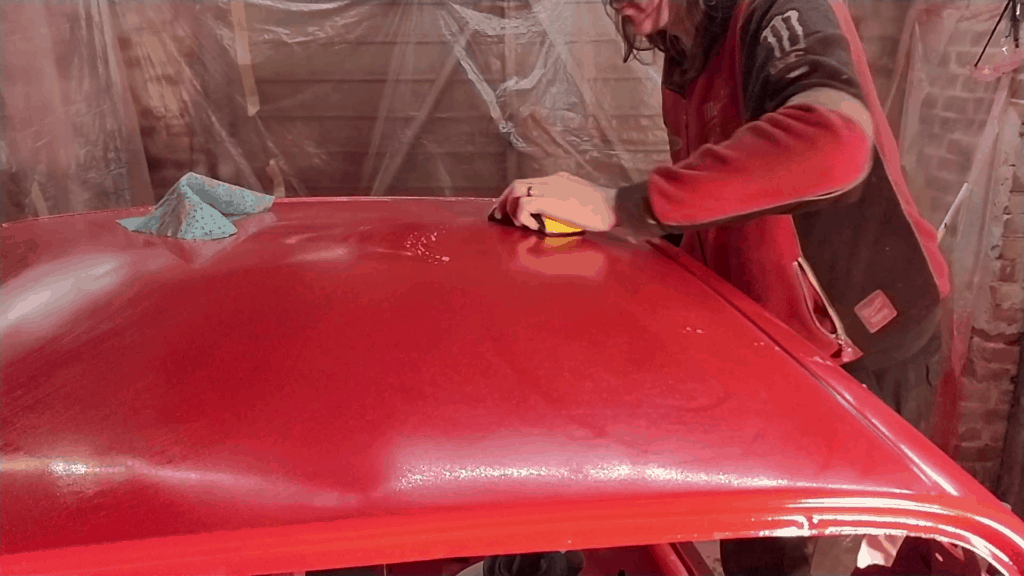
I gave it the usual amount of cleaning, then masked everything up, then cleaned it some more. Finally, I was ready for the last stage!
All masked up and ready for paint… A final cleaning with a tack cloth. Spraying the first layer of paint. After the painting was finished! With all the masking removed, the finished paint job looks great.
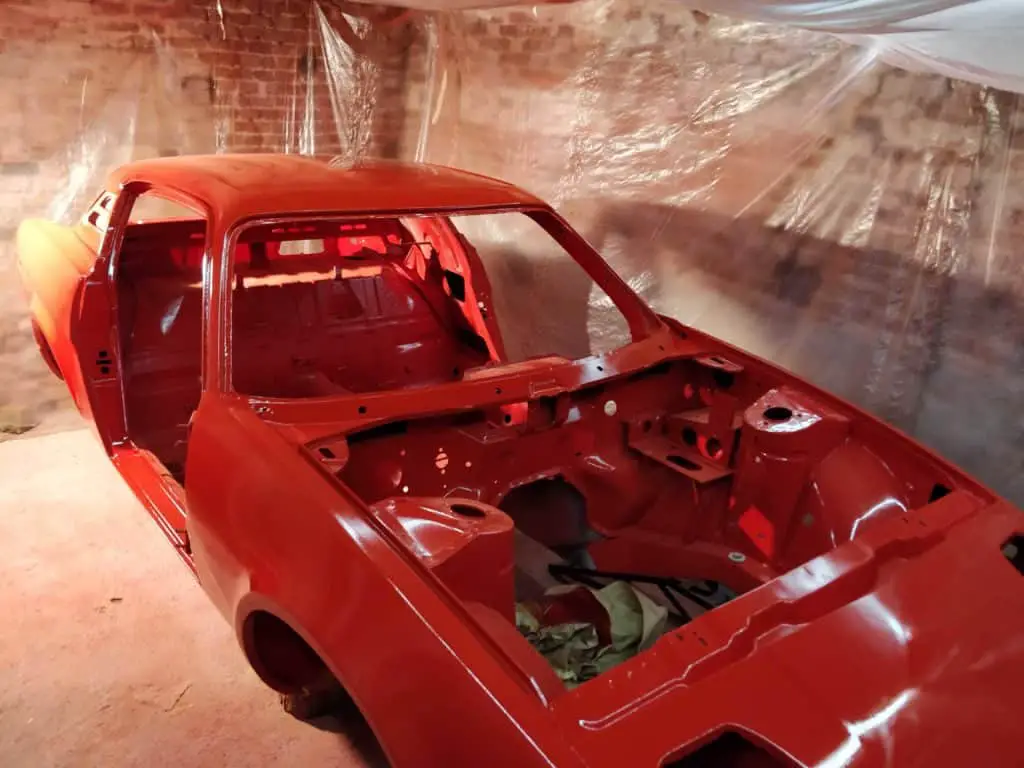
I had a few more issues with orange peel and more dust nibs than I’d have liked, but overall I was really happy with this. It wasn’t perfect by any means, but this was the first time I’d done anything bigger than a single panel using aerosol cans, so this was never going to be a professional quality job. All the same, it was better than I’d hoped for – it all needed flatting back and polishing, but I’d more or less suspected that anyway.
Colour Sanding and Corrections
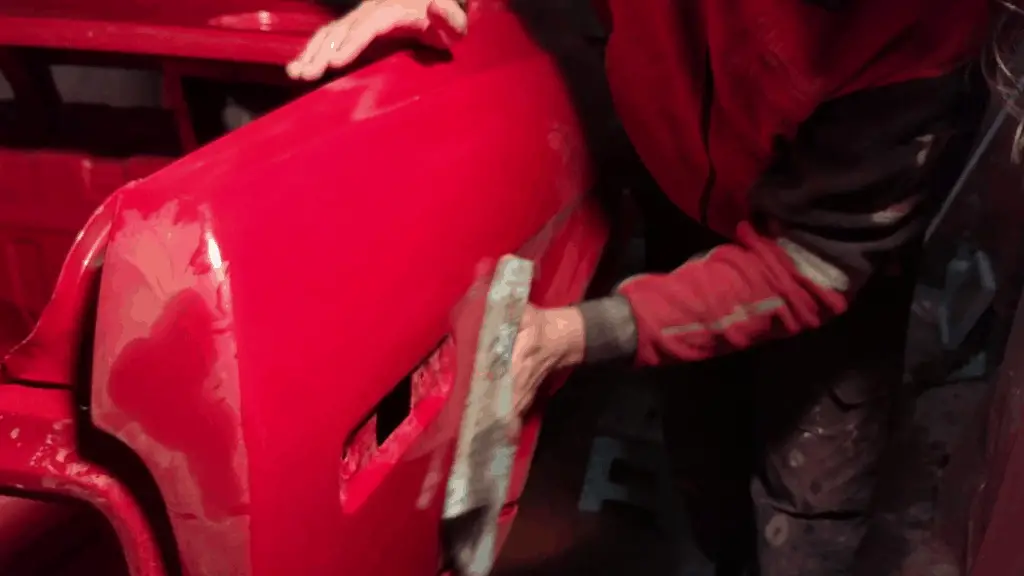
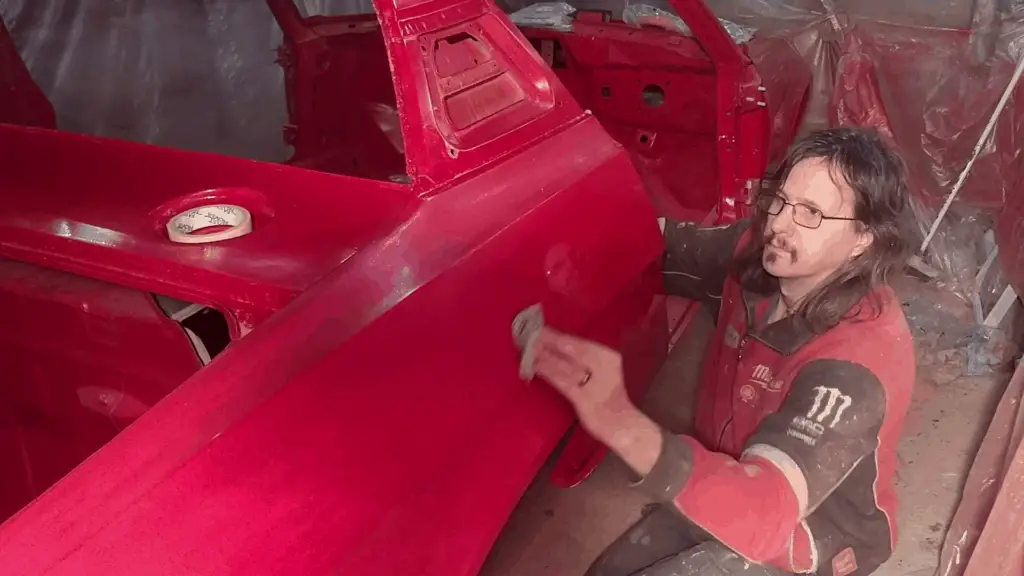
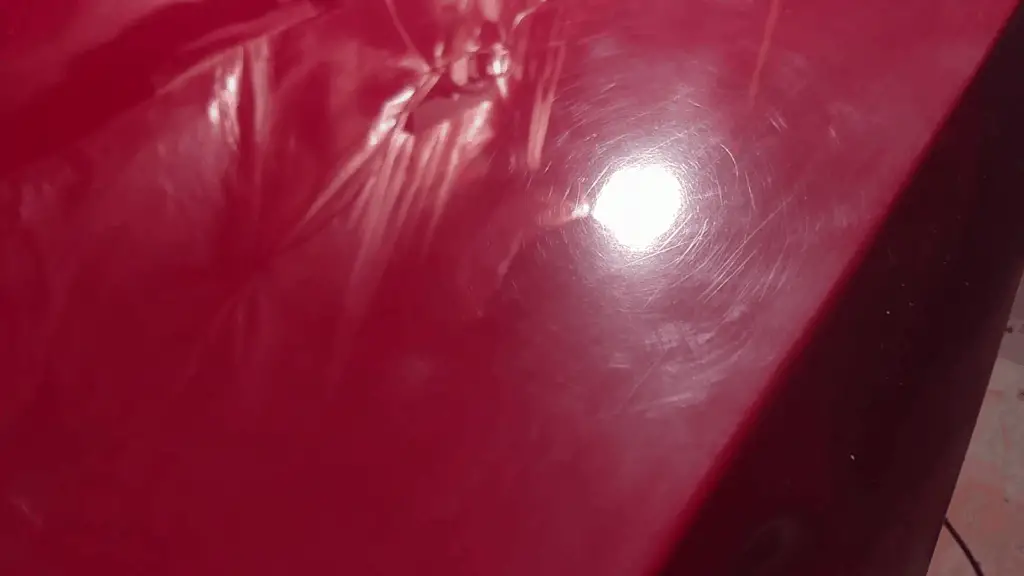
I left the paint to cure for a few days before tackling the few issues I had. The main issue, of course, was the orange peel, but there were also quite a few bits of dust stuck in the paint that needed removing. So I elected to sand the whole body back. This isn’t actually an uncommon thing to do and I’d been anticipating needing to do it anyway. But it still broke my heart a little to have to sand down my fresh shiny paint!
It hurt to have to sand down this shiny panel… Although not so much on the rougher parts. The sanding brought the paint to a smooth, but dull, finish.

The sanding brought everything up nice and smooth once again, and the orange peel was, after a lot of work, gone. But the paint was now flat and dull – so time for the next stage.
Polishing!
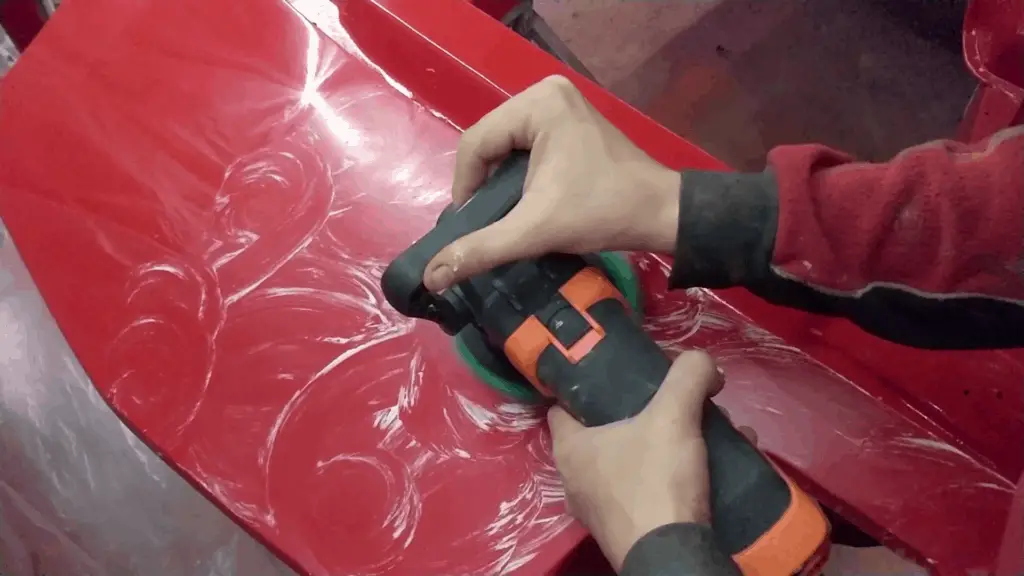
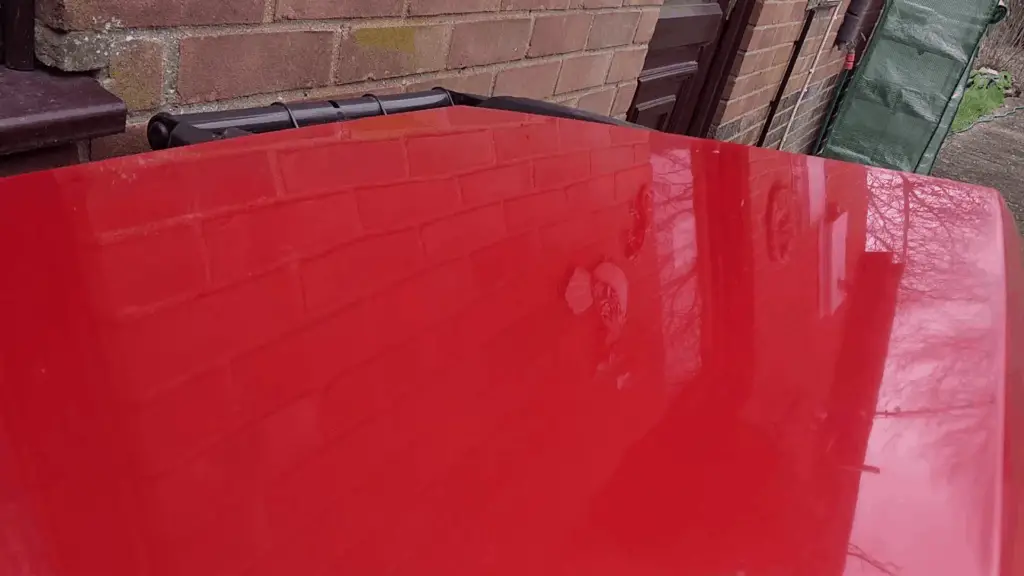
I treated myself to a new, if basic, DA polishing machine for this next stage. It is possible to do this sort of scratch removal by hand, but when you have a whole car to do you really need a machine if you don’t want to spend hours and hours polishing. As it was, even with the DA polisher this took a great deal of time – and I’m not even finished yet!
The DA Polisher saved a lot of work… And did a great job of bringing a shine back to the car. Still plenty of sanding scratches to deal with. But after a lot of work, it’s starting to look good.
I used Farecla G3 polishing compound to get all the basic scratches removed, then moved on to 3M Fast Cut Plus and then 3M Ultrafina SE. I’m still not finished yet, but I plan to do the rest one panel at a time in between the other parts of the project as I go along.
So Should You Paint Your Car at Home?
It’s a good question. When I was originally looking at having to repaint the car, it didn’t even cross my mind to do it myself. It was going to be the one thing that I would just pay someone else to do. But after some research, a few things changed my mind:
- Full resprays are expensive, if done properly. Having done the work myself now, I know what goes into it and I can see why they cost so much, but it doesn’t get away from the fact that a decent paint job over the whole car like this would likely cost more than the car would ever be worth.
- Cheap resprays generally aren’t worth it. The car has had one before, and while it mostly polished up nicely, there were a lot of rough areas – and overspray galore. This car had bits of red literally everywhere from poor masking. I’d have been annoyed and disappointed if I’d paid someone several hundred pounds to end up with a job I could have done better myself.
- I’d have had to do half the prep work myself anyway. Unless I wanted to drop the car off in bare metal I’d have had to at least spray the car with etch or epoxy primer myself anyway. And letting someone else do all the bodywork would have ended up costing a whole lot more. And if I’m going as far as all the bodywork, priming and preparation, well then I’ve already got the equipment; the compressor, the spray guns and so on. Why not go the rest of the way?
- Getting the car there would have been a challenge in itself. I would have had to put some wheels back on the car, get her out of the garage and down the slope, and then hire a trailer or a recovery truck just to get her to the paint shop. That’s a whole logistical problem before it even goes in to the booth. And then more time and expense once she’s done.
So I couldn’t afford a decent paint job, I didn’t want a cheap one and it would have been a whole lot of work anyway. Not insurmountable challenges and with a bigger budget I’d definitely looked harder at taking her somewhere to be painted, but everything veered me towards doing my own DIY paint job. In the end, I had fun, learned a lot and saved a bunch of money. Not bad!
There were downsides though – the garage setup I put together was barely adequate and I had to put a lot of effort in to correcting all the paint defects afterwards. Many hours of effort, in fact. I also had to spend several hundred pounds on even a basic compressor and equipment – I don’t begrudge that as I’ll definitely be using the compressor for other things, but it’s another thing to bear in mind.
So in conclusion, it’s definitely possible to paint your car at home. I’ve done it, and so have many, many other people out there. It’s certainly doable. But don’t be fooled – if you want to do it properly, it’s a lot of time and money and if you have the budget, you might want to look at getting it done professionally!
The Video
And here’s the video! It’s good to finally put together a video that’s not all grey and dusty 🙂