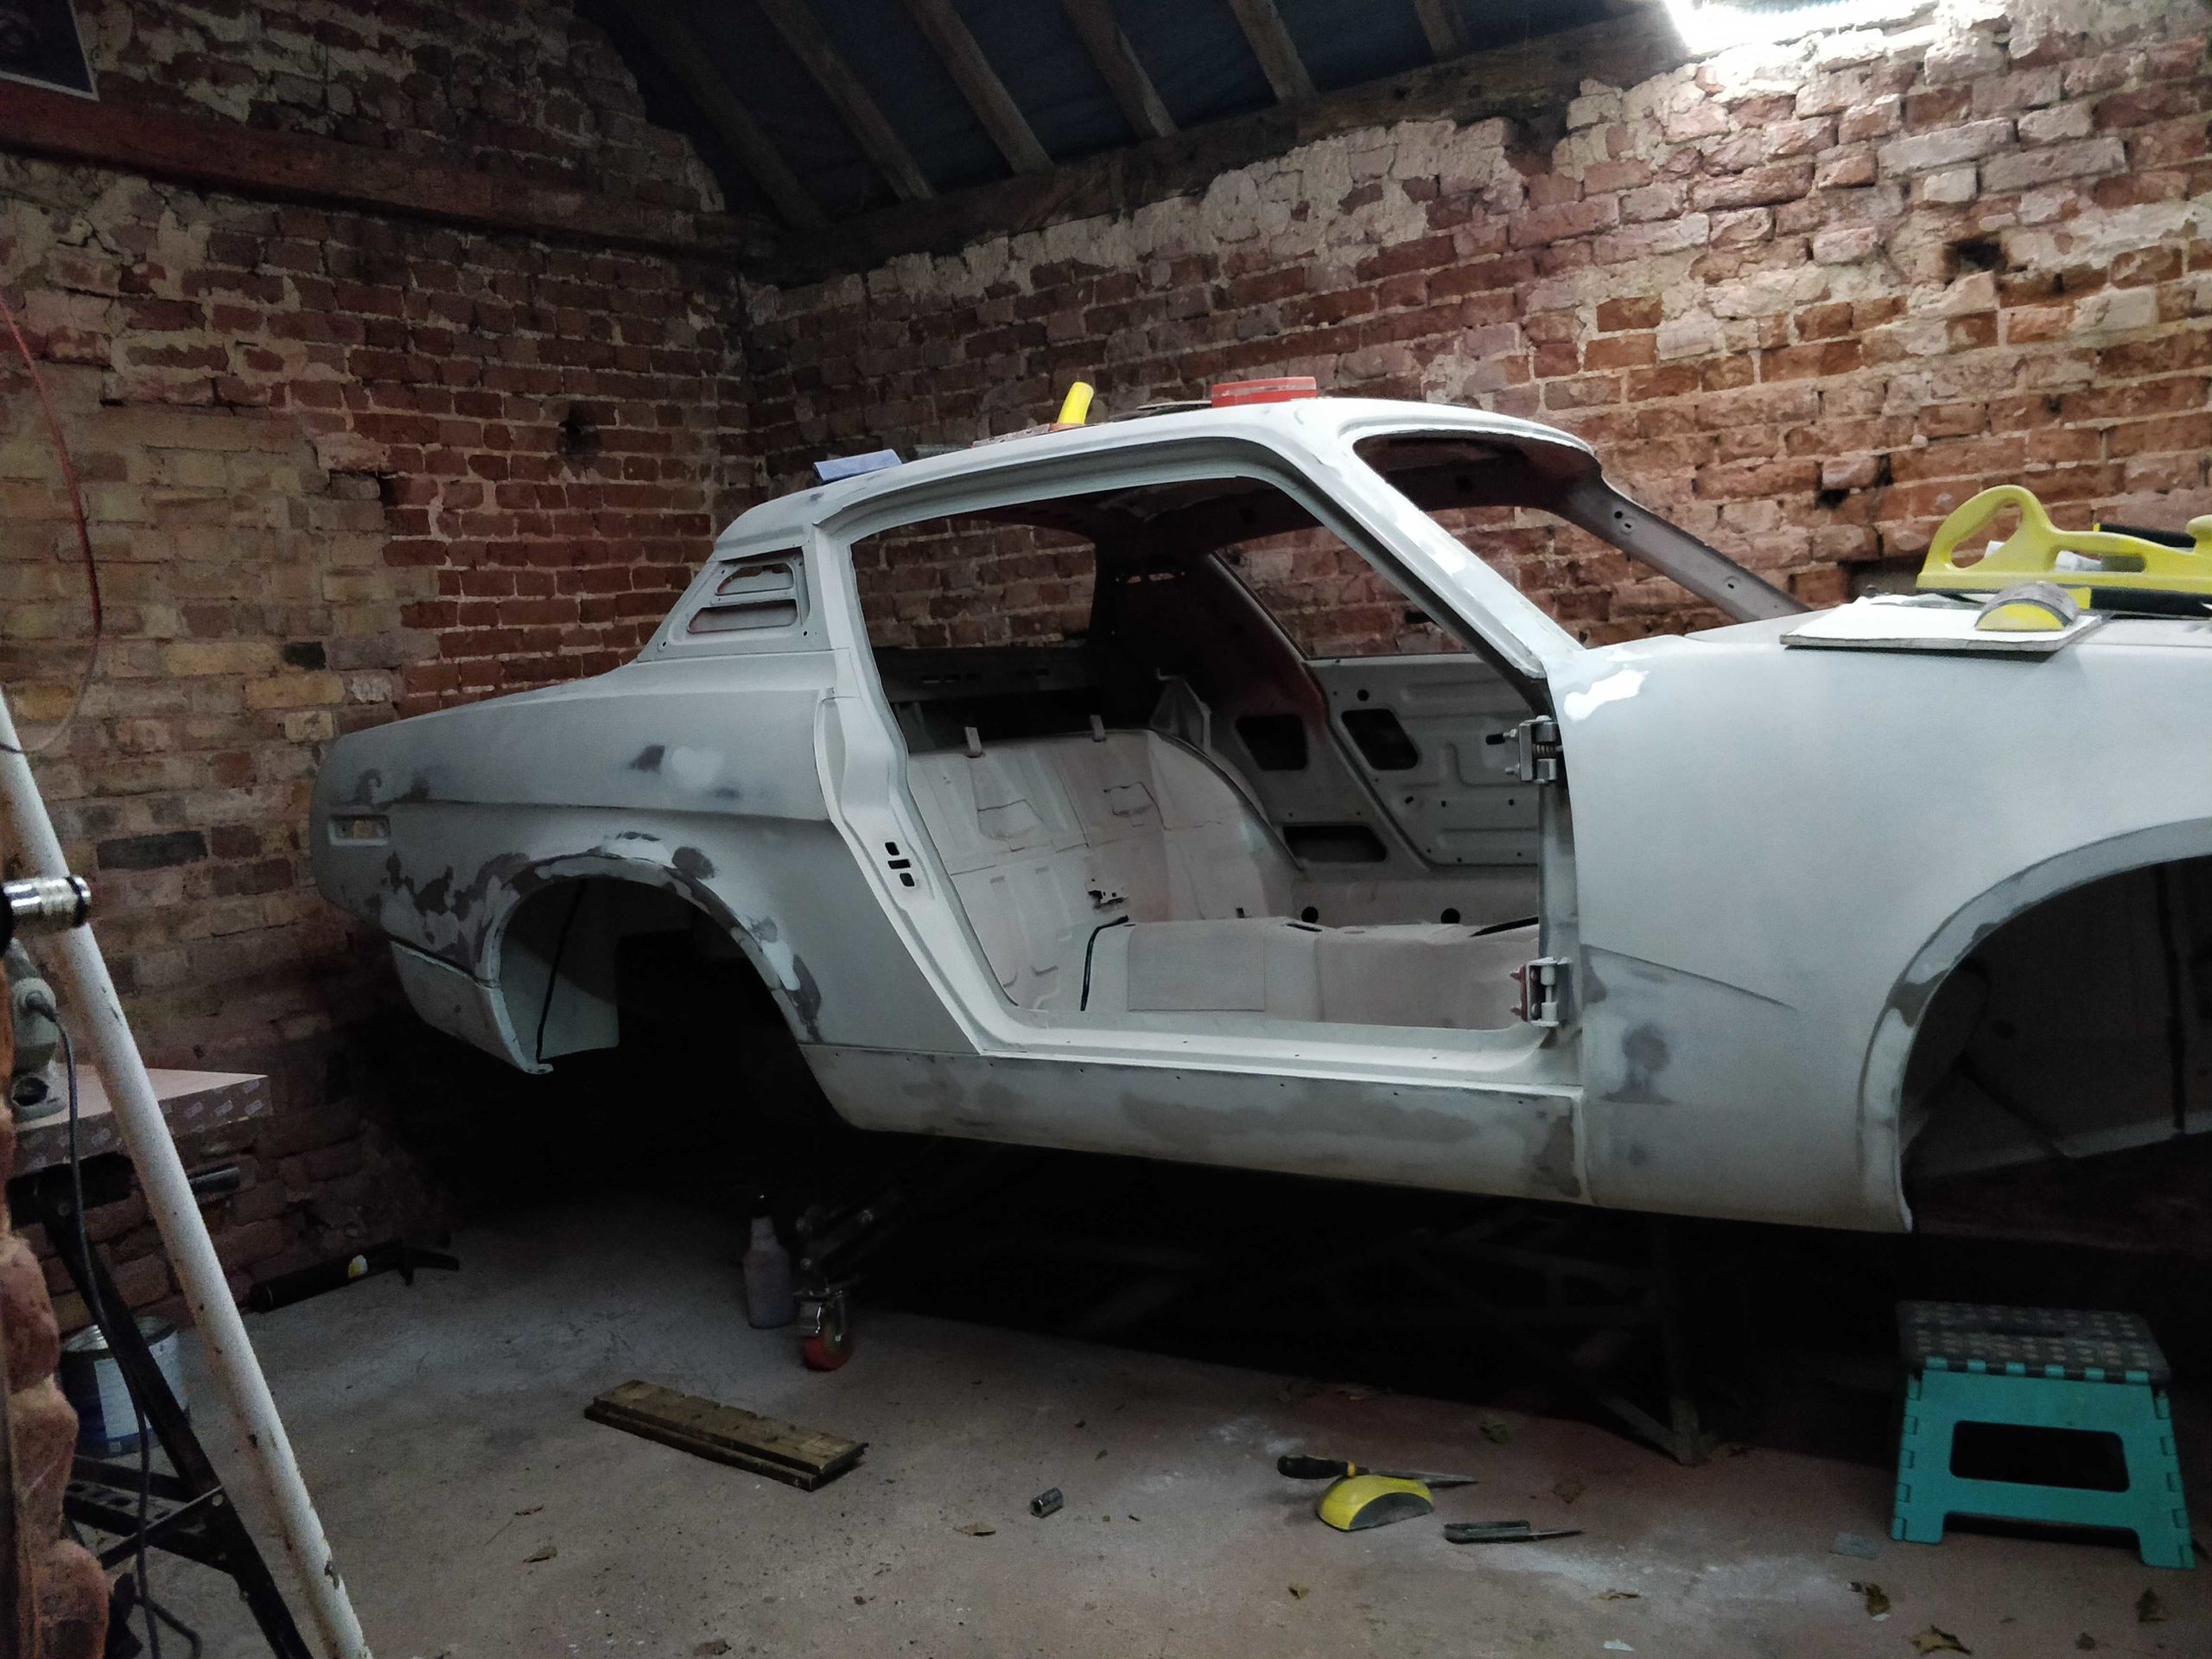
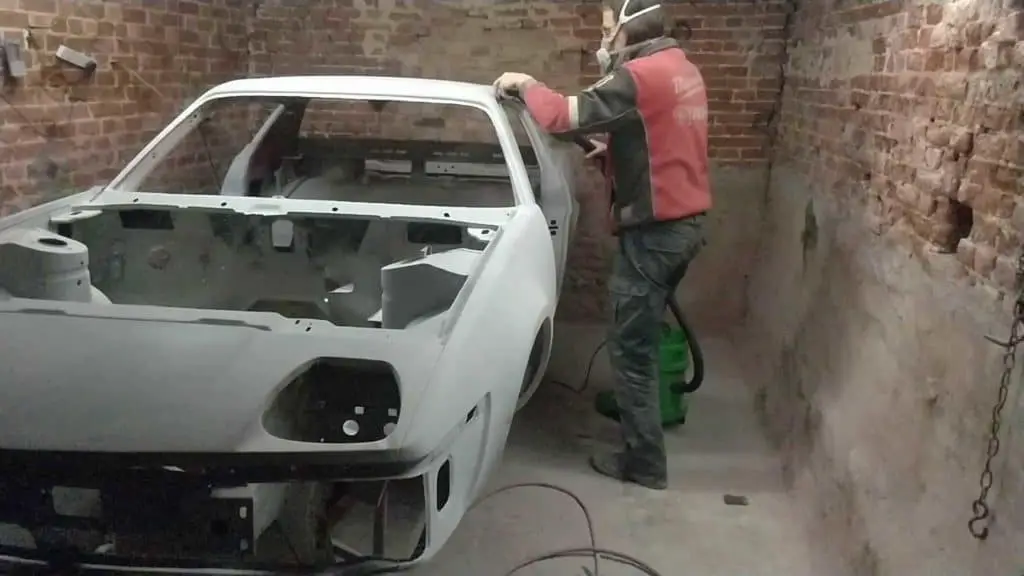
With the paint stripped and the car now sprayed with epoxy primer, it was time to get down to all the bodywork.
I’d already done all the major bodywork, of course; I’d replaced the wings, repaired the windscreen frame and fixed the rust on the doors as well as various other bits of rust as I’d found them. The TR7 was finally rust free!
What was left, though, was all the niggly little bits. All the little dings and dents that she’d picked up over her years on the road. A few of these areas would need hammering straight, but the majority of them could just be dealt with with a little bit of filler.
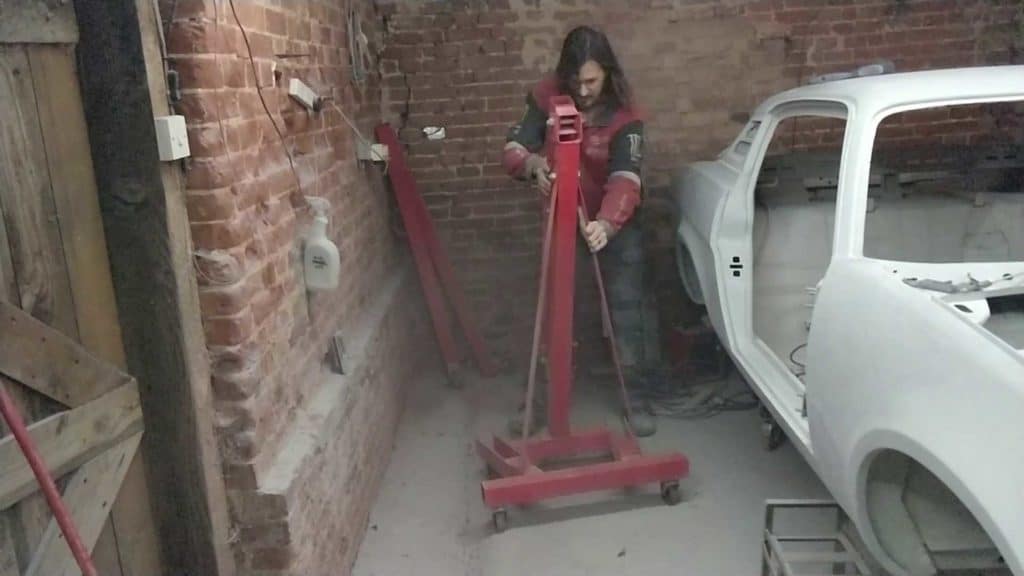
Before that, though, I wanted to build the dolly for the rear end so I could properly move the car around in the garage.
Building the Rear End Dolly
I’d already built a dolly for the front end; that was fairly straightforward as I could just bolt that to the subframe mounting points. The rear end wasn’t so easy though; everywhere I could mount to was either too high (meaning a long and possibly wobbly leg) or too far forward (meaning the car could end up back-heavy and unstable). Eventually, after a bit of head scratching, I came up with a plan.

The plan… Not as shady as it looks. Honestly.
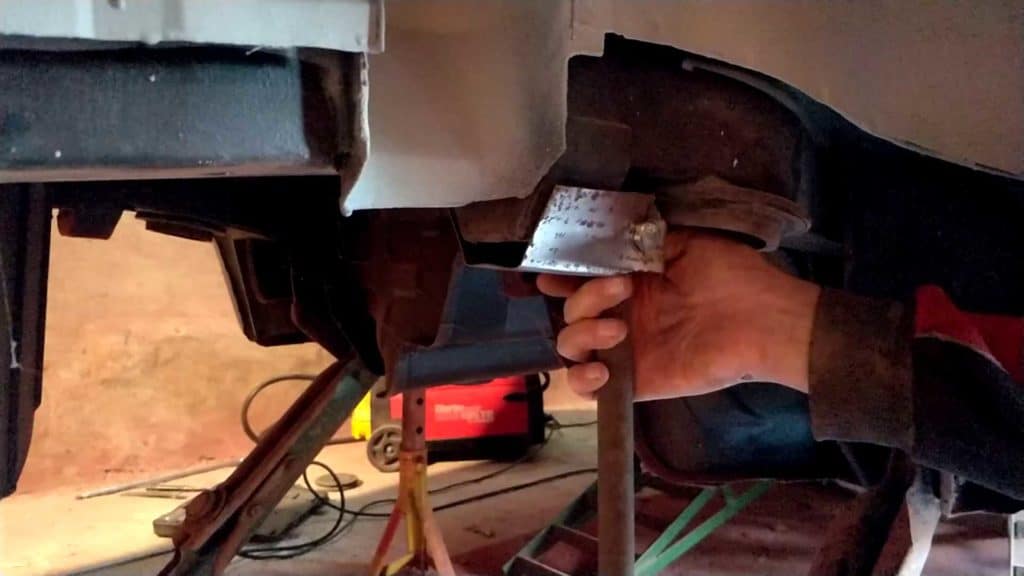
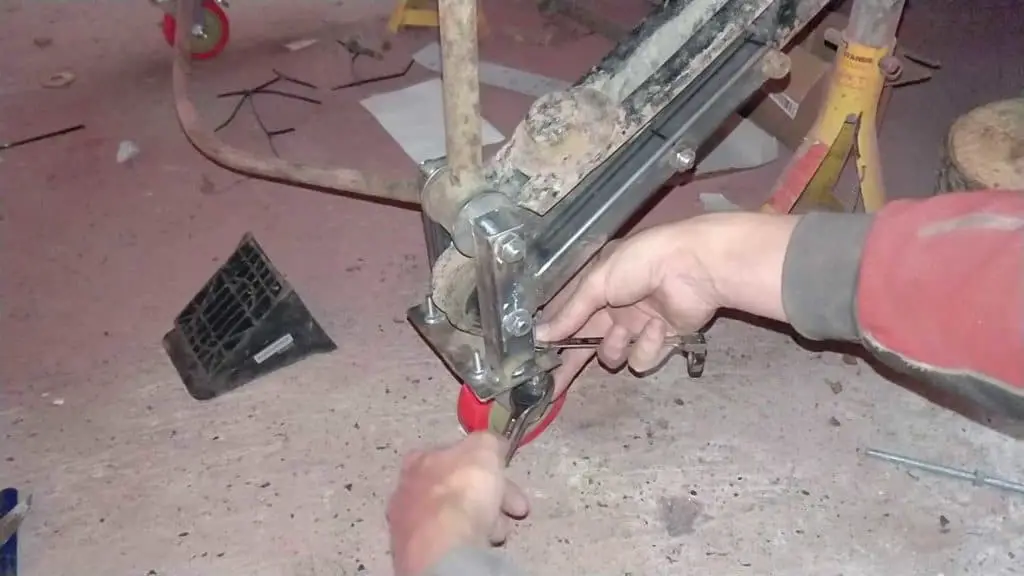
Rather than building it all from scratch, I decided to use the trailing arms and tie rod from the TR7’s suspension that I already had. Just in a… slightly unusual way. The tie rod turned out to be more or less a perfect height for the job, all I needed to do was fabricate mountings for the top and bottom of the rod.
The top end actually fit quite snugly between the spring mount and the bump stop mount; I just needed to make a bracket to stop it dropping out if the car lifted off the ground for whatever reason. The brackets I made, while flimsy looking, didn’t have to do much other than keep the arm in place. They were more than strong enough for the task.
The bottom end, on the other hand, was going to need to be a lot stronger. If I got this wrong or too weak, it would make the whole thing collapse. So the brackets I made were quite strong, perhaps more than necessary:
A fairly solid mount. Hopefully more than strong enough to hold the chassis up.
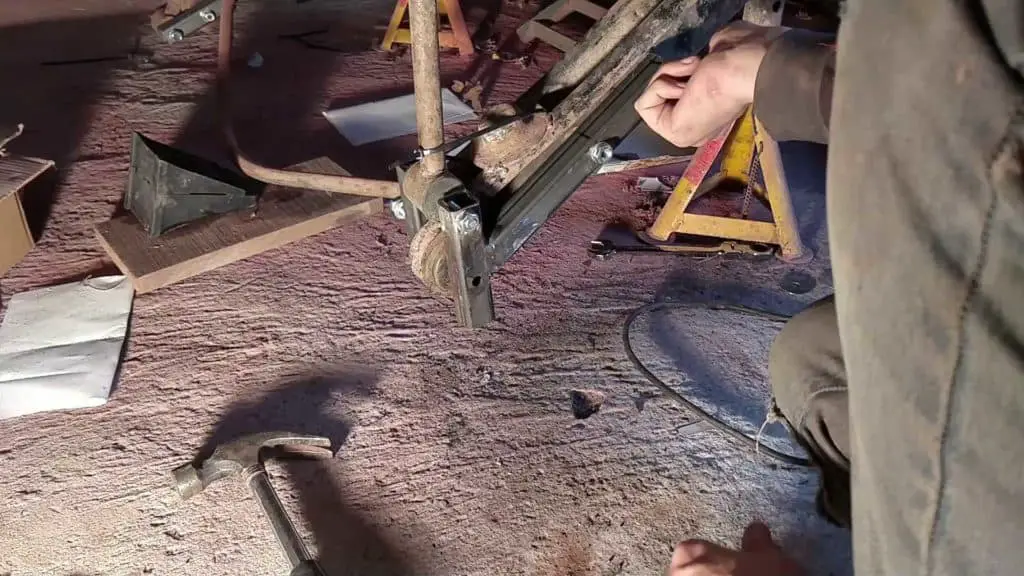

I tend to overengineer these things; the bare chassis only weighs maybe 200kgs in all. It’s light enough I can lift it up by myself. But I’d rather overdo this than go with something flimsier and have it break and collapse. Especially if I’m going to be working under the car. I want this thing super safe!
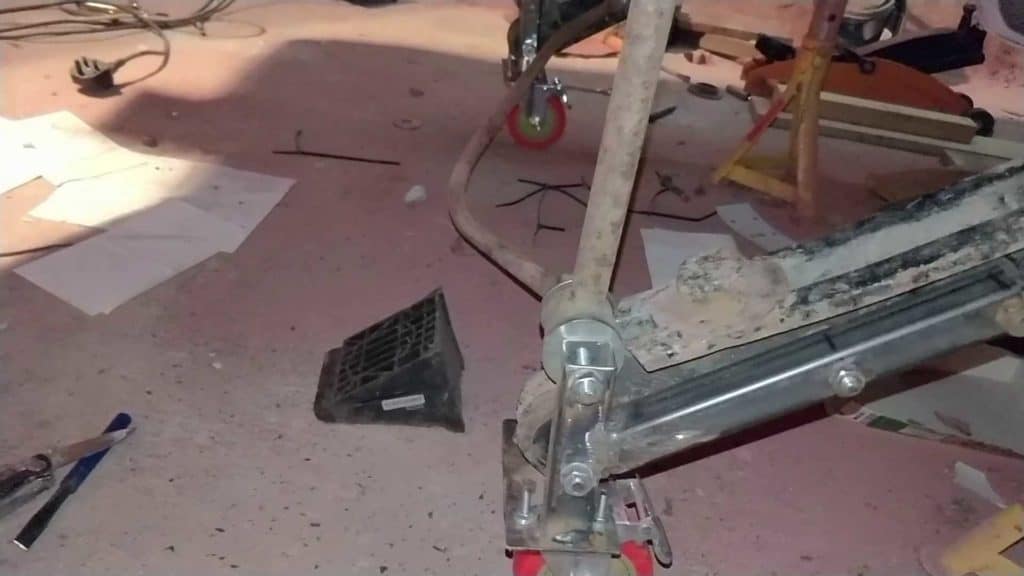
In the end, the dolly was strong and solid; the only slight issue was a small side-to-side wobble as the dolly flexed in the rubber suspension mounts. But nothing I couldn’t handle.
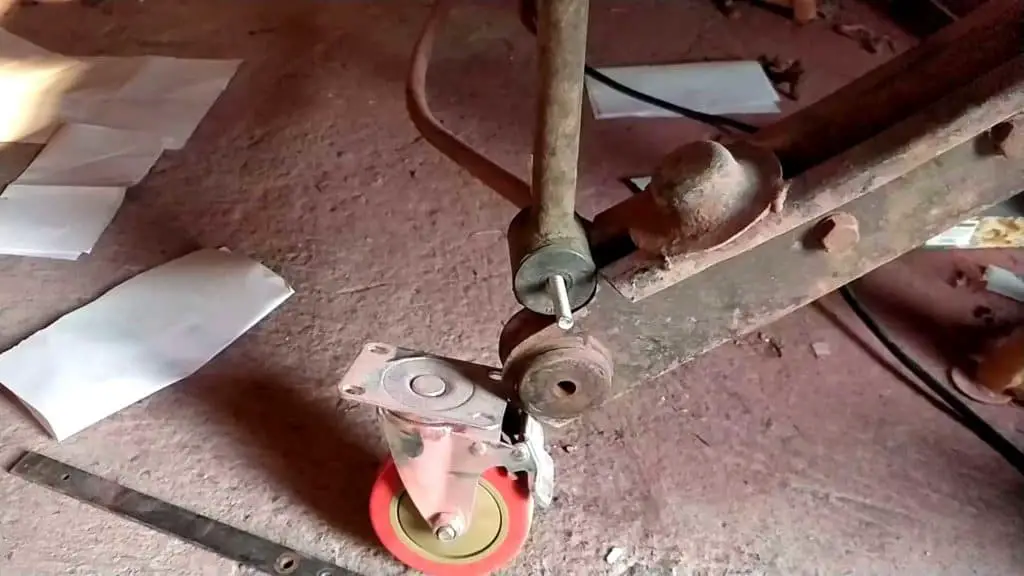
I got the castors on and lowered the car to the ground; always a worrying moment, but it was fine.
Fixing the castors in place TR7 down on the ground again; the dolly was quite stable.
Moving the car
With the car now finally on four wheels, it was time to see how she moved around!
Starting to move the car… Up against the side wall of the garage. Right up tight.
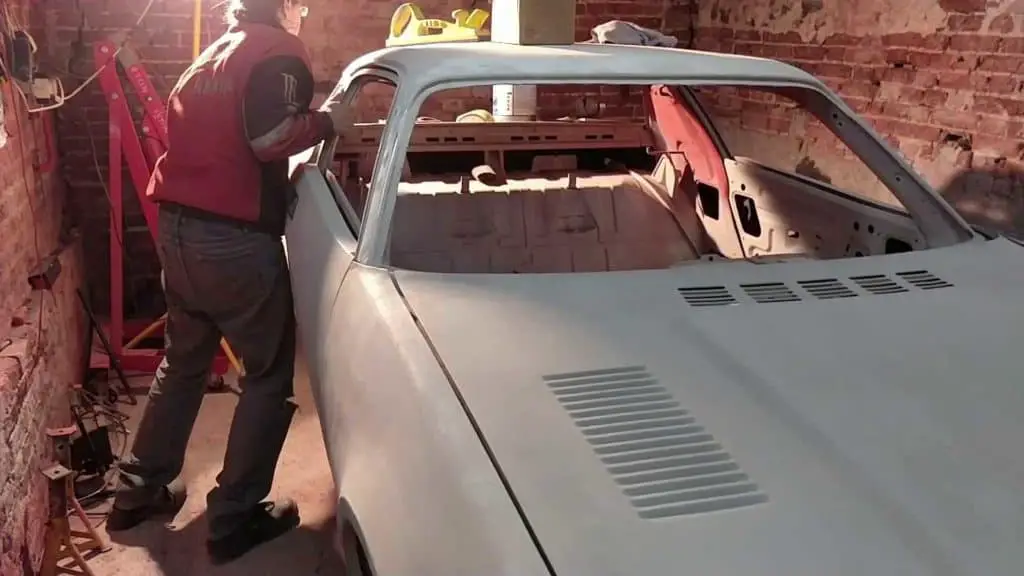
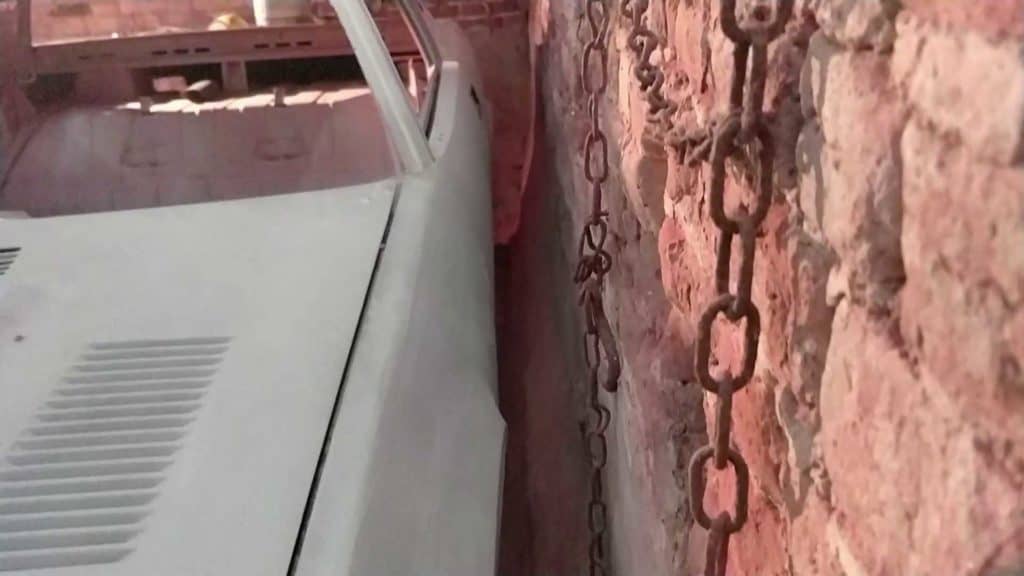
It wasn’t as smooth or easy as I’d hoped; the garage floor is quite rough and uneven, and the castors all seemed to have a mind of their own. It moved fine once I’d got all the wheels pointing the same way, but it was still a bit of a struggle. Imagine trying to manoevre a 200kg shopping trolley around on rough concrete and you’ll get the idea.
Still, while it wasn’t quite as smooth as I’d hoped, it was good enough – and I finally had some space to work in with the car to one side! I was able to move the car to within a couple of inches of the side wall, which gave me enough space to bring the doors, bonnet and boot lid in to the garage to work on.
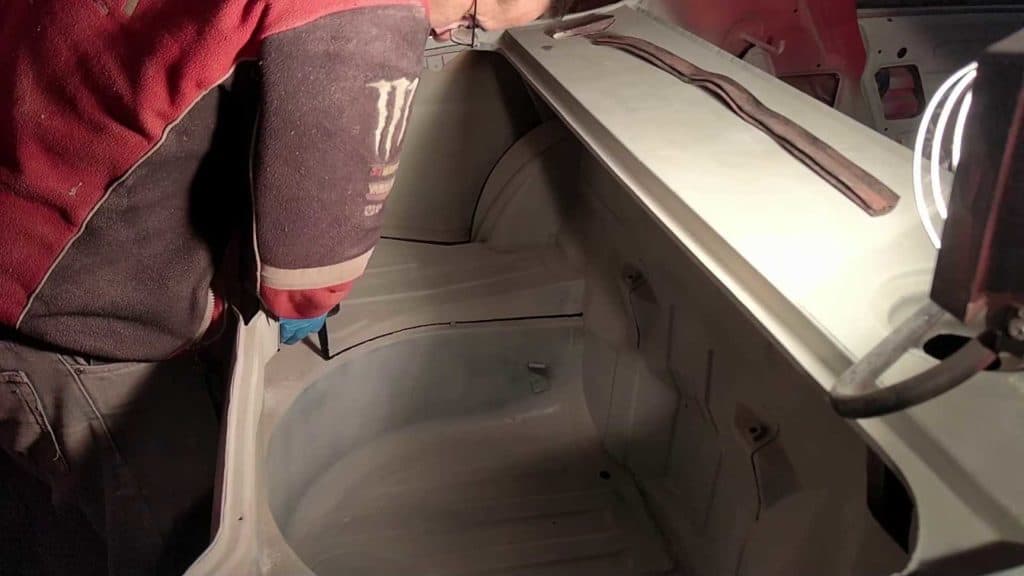
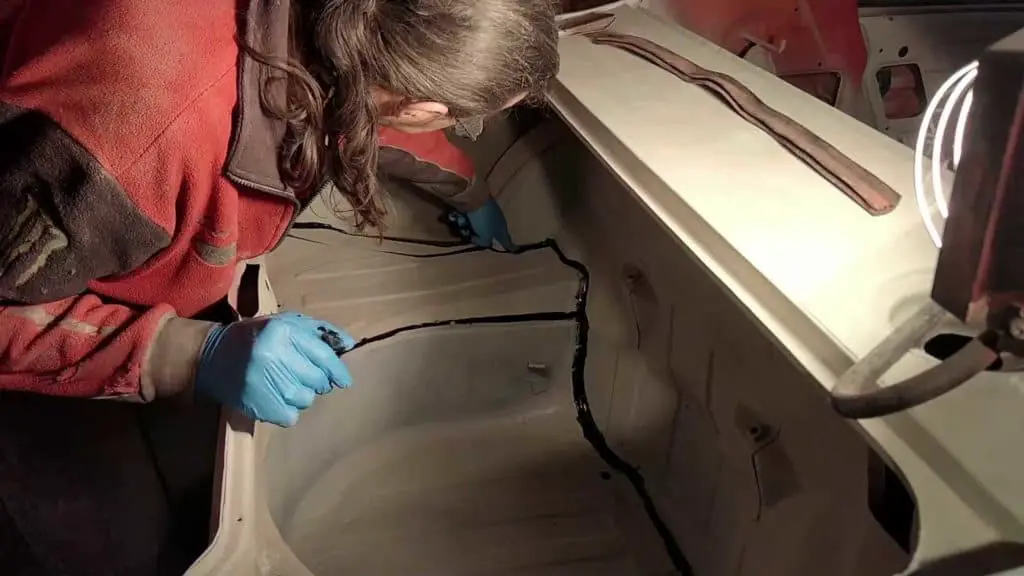
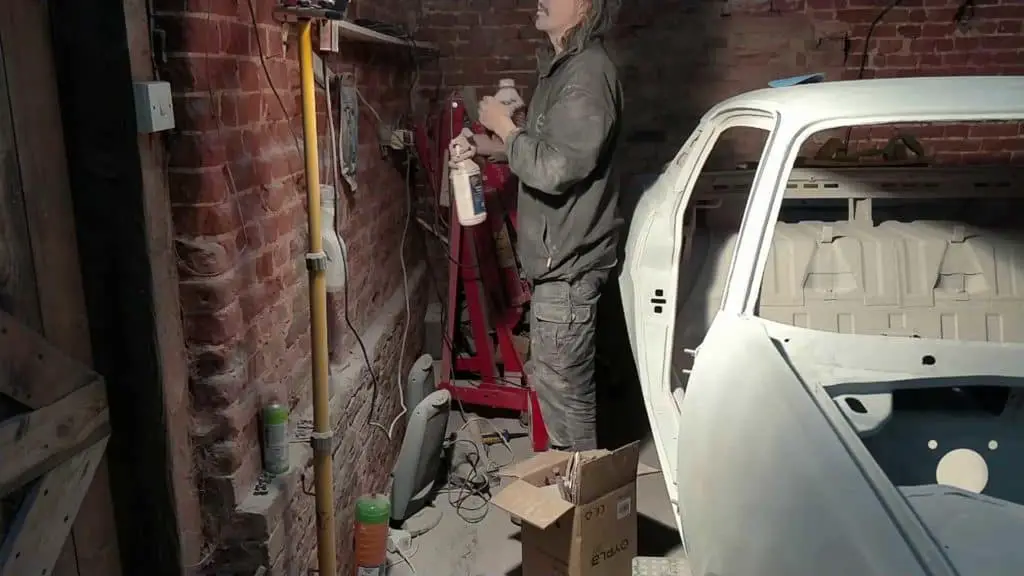
Applying Seam Sealer
The first bit of work I did was applying seam sealer over all the seams in the boot, cabin and engine bay. It was fiddly and sticky work and I went through two tubes of sealer, but it’s good to know I have a fighting chance of keeping the water out now.
Applying the seam sealer… …and smoothing it out.
Finishing the Bodywork
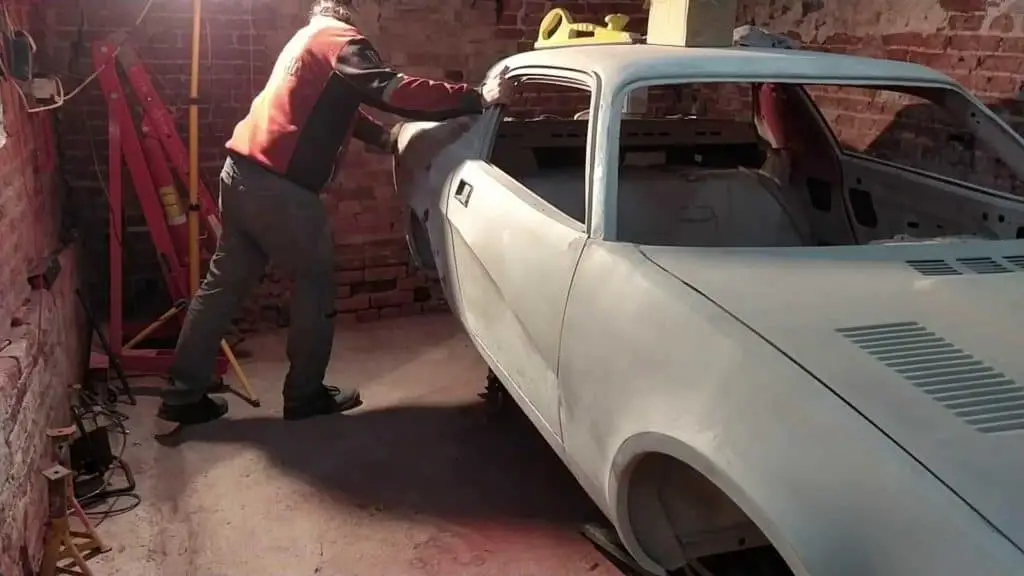
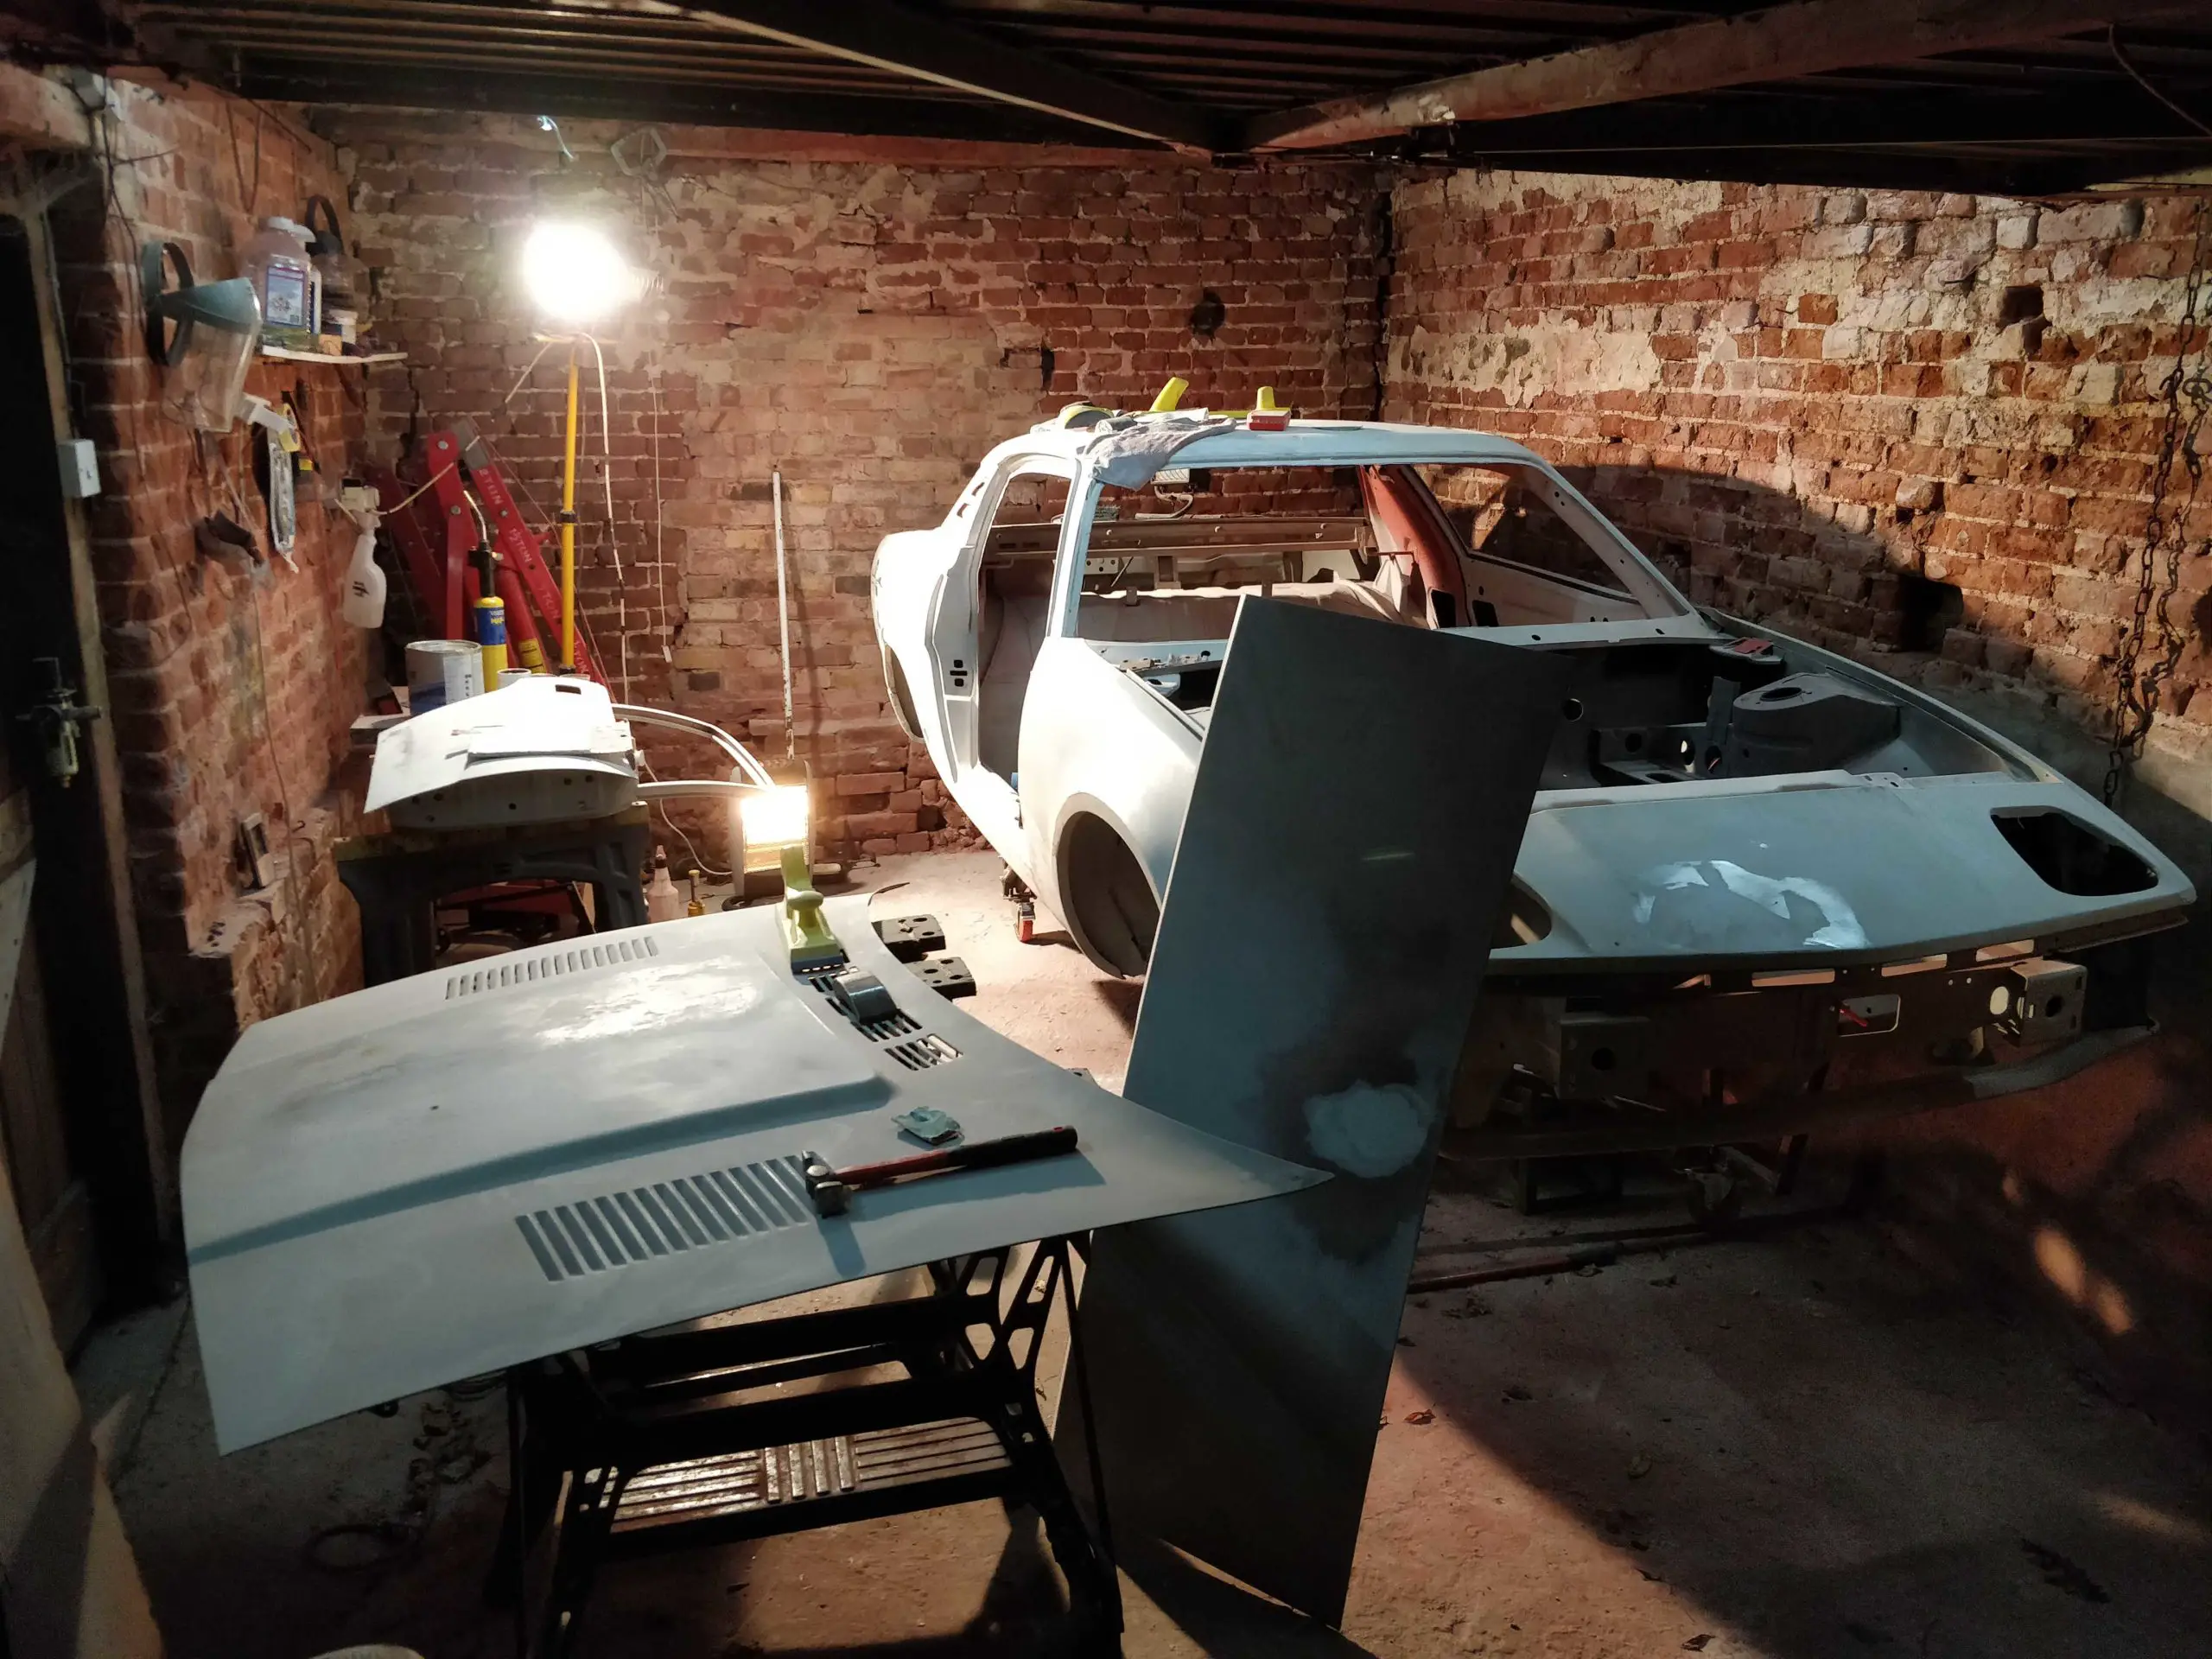
Now I had the space, I spent the next few weeks busy in the garage going through all the little niggly bits of bodywork. I cut out a few little bits of metal I wasn’t happy with, knocked out a few dents here and there, refitted the nearside wing and went over the whole car, nose to tail, working on all the little dents and bits until everything was fixed.
Unfortunately, I lost a lot of the footage I took while I did this – not that there was much of interest going on, just a lot of filling and sanding.

Work in Progress. Notice how cramped it is in there. Better than nothing though.
Spraying High Build Primer
I spent a lot of time figuring out the best route to go with the primer – the epoxy primer I used was a good base, but there needs to be more before the paint. I needed a high build primer to cover all the tiny little imperfections, and then a primer surfacer to lay the paint over.
In the end, I found a primer that claimed to do both; U-Pol’s high build primer works as a surfacer as well. Perfect.
I sprayed the car with the high build primer over the course of a weekend. I didn’t bother to film it or take any pictures – the camera gets in the way in such a small space and it’s nothing exciting like laying on the first coats of epoxy primer or the first colour coat. It’s just grey primer going on top of grey primer!
Rubbing it all down
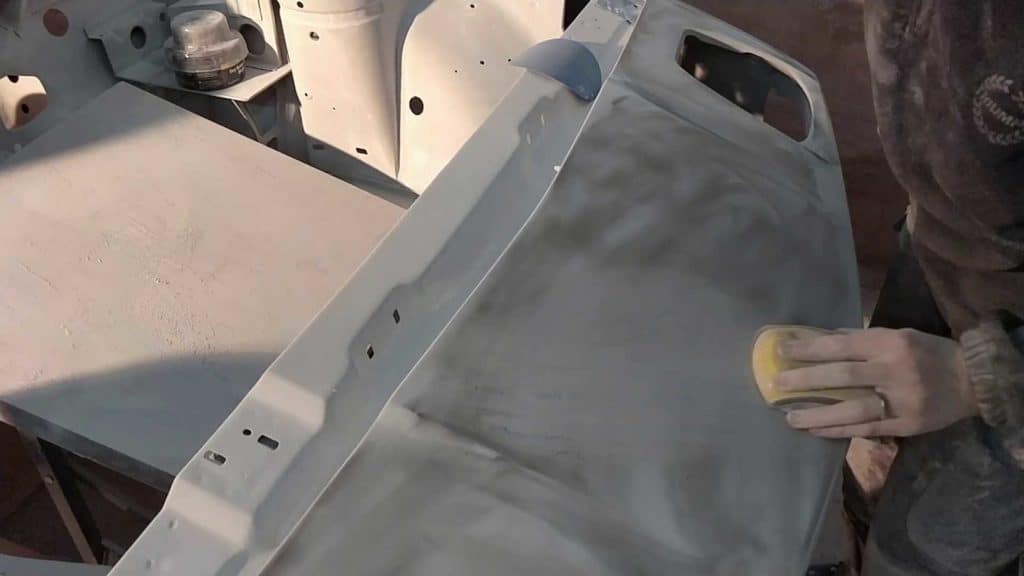
With the primer dried, I spent a good few hours flatting back all the primer on the car. I started with 120 grit and worked my way through the grits to 600 grit, ready for paint. The car was taking on a nice glow by the time I was finished, and I was looking forward to seeing her properly painted!
Applying guide coat… And sanding it all off again. I used a whole bunch of different shaped blocks to get to all the curves.
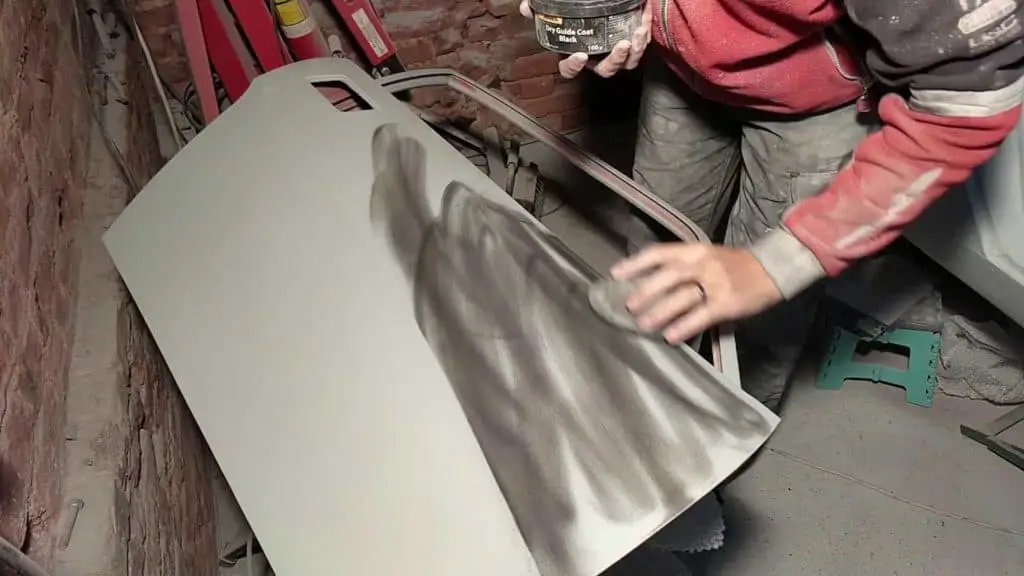
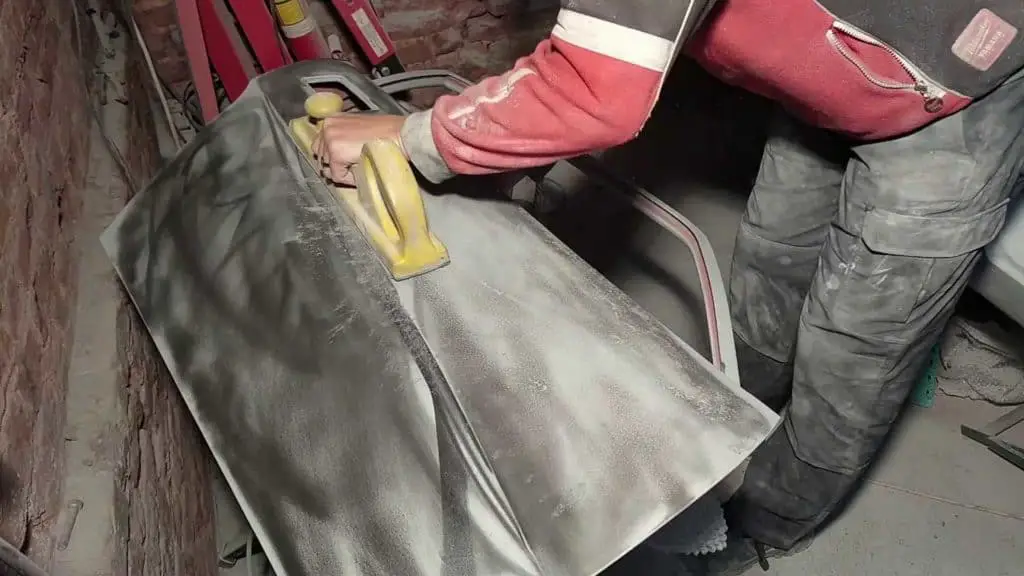
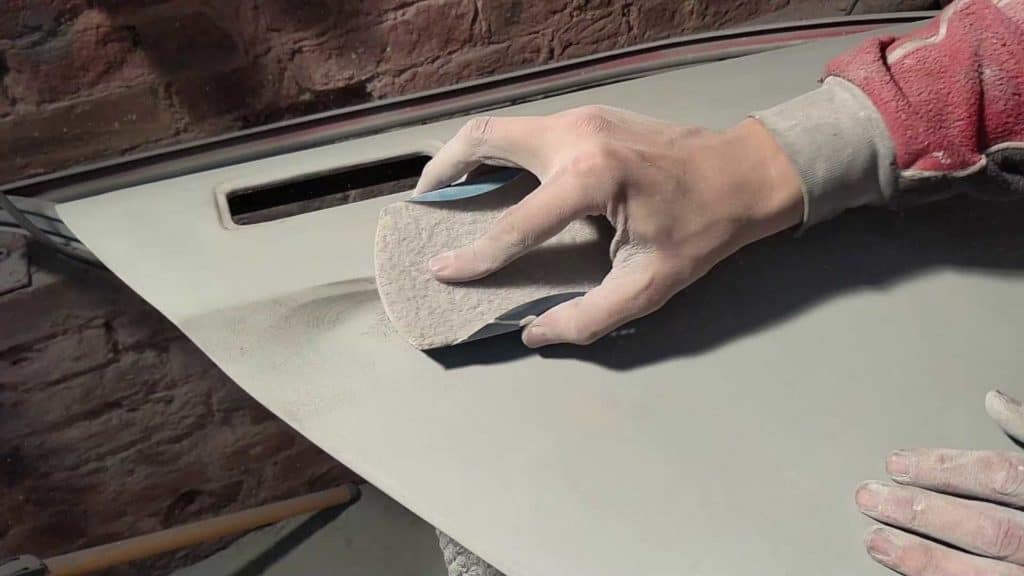
I used a guide coat for this; that was useful, not just to make sure everything was flat and level, but also to make sure I’d gone over everything properly with each grade of paper.
The whole car got the treatment. Just about finished with the block sanding here.

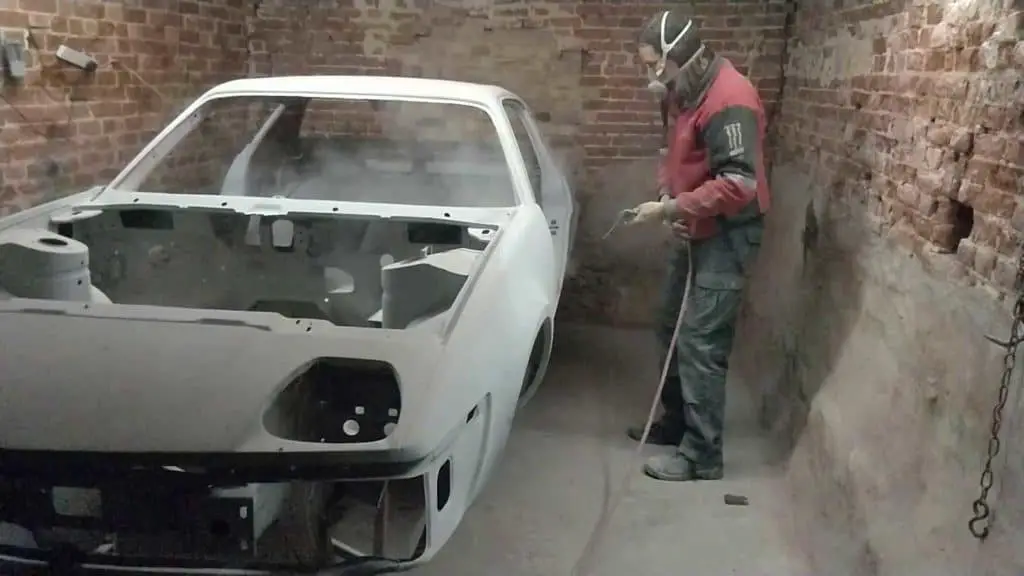
Cleaning the Garage
Now that the car was finally finished and ready for paint, it was time to get to work preparing the garage itself for work as a temporary spray booth.
The first job was to clear out everything in the garage; something I’d liked to have done ages before, but I honestly didn’t have the space to put everything. As it was, my shed and workshop were filled with everything I pulled out of the garage for the whole time I was painting the car.
But with everything out, I took a few days to clean everything up as best I could. Moving the TR7 out of the garage isn’t possible at the moment (there’s a fairly steep slope leading to the garage, one slip and the car goes rolling down the drive and out in to the road! ?), so I just had to clean up as best I could around her.
Moving out everything I could… Even this had to get out of the way. A good sweep up. Notice the dust haze.
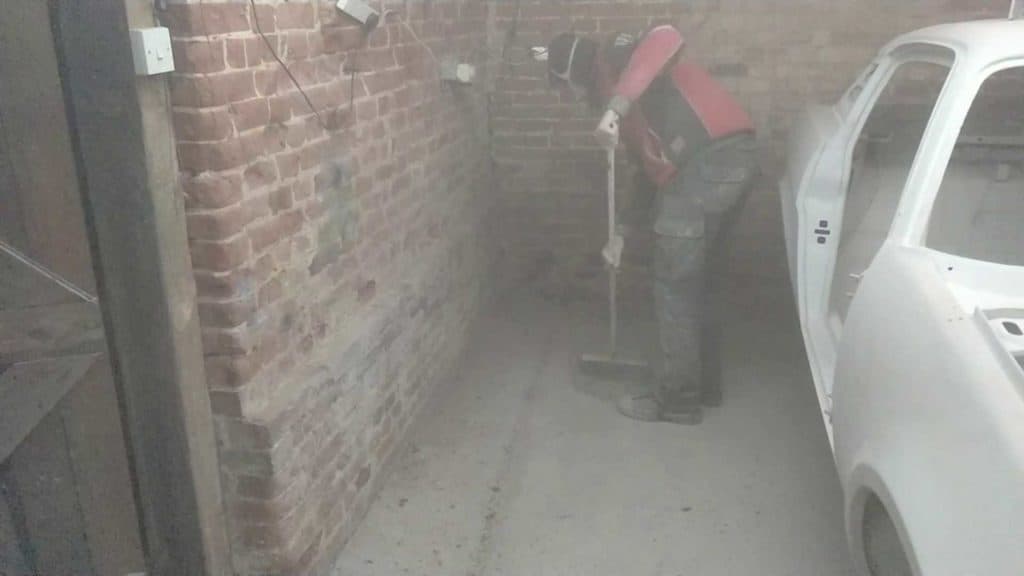
Apart from the years of dust and cobwebs, the garage had got pretty dusty during the course of the weeks I’d been doing all this bodywork and paint stripping, so I knocked it all down with a broom and then the air hose. That of course left a mess on the ground, which then got kicked up again when I swept it up, and so on… but after a few days I’d got everything clean – or as clean as it was going to get, at least – and I was finally ready to get started with painting the car!
Blowing all the dust off… And then vacuuming.
The Video
Another fairly grey and grimy one, although the next one will be in colour!
Enjoy!