
Now that the back of the car is complete and on her wheels, it’s time to turn my attention to the front end!
Most of the front end was in actually okay shape – at least, it worked well enough at the time I took her off the road. But while functionally intact, it was all looking pretty rough – covered in years of road dirt, oil and rust. That would never do!
While I would be replacing the dampers and all the rubber bushes as a matter of course, there wasn’t actually a lot wrong with the rest of it – it all just needed a good clean up and repainting.
But first, I needed to get it all apart!
Stripping & Cleaning the Steering Rack
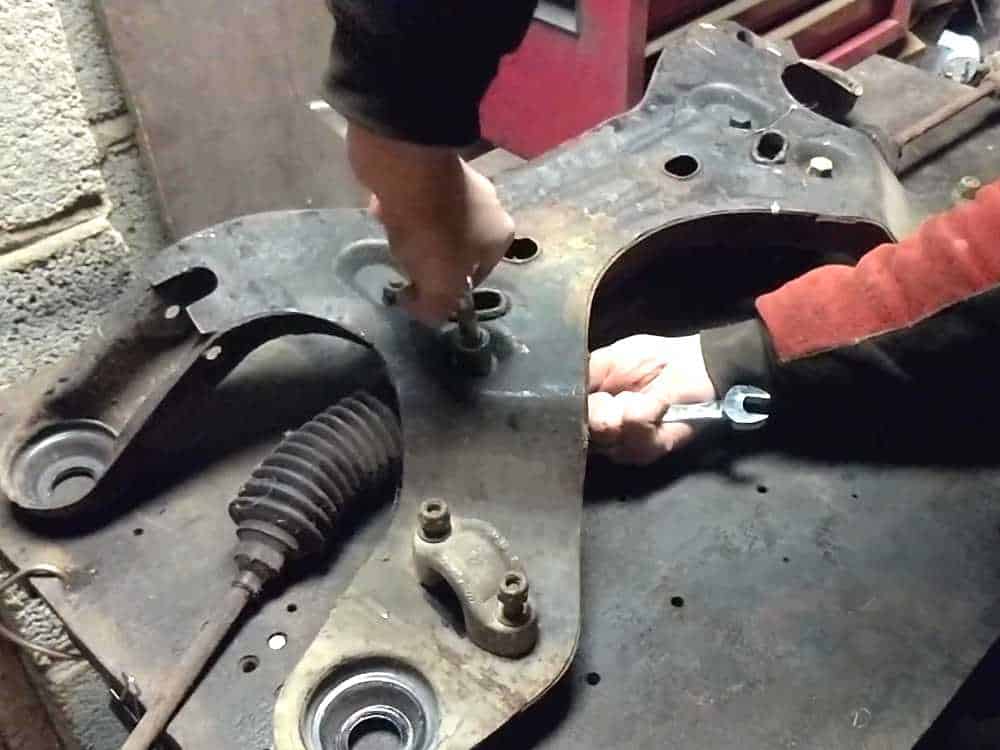
The struts had already been taken off the subframe and I’ll be dealing with those later; for now though, I just needed to get the steering rack off the subframe. This was an easy enough job; just four bolts that didn’t put up much of a struggle.

The steering shaft came off… …and then the four bolts were removed… …and the subframe was lifted off.


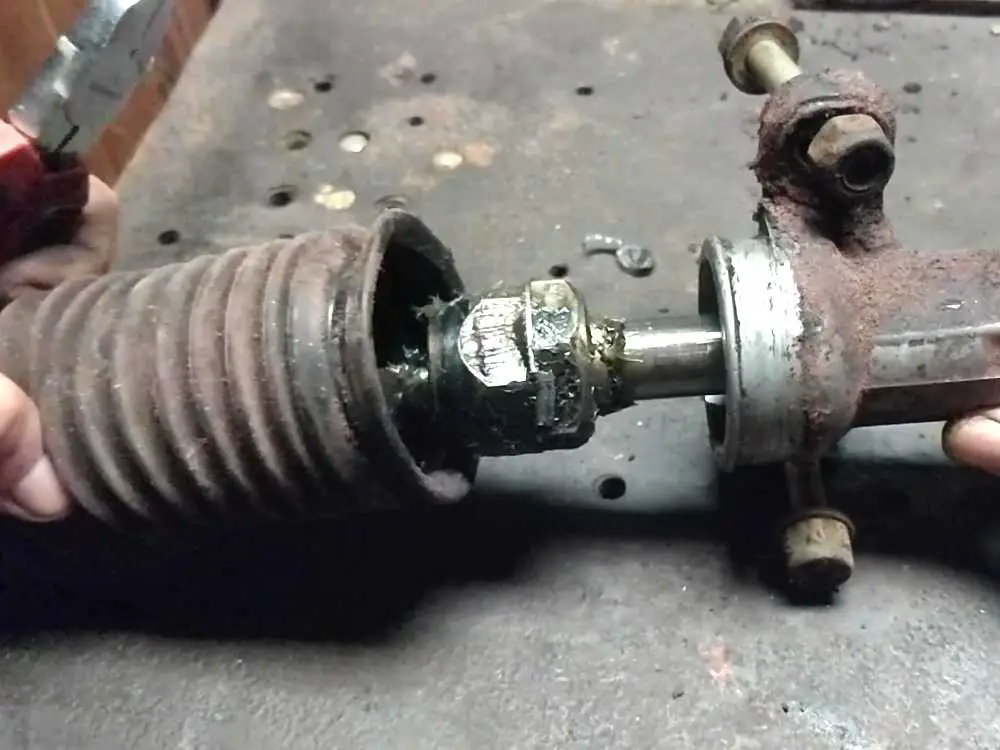
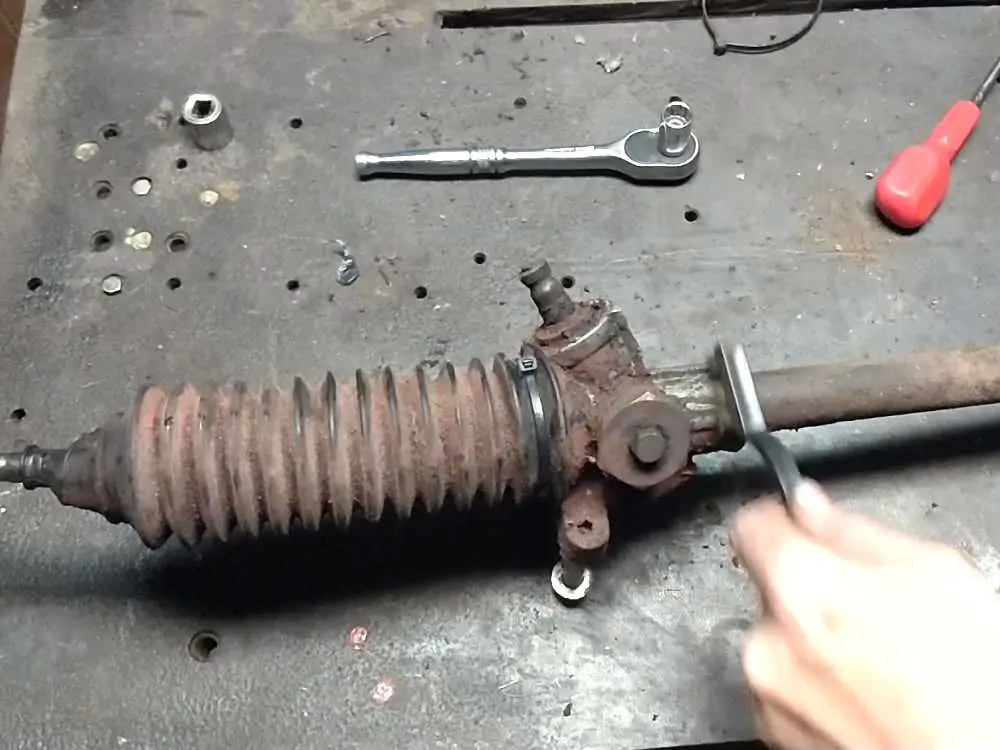
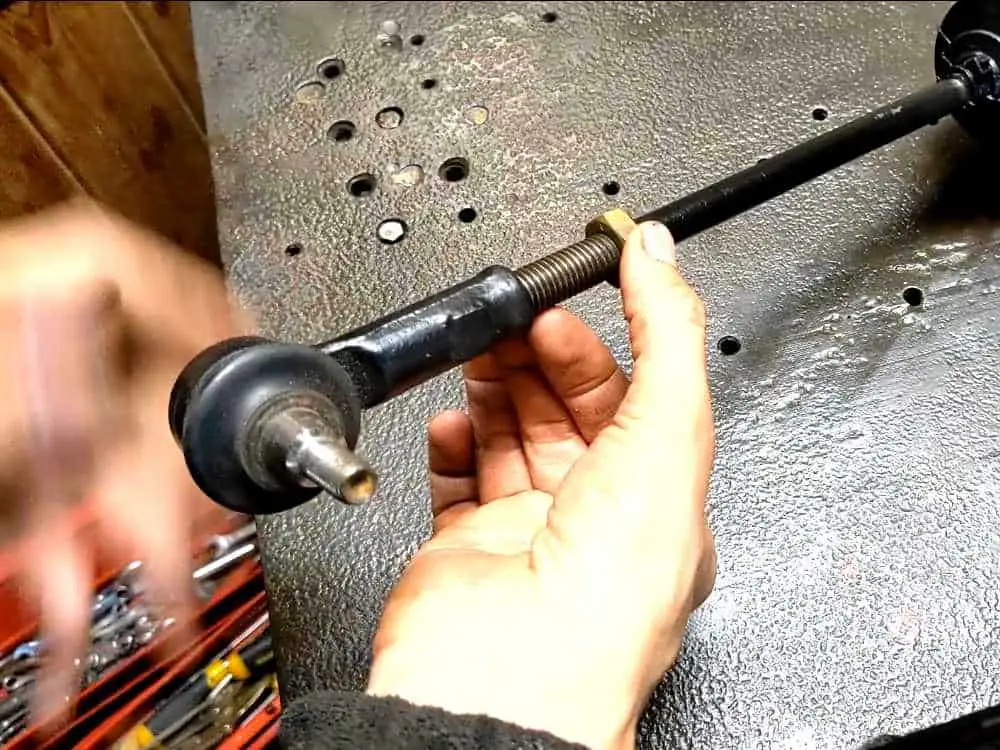
The first job was to get the boots off. These were going to be replaced anyway, but inspection revealed they were getting dry rotted and about to split.
Boots were starting to split… …but they’d done their job.

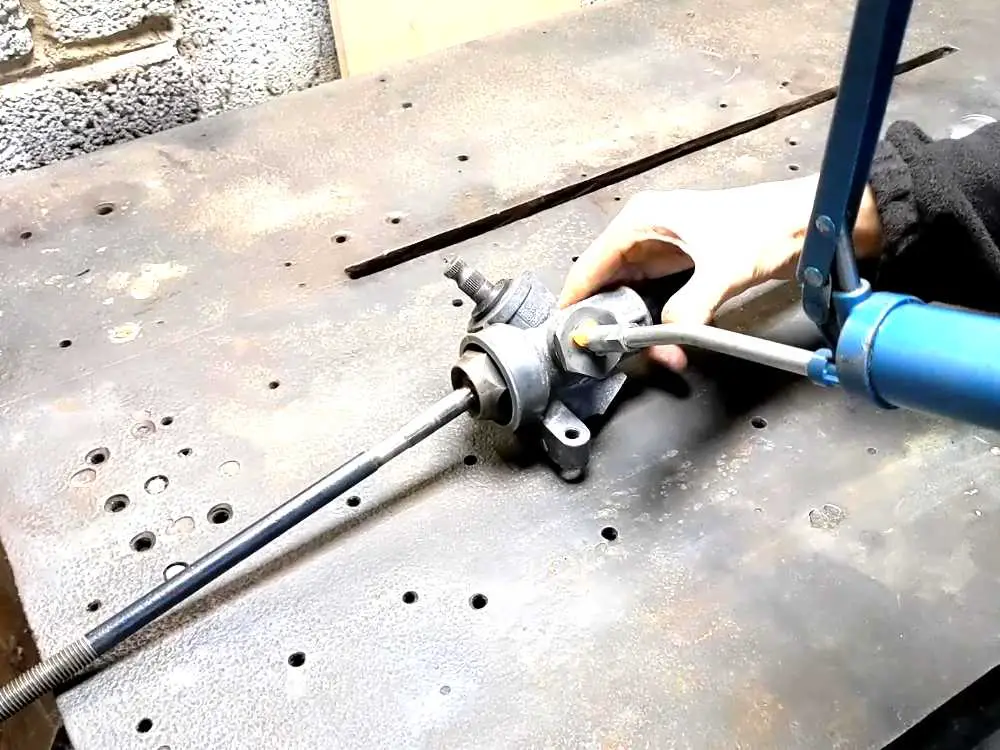
Then I needed to get the track rod ends off. These weren’t all that old; I’d replaced them not too long before I took the car off the road. Still, they’d managed to go rusty and put up a fight taking them off.
I didn’t bother to mark the positions before unscrewing them. I figured that after rebuilding the entire car and fitting all new suspension components, the steering was going to need an alignment no matter what. So trying to get the track rod ends back in the same place seemed a little pointless.
Releasing the lock nut. And removing the track rod end.


With the boots off, I inspected the rack. It’s actually in great condition internally; no signs of any wear, no loose areas or any binding. There are still parts available to rebuild these racks, but I decided I didn’t need to do anything here other than clean up all the old grease and put some fresh stuff in. Nice.
Disassembling the Struts
I put the steering rack to the side; I figured I’d be best off cleaning all the parts together and getting all the dirty work done in one go. So now it was time to strip down the suspension struts.
Rusty but still good. Dampers, springs and rubber parts will be replaced though.

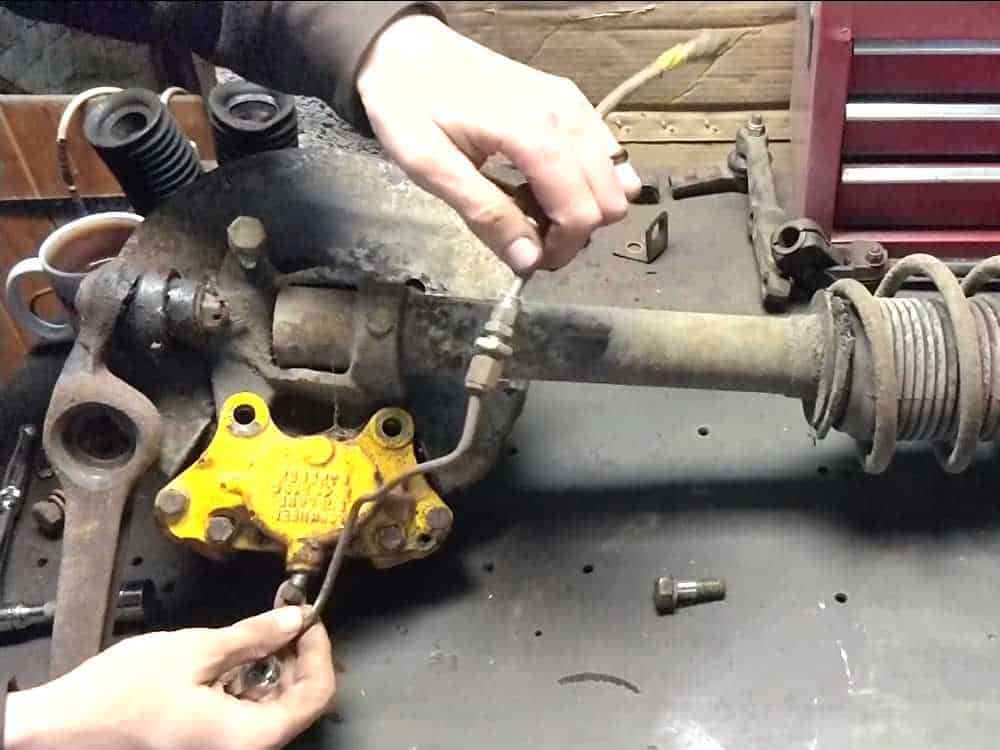
I got the brake calipers off first; I’ll deal with those later on.
Brake hose was taken off first… Followed by the caliper itself.

Then the lower arm needed to come off. That proved pretty difficult; even with all the tools in my collection I couldn’t get the balljoint to come apart. After a lot of hammering and getting nowhere, I put some penetrating oil on there and left it to soak while I worked on the rest of the strut.
The balljoint nut came off… and then I tried (unsuccessfully) to split the balljoint from the strut. I gave up on that and left it to soak in oil for a bit.
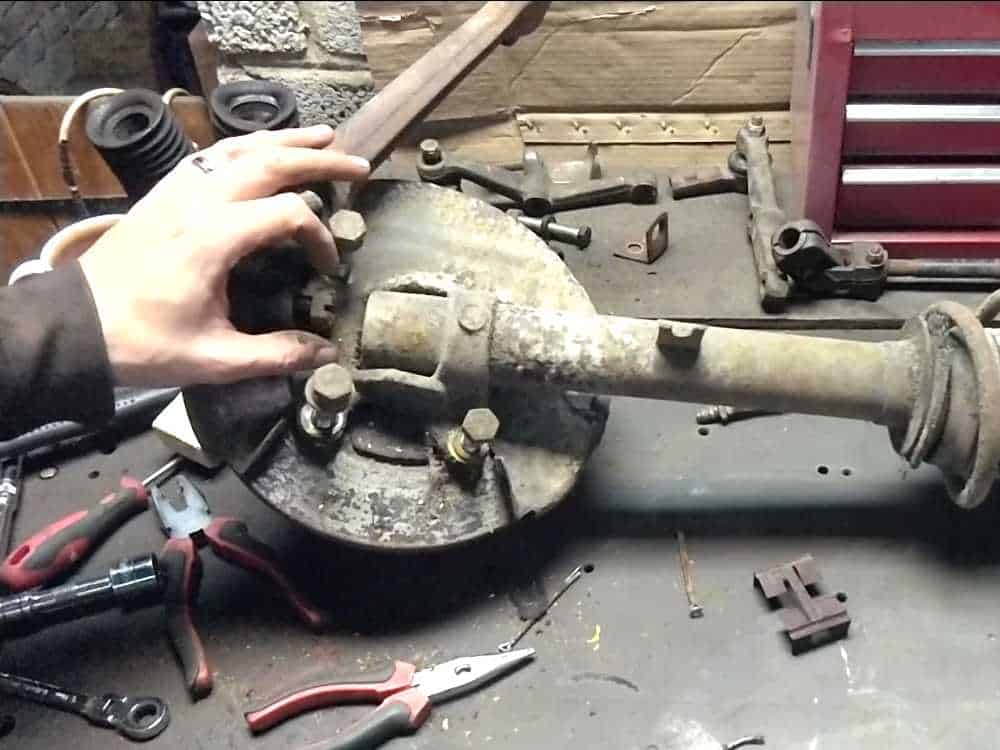


Stripping down the Hubs
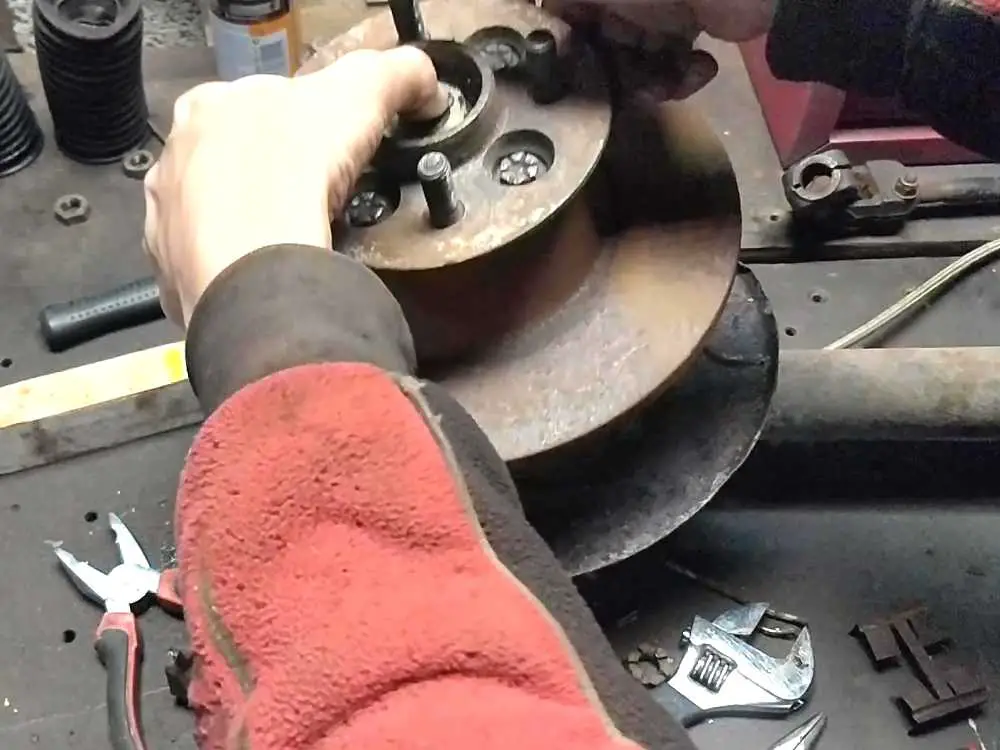
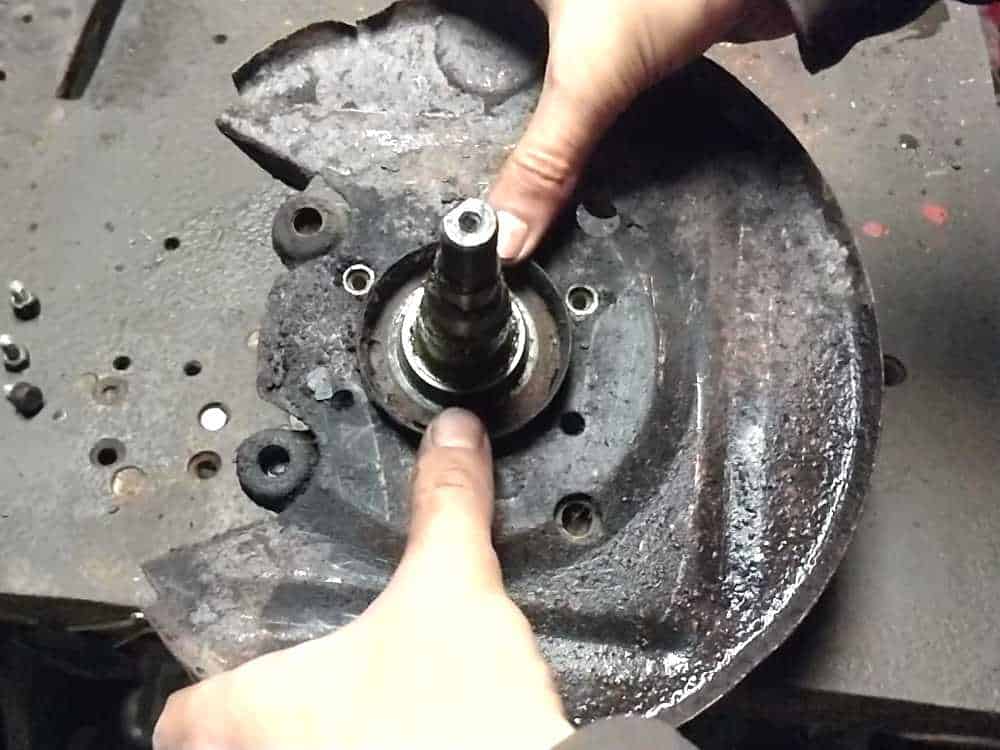
The hub was the next part to disassemble. This is actually fairly easy to do; the hub nut isn’t torqued down particularly tight (approx 5 lb ft) so the whole thing can be taken apart with just a basic toolset.
The dust cap comes first. Then the split pin holding the nut in place. Then the hub nut is undone… Before lifting the whole assembly off the strut.
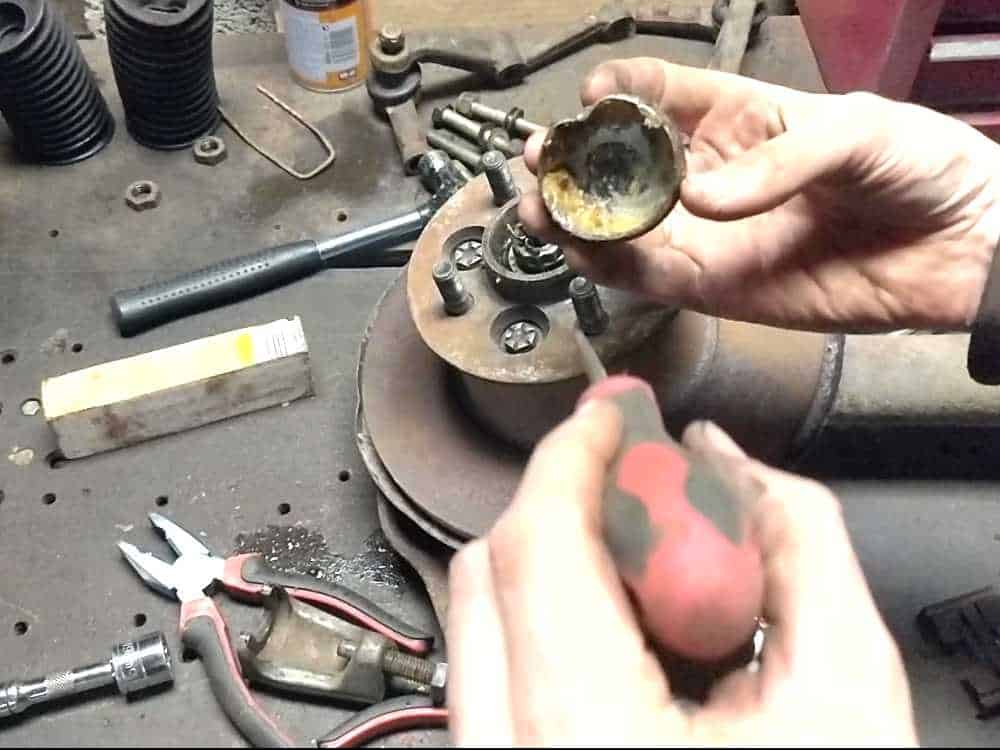
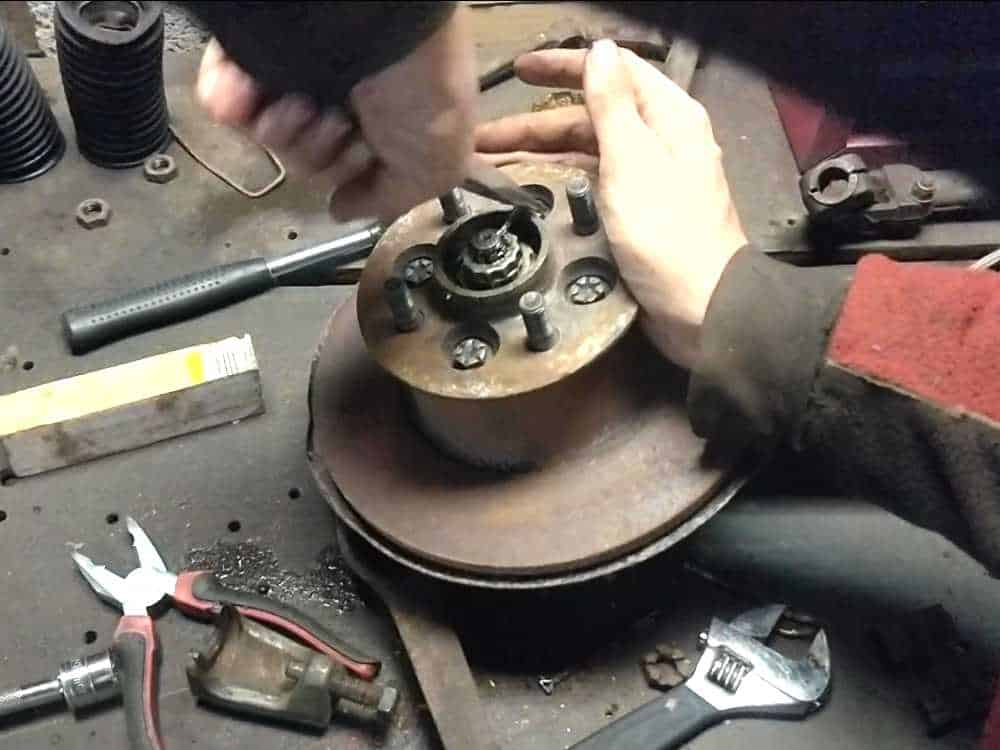
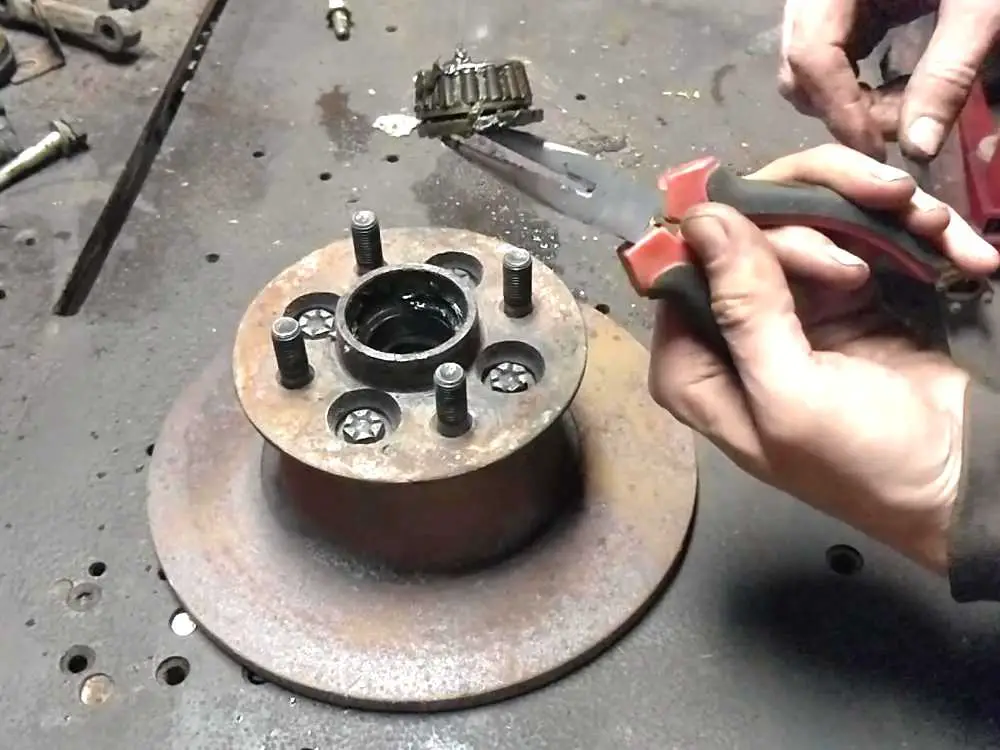
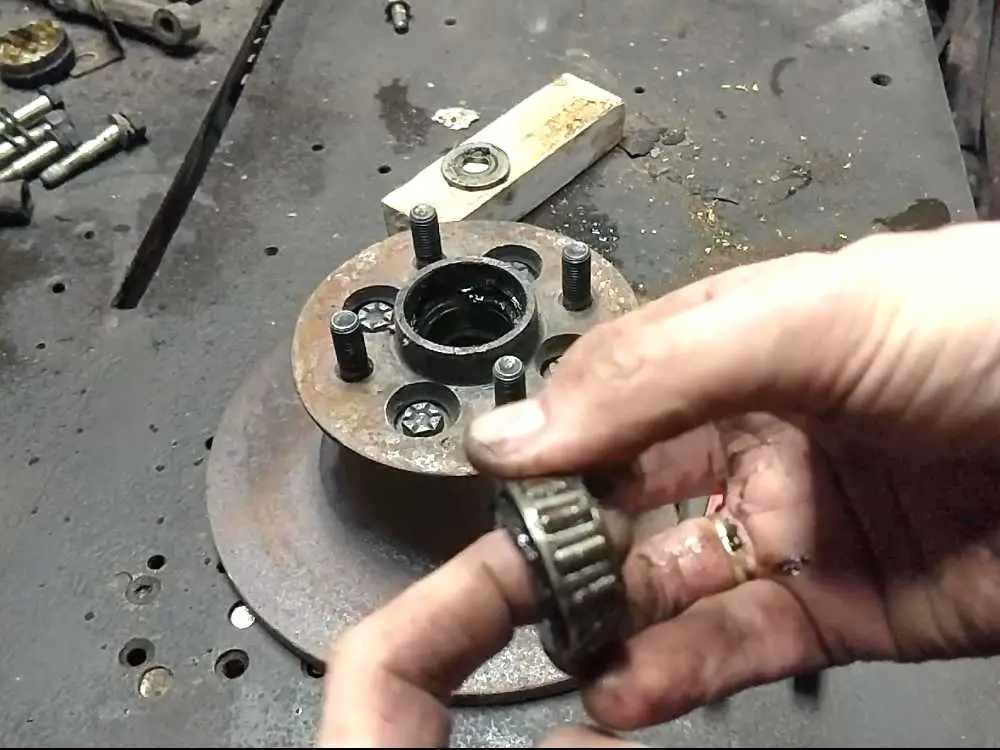
I took the bearings out next; I’d replaced these bearings not too long before I started the resto, so these were still in good shape. I’ll just clean the old grease out and then I’ll reuse these.
The bearings came out… And got inspected. They’re fine; they only have a few hundred miles on them.
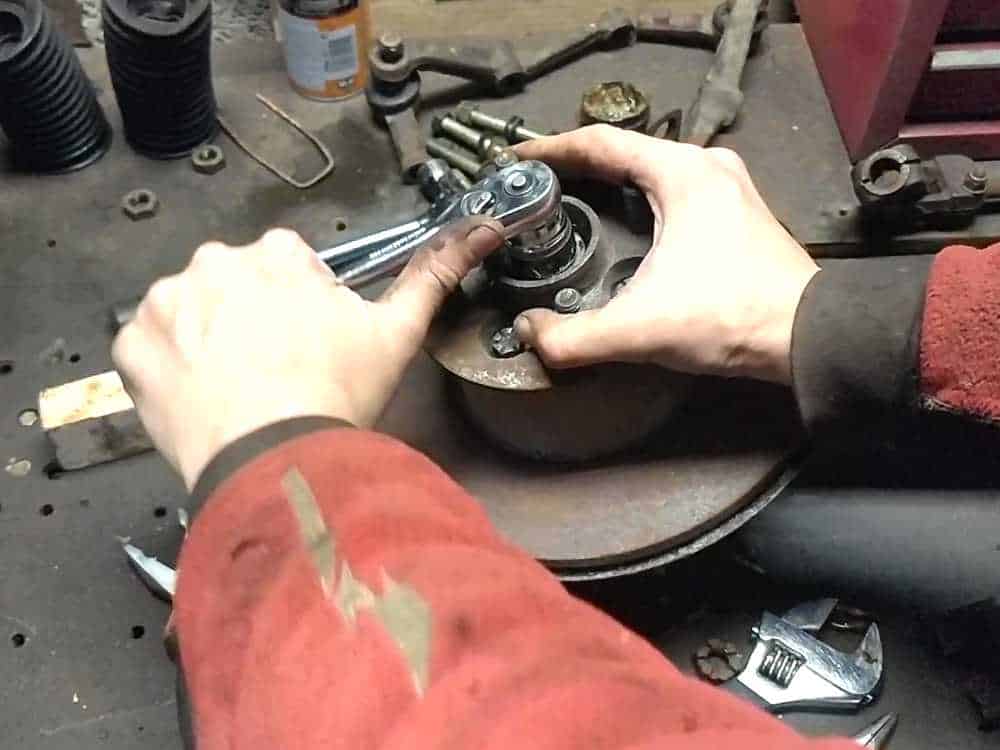
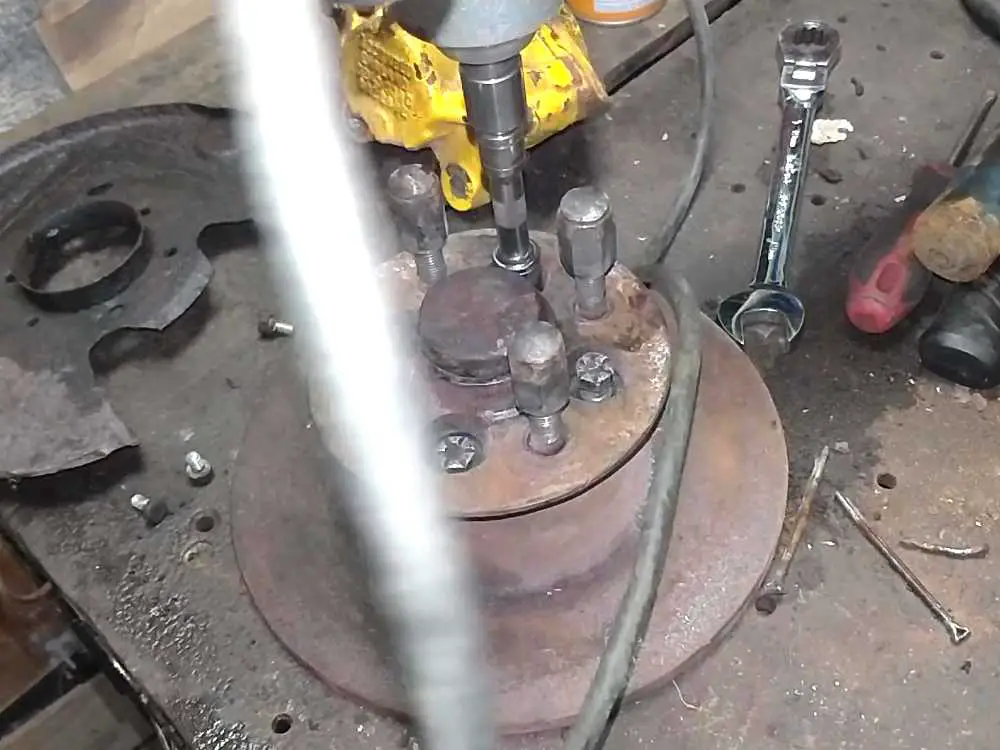
This was a bit tricky; I couldn’t get enough of a grip on the assembly to hold it down while I undid the bolts. I tried using a bit of wood to hold it steady, but that didn’t work either. Eventually I dug out my impact gun – I should have done that to begin with. It took me about thirty seconds to get all the bolts undone!
Trying to undo the brake disc bolts. A bit of wood used as a steady bar. It didn’t help. Finally, the impact gun did the trick.


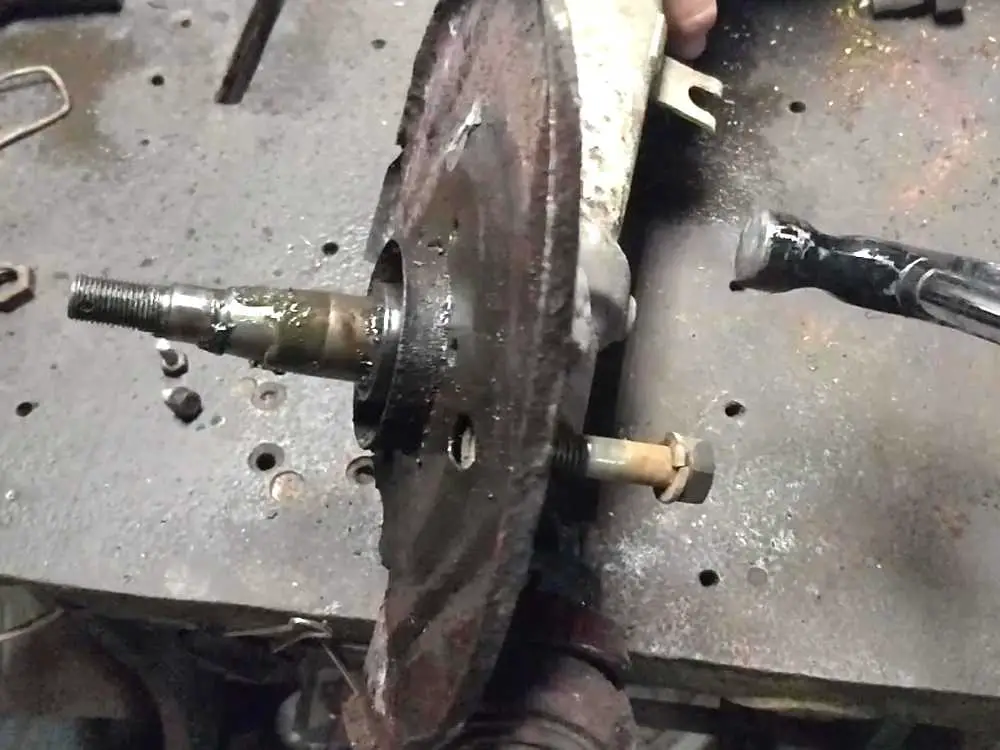
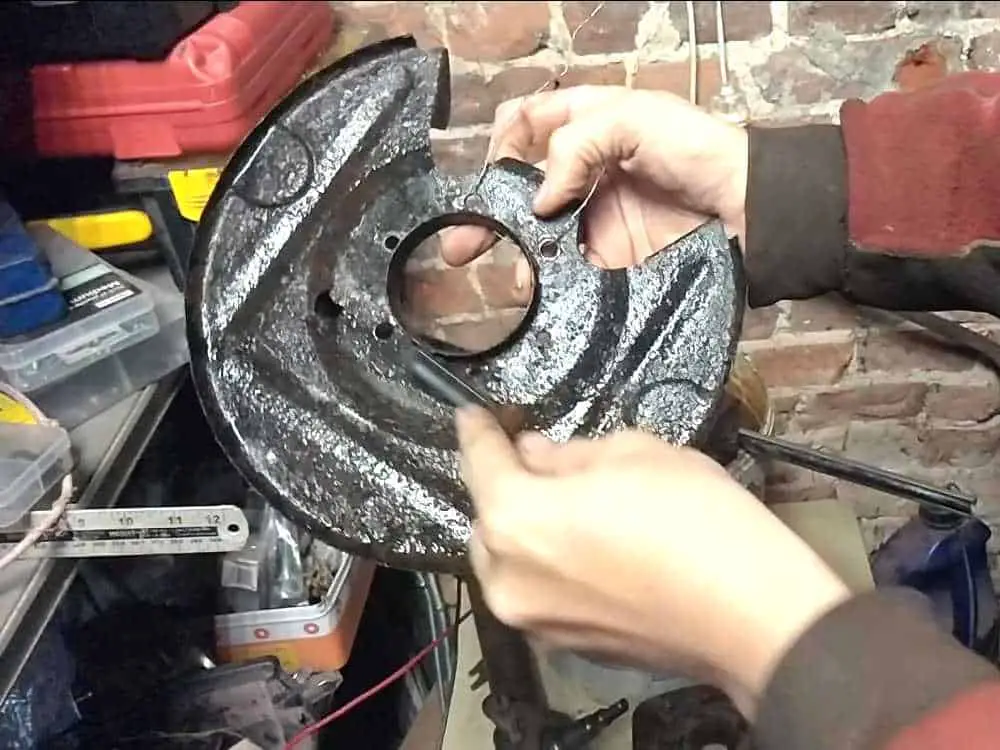
Then the brake disc shields came off the struts.
These were fairly crusty (as you’d expect) and took a bit of persuasion to get off, but underneath all the dirt and rust, they’re still in fairly solid shape. That’s good news; I can just clean these up and paint them.
Trying to get the brake disc shield off. They took a bit of ‘persuasion’ (aka hammering!). But they’re actually in fairly solid shape.

Removing the Springs
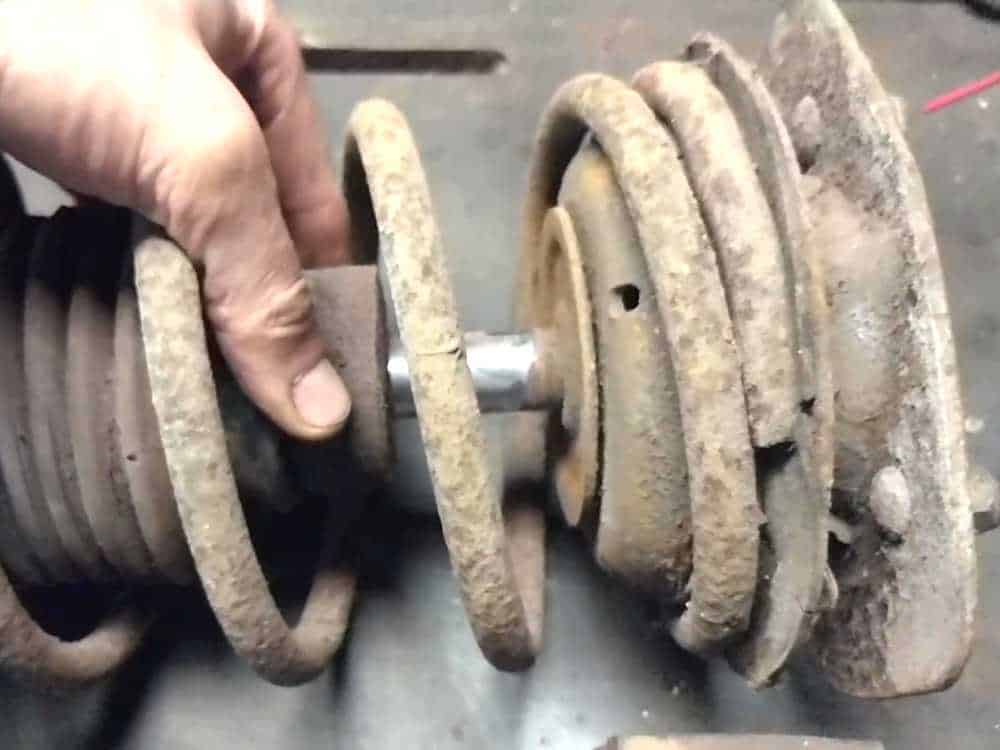
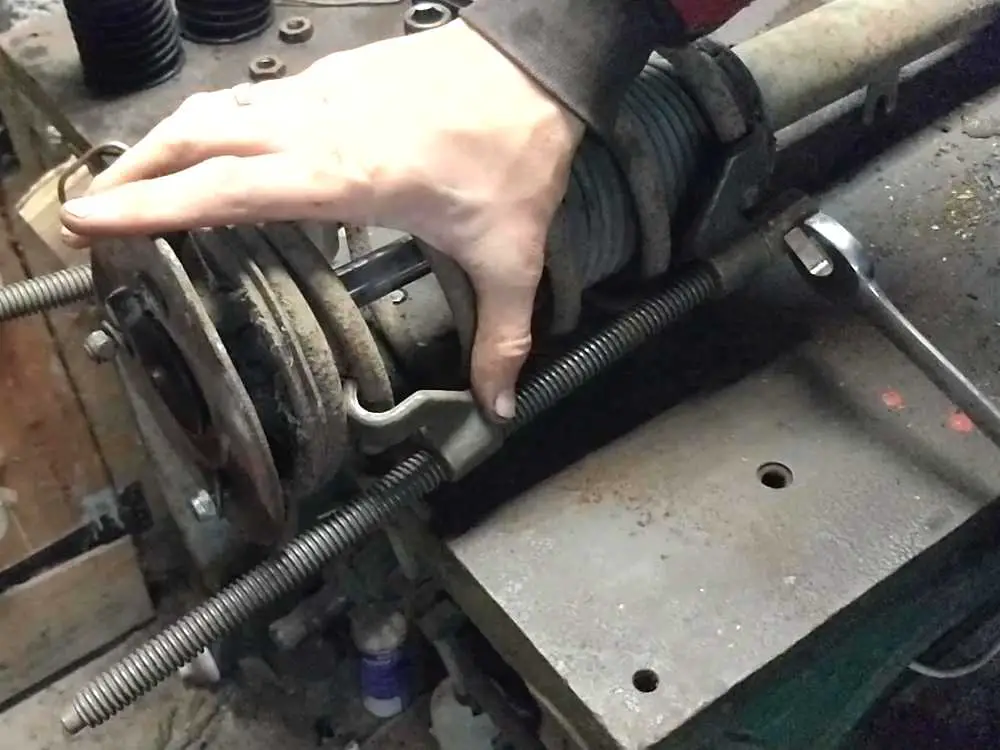
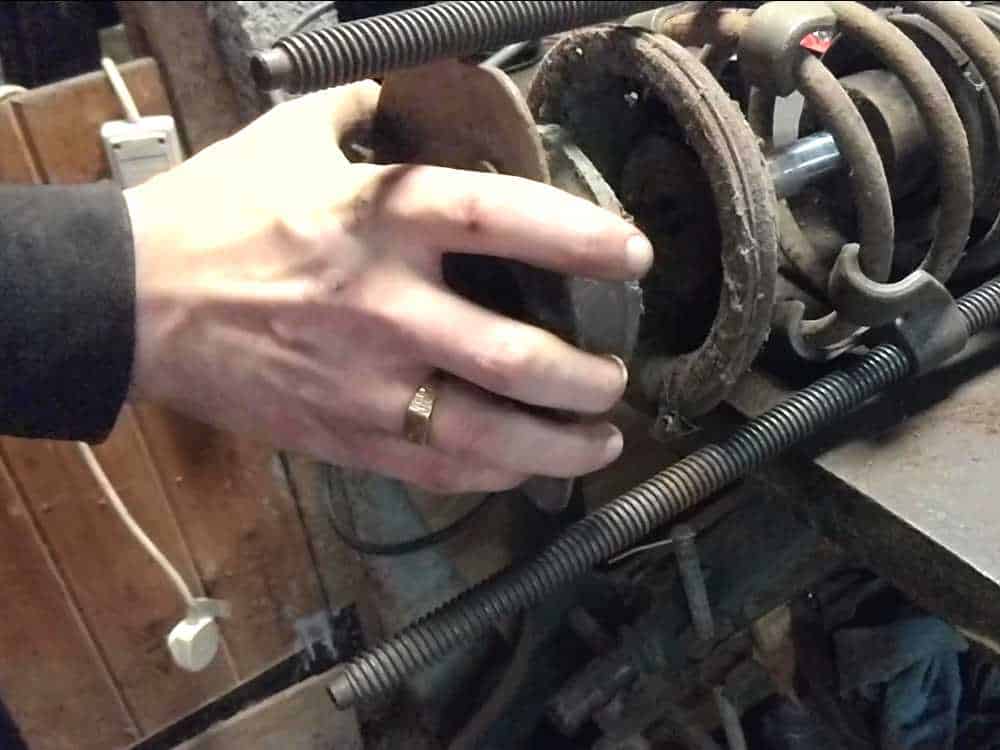
Then the springs came off. It’s a straightforward job, if a little scary; those springs have a lot of force behind them and having something slip can do a lot of damage or injury! I used a pair of spring compressors to remove the springs. With the springs compressed, I was able to take off the top nut from the damper and disassemble the whole spring assembly.
The spring compressors are fitted… and then tightened down. The nut holding it all together is removed… and then the whole assembly can be taken apart. Once everything is apart, the spring compressors can be removed again.


Removing the Dampers
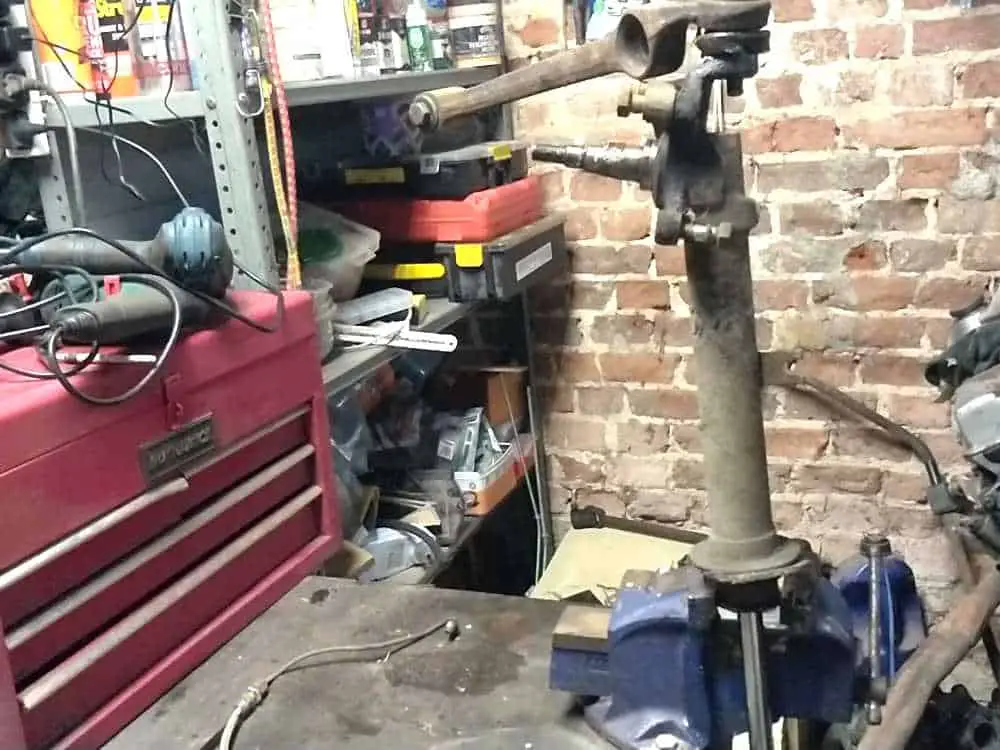
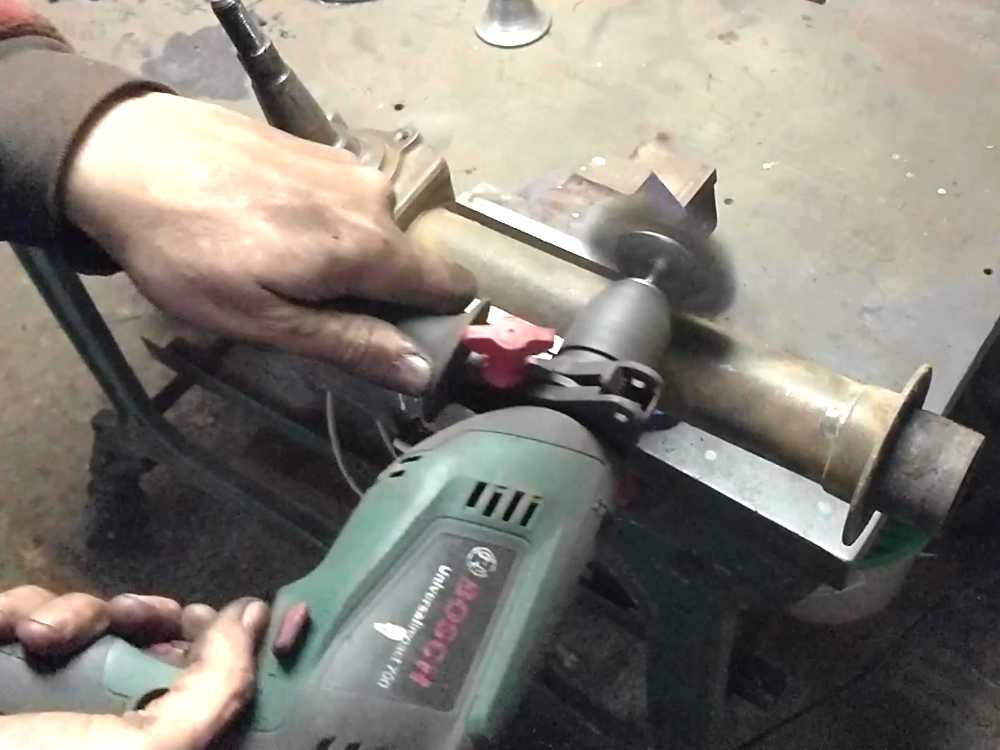
The dampers are held into the strut tube with a large nut. These were, predictably, stuck pretty solidly.
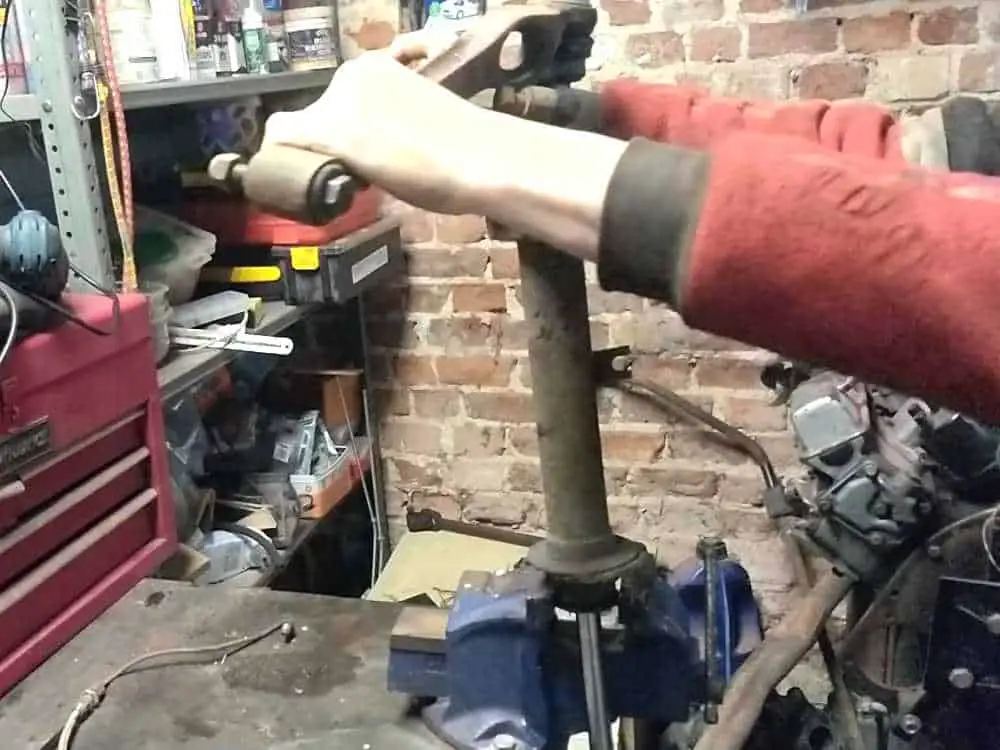
Even with all the tools I have, I couldn’t get the nut undone while holding on to the strut, so I resorted to clamping the nut in the vice and twisting the whole strut around to unscrew it. A little unconventional, but it got the job done!
The lower arm actually made a pretty handy lever here, so in a way it was a good job I hadn’t managed to free it yet.
Unconventional, but it worked. The lower arm came in handy for leverage! And finally the damper can be removed.

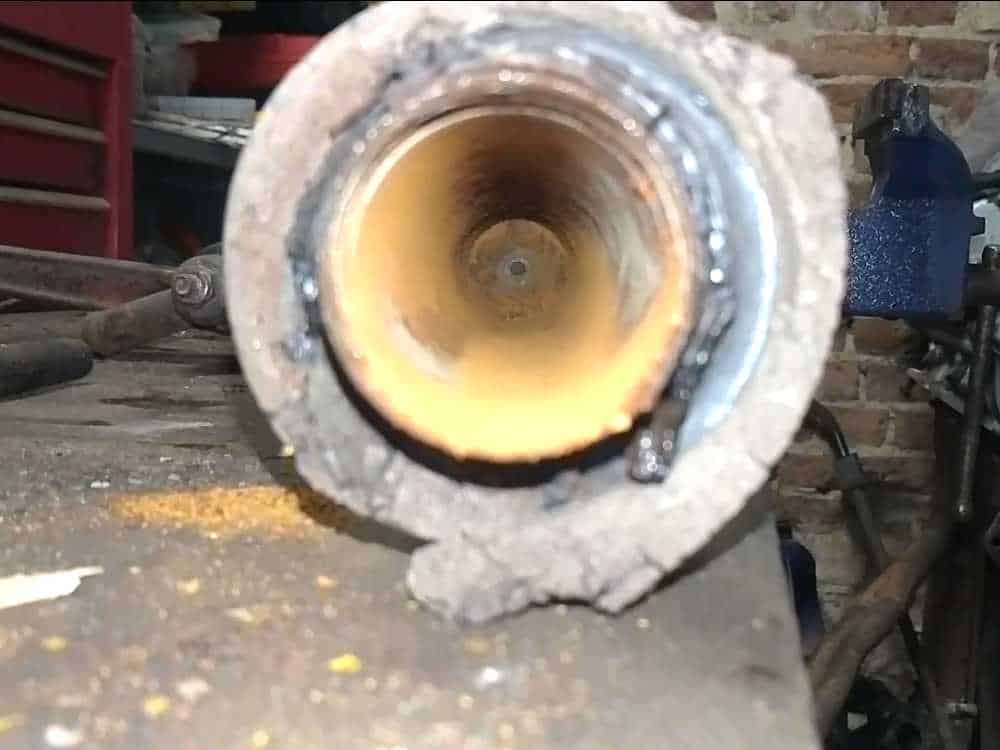
The damper itself was going to be replaced anyway, but I was a bit alarmed to see rust on the bottom of it!
Fortunately, looking inside the strut tube showed it was just surface rust and hadn’t penetrated. That would just need a little cleanup. I guess the rust is just a result of condensation.
The damper was a little rusty… As was the tube. Just a little surface rust though.

Removing the Balljoints
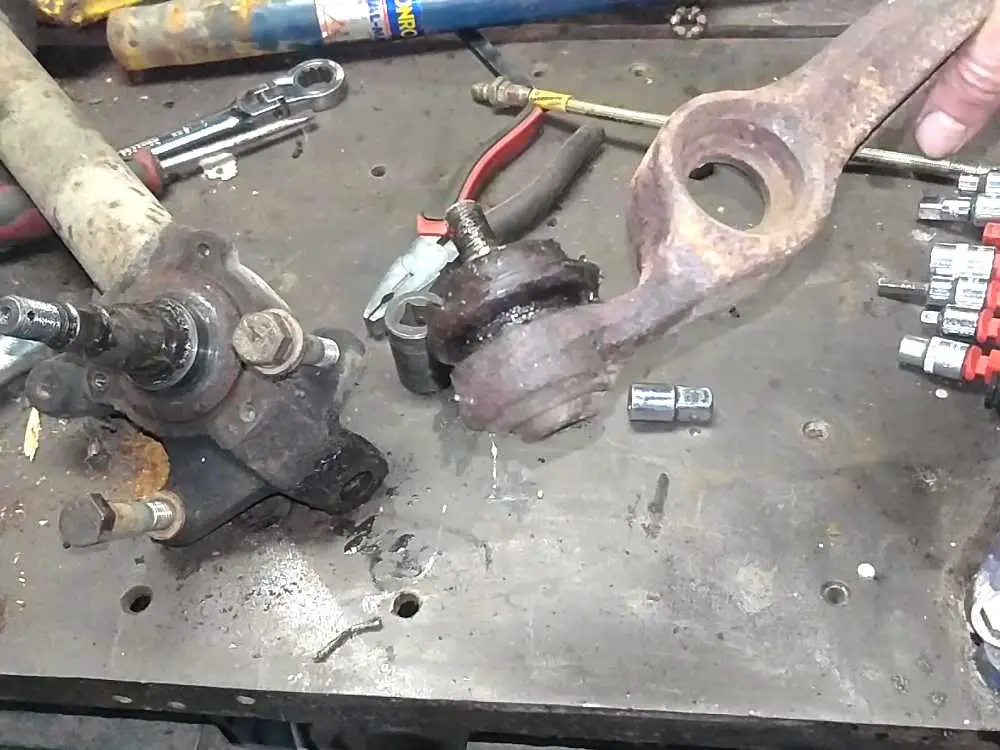
With nothing else left to do, I had another go at the balljoints and lower arms. Time and penetrating oil seemed to have done the trick; after a little more hammering with the balljoint seperator, they eventually popped off. A little bit damaged, but no big deal; I was going to replace them anyway.
Once separated from the strut, I took the arms to the press to remove the balljoints. One came out fairly easily, one was a nightmare! It was really stuck in there solidly. The shape of the arm didn’t help, either; it was difficult to find a solid surface for it to rest on while I pressed the balljoint out, so it kept slipping out of the press. But with some perseverence and a little bit of swearing, I managed to get them both out.
More hammering on the balljoint… eventually worked. Then the press got the balljoints out of the arms.


Cleaning it All!
With everything finally stripped down, I got busy with the cleaning. The first job was the steering rack. Due to how it sits right under the engine, it was covered in a lot of engine oil as well as all the usual road dirt, so this took a while to clean up with a range of brushes, picks and cloths as well as a whole lot of white spirits!
With the outside cleaned, I took some time to clean all the old grease out from the inside of the rack, ready for some fresh new grease later on.
Cleaning the rack. I put the boots back on temporarily to stop dirt getting inside. Plenty of white spirits got the inside clean of grease.


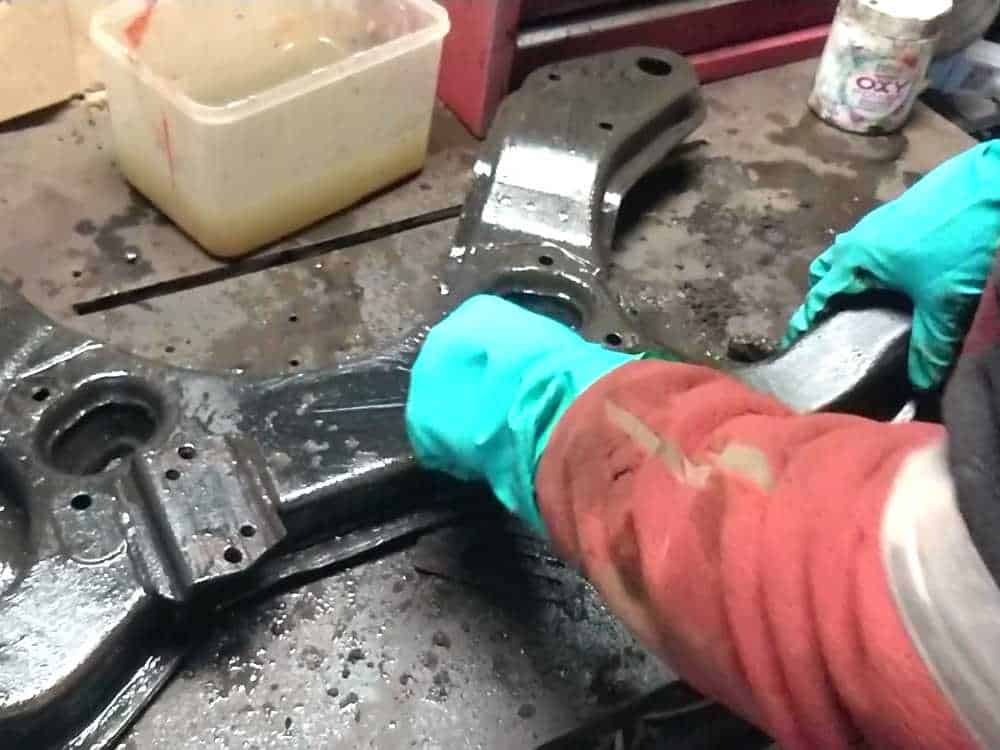
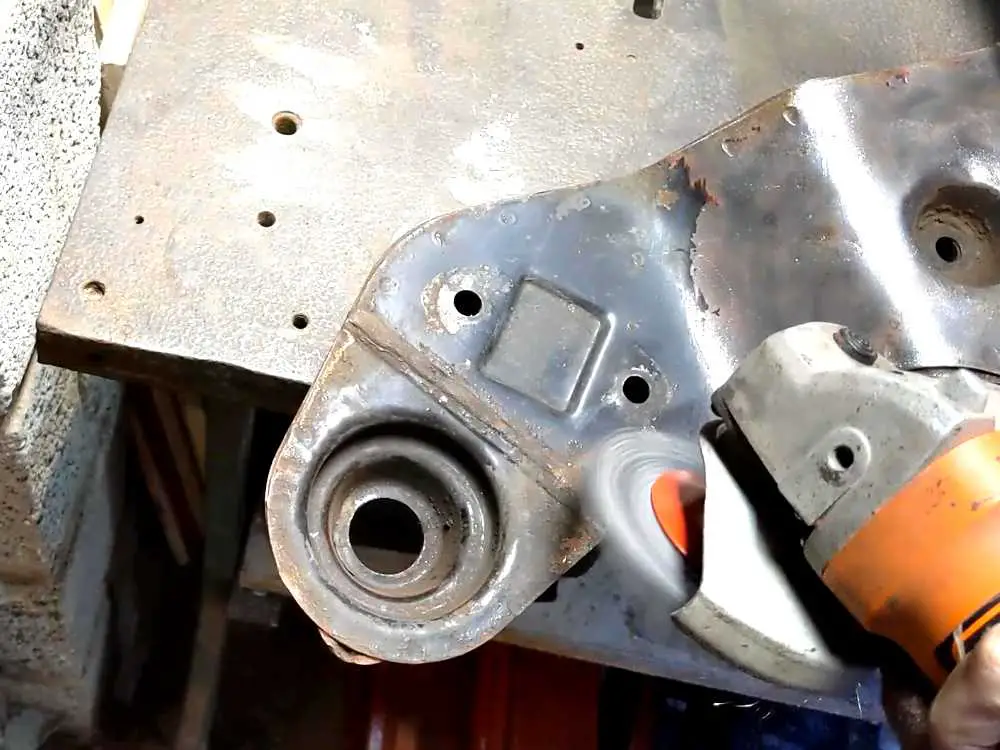
With the rack cleaned up and set aside, I got to work on the rest of it. Most of it was just covered in dirt and a bit of rust, but it still took a good few very dirty hours with the grinder and wire wheel to get it all cleaned up!
Some of the rustier parts got a session in the electrolysis bath to get rid of the rust, too.

Everything got cleaned up with the wire wheel… And some of it got a dip in the electrolysis bath too. Degreasing the hubs. And more cleaning with the wire wheel. Cleaning up the strut tubes. All clean and shiny!


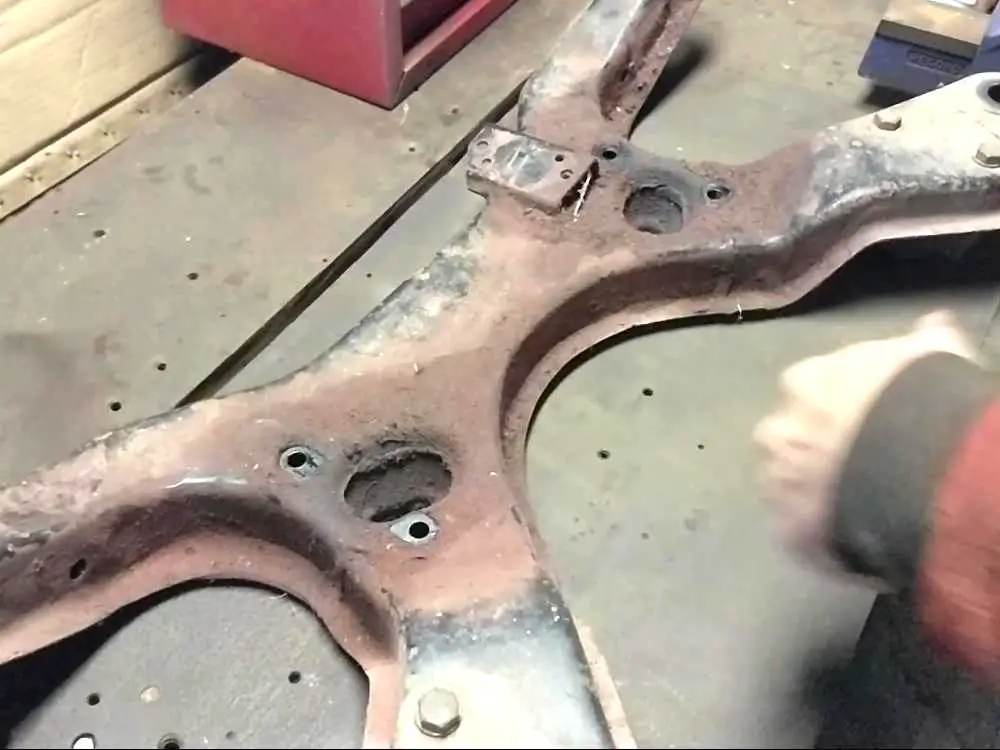
Then the subframe got cleaned and painted:
Subframe was pretty grotty. But most of the dirt came off fairly easy. Then it got a good clean… …and the angle grinder took care of the paint.

Priming and Painting
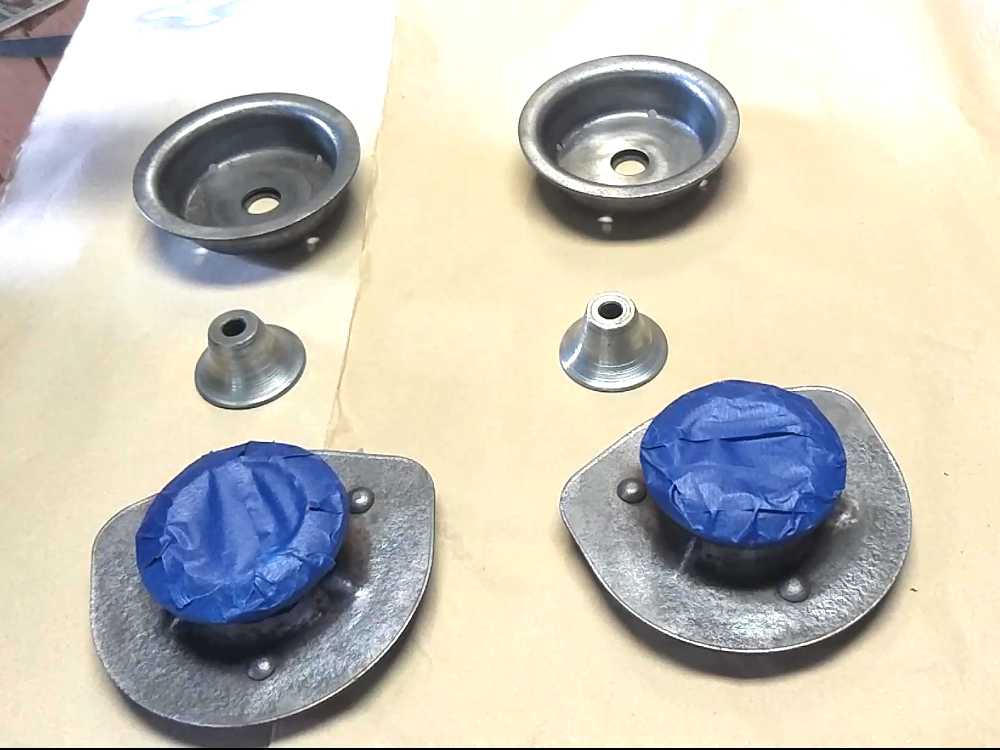
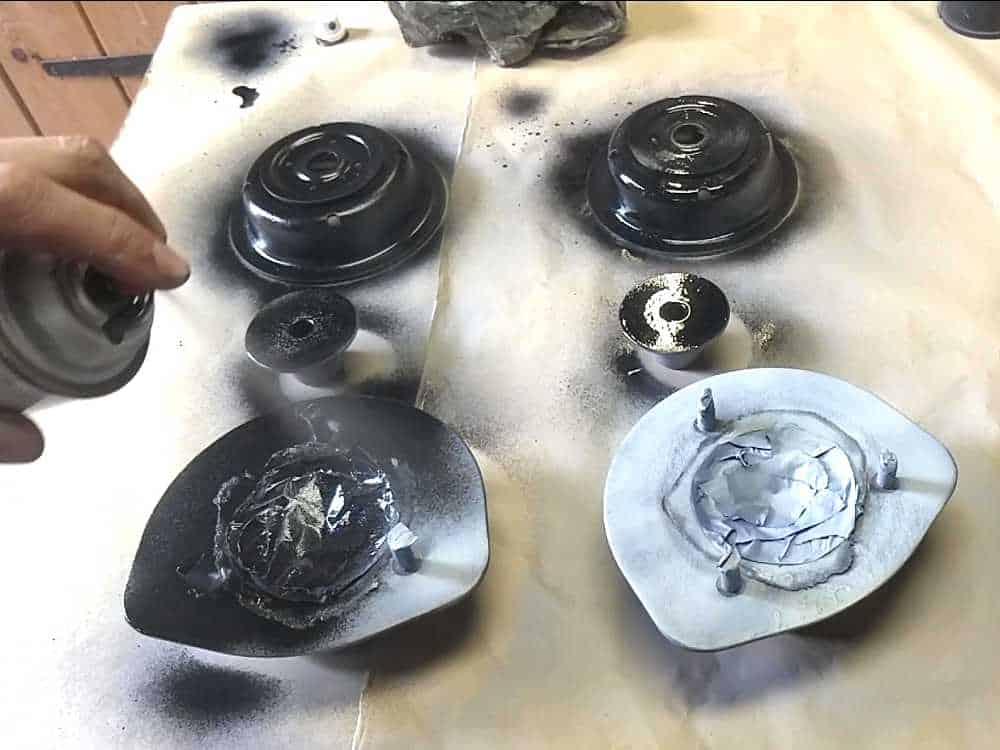
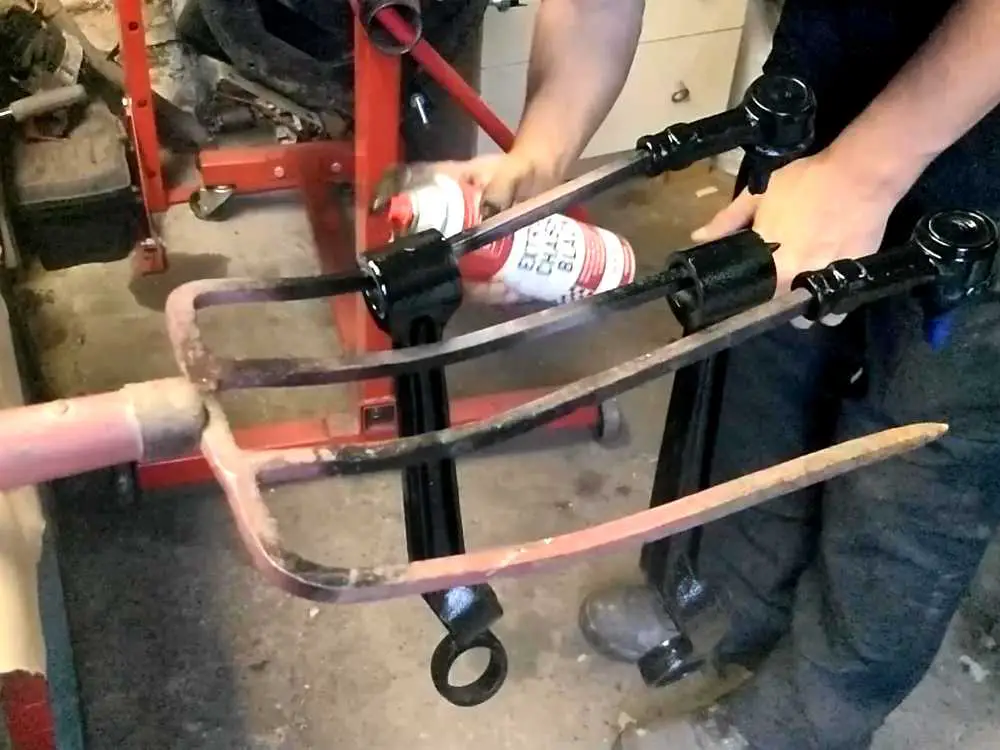
With everything cleaned, I got straight to work priming and painting all the parts before they started to rust again. I used black chassis paint on all the parts; it’s a nice hardwearing paint that should last a good few years. Powder coating would have been nice, but that’s not in the budget at the moment!
Parts were masked off and primed… …and then painted with black chassis paint. I had to get a bit creative with holding the parts! Yes, that’s a garden fork. It worked great.
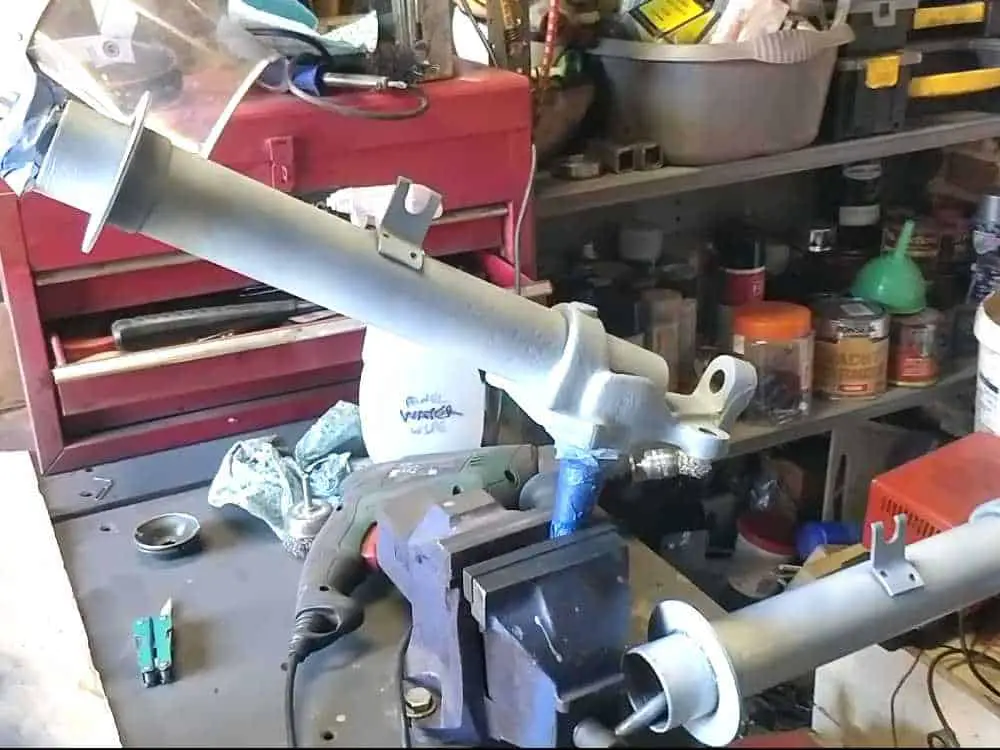
The steering rack got painted as well. And the subframe.


Cleaning up the Hardware
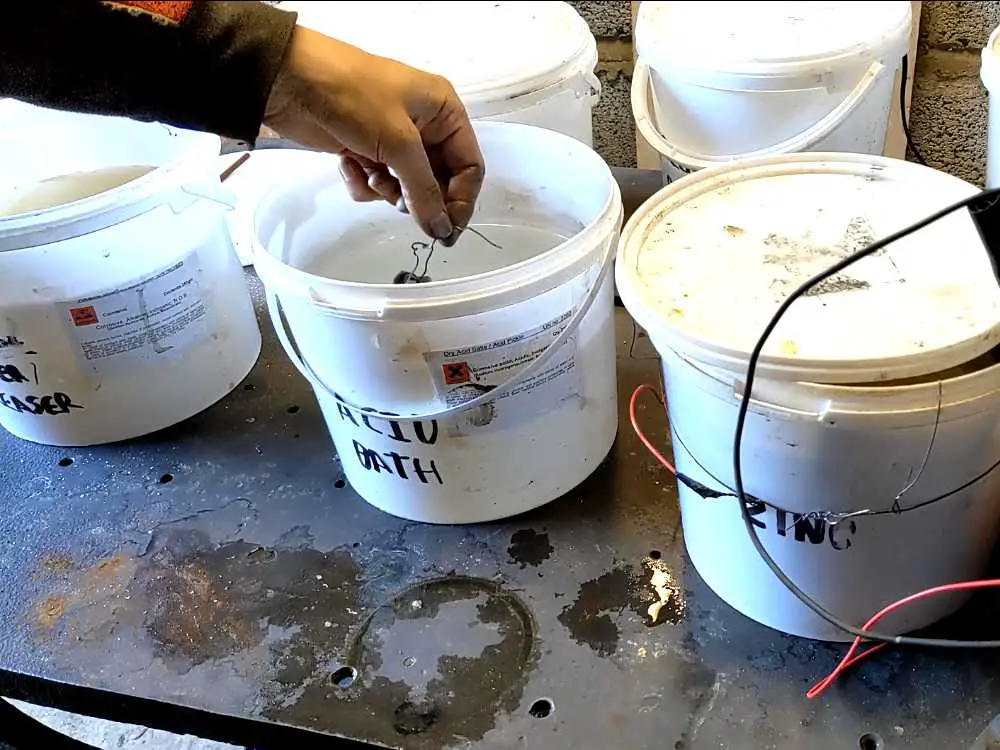
I didn’t want to neglect the hardware either; a lot of it was too far gone or was just cheap and easy to replace, but a lot of it was still good enough to reuse. I gave it all a good clean up and then zinc plated it all.

Parts were cleaned up… …acid dipped… 
…and zinc plated.


Reassembling the Steering Rack
Because I wasn’t sure how long it would be before I put everything together, I decided to reassemble the steering rack. I didn’t want the exposed internal parts to start rusting!
So I pumped some new grease in through the bleed nipple – or at least I tried to. Either the (brand new) nipple was stuck, or the (old) grease gun was worn, but when I tried to pump the grease in it just squeezed out of the tip instead! Luckily, the screw thread on the grease gun was the same as for the nipple, so I just screwed it directly in instead.
With that sorted out, I pumped grease in until it was oozing out of both ends, then I spun the rack around until I was happy that grease was everywhere. Then I fitted the boots…
First attempt. Second attempt without the grease nipple. Much better…

What a nightmare that was!
In theory, you should be able to stretch the boots over the lip on the rack. Certainly, that’s what I was able to do with the old ones when I refitted them. But the new ones didn’t have a lot of stretch to them, and the whole thing very quickly got covered in grease. It took a good few very frustrating minutes of slipping around, stretching things and levering the boots on with screwdrivers (making sure not to stab through the boots) to get them on.
But eventually they were fitted, and once I’d cleaned all the grease off everything(!) all that was left was to refit the track rod ends. That, at least, was a simple job. I just fitted them to about halfway; I’ll worry about aligning them properly once the car’s more or less complete.
Trying to fit the boots… I had to use a screwdriver for leverage. And the track rod ends go on.


Finished!
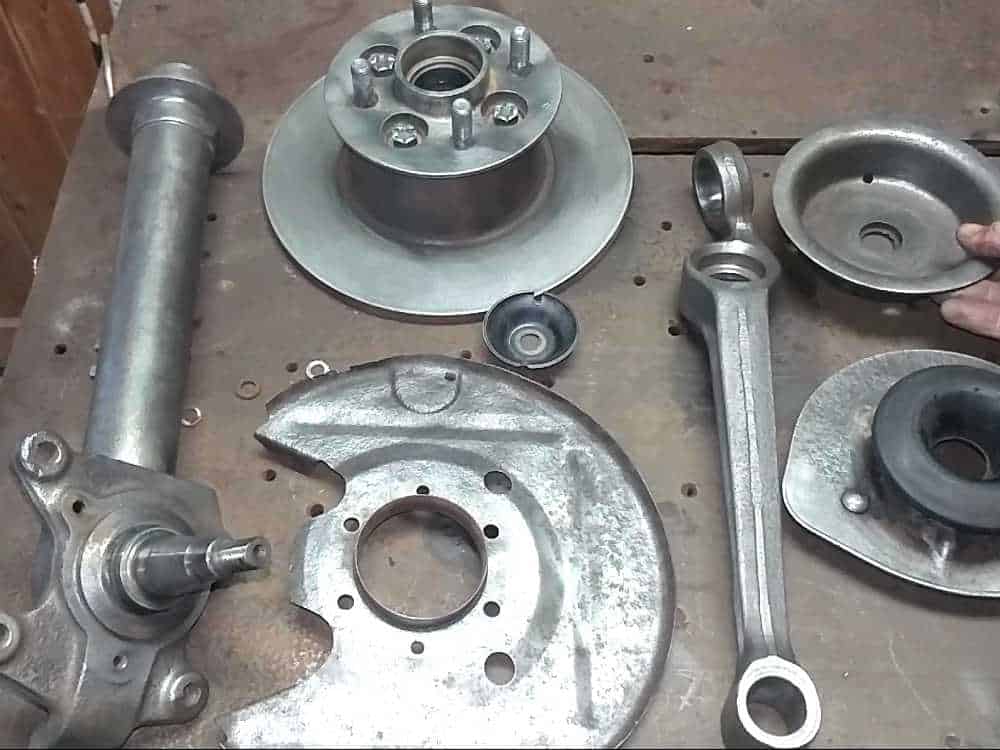
And that’s now everything cleaned, painted (or in some cases, replaced!) and ready to put back together and on the car!

Strut parts ready for reassembly… And the subframe parts.

The Video
And here’s the video! Enjoy!
Looking forward to working thorough both your Back and Front program the next two weeks. D Hoagland 8014279999
Thanks! Glad you’re enjoying it!