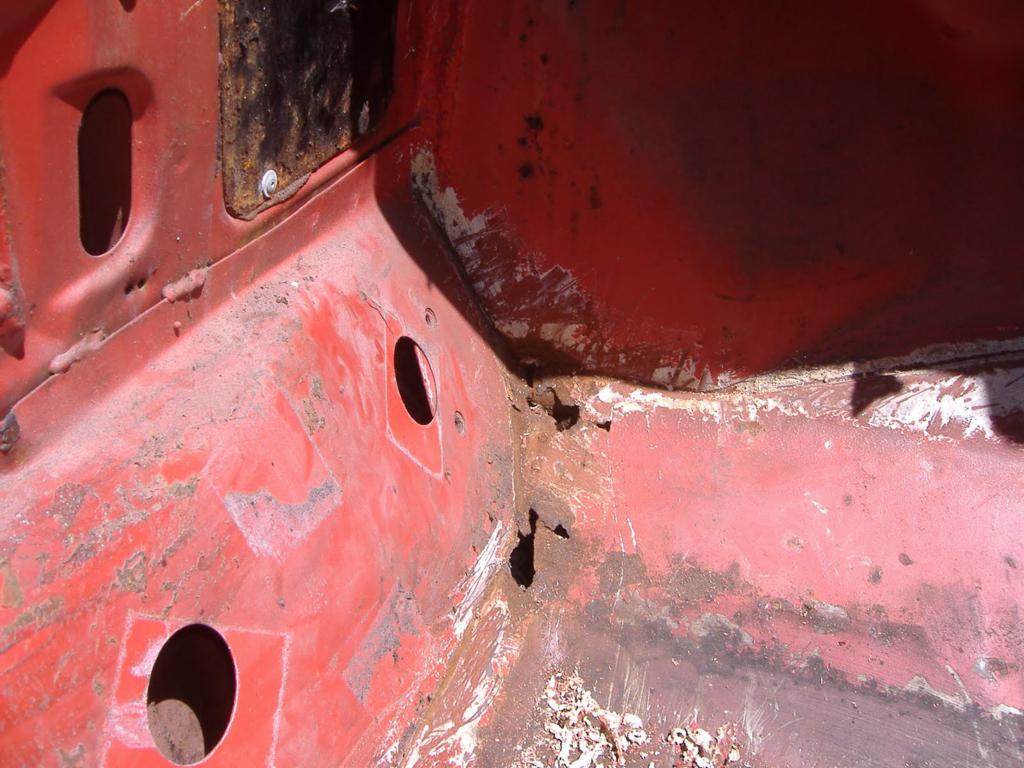
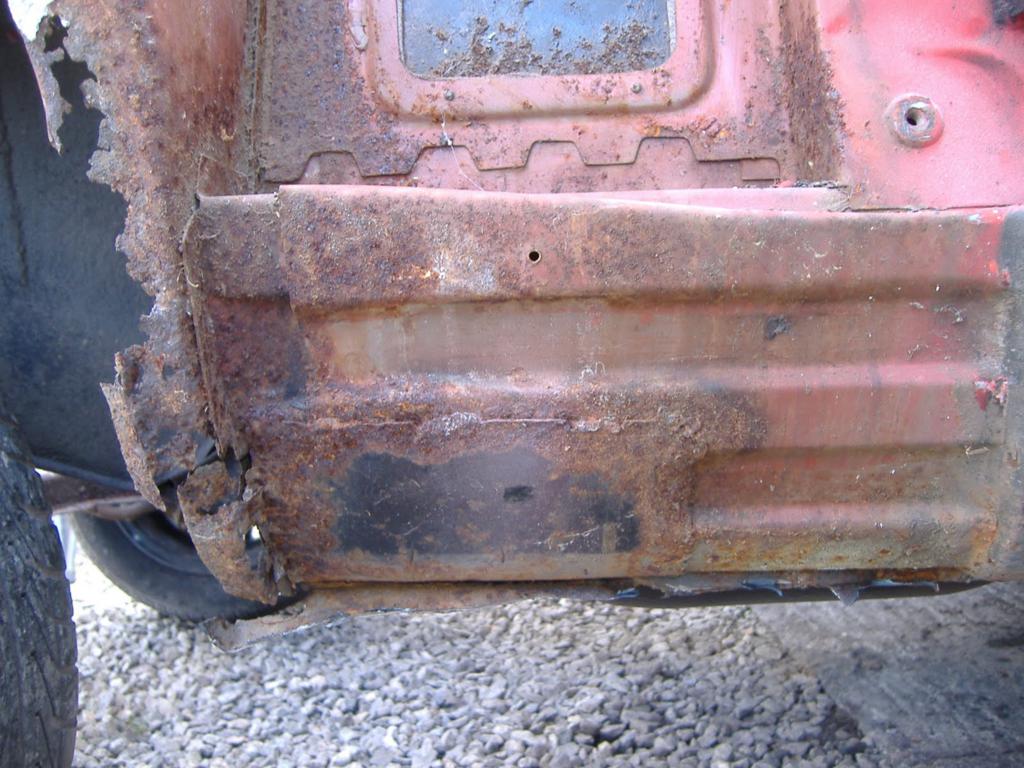
After poking around the nearside wheelarch and footwell, it seems that the rust is a bit more serious than I first thought.
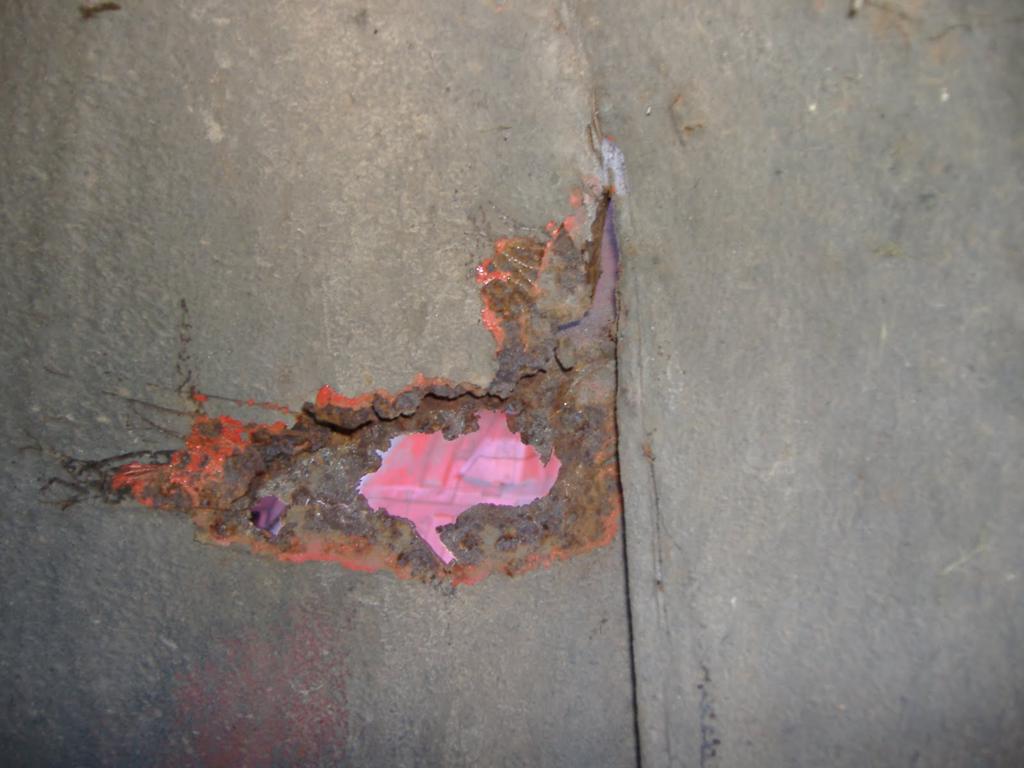
There’s a hole in the footwell, obviously from the disintegrating sill area:
Apart from the corner bit it’s nothing too bad, although the crossmember underneath may prove tricky.
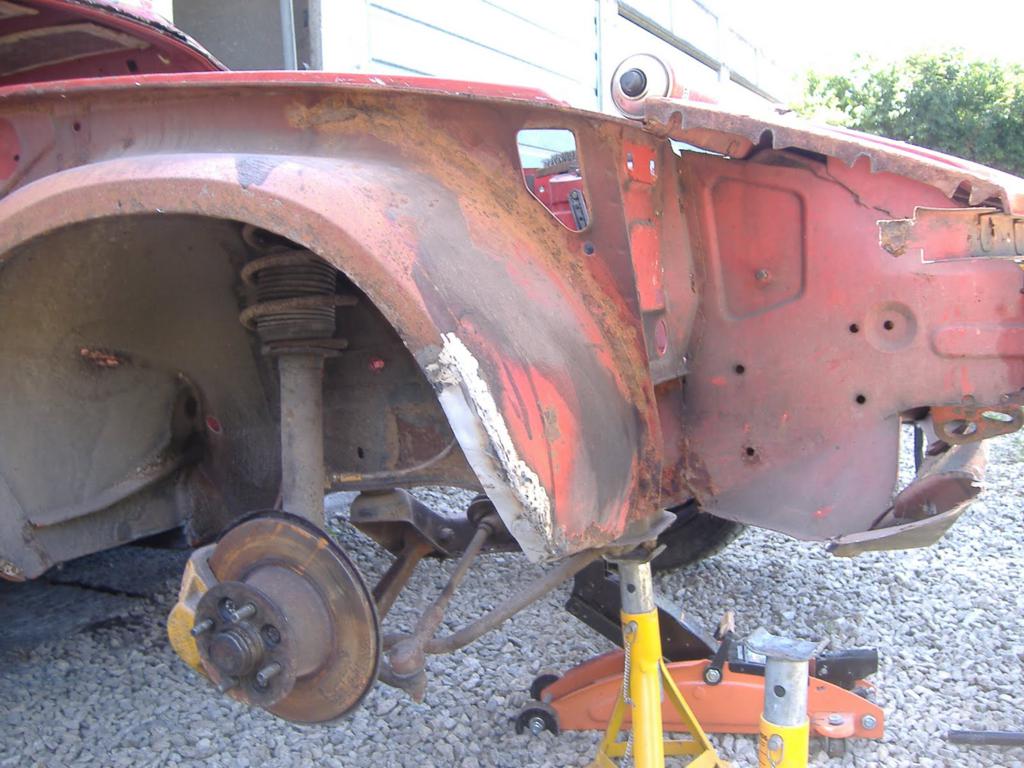
Of more concern is the bit on the bulkhead where it meets the bottom of the flitch panel. The bottom of the panel has gone rusty, and taken the area of the bulkhead with it. It’s a tricky area, but I’ve come up with a plan.
1. Remove the battery tray
2. Remove the complete wheelarch:

3. Remove welds and lift the bottom of the flitch panel out of the way:
4. With the panel out of the way, I can then cut out the rot from the bulkhead and weld in a new plate:
5. Weld in a new corner to the flitch panel, beat it all back into shape and weld it in place.
6. Repair the flitch panel where the spot welds from the wheelarch are rusting through:
7. Repair the sill:
8. Fit new wheelarch panel
9. Refit battery tray
Easy really!
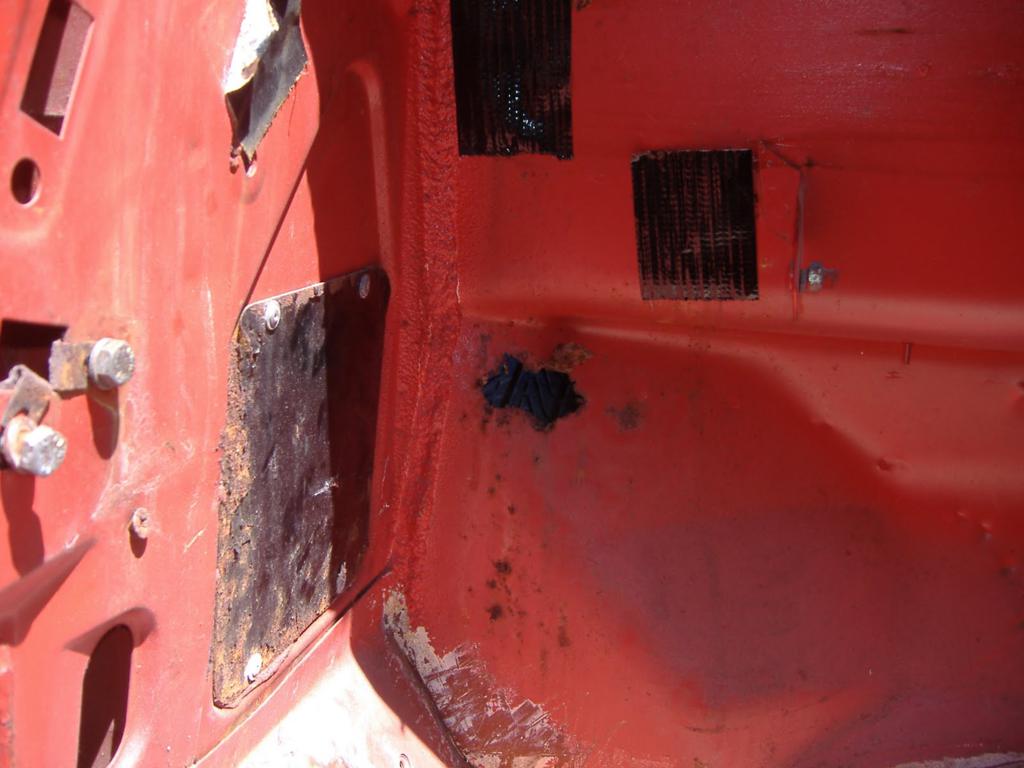
I thought before I tackled that I’d get the easy stuff out of the way first, so I sorted out the rusty bit on the offside:


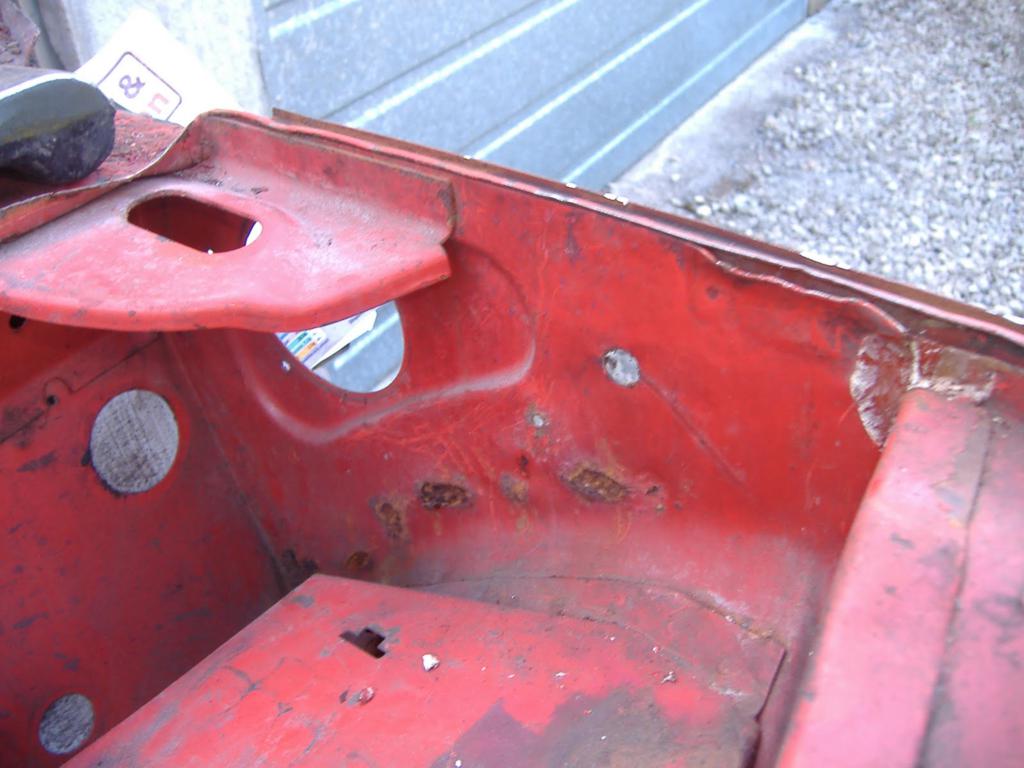
So now the offside is ready for stripping and painting before it gets a new wing. Good job one side was easy!